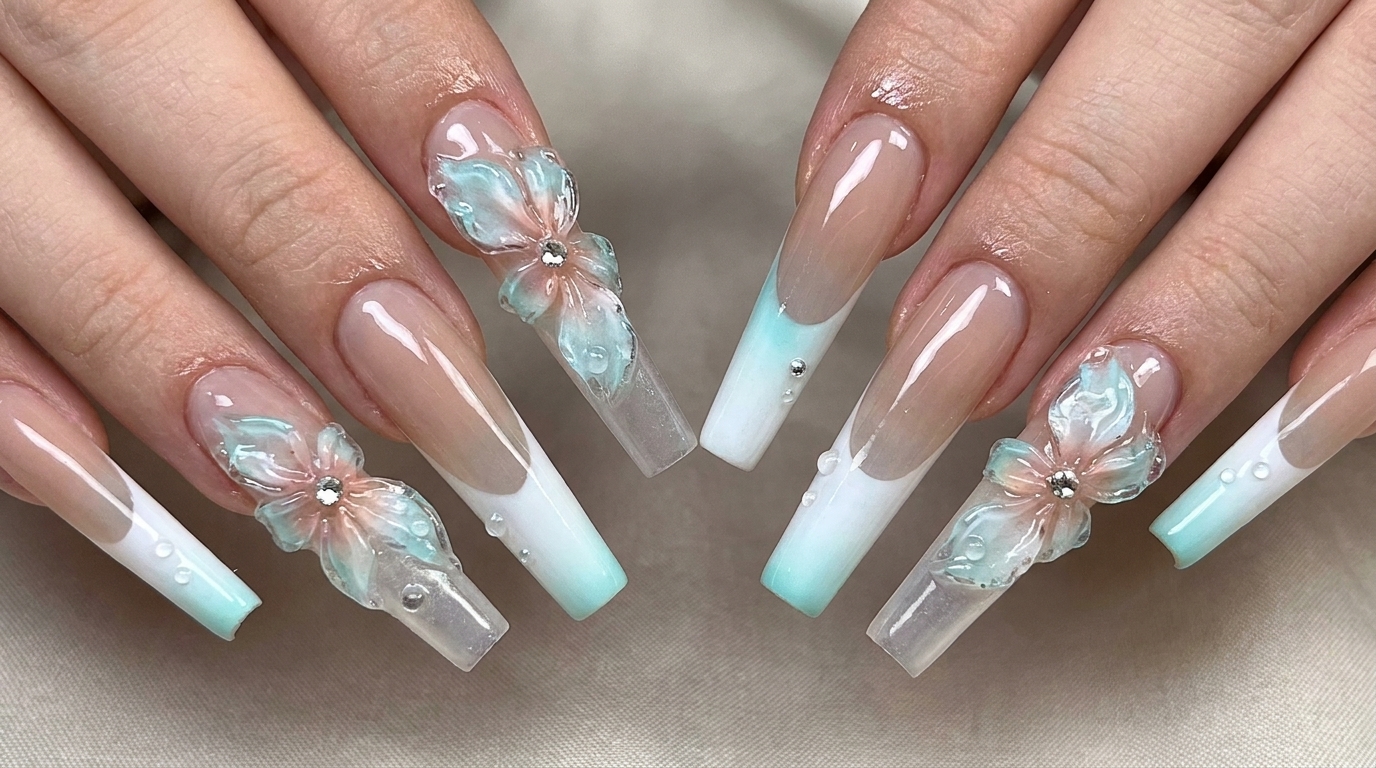
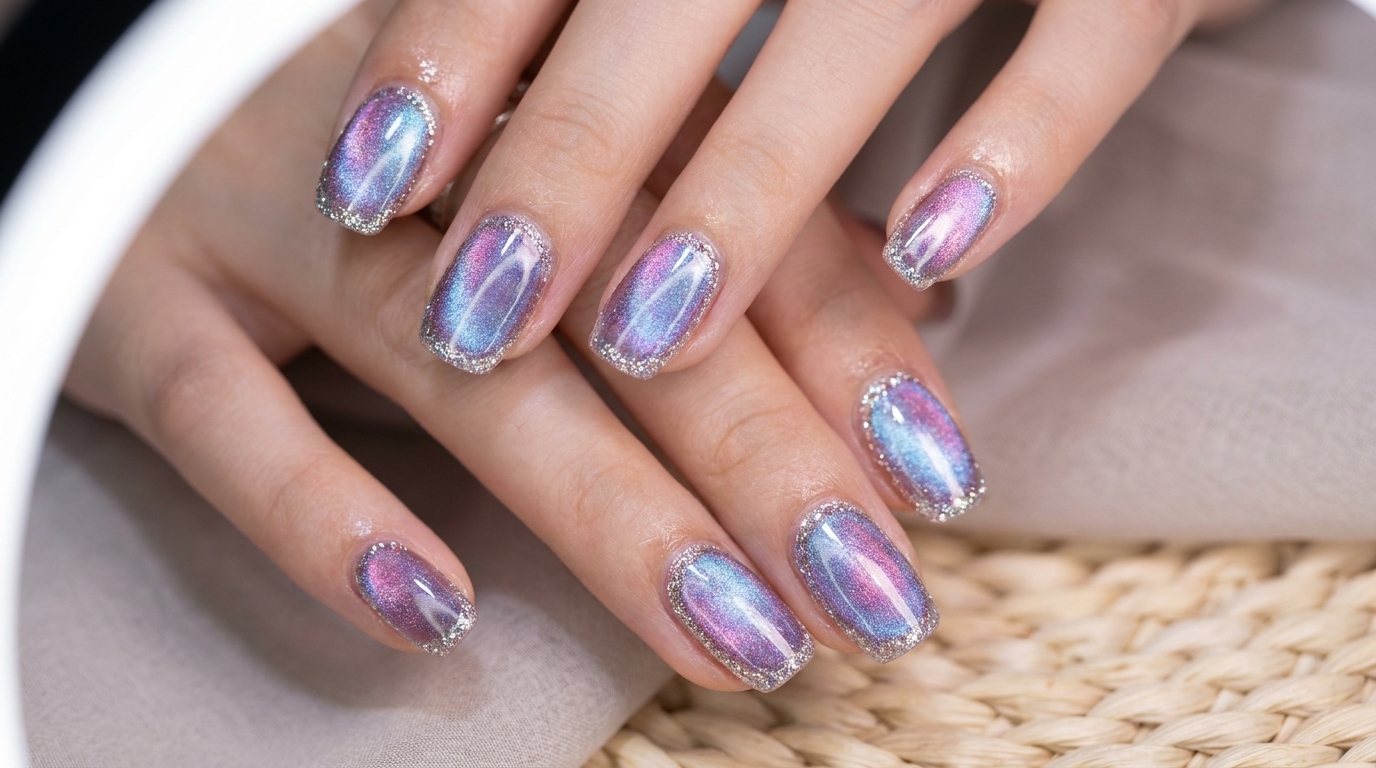
Summer Blue Gradient Ombre Cat Eye Gel Nails — Step-by-Step Tutorial
Create a stunning summer blue gradient with mesmerizing cat eye shimmer using an easy sponge and magnetic wand technique.
Embrace warm weather vibes with this gorgeous summer blue gradient look that combines soft ombre blending with a celestial cat eye shimmer. Perfect for elevating your everyday manicure, this technique creates incredible depth and dimension on square nails.
Steps
- 1Apply light blue gel
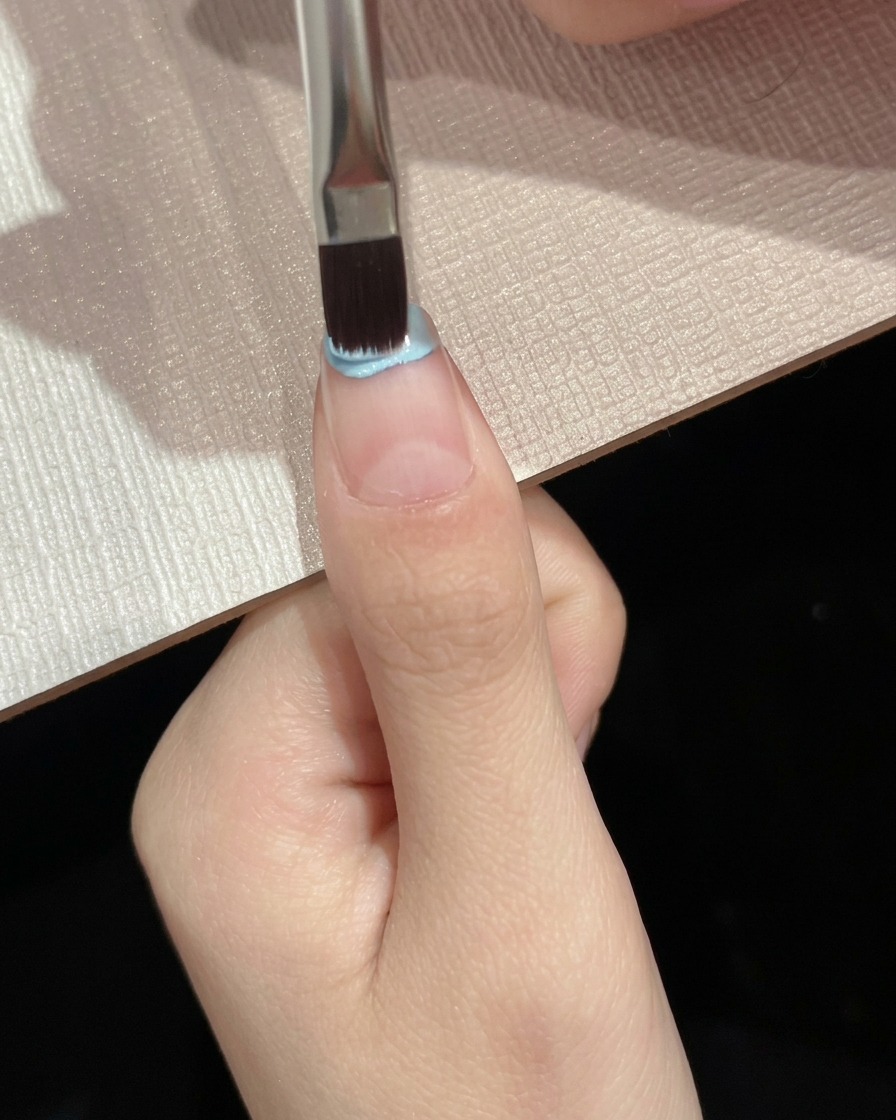
Using a flat brush, apply light blue gel polish onto the upper half of the nail plate. Keep the application smooth and concentrated near the tip to establish the base of the gradient look.
Tip: Apply in thin layers to prevent pooling and ensure an even color distribution. - 2Blend gradient with sponge
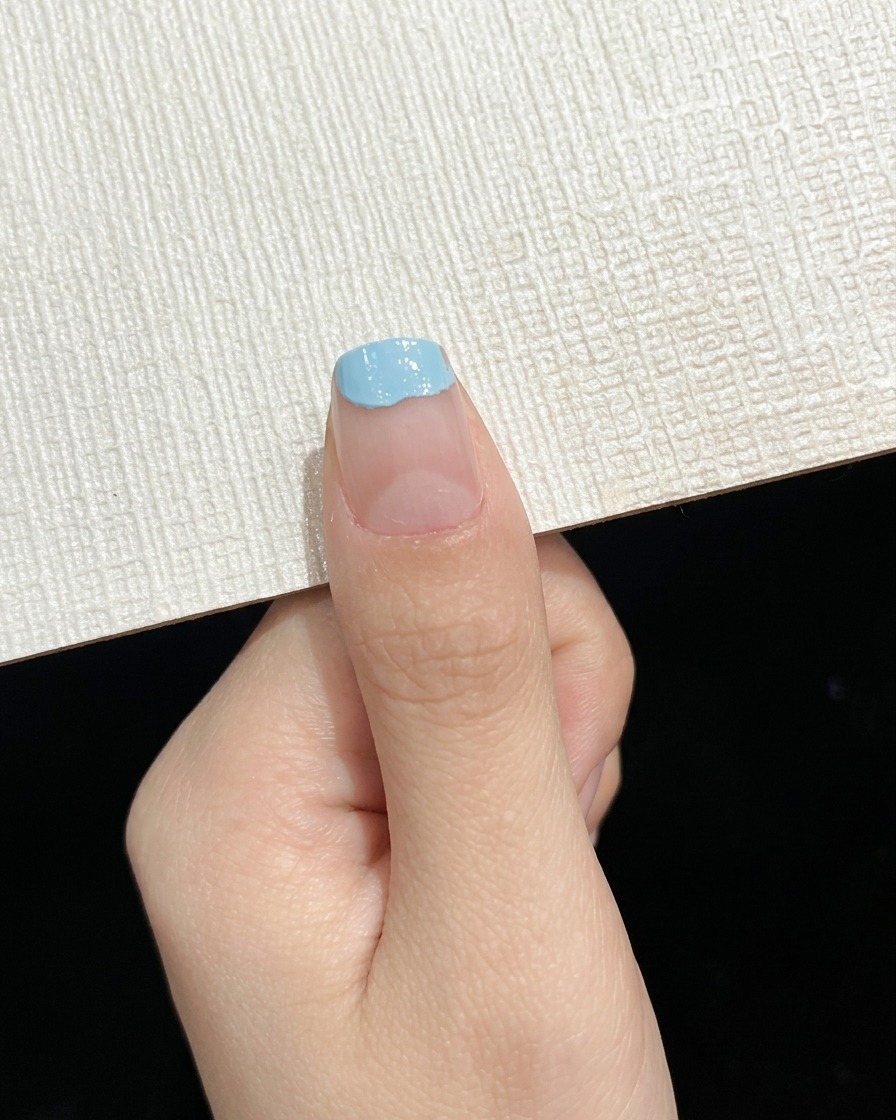
Take a sponge dabbed with green pigment and gently dab it on the surface to blend and create the gradient effect.
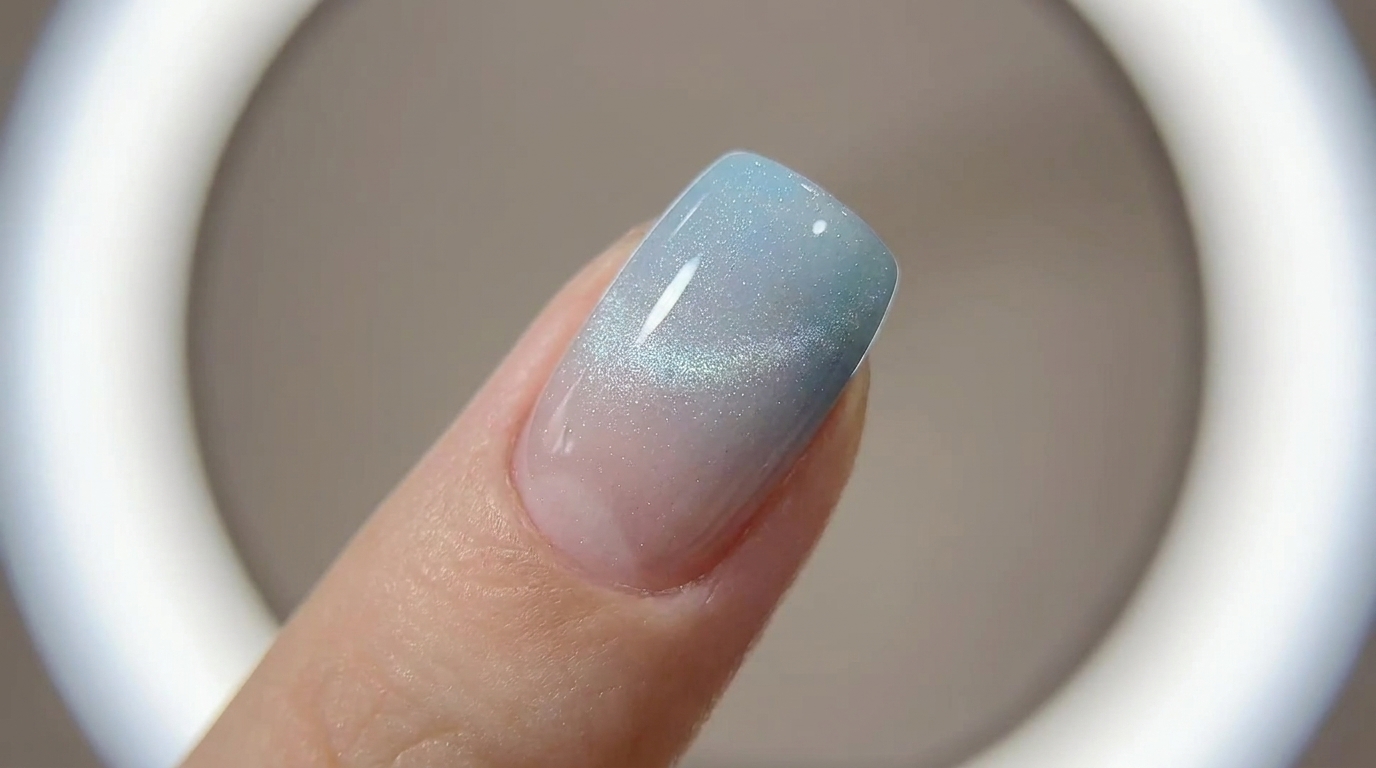
Tip: Dab lightly to achieve a soft, seamless transition between the colors. - 3Show intermediate gradient look
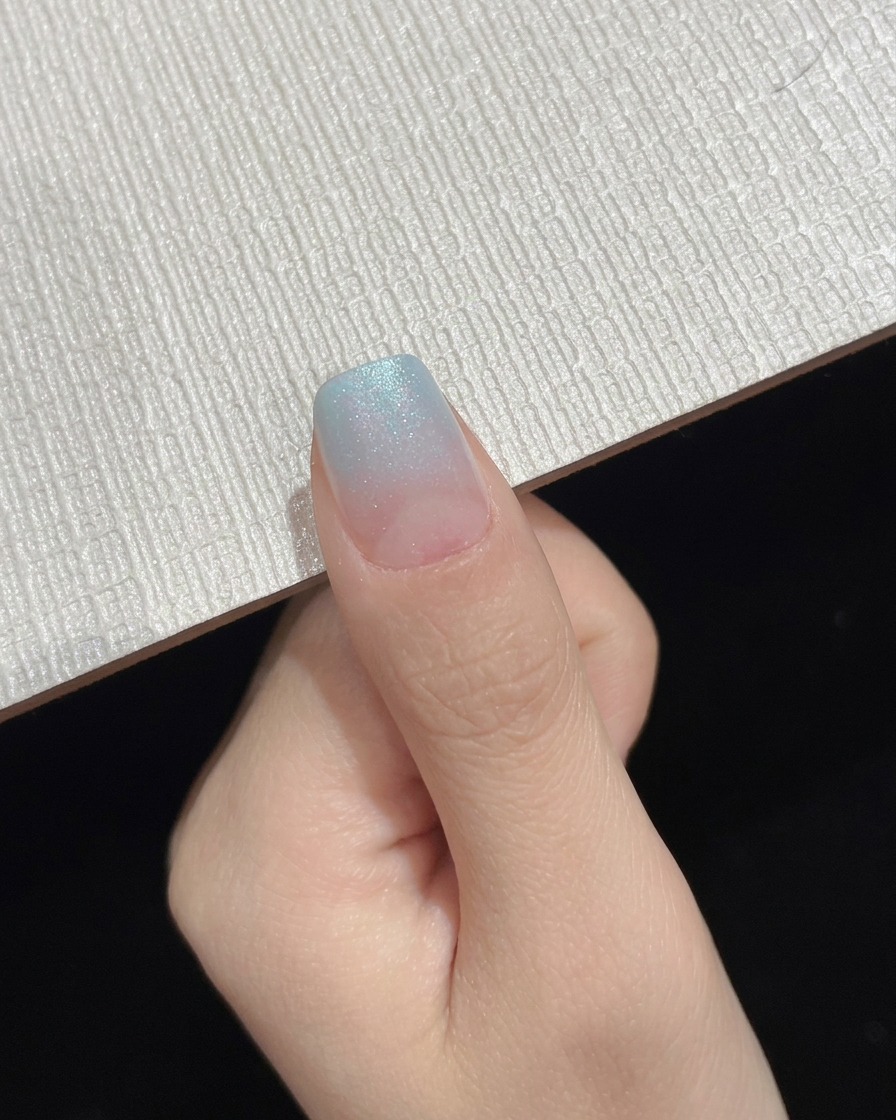
Display the completed blue gradient ombre nail look as an intermediate progress shot to check the color transition.
Tip: Ensure the gradient transition looks smooth before moving on to the next design phase. - 4Apply cat eye gel polish
Apply a coat of reflective cat eye glitter gel polish evenly over the gradient nail to add shimmer and depth.
Tip: Do not cure the polish yet, as you will need the wet consistency to activate the magnetic effect. - 5Magnetize cat eye shimmer
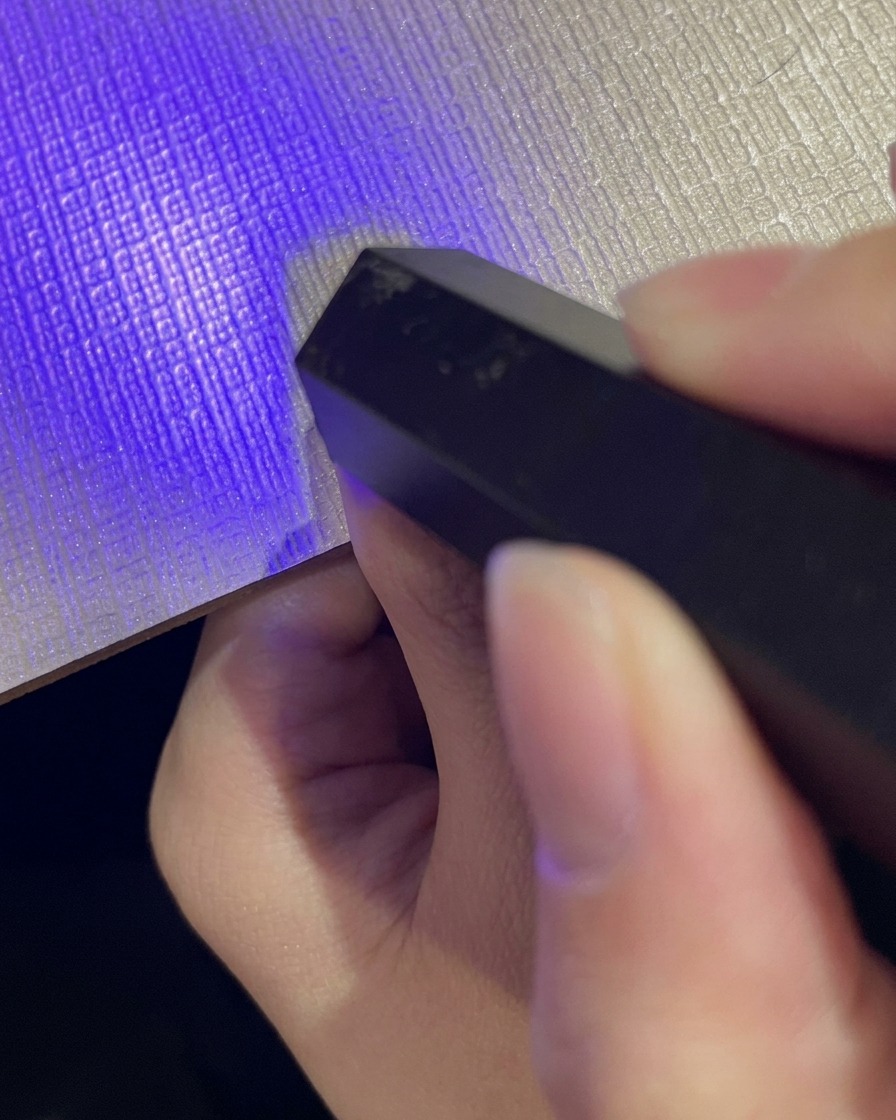
Hold a magnetic wand close to the nail surface without touching it to magnetize and activate the cat eye shimmer effect.
Tip: Hold the magnet steady for a few seconds to lock the magnetic particles into place before curing. - 6Cure gel under UV/LED lamp
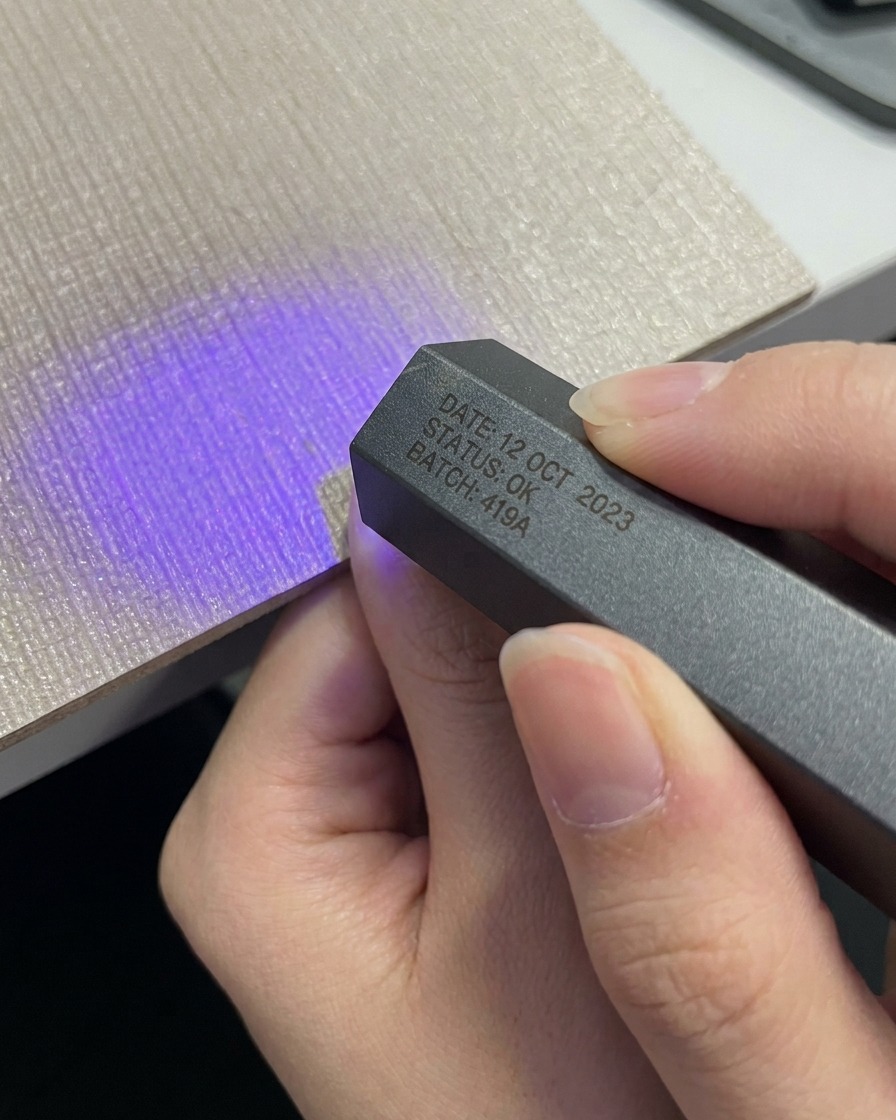
Place your thumb under a portable UV or LED mini lamp to cure the freshly applied gel layer. Position the light correctly to ensure full coverage across the entire nail surface. Cure for the recommended duration to harden the gel properly before moving on to the final sealing step.
Tip: Keep your hand steady inside the mini lamp to avoid shifting the gel before it fully cures. - 7Apply sealing top coat
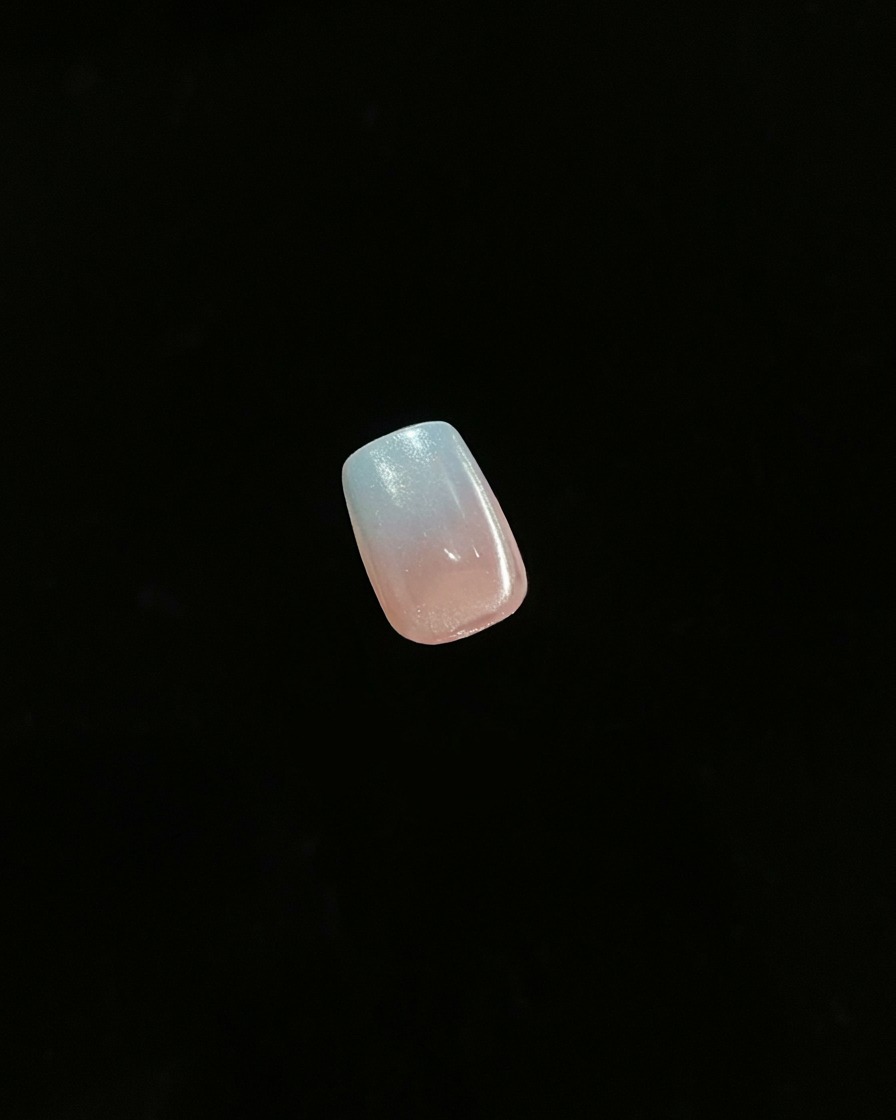
Apply a final sealing top coat layer over the fully cured nail using the brush bottle. Ensure an even, smooth application that covers the entire surface and seals the free edge. This locks in the gradient and design, providing long-lasting shine and protection against chipping.
Tip: Cap the free edge with top coat to prevent premature chipping and peeling. - 8Cure top coat and finish
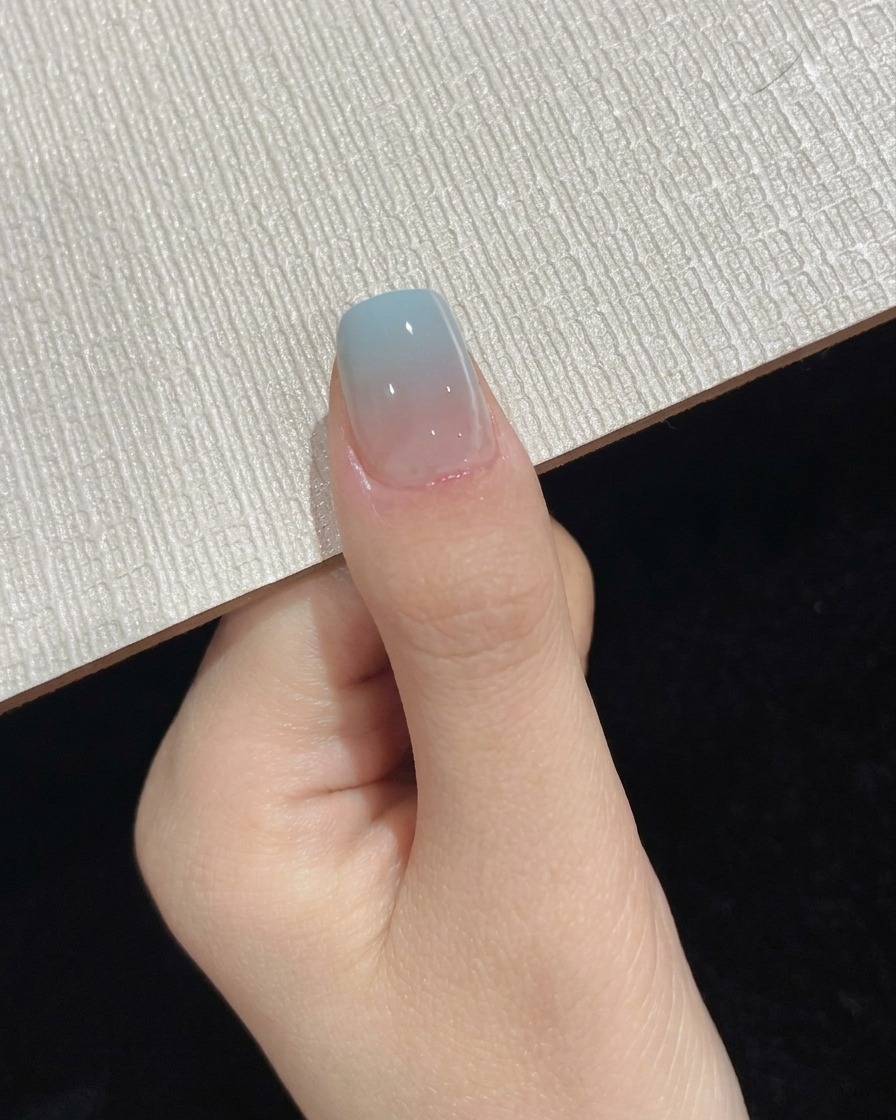
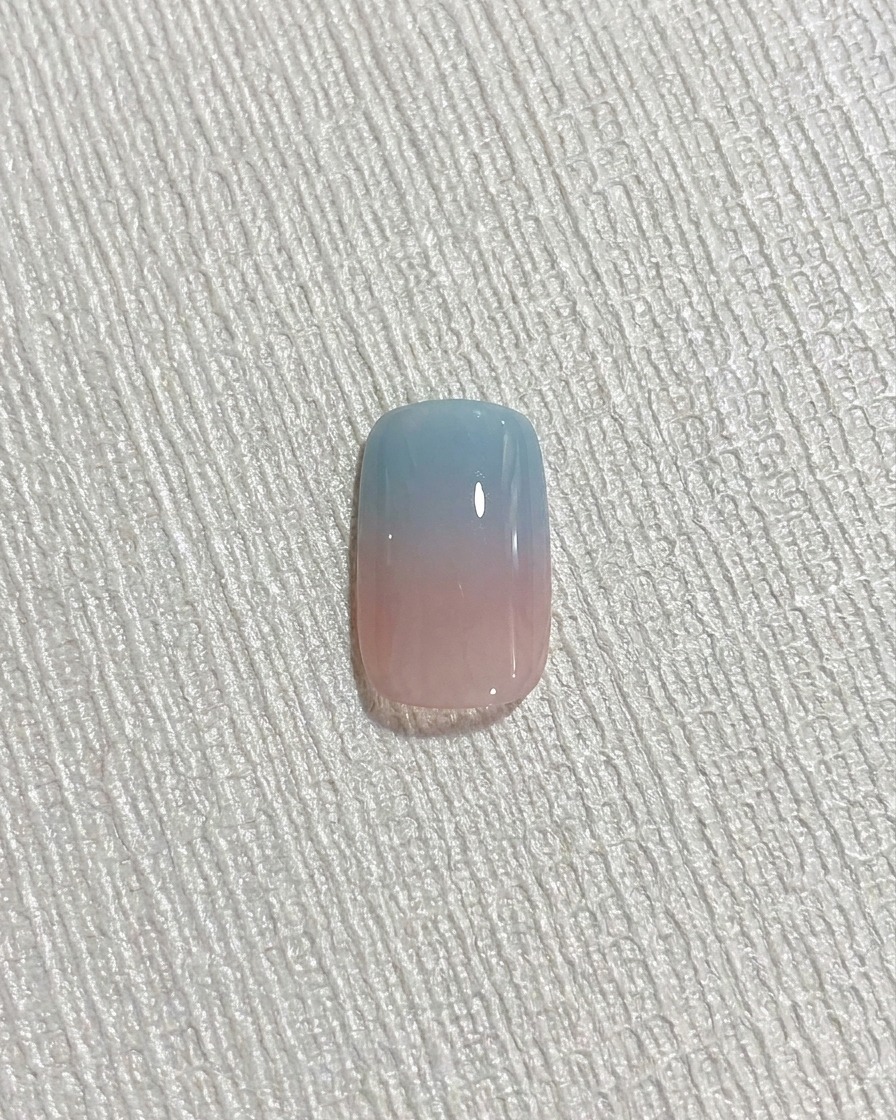
Cure the top coat layer under the UV/LED lamp to fully set and finish the manicure. Ensure the light exposure covers the entire nail to harden the protective glossy layer completely. Once cured, your gradient blue summer nail look is fully complete and ready.
Tip: A complete cure on the top coat ensures a tack-free, ultra-glossy finish that lasts.