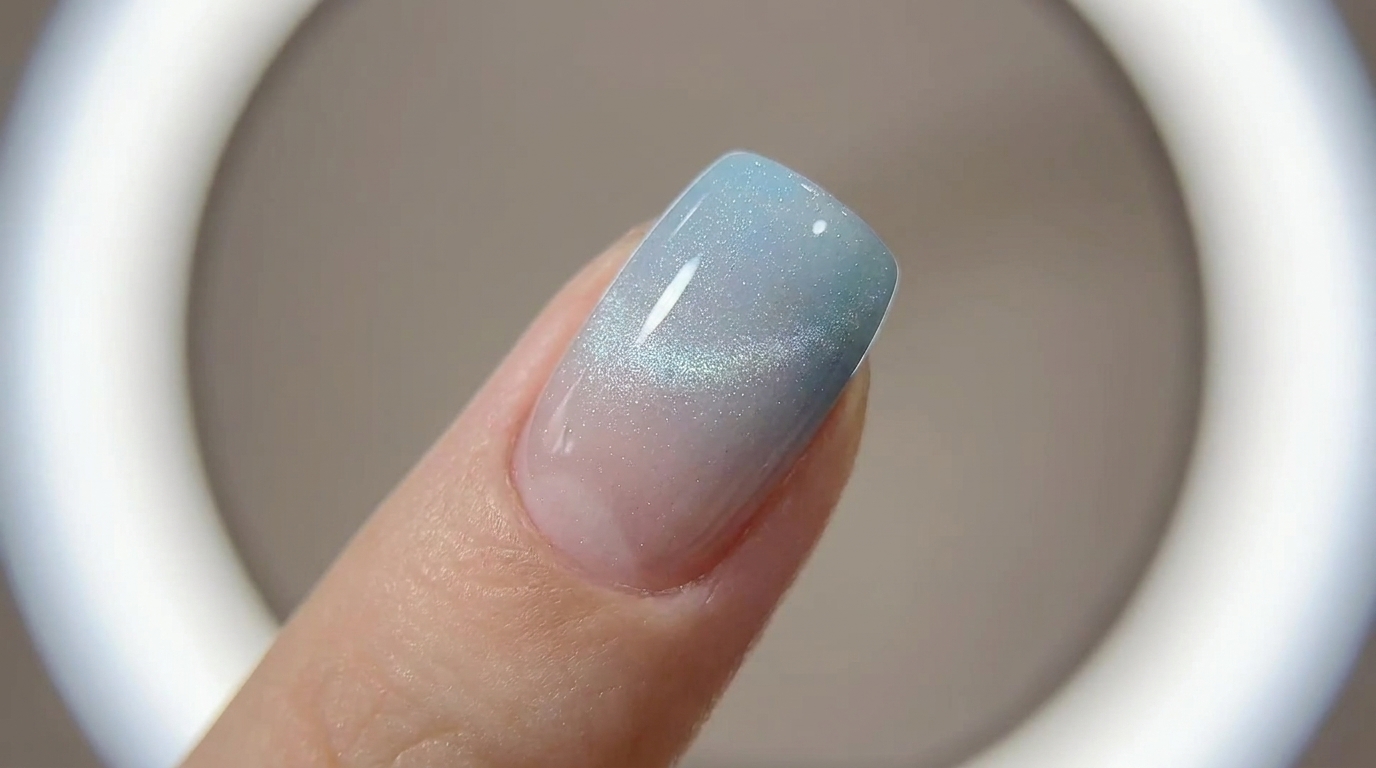
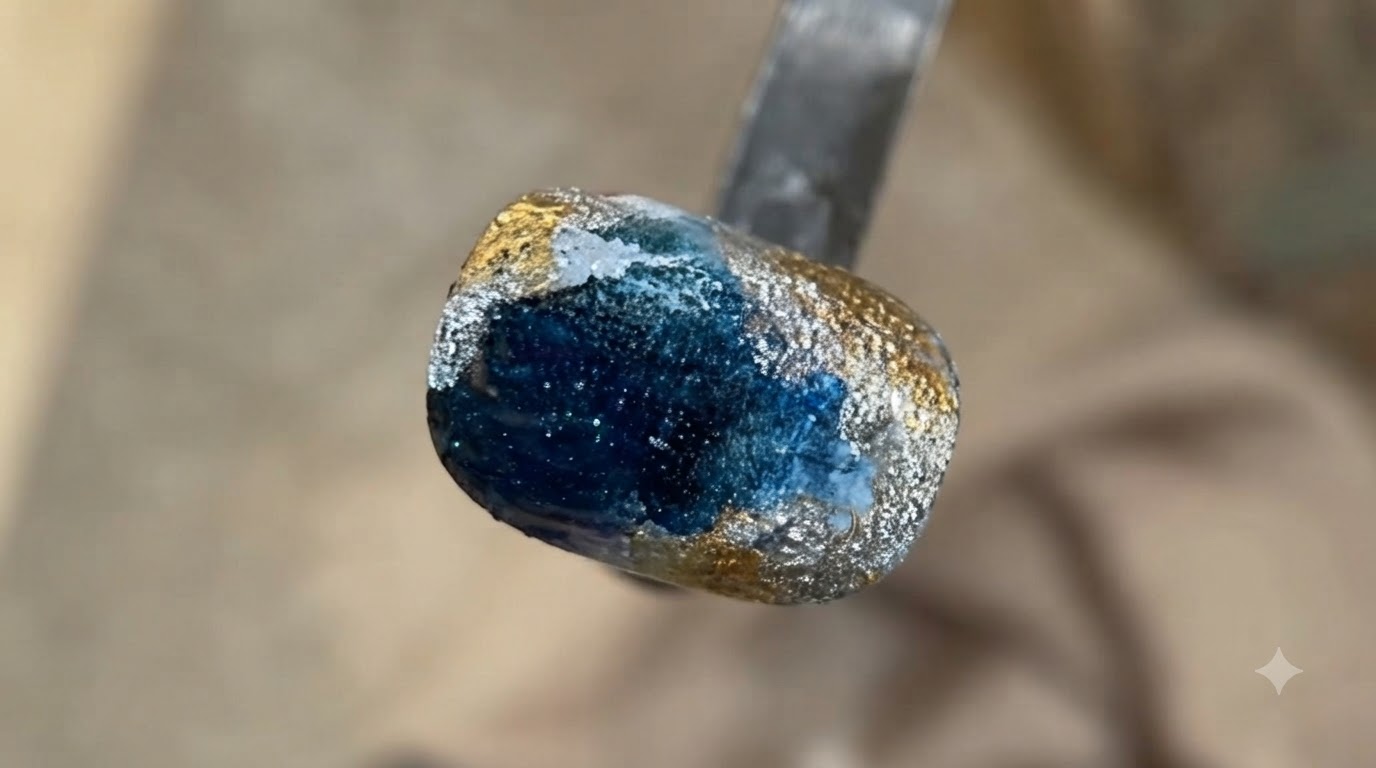
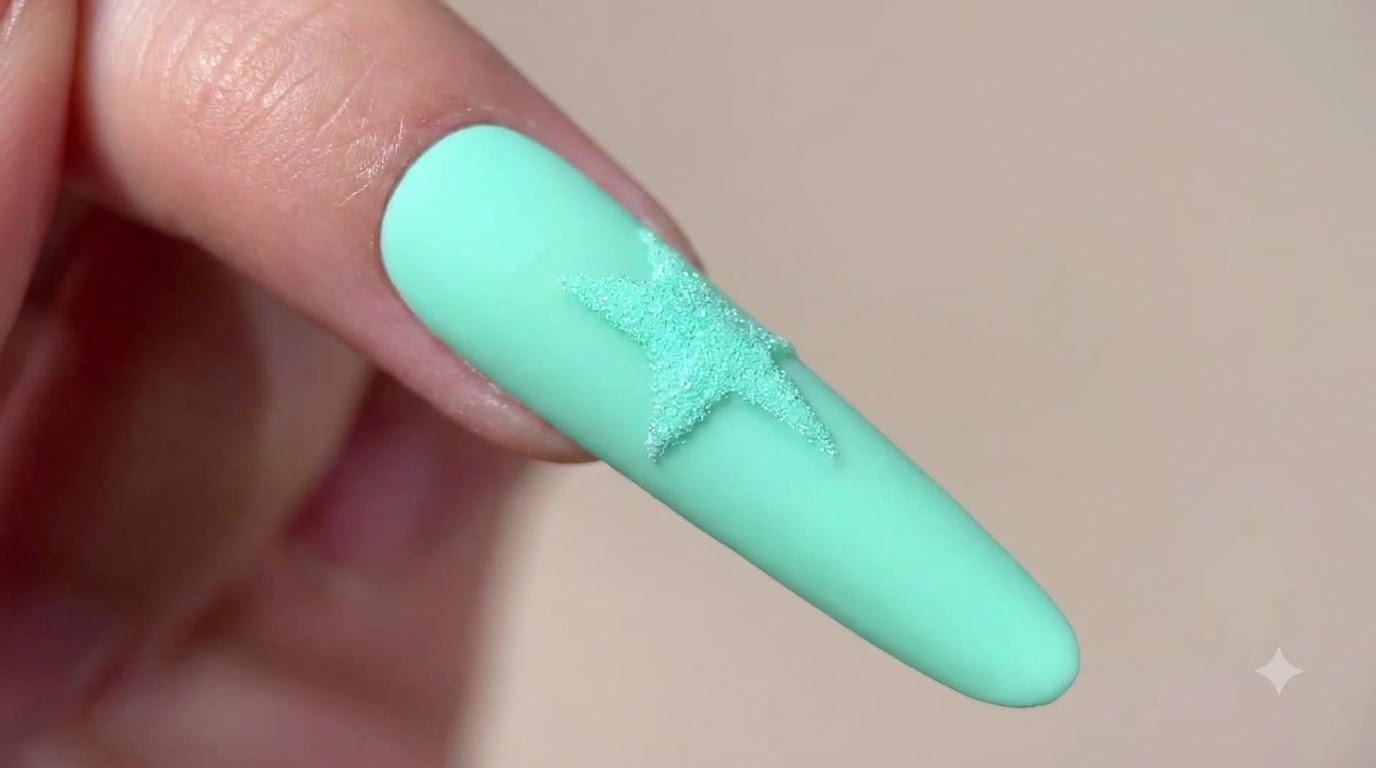
Starry Blue Galaxy Gradient Cat-Eye Nails — Step-by-Step Tutorial
Create a mesmerizing galaxy effect with deep teal cat-eye gel polish, shimmering magnetic velvet finishes, and delicate suspended silver glitter stars.
Celestial nail art continues to capture imaginations with multidimensional cosmic designs that shift under every light. This starry blue galaxy gradient cat-eye look combines a moody dark base with vibrant magnetic teal hues and sparkling silver flecks to evoke a distant night sky right on your fingertips.
Steps
- 1Apply dark gel base coat near cuticle
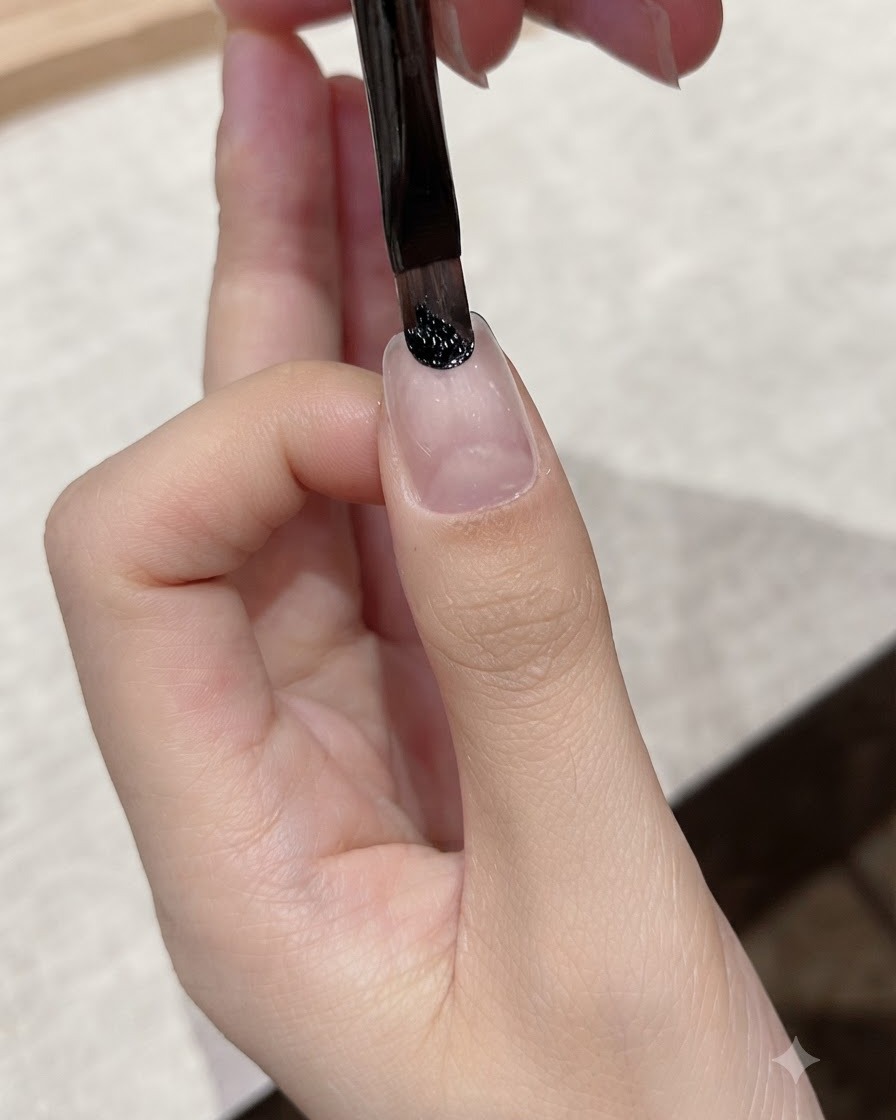
Using a fine liner brush, carefully apply a small amount of dark black gel base coat onto the upper portion of the nail plate right near the cuticle area. Maintain a controlled stroke to create the foundation for a smoky gradient effect.
Tip: Keep the initial amount of gel small to prevent pooling near the cuticle line. - 2Blend black gel edge for gradient
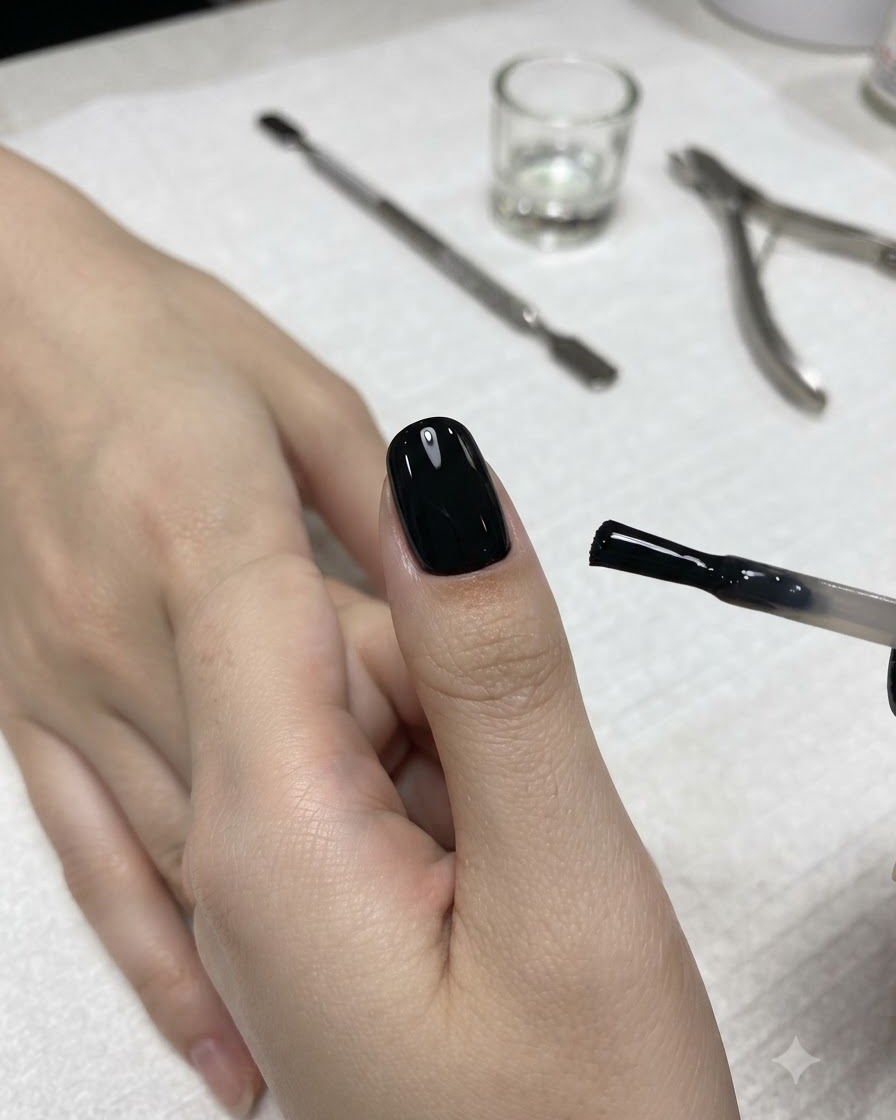
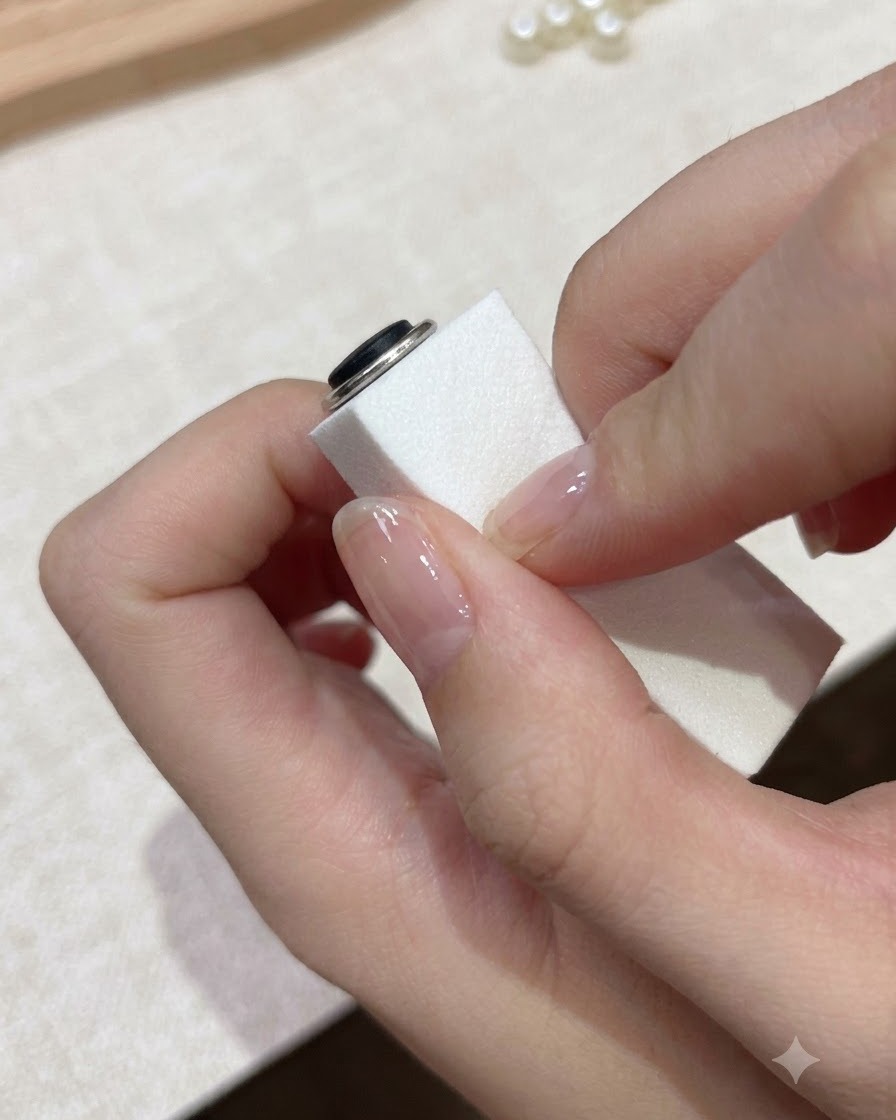
Smooth and gently blend the edge of the black gel application using a sponge block to create a soft, seamless smoky gradient effect extending downward along the nail plate.
Tip: Dab lightly with the sponge block to avoid wiping away too much pigment. - 3Inspect cured dark gradient base
Inspect the cured dark gradient transition base on the nail, ensuring it shows a smooth faded dark shadow extending from the cuticle downward before moving to the next color layer.
Tip: Check under good lighting to ensure the gradient transition is even and free of harsh lines. - 4Apply vibrant teal-blue cat-eye gel polish
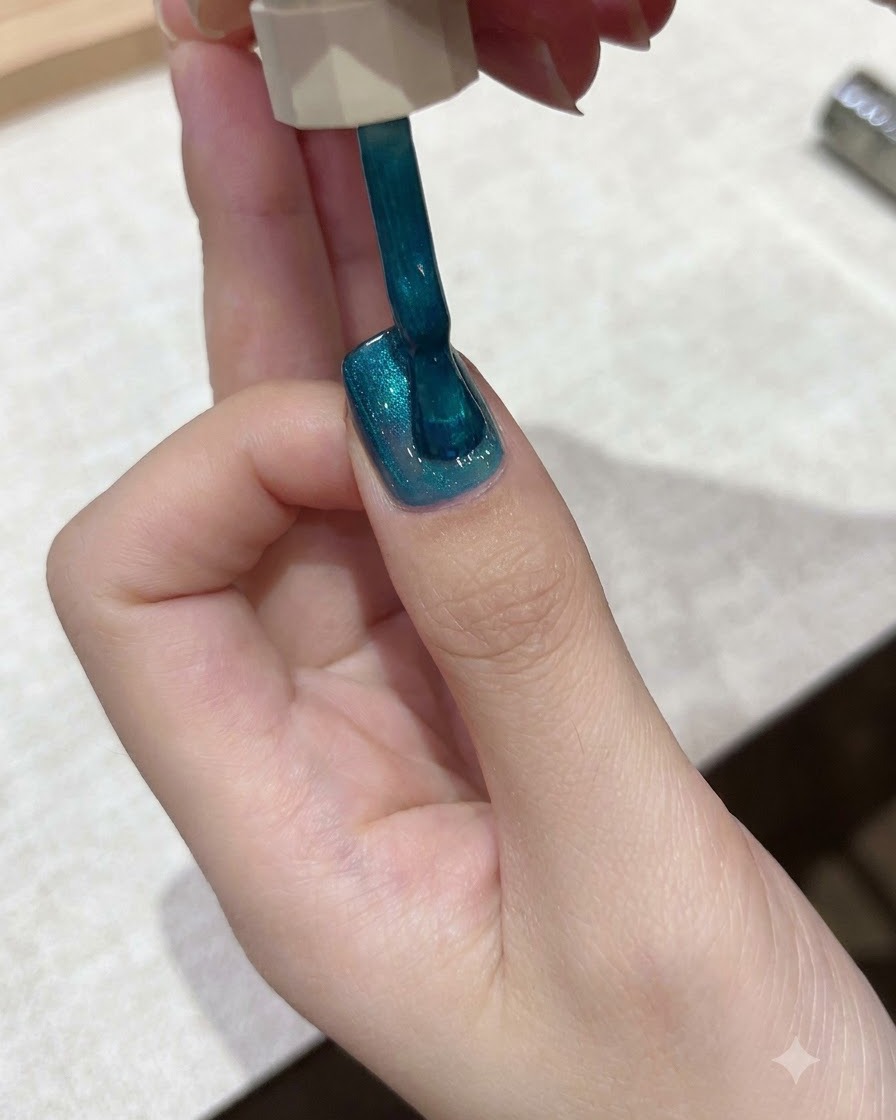
Apply a vibrant teal-blue cat-eye gel polish evenly over the entire nail surface, allowing it to overlap and sit on top of the previously cured dark gradient base.
Tip: Ensure an even coat of cat-eye polish so the magnetic particles can disperse and react uniformly. - 5Concentrate particles with spherical magnet
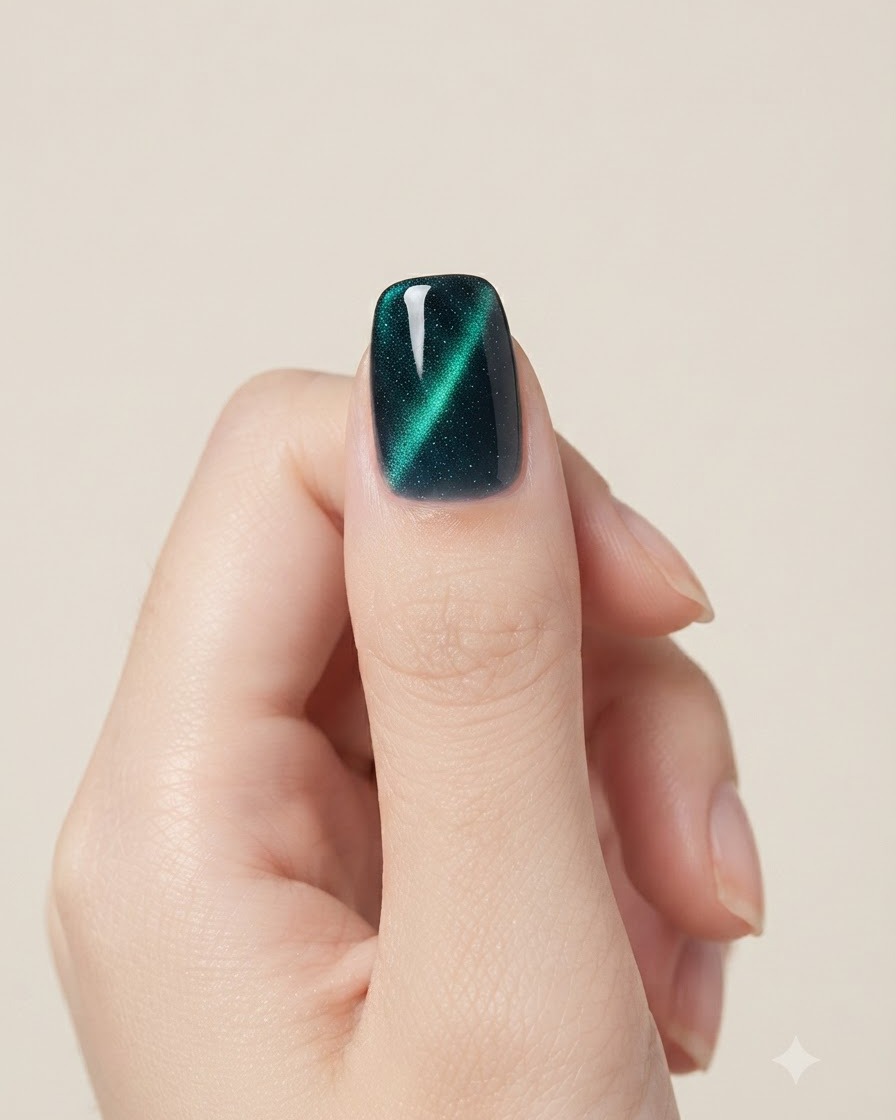
Hover a spherical magnetic tool wand above the wet cat-eye gel polish to pull the magnetic metallic particles into a concentrated cluster, creating a dimensional reflective zone.
Tip: Hold the magnet steady and close to the wet polish without touching it to achieve a sharp reflection. - 6Adjust three-dimensional galaxy reflection
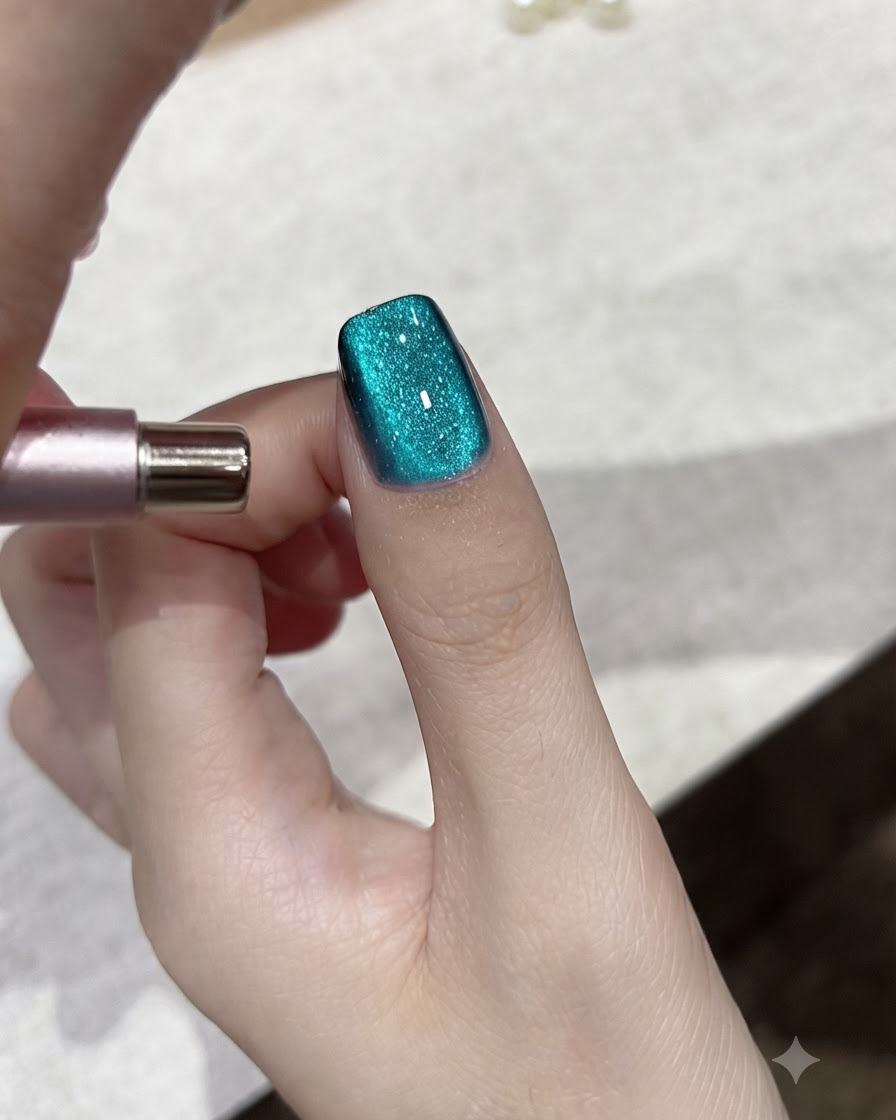
Fine-tune and adjust the magnetic effect to create a deep, three-dimensional galaxy light reflection shimmering within the teal blue polish, then cure immediately.
Tip: Cure each nail immediately after perfecting the magnetic pattern so the particles do not shift out of place. - 7Check the galaxy gradient angle
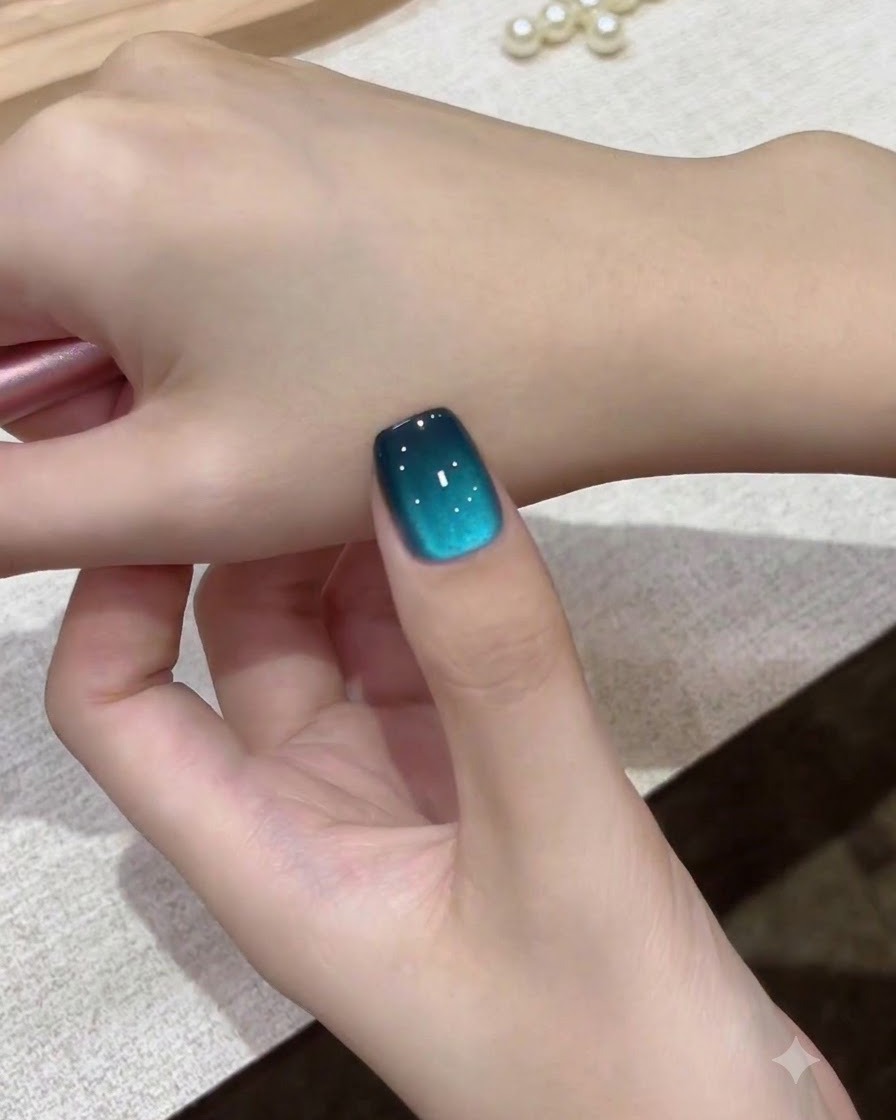
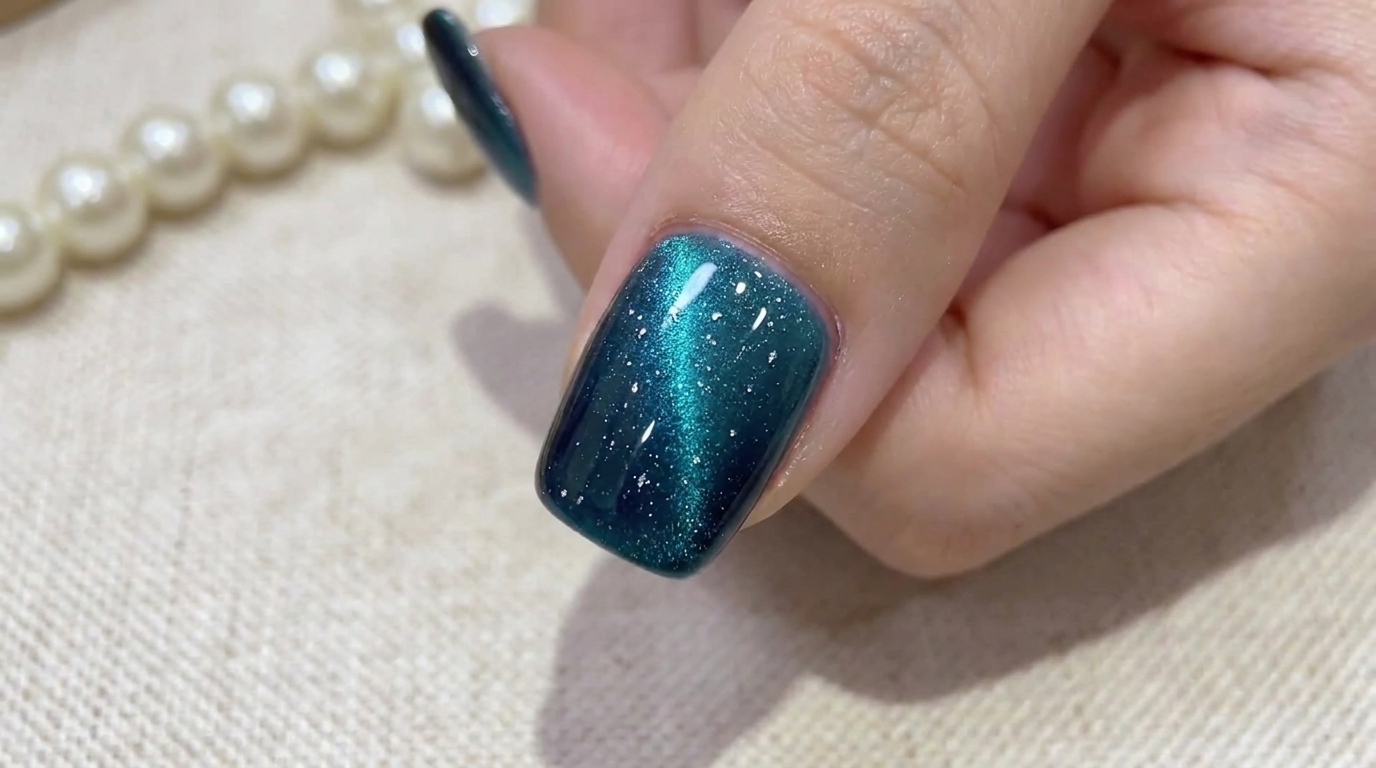
Hold your hand against the back of the other hand to observe how the teal and dark galaxy cat-eye pigment catches the light. This intermediate check ensures the depth and gradient effect are developing correctly before adding finishing touches.
Tip: Check under various lighting angles to confirm the cat-eye magnetic shimmer shifts properly across the nail surface. - 8Refine magnetic particles with wand
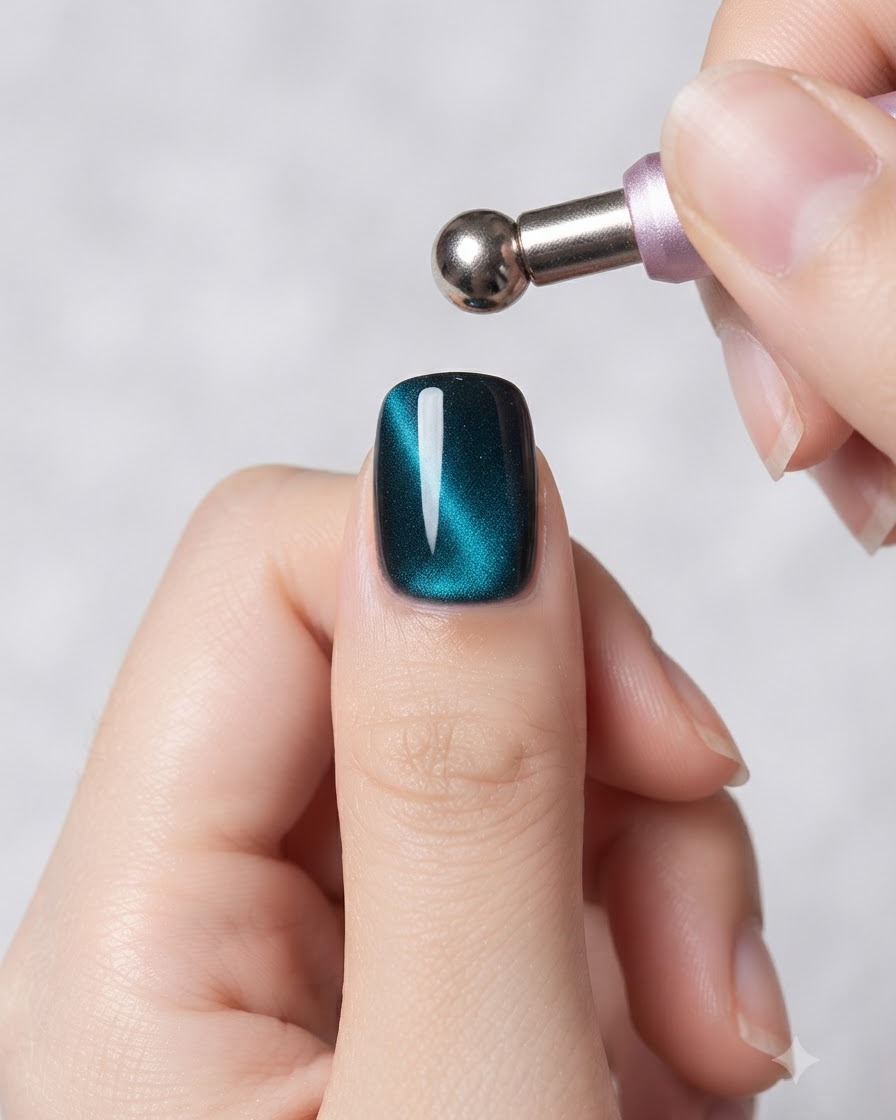
Take the magnetic tool wand with the spherical tip and hold it close to the uncured gel to adjust and concentrate the magnetic particles. This sharpens the cat-eye line and creates a clean, focused streak of light resembling a distant star.
Tip: Keep the magnetic wand steady and close to the surface without touching the wet gel to achieve a crisp line. - 9Apply clear top coat
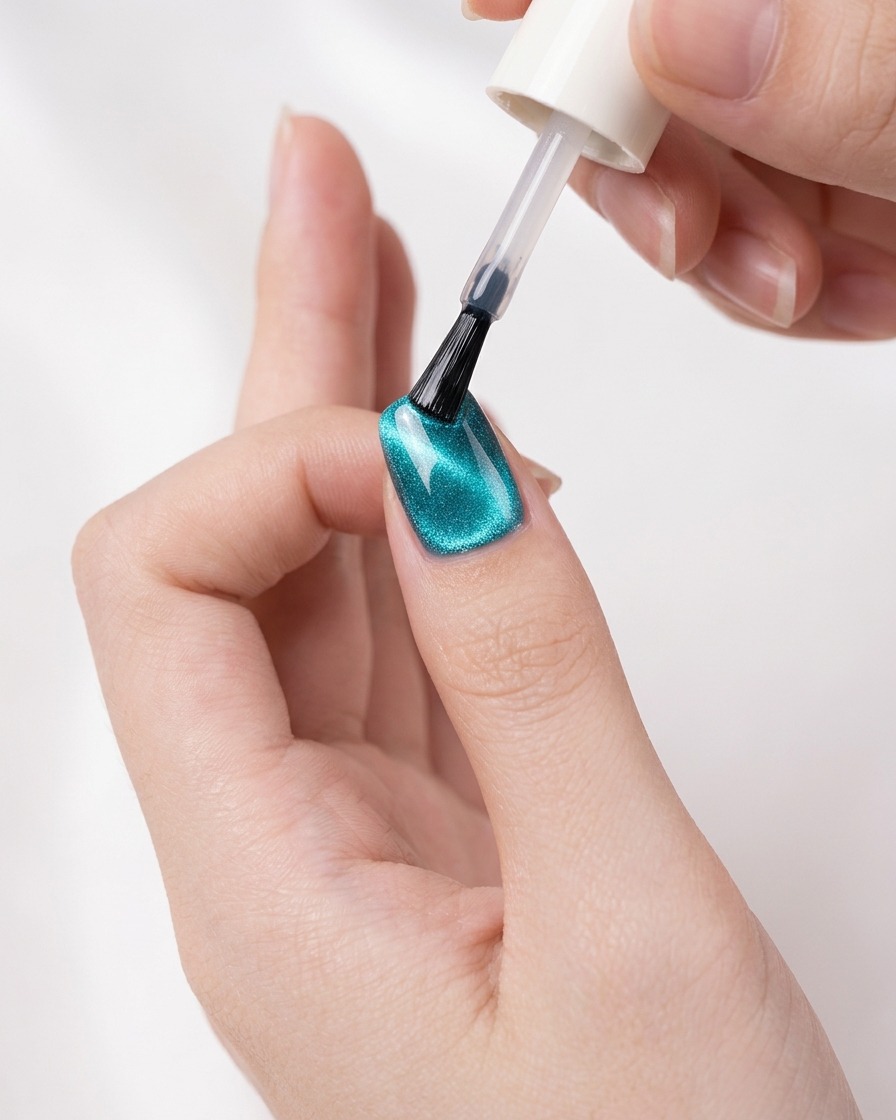
Apply an even, glossy layer of clear top coat over the cured galaxy cat-eye nail design to lock in the magnetic effect and protect the manicure from chipping. Ensure you seal the free edge completely. Cure under your UV or LED lamp as directed by the product guidelines.
Tip: Capping the free edge with top coat prevents premature chipping and seals the layers together.