Blue-Green Gradient
Cat-Eye Gel Nail Art — Step-by-Step Tutorial
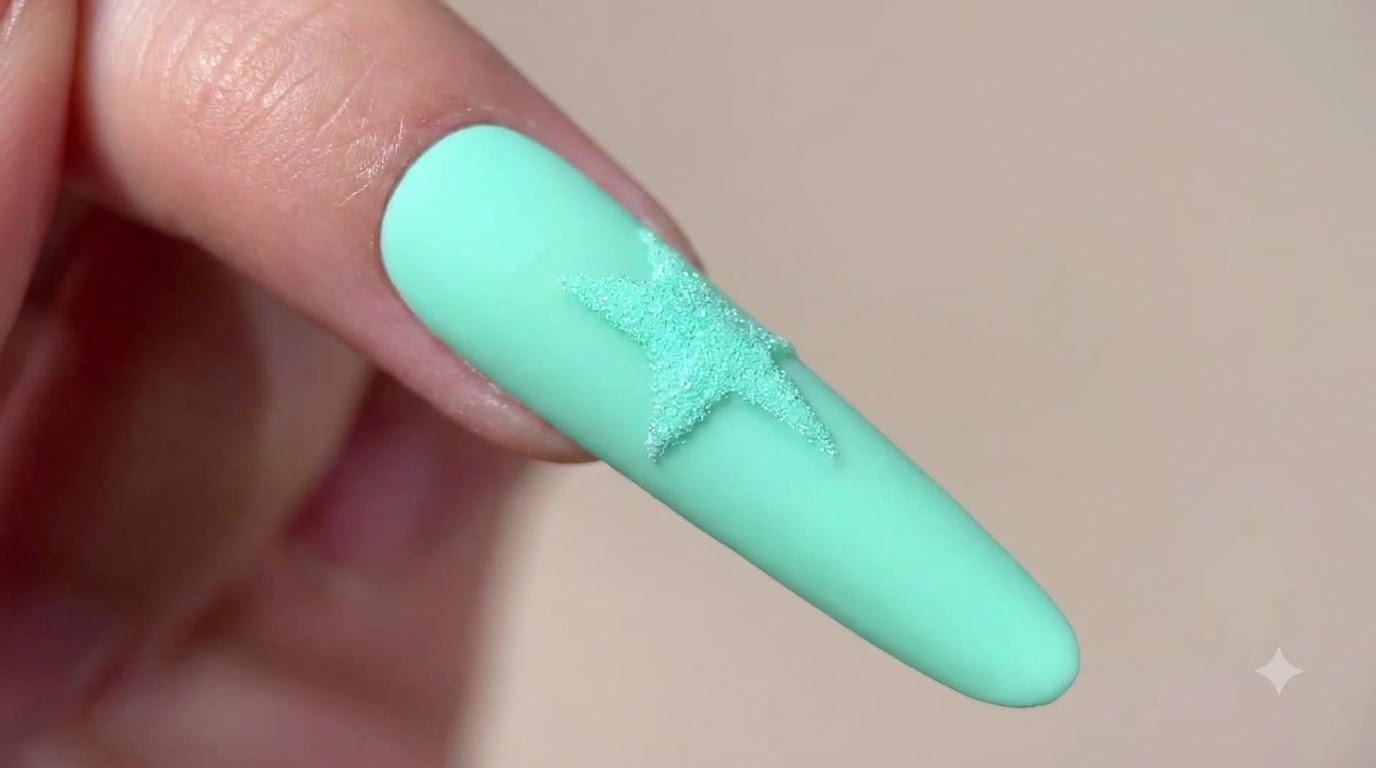
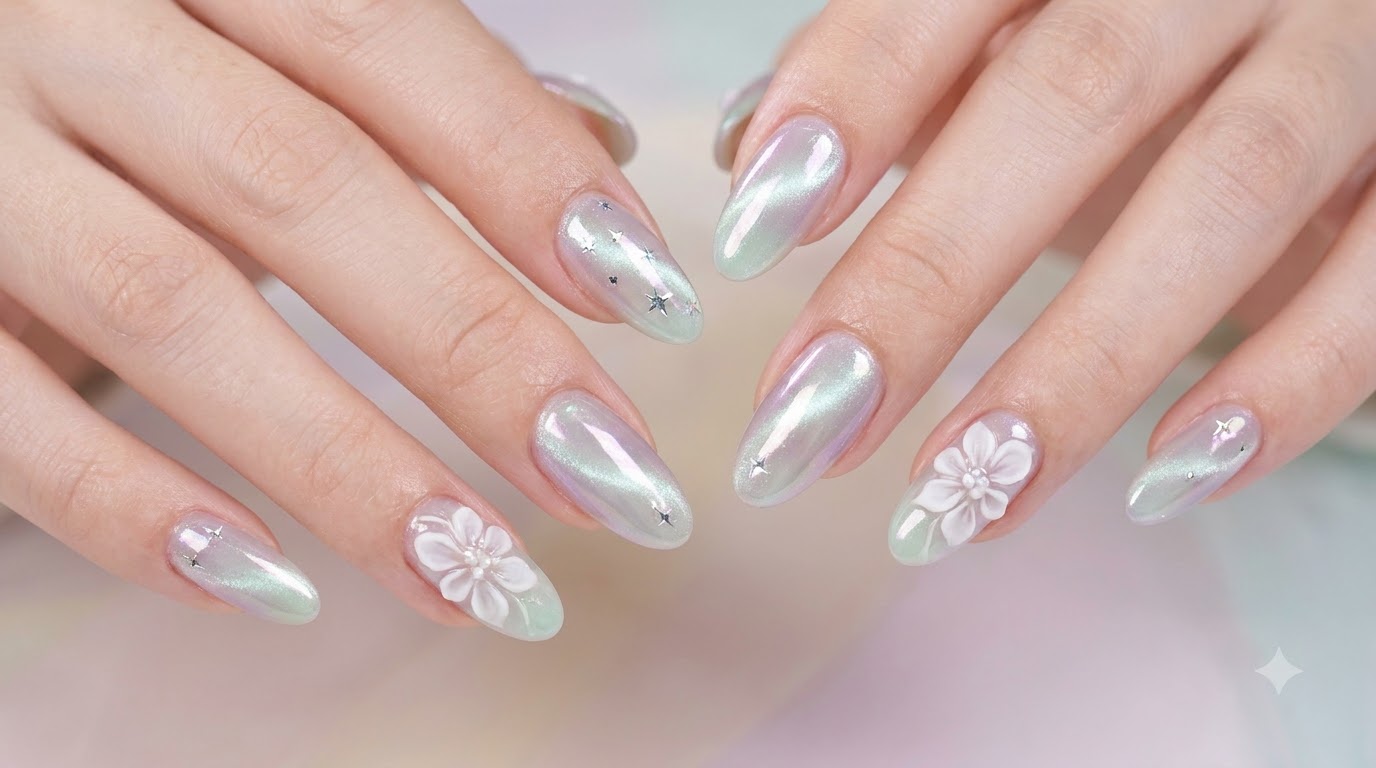
Discover how to create stunning blue-green gradient and cat-eye gel nails using one-step formulas and mesmerizing magnetic glass bead effects.
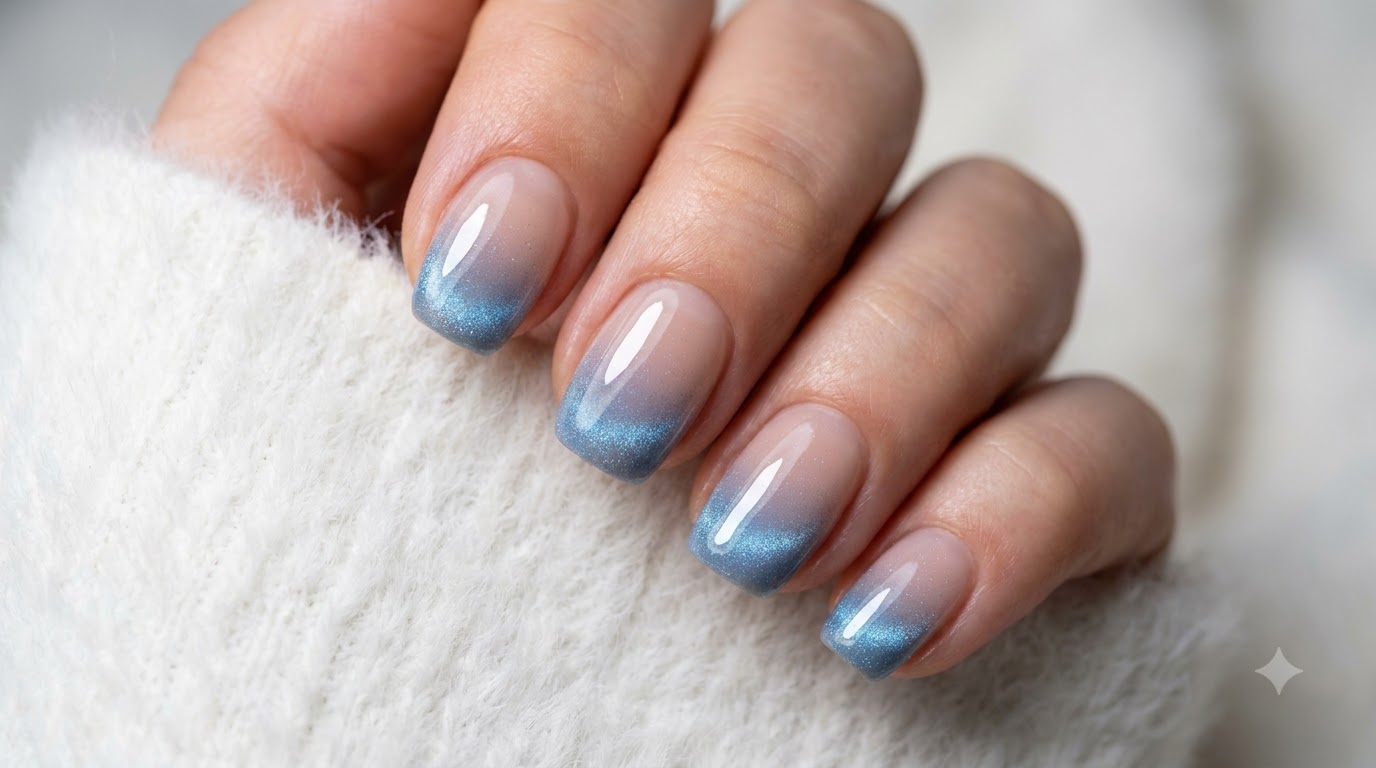
Blue-green nail shades bring a refreshing, cool aesthetic that ranges from playful spring pastels to moody, literary grayish-blue tones. By utilizing one-step gel formulas and clever magnetic techniques, you can achieve a professional salon-quality glass bead finish right at home without needing extra base or top coats.
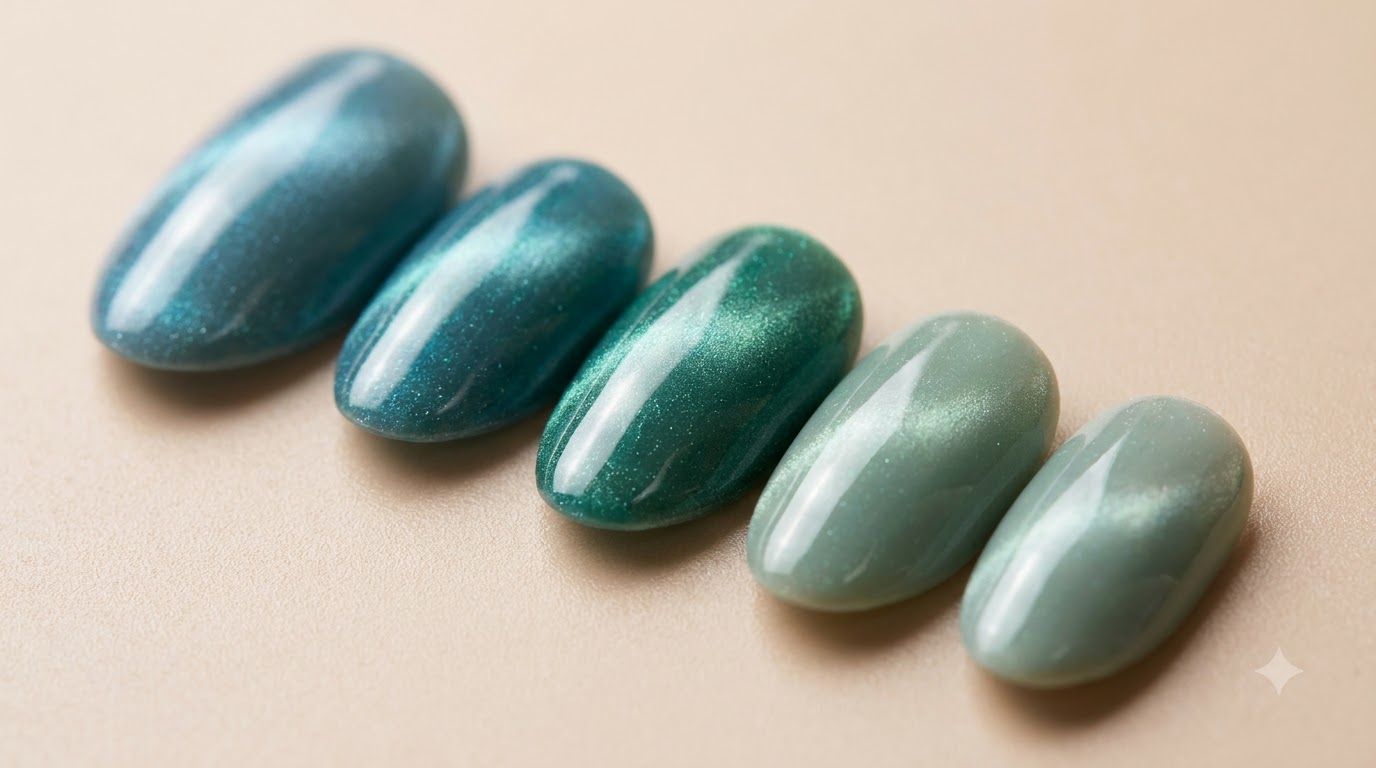
Steps
- 1Apply light green gel polish
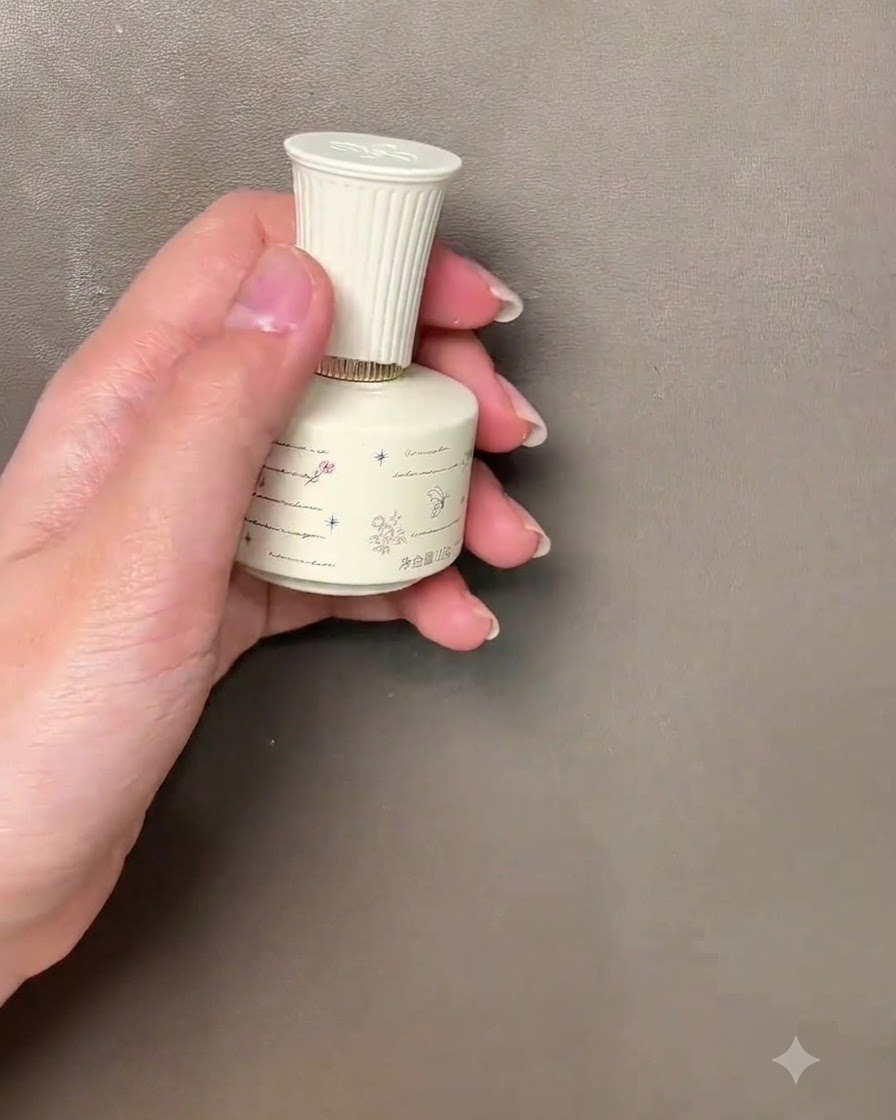
Brush the light green gel polish evenly onto the natural fingernail plate as your first color application. Ensure a thin and smooth coat to prepare for the cat-eye reflection effect.
Tip: Apply in thin, controlled strokes to prevent pooling around the edges. - 2Create cat-eye reflection
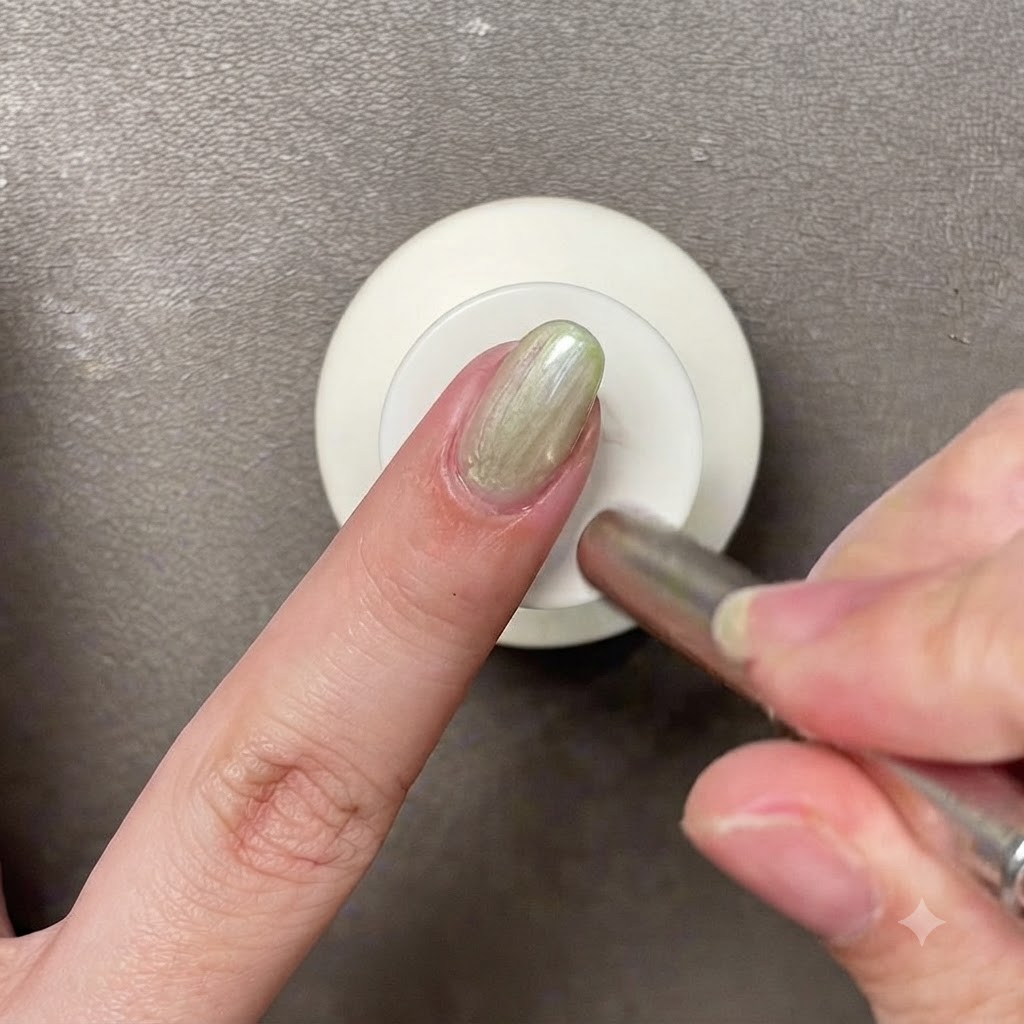
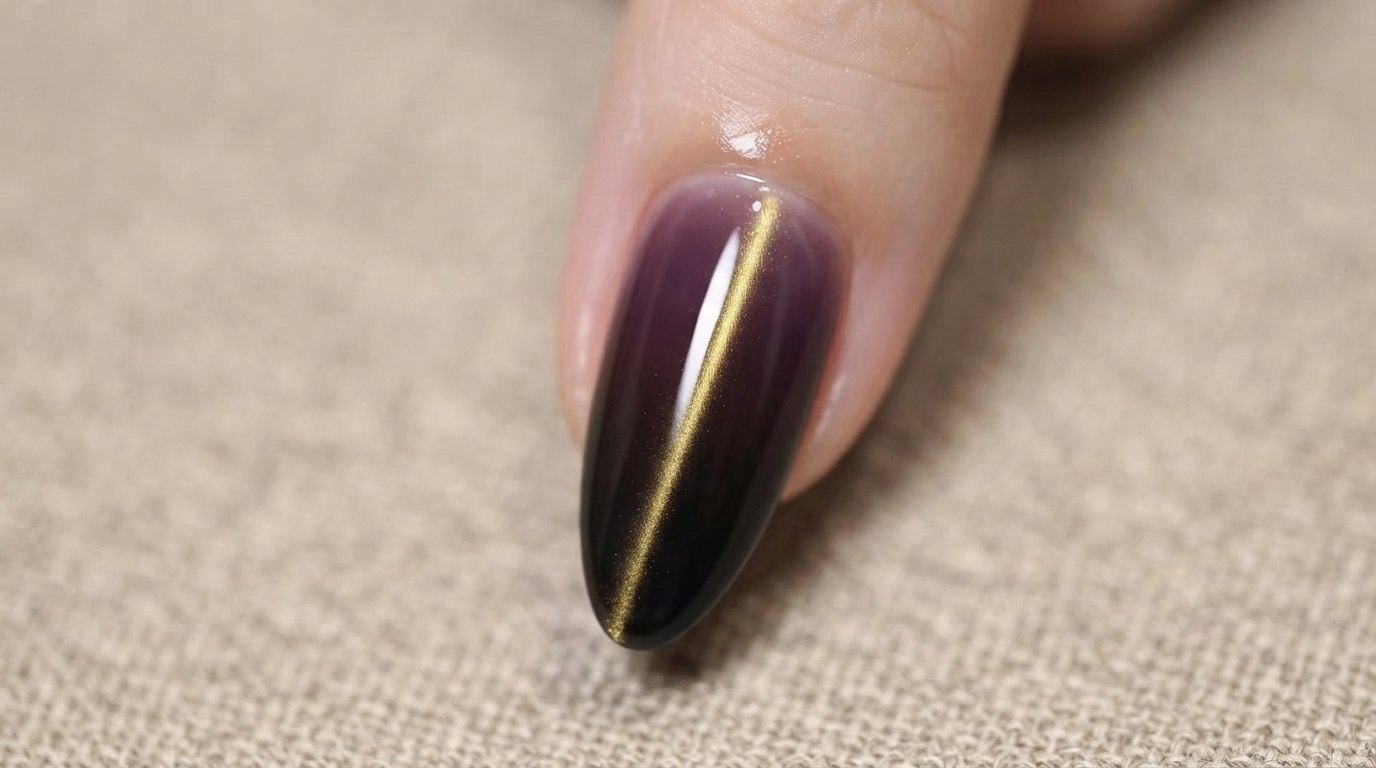
Hold the magnetic pen tool closely over the uncured light green gel to draw and concentrate the magnetic particles, creating a bright cat-eye glass bead light effect.
Tip: Keep the magnet steady and close to the nail without touching the wet gel surface. - 3Apply sage green gel polish
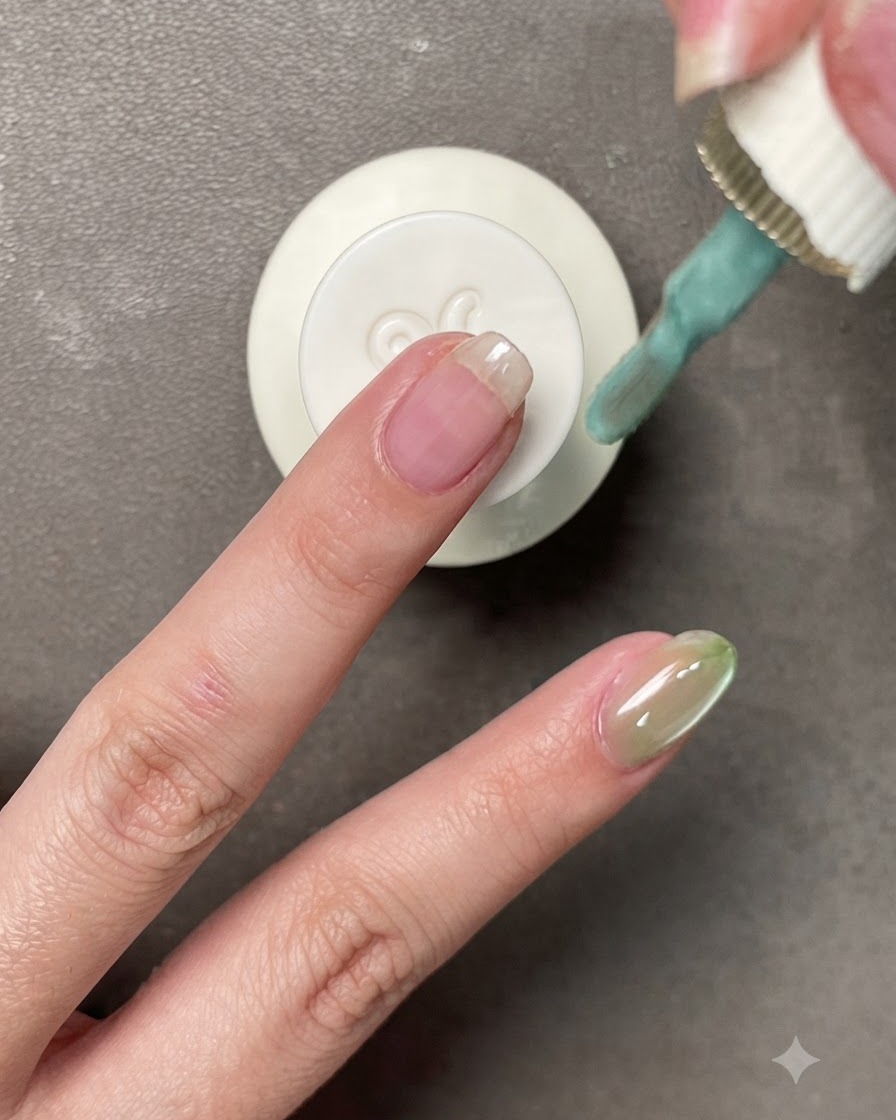
Take the sage green gel polish and brush it smoothly onto the next fingernail plate. This fresh, pale blue-green shade provides a crisp and gentle tone.
Tip: Wipe excess product off the brush stem to maintain an even coat. - 4Activate sage cat-eye effect
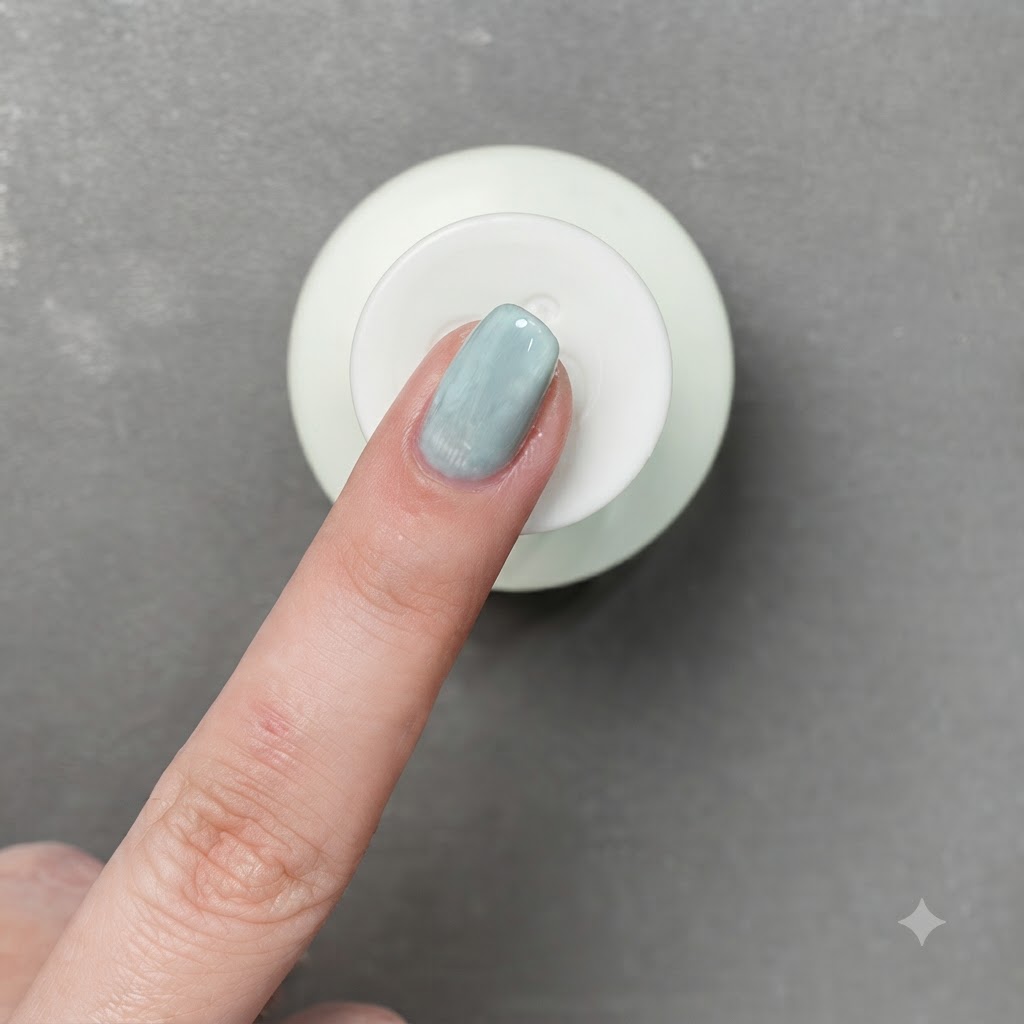
Use the magnetic pen tool to pull and shape the magnetic particles within the fresh sage green gel layer, establishing the signature cat-eye dimension.
Tip: Move the magnet in smooth circular motions if you want to alter the bead dispersion. - 5Apply grayish-blue gel polish
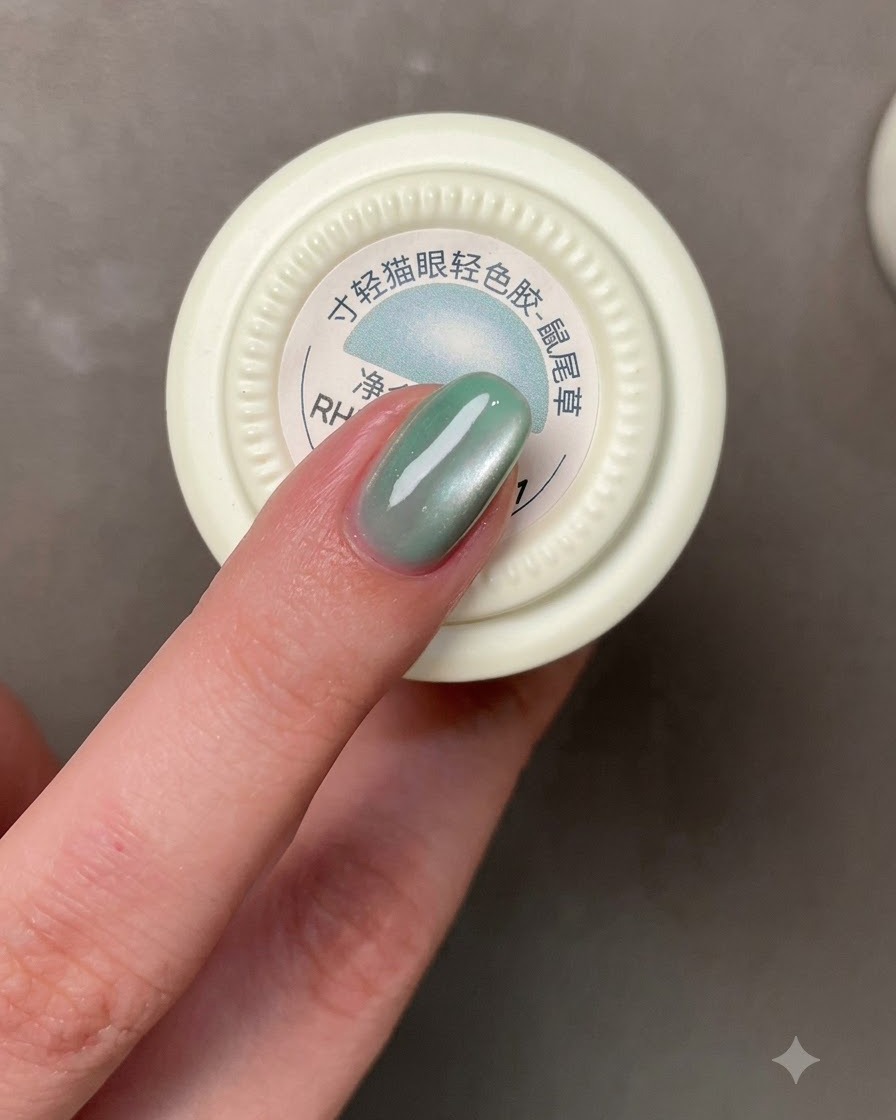
Carefully brush the low-saturation grayish-blue gel polish onto the fingernail plate. This shade delivers a cool, literary style with a solid, opaque look in just one coat.
Tip: Ensure full coverage from cuticle to free edge for a uniform cold-chic finish. - 6Highlight grayish-blue cat-eye
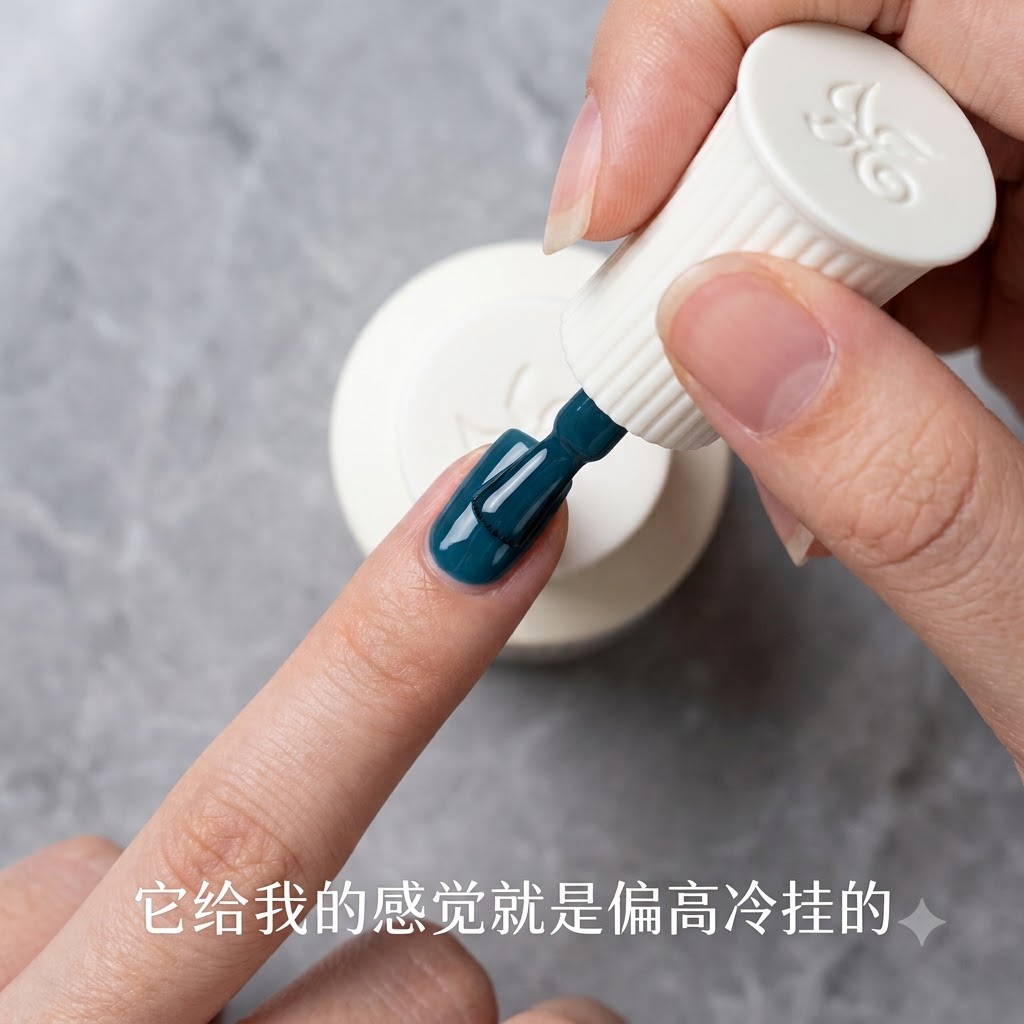
Use the magnetic tool to draw out the bright cat-eye reflection over the grayish-blue base, making this low-saturation shade pop with intense light intensity.
Tip: Hold the magnet in place for a few seconds to lock the magnetic line sharply in focus. - 7Apply Morandi Blue-Green Gel
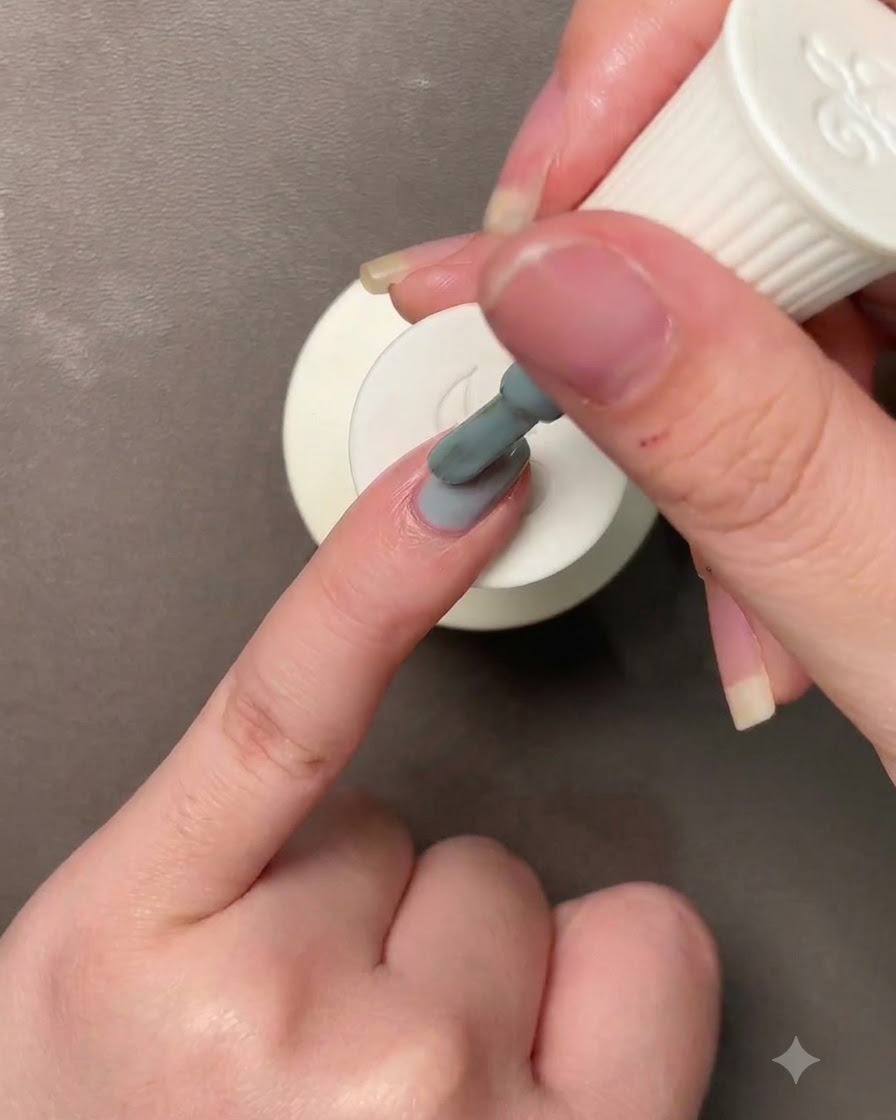
Using the gel brush, apply a smooth, even layer of the low-saturation Morandi blue-green gel directly onto the nail plate. Make sure to cover the entire surface uniformly for a clean, solid color finish.
Tip: Since this is a one-step gel formula, you can skip the base coat entirely and apply it directly to your prepped natural nail. - 8Cure the Gel Polish
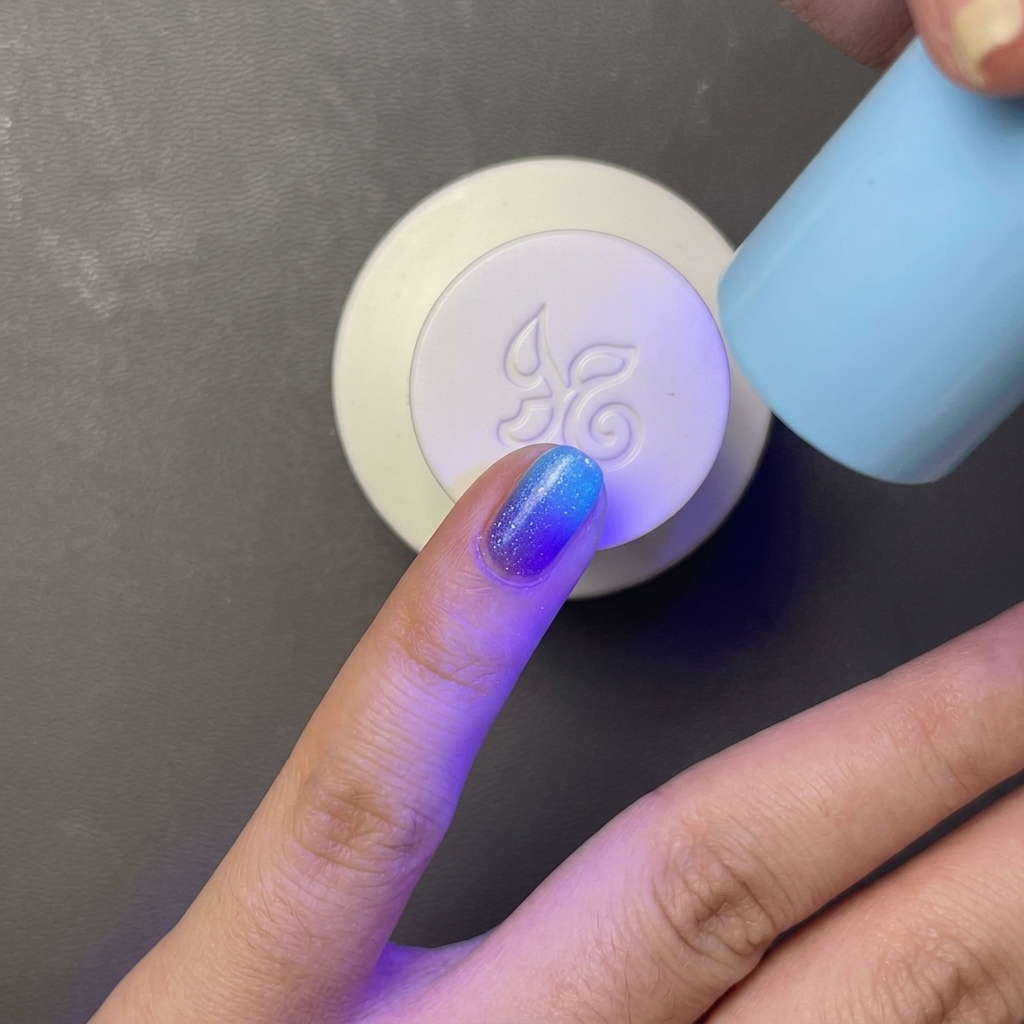
Place the painted nail directly under a portable mini UV/LED lamp. Hold the lamp steady to ensure the gel polish cures completely and hardens. Follow the recommended curing time for your specific one-step gel.
Tip: A mini portable lamp is excellent for flash-curing individual nails, preventing the gel from flooding the cuticles while you work. - 9Apply Dark Blue-Green Gel
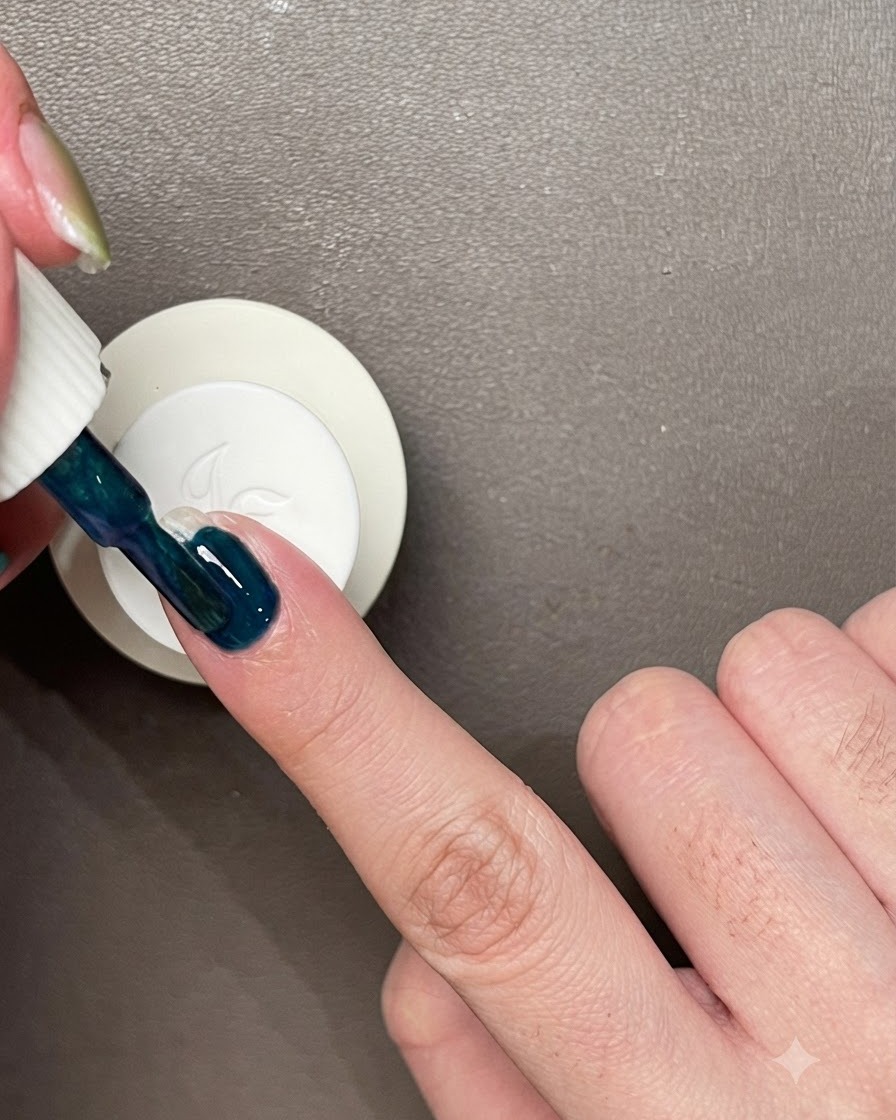
Apply a thin first coat of the highly saturated dark blue-green cat-eye gel directly onto the bare nail. With this one-step formula, there is no need to apply a base coat or structure gel prior to painting.
Tip: Keeping the first coat thin is essential for building depth and avoiding a bulky looking final nail. - 10Pull the Cat-Eye Effect
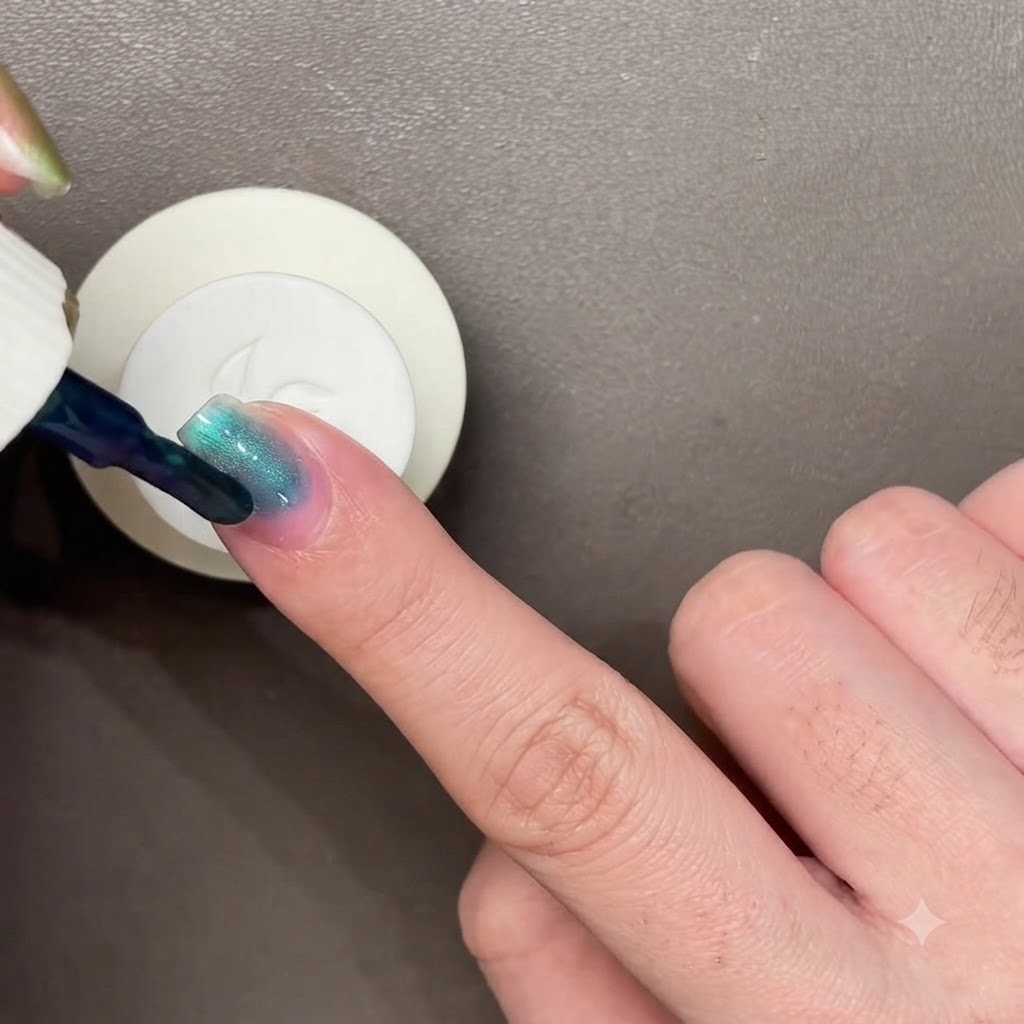
Before curing the wet polish, hover a magnetic wand closely over the nail surface to activate the magnetic particles. Gently draw the magnet around the nail to pull the cat-eye light, creating a bright glass bead reflection.
Tip: Keep the magnet as close to the wet polish as possible without touching it to get the sharpest, brightest cat-eye effect. - 11Flash Cure the Cat-Eye
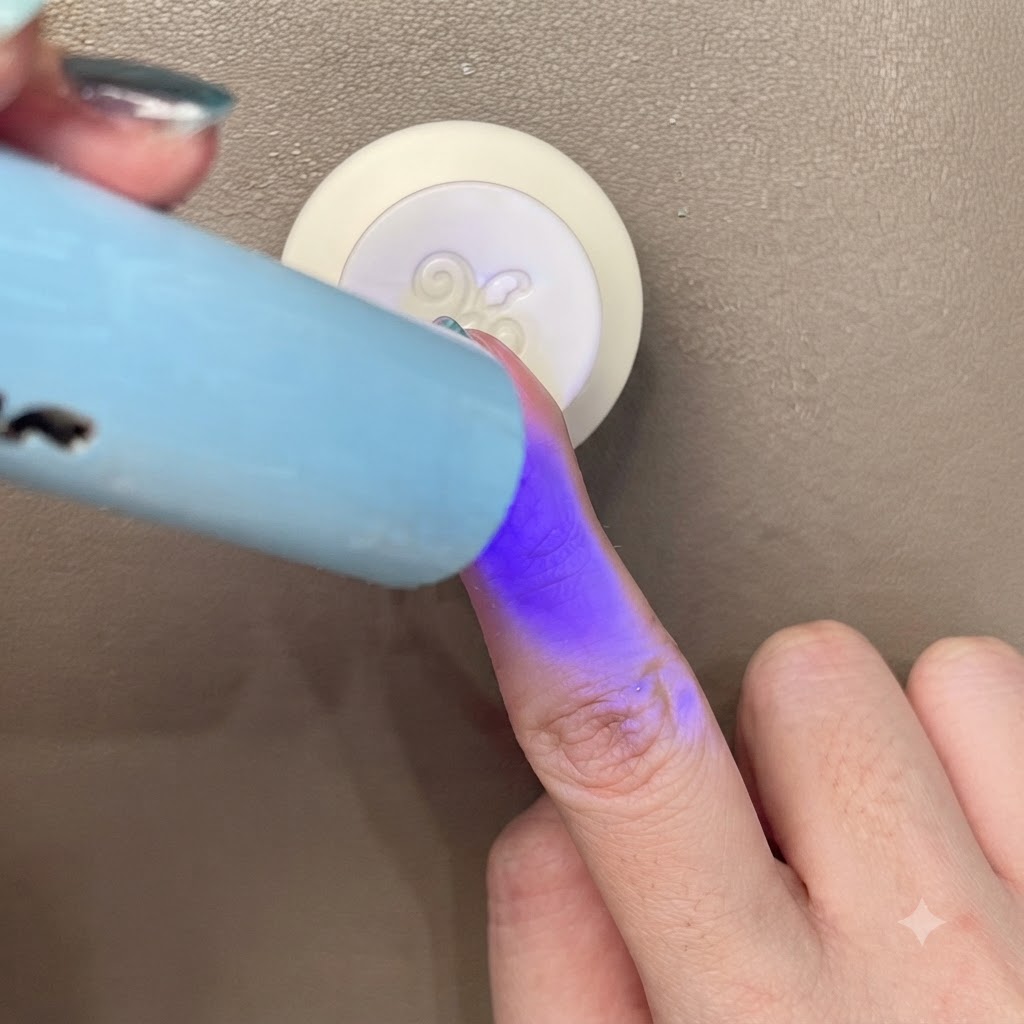
Immediately after you achieve your desired magnetic effect, place the nail under the mini UV/LED lamp to cure. This quickly locks the magnetic particles in place so the design does not disperse.
Tip: It is crucial to cure cat-eye polish one nail at a time right after magnetizing so the effect remains crisp. - 12Apply a Second Layer
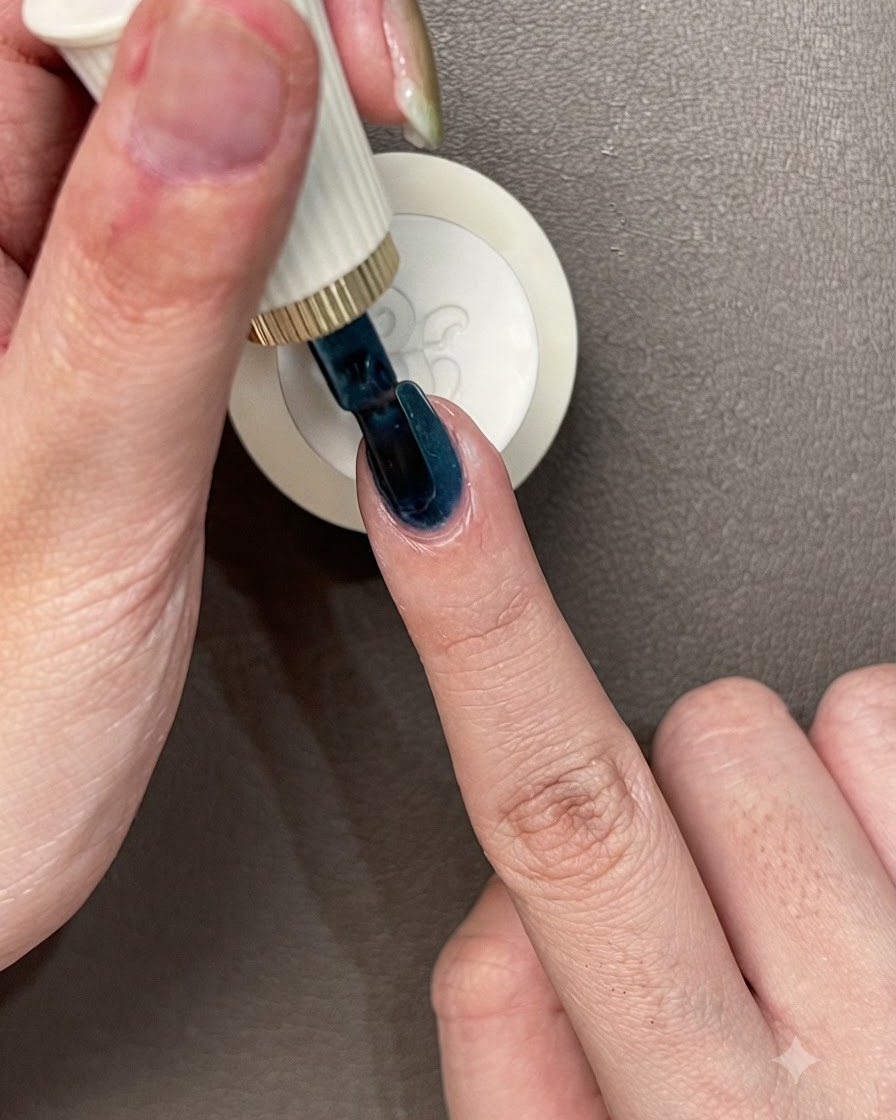
Paint a second thin layer of the dark blue-green cat-eye gel over the cured nail. This builds the color opacity, making the green tone much richer and preparing the nail for a deeper glass bead effect.
Tip: Remember that you will need to use your magnetic tool again on this second coat before doing your final cure. - 13Create glass bead cat-eye effect
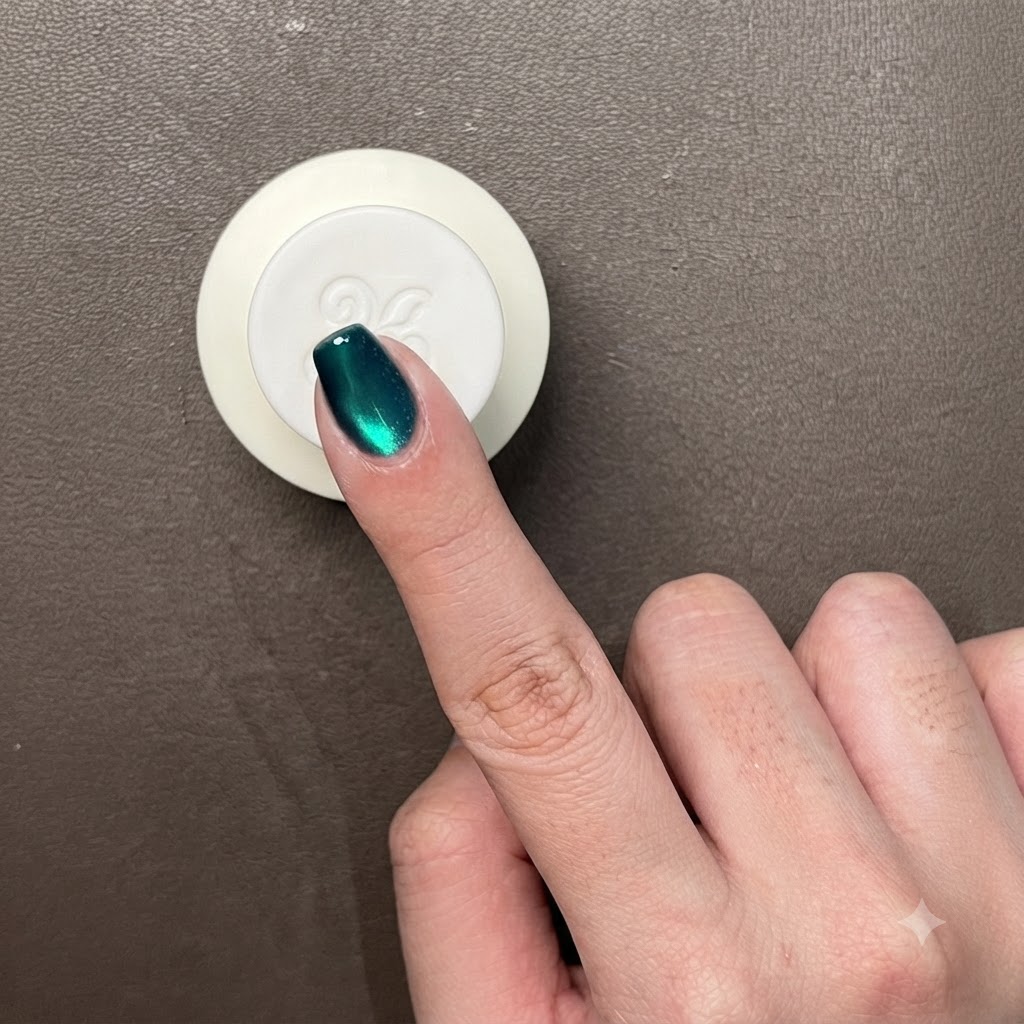
Hold a magnetic wand close to the uncured gel polish and use a circular motion to draw out the magnetic particles, creating a brilliant glass bead cat-eye reflection. This technique gathers the light into a centered, multidimensional orb. Cure immediately under the UV or LED lamp to lock the effect in place.
Tip: Move the magnet slowly and deliberately to keep the magnetic particles concentrated in the center without dispersing them. - 14Apply metallic green gel polish
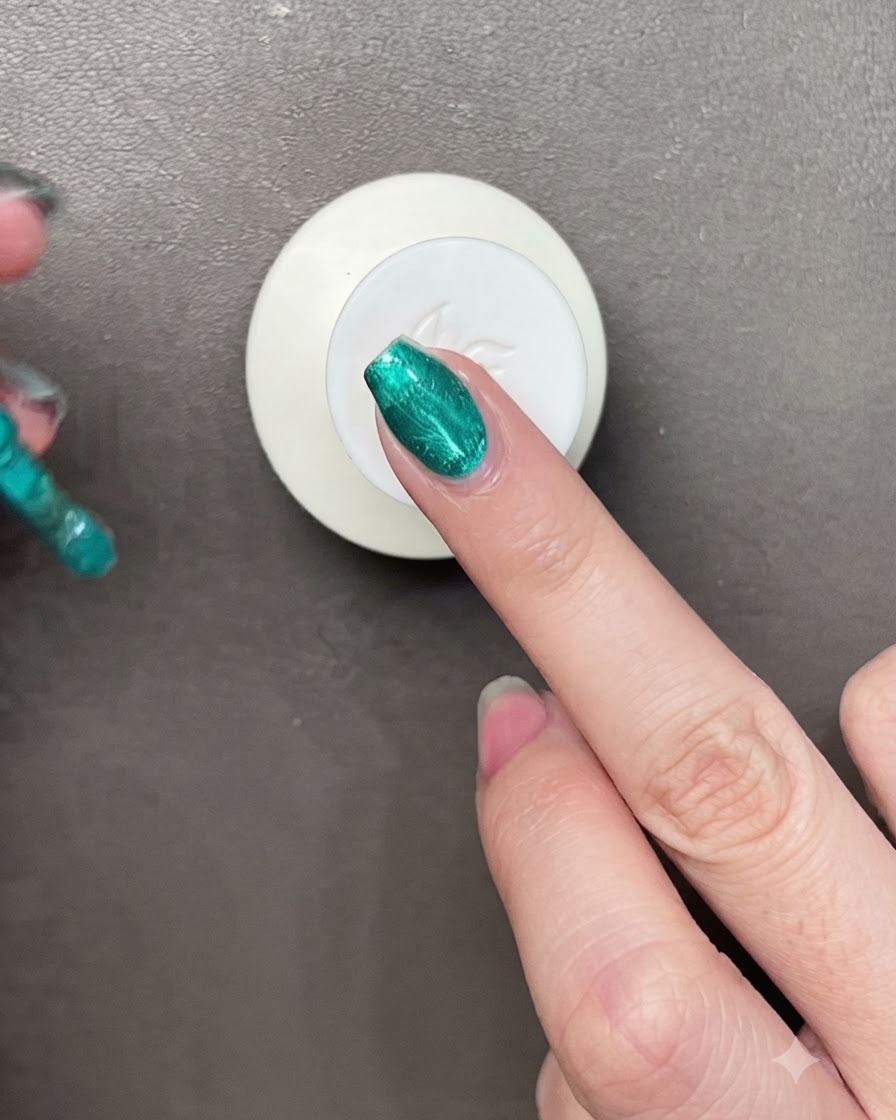
Apply a vibrant metallic green one-step gel polish directly onto the prepped nail plate without using a base coat or structure gel. Spread the color evenly across the nail surface while maintaining a smooth layer. Prepare to use the magnet next to shape the cat-eye light reflection before curing.
Tip: One-step gels eliminate extra coating steps, but ensure your application is smooth and covers the edges completely for a glossy finish. - 15Refine the application edges
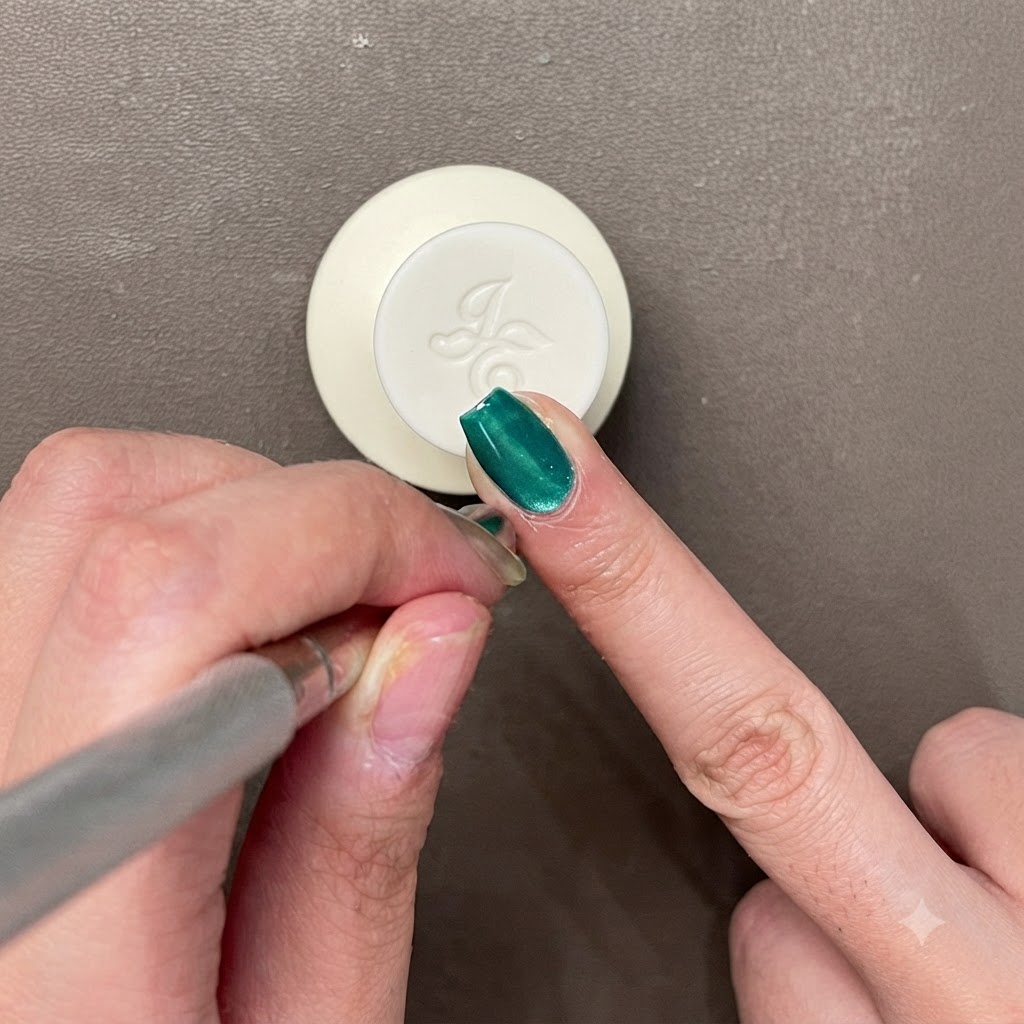
Use a fine liner brush or cleanup tool to carefully refine the edges of the green gel polish application. Push the color close to the cuticle line without touching the skin to ensure a clean, precise, and professional-looking border.
Tip: A fine detail brush gives you much better control than the bottle brush when working tight around the cuticle area. - 16Create the glass bead effect
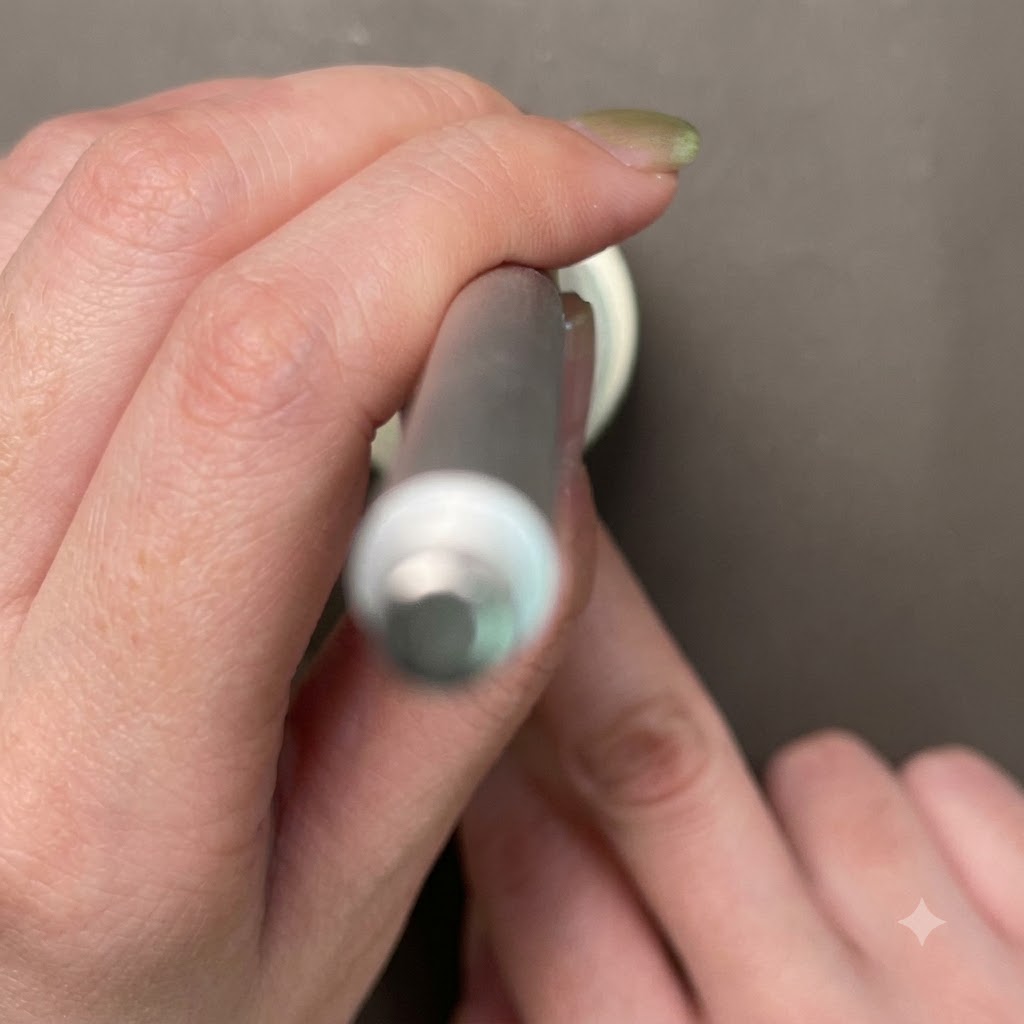
Hold a cylindrical magnetic tool over the wet green cat-eye gel to draw out the magnetic particles. Move the magnet in a gentle circular motion around the edges of the nail to create a glowing, dimensional glass bead effect. Once you are satisfied with the design, cure immediately.
Tip: Work quickly with the magnet and cure the nail right away, as the magnetic particles will slowly disperse if left uncured.