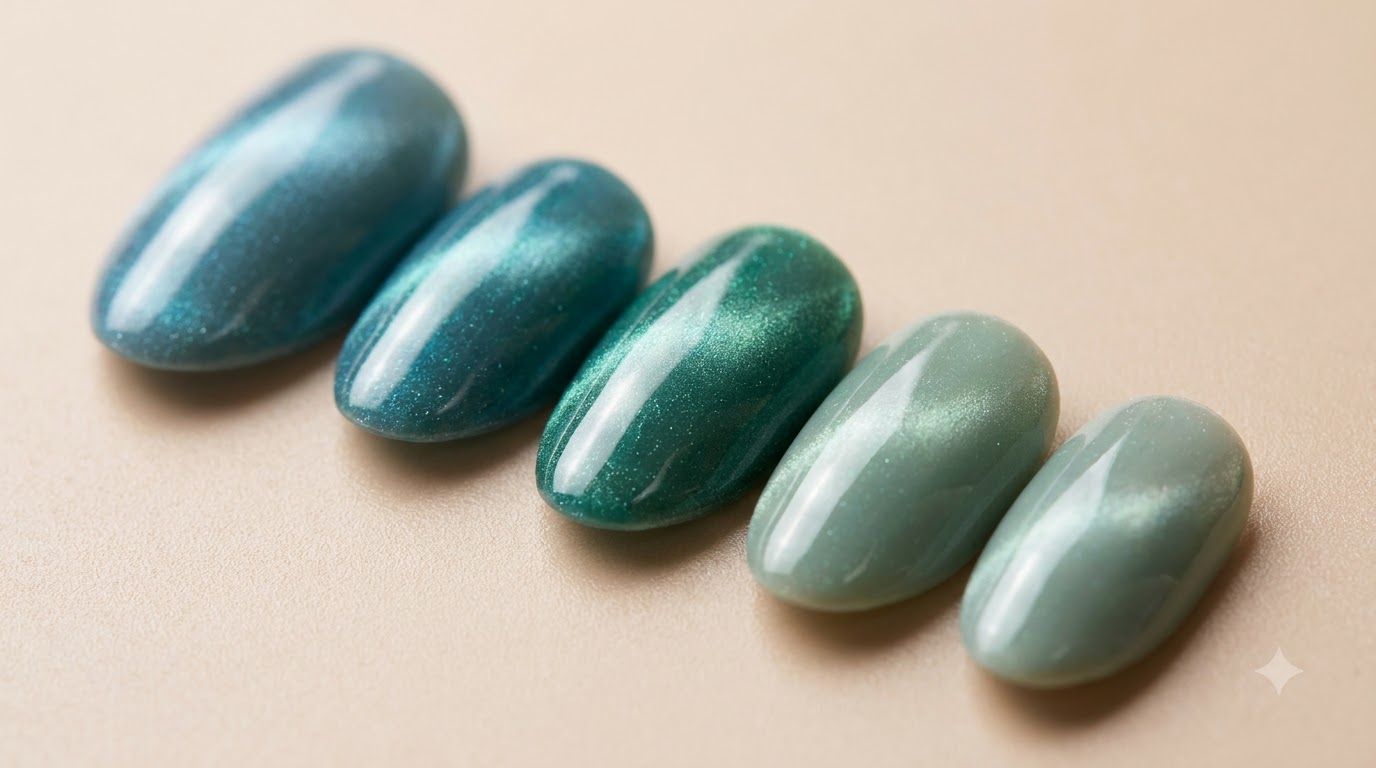
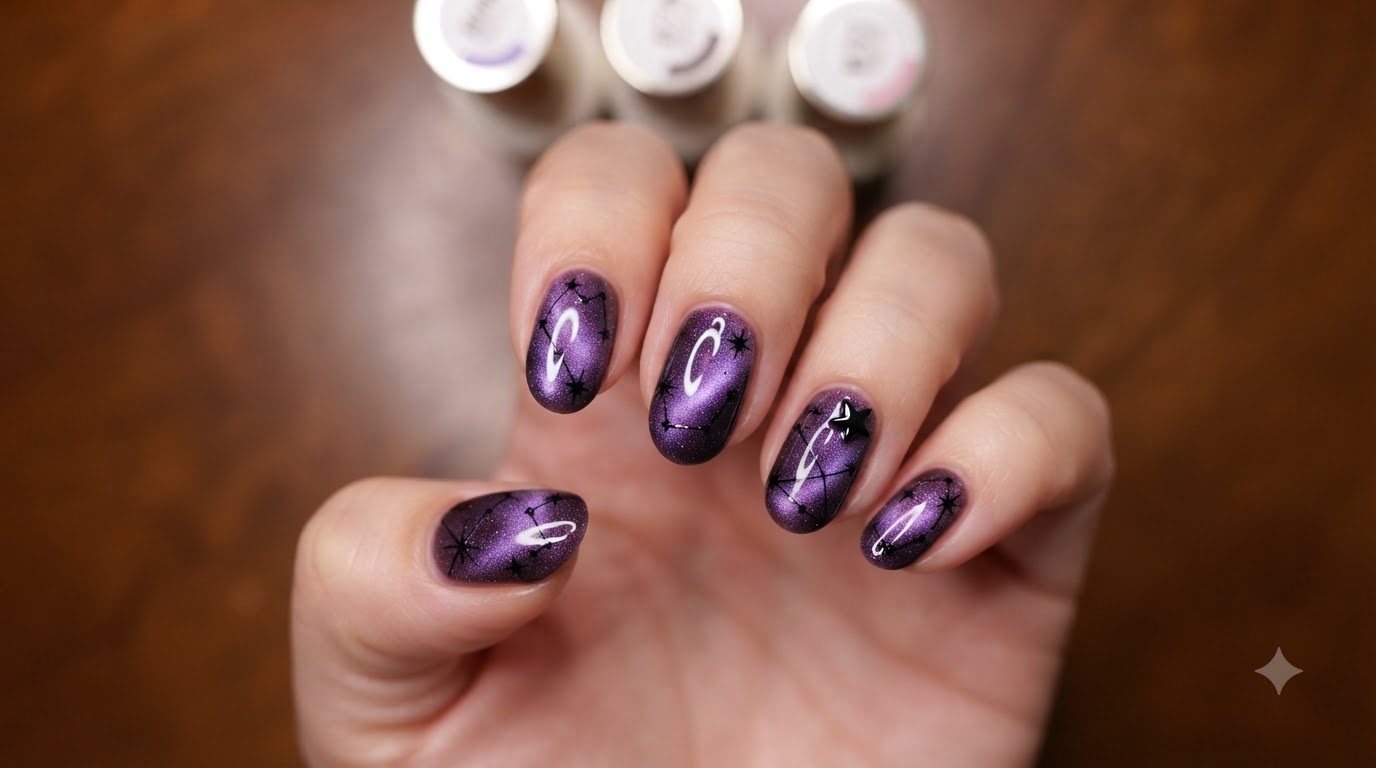
Dark Gothic Purple
Gold Gradient Ombre Nails — Step-by-Step Tutorial
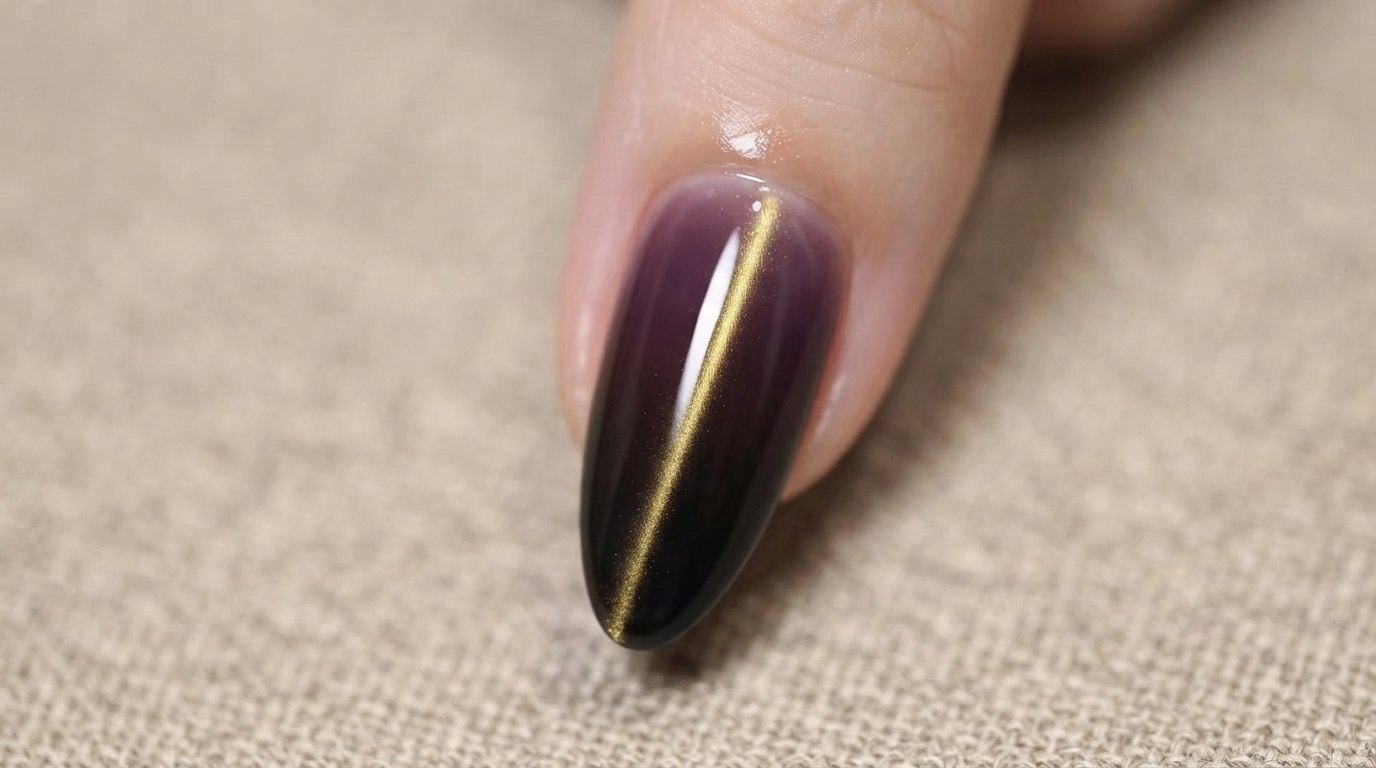
Master the dark gothic aesthetic with this striking purple-to-black ombre gel nail tutorial featuring a luminous gold cat-eye magnetic stripe.
Embrace a mysterious and sophisticated edge with this dark gothic purple and gold gradient ombre look. Combining a smooth sponge gradient fade with a high-contrast magnetic cat-eye stripe, this tutorial guides you through creating a dramatic, glossy finish that makes a bold statement.
Steps
- 1Create an Ombre Gradient with a Sponge
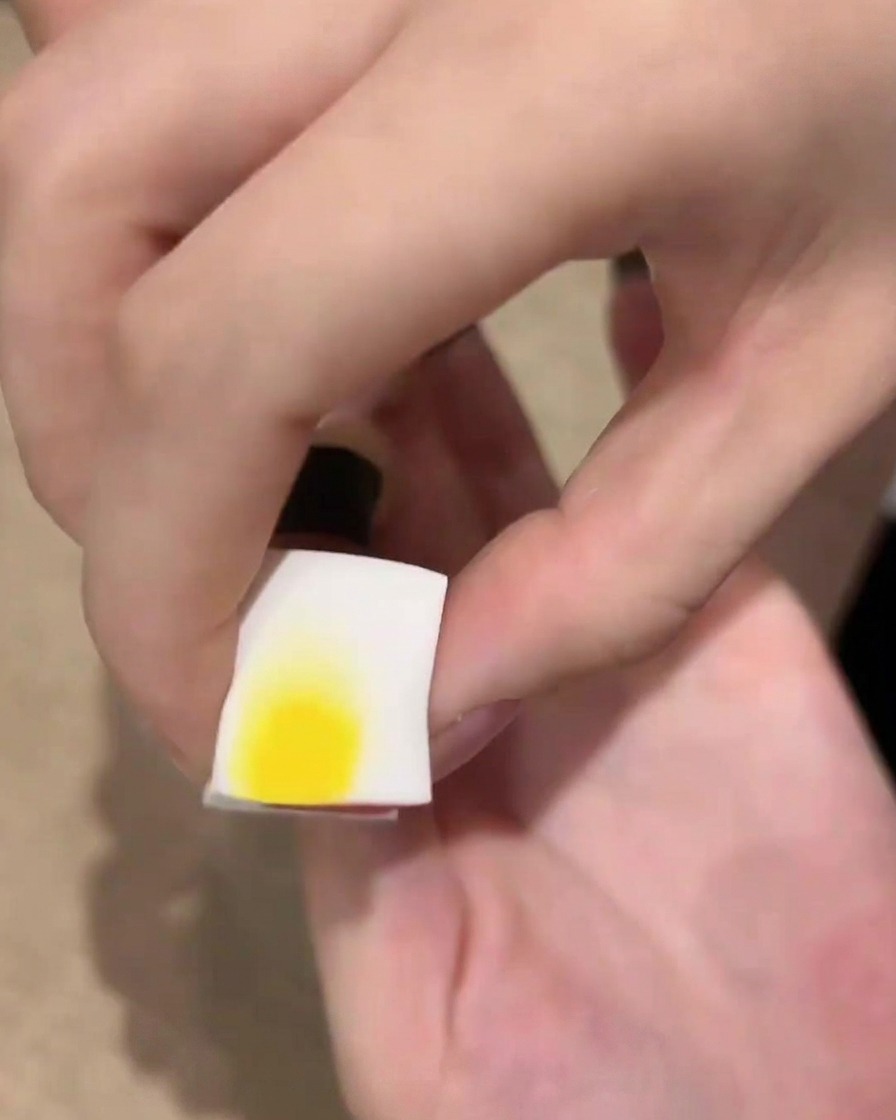
Apply black gel to a makeup sponge and gently dab it onto the nail tip to build up a smooth, diffused gradient effect. Lightly tap toward the center to ensure a seamless transition without harsh lines. Cure under the UV/LED lamp to set this layer before adding deeper color.
Tip: Dabbing with a light hand prevents the sponge texture from looking uneven and gives a softer gradient fade. - 2Cure the gradient layer
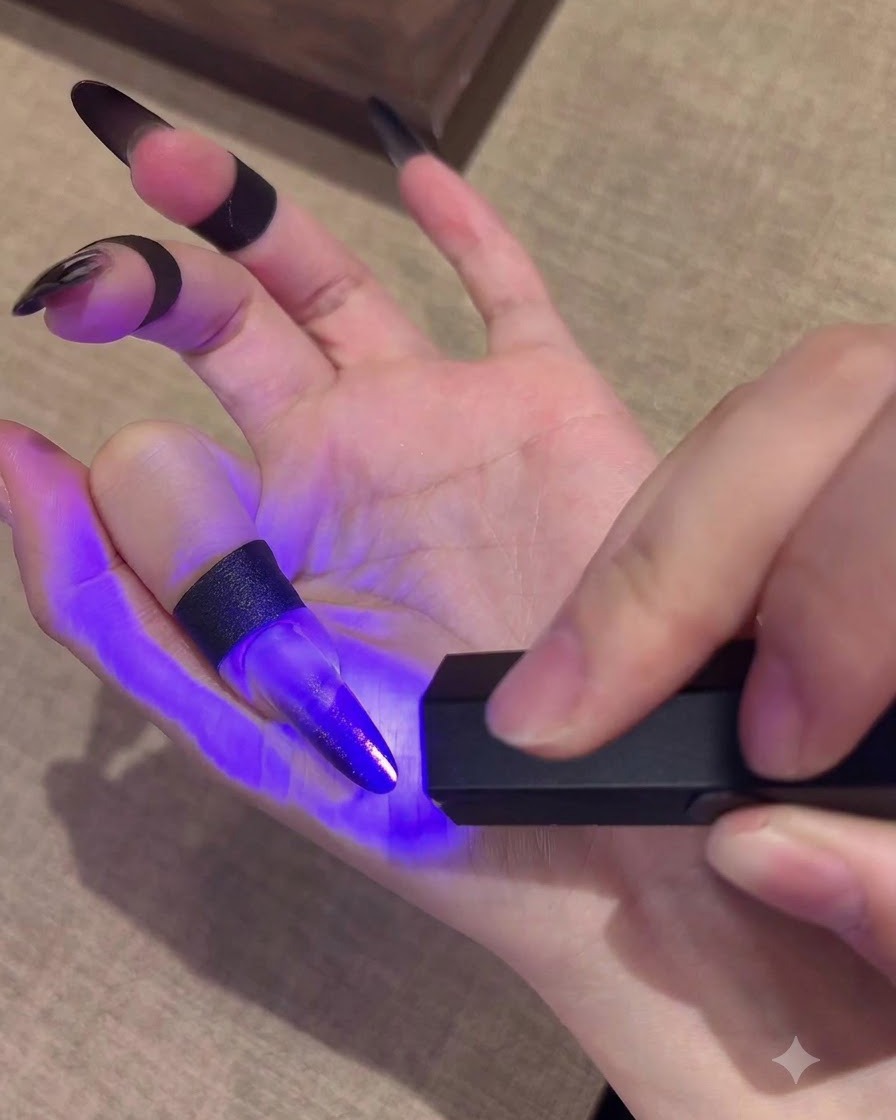
Place a portable mini UV or LED lamp directly over the fingertip to cure the first gradient color layer securely. Ensure the light covers the entire tip evenly so the gel sets without shifting or wrinkling before moving on to the next step.
Tip: Hold the mini lamp steady to prevent the uncured gel from pooling or running to one side. - 3Dab second layer of deeper black gel
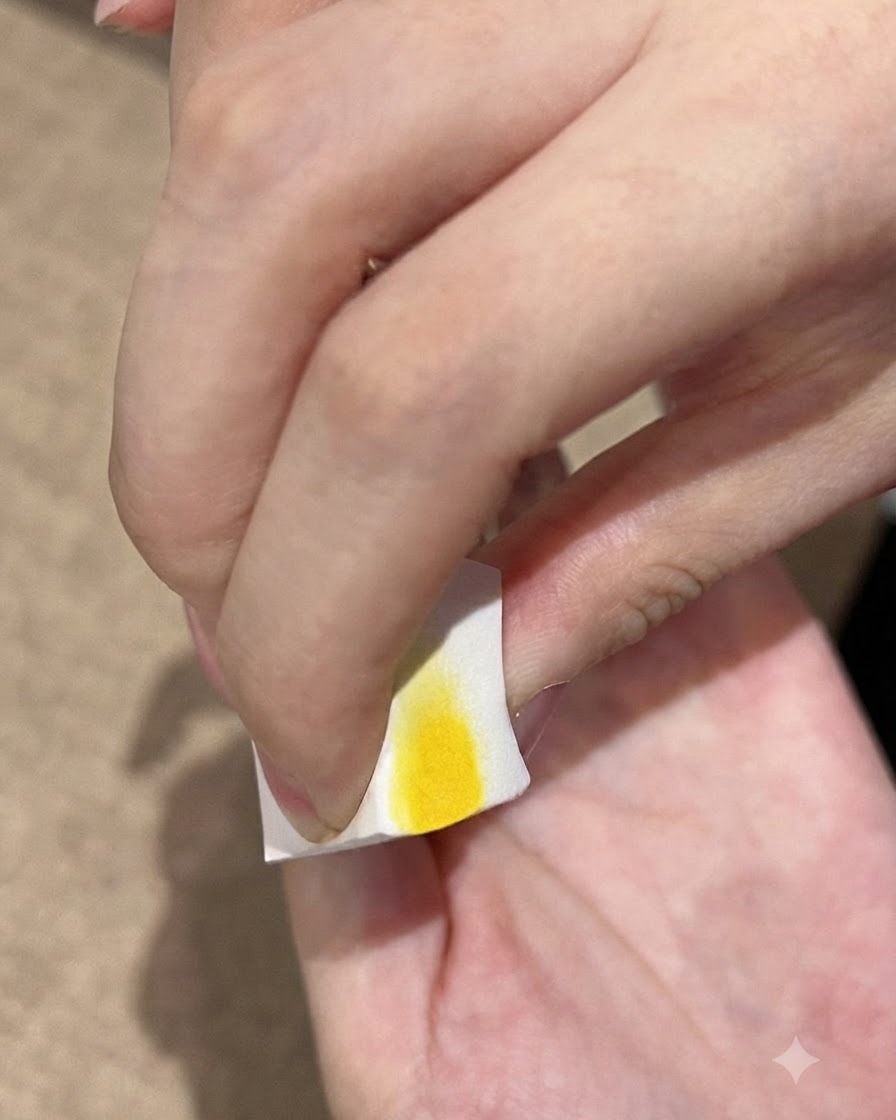
Take the makeup sponge and dab a second layer of deeper black gel color onto the nail tip. This step builds up the pigment density and enhances the ombre gradient depth, creating a rich transition from the base.
Tip: Dab lightly with a gentle tapping motion to avoid creating uneven patches or disrupting the previous layer. - 4Create the side-light cat-eye effect
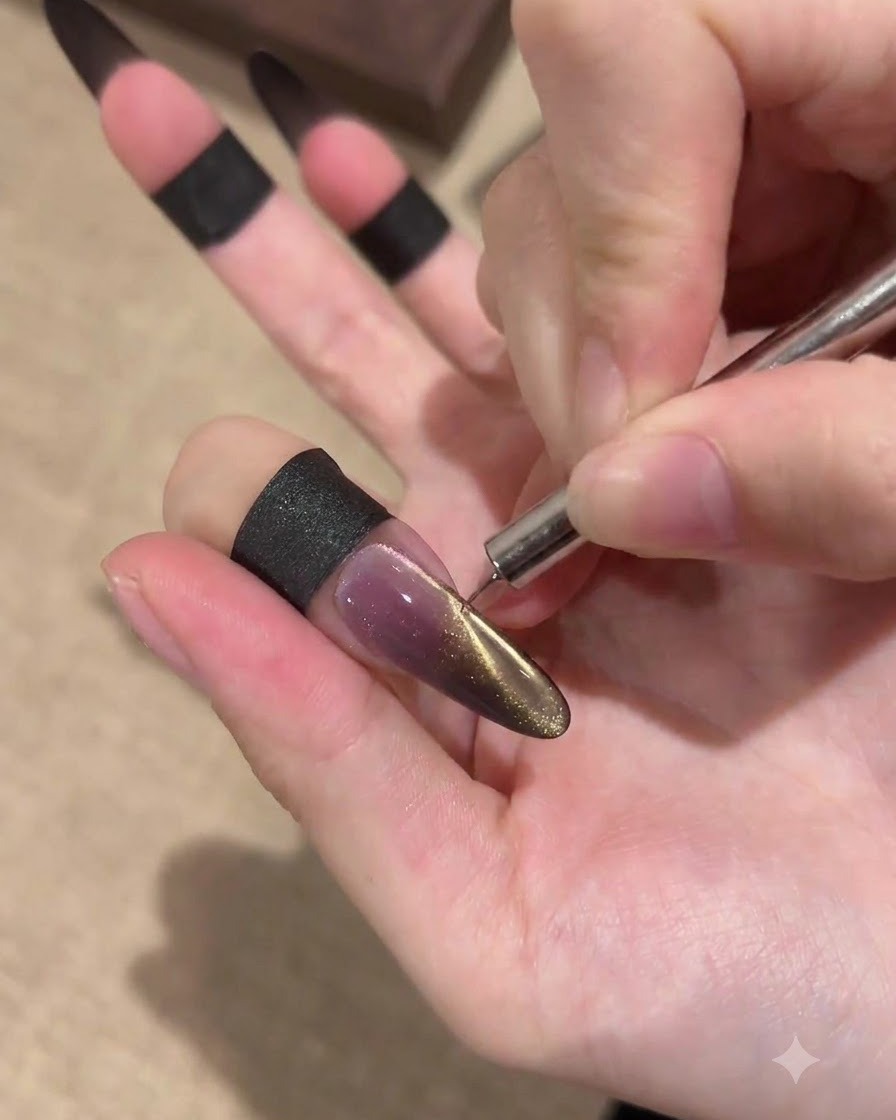
Hold a magnetic tool close to the side of the nail to manipulate the metallic particles in the gold cat-eye polish. Carefully draw out a concentrated strip of light along the edge for a striking dimensional look, then immediately cure under the lamp.
Tip: Keep the magnet steady and as close to the wet polish as possible without touching it for the sharpest line. - 5Apply final black gradient layer with sponge
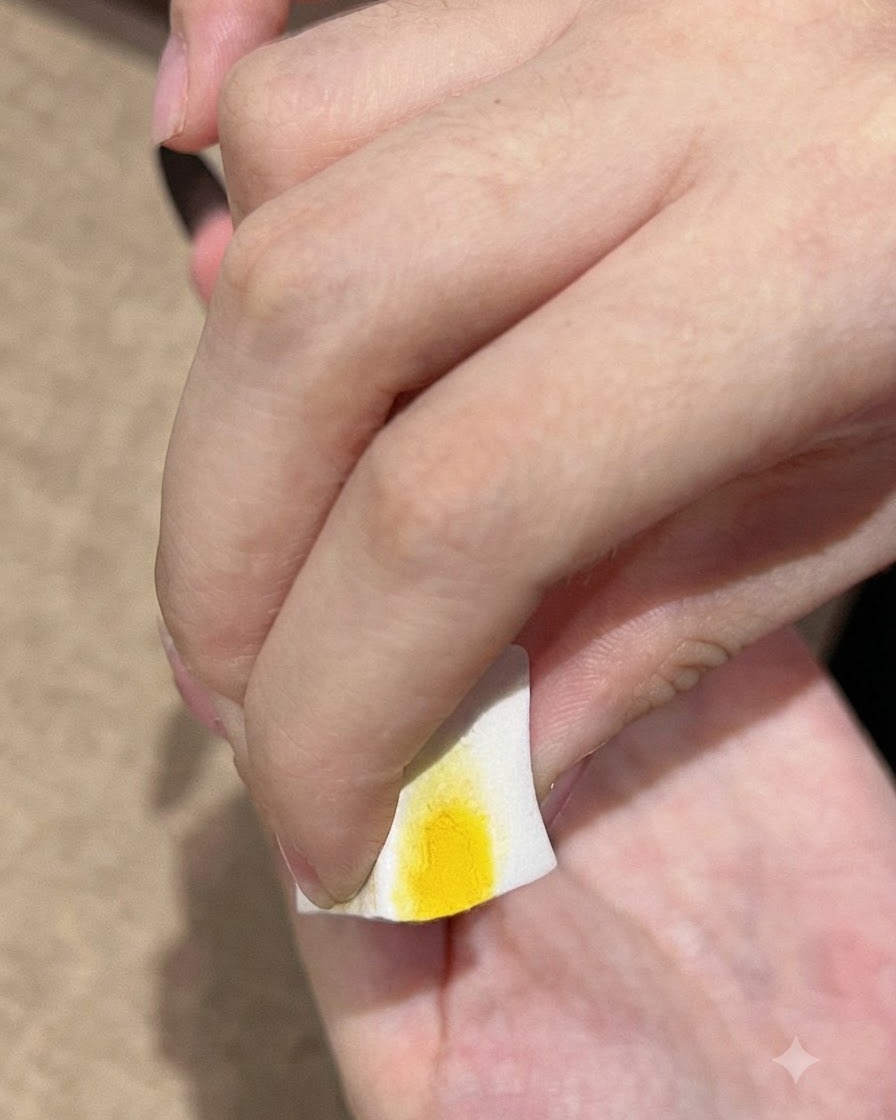
Using the sponge, dab another layer of black gradient color onto the nail tip to intensify the dark gothic effect. Ensure the transition remains smooth and seamless before moving on to the cat-eye polish application.
Tip: Keep the sponge motions focused near the very edge of the nail to maintain a clean gradient fade. - 6Apply sealing top coat
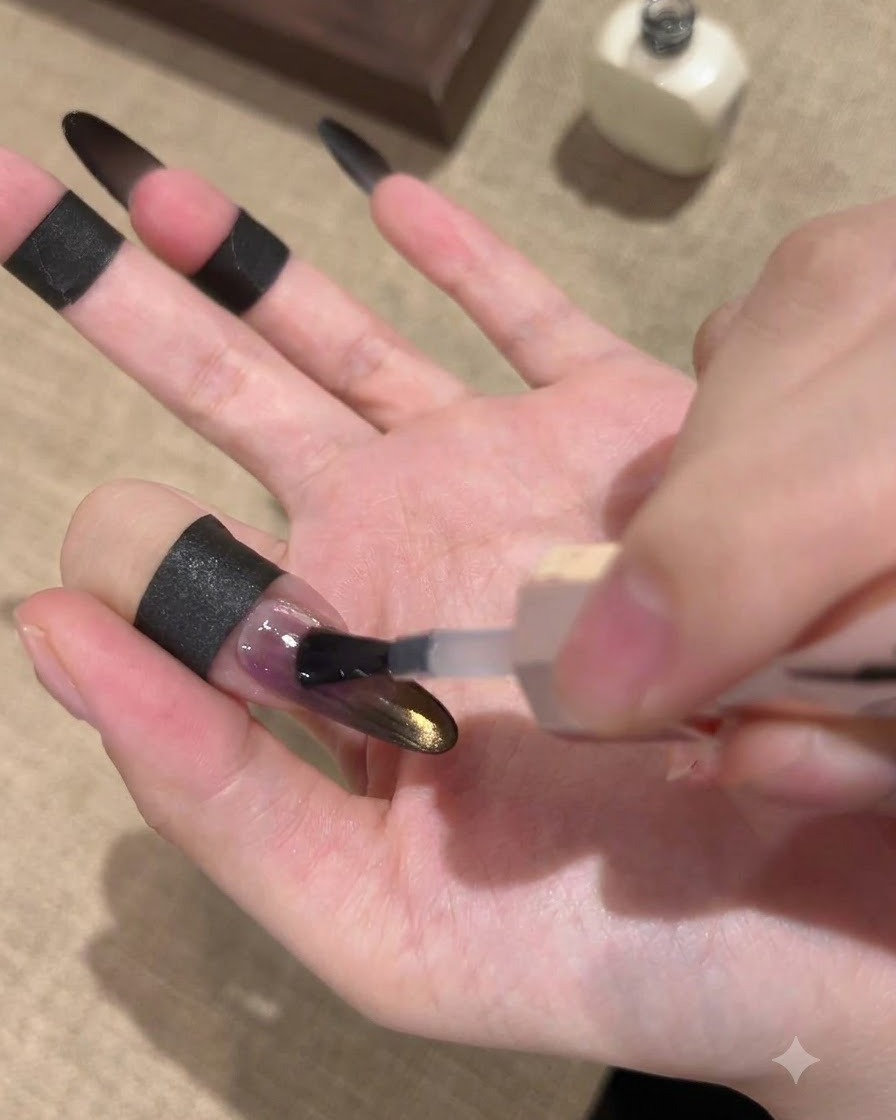
Apply a generous layer of sealing top coat over the entire nail to finish and lock in the design. Make sure to cap the free edge completely to protect the dark gothic gradient and gold cat-eye effects from chipping, then cure under the lamp.
Tip: Capping the free edge with top coat is essential for preventing premature lifting and wear. - 7Apply Fallen Gold Cat Eye polish
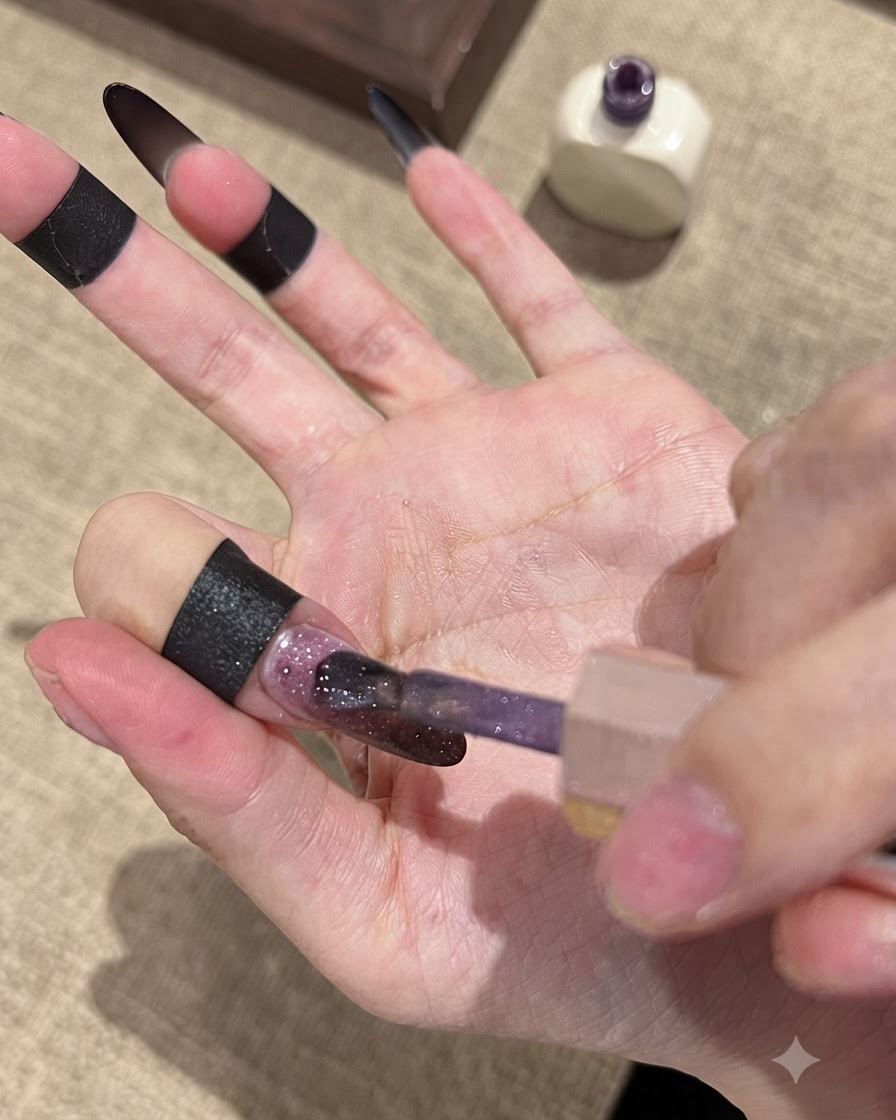
Apply Fallen Gold Cat Eye 06 gel polish over the gradient base using a brush to introduce a shimmering metallic dimension. Before curing, use a magnet to draw out the side light effect to create the signature cat-eye streak across the dark background.
Tip: Keep the magnet close to the nail surface for a few seconds to achieve a sharp, high-contrast magnetic line.