Pink and Blue Cloud Gradient Cat Eye Nail Art — Step-by-Step Tutorial
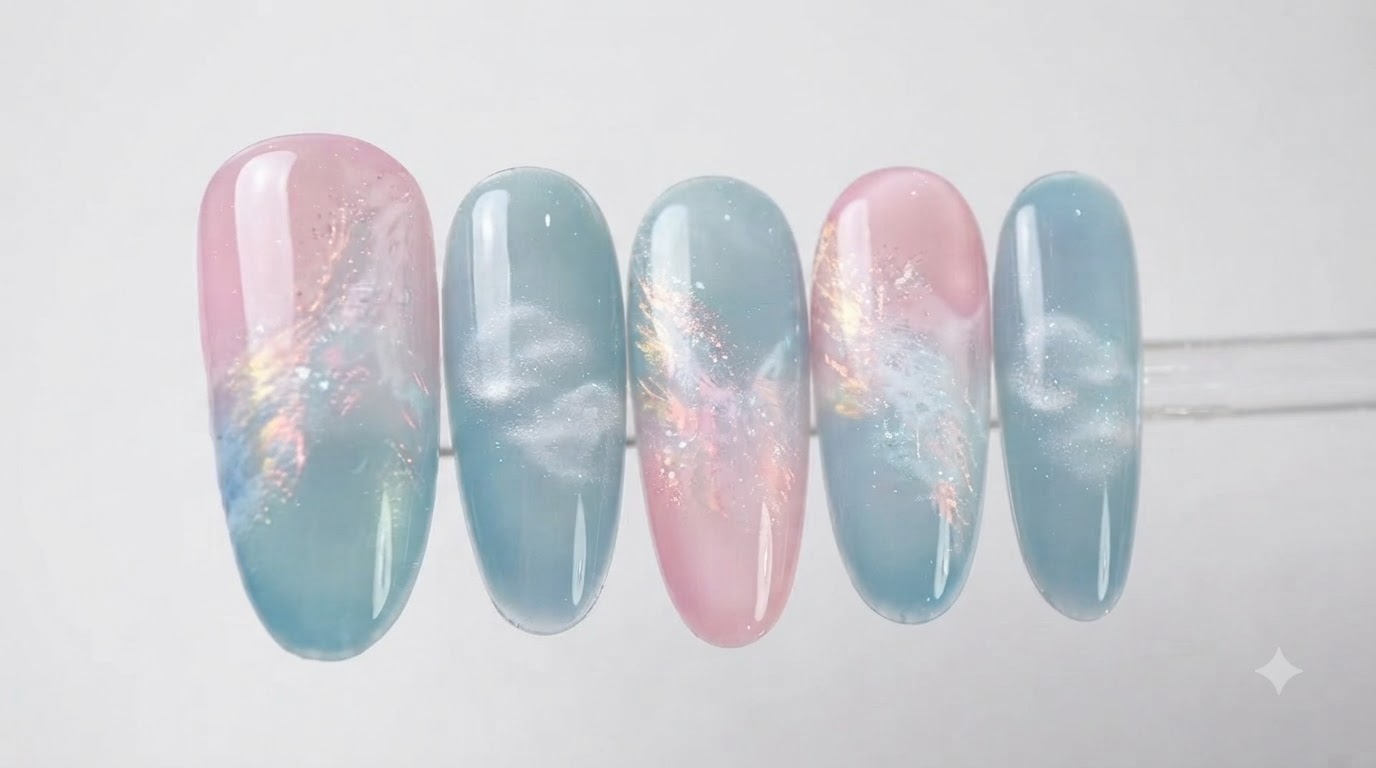
Create a dreamy pink and blue cloud gradient manicure featuring multi-dimensional cat eye shimmer, delicate ribbon details, and aurora magic mirror powder.
Cloud gradient nails paired with cosmic cat eye effects and ethereal aurora powders offer a breathtaking balance of whimsical charm and modern technique. This detailed tutorial guides you through layering jelly color gels, crafting wispy cloud blocks, and embedding subtle glitter for a professional salon-quality finish.
Steps
- 1Apply blue gel to the nail tip
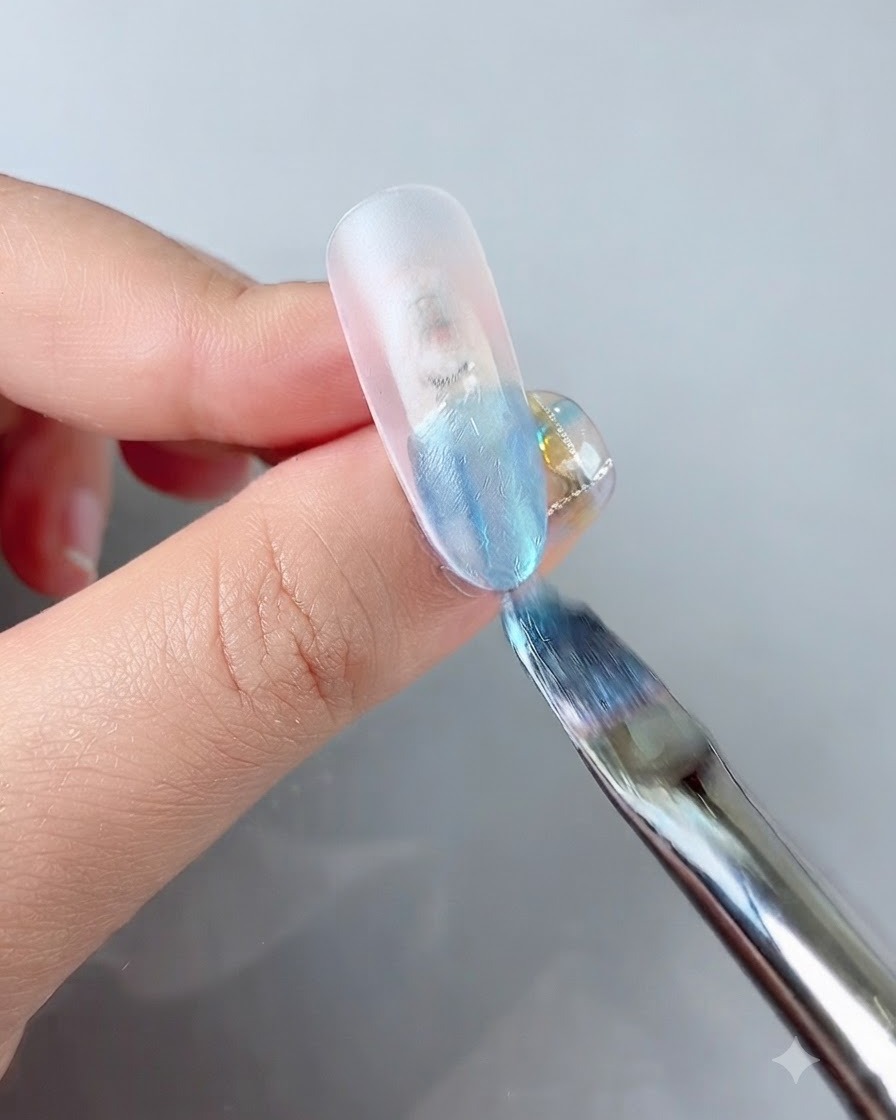
Apply blue color gel number 6 specifically to the tip area of the prepped nail to start building the gradient effect.
Tip: Keep the application layer thin and controlled near the boundary line for easier blending. - 2Smooth out the blue gradient
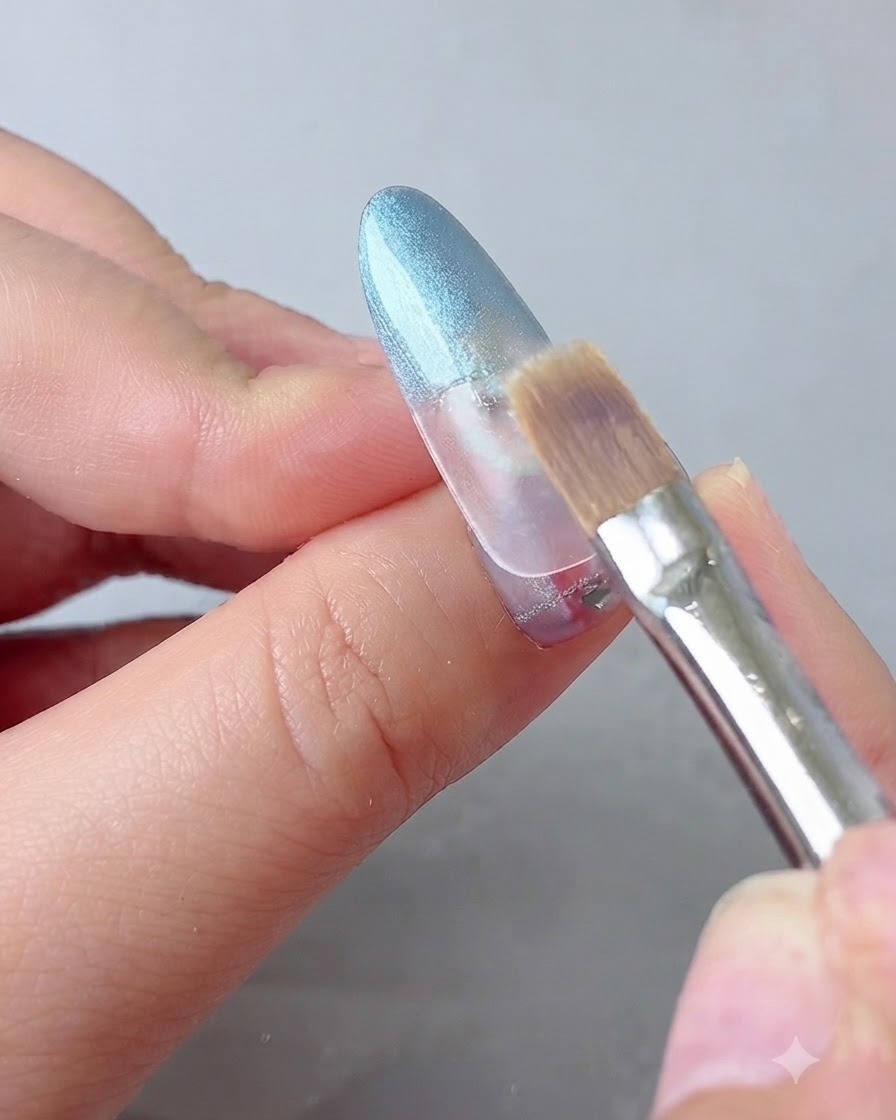
Take a clean blending brush and gently feather the edge of the blue gel downwards to create a smooth, seamless transition.
Tip: Use light, sweeping motions to avoid harsh lines and achieve a natural fade. - 3Activate the cat eye shine
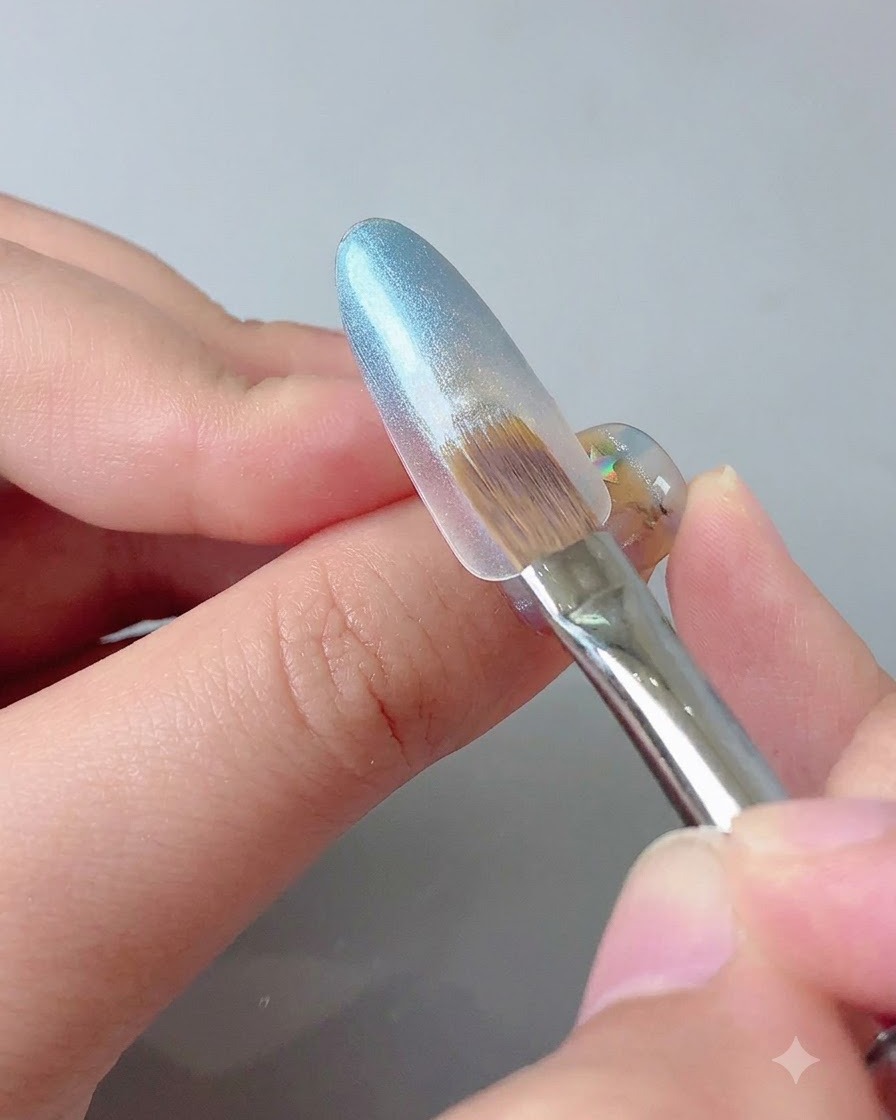
Hold a magnetic stick close to the blue gel on the tip of the nail to pull the magnetic particles into a bright cat eye shimmer effect.
Tip: Hold the magnet steady for a few seconds until the desired cat eye reflection line forms clearly. - 4Apply pink gel to the rear area
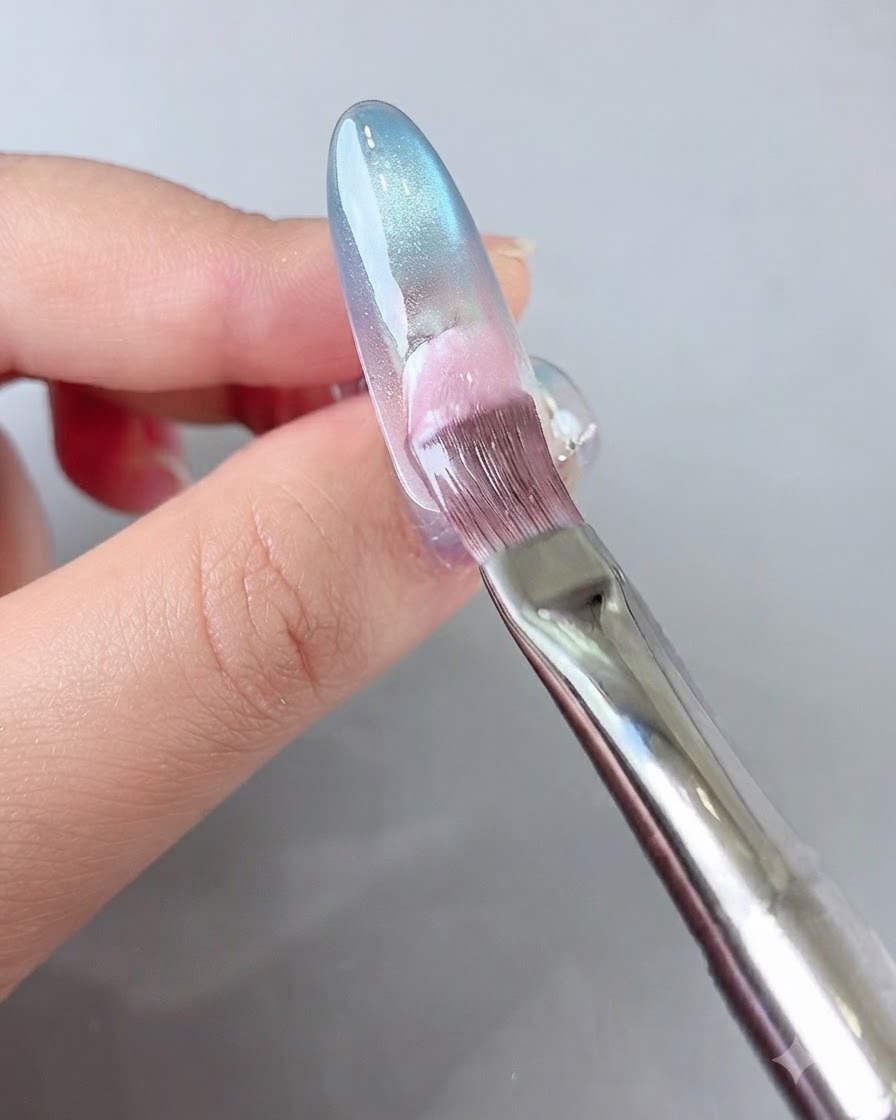
Apply pink color gel number 3 to the rear edge and upper portion of the nail to meet the blue section.
Tip: Leave a tiny gap near the cuticle area to prevent product flooding. - 5Blend the pink color downwards
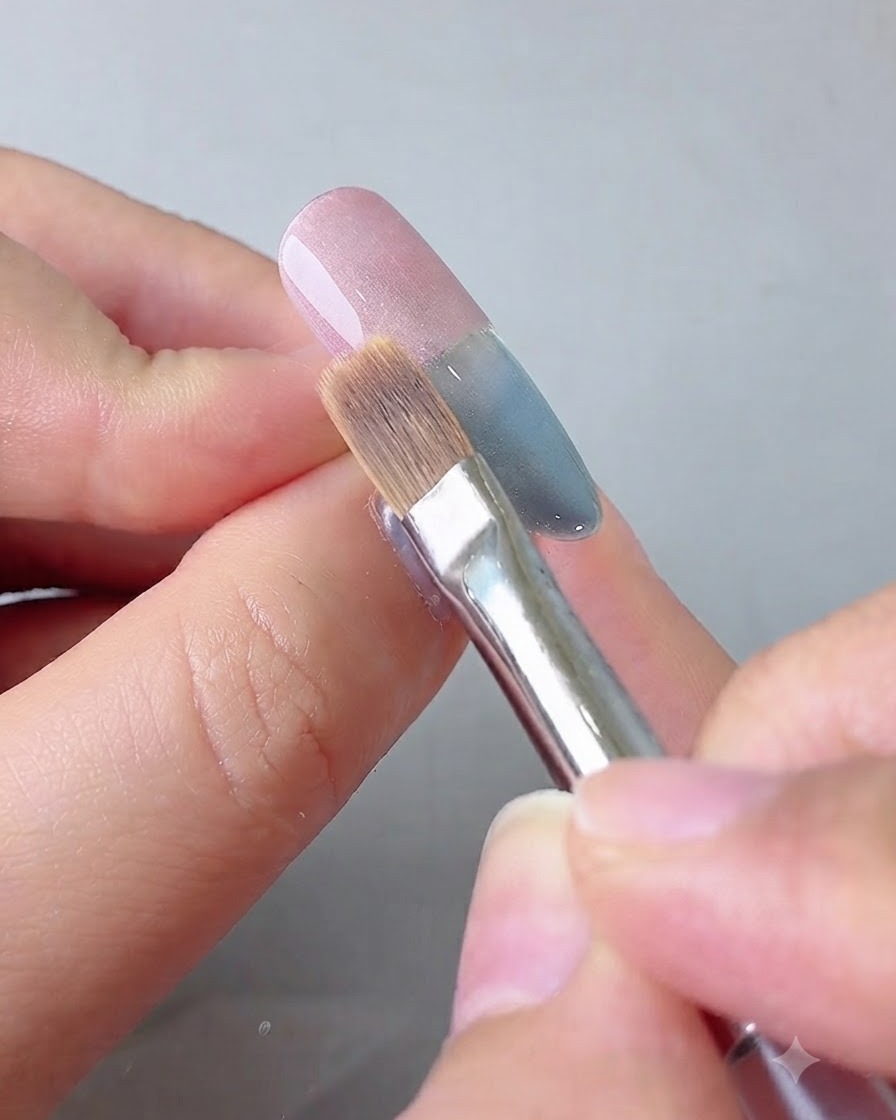
Use a blending brush to softly blend the pink color downwards toward the middle of the nail, merging with the blue gradient.
Tip: Ensure the transition zone where pink and blue meet is soft and evenly distributed. - 6Re-activate the overall cat eye effect
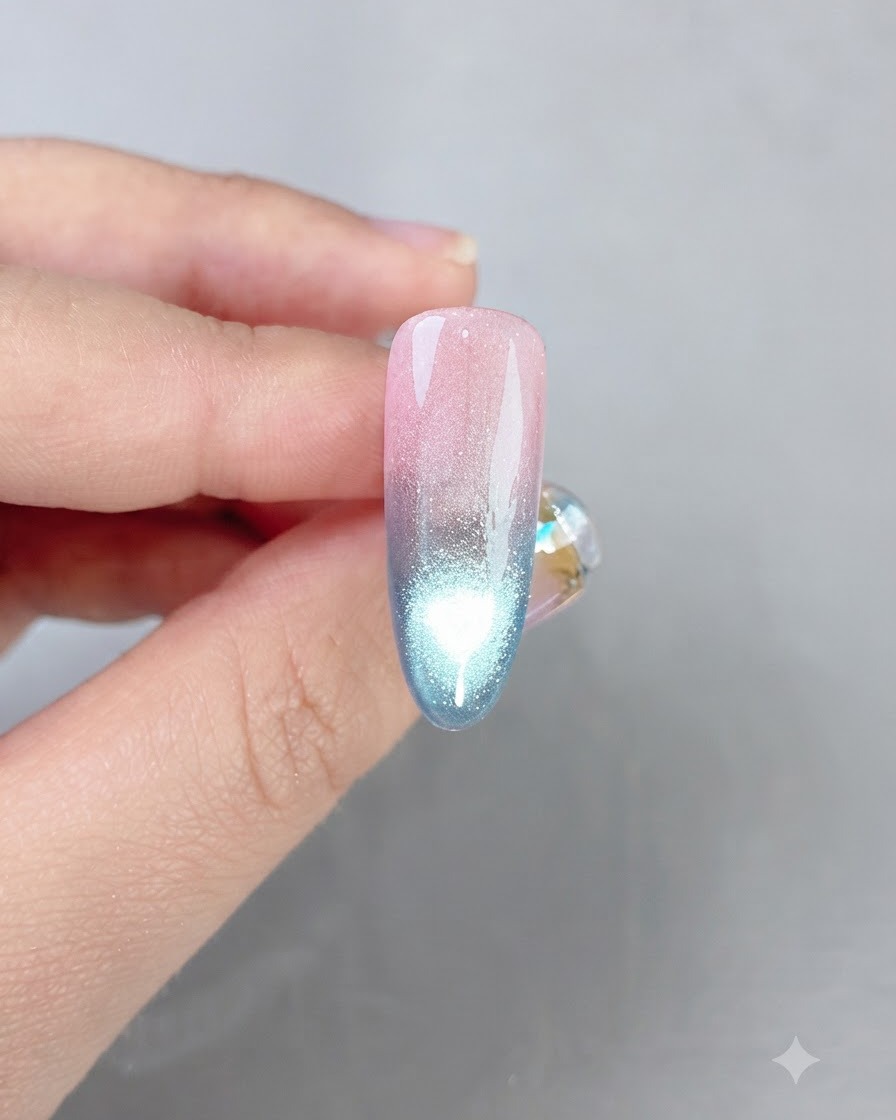
Use the magnetic stick once more to align the magnetic particles and make the cat eye shine brilliant across the entire gradient surface.
Tip: Check the light reflection from multiple angles before curing to ensure optimal shine. - 7Draw cloud shapes with milky white gel
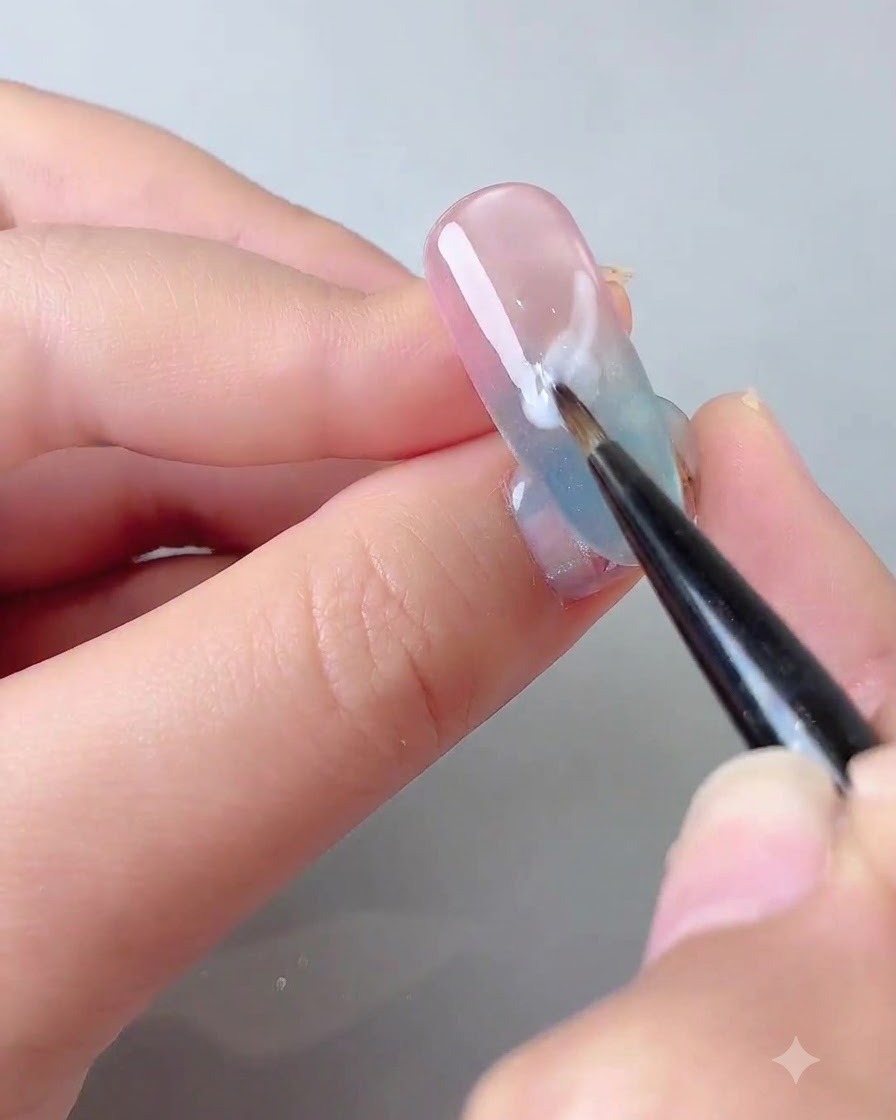
Using a fine detail brush and a milky white self-leveling gel, draw soft, irregular cloud-like color blocks at an angle across the gradient base. This forms the foundation of the cloud art design, creating dimensional layers over the blue and pink background.
Tip: Keep the application thin and organic to mimic natural, wispy clouds. - 8Blend and soften the cloud edges
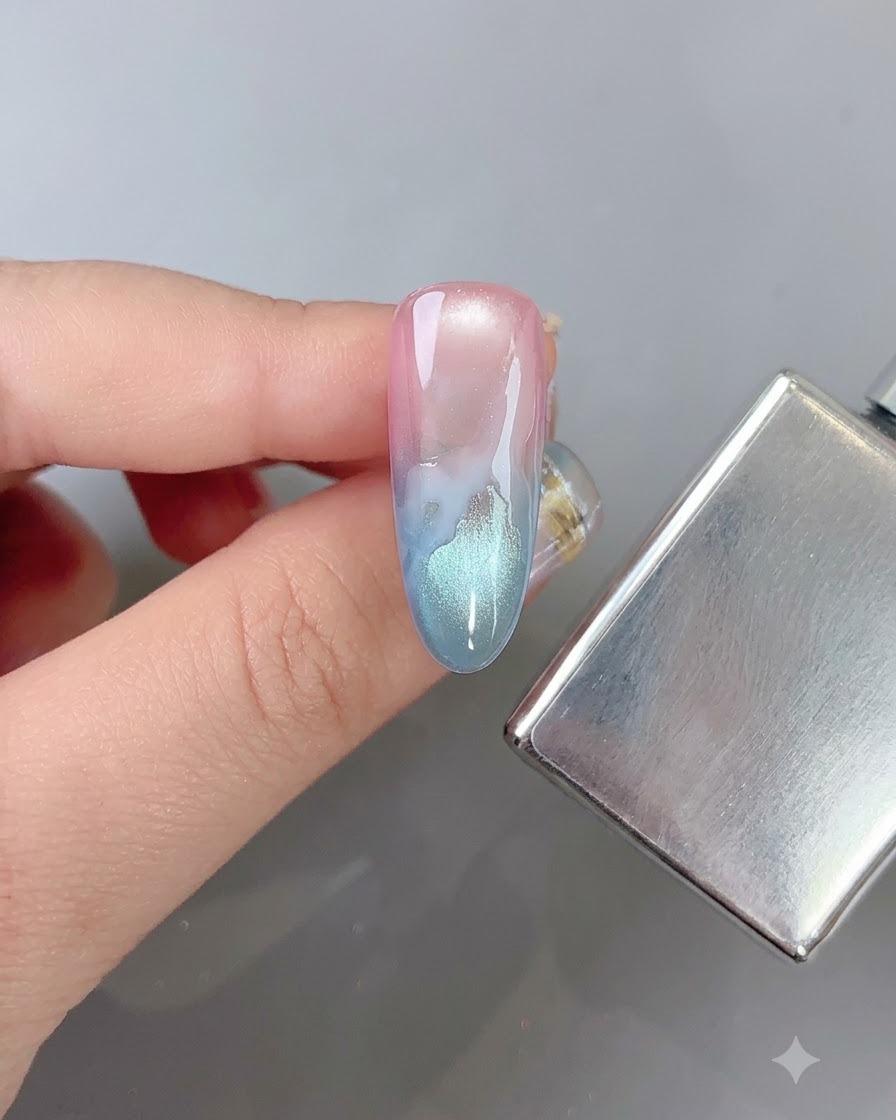
Gently brush and blur the edges of the white cloud shapes into the surrounding gradient background while holding a magnetic stick nearby to keep the cat eye effect shining. This softens the transitions and gives the clouds a dreamy, dimensional appearance.
Tip: A gentle touch prevents wiping away too much white gel while softening the borders effectively. - 9Add a second layer of white gel
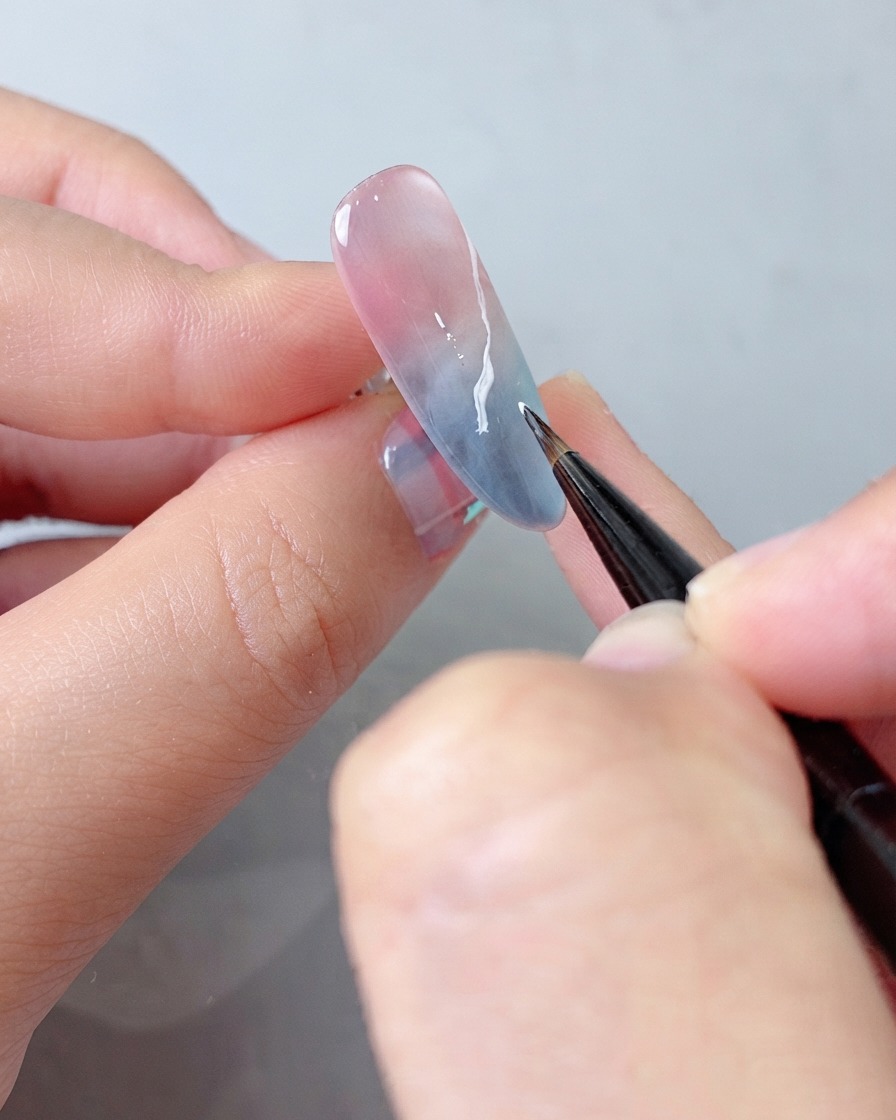
Continue by applying a second layer of white self-leveling gel to specific areas of the cloud design, blending it gently to add depth, dimension, and extra layers of texture to the artwork.
Tip: Layering adds depth and makes the cloud effect look richer and more opaque where desired. - 10Apply a protective layer of builder gel
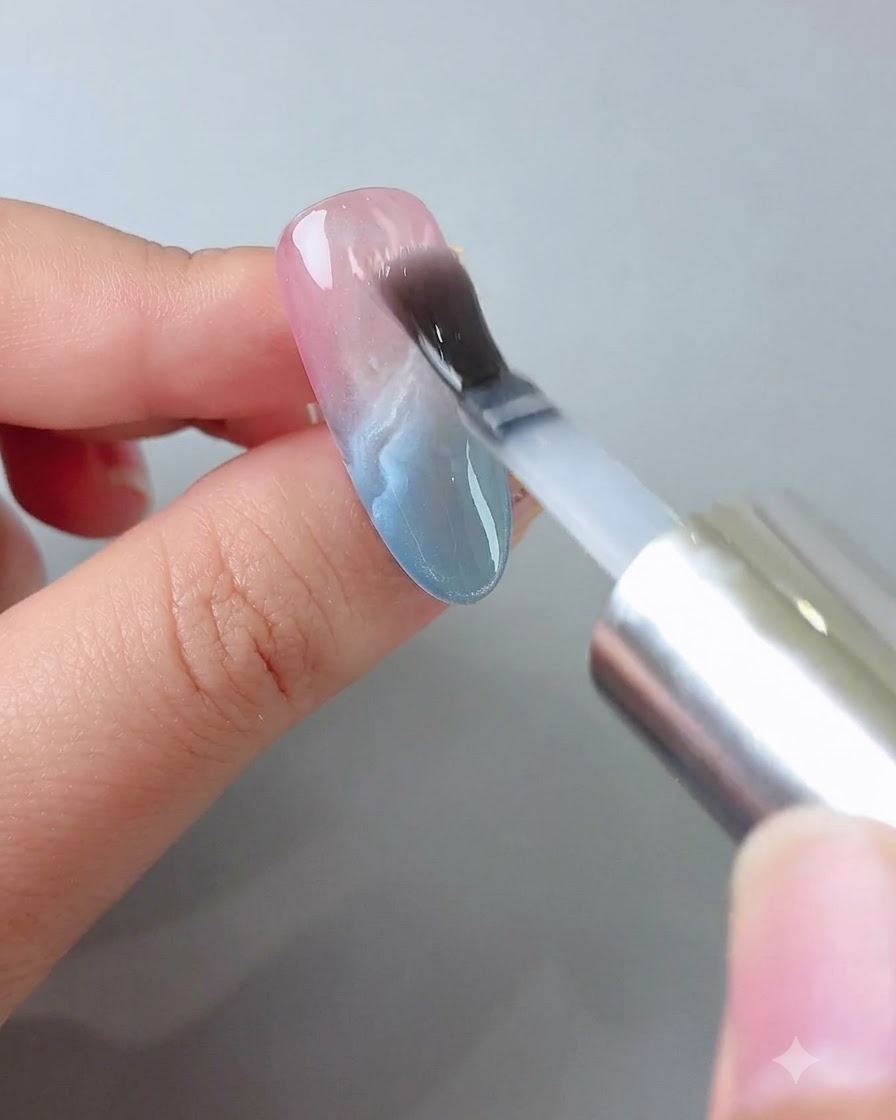
Apply an even layer of soak-off builder gel across the entire nail surface and brush it out smoothly. This provides structural reinforcement, protects the detailed cloud artwork underneath, and creates a smooth foundation for subsequent steps.
Tip: Ensure the builder gel covers the entire design evenly without pooling near the cuticles. - 11Draw ribbon-like line details
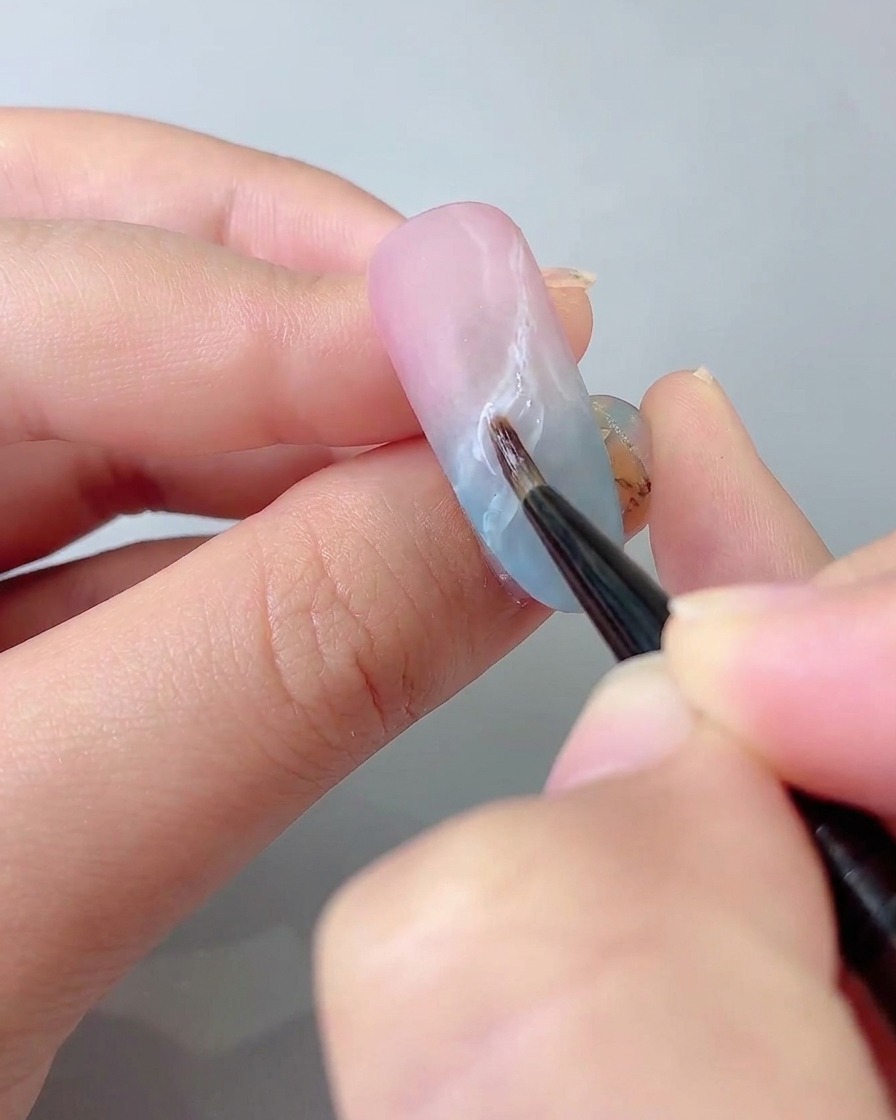
Using sticky gem glue and a fine detail brush, carefully draw delicate ribbon-like lines across the nail over the builder gel layer. Cure the lamp for 45 seconds to secure the lines before adding powder effects.
Tip: Keep the detail brush light-handed to create smooth, flowing ribbon strokes. - 12Apply aurora magic mirror powder
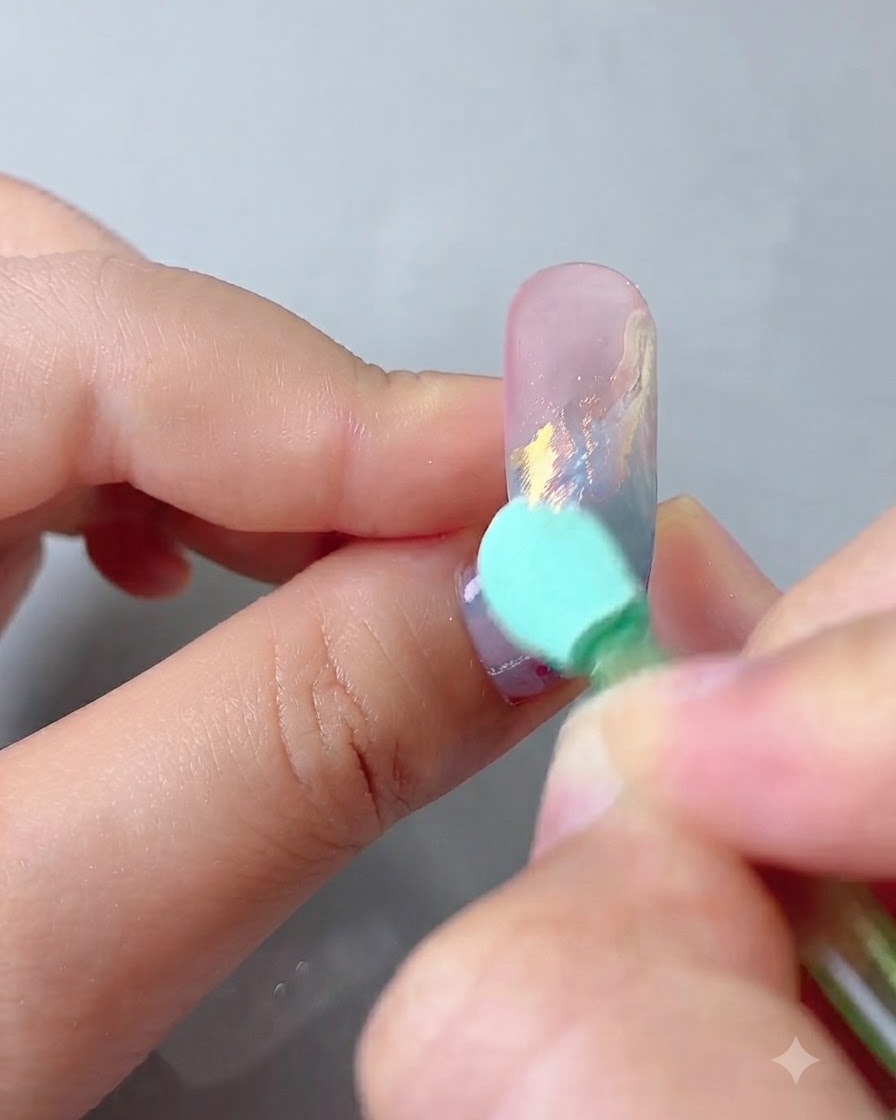
Use an applicator sponge to gently rub aurora magic mirror powder over the cured nail surface to impart a colorful sheen onto the ribbon design. Apply a layer of base coat to seal the powder, followed by colored glitter powder.
Tip: Buff the mirror powder gently for an even, high-shine holographic finish without disturbing the underlying art. - 13Seal the powder with top coat
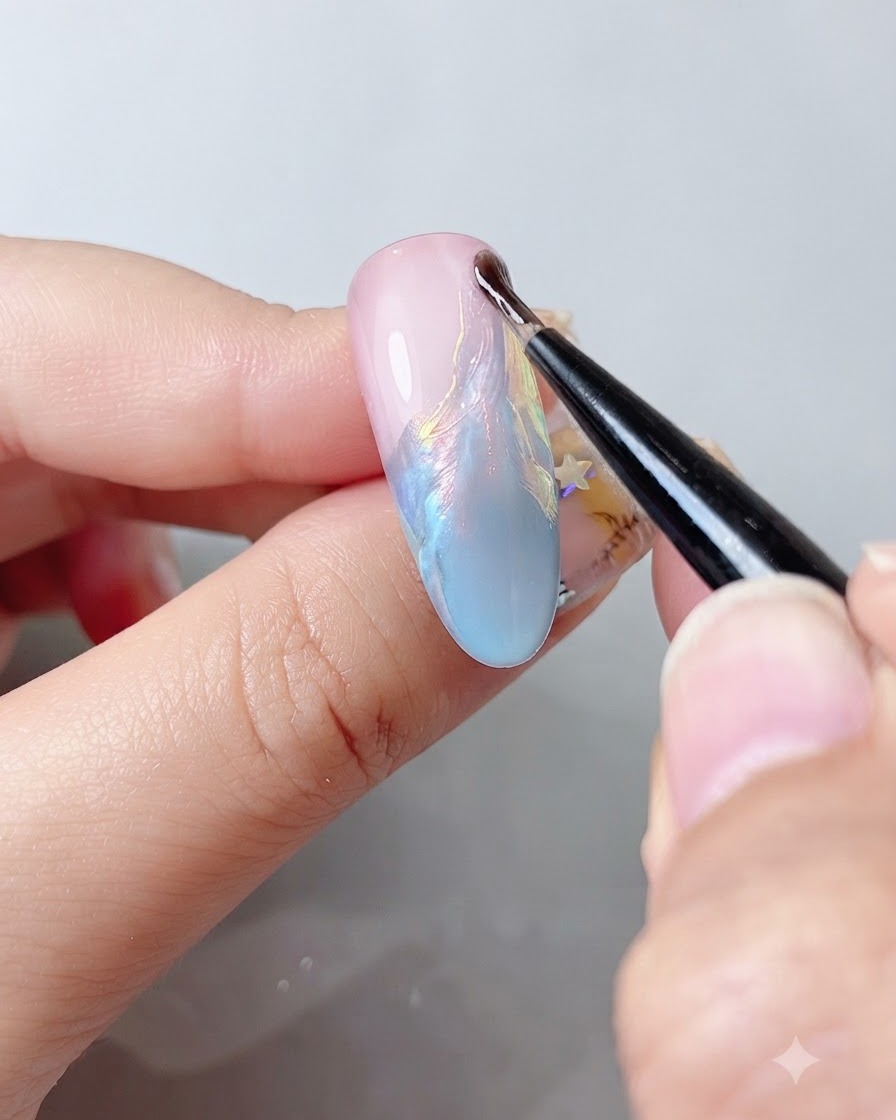
Apply a protective layer of top coat over the cured aurora powder to lock in the pigment and ensure long-lasting durability. Make sure to cap the free edge completely to prevent chipping.
Tip: Apply the top coat smoothly and evenly to prevent trapping air bubbles over the powder layer. - 14Add fine glitter particles
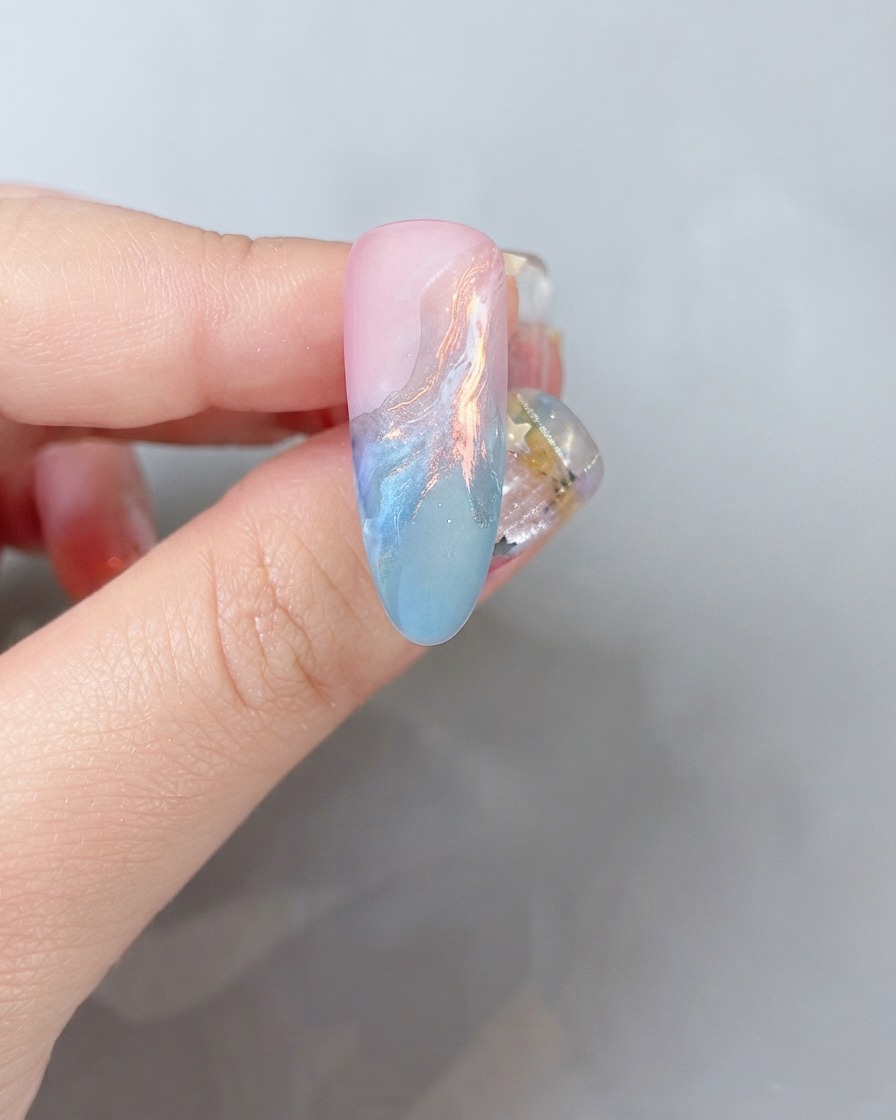
Apply a delicate layer of colored glitter powder over the cured design to introduce subtle sparkle and texture to the nail surface. This enhances the overall dimensional effect of the cloud and ribbon art.
Tip: Tap off excess glitter gently before curing to ensure a smooth, even distribution without bulky clumps. - 15Apply the final smooth top coat
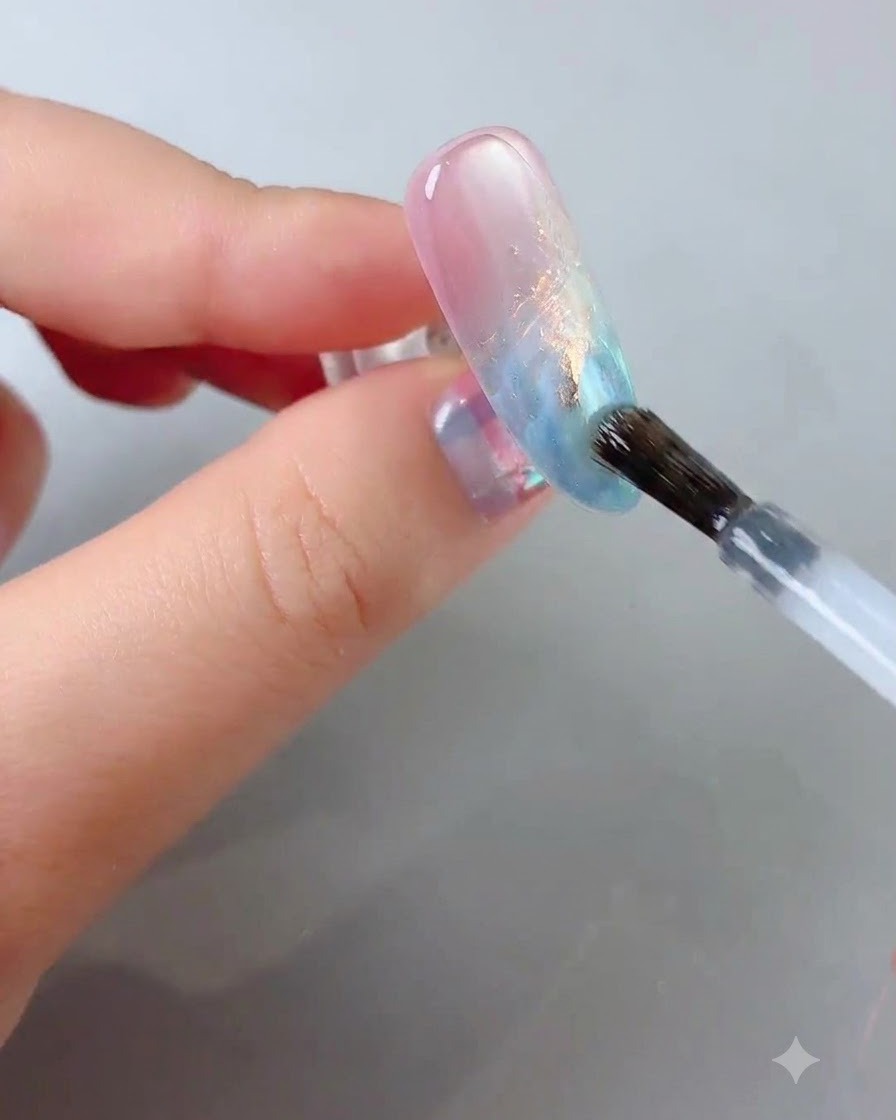
Finish the nail art by applying a smooth, high-gloss top coat over the entire nail surface, covering all the design elements. Cure under the lamp to complete the manicure.
Tip: Ensure the top coat self-levels nicely to create a smooth, glass-like finish over any raised gel art. - 16Apply blue base color
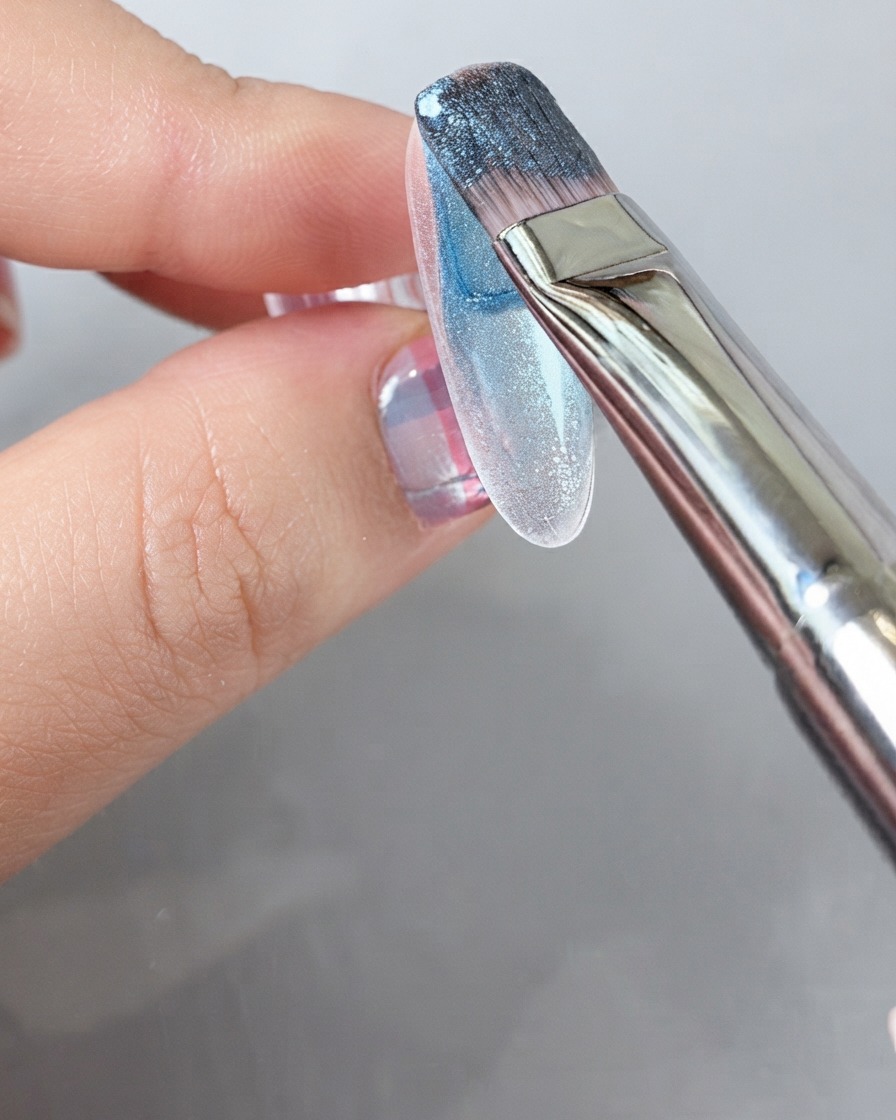
Apply blue color gel number 6 evenly across the entire second nail surface to prepare it for the cat eye effect.
Tip: Apply in thin layers to ensure proper curing and prevent shrinking or wrinkling of the gel. - 17Create wide cat eye effect
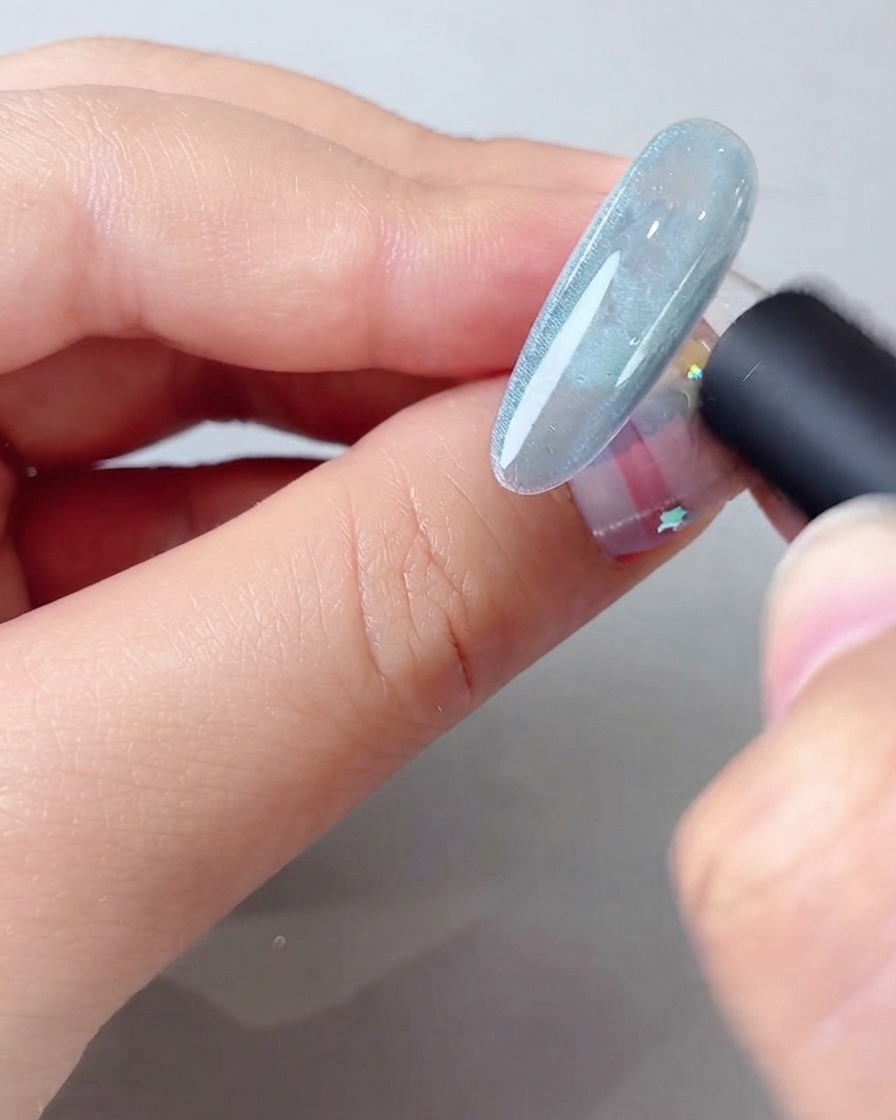
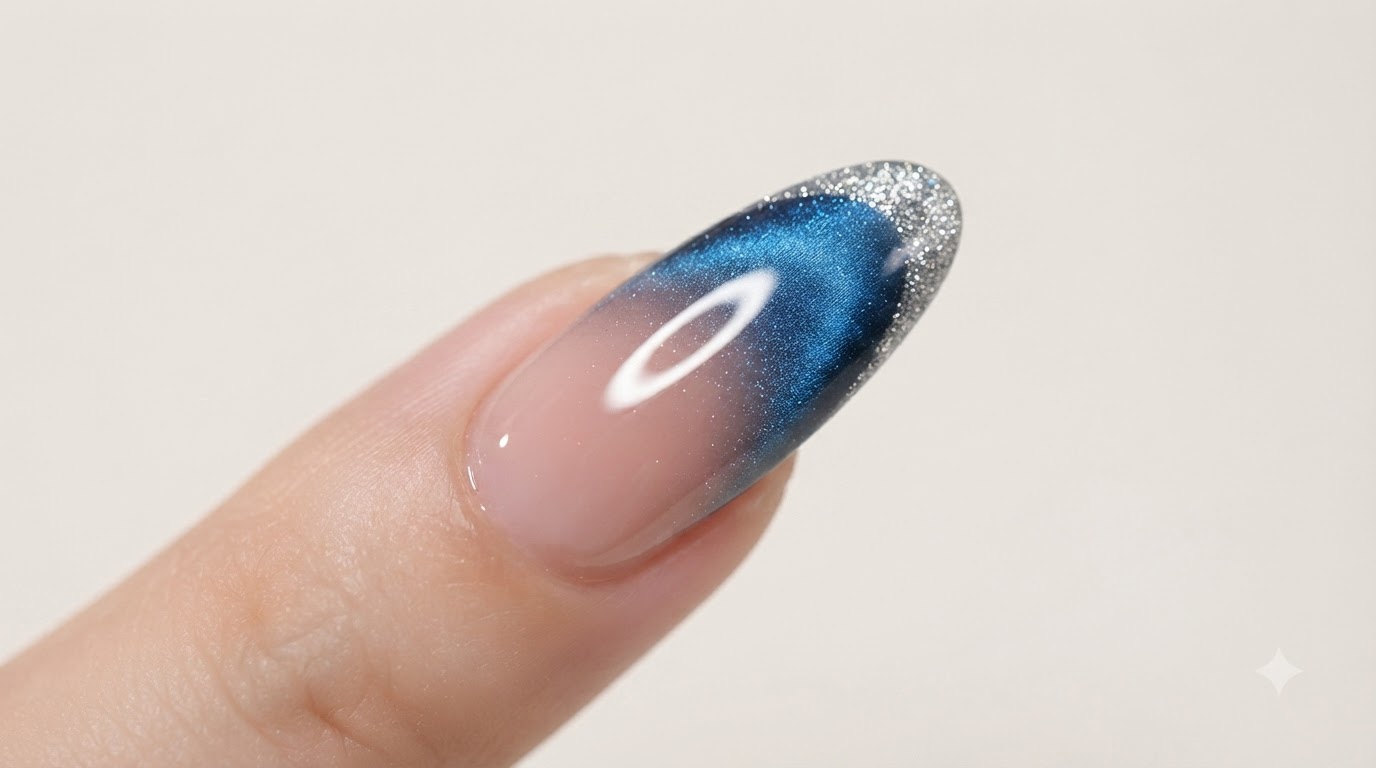
Hold a magnetic stick close to the wet cat eye gel to pull the magnetic particles into a wide, luminous light beam across the nail.
Tip: Keep the magnet steady for a few seconds to set the cat eye particles firmly in place before curing. - 18Refine the cat eye side arc
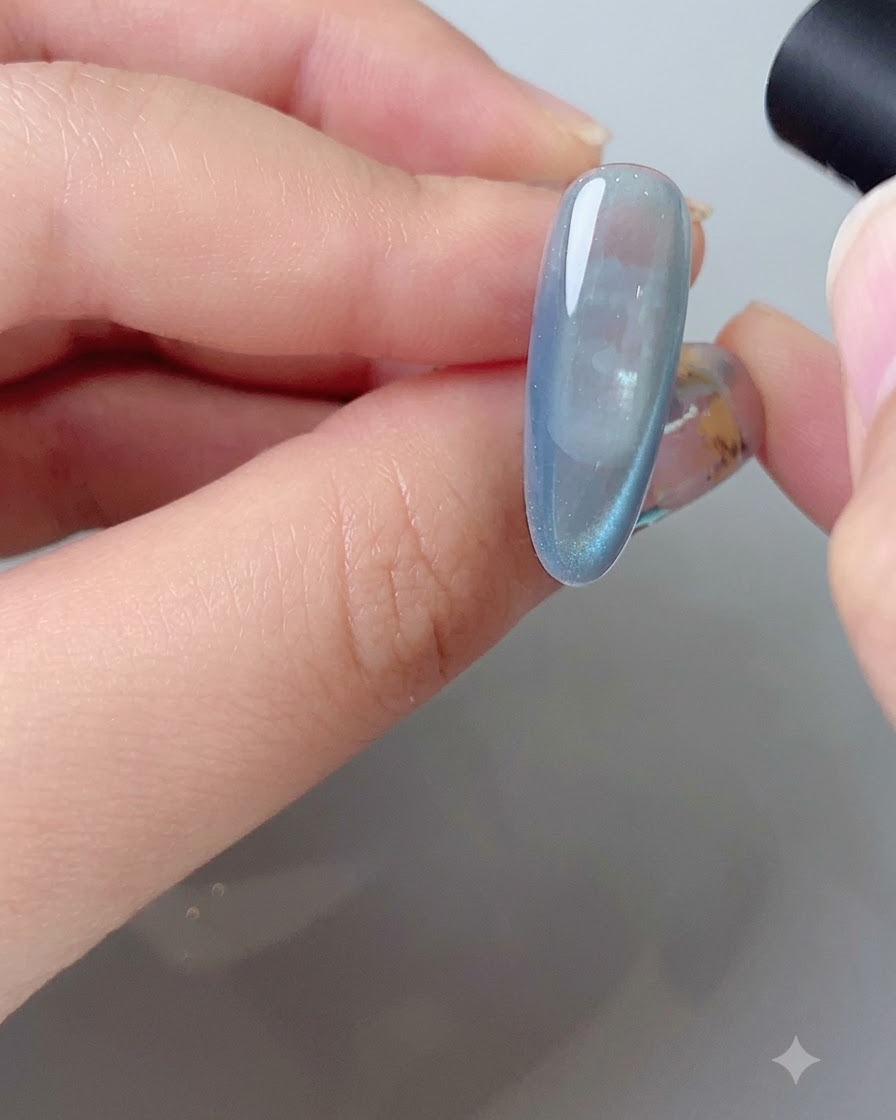
Use the magnet to carefully adjust and refine the light arc along the side of the nail, creating a multidimensional glow.
Tip: Fine-tune the angle of the magnet to get a sharp, clean reflection line along the curved edge. - 19Apply final top coat to the second nail
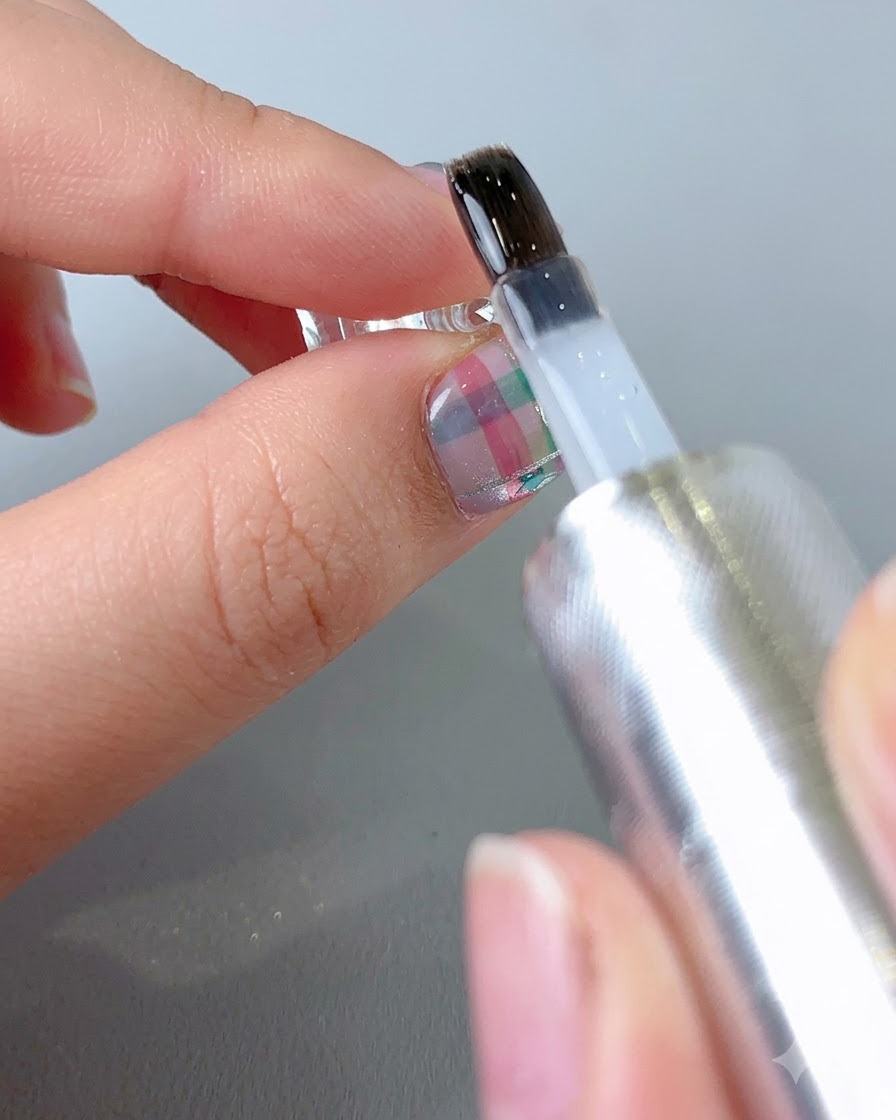
Seal the entire design on the second nail by applying a layer of smooth top coat evenly across the surface. Ensure the free edge is thoroughly capped to protect the manicure from chipping and to lock in the glossy finish.
Tip: Apply the top coat in thin, fluid strokes to prevent pooling around the cuticles and side walls.