Blue Crystal Gradient Magnetic Cat-Eye Nails — Cosmic Step-by-Step Tutorial
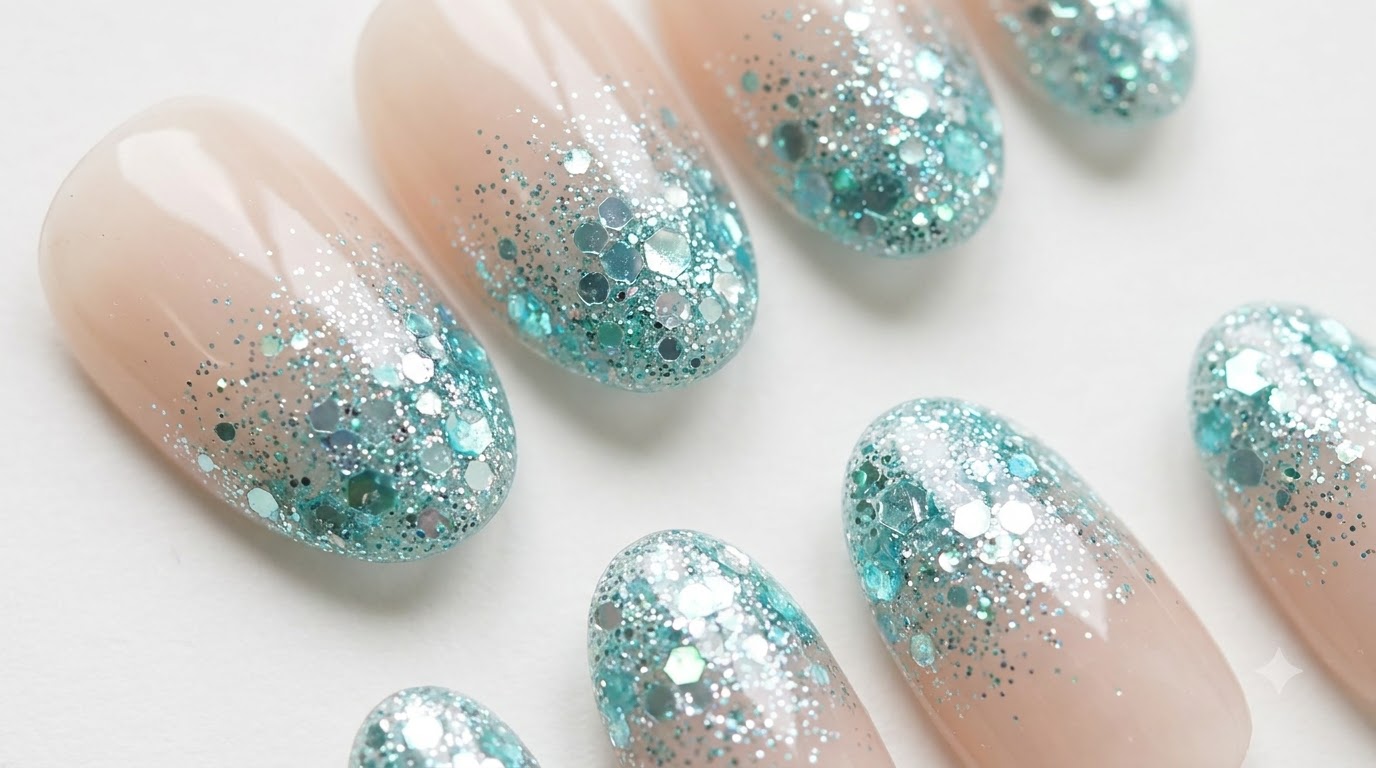
Create stunning interstellar blue crystal gradient nails featuring a magnetic cat-eye cosmic finish and sparkling star details for a dreamy galactic look.
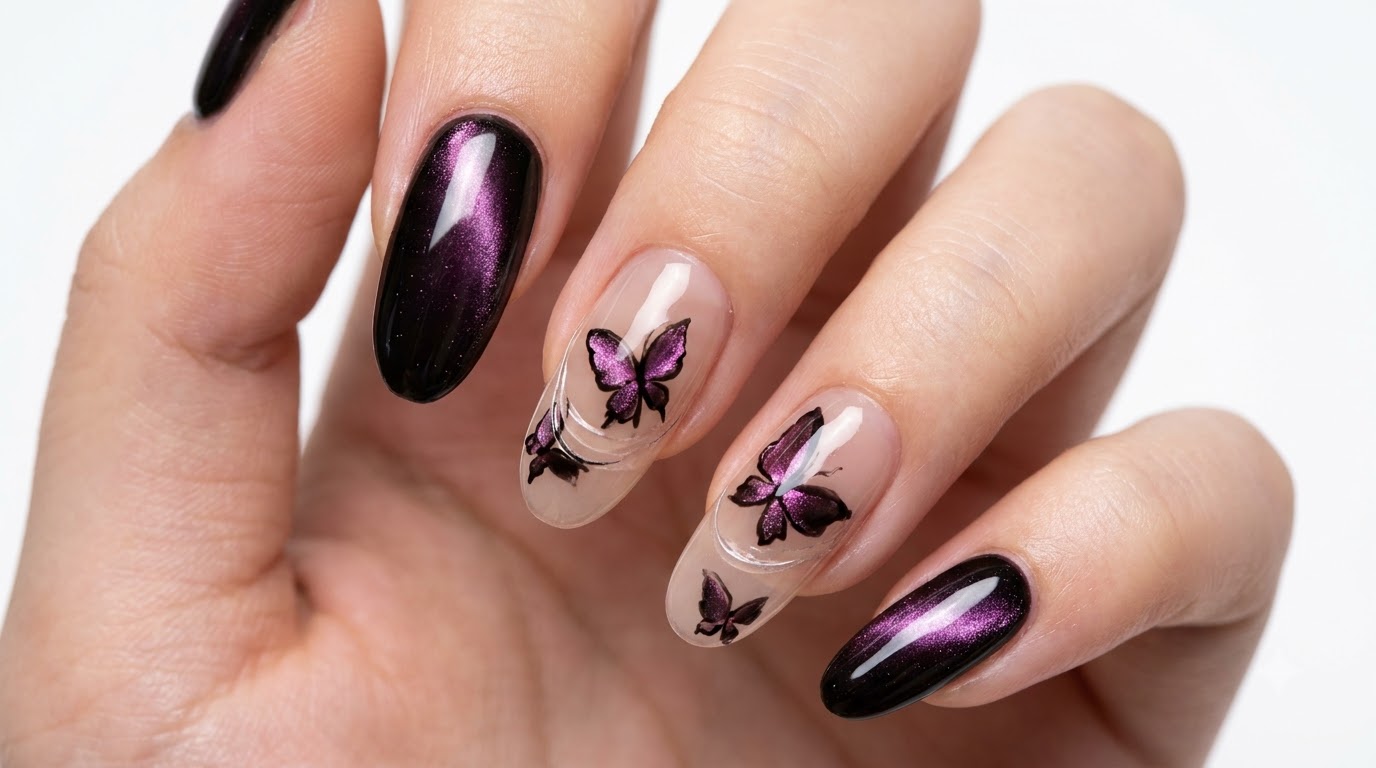
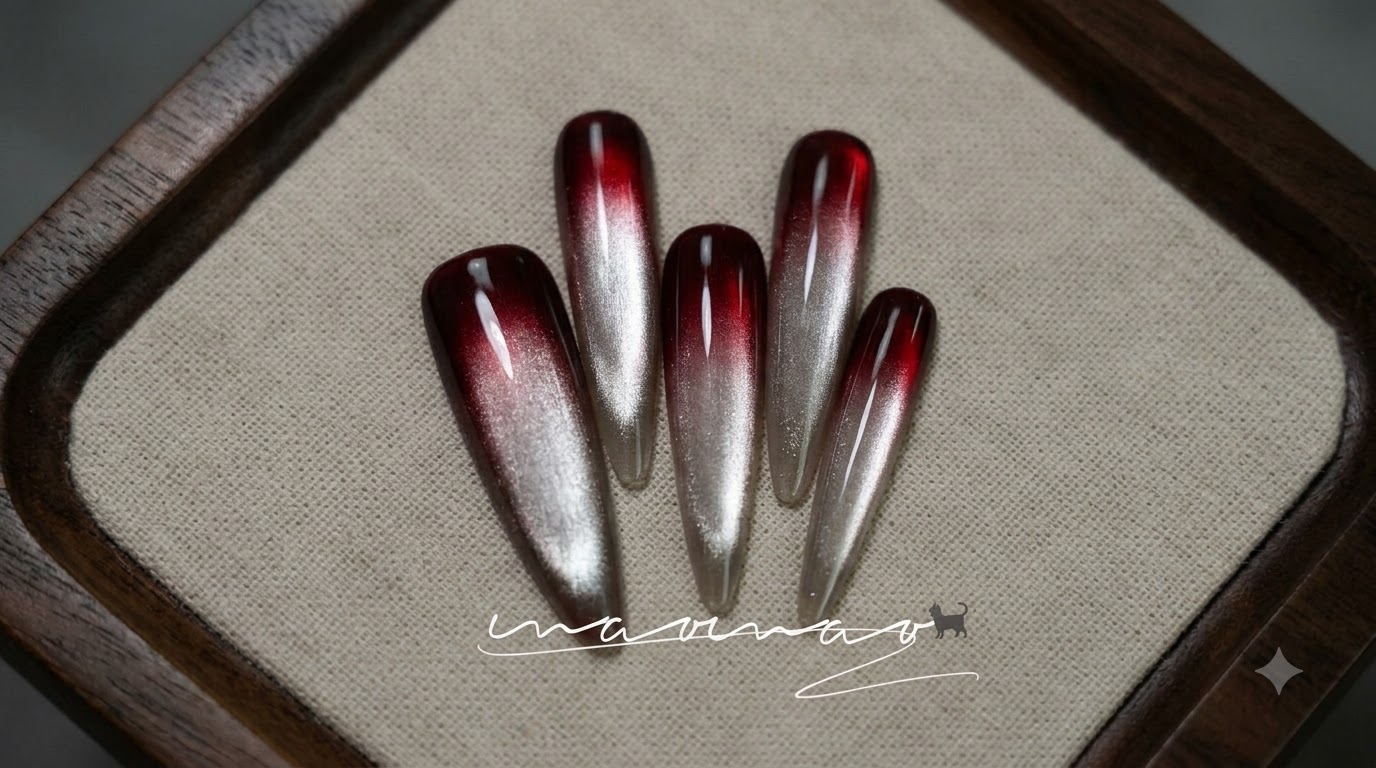
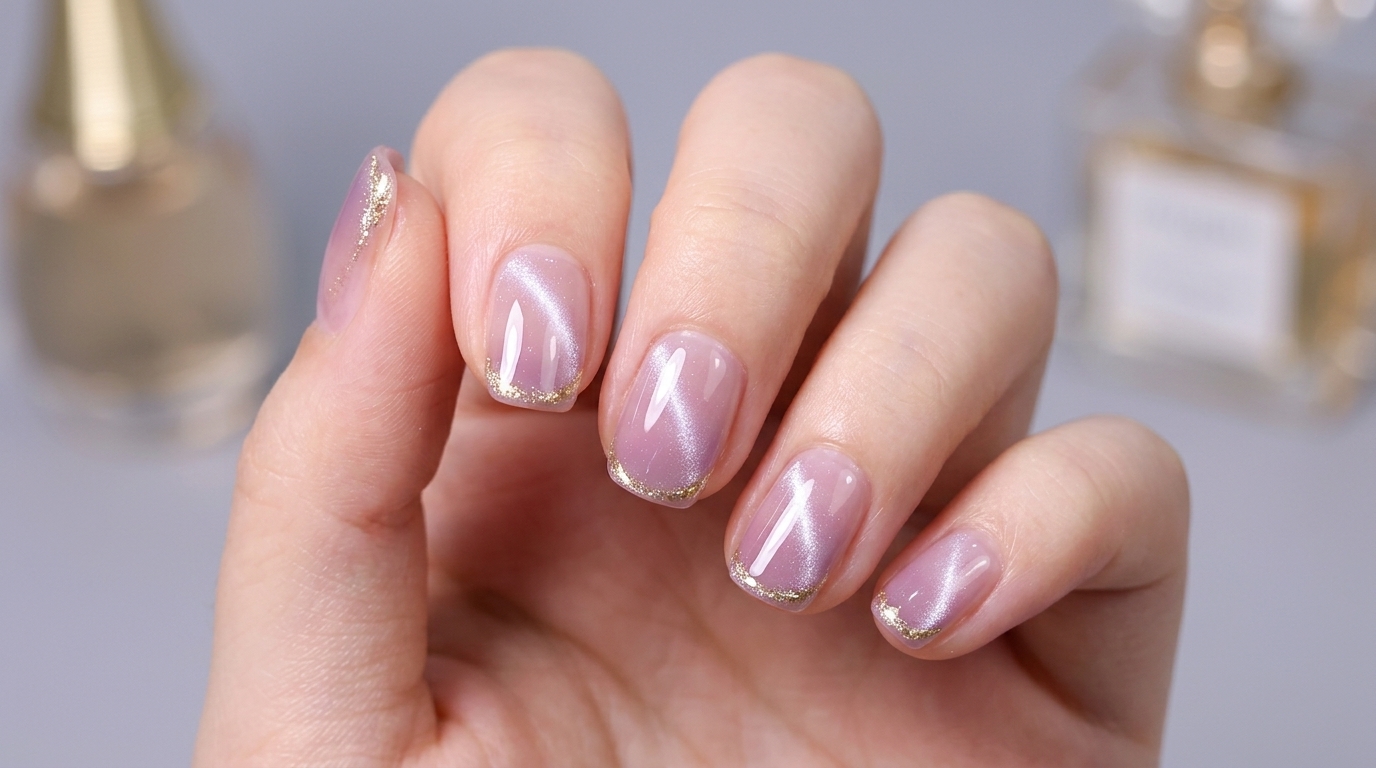
Magnetic cat-eye gel nails continue to captivate with their mesmerizing depth and shifting light reflections. This cosmic blue design combines a dark gradient base with precise magnetic particle manipulation to achieve a true galaxy effect right on your fingertips.
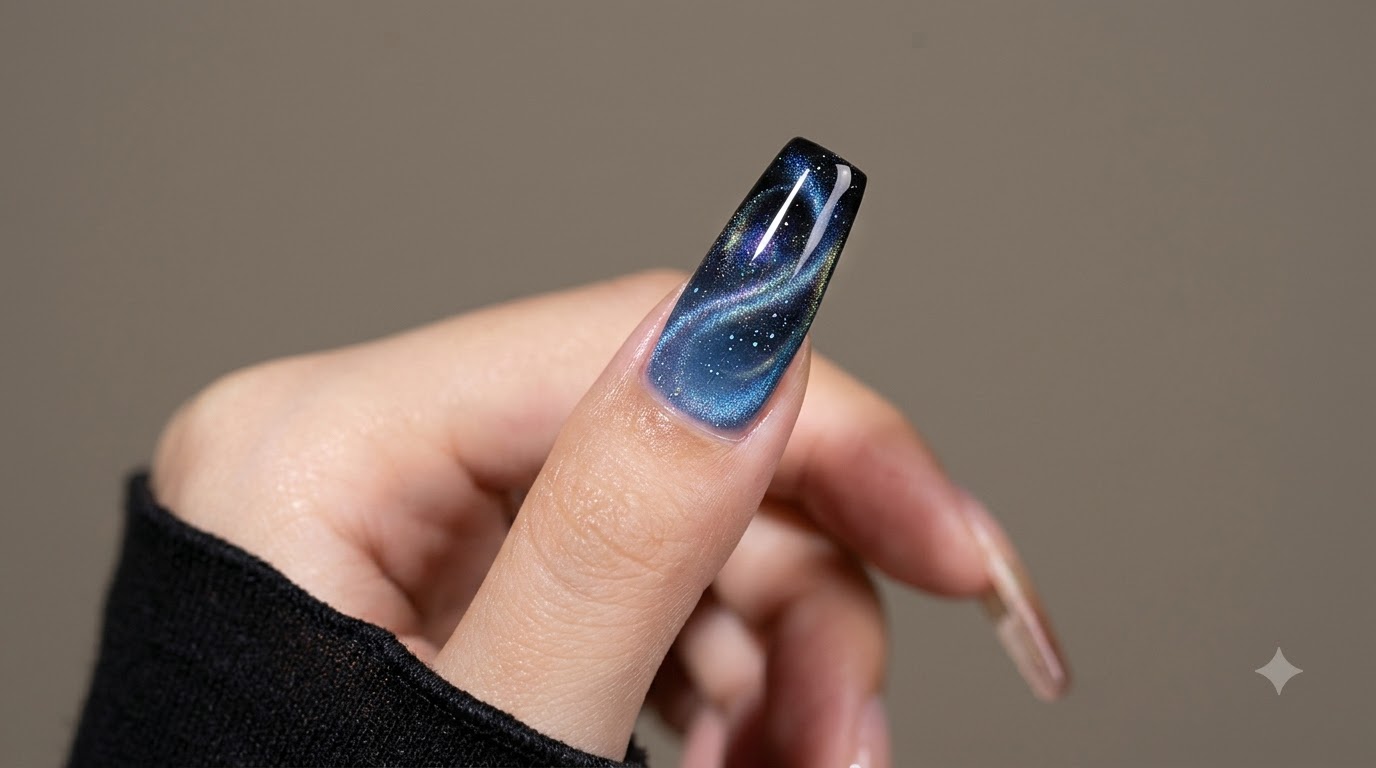
Steps
- 1Apply clear base gel
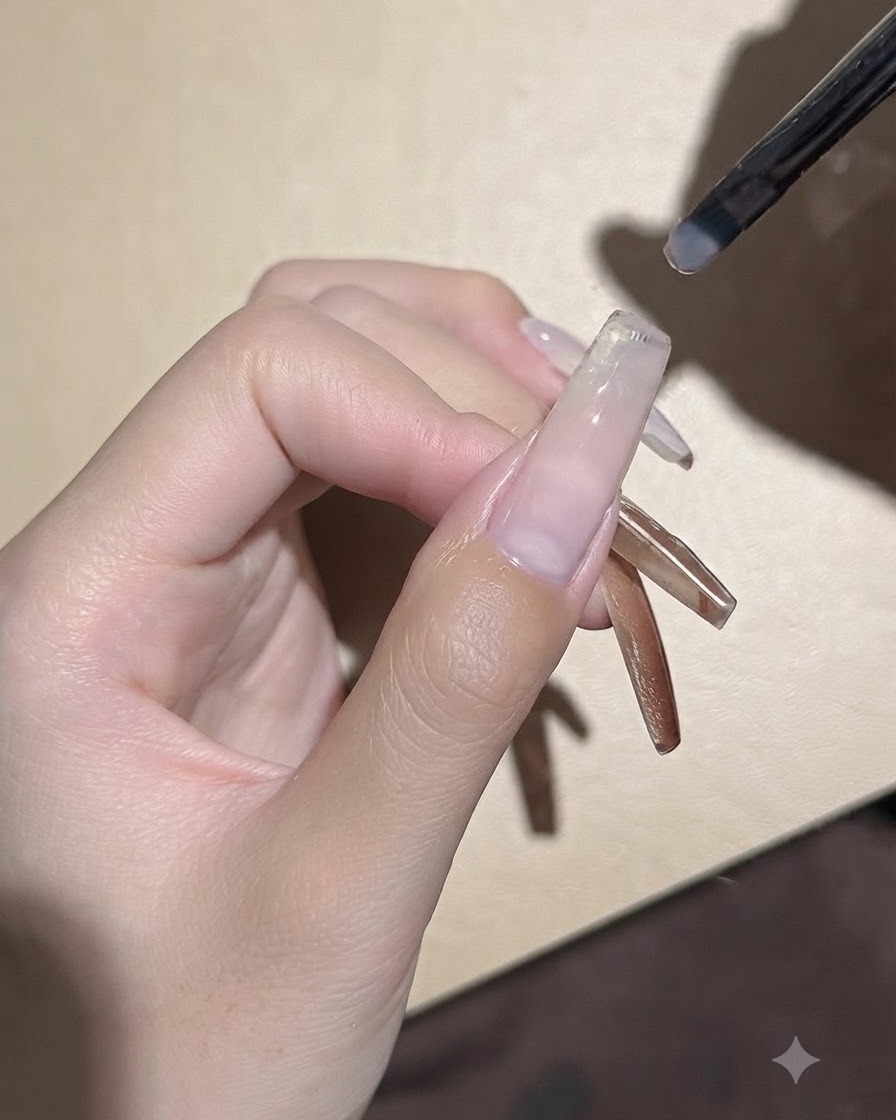
Using a small gel brush, take a small amount of clear base gel and gently apply it directly onto the prepped nail plate. Ensure an even, thin coat that covers the entire surface without flooding the cuticles.
Tip: Keep the base coat layer thin to prevent bubbling or lifting during the curing process. - 2Cure base coat under UV/LED lamp
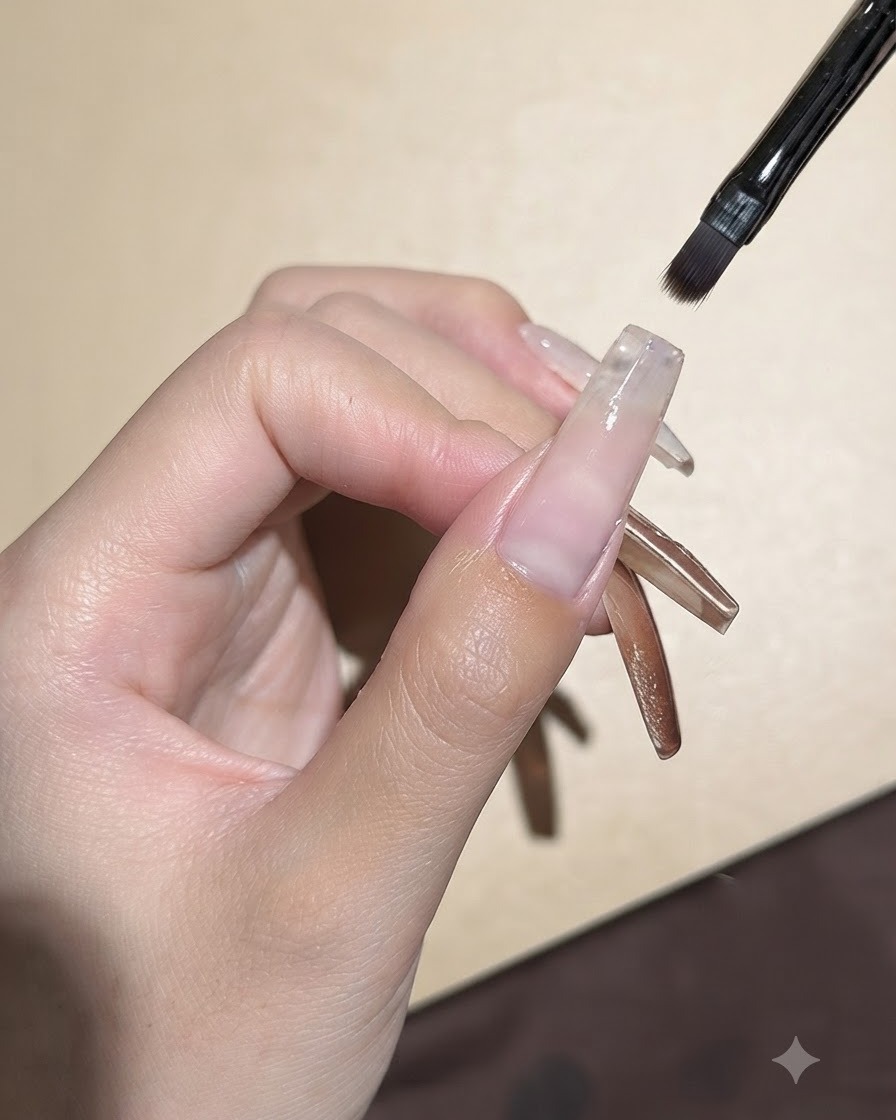
Place your hand inside the UV or LED lamp to cure the freshly applied base coat. Cure for the recommended time specified by the gel manufacturer to ensure proper bonding.
Tip: Ensure your hand is positioned centrally under the lamp lights for even curing across all fingers. - 3Dab black pigment for gradient effect
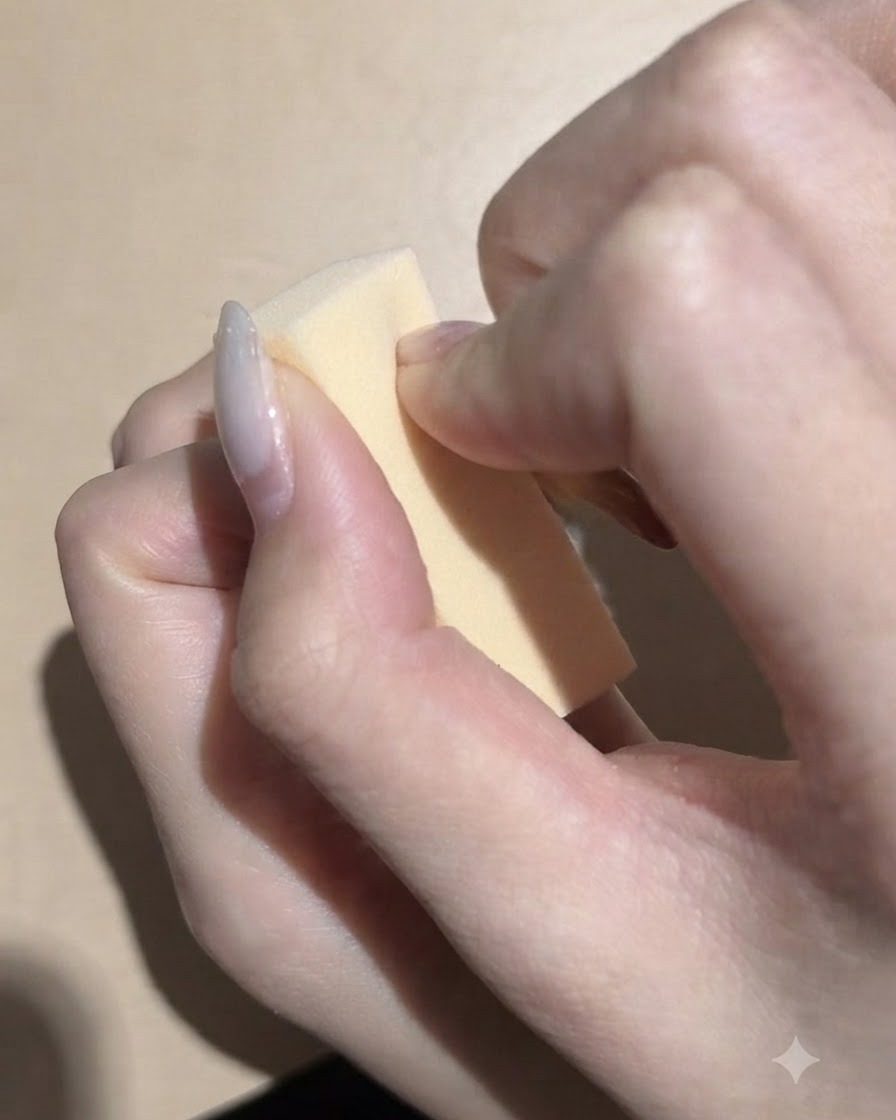
Take a small makeup sponge and dab dark black pigment onto the upper portion of the nail. Gently dab to blend and create a smooth gradient effect transitioning down the nail.
Tip: Dab lightly and build up color gradually to keep the gradient soft and seamless. - 4Dispense blue cat-eye magnetic gel
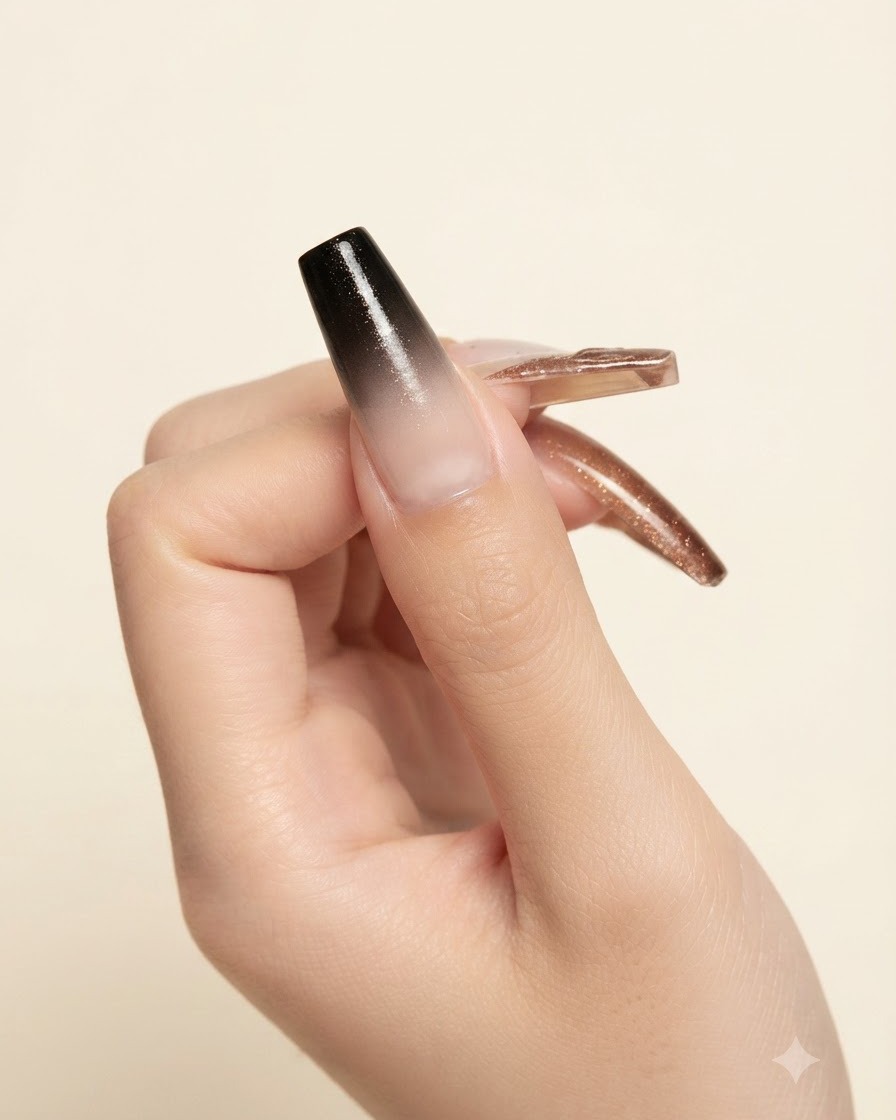
Using a wooden tool, scoop and apply a small drop of blue cat-eye magnetic gel onto your mixing palette. This makes it easy to pick up the right amount of product for the next layer.
Tip: Keep your palette clean to easily control the amount of product you use. - 5Apply blue cat-eye gel
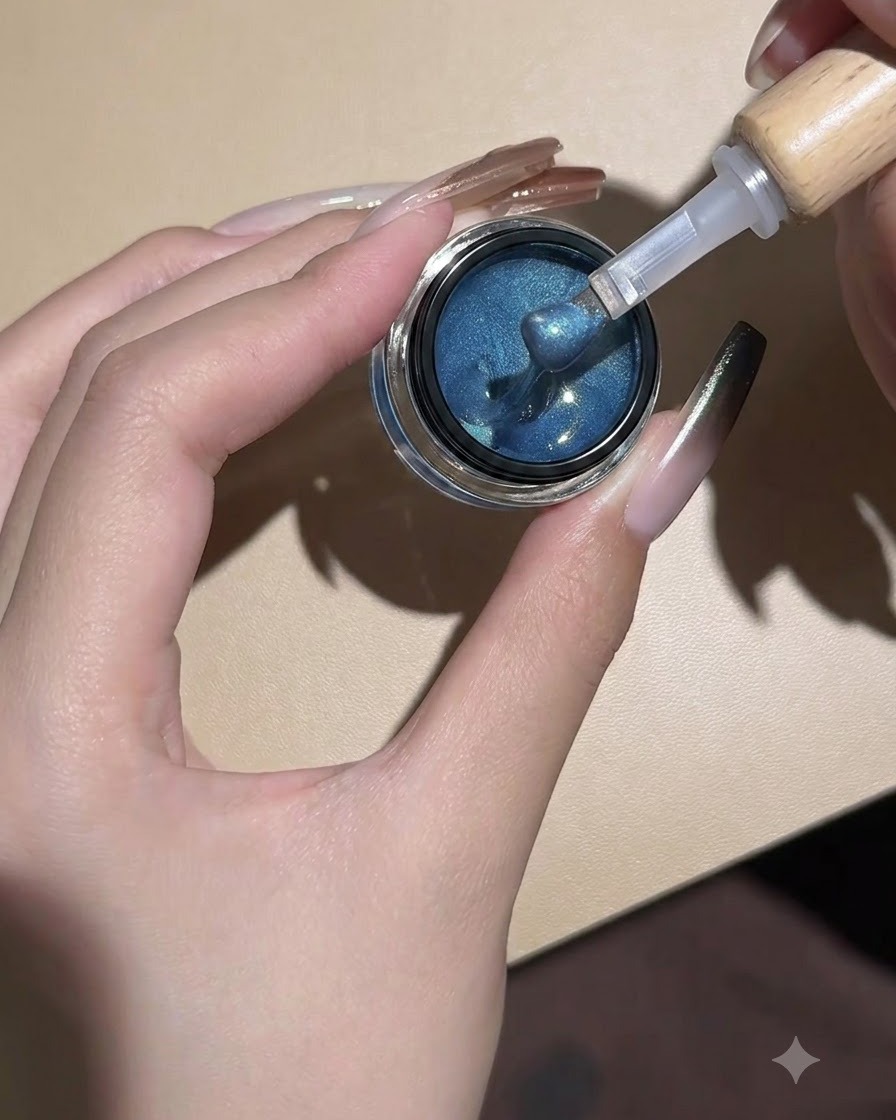
Using the brush, apply the blue cat-eye gel onto the lower portion of the nail, making sure it meets and blends smoothly where the black gradient ends.
Tip: Blend the transition area slightly so the black and blue colors merge harmoniously. - 6Magnetize cat-eye particles
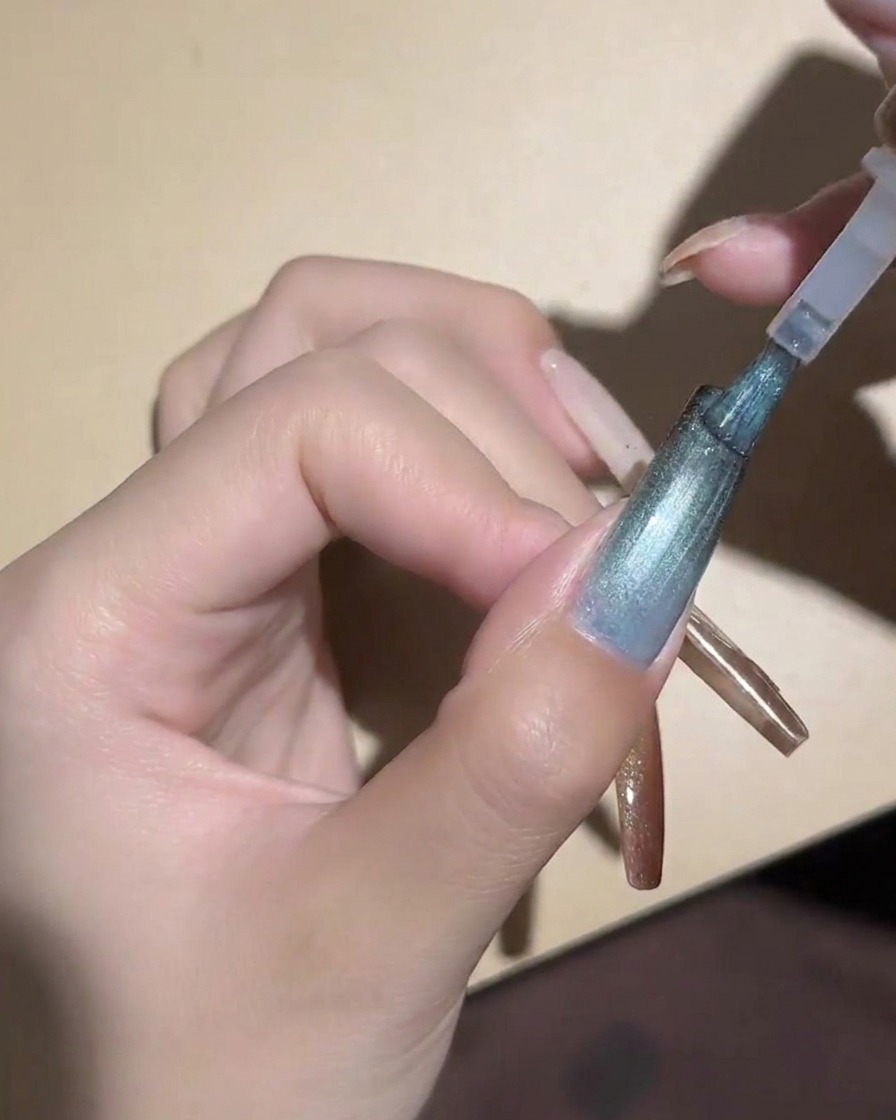
Hold a cylindrical magnet closely over the cat-eye gel without touching the surface. Keep it in place for a few seconds to pull and align the magnetic particles into a sharp line or glow effect.
Tip: Hold the magnet steady and close to the nail for the most defined cat-eye line. - 7Adjust magnet for cat-eye effect
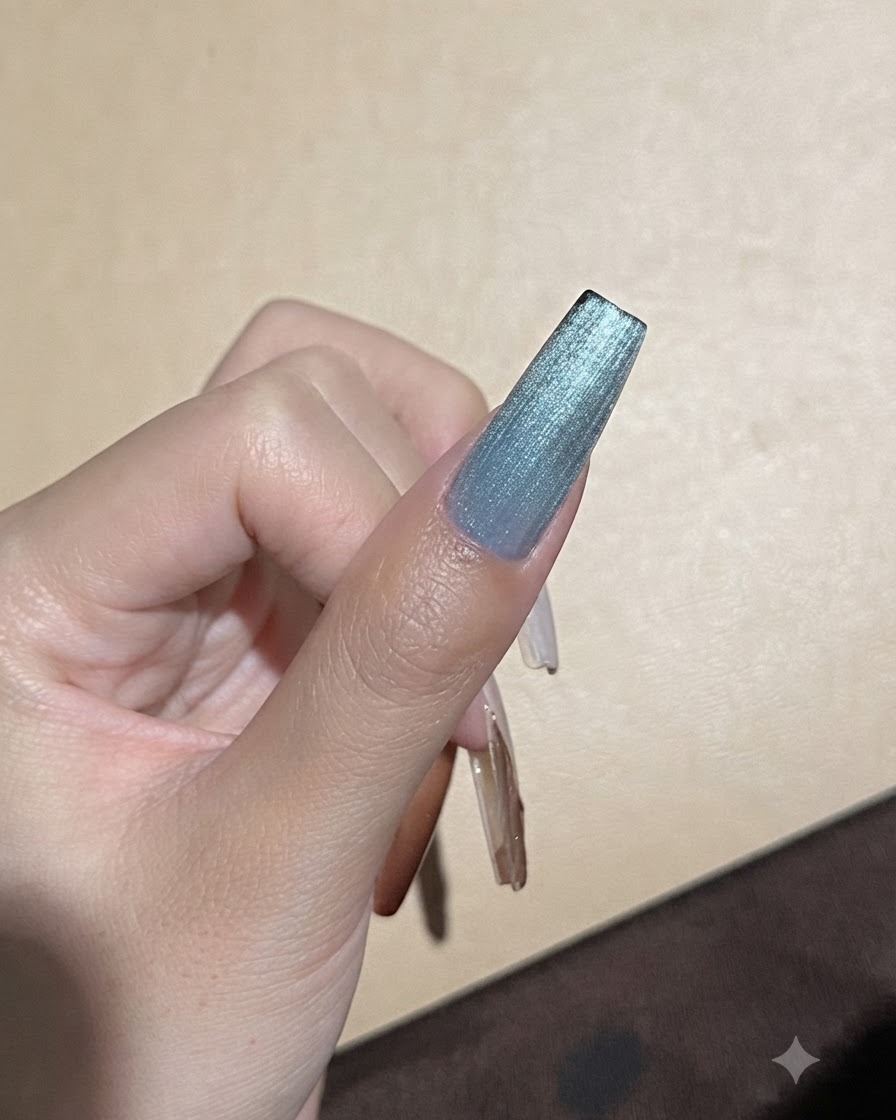
Hold the magnet close to the nail base to push the magnetic particles into a sharp cat-eye reflection line. Maintain a steady hand and precise distance to achieve the desired metallic shimmer intensity before curing.
Tip: Keep the magnet steady and close without touching the wet gel surface to prevent smudging. - 8Flash cure with mini UV/LED lamp
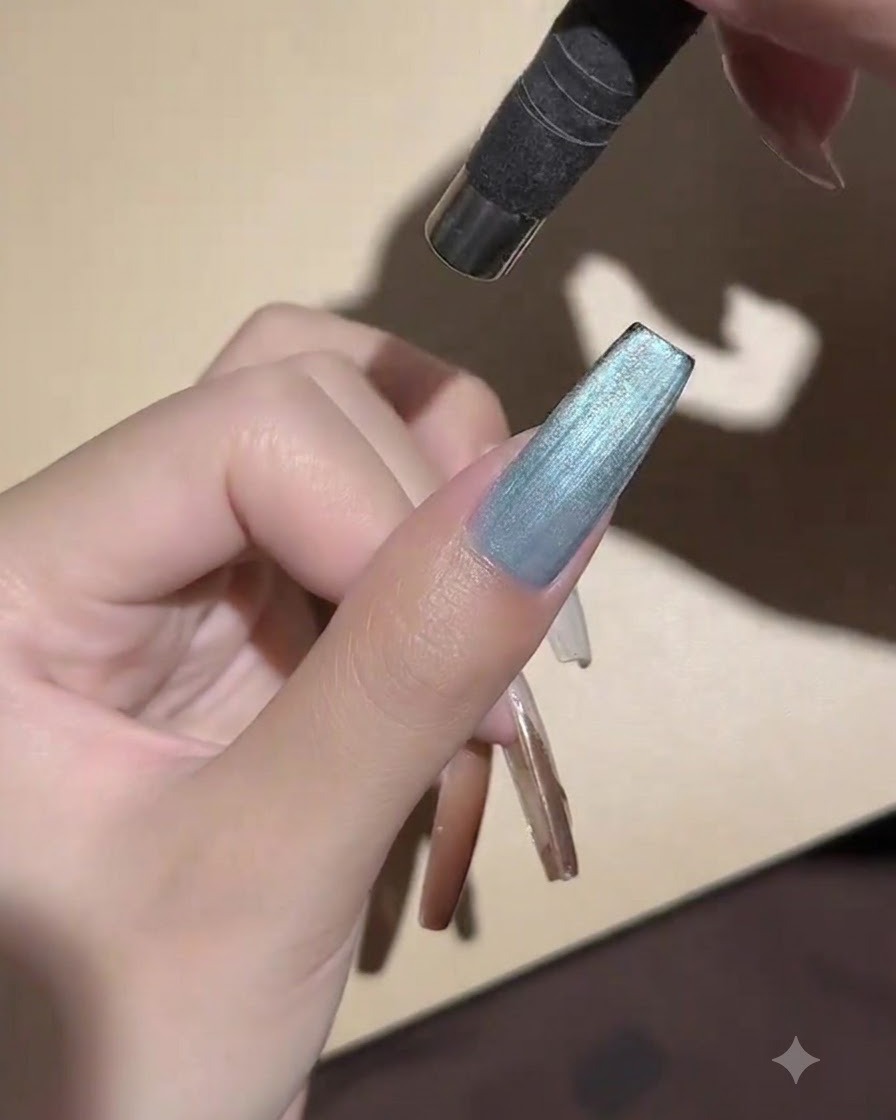
Position the handheld mini UV/LED lamp directly over the nail to flash-cure the cat-eye design. This locks the magnetic particles in place immediately so the line does not disperse or shift before the full cure.
Tip: Flash-cure for 10 to 15 seconds with a mini lamp to lock the design before curing the full hand. - 9Dab dark pigment for gradient effect
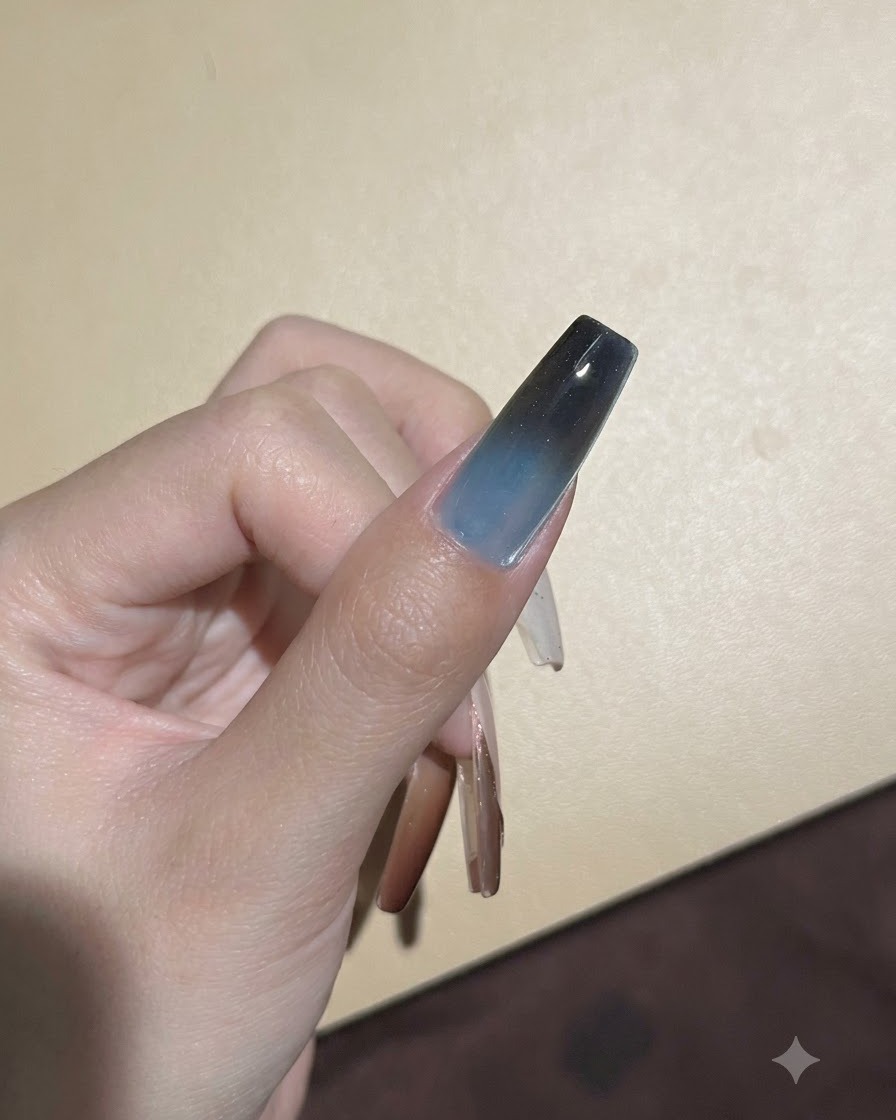
Use a sponge to gently dab additional dark pigment onto the top edge of the nail. This deepens the gradient transition and creates a seamless smokey ombre effect extending down the nail surface.
Tip: Dab lightly with minimal pressure to avoid creating harsh patches or texture on the nail. - 10Apply glossy top coat
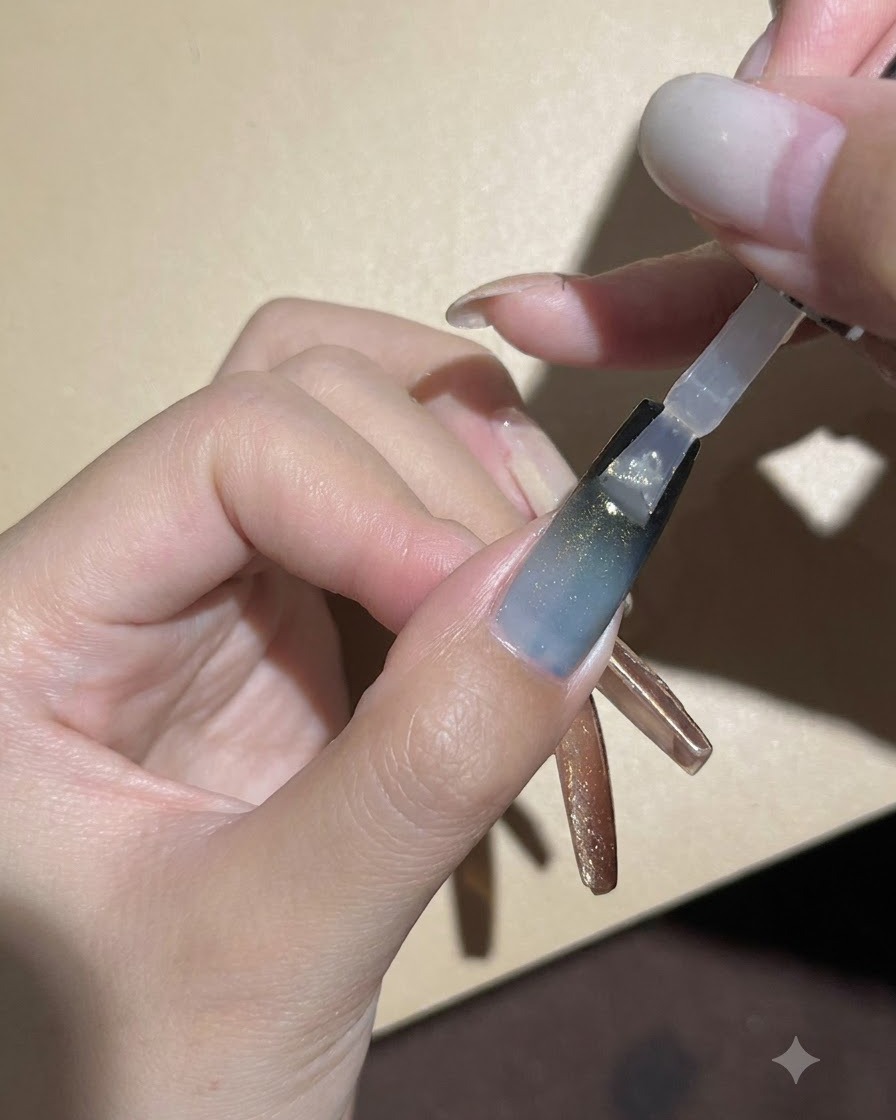
Apply an even final layer of glossy top coat across the entire nail plate using the brush applicator. Ensure full coverage over the gradient and cat-eye art to lock in the design and provide high shine.
Tip: Cap the free edge with top coat to prevent chipping and seal the layers underneath.