Mint Blue Sequined Glitter Gradient Gel Nails — Step-by-Step Tutorial
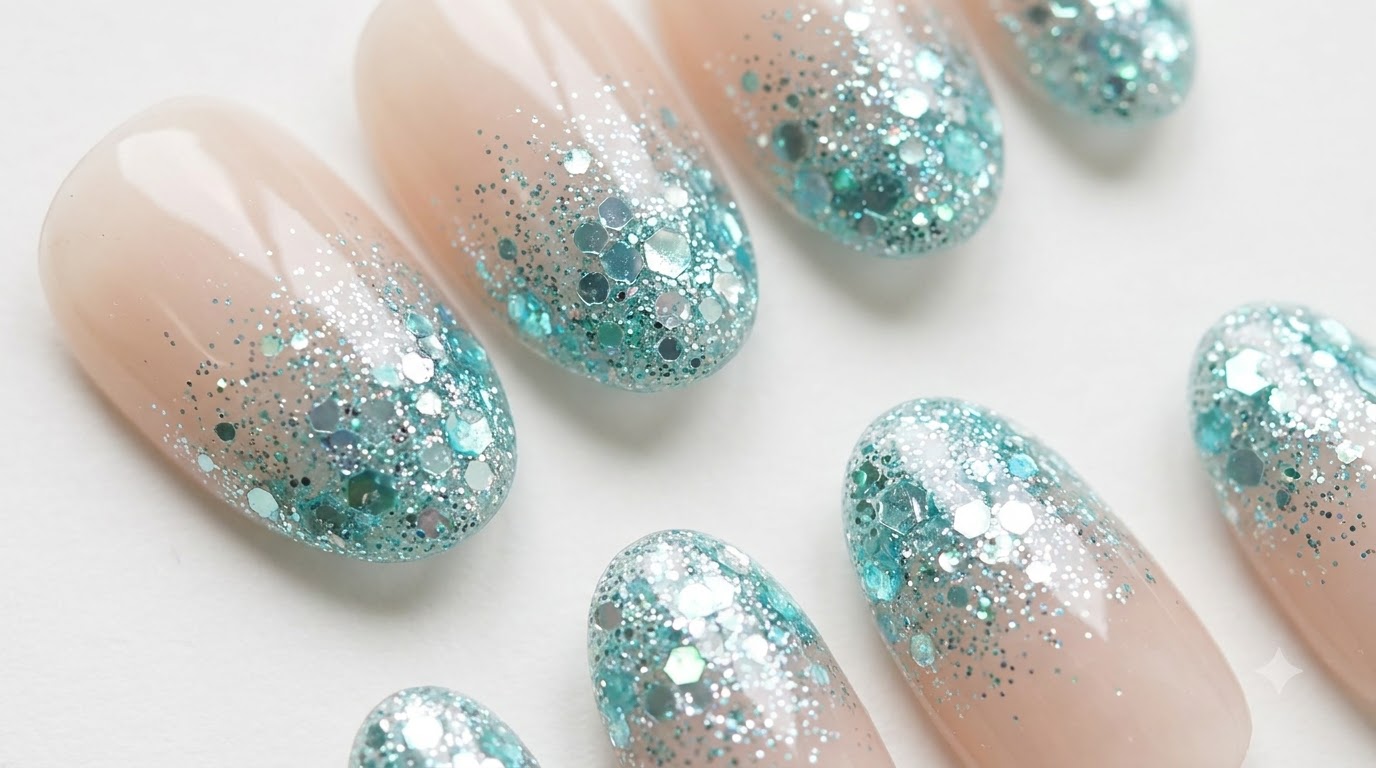
Create a dazzling mint blue sequin gradient manicure featuring a milky nude base, cat-eye shimmer, and chunky glitter tips.
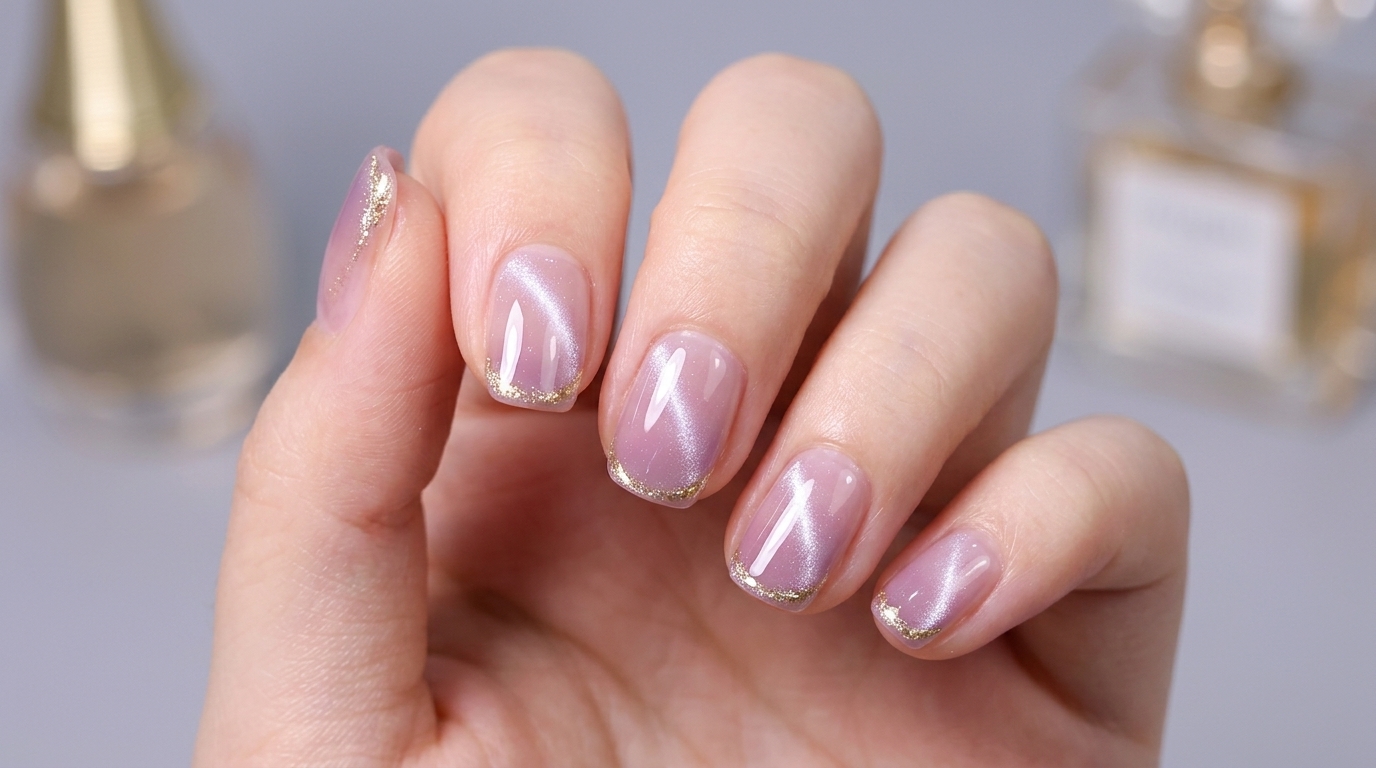
Transform your fingertips with this dreamy mint blue sequined gradient gel nail look. Combining a soft milky nude base with a multidimensional cat-eye shimmer and an ombre burst of chunky hexagonal sequins, this style achieves a vibrant, salon-quality finish that catches the light from every angle.
Steps
- 1Push back cuticles
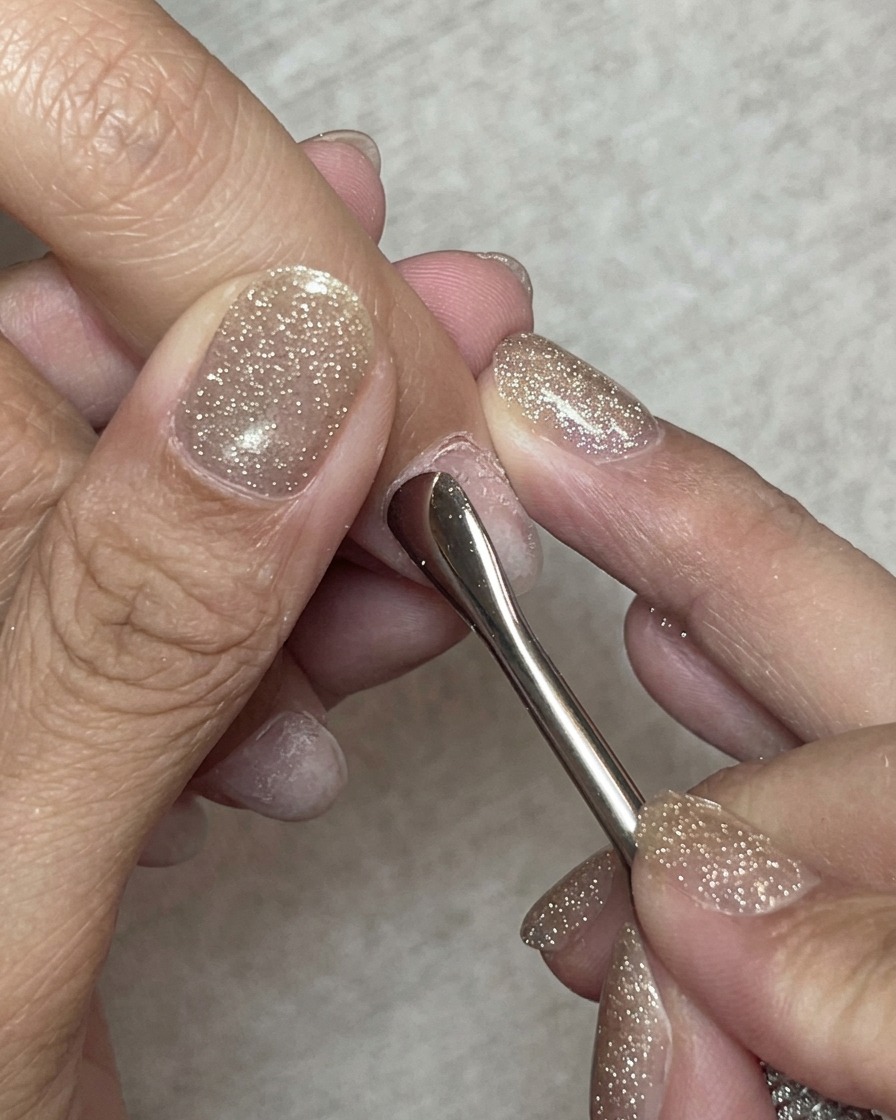
Using a steel cuticle pusher, gently push back the dead skin along the proximal nail fold. Work carefully to lift the cuticle away from the natural nail plate without causing any damage.
Tip: Keep the pusher flat against the nail plate to avoid scraping or gouging the natural nail. - 2Open and lift the cuticle pocket
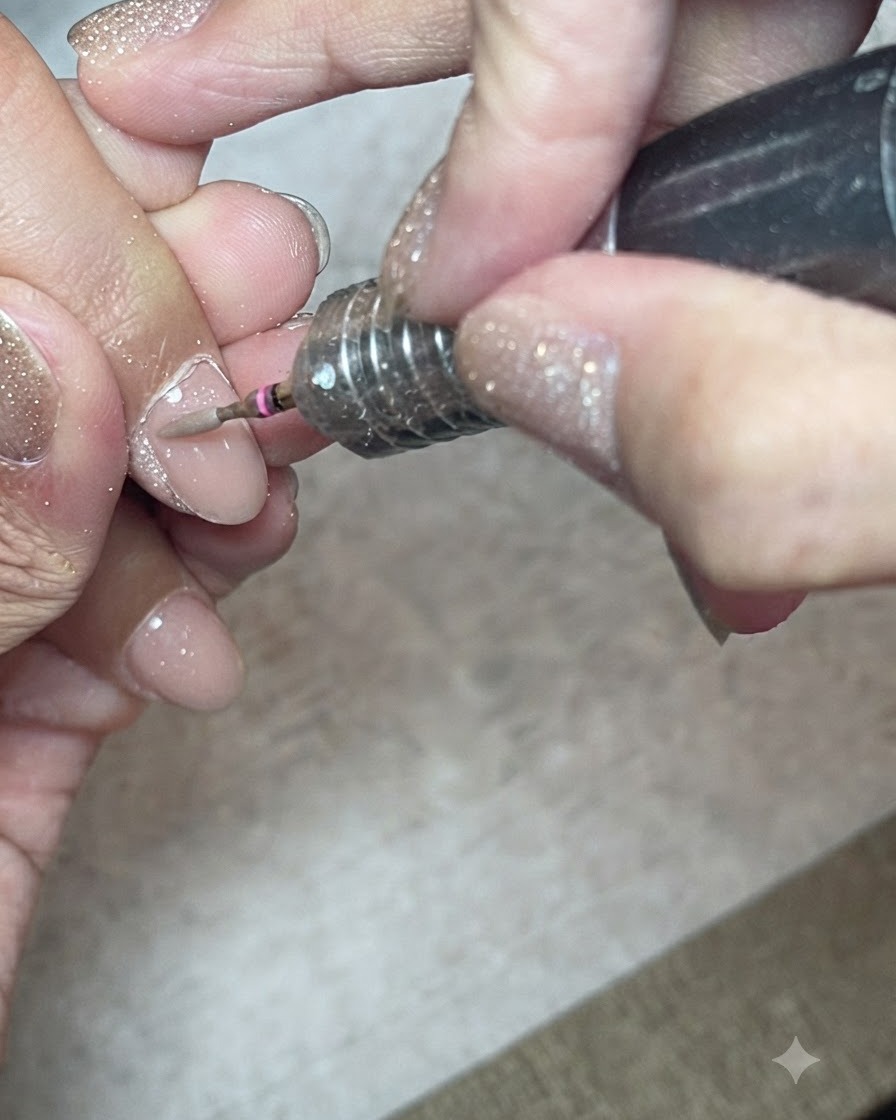
Take an e-file fitted with a long, shuttle-shaped diamond bit and carefully run it along the base of the nail to open and lift the cuticle pocket. Keep the speed low and maintain a light touch to avoid damaging the delicate matrix or the surrounding skin while separating the adhered dead skin from the nail plate.
Tip: Keep the e-file bit flat against the nail surface rather than pointing the tip downward to prevent accidental grooves or cuts. - 3Dust and clean the nail surface
Use a large, fluffy dusting brush to gently sweep away all the filed dead skin, debris, and dust particles from the nail plate and surrounding folds. Clearing away the dust ensures you have a clean, unobstructed view of the cuticle area for the next preparation steps.
Tip: Brush in a downward direction away from the cuticle pocket to completely clear out trapped particles. - 4Push up dead skin with a cone bit
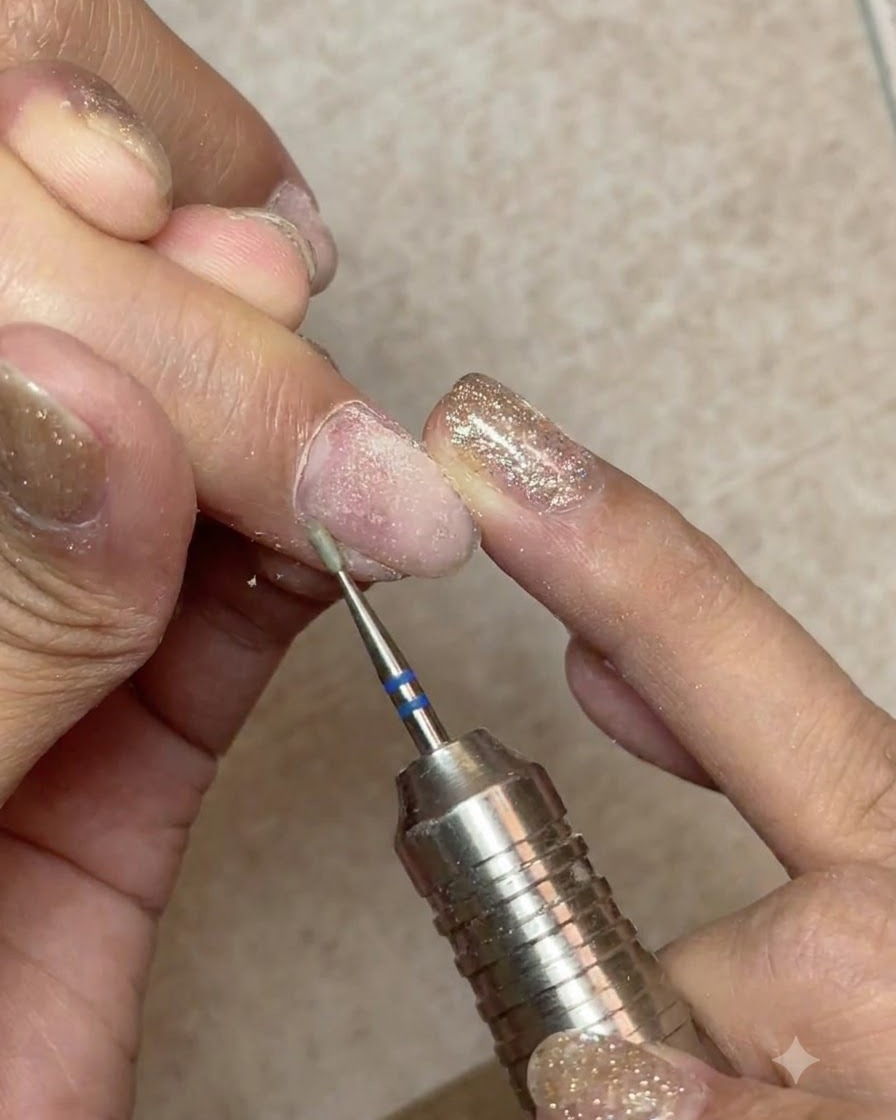
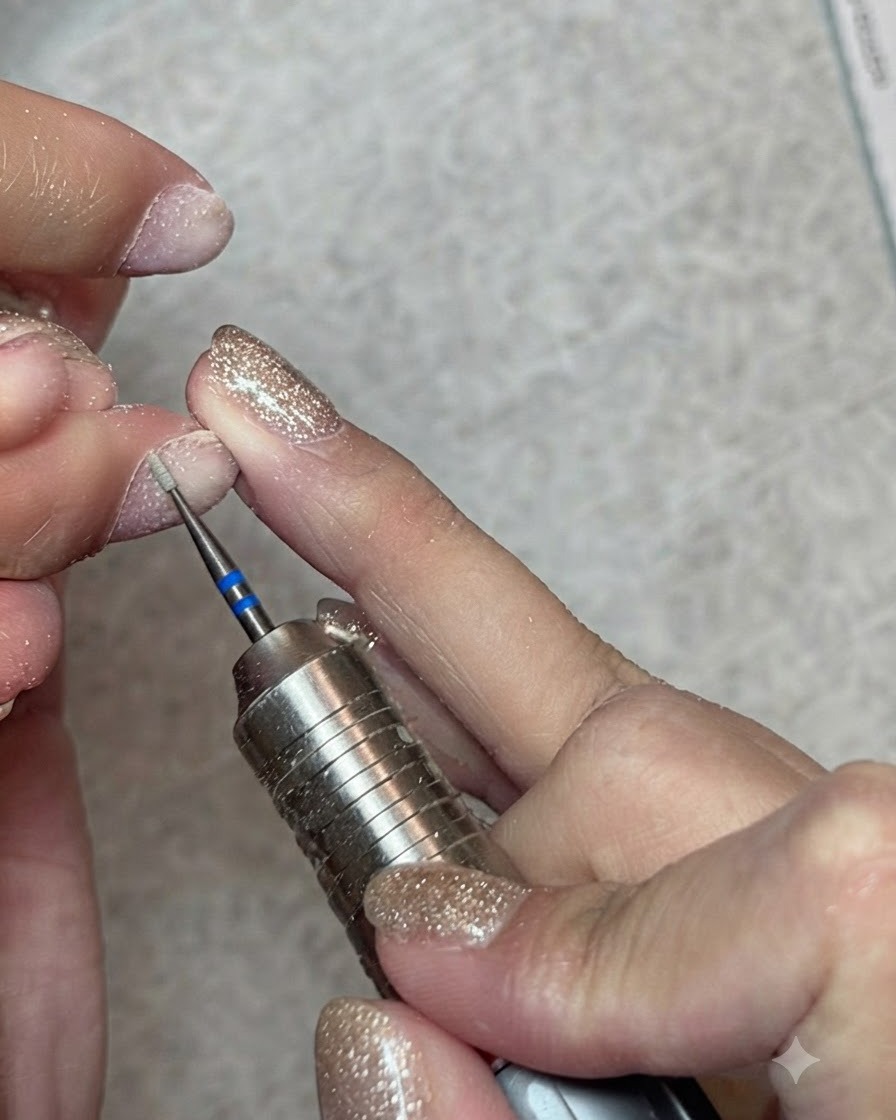
Switch your e-file attachment to a cone-shaped bit. Gently glide this bit along the proximal and lateral folds to further push up and separate the vertical edges of any remaining dead skin. This helps prep the area cleanly for subsequent trimming.
Tip: Ensure proper rotational direction on your e-file depending on which hand you are working on to keep control. - 5Buff nail plate and refine pocket
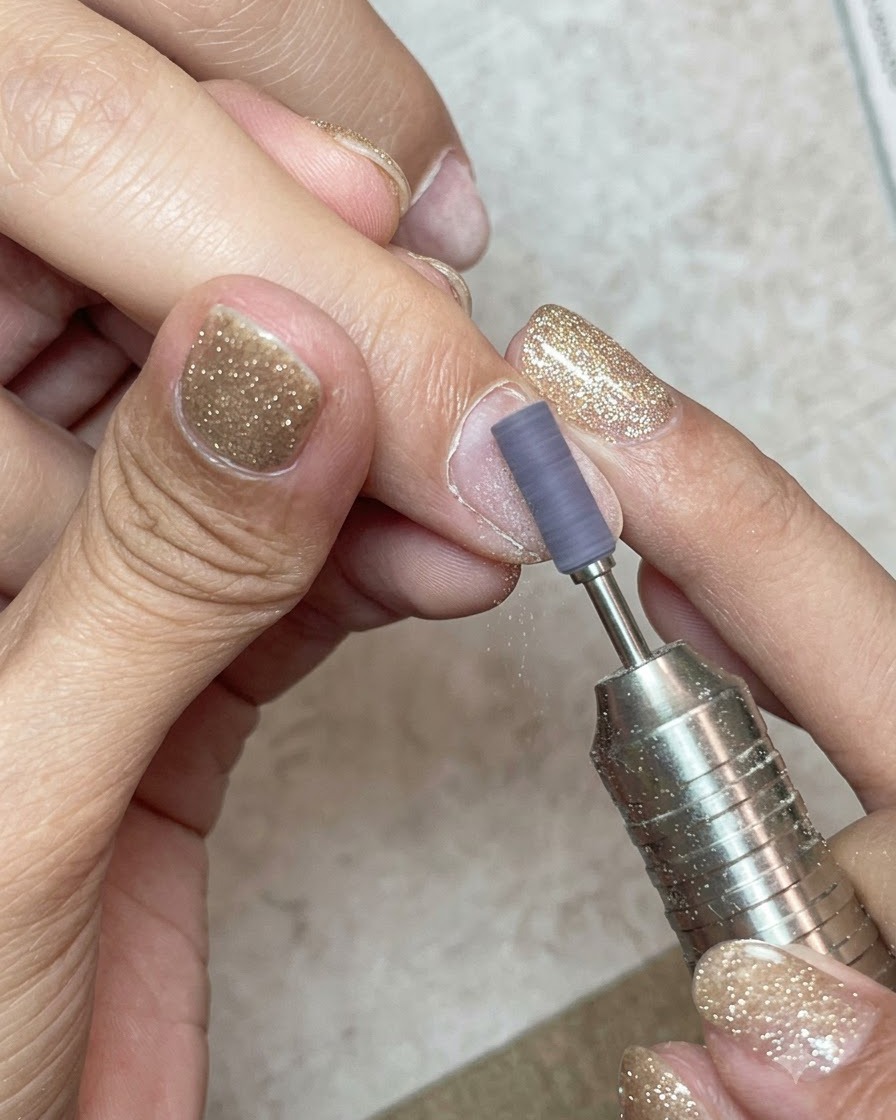
Place a fine sanding band onto your mandrel e-file bit and gently buff the surface of the nail plate. This removes natural oils and shine while simultaneously helping to further open and clean out the proximal nail fold.
Tip: Use very light pressure with sanding bands to avoid thinning out or damaging the natural nail structure. - 6Trim the lifted cuticles
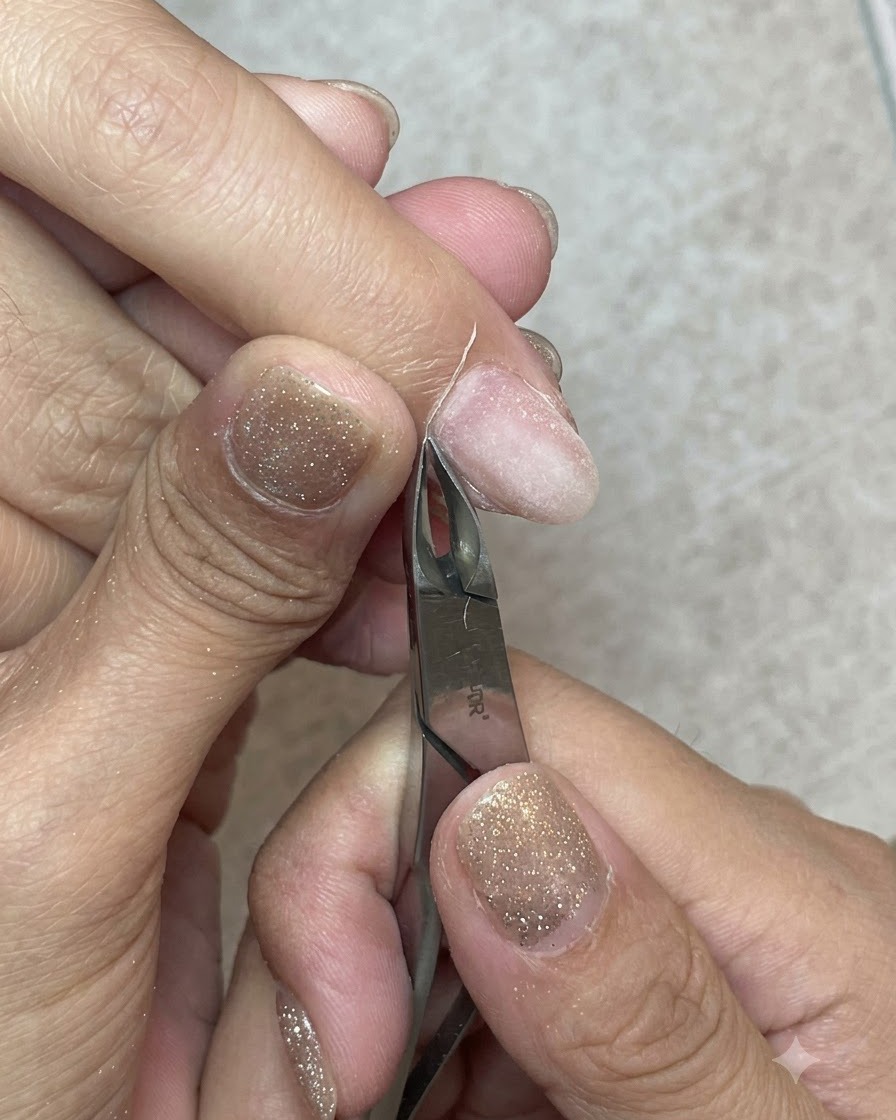
Take a pair of sharp, precision cuticle nippers and carefully snip away the lifted ring of dead skin that was separated during the e-file steps. Follow the natural contour of the cuticle line closely, making clean micro-cuts to avoid pulling or tearing the living skin.
Tip: Never pull or yank the skin with nippers; always cut cleanly using the tips of the blades. - 7Wet prep and clean nail grooves
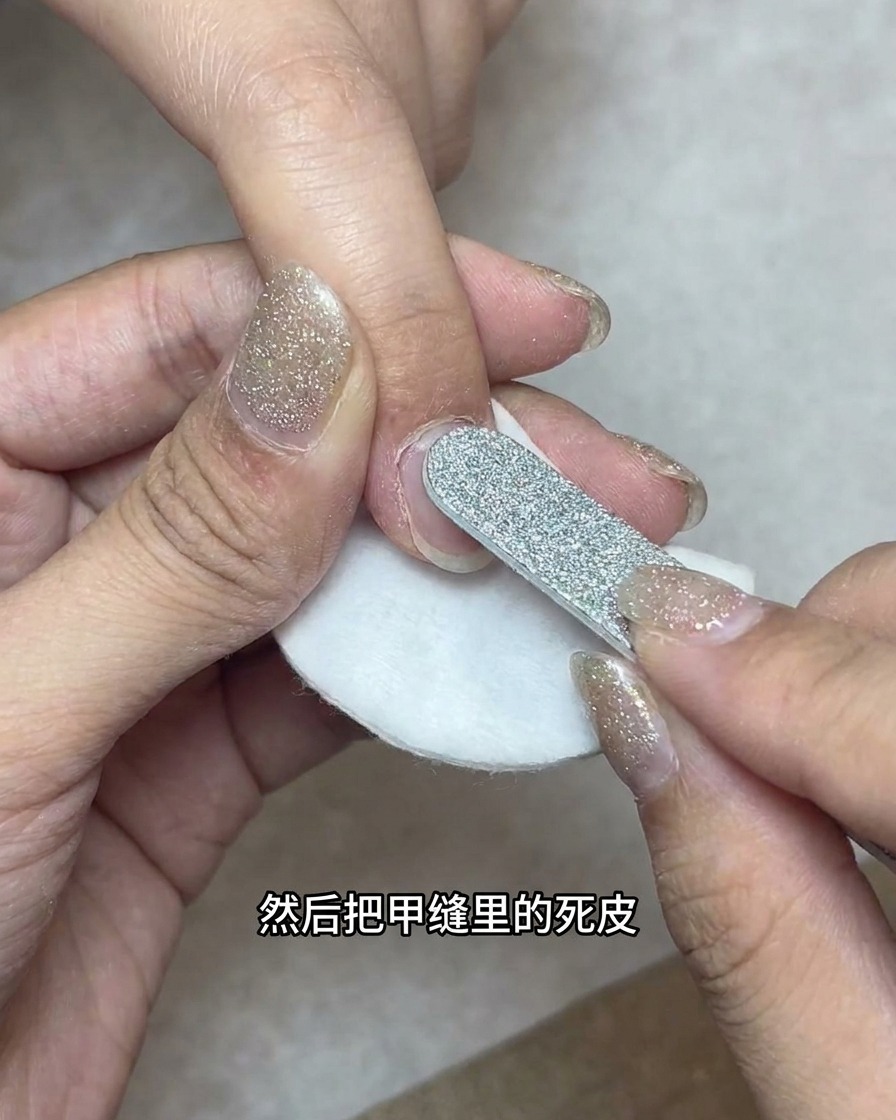
Use a fine bullet-shaped e-file bit for wet cuticle prep, working carefully over a cotton pad to meticulously clean out any remaining dead skin or debris hidden inside the lateral nail folds. This guarantees a spotless surface ready for flawless gel adhesion.
Tip: Keep the area slightly damp or wiped down to easily spot any lingering shreds of non-living tissue. - 8Clean nail debris
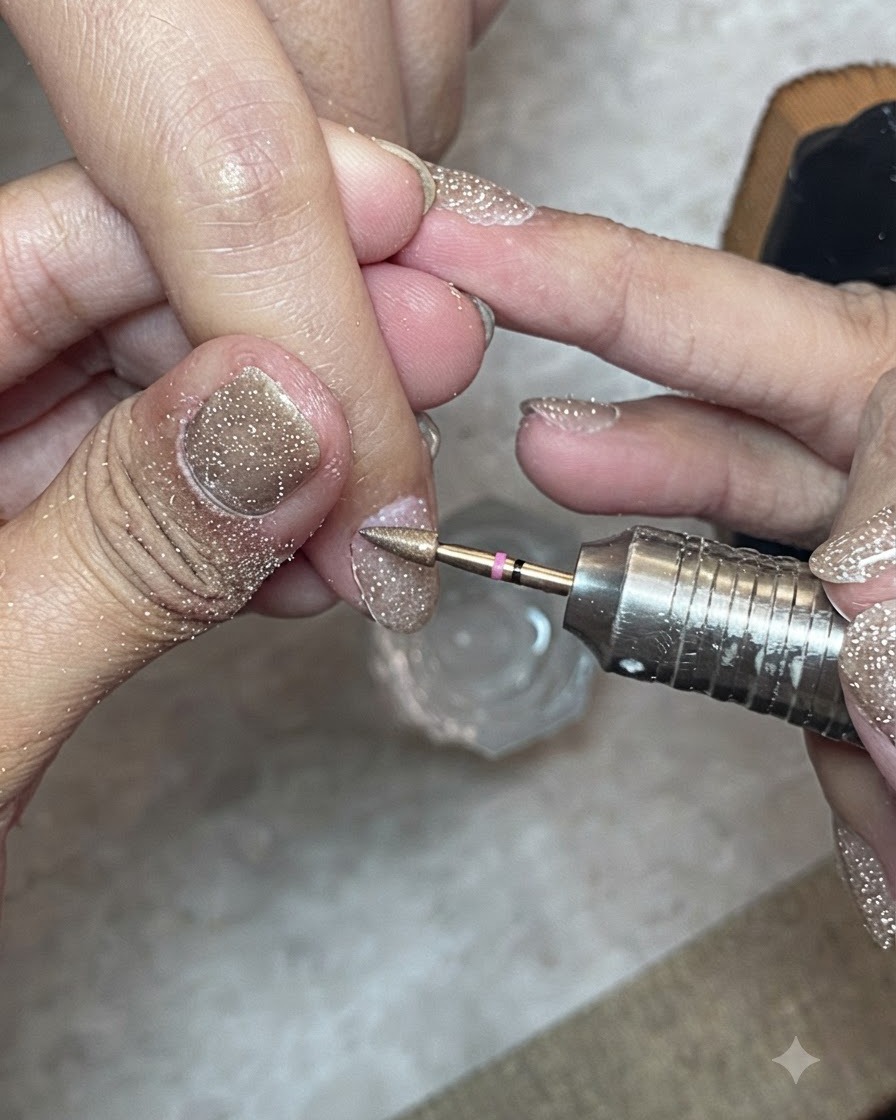
Using a stiff brush and nail cleanser, thoroughly scrub the nail plate and surrounding skin to clear away all dust, filing debris, and oils before proceeding with gel application.
Tip: Make sure to clean the nail grooves thoroughly, as trapped dust can cause the gel to lift prematurely. - 9Apply clear base gel
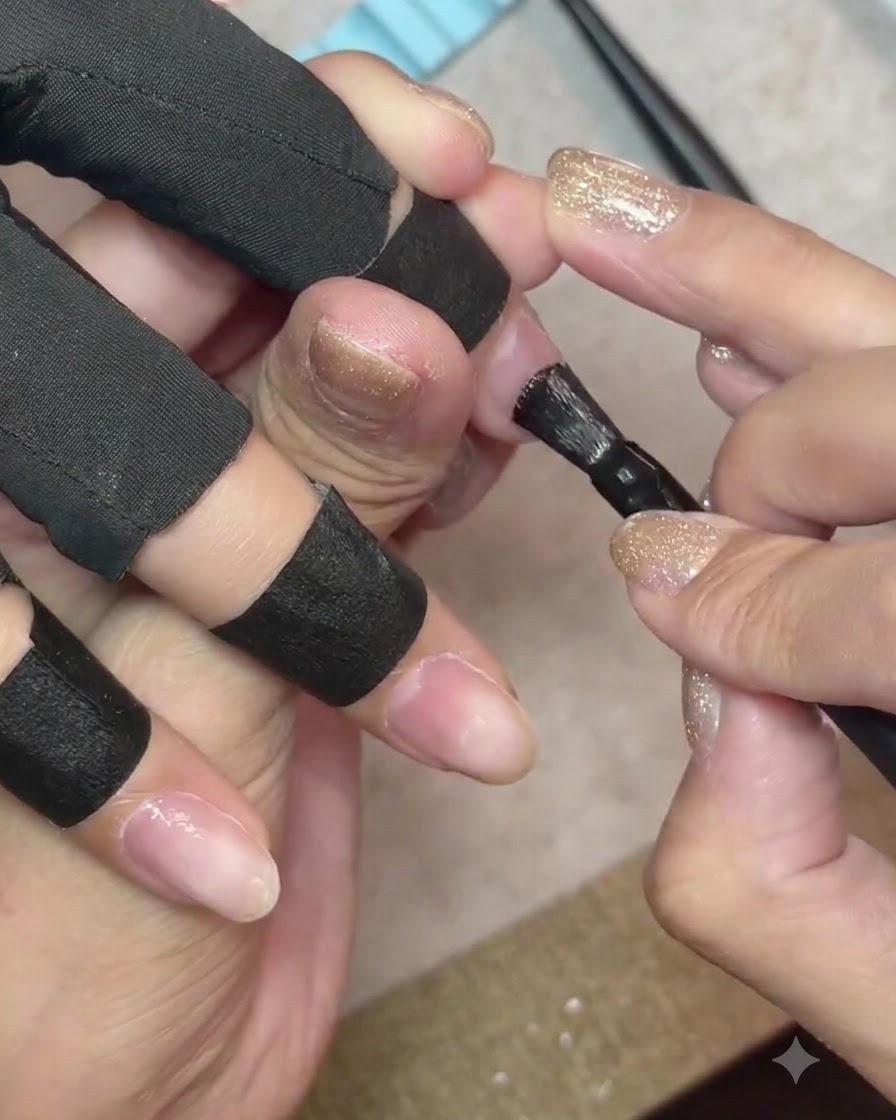
Using a flat square gel brush, apply a thin and even layer of clear base gel over the entire nail plate. Be sure to keep the gel away from the cuticles to prevent lifting and ensure a smooth foundation.
Tip: A flat square brush helps distribute the gel smoothly and prevents pooling at the sidewalls. - 10Cure the base gel
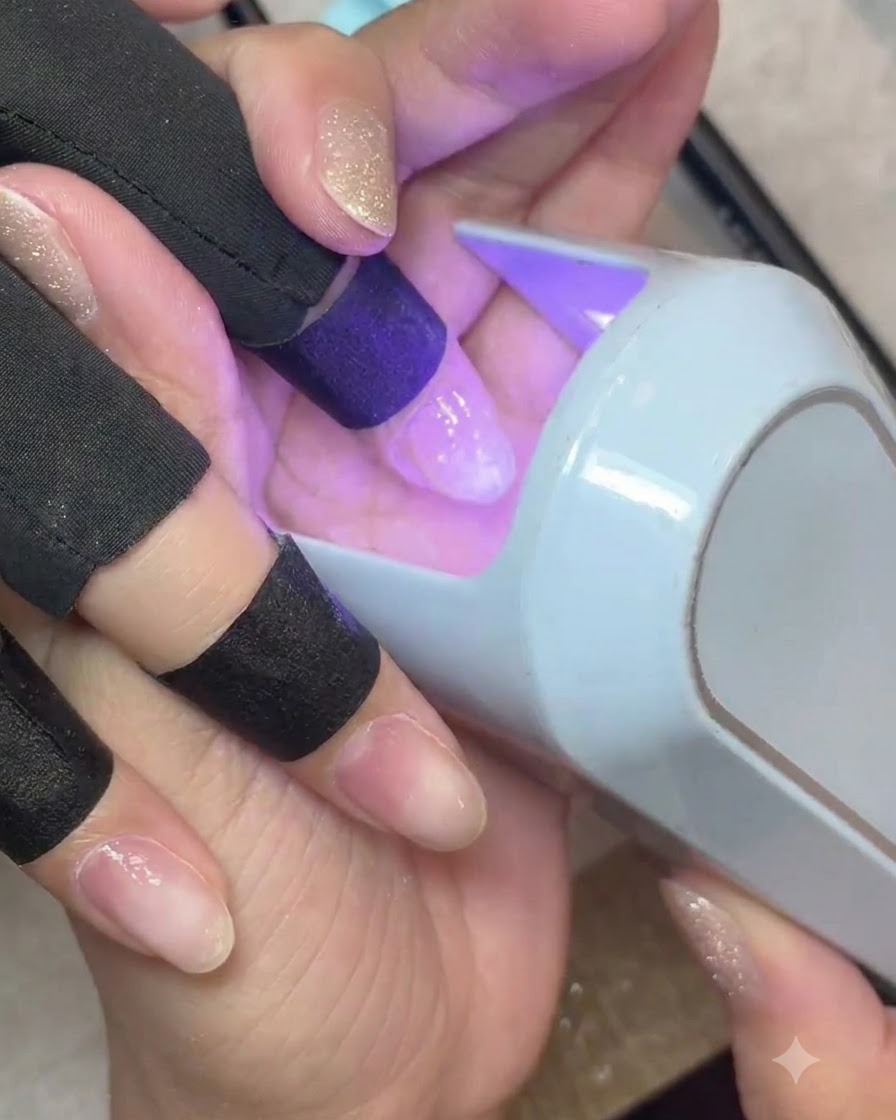
Place the hand under a handheld UV or LED mini lamp to flash cure the base gel. Make sure the light covers the entire nail surface evenly for optimal adhesion before proceeding to the next steps.
Tip: Using a handheld mini lamp is perfect for flash curing individual nails to lock the gel in place quickly before a full cure. - 11Camouflage the free edge
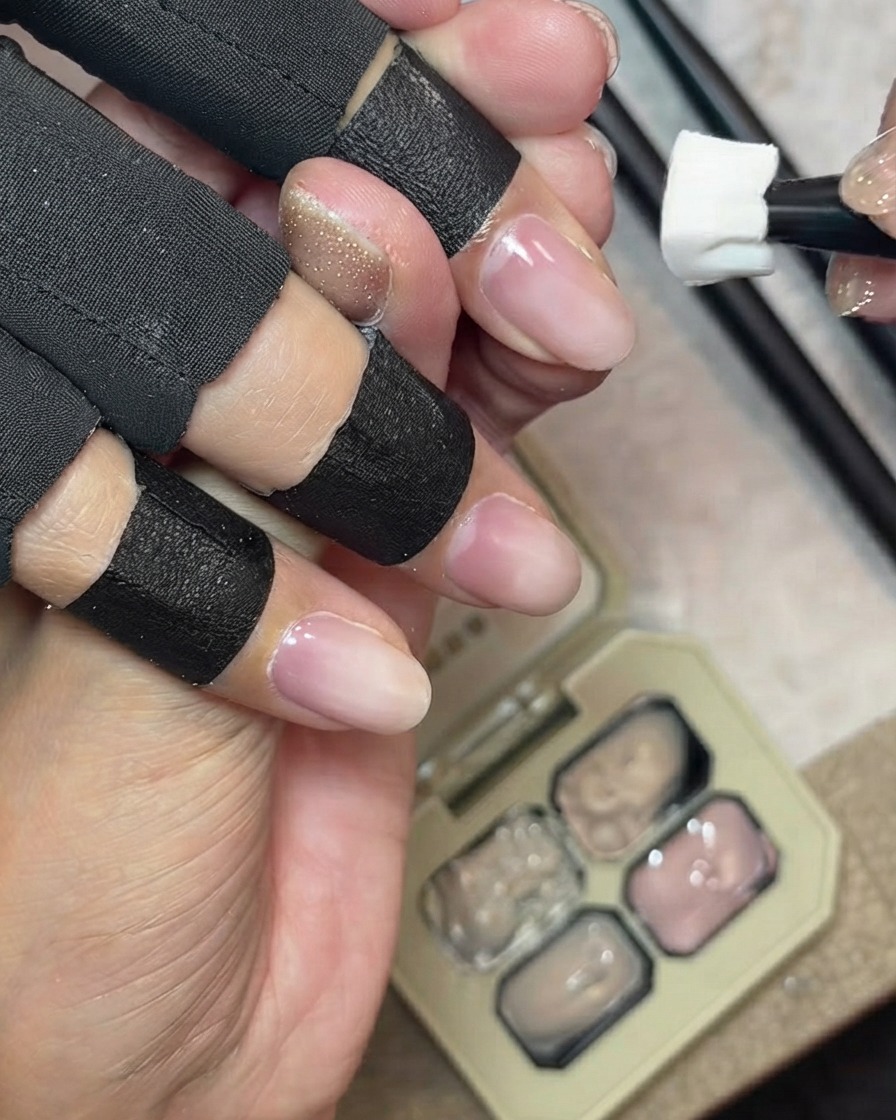
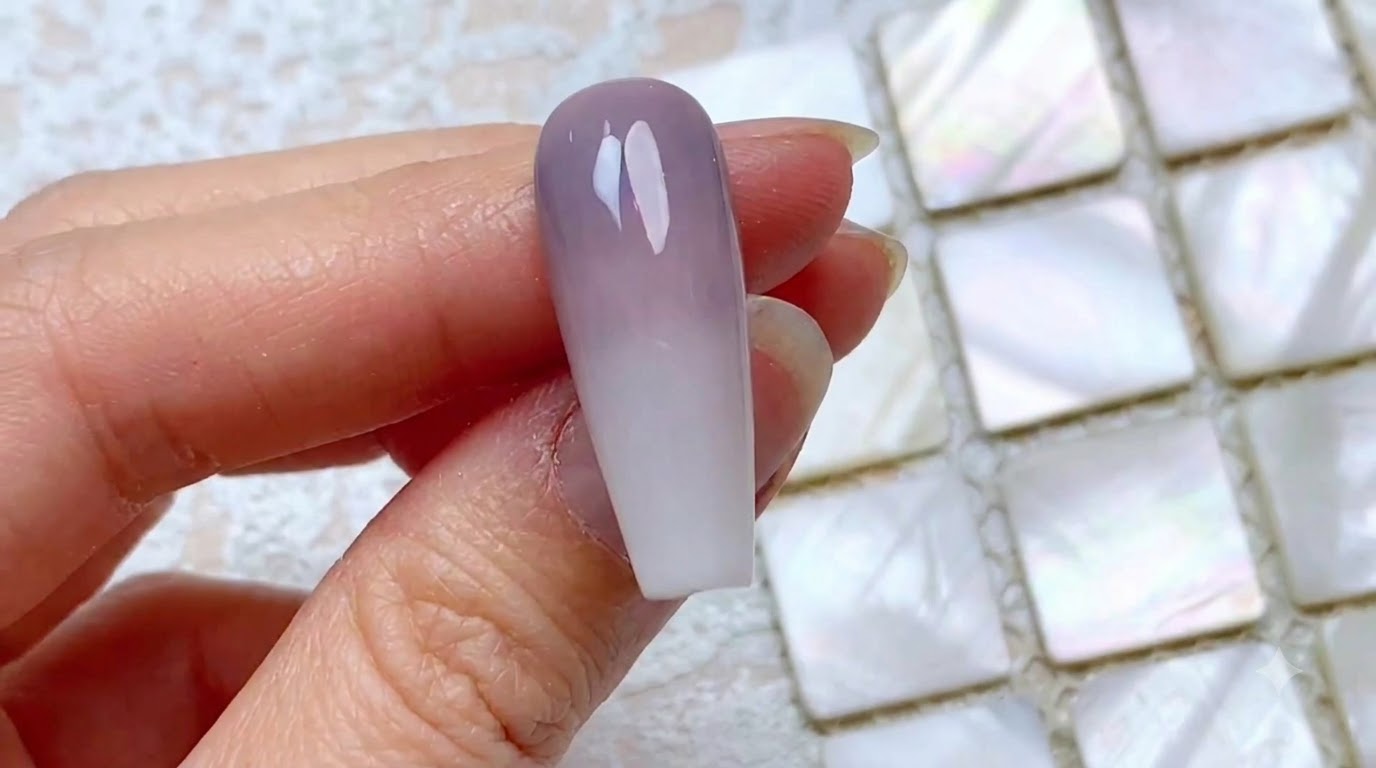
Use a sponge tool to gently dab a milky nude cover gel horizontally across the natural free edge. This technique blends out the smile line and creates a seamless, natural-looking foundation for the upcoming ombre effect.
Tip: Dabbing rather than swiping the gel ensures maximum coverage and a softer gradient effect. - 12Apply cat-eye shimmer gel
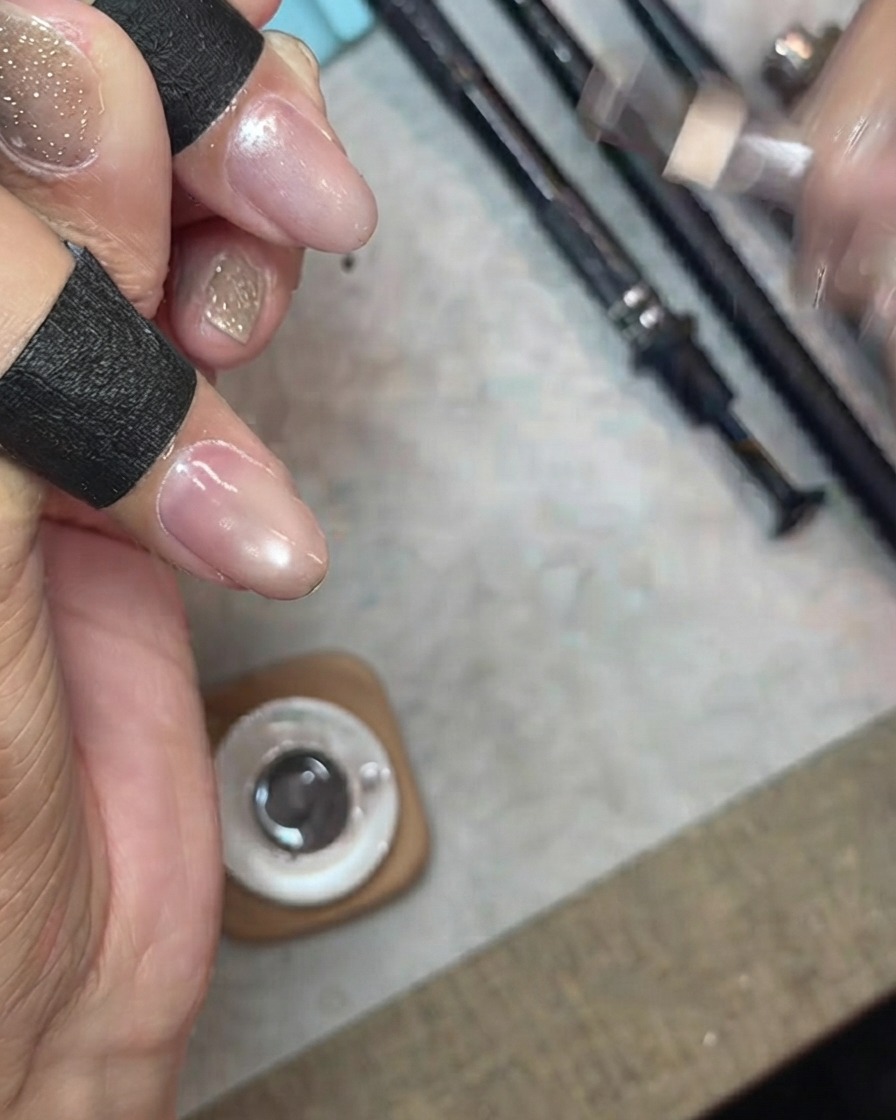
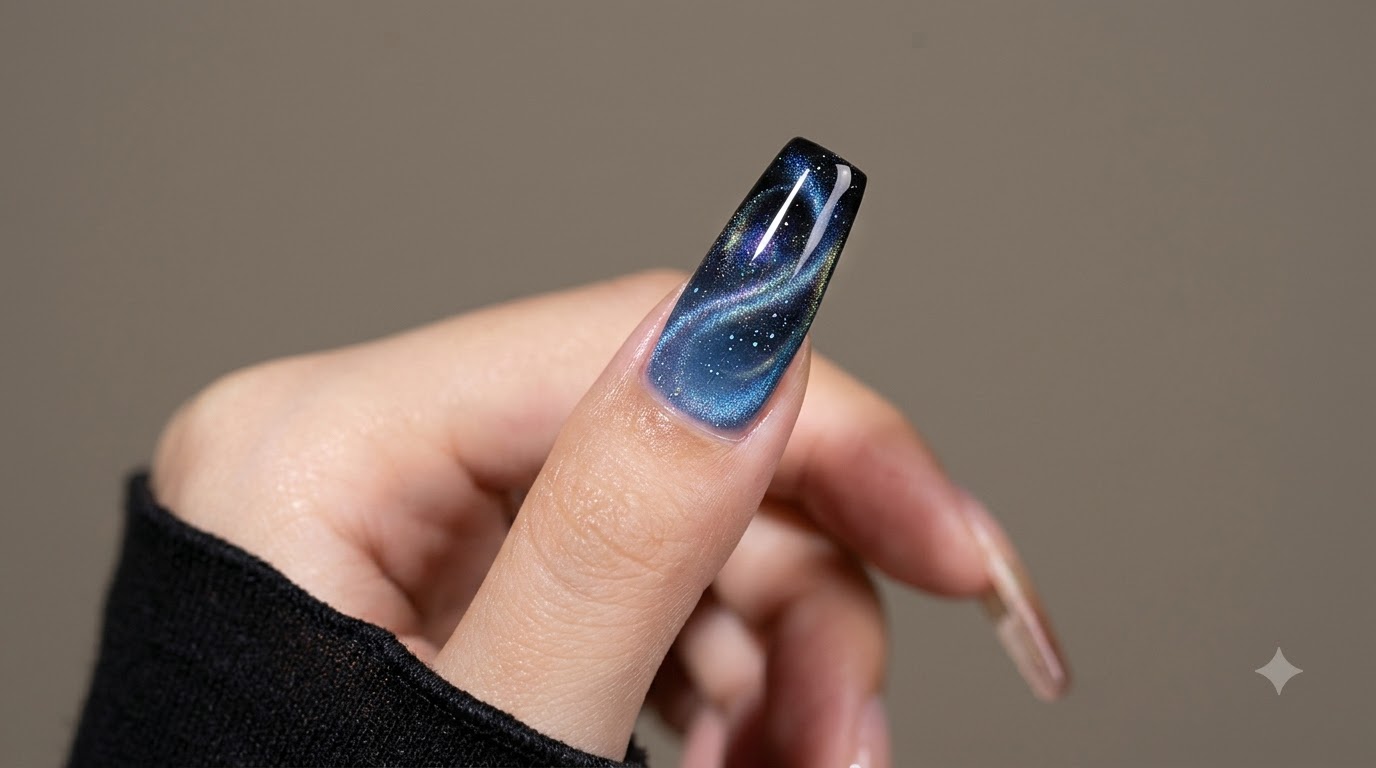
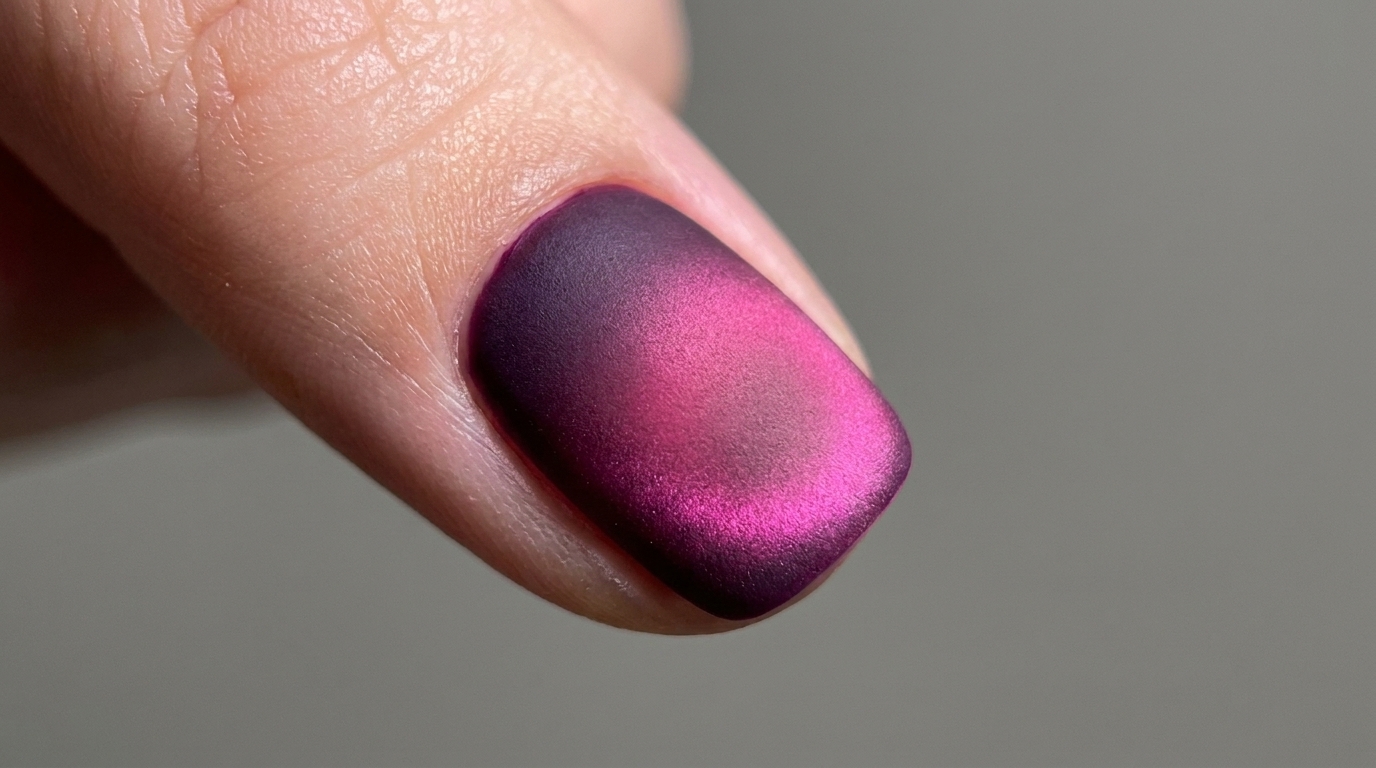
Brush on a layer of sheer, fine shimmer or cat-eye gel evenly over the entire nail. Ensure a smooth, uniform coverage so the magnetic particles can be easily manipulated for a stunning finish.
Tip: Keep the application thin and even to allow the shimmer particles to move freely when activating the cat-eye effect. - 13Cure shimmer gel layer
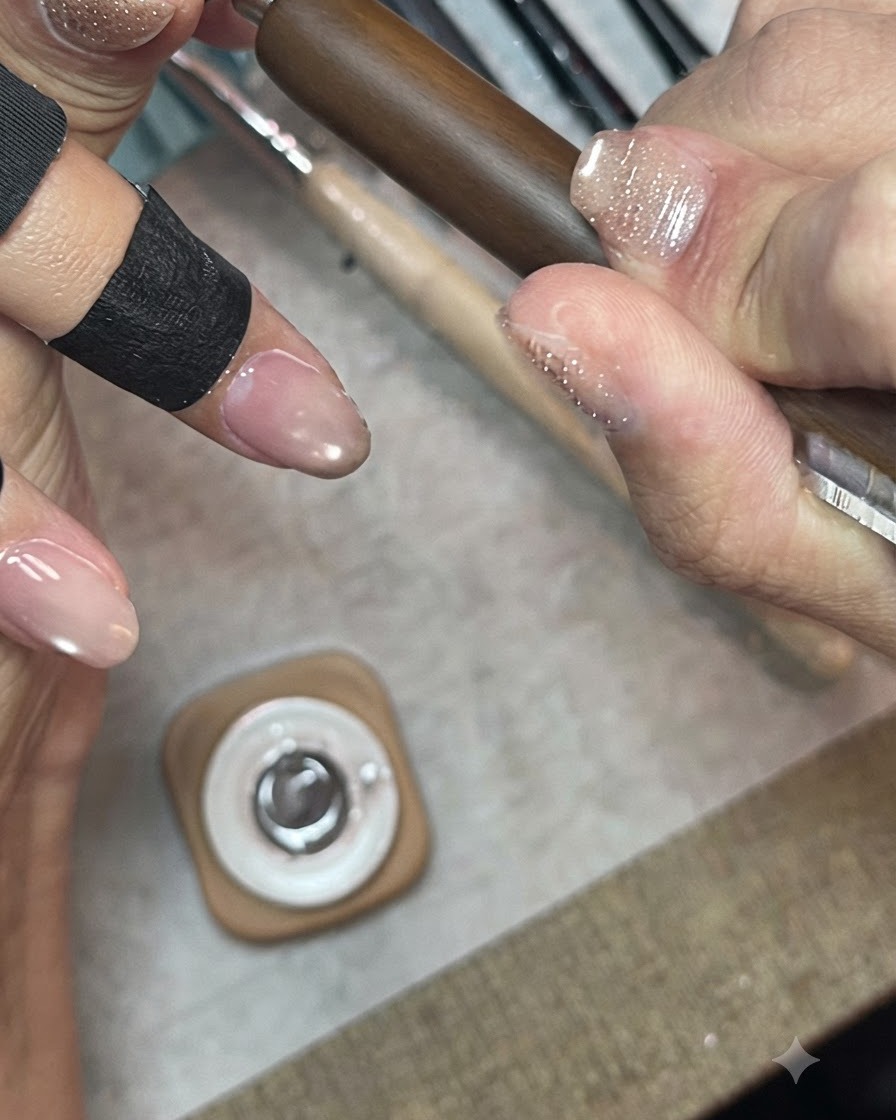
Place the nails under a UV/LED mini lamp to cure the freshly applied shimmer or glitter gel layer. Ensure proper placement so the gel sets evenly without shifting.
Tip: Position the hand evenly under the mini lamp light source to guarantee complete curing across all targeted fingers. - 14Apply crushed diamond gel
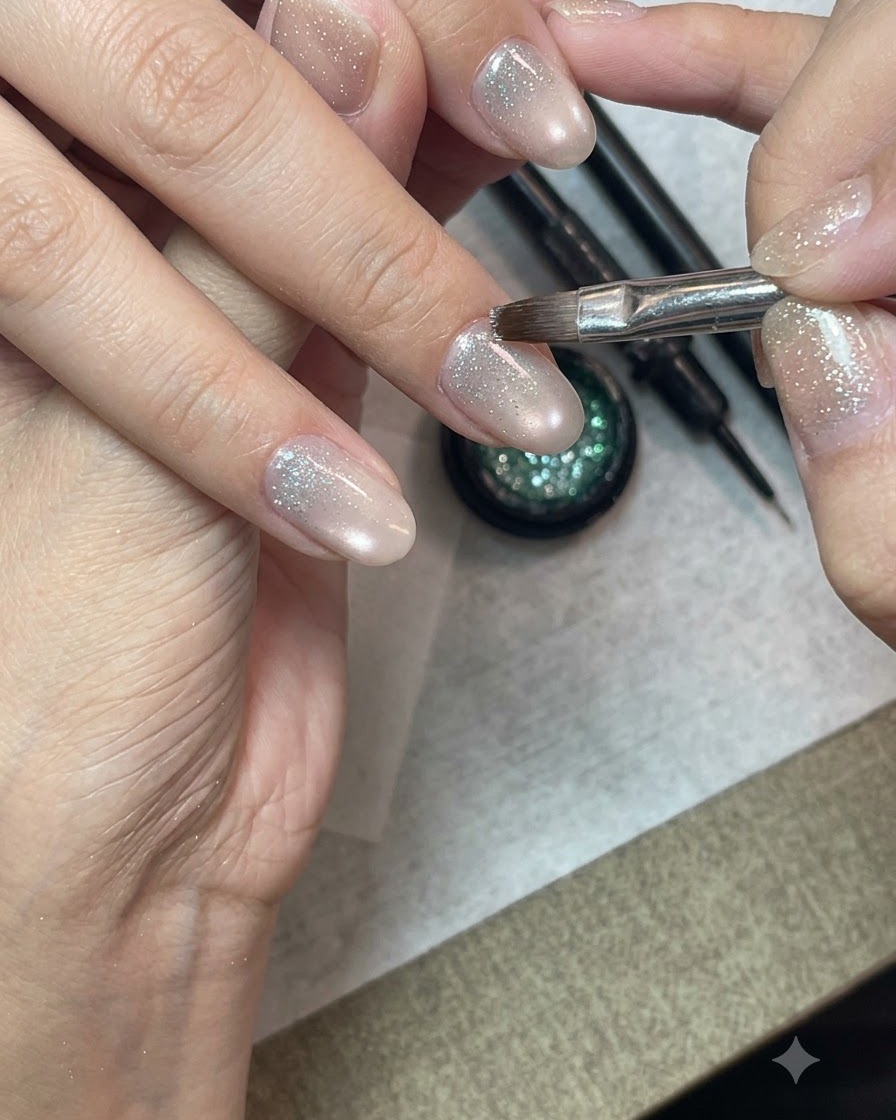
Using a detailed nail art brush, carefully pick up the crushed diamond glitter gel and start brushing it from the cuticle area downward. Apply the glitter primarily to the lower half of the nail to build the foundation for a seamless gradient ombre look.
Tip: Keep the application thin near the cuticle to maintain a clean transition. - 15Blend the glitter gradient
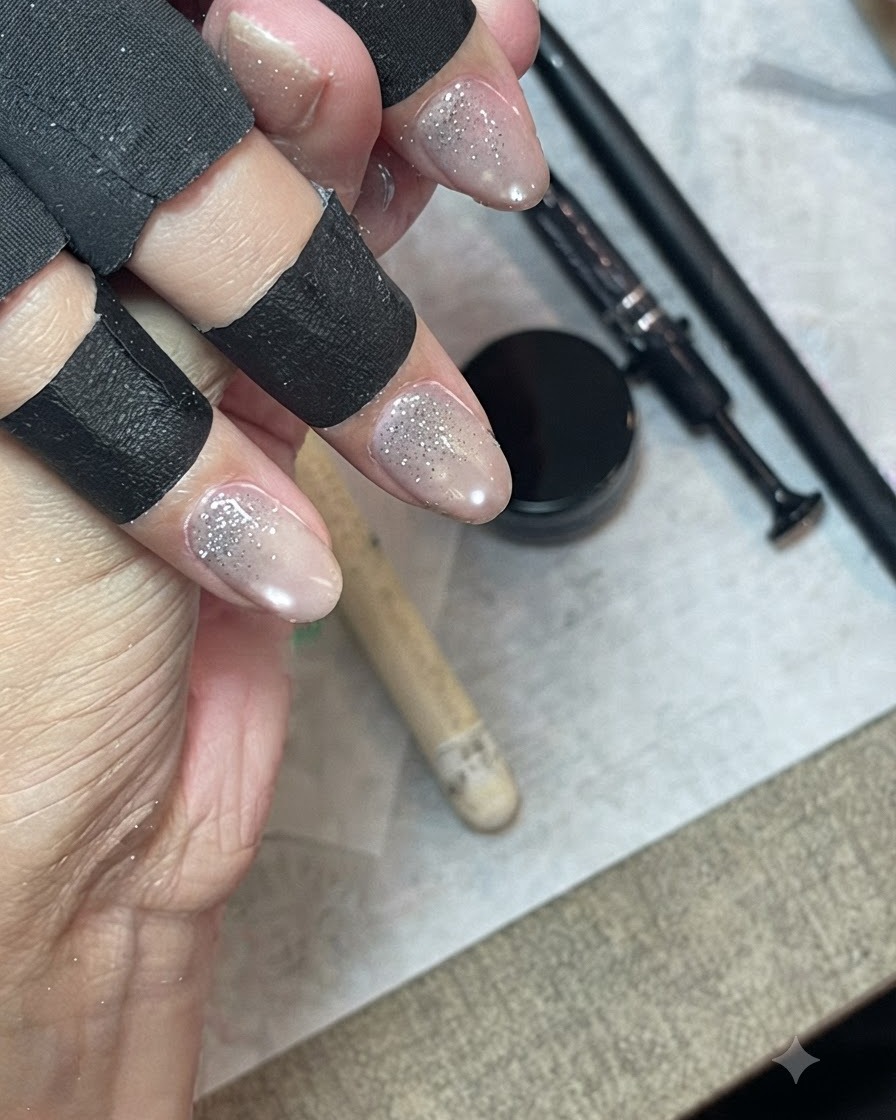
Take a fine, thin liner brush and gently feather out the edge of the glitter gel. Blend the glitter particles downwards toward the free edge to create a smooth, natural fade without harsh lines.
Tip: Use light, sweeping motions with the tip of the brush to disperse the glitter evenly. - 16Place mint blue sequins
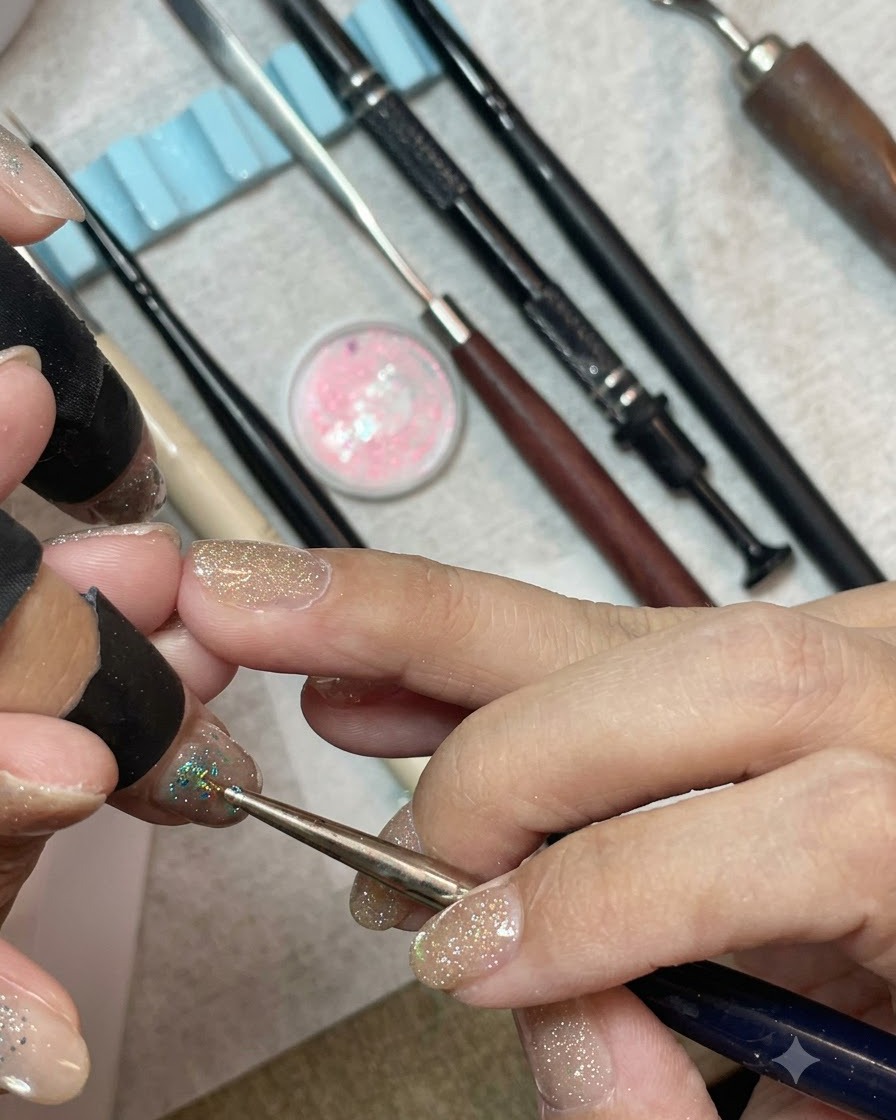
Using a detail tool or brush, pick up chunky mint blue and silver hexagonal sequins from your palette. Place them densely onto the nail tip to build up the vibrant glitter ombre effect.
Tip: Press the sequins down gently into the uncured gel layer so they lay flat and secure. - 17Perfect the sequin ombre
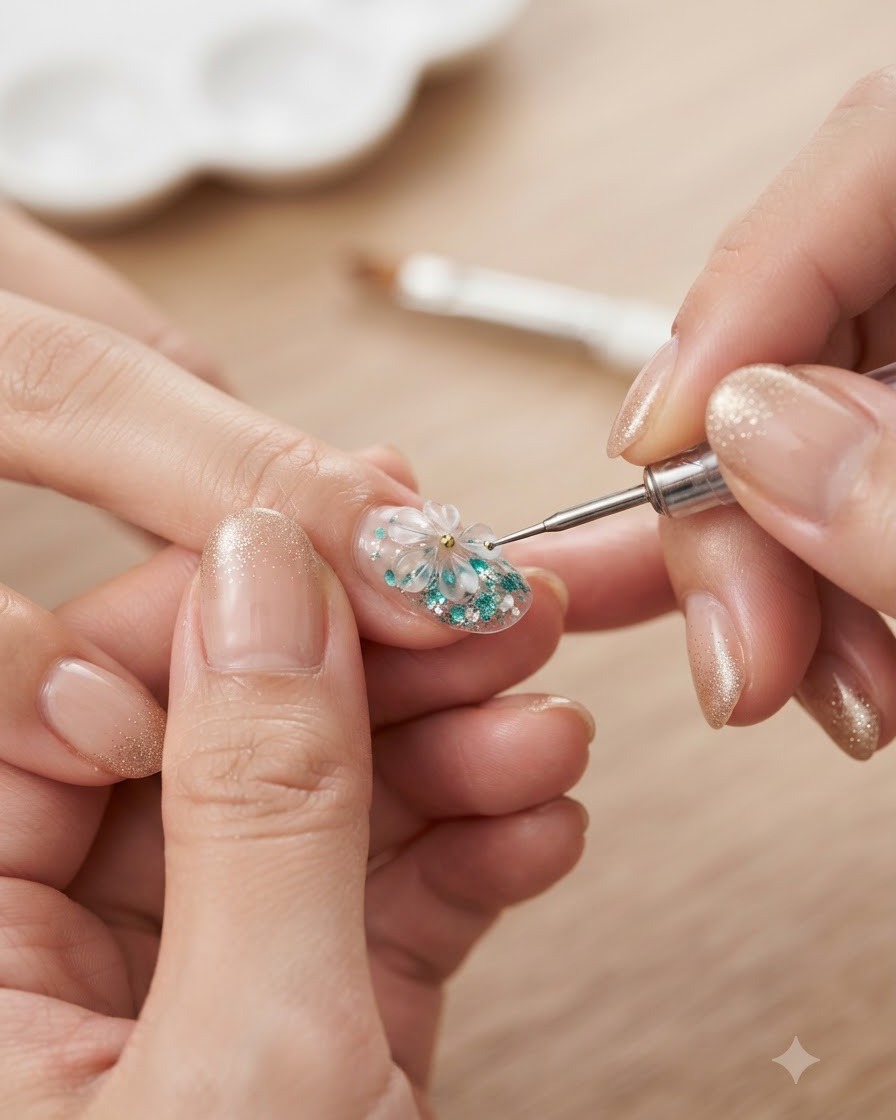
Continue meticulously arranging individual sequins along the nail tip using a detail brush. Fill in any sparse gaps to perfect the vibrant gradient ombre effect before moving on to encapsulation.
Tip: Take your time balancing the spacing of the sequins to create an even, dazzling look across the entire tip. - 18Encapsulate the sequins
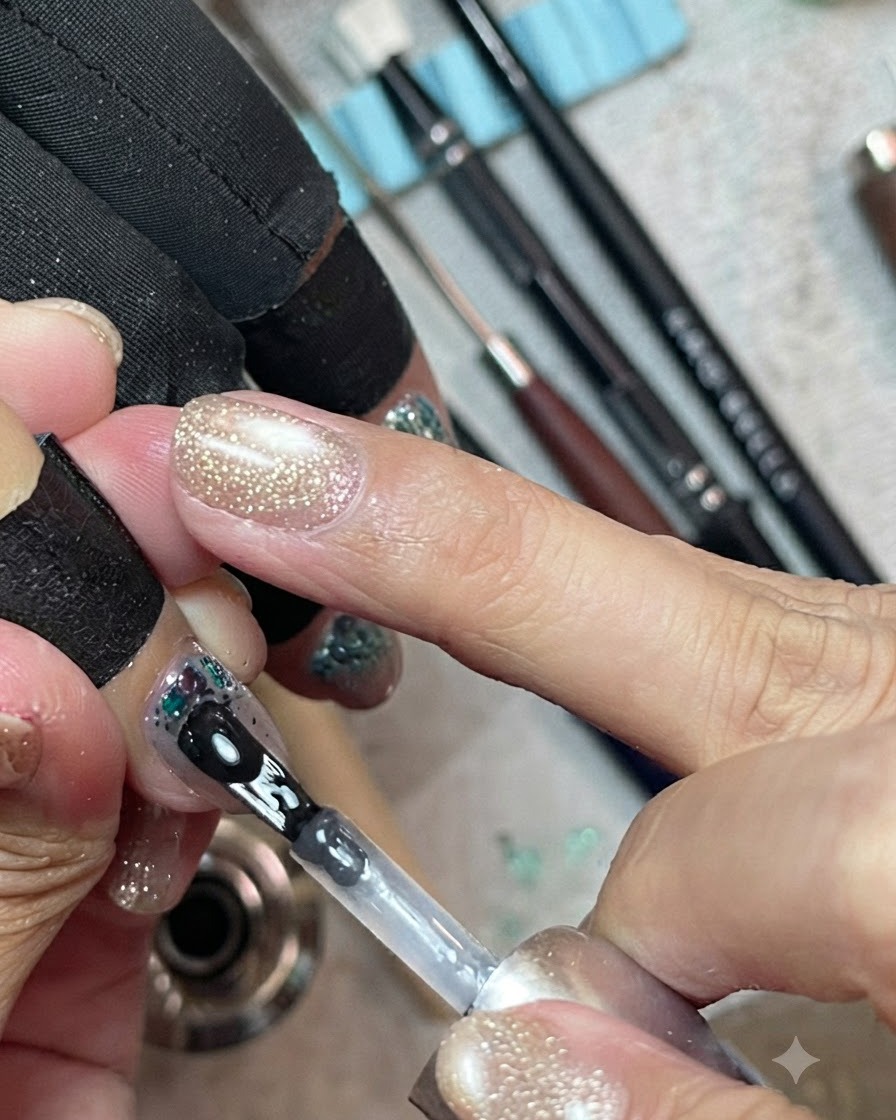
Apply a thick, leveling layer of clear encapsulation builder gel over the sequin gradient. Float the brush gently over the surface to build a smooth structure without shifting the glitter placement. This layer protects the sequins and ensures a completely flawless, even surface.
Tip: Allow the clear gel a few seconds to self-level on the nail before curing to minimize the need for manual filing.