Gradient Matte Cat-Eye Nails — Velvet Frosted Step-by-Step Tutorial
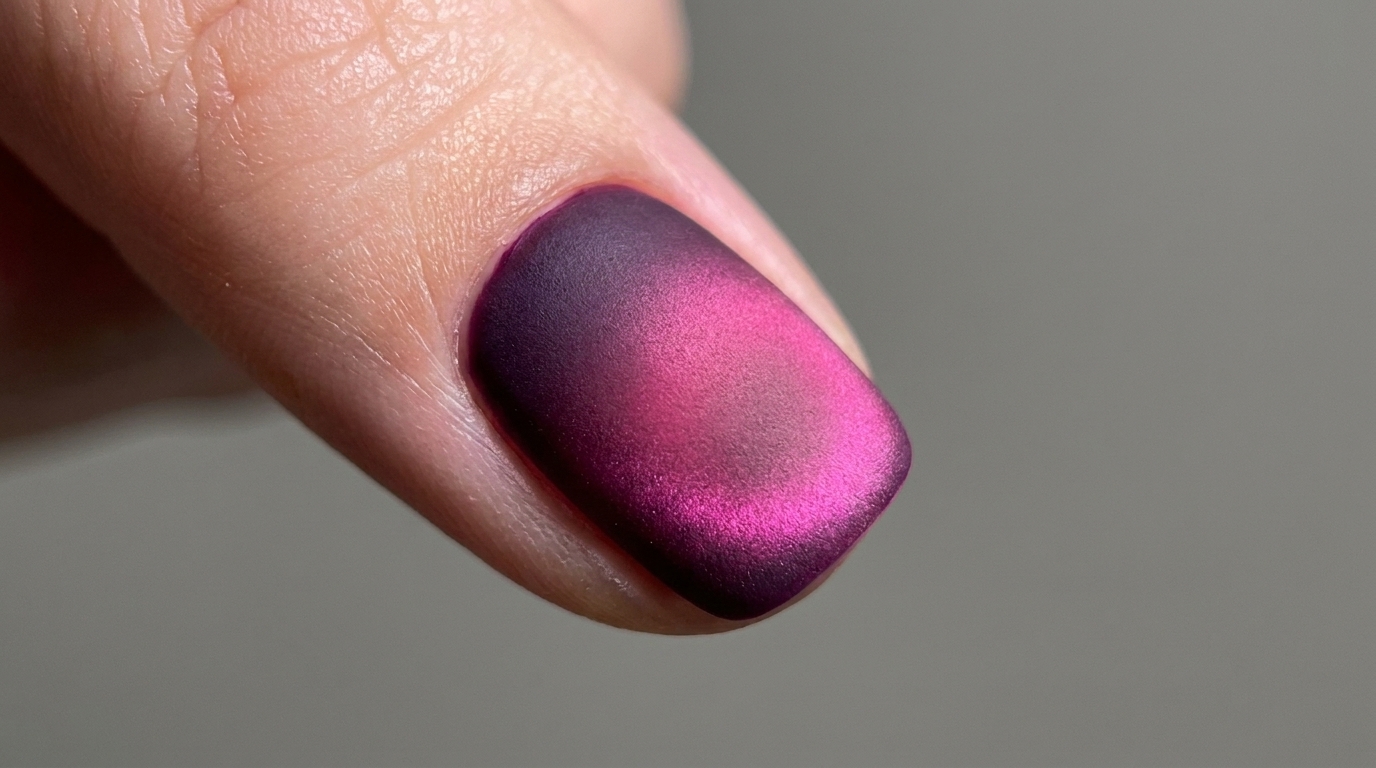
Create a trending frosted cat-eye nail look with a moody purple-to-magenta gradient and a luxurious matte finish.
Over 600,000 viewers have been captivated by this stunning frosted cat-eye nail style. Combining a moody dark purple base with a glowing magenta-pink magnetic highlight, this look achieves incredible dimension. Finished with a soft matte top coat, it delivers an ultra-smooth velvet texture that is surprisingly simple to recreate at home.
Steps
- 1Apply first cat-eye gel coat
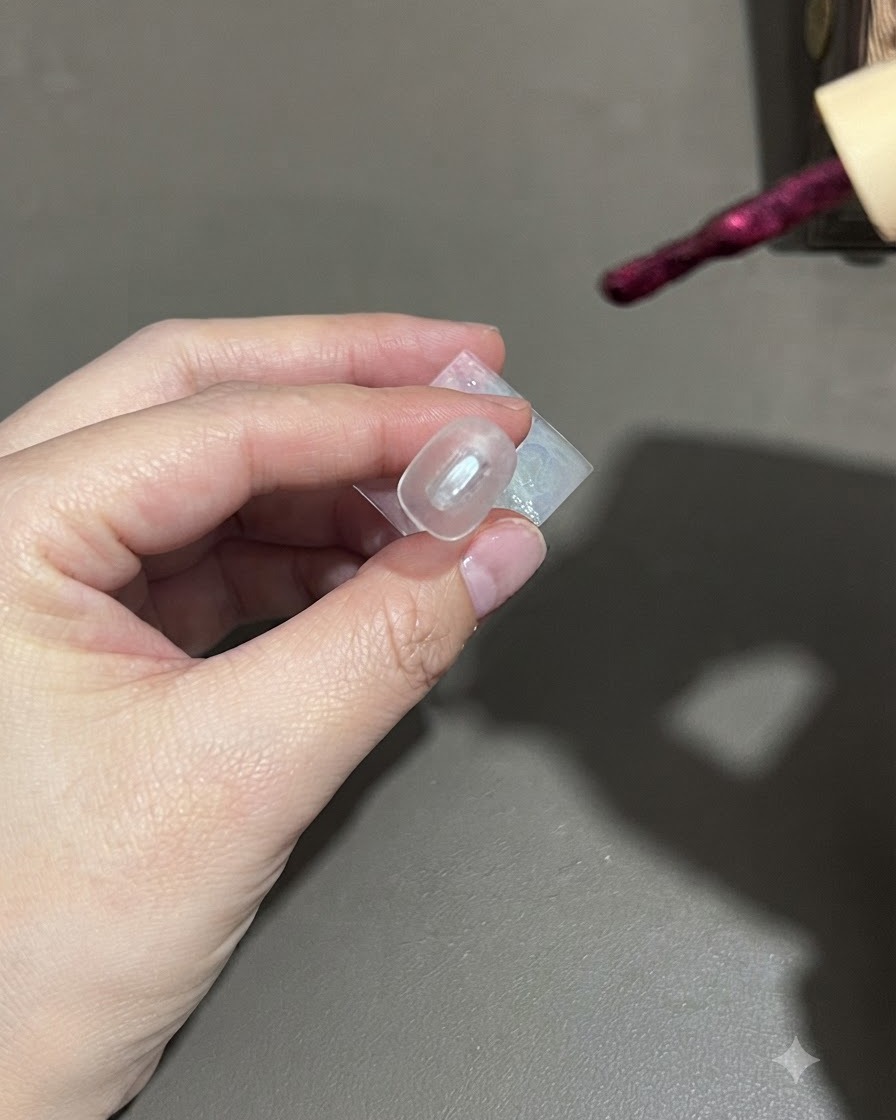
Apply a thick coat of dark purple cat-eye gel polish evenly to the nail. Ensure smooth coverage across the nail surface before moving on to shape the magnetic particles.
Tip: Apply the gel evenly to allow the magnetic particles to move smoothly. - 2Even out the polish
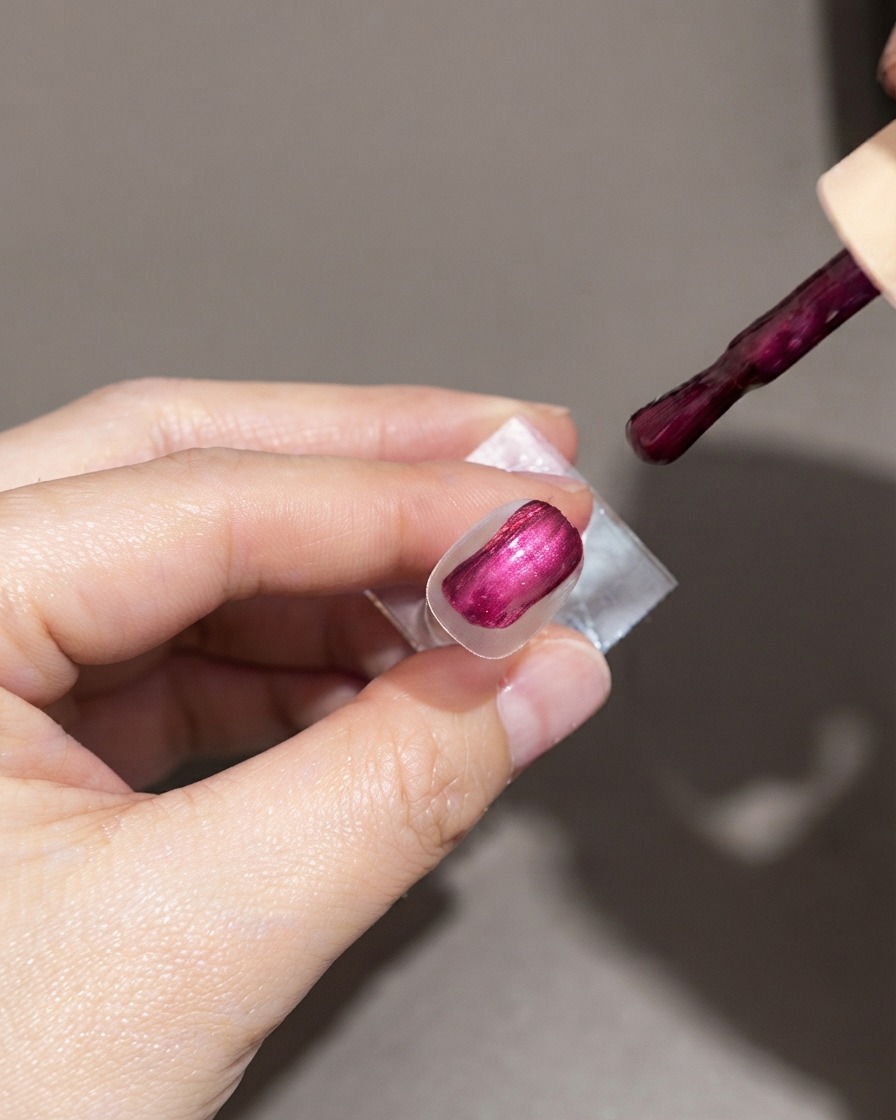
Smooth the dark purple gel polish carefully, ensuring it is applied evenly across the entire nail surface. Full and even coverage is crucial before using the magnet to ensure a uniform background color.
Tip: Use light, floating brush strokes to self-level the gel and avoid streaks. - 3Create Center Highlight
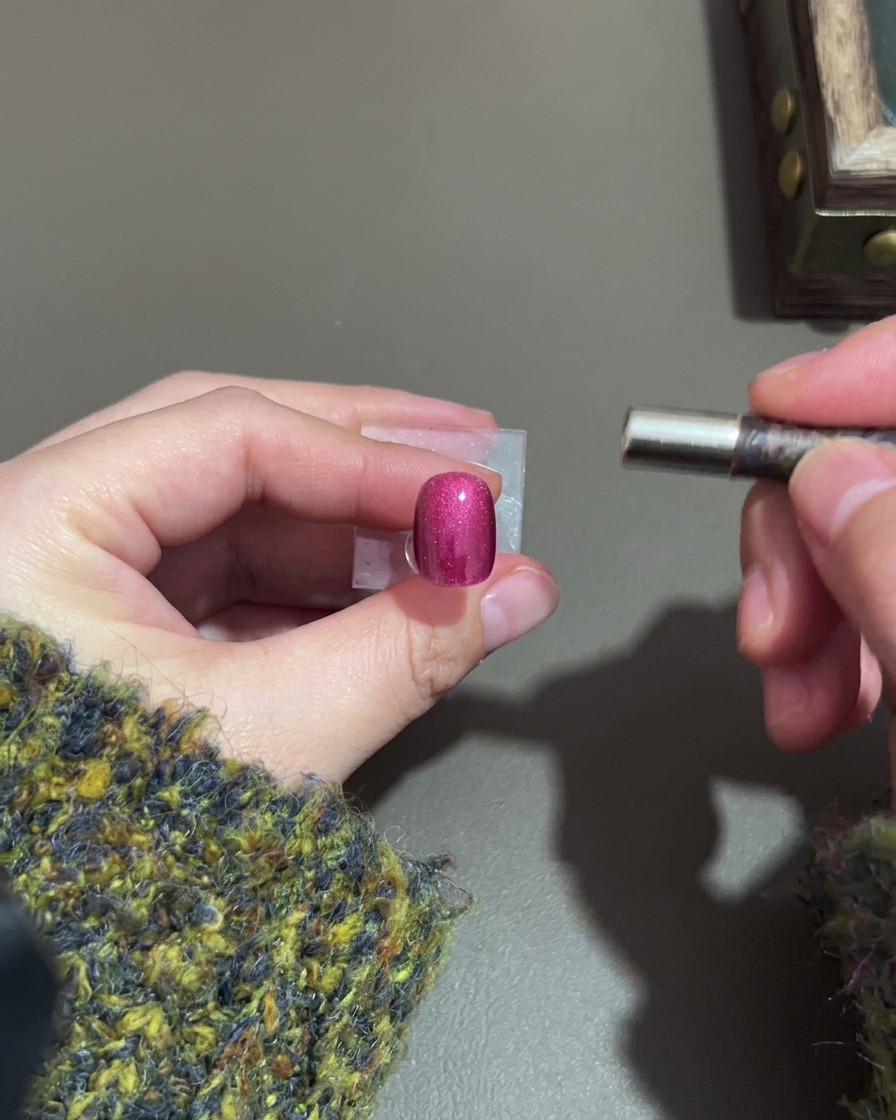
Take a medium-sized magnet and hover it near the left and right sides of the uncured dark purple cat-eye gel polish. This movement draws the suspended magnetic particles inward to form a concentrated center highlight.
Tip: Keep the magnet steady and close to the nail without touching the wet gel surface. - 4Shape the cat-eye highlight
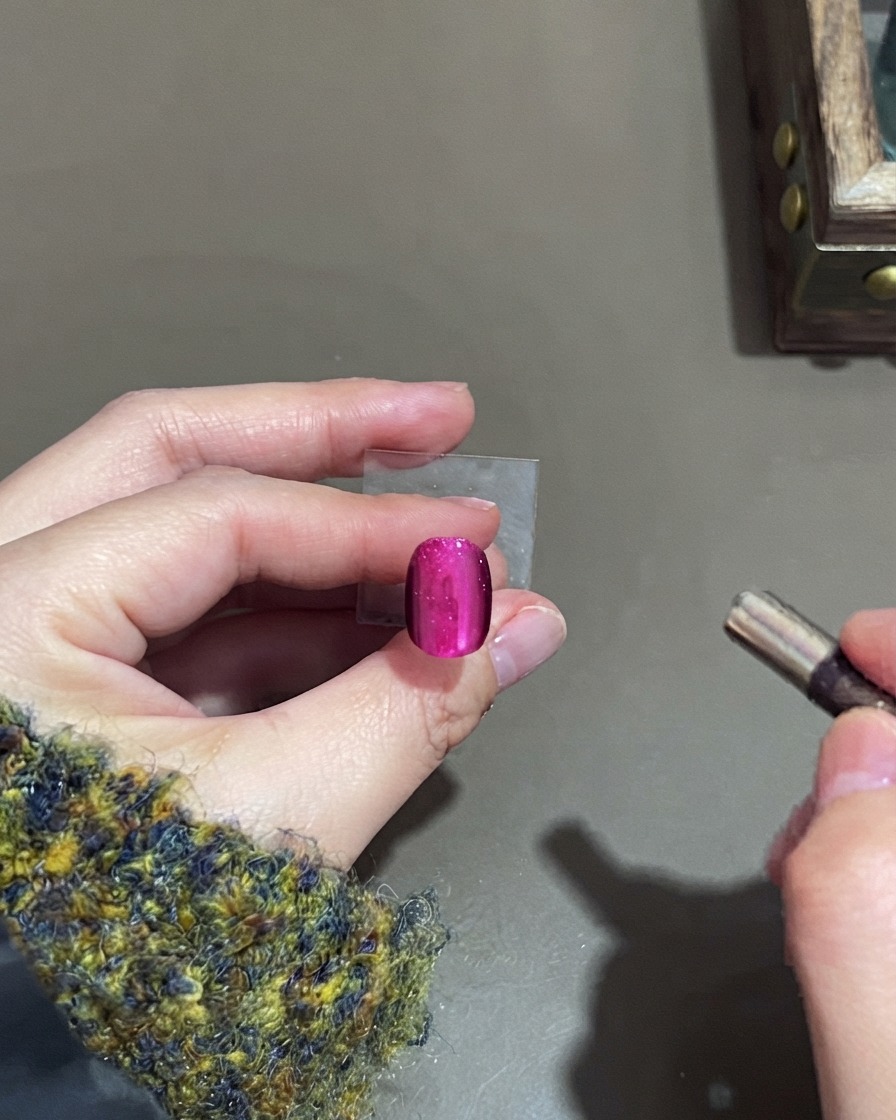
Take a medium-sized magnet and move it from the cuticle upwards to shape the magnetic particles into a smooth arc, creating the signature dimension for the frosted cat-eye look.
Tip: Keep the magnet steady and close to the nail without touching the wet gel surface. - 5Refine Light Placement
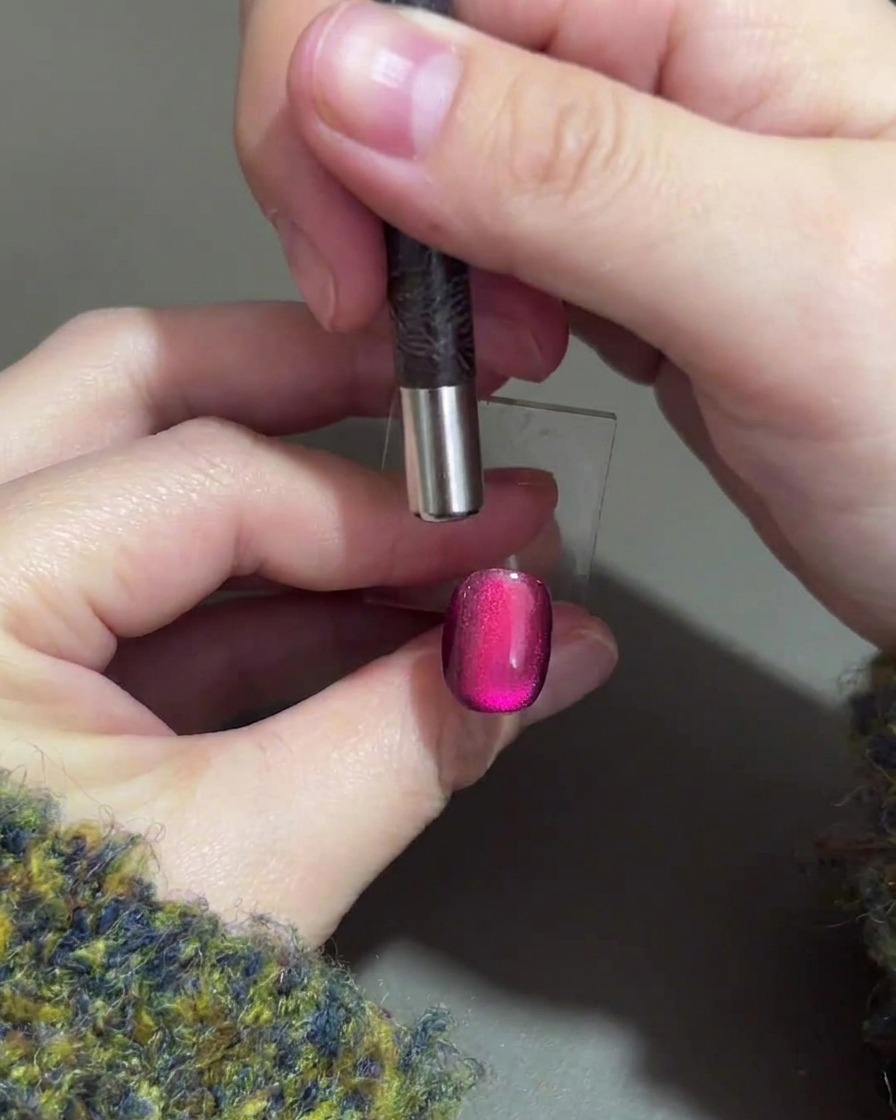
Hover the magnet at the top edge of the nail and gently push the magnetic field downward. This shifts the bright highlight into the lower middle area of the nail, producing the signature gradient light effect.
Tip: If you make a mistake with the magnet, simply brush over the gel polish again to reset the particles and start over. - 6Cure the first coat
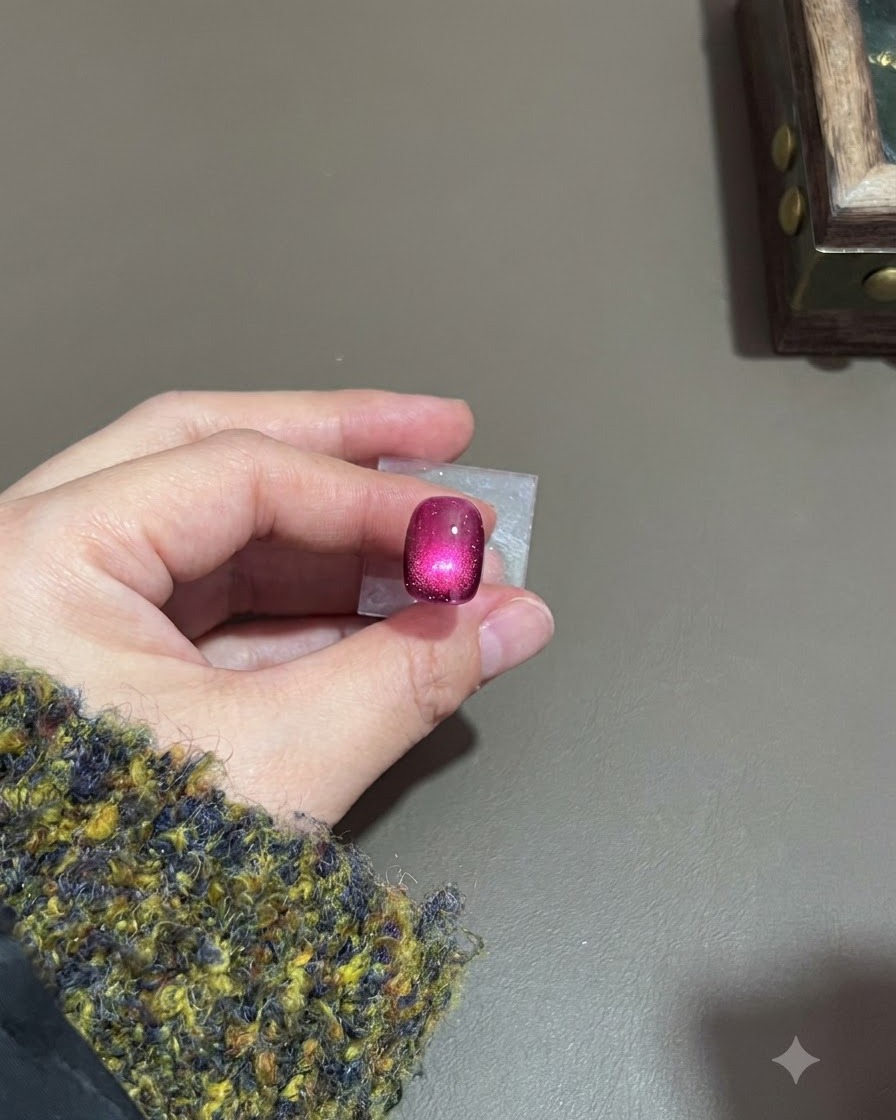
Once the cat-eye effect looks correct with light focused in the lower middle area, place the nail under the UV or LED lamp to cure the polish.
Tip: Double-check the light placement before curing since the magnetic effect will become permanent. - 7Apply second cat-eye coat
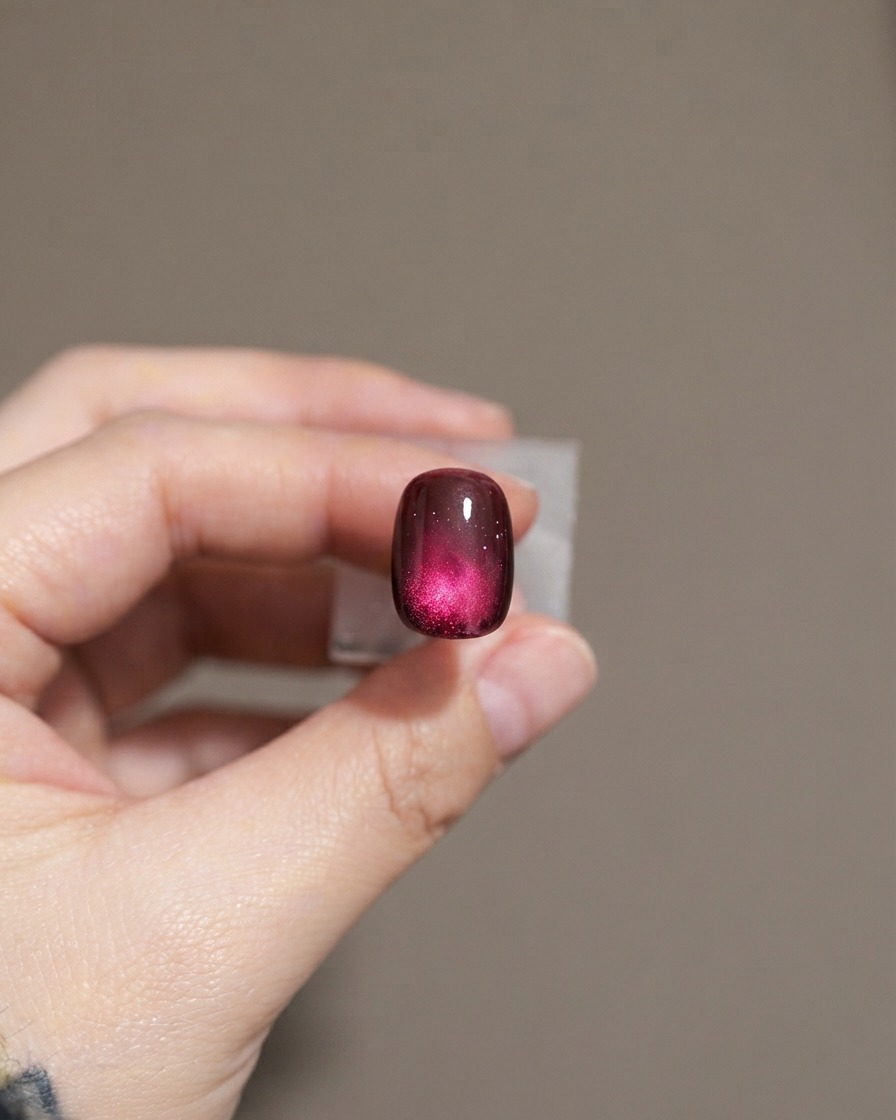
Apply a second coat of the dark purple cat-eye gel polish evenly over the first cured layer to deepen the color and enhance the gradient effect.
Tip: Keep the second layer consistent with the first for an even base. - 8Apply Second Layer of Cat-Eye Polish
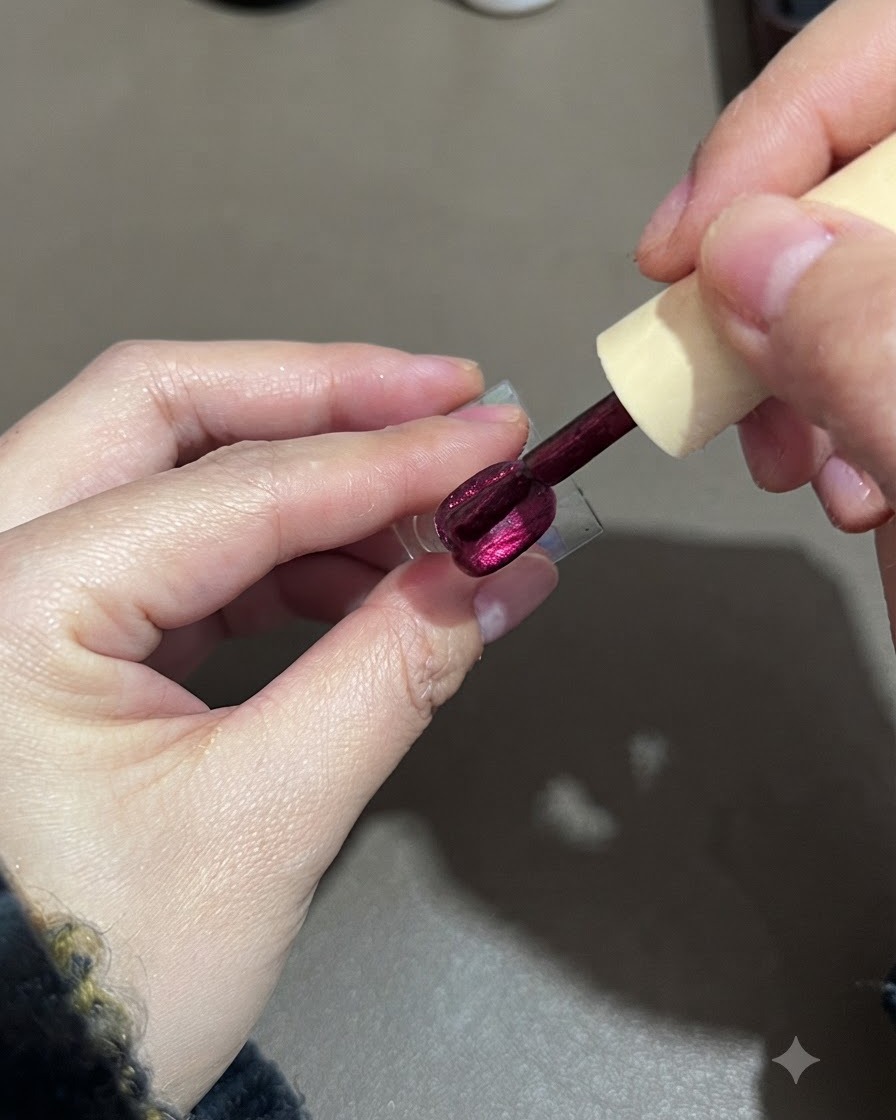
Apply a second even coat of cat-eye gel polish over the nail to build richer color intensity and provide an adequate base for the magnetic particles to shift.
Tip: Apply the second coat evenly just like the first to maintain a smooth foundation. - 9Position Magnet for Second Layer
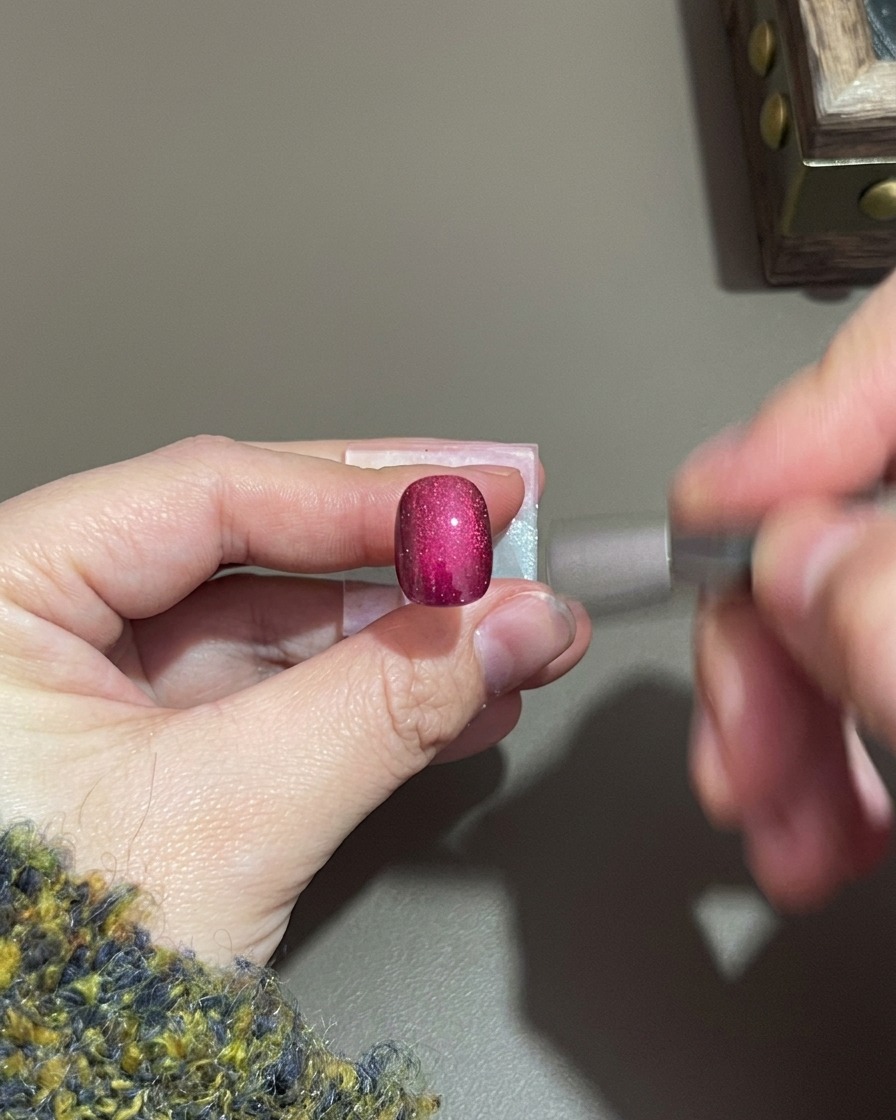
Take the medium-sized magnet and move it left and right across the uncured second layer to create the initial highlight effect, matching the look of the first coatcite: 1.
Tip: Keep the magnet steady at a consistent distance from the wet gel surface. - 10Push Magnet Upward for Arc
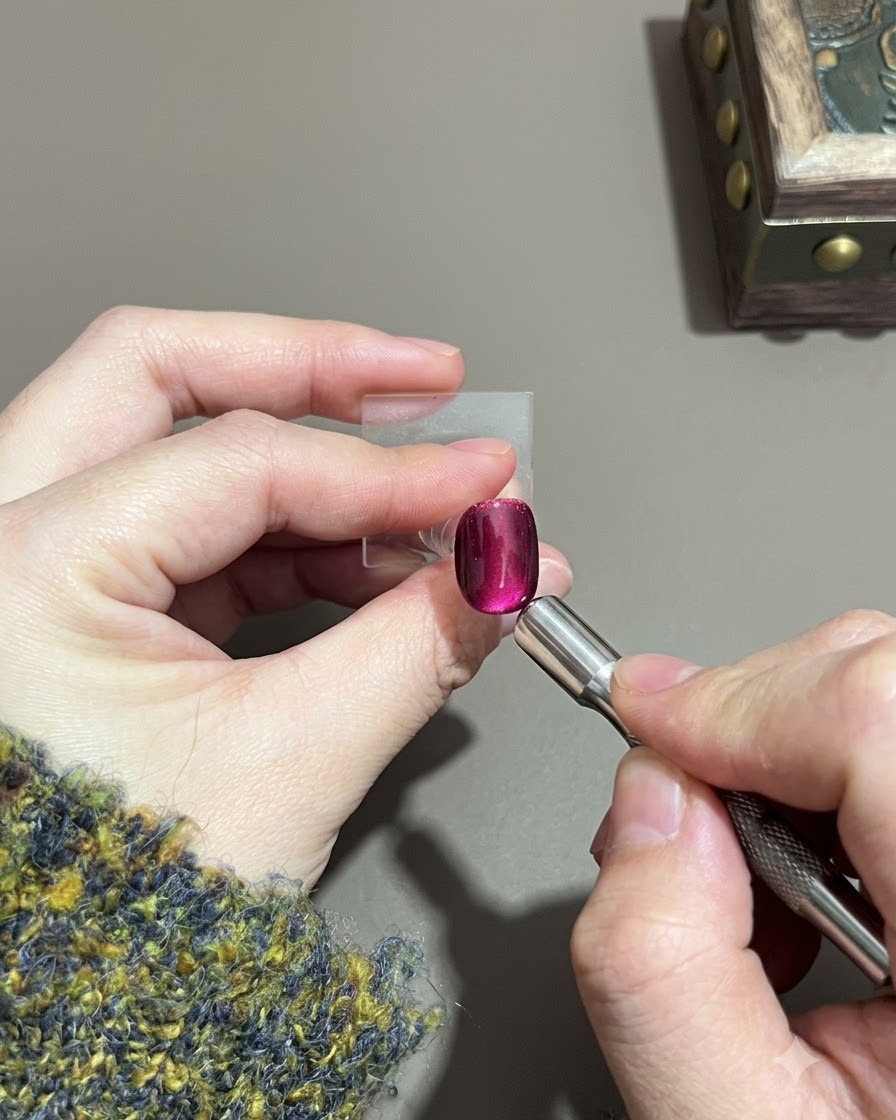
Push the magnet from the bottom of the nail toward the top to form an arc shape, guiding the magnetic particles into positioncite: 1.
Tip: Smooth continuous motions help form a cleaner gradient line. - 11Focus Light on Second Layer
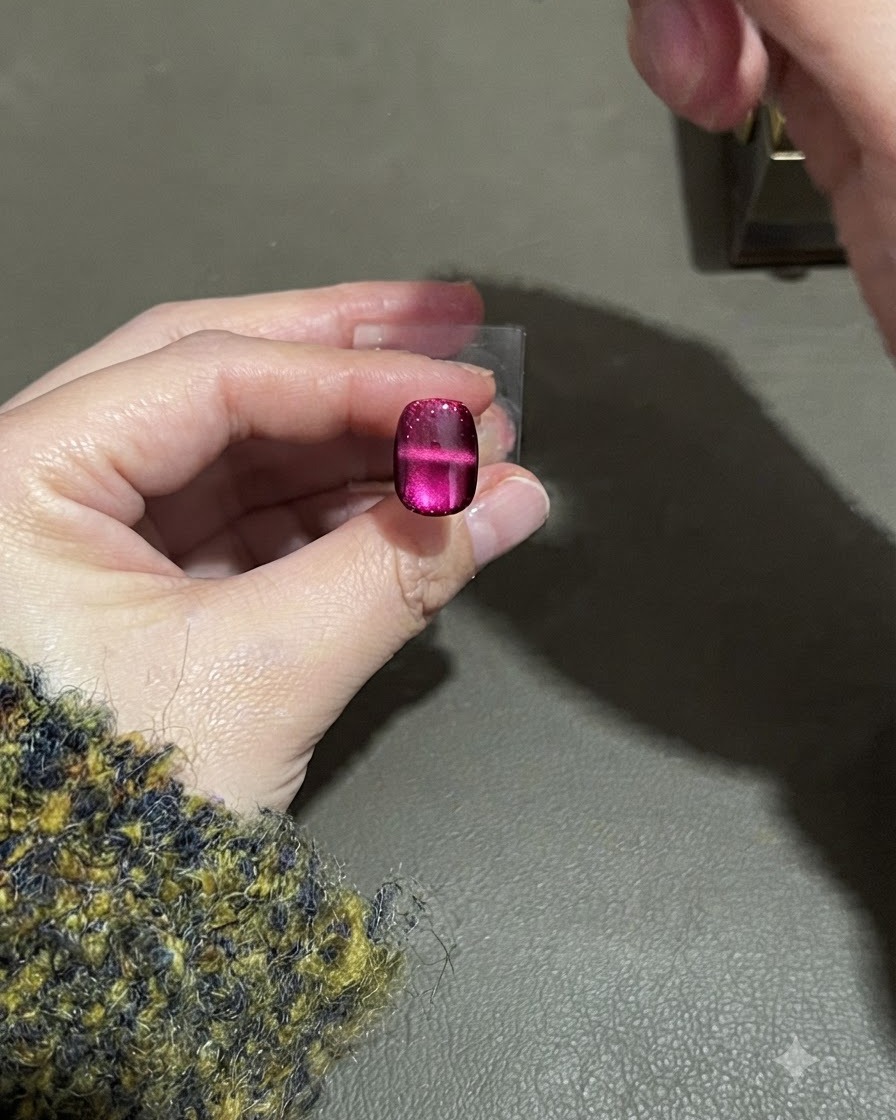
After shaping the second coat with an upward arc, push the magnet from the top back down toward the bottom. Push slightly further to concentrate the intense light specifically in the lower middle area of the nailcite: 1.
Tip: Fine-tune the lower middle positioning until the desired gradient balance is achieved. - 12Cure Second Layer
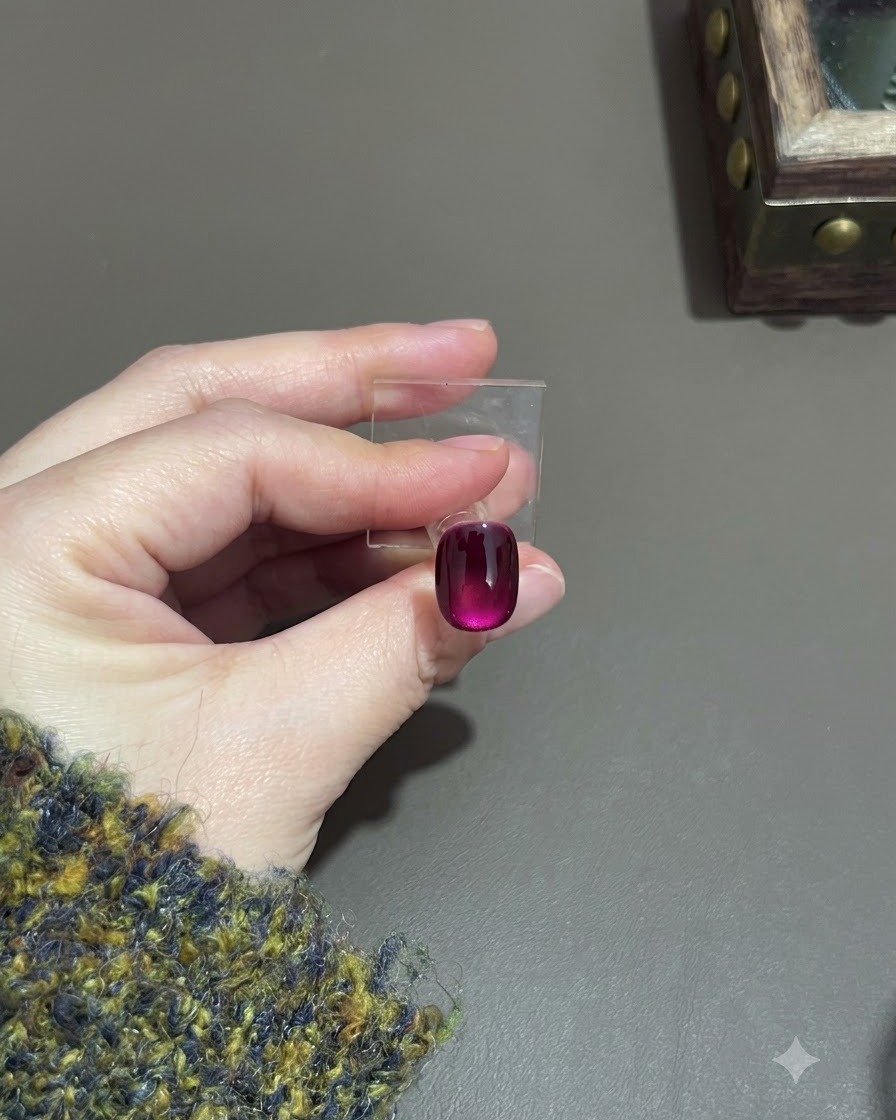
Once the cat-eye magnetic effect looks correct and balanced, place the nail under the UV or LED lamp to cure the polish and lock the design in placecite: 1.
Tip: Ensure the hand or nail stand is placed correctly under the light source for a full cure. - 13Apply Matte Top Coat
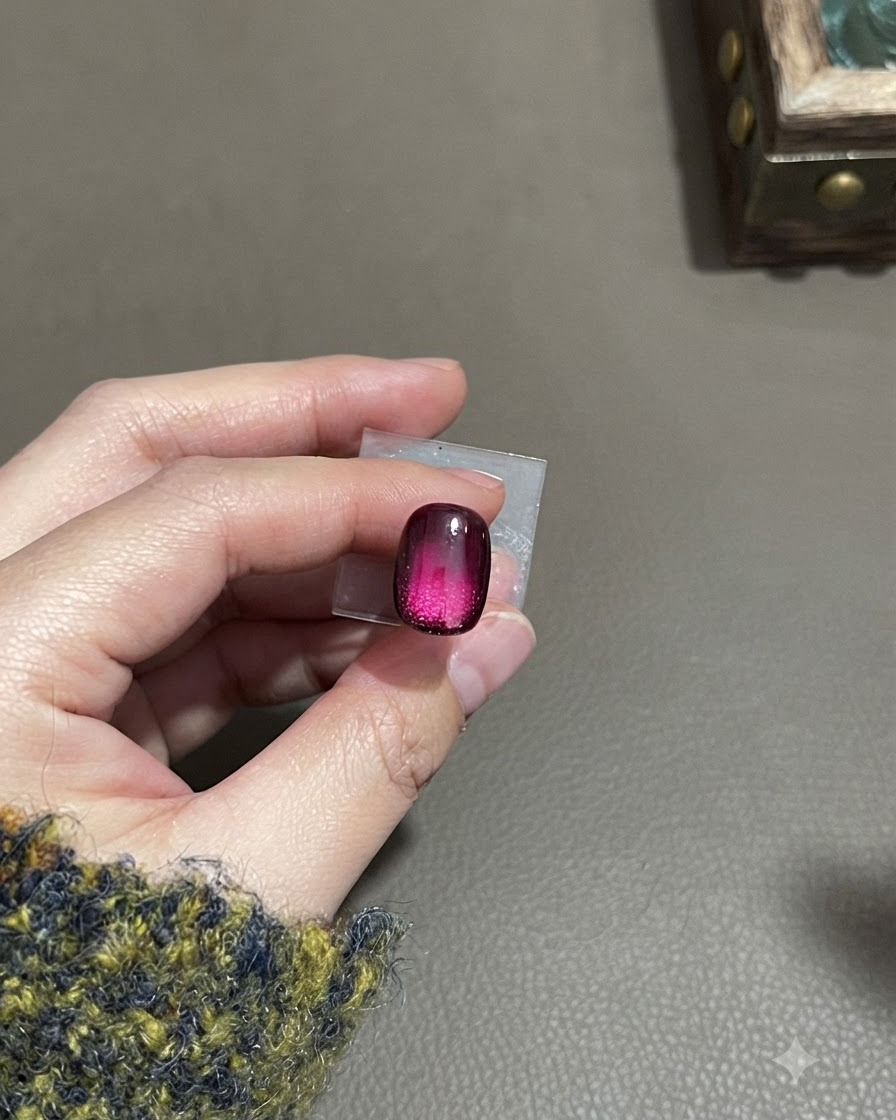
Once both color layers are fully cured, apply an even layer of matte top coat over the nail, let it self-level, and cure it under the lamp to finish the frosted gradient lookcite: 1.
Tip: Allow the matte top coat a moment to level out evenly before curing to ensure a smooth frosted texture. - 14Level out the matte top coat
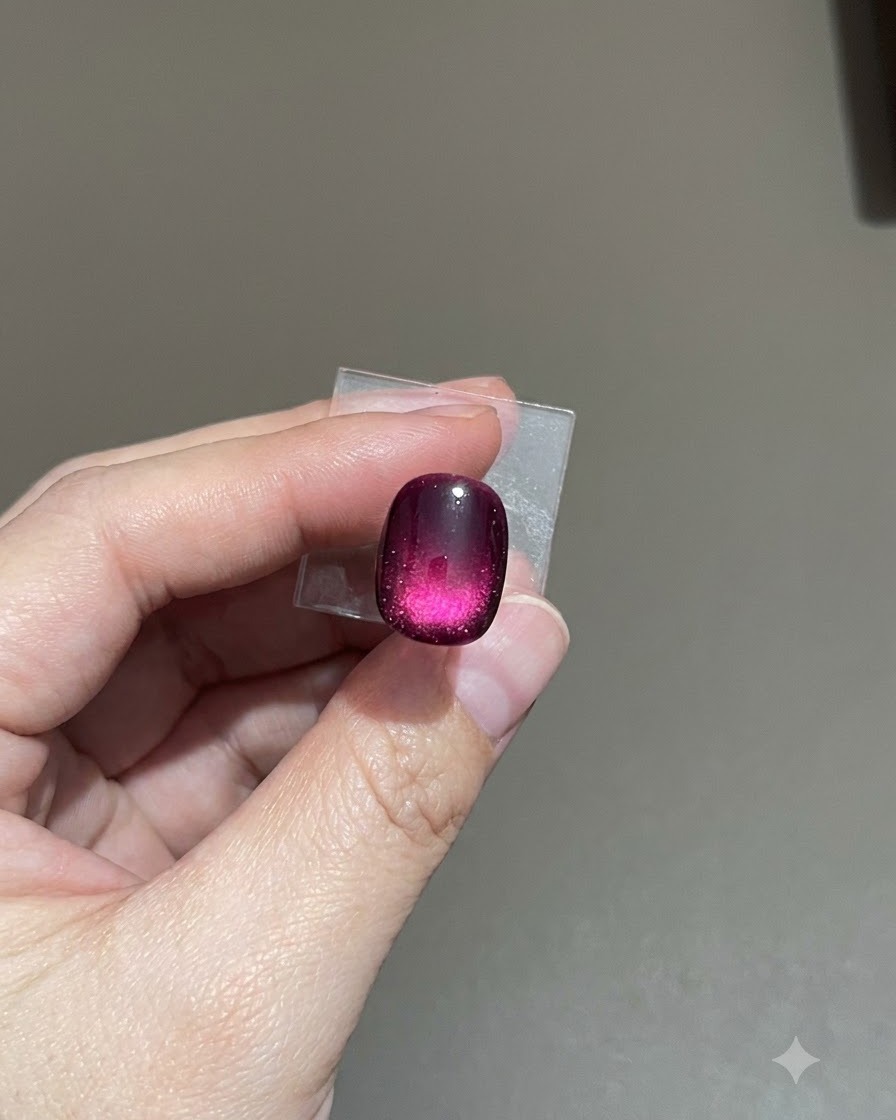
Allow the freshly applied layer of matte top coat to sit for a moment so it self-levels evenly across the nail surface, creating a smooth and uniform frosted finish without any streaks or dips.
Tip: Giving the top coat a few seconds to level out naturally ensures a smooth finish before curing. - 15Cure the final coat
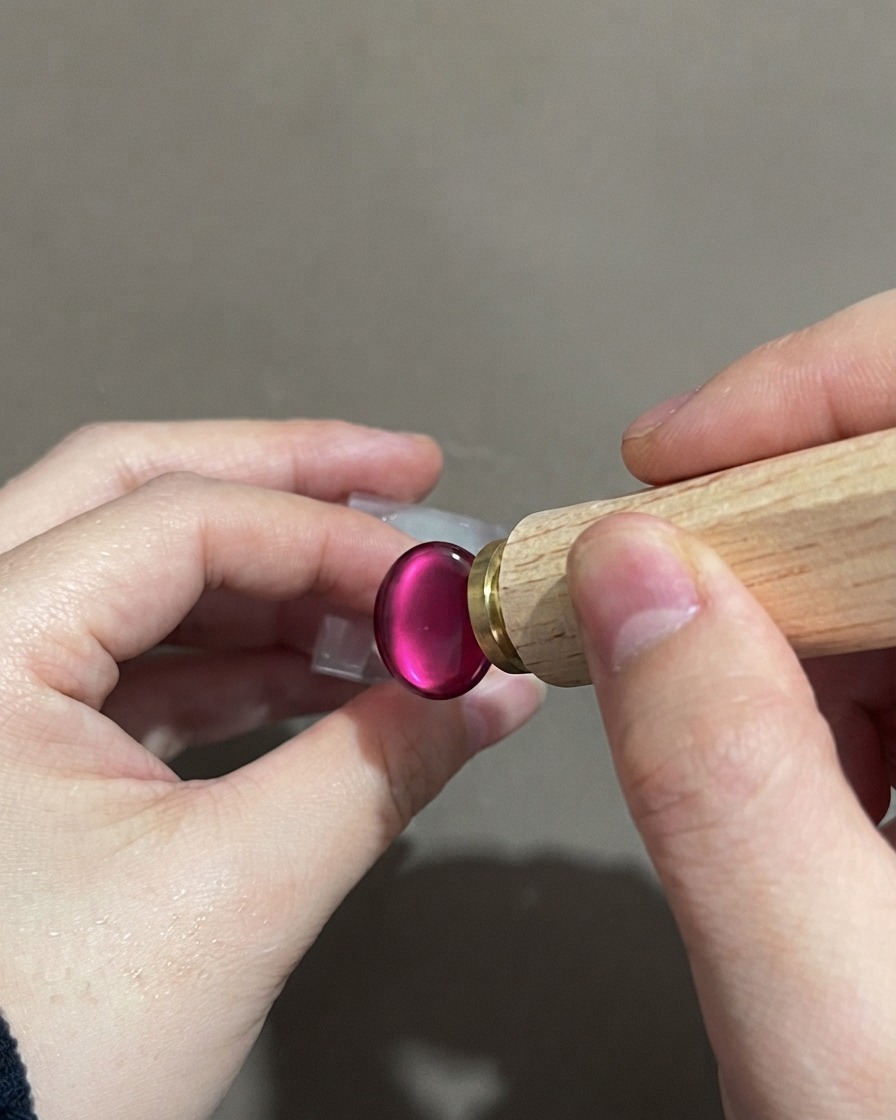
Place the nail under the UV or LED lamp to fully cure the matte top coat. This final curing step locks in the gradient matte cat-eye design, ensuring a long-lasting, durable, and smudge-resistant finish.
Tip: Ensure full cure time according to your lamp specifications to prevent the matte surface from wiping off or shining prematurely.