Star Fog Prelude Cat Eye Nails — Step-by-Step Tutorial
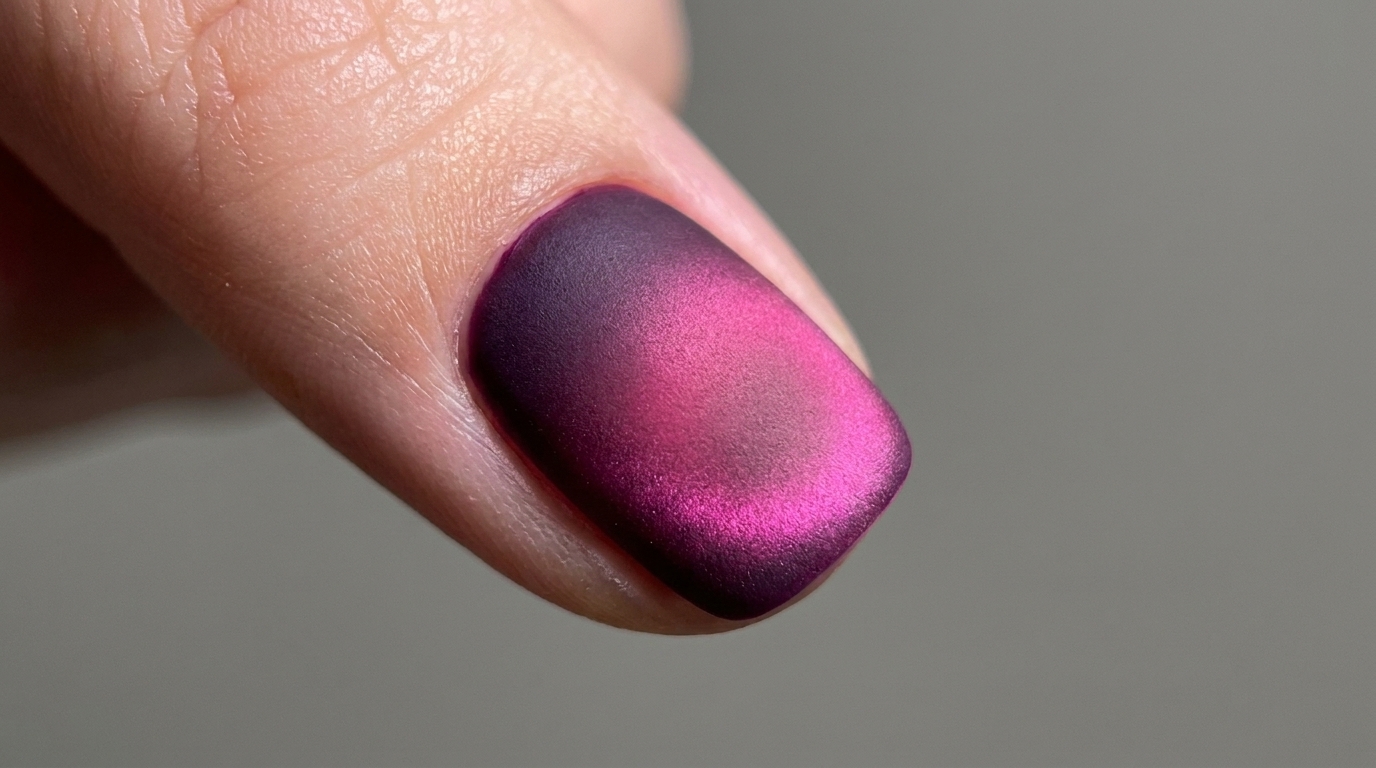
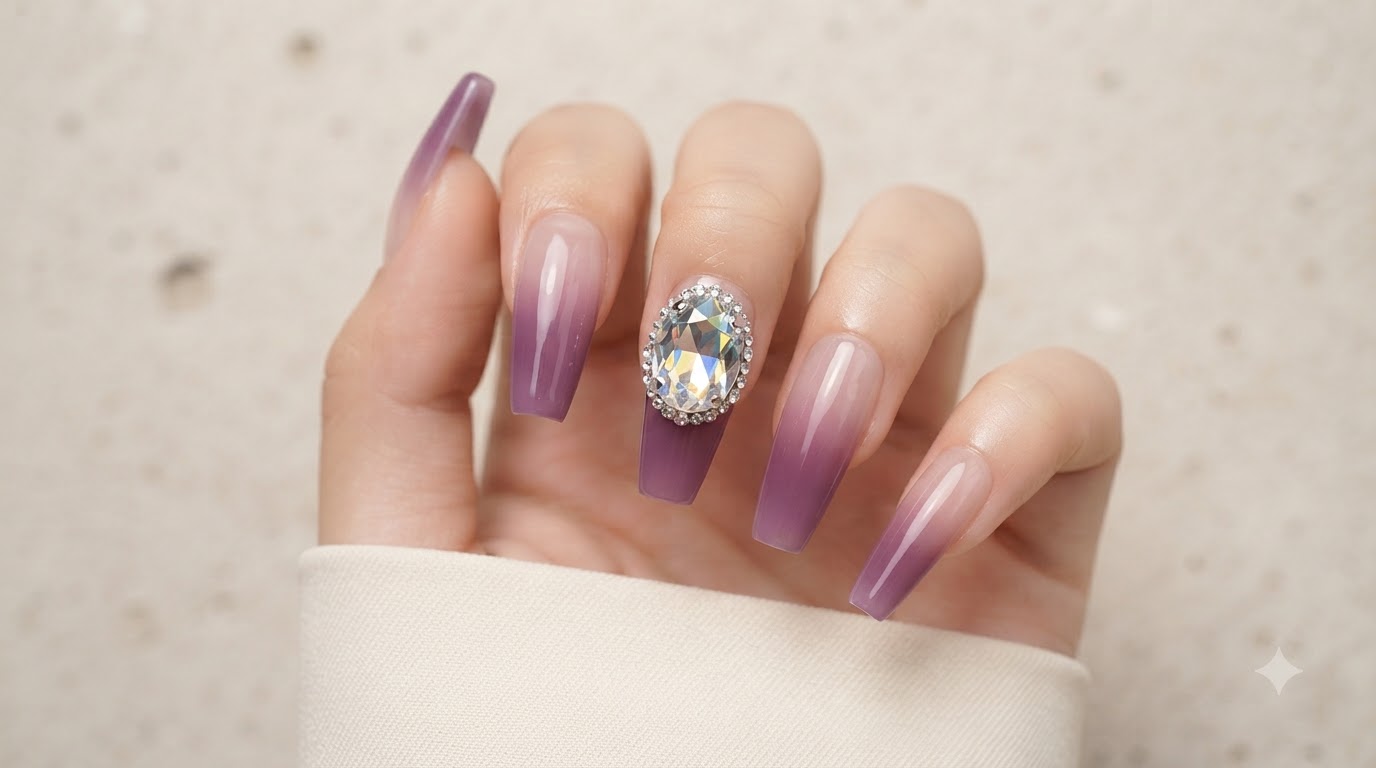
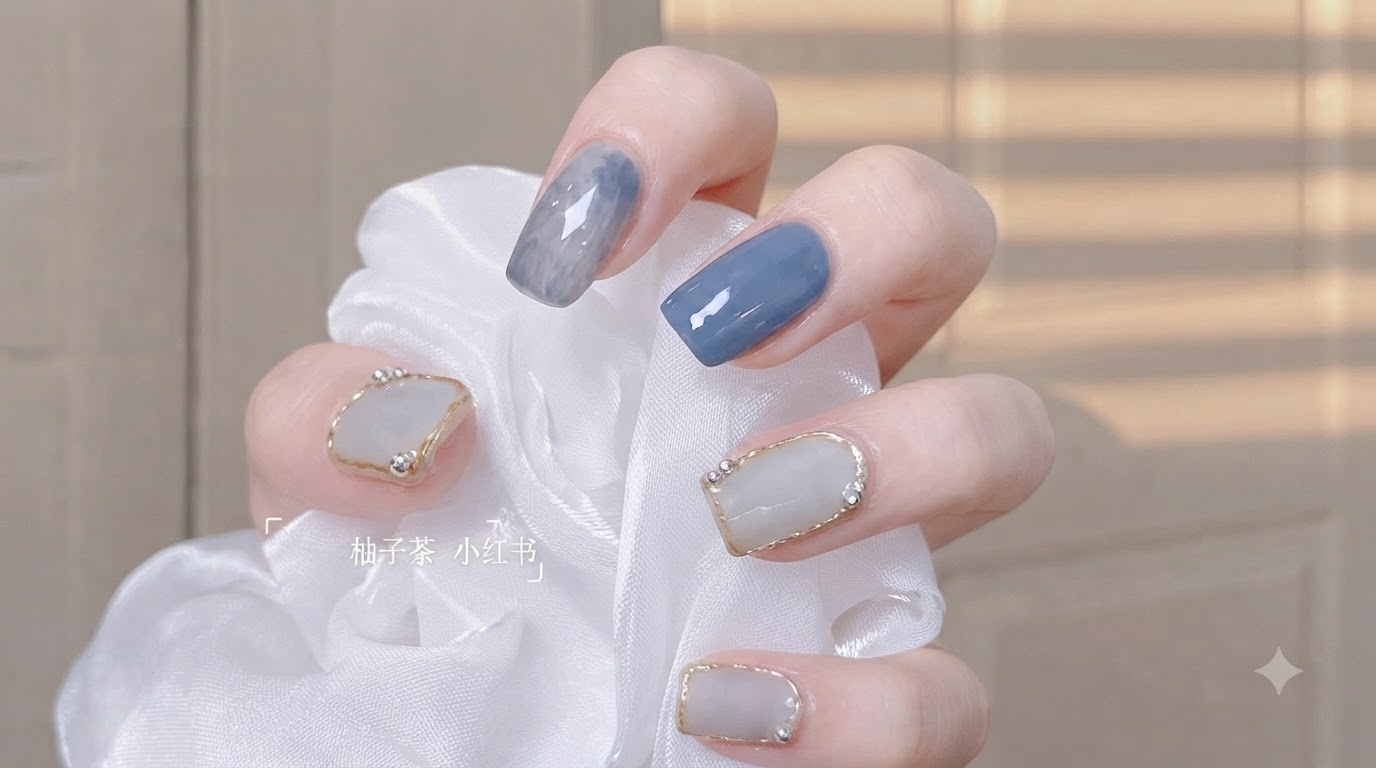
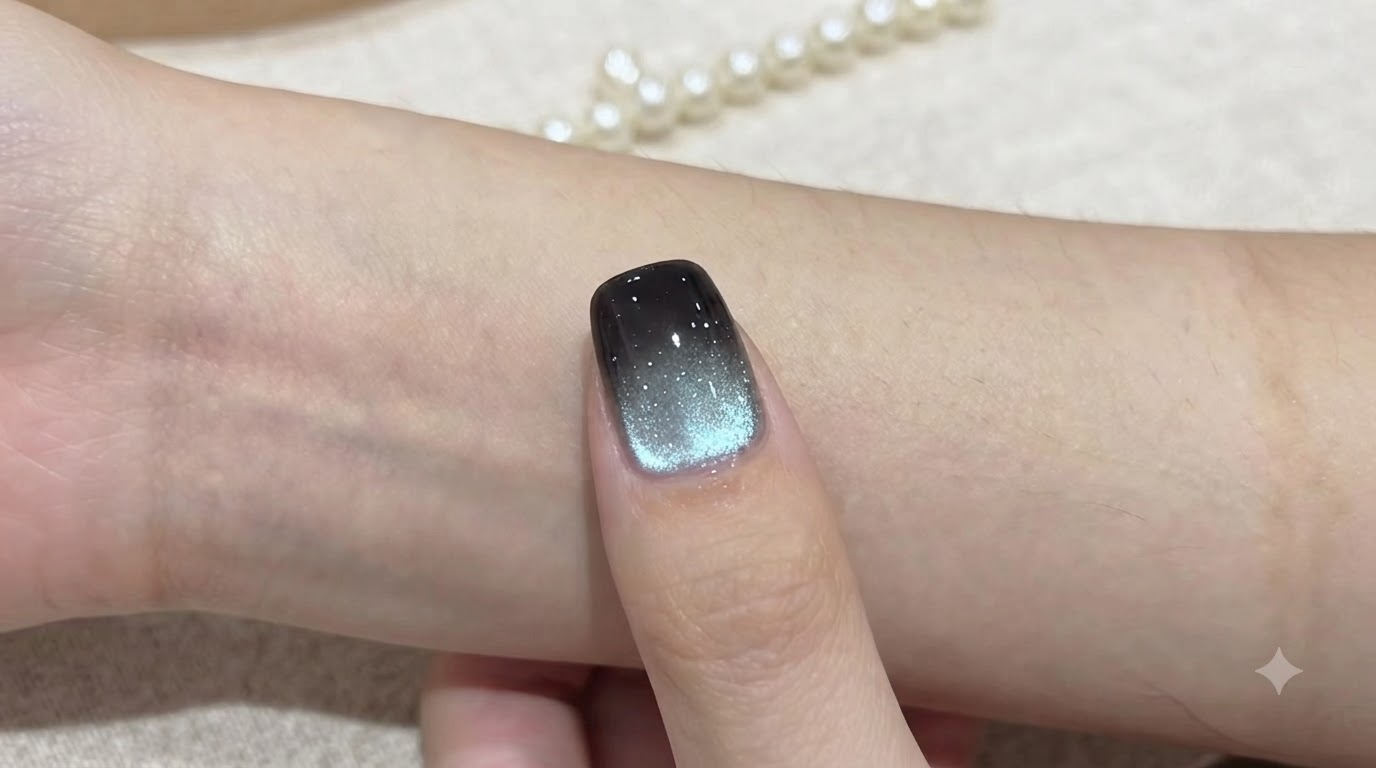
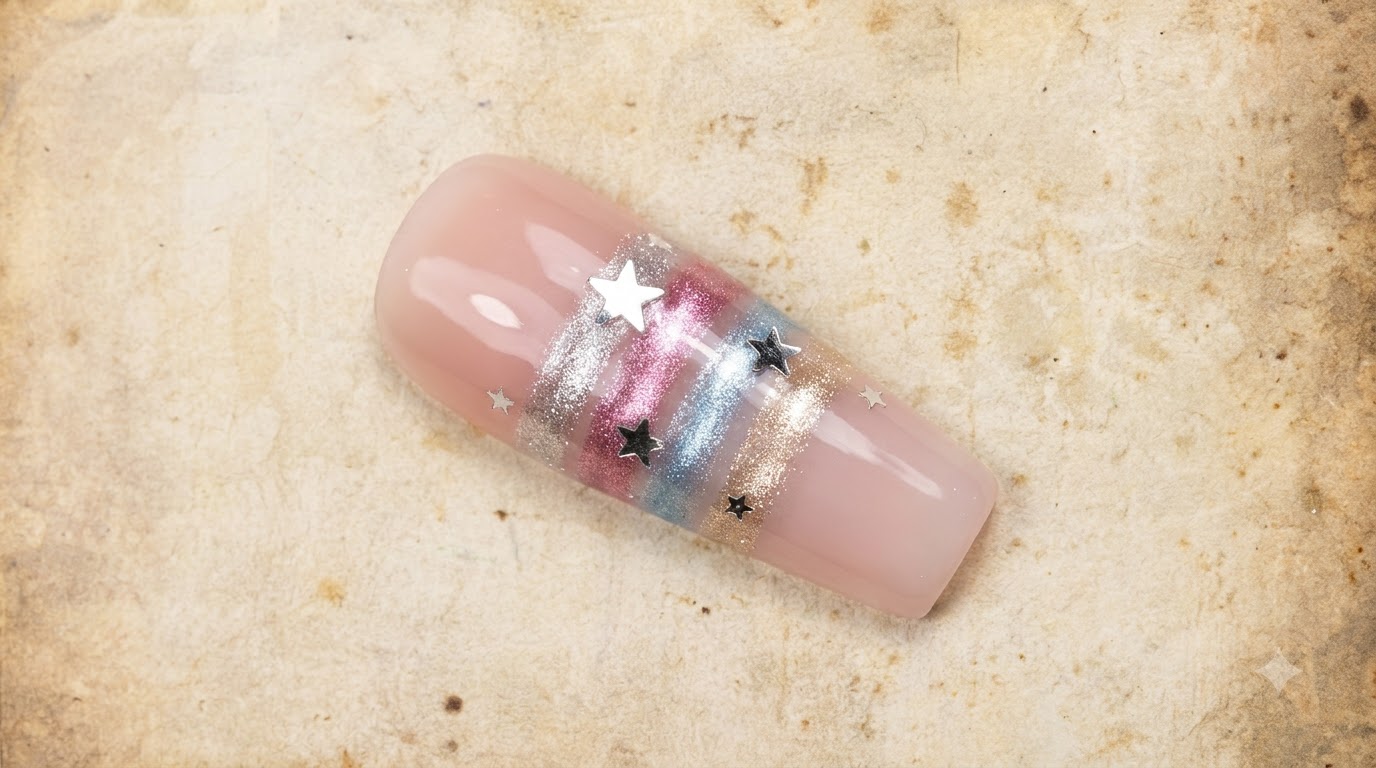
Create a mesmerizing celestial look with this Star Fog Prelude nail art tutorial. Learn how to layer magnetic cat eye stripes and silver star sequins over a soft nude-pink gradient for a stunning finish.
Multi-tonal cat eye designs are dominating the nail art scene, offering an easy way to achieve intricate, dimensional looks without advanced freehand painting. By stacking narrow, magnetized stripes of contrasting colors, you can create a brilliant holographic band across the nail. This starry, gradient-based look brings a dreamy, celestial vibe that is surprisingly beginner-friendly yet looks incredibly professional.
Steps
- 1Cure the base coat
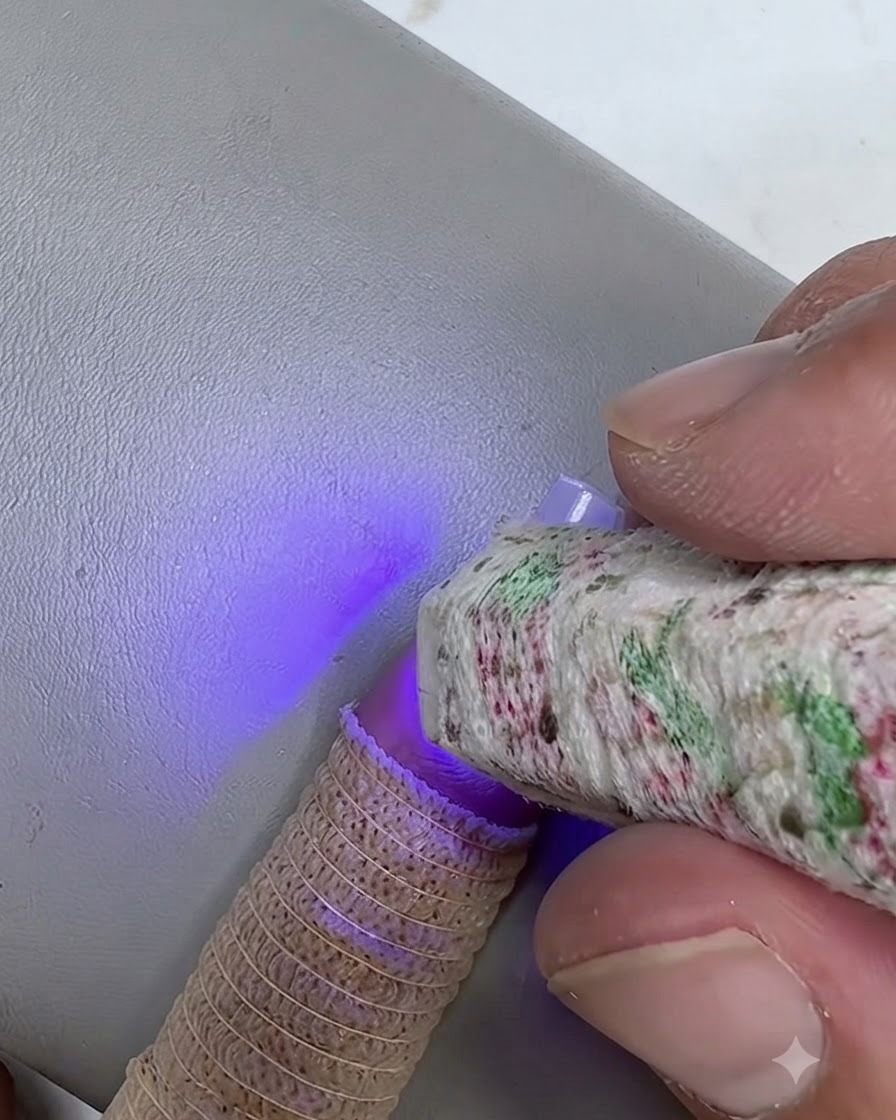
Once the peelable base coat is applied evenly over the nail, use a handheld mini UV/LED lamp to cure it in place. Hold the light steady over the nail for the time recommended by the gel manufacturer to ensure a solid foundation for the rest of your design.
Tip: A handheld lamp is great for flash curing, but make sure the light covers the entire nail surface to prevent uncured patches. - 2Apply clear gel to the free edge
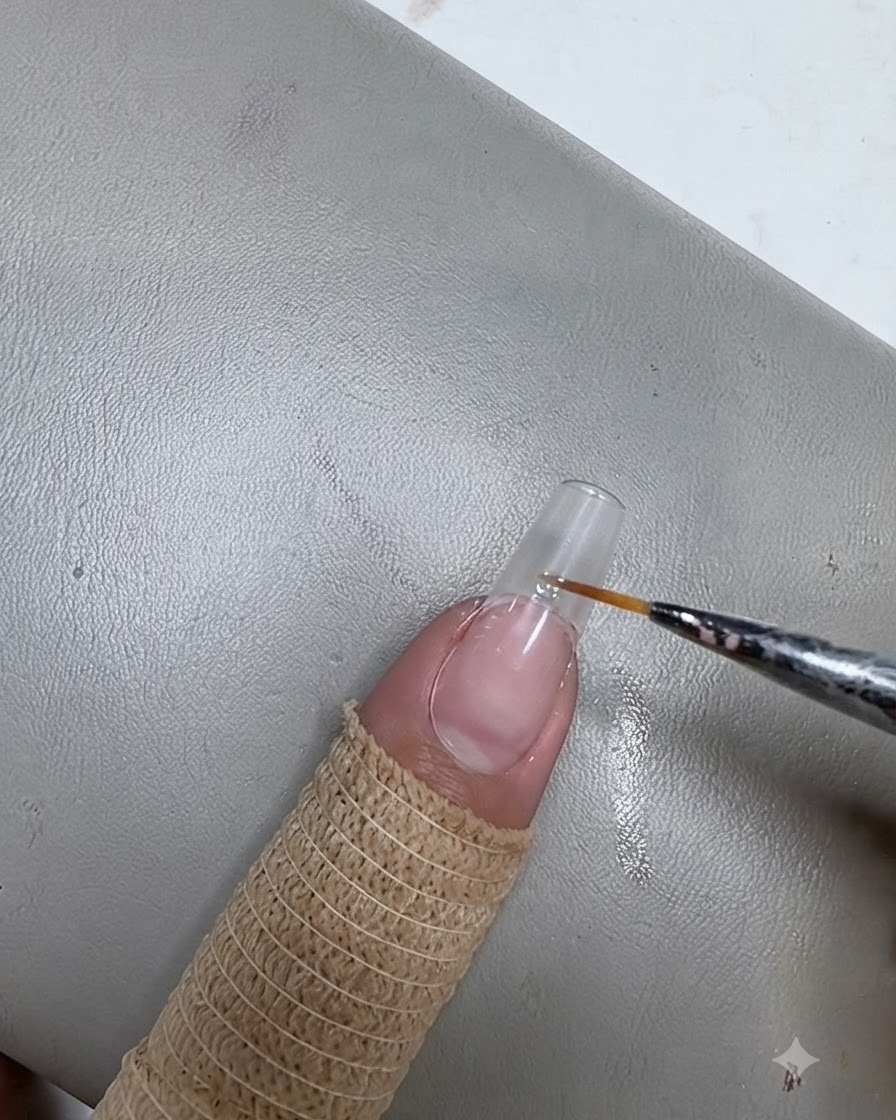
Using a fine liner brush, pick up a small amount of clear patting gel and apply it horizontally across the free edge of the nail. This clear gel layer will help conceal the natural nail line and create a base for blending.
Tip: Keep the gel application concentrated near the tip; you only need enough product to cover the free edge before blending it upwards. - 3Blend clear gel over the free edge
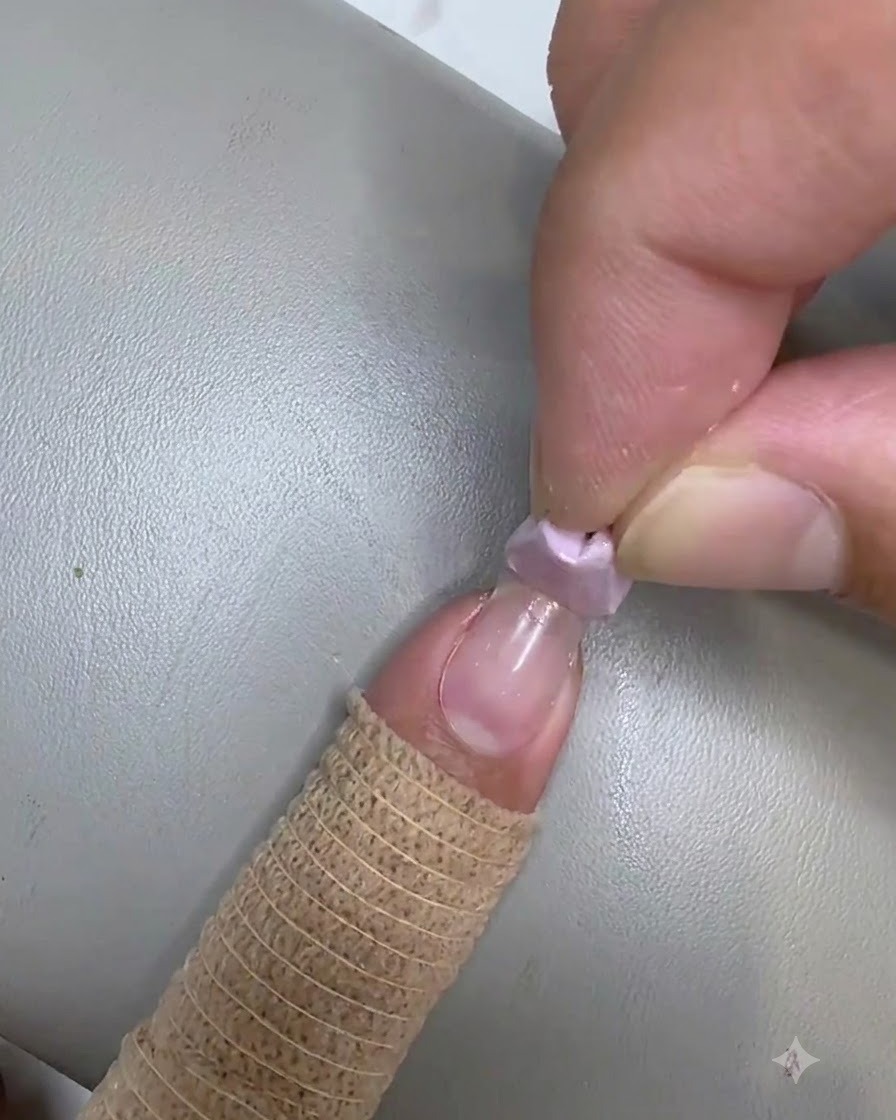
Take a small wedge sponge and gently pat the clear gel over the free edge line, evening it out smoothly before curing.
Tip: Pat lightly to avoid creating air bubbles or an uneven surface texture. - 4Cure the blended gel
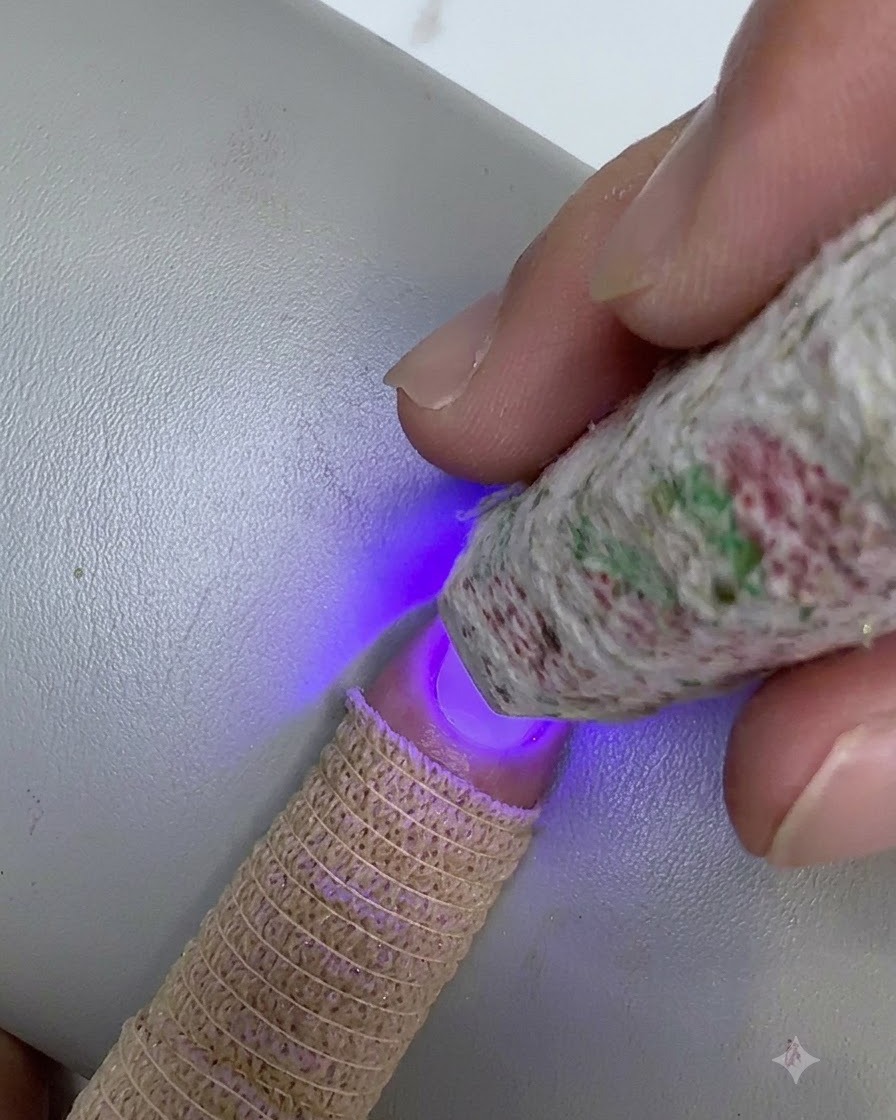
After you have smoothly patted out the clear gel with your sponge, cure it using your handheld mini UV/LED lamp. Ensure the transition is seamless before curing, as this layer sets the stage for a flawless base color application.
Tip: Always check your blend from multiple angles before curing to ensure there are no harsh ridges or bubbles left by the sponge. - 5Apply nude pink gel
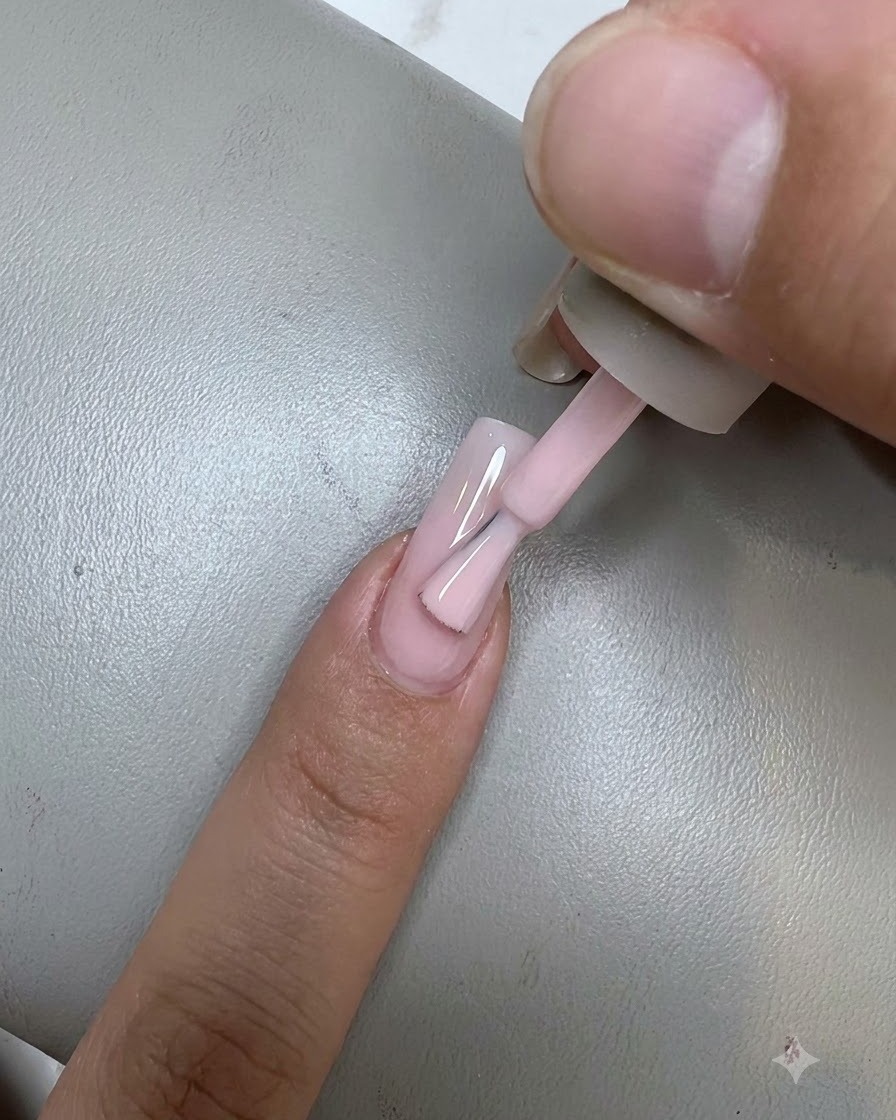
Take your nude pink gel polish and apply a smooth, even layer over the entire nail plate using the bottle brush. Start close to the cuticle line and gently float the polish down to the free edge, covering the clear gel base you previously blended. Cure this layer fully.
Tip: Keep your brush parallel to the nail surface and use light pressure to avoid creating streaks in the color. - 6Cure the nude pink gel layer
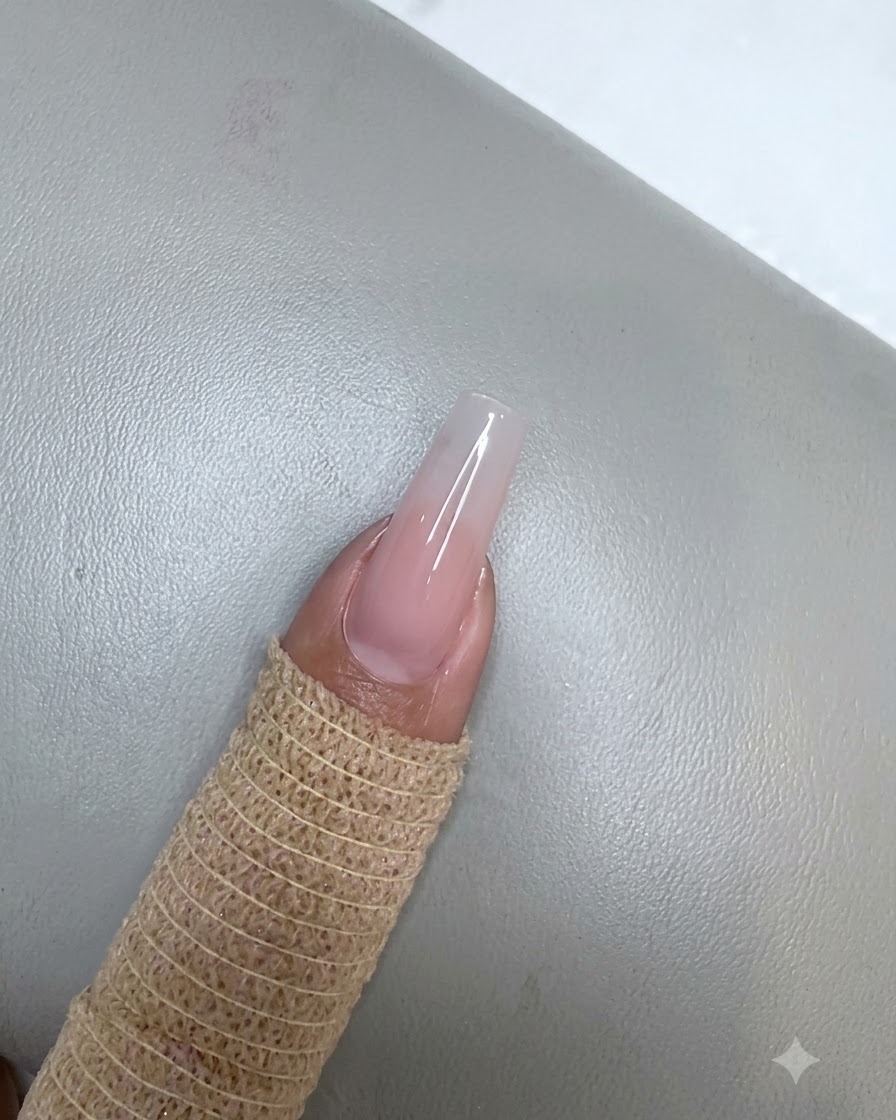
Place the finger under the mini UV/LED lamp to fully cure the smooth layer of nude pink gel applied over the entire nail.
Tip: Ensure the hand is positioned directly under the light source for an even cure. - 7Create a gradient effect with bean paste pink
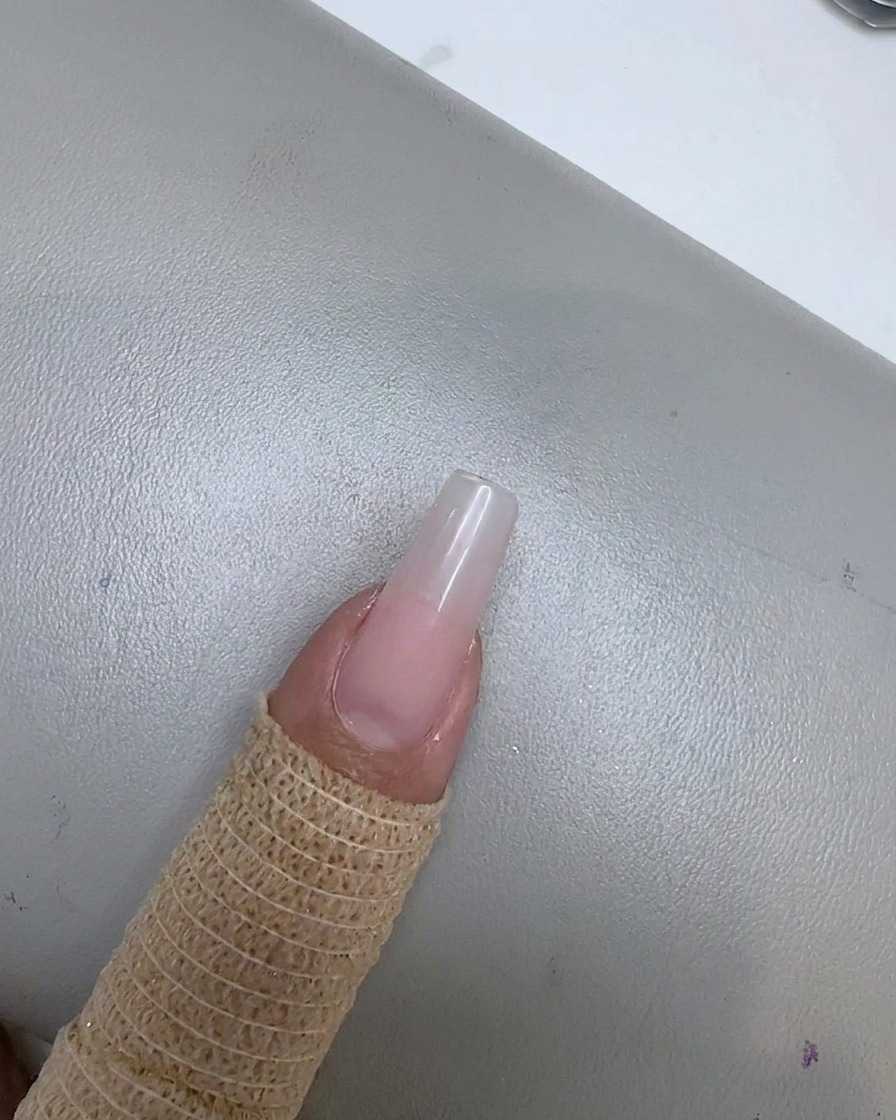
Pick up a soft mist bean paste color using a small sponge and gently pat it onto the nail to build a seamless gradient effect.
Tip: Build the color gradually with light dabbing motions to achieve a smooth fade. - 8Cure the gradient layer
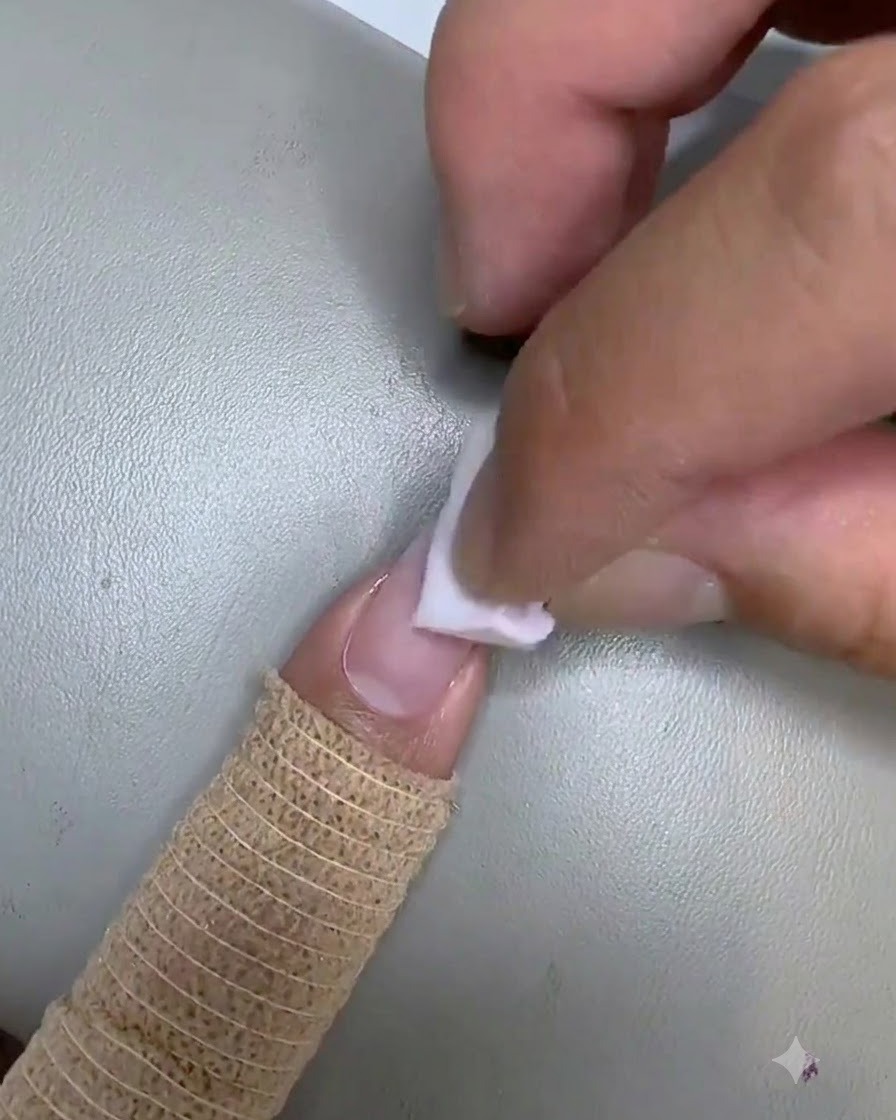
Place the nail under the mini UV/LED lamp to cure the newly created pink gradient layer.
Tip: Make sure the gradient layer is fully set before moving on to line work. - 9Draw a horizontal stripe with silver cat eye gel
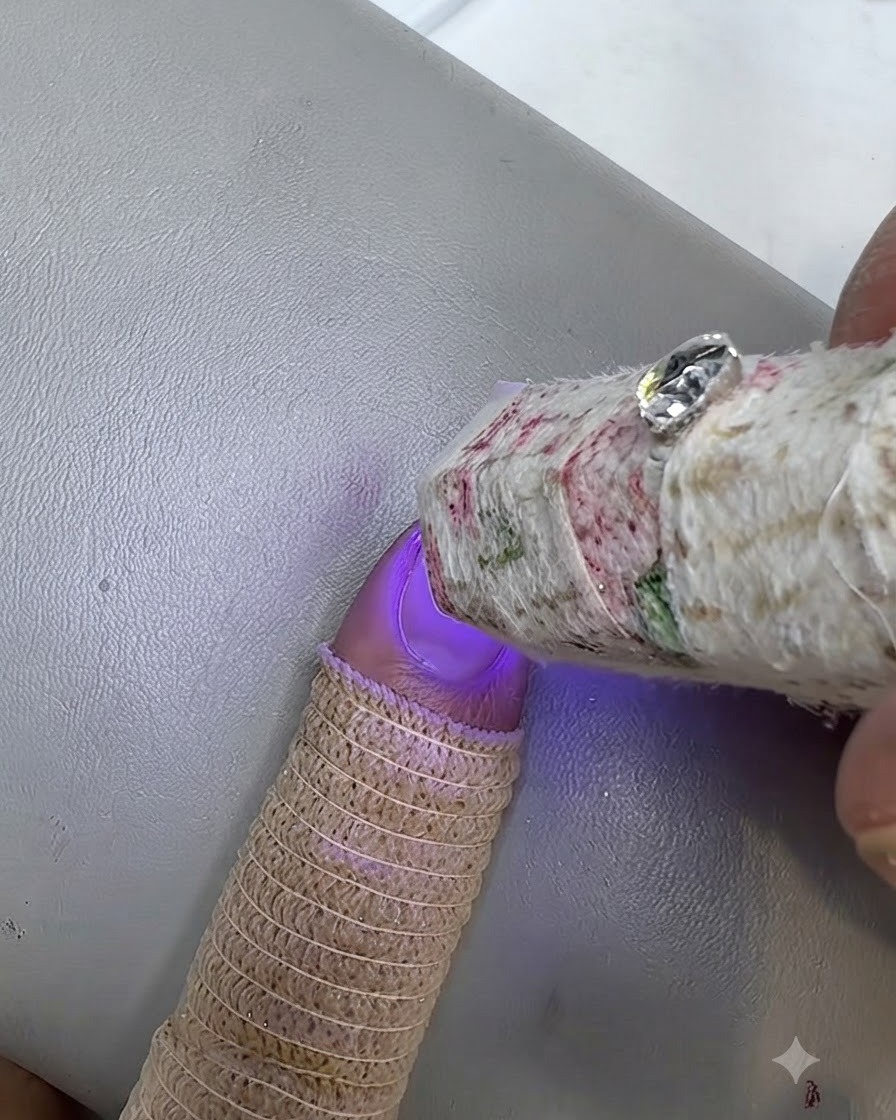
Using a fine liner brush, carefully draw a straight horizontal line across the nail surface with silver cat eye gel.
Tip: Keep a steady hand and load a small amount of gel onto the brush for a crisp, clean line. - 10Magnetize the silver stripe
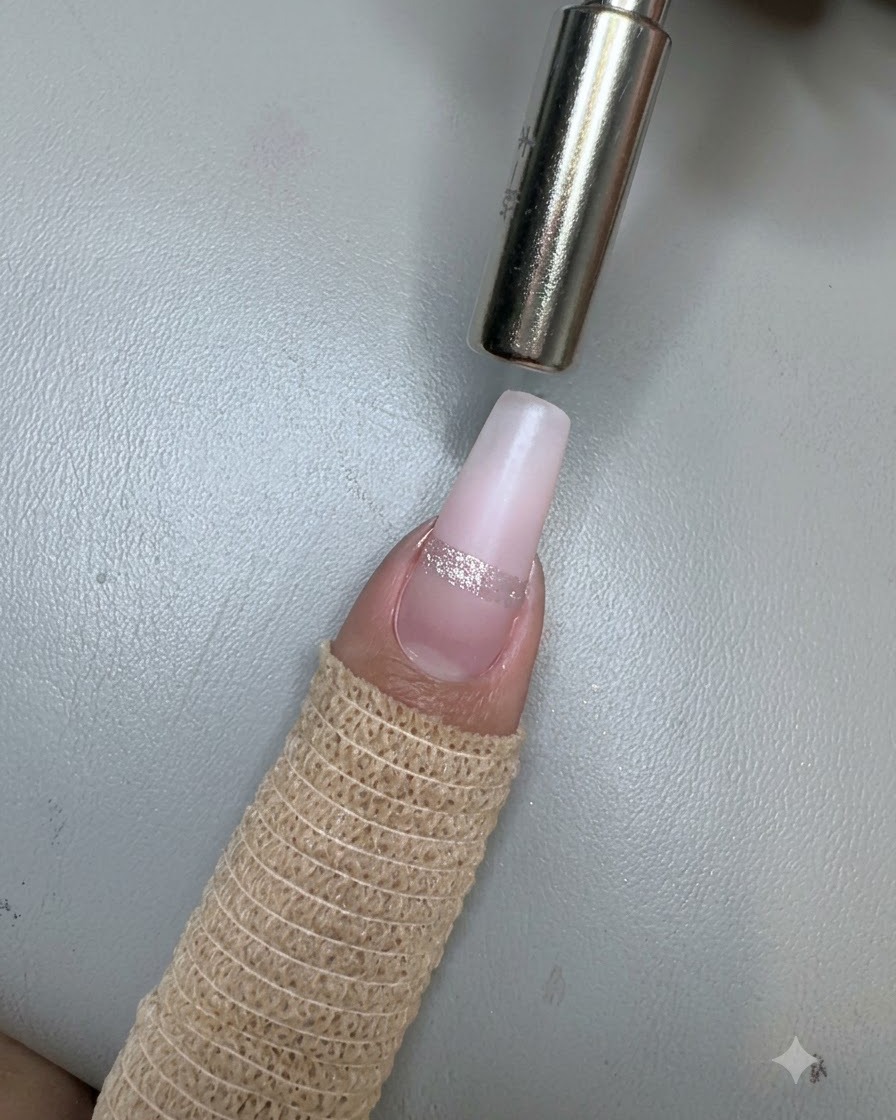
Hold a rectangular magnet closely over the silver stripe to pull the magnetic particles straight, creating the sharp cat eye line effect, then cure.
Tip: Hold the magnet steady and close to the nail without touching the wet gel surface. - 11Cure the silver stripe
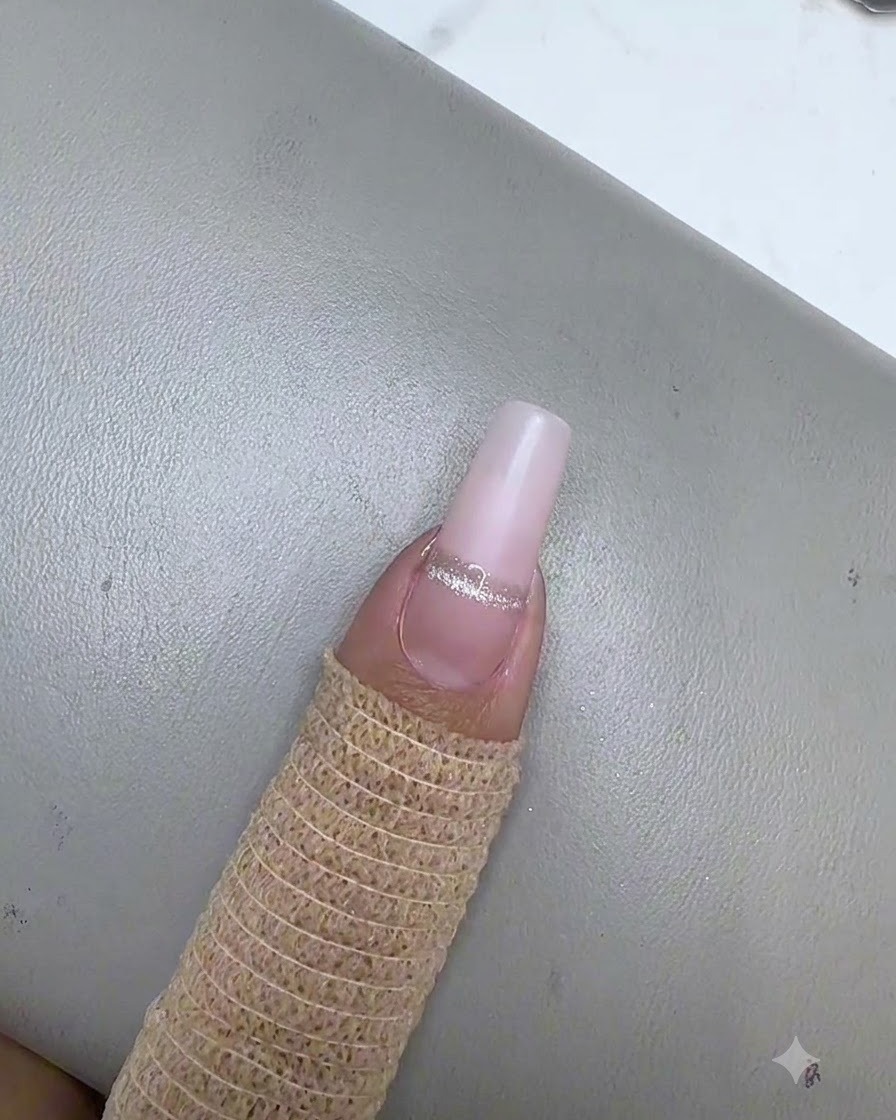
Place the nail under a mini UV or LED lamp to fully cure the silver cat eye gel stripe. Curing ensures the magnetic particles stay fixed in place before you move on to applying the next color layer.
Tip: Make sure your mini lamp is positioned directly over the stripe so the light hits the uncured gel evenly. - 12Draw the second pink stripe
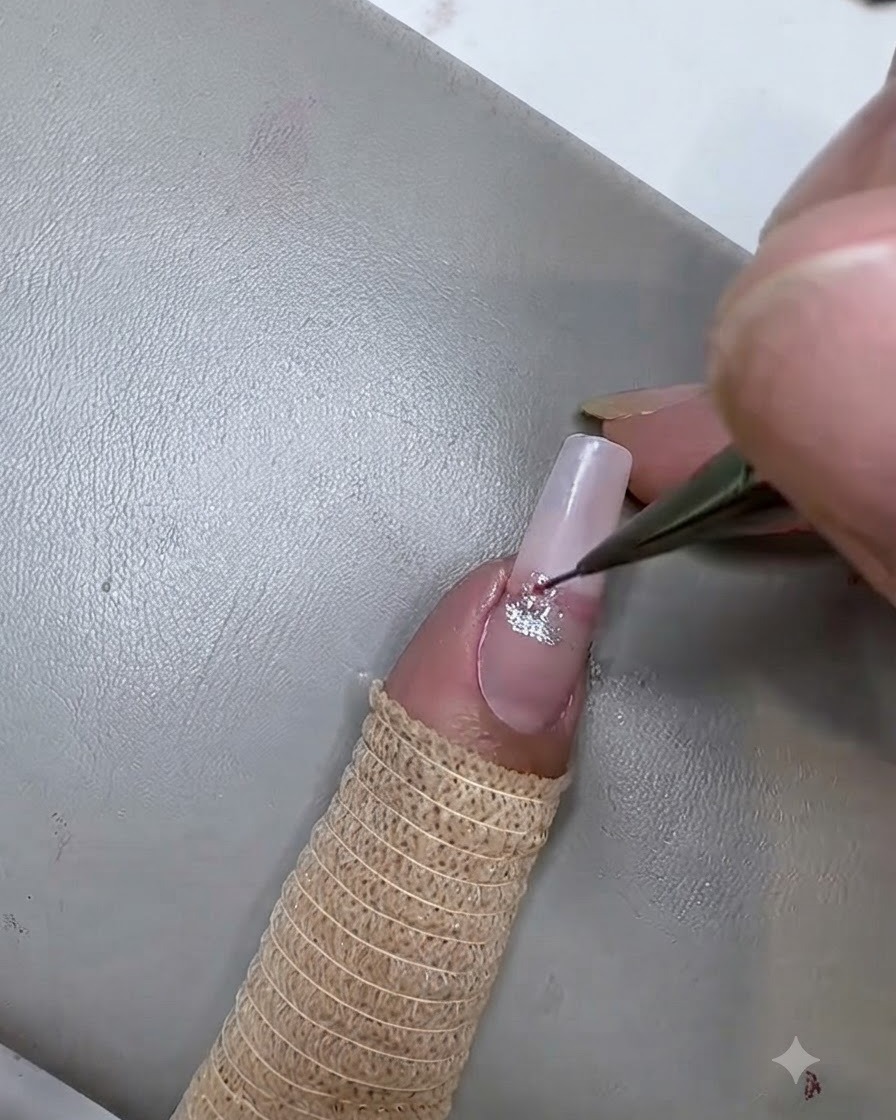
Using a fine liner brush and pink cat eye gel, carefully paint a second horizontal stripe directly below the first silver stripe. Keep the line thin and parallel to maintain a clean multi-stripe pattern.
Tip: Clean your liner brush between colors to keep your gel shades crisp and prevent muddy mixing. - 13Magnetize the pink stripe
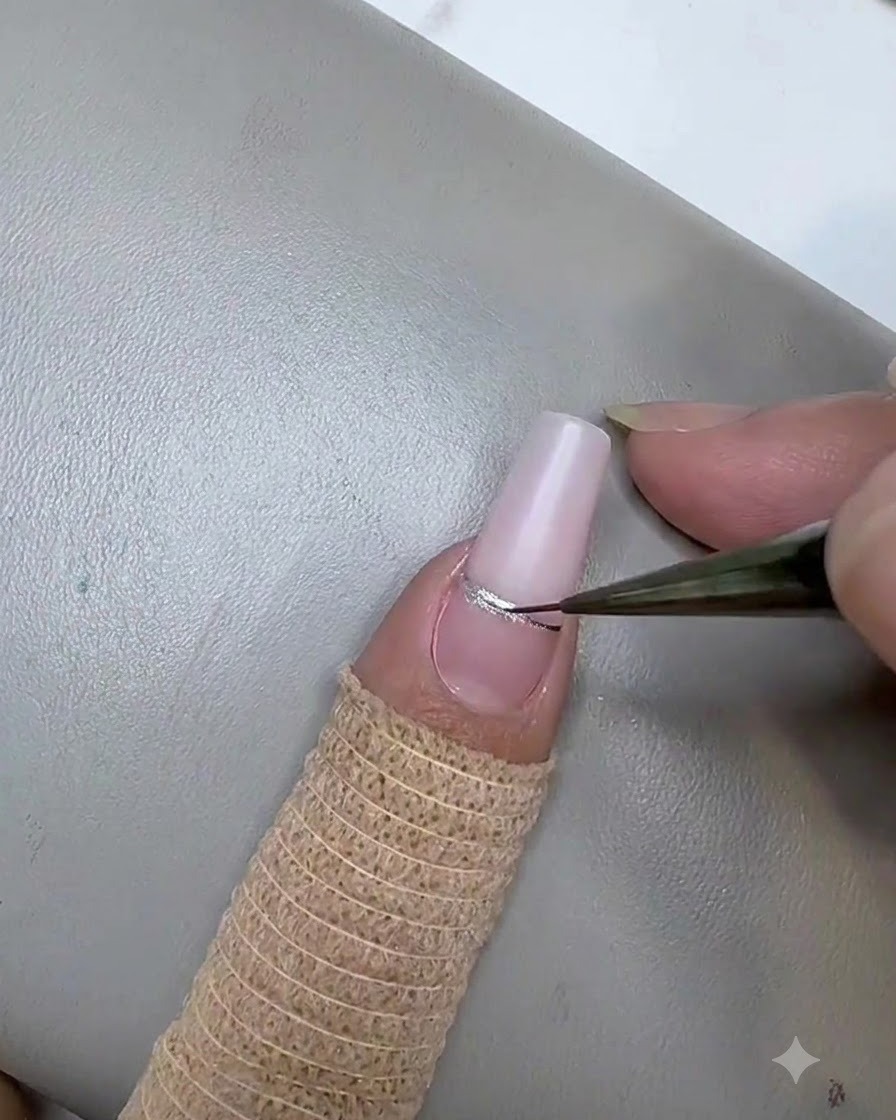
Position your rectangular magnet over the newly painted pink stripe to pull the magnetic particles into a sharp, straight line. Hold the magnet steady for a few seconds until the effect forms clearly.
Tip: Keep your hand completely still while magnetizing to avoid accidentally shifting or blurring the particles. - 14Cure the pink stripe
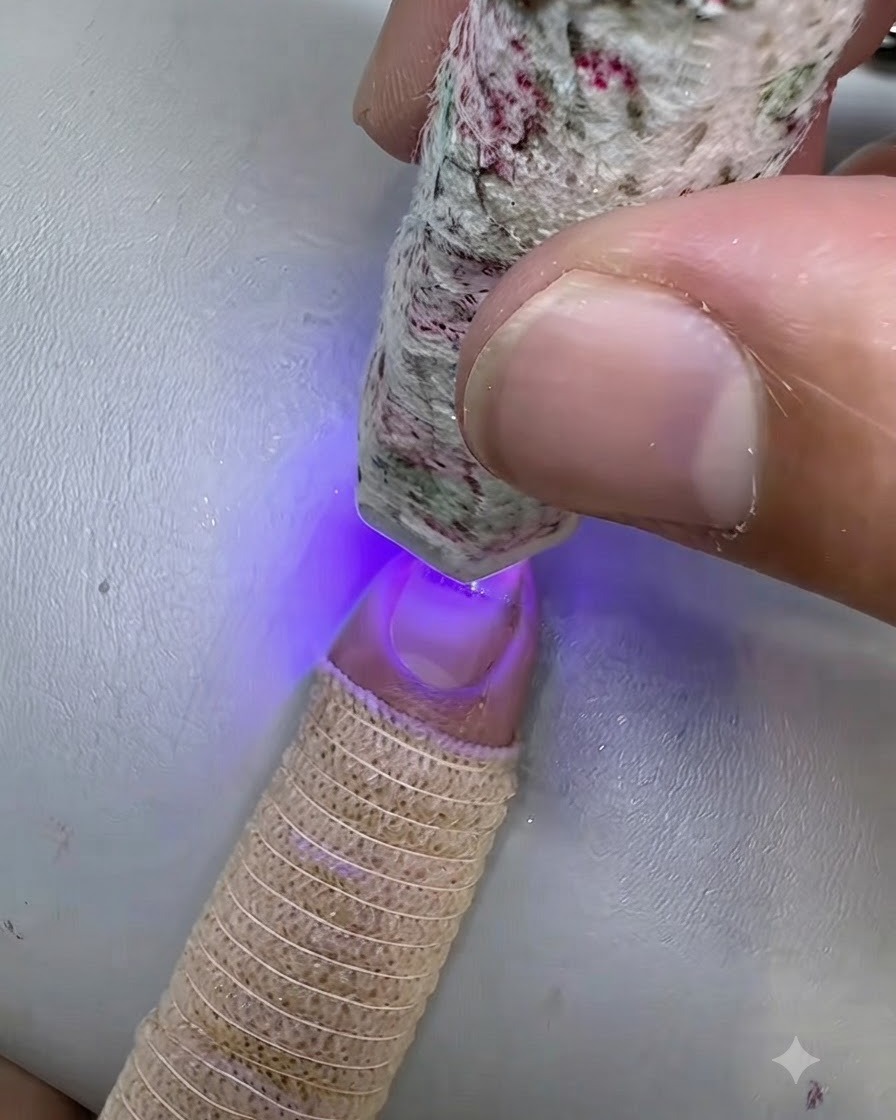
Cure the newly magnetized pink cat eye stripe under the mini UV or LED lamp to set the metallic particles in place. Quick flash cures between each line prevent the designs from bleeding together.
Tip: Flash-cure for 10 to 15 seconds after each line so the wet gel doesnt run before you add the next stripe. - 15Draw the third blue stripe
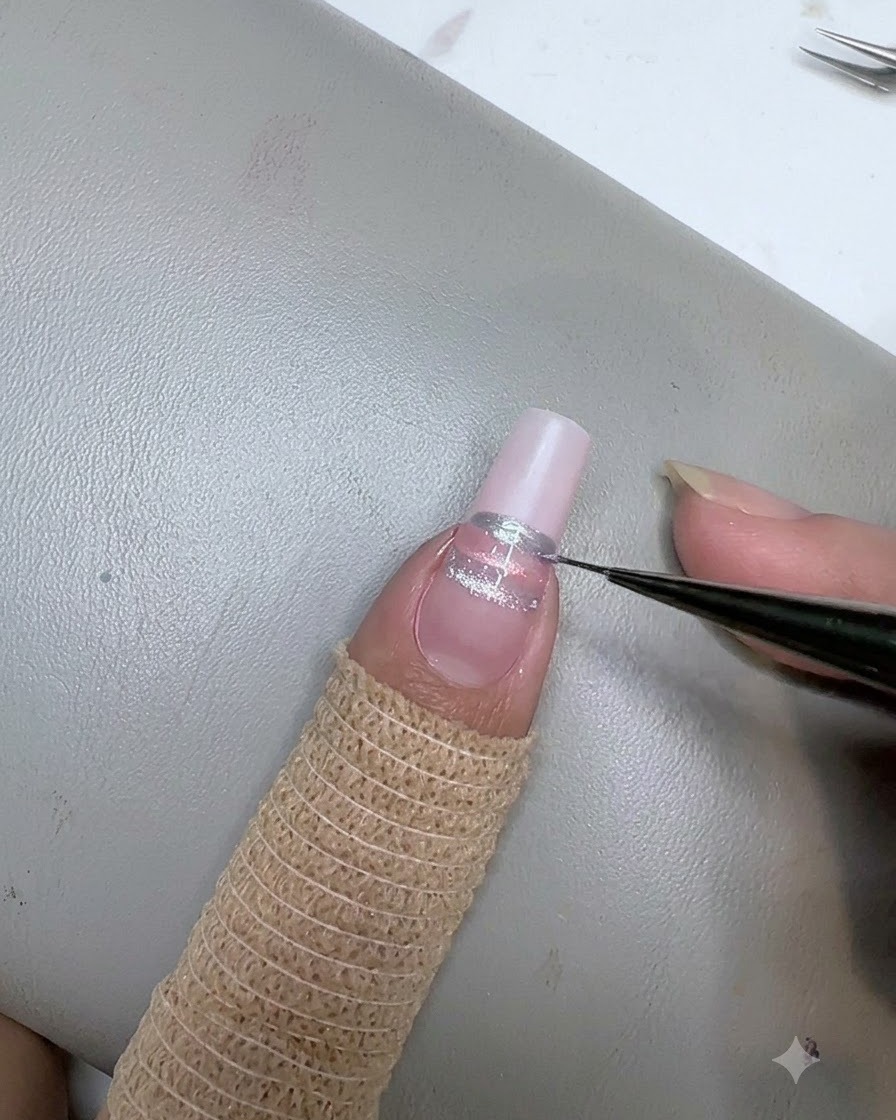
Dip your fine liner brush into blue cat eye gel and draw a third horizontal stripe underneath the pink stripe. Maintain a consistent width and spacing for a balanced multi-color gradient line look.
Tip: Load just a tiny bead of gel onto the tip of your brush to prevent the line from becoming too thick or overflowing. - 16Magnetize the blue stripe
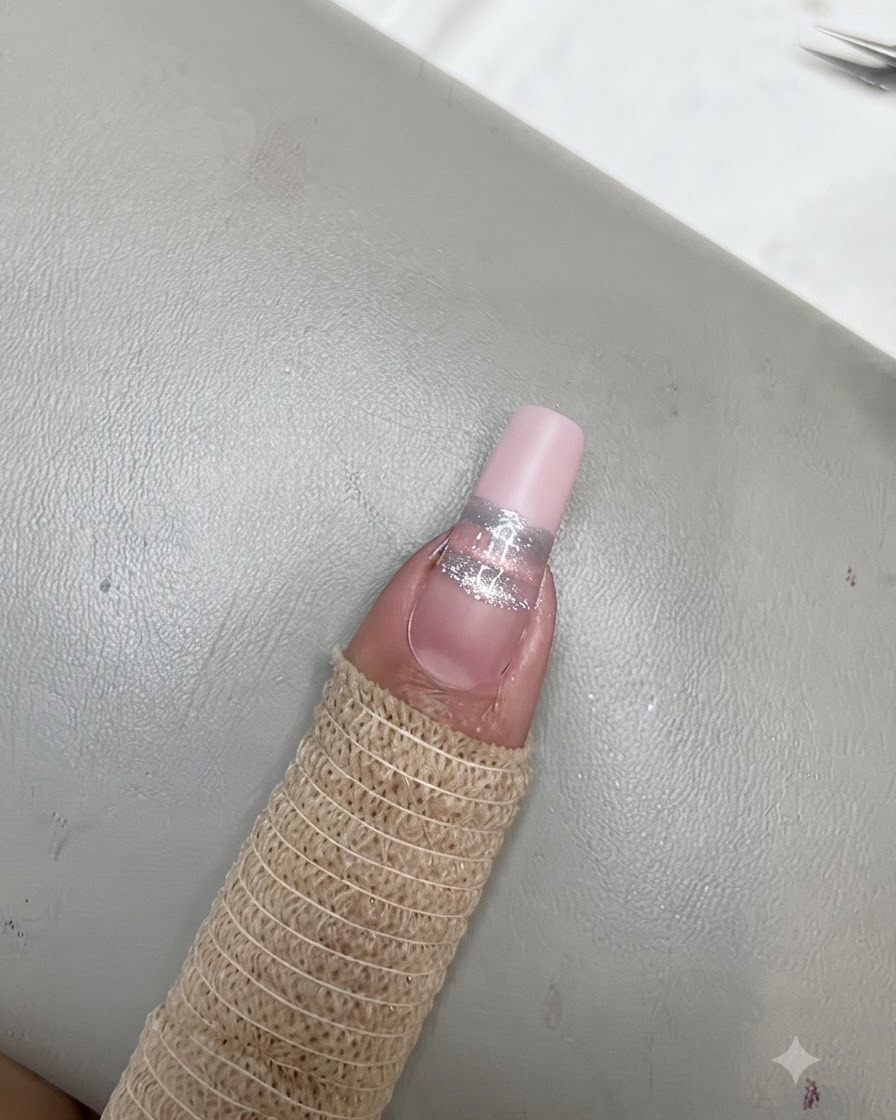
Hover the rectangular magnet directly over the blue stripe to draw out the magnetic reflection line. Check that the line aligns neatly with the silver and pink stripes above it before curing.
Tip: Ensure the magnet is held parallel to the stripe to get a straight, uniform reflection rather than an angled skew. - 17Cure the blue cat eye stripe
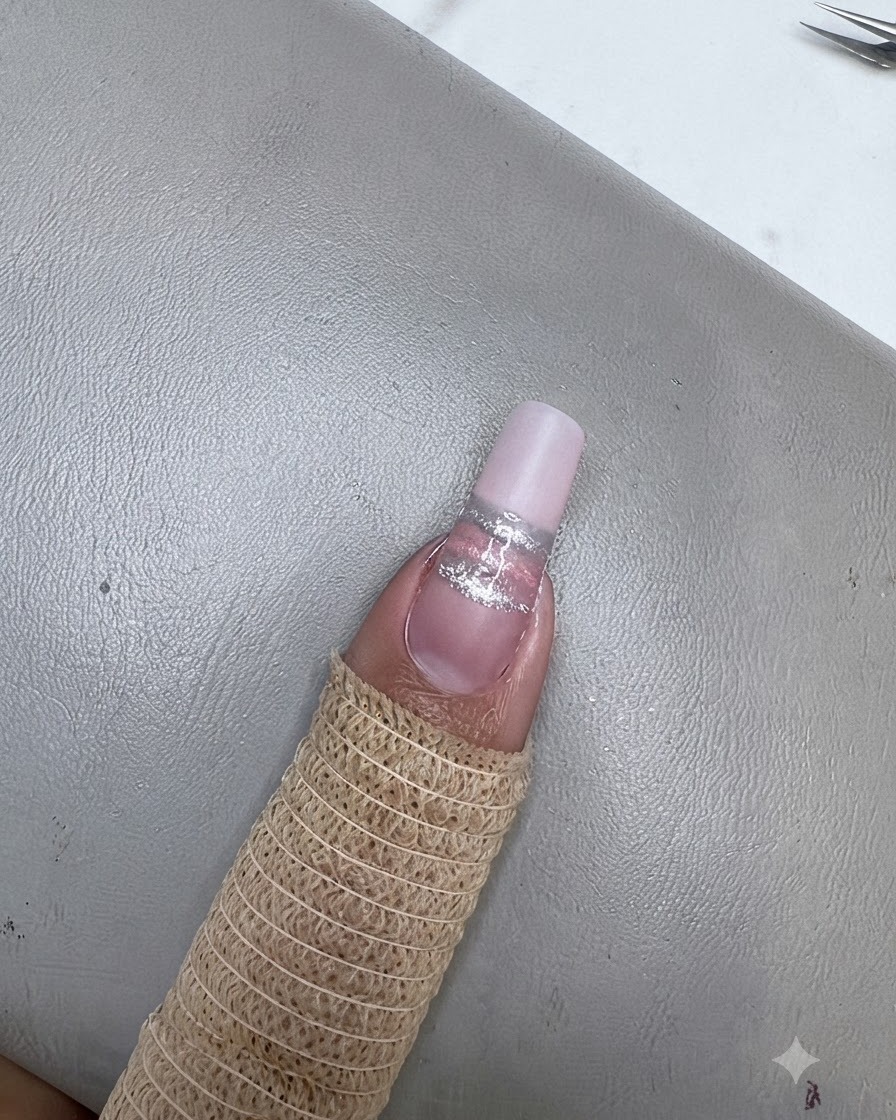
Place the nail under the mini UV or LED lamp to cure the newly drawn blue cat eye stripe. Curing between each step locks the magnetic particles in place so they do not blur or run before you add the next design element.
Tip: Flash cure each line for a few seconds if you are worried about lines bleeding into each other before moving on. - 18Draw the champagne stripe
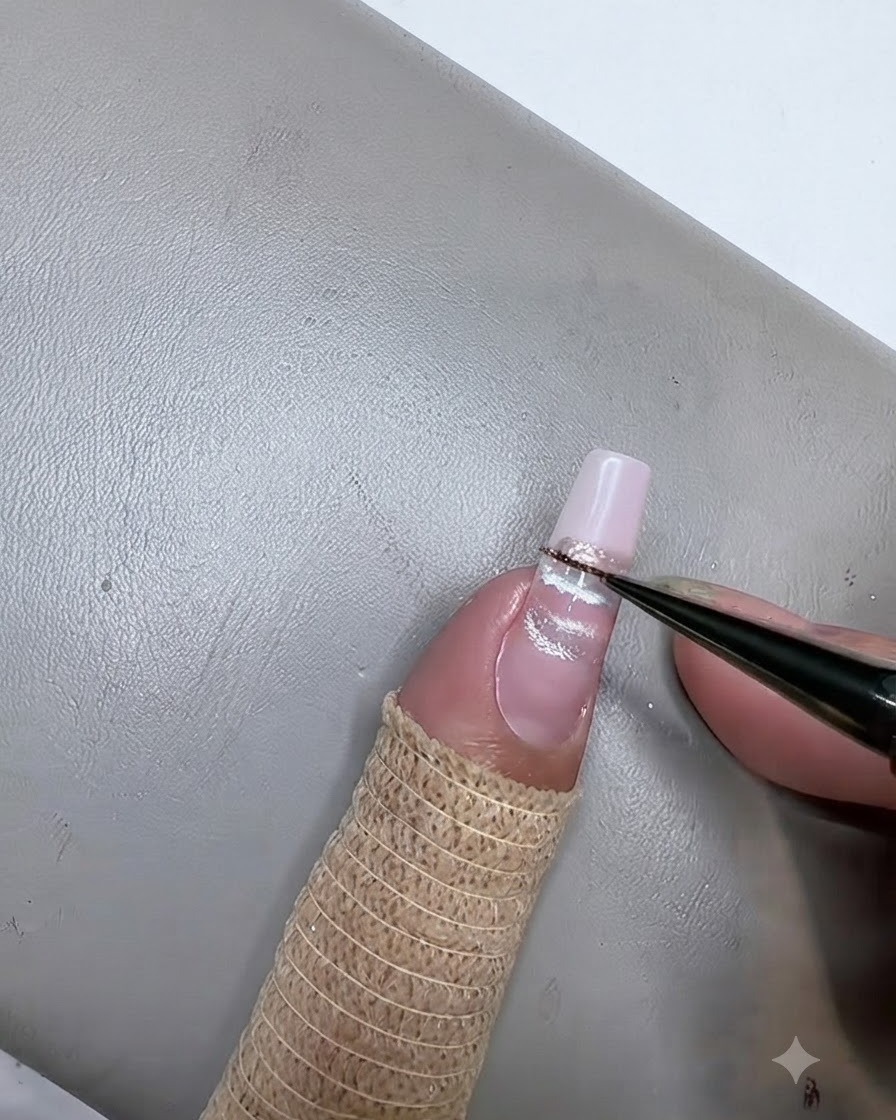
Using a fine liner brush dipped in champagne cat eye gel, draw a fourth parallel horizontal line across the nail surface just above the previous stripes. Maintain an even pressure to keep the line clean and consistent with the others.
Tip: Wipe excess gel off the brush bristles before drawing to prevent the line from becoming too thick. - 19Magnetize the champagne stripe
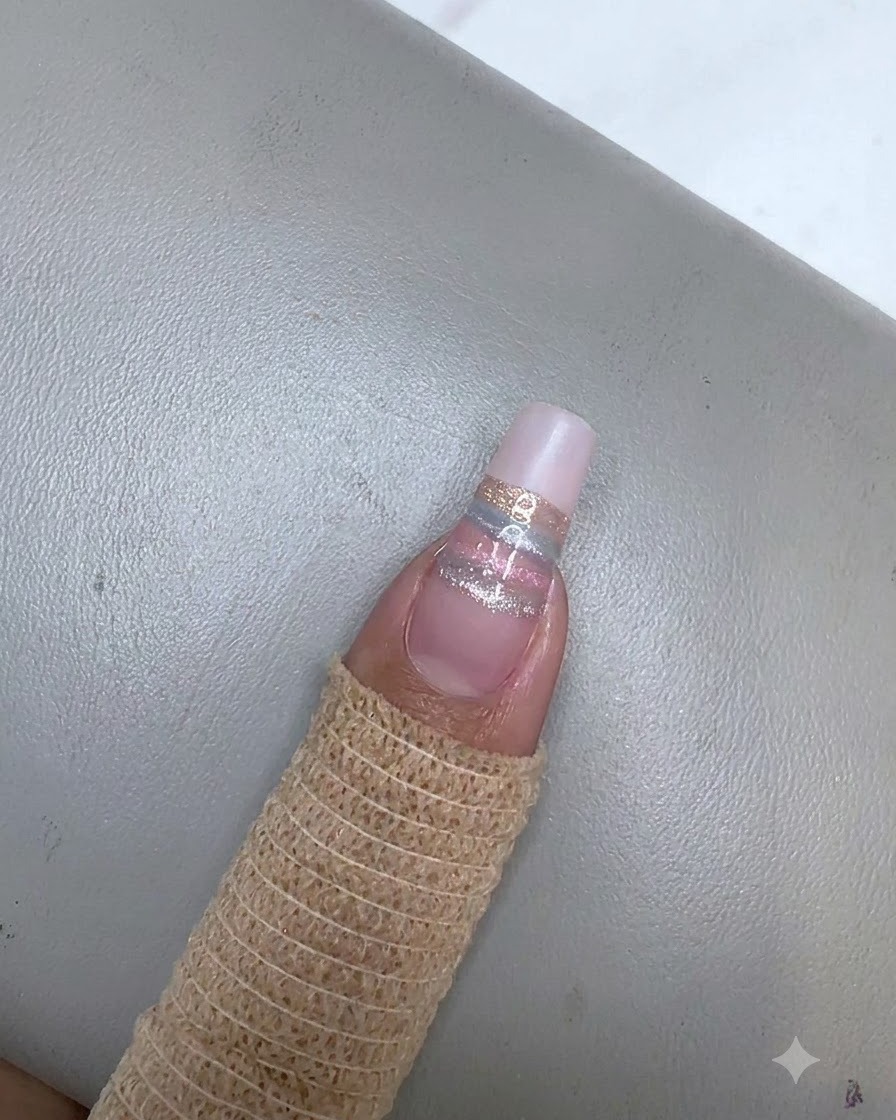
Hover a rectangular magnet closely over the newly drawn champagne stripe without touching the wet gel. Hold it steady for a few seconds to pull the magnetic particles into a sharp, concentrated line of light.
Tip: Keep the magnet parallel to the stripe to ensure the magnetic shimmer aligns uniformly across the width of the nail. - 20Cure the champagne stripe
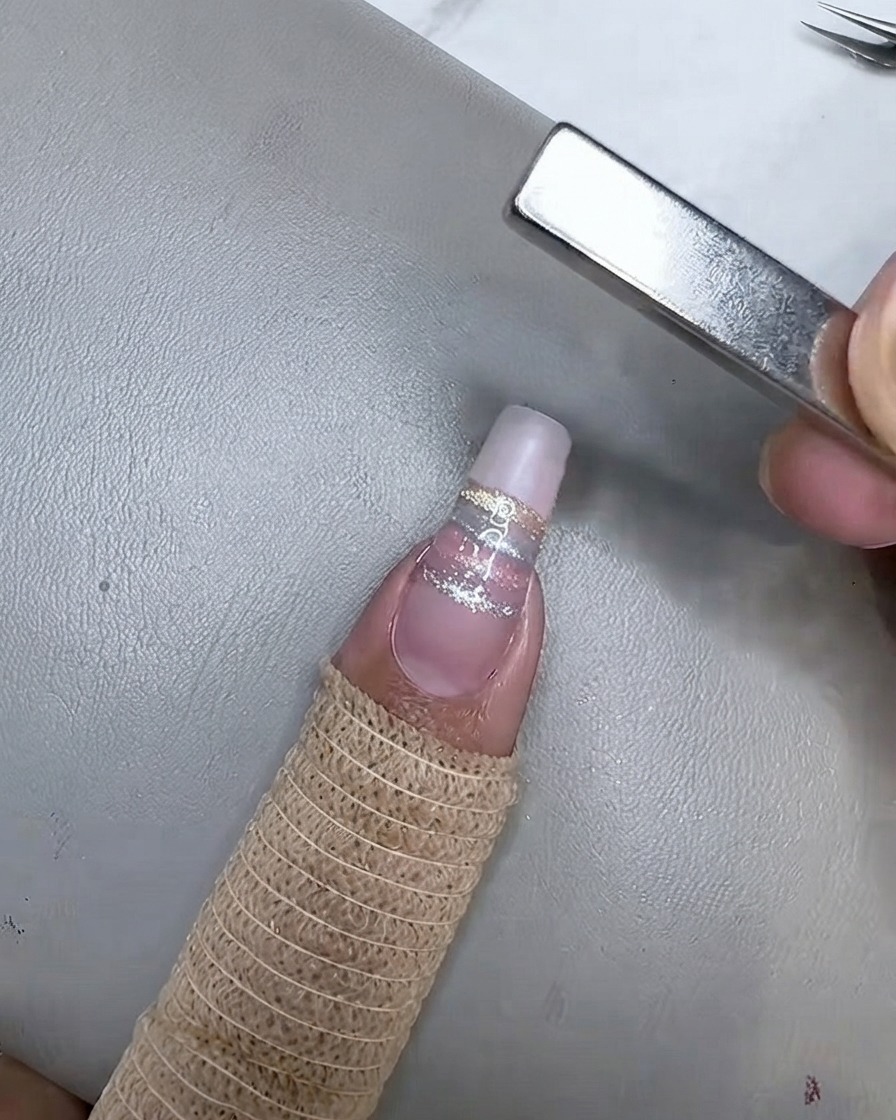
Place the finger under the mini UV or LED lamp to fully cure the finalized champagne cat eye stripe. This secures the magnetic effect permanently before moving on to overlay application.
Tip: Ensure the lamp is positioned directly over the finger so the entire width of the stripe cures evenly. - 21Apply reinforcement gel
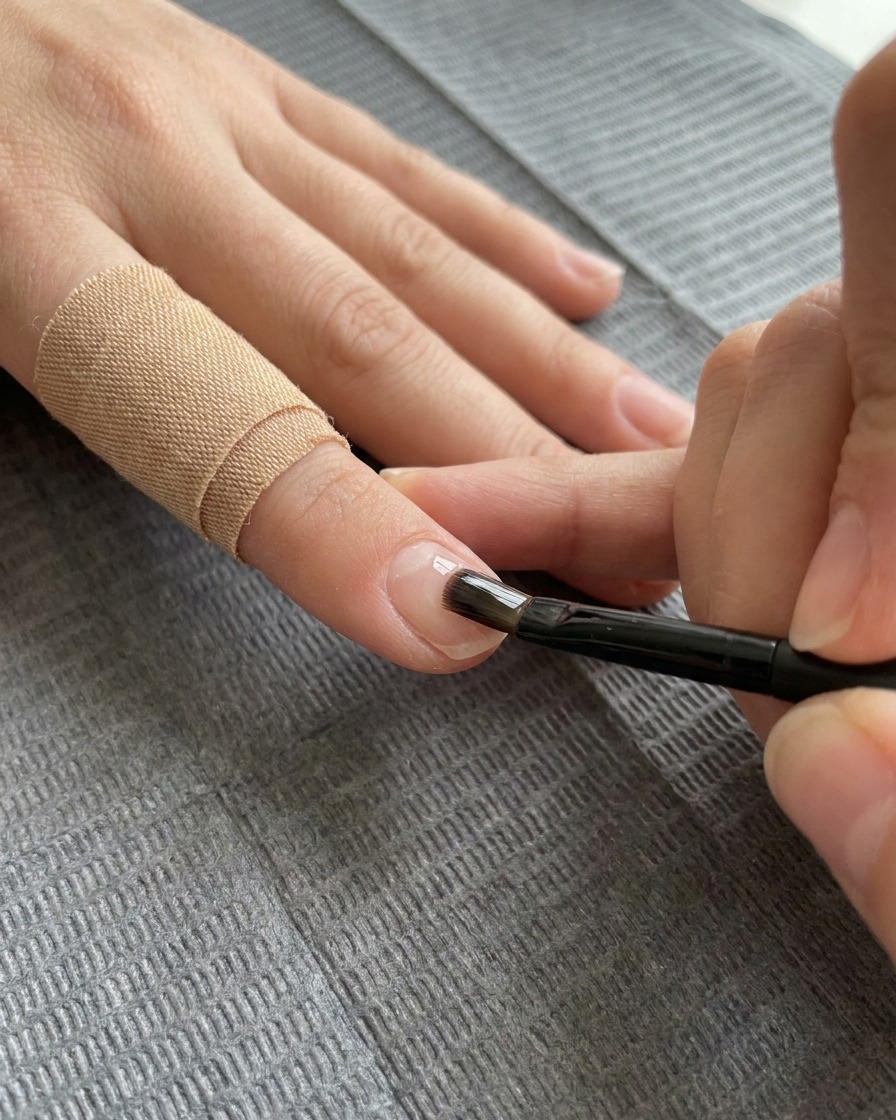
Using a flat gel brush, apply an even layer of clear reinforcement gel across the entire nail surface to add structural strength and create a sticky bed for upcoming decorations. Leave the gel uncured so you can embed sequins directly into it.
Tip: Keep this layer relatively thin and level to avoid adding unnecessary bulk to the nail structure. - 22Place star sequins
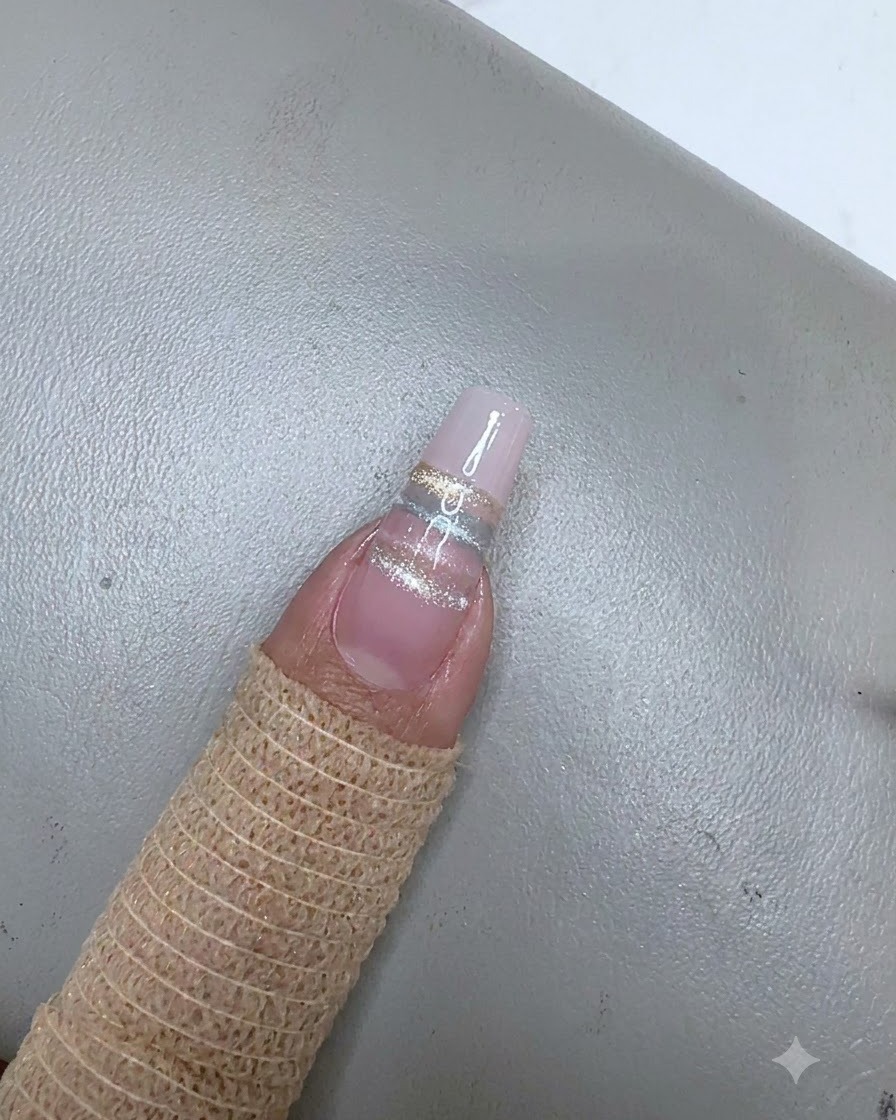
Using a fine pickup tool or tweezers, carefully place silver star-shaped sequins of varying sizes along the painted cat eye stripes into the uncured reinforcement gel. Arrange them artfully to complement the linear design.
Tip: Lightly press down the center of each star sequin into the wet gel to ensure the edges do not catch or lift later. - 23Apply builder top coat
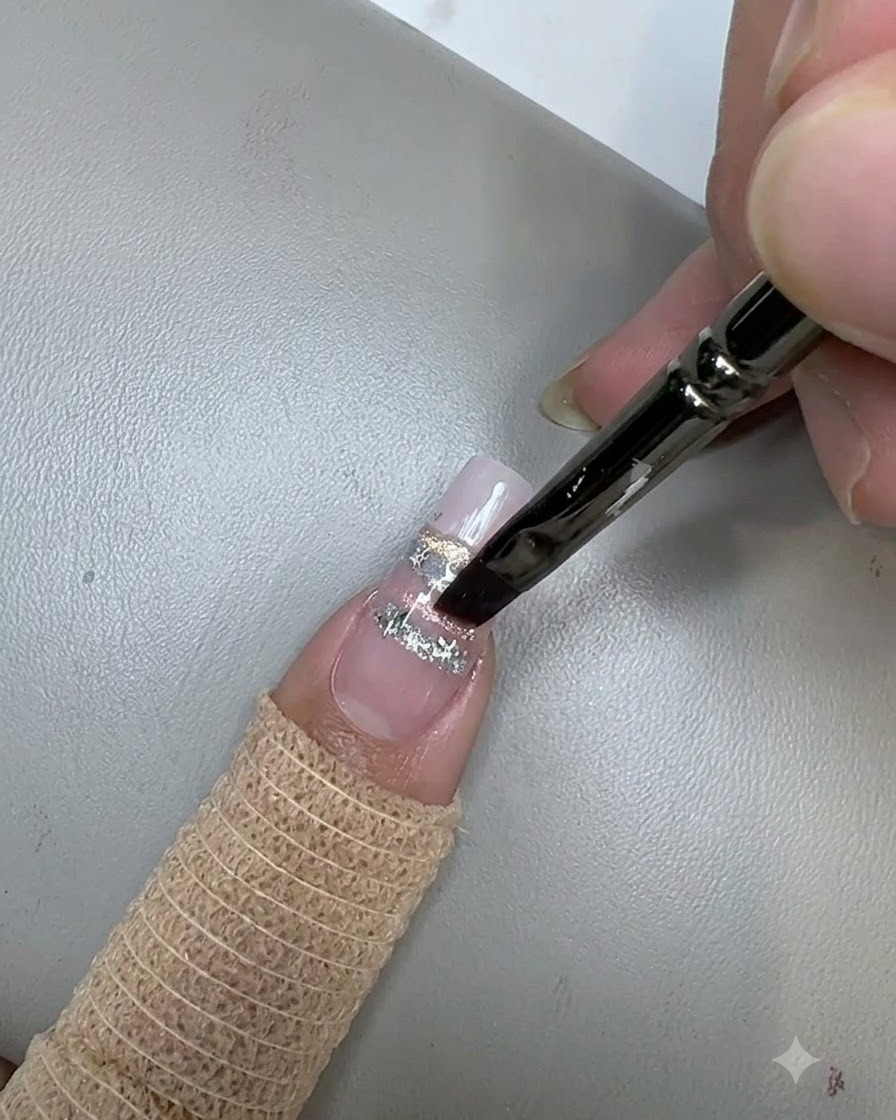
Apply a generous layer of builder top coat over the entire nail to seal in the star sequins and stripes, ensuring a smooth, protected finish.
Tip: Make sure the sequins are fully covered by the top coat to prevent them from snagging or peeling off. - 24Cure the final top coat
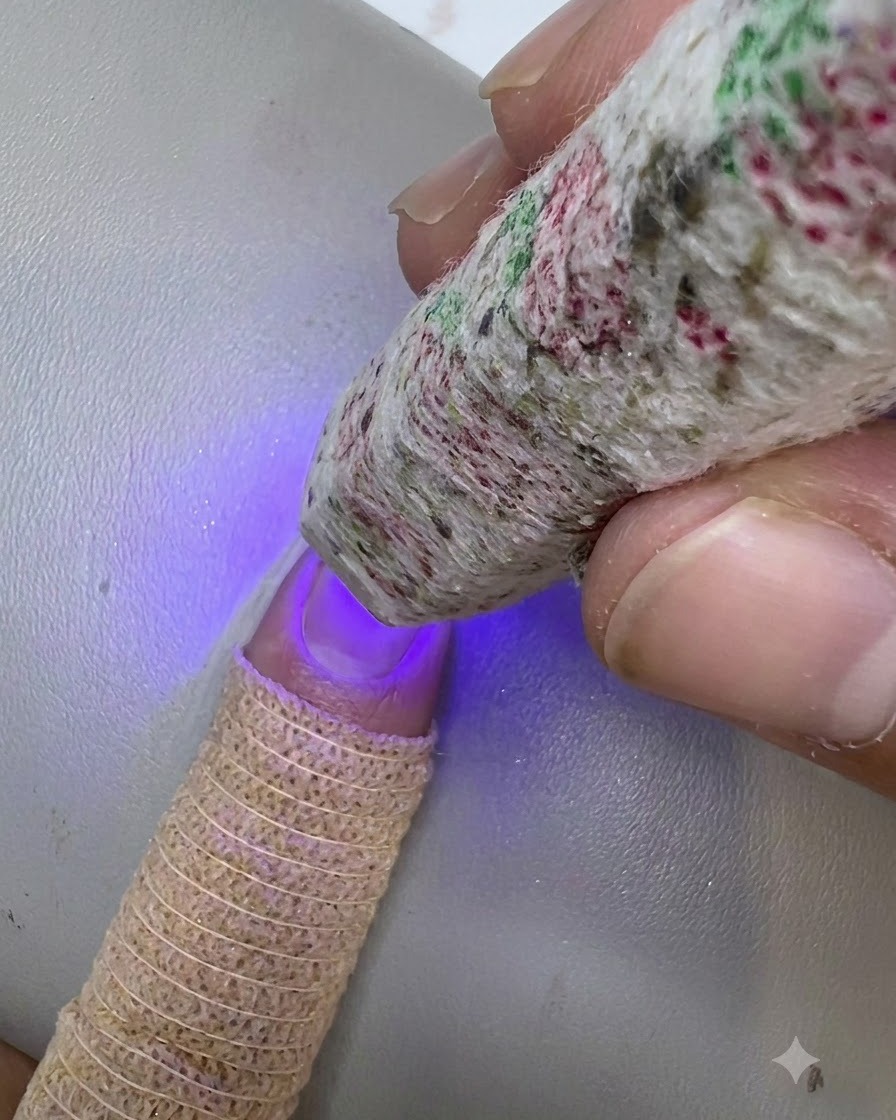
Place the finger under a mini UV/LED lamp and cure the final builder top coat completely to lock in the entire design with a high-gloss finish.
Tip: Ensure a full cure cycle so the top coat hardens completely and maintains its glossy protection.