Blue-Green Left-Right Gradient Nail Art — Step-by-Step Tutorial
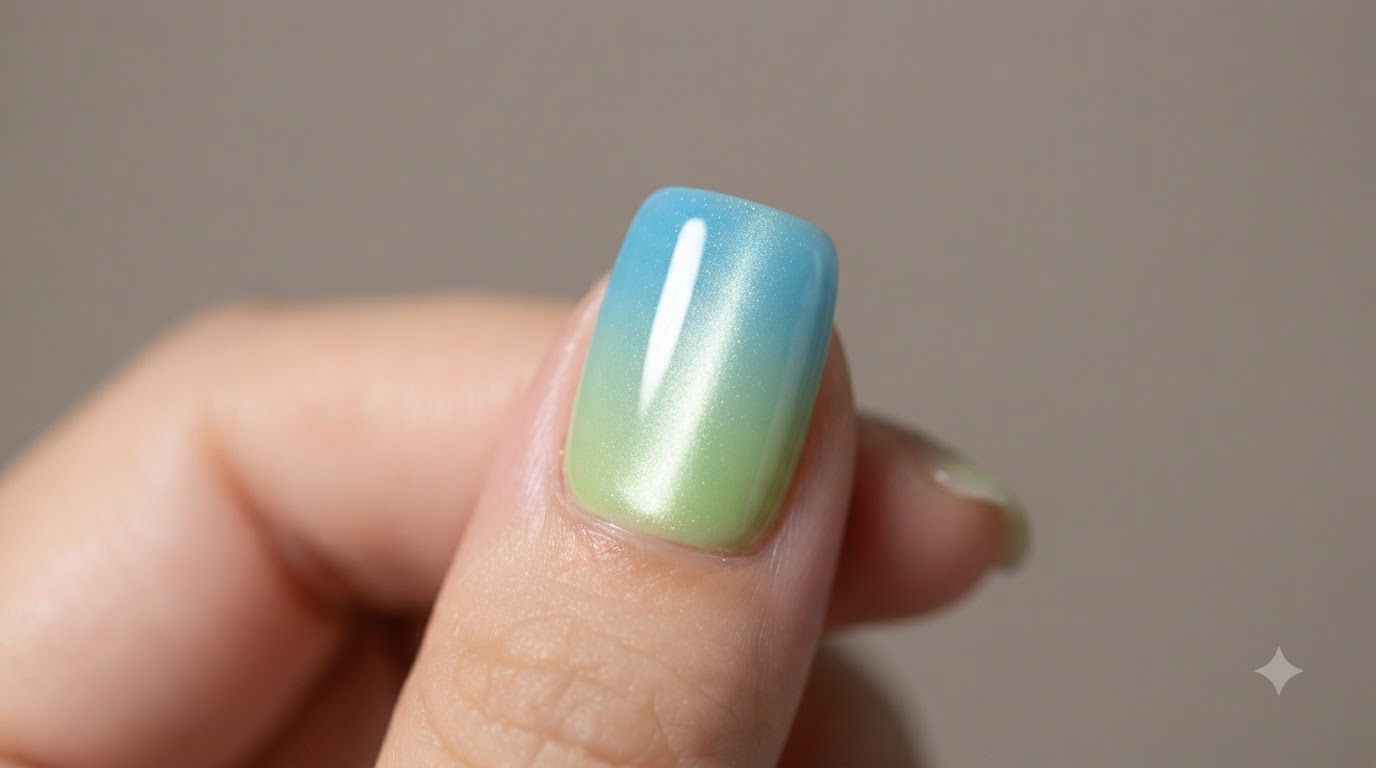
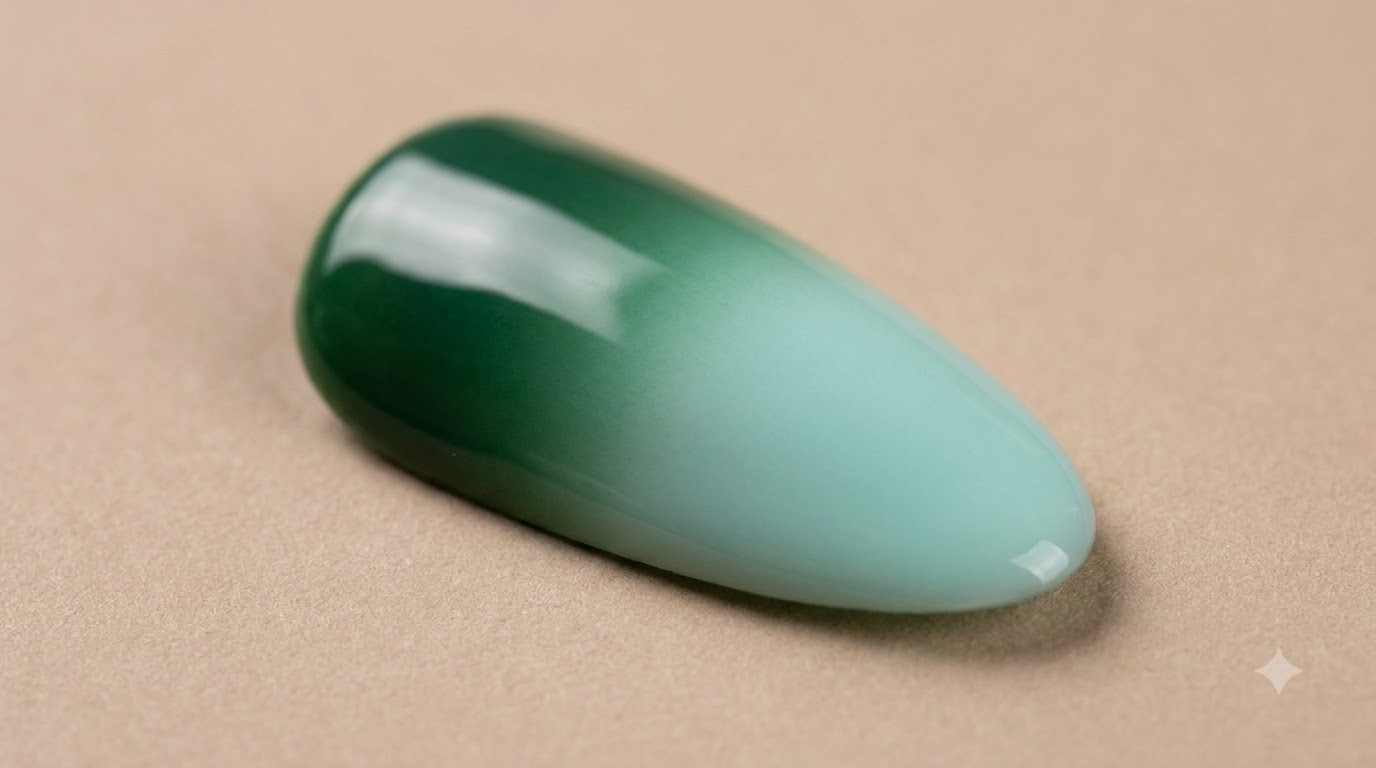
Create a stunning left-to-right gradient blending deep forest green and soft teal with a high-gloss finish using easy blending techniques.
Horizontal gradient nail art offers a modern and eye-catching twist on traditional ombre designs. By seamlessly blending deep forest green into a soft pastel teal across the nail plate, this look achieves a sophisticated and polished aesthetic that stands out.
Steps
- 1Apply teal gel polish
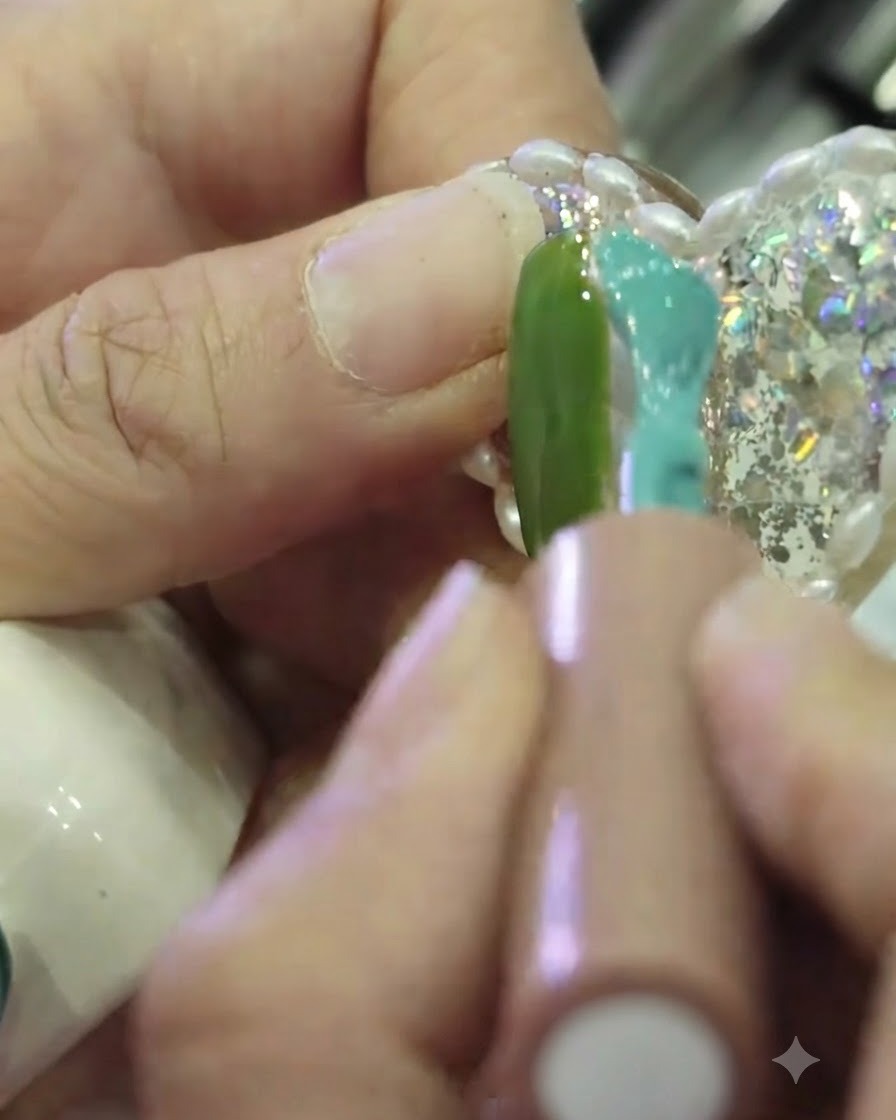
Using the gel brush, carefully apply the teal polish to the right side of the nail plate. Be sure to leave a deliberate, slight gap down the center between the newly applied teal and the existing green polish to set up a clean gradient blend.
Tip: Leaving a small gap between the two colors prevents them from mixing prematurely and muddying the gradient effect. - 2Blend colors at the center
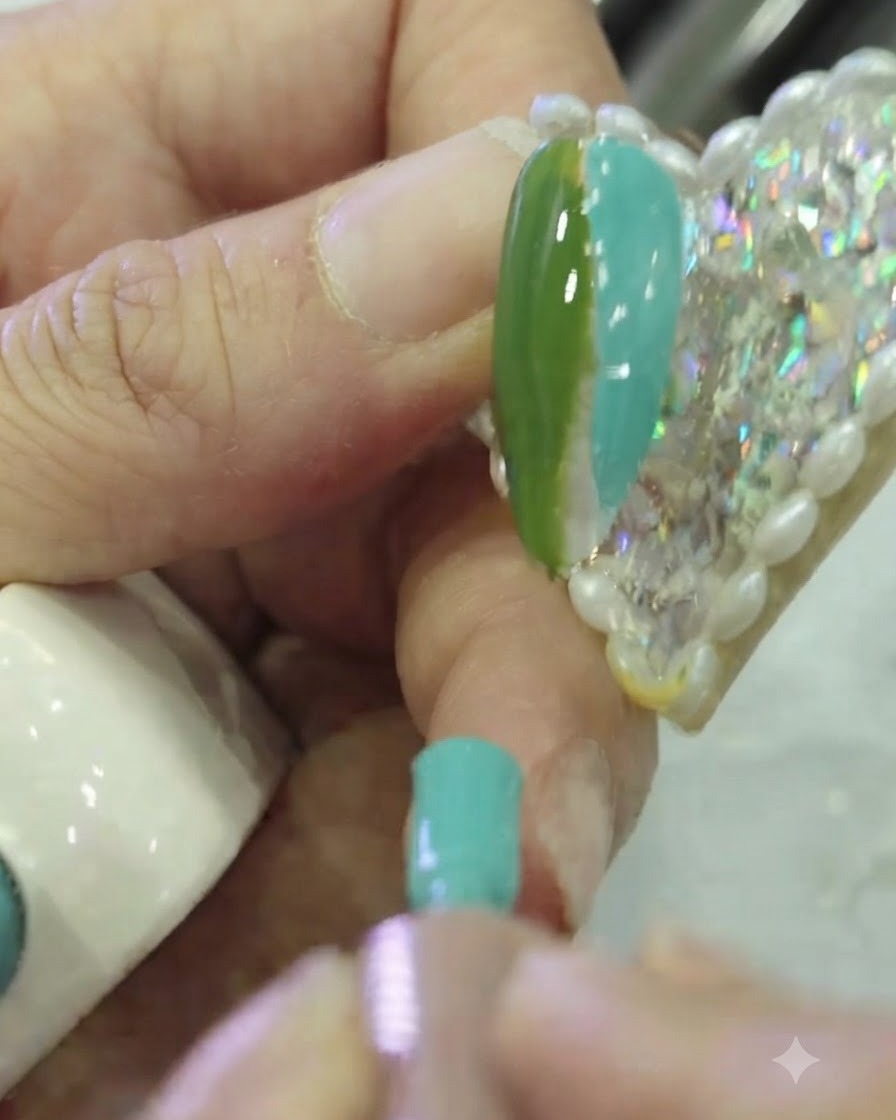
Take a flat nail art brush and lightly dab down the center where the green and teal gels meet to begin blending them. This helps marry the two shades together for a seamless gradient transition.
Tip: Keep your touch light to avoid wiping away too much gel polish. - 3Soften the gradient transition
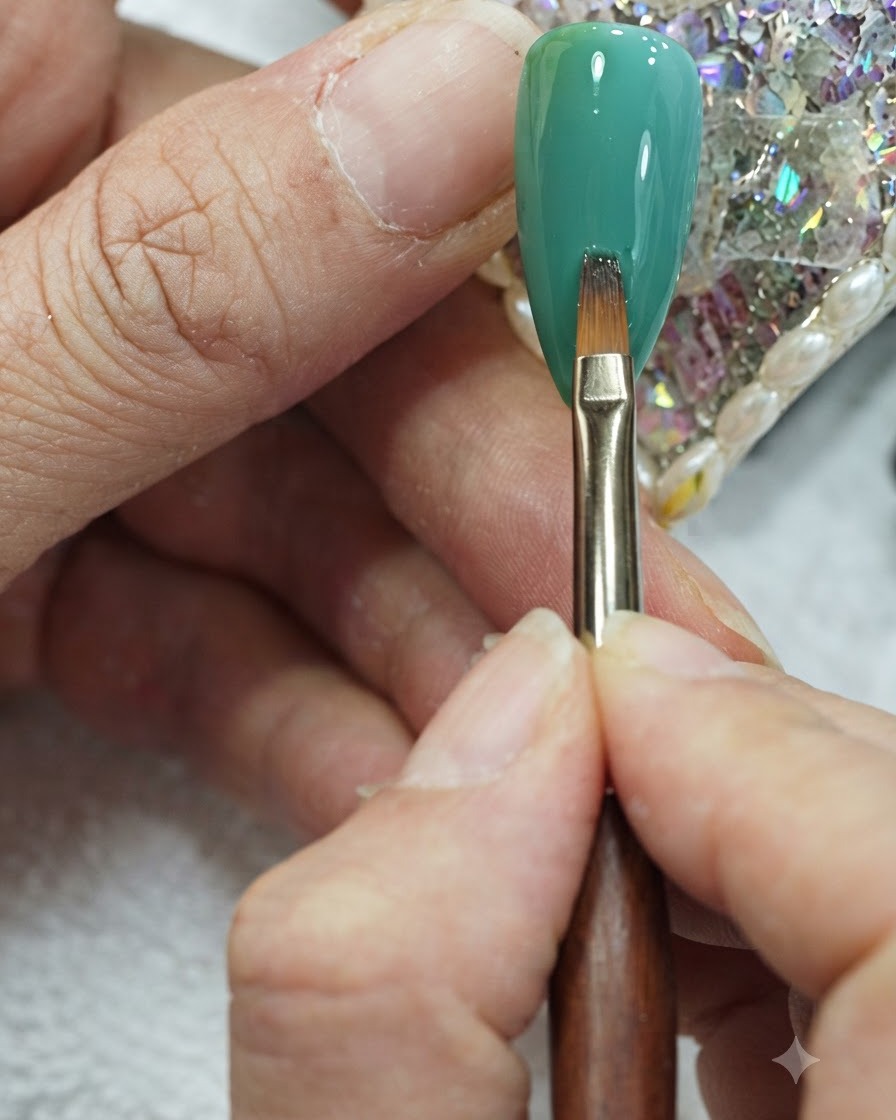
Use gentle vertical strokes with the flat brush across the middle section to soften the gradient transition between the two colors. Work softly up and down until the harsh line disappears.
Tip: Clean your brush on a lint-free wipe if it picks up too much excess product during blending. - 4Refine and smooth gradient
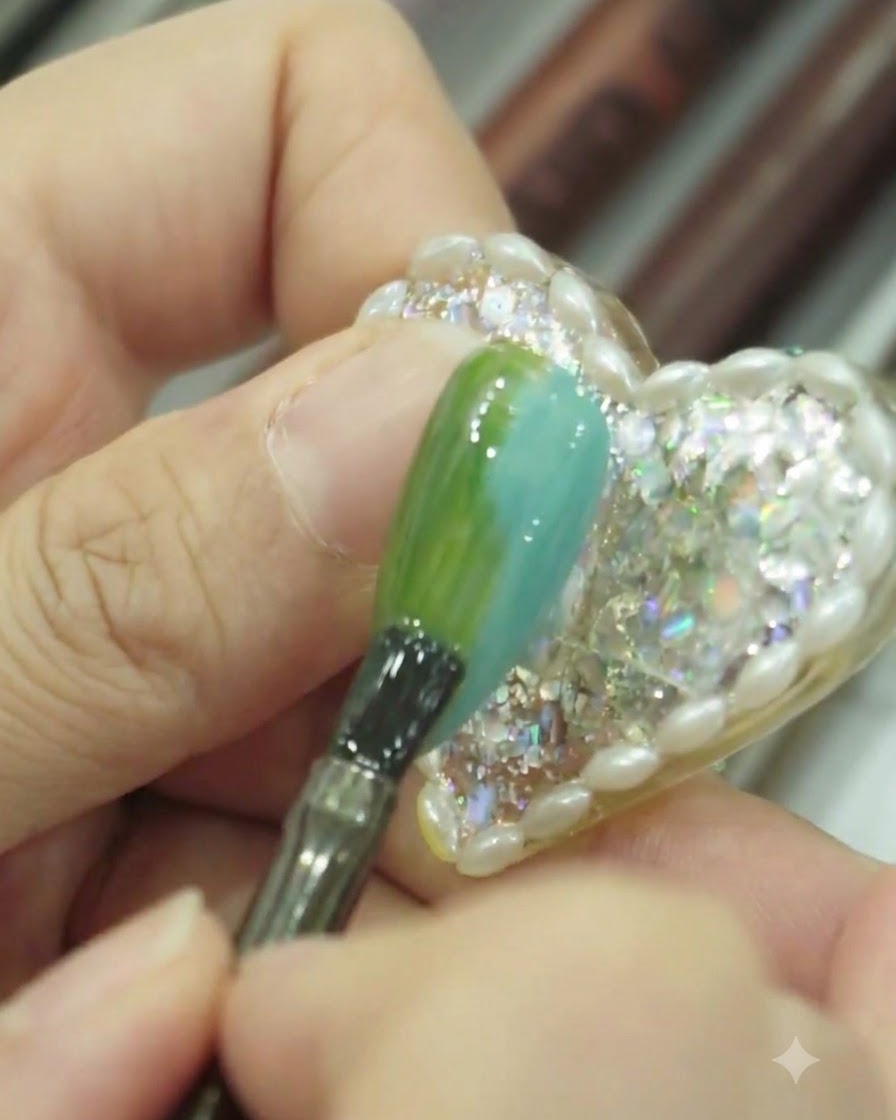
Using light taps with your brush, gently refine the edges and smooth out any streaks across the nail surface. This blending technique helps eliminate harsh lines and creates a seamless transition between the colors. Work carefully to preserve the desired gradient effect before curing.
Tip: Keep your brush strokes extremely light and gentle to avoid disturbing the underlying layers of gel. - 5Apply second layer of dark green
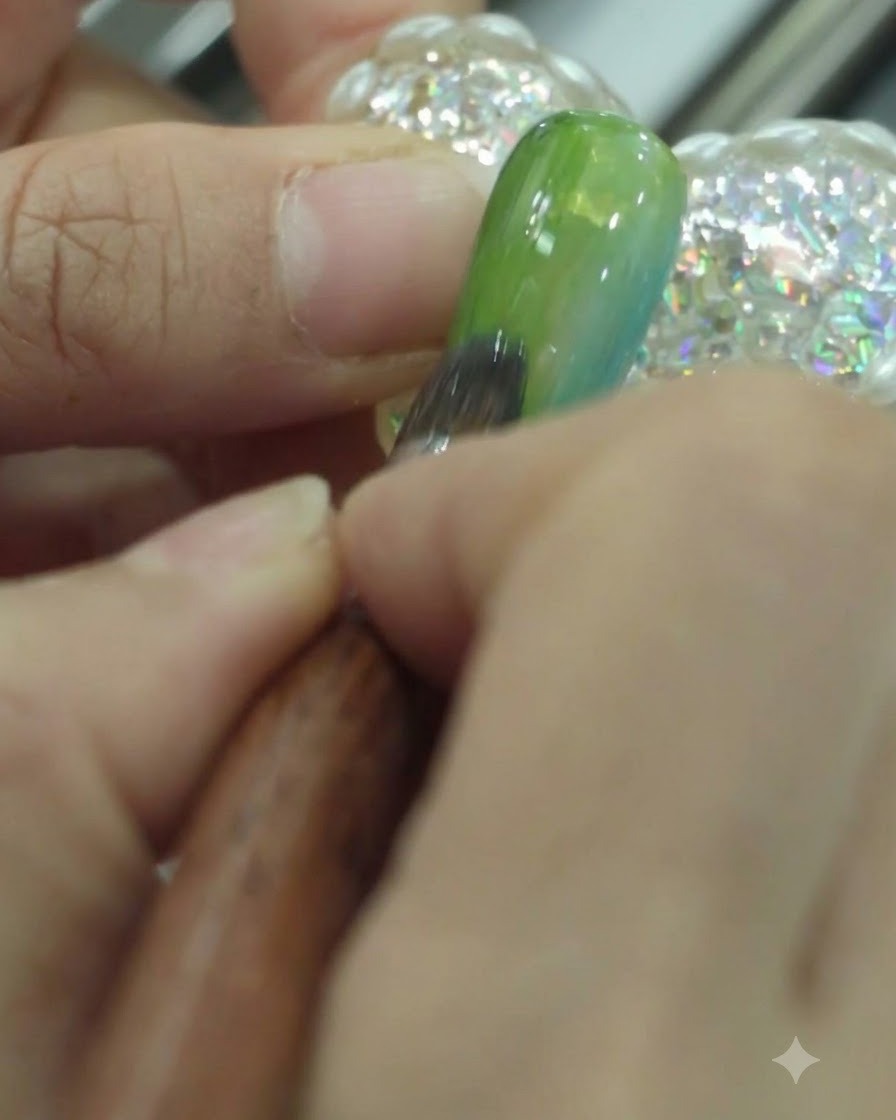
Apply a second layer of dark green gel polish on the left side to intensify the color saturation. Re-blend lightly if necessary to keep the gradient smooth.
Tip: Building color in thin layers prevents the gel from wrinkling during the cure. - 6Apply second teal gel layer
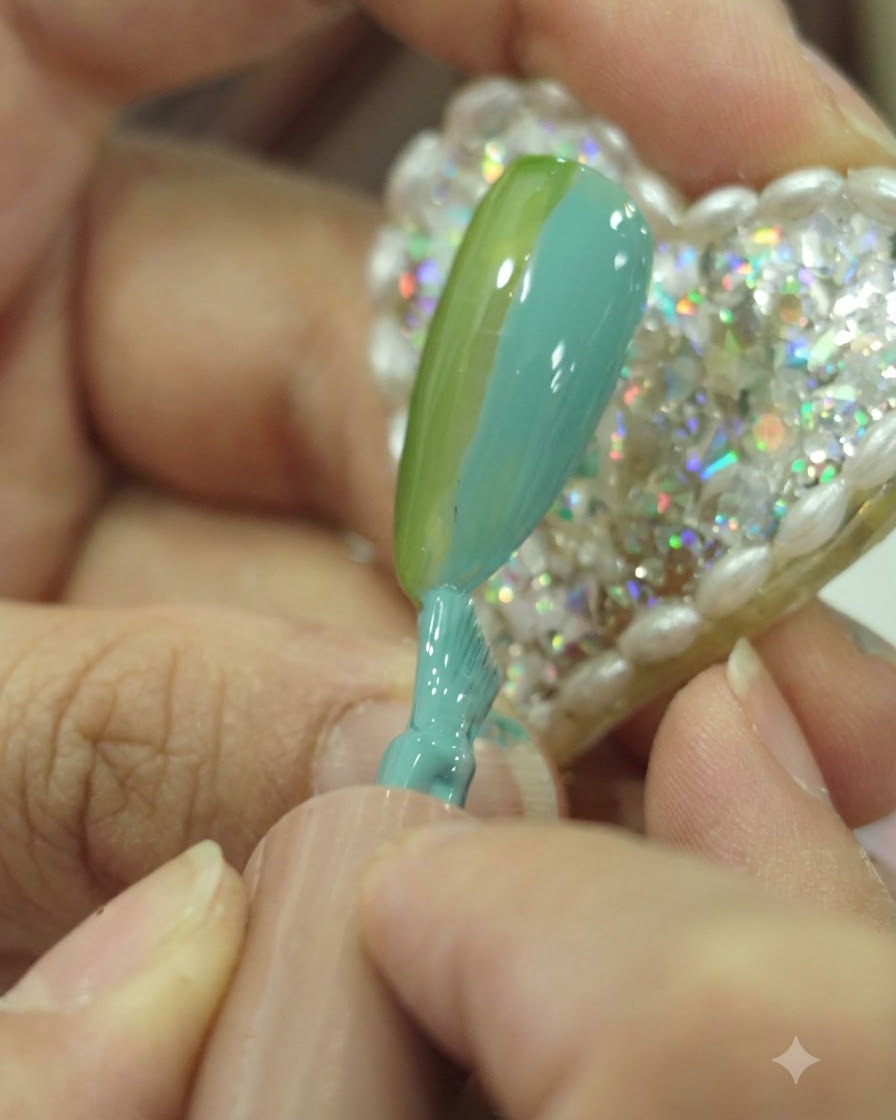
Apply a second layer of teal gel polish on the right side next to the green layer to deepen the color intensity and ensure full coverage.
Tip: Keep your strokes controlled and parallel to avoid disrupting the adjacent color section. - 7Blend the gradient colors
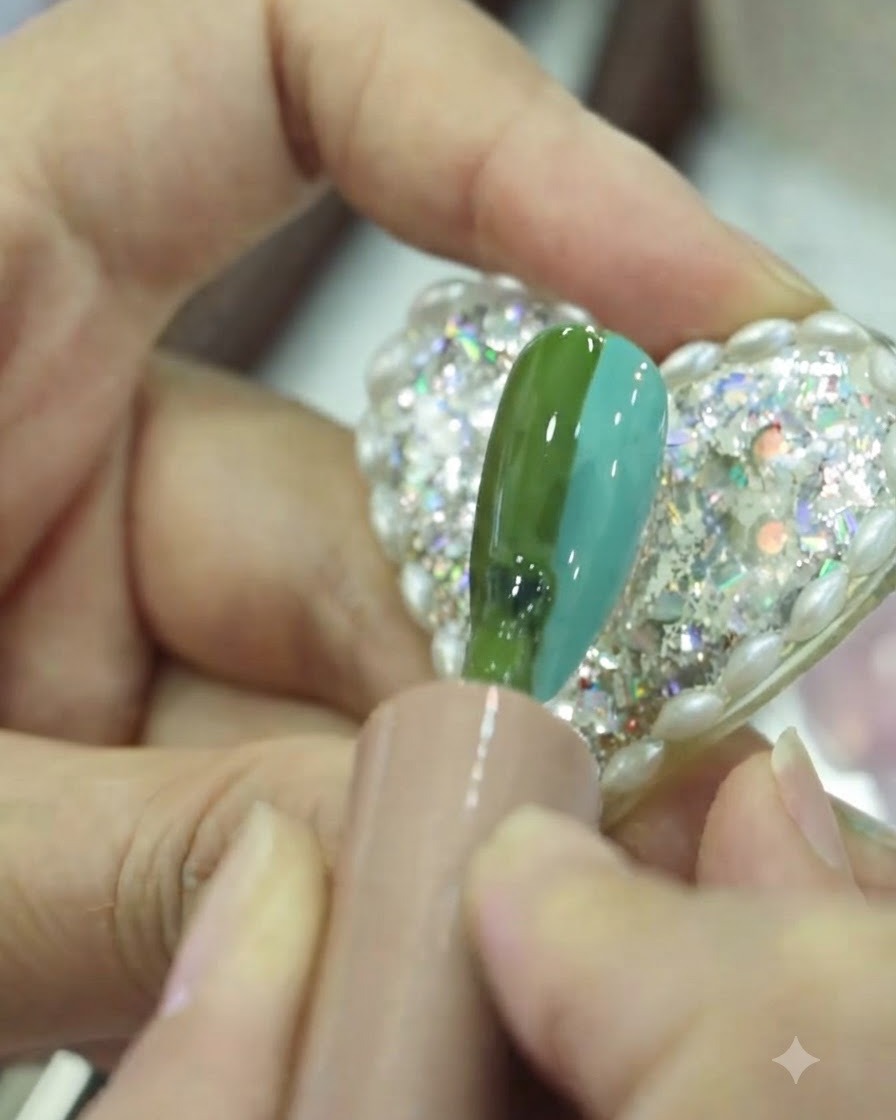
Gently blend the second layer of colors together in the center using the flat brush to create a seamless gradient transition between the green and teal sections.
Tip: Use light, feathery strokes in the middle where the two colors meet to avoid muddying the shades. - 8Refine the Gradient Blend
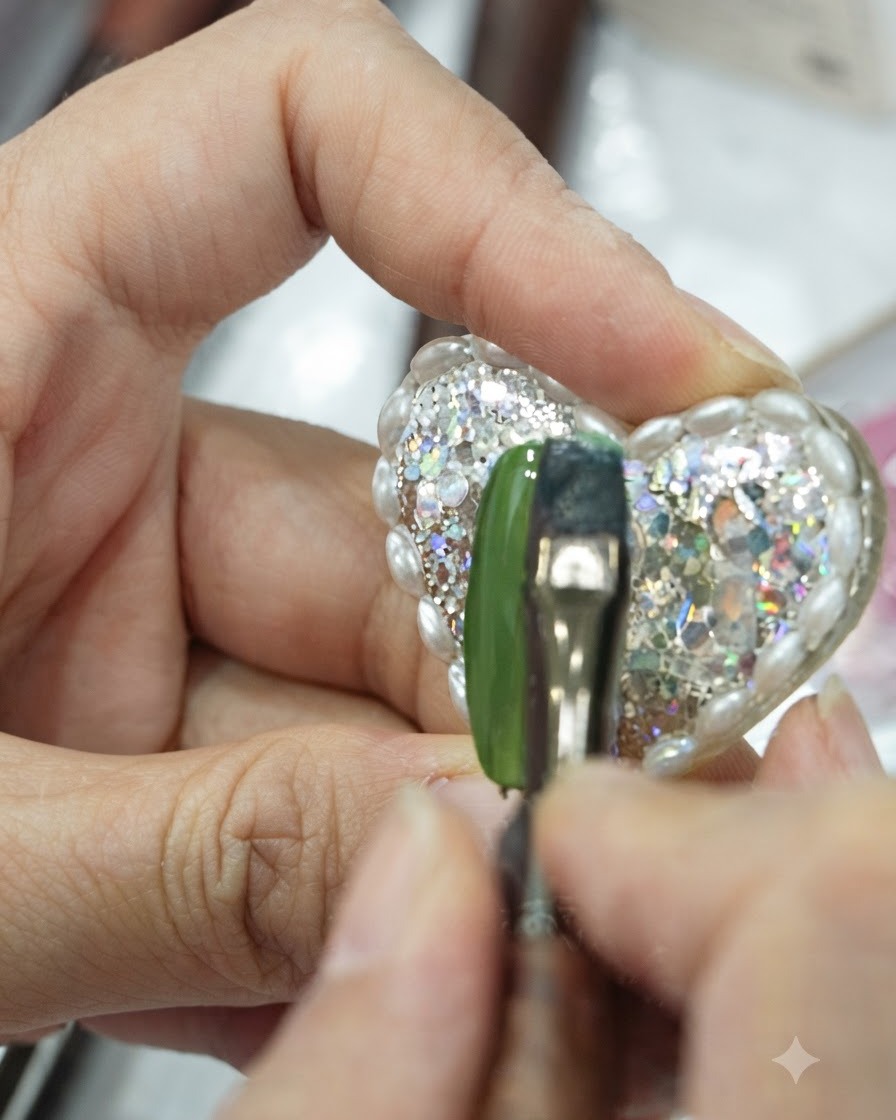
Lightly sweep your brush using gentle vertical strokes across the intersection of the colors to smooth out any remaining lines. This final blending technique unifies the blue and green tones, creating a seamless and harmonious left-to-right gradient transition across the nail surface.
Tip: Keep your brush strokes very light and do not press down too hard, as heavy pressure can remove too much product and disrupt the gradient balance.