Neon Green
Purple Abstract Contrast Nail Art — Step-by-Step Tutorial
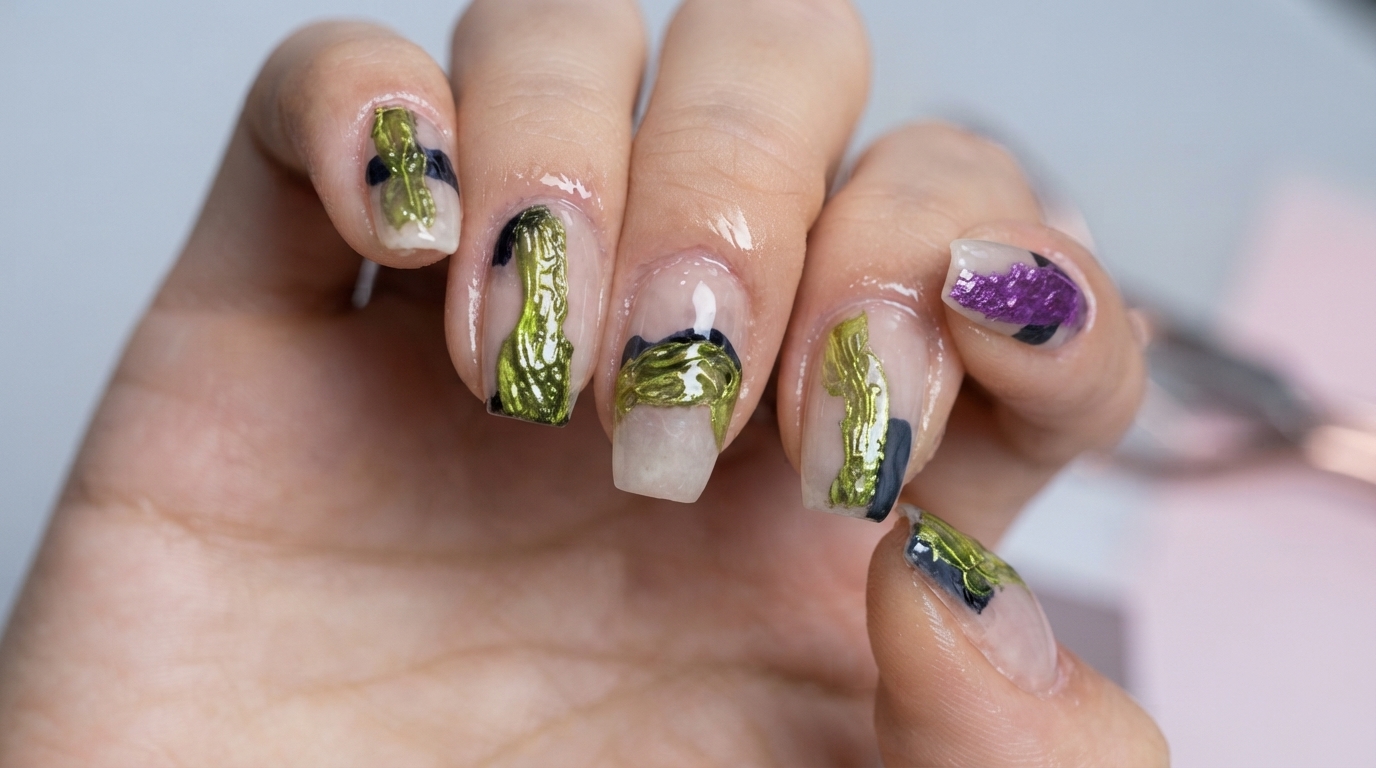
Create a trendy sweet-cool manicure featuring neon green and rich purple abstract swirls, foil elements, and nude negative space bases.
Neon green paired with purple creates an amazing, high-contrast look that is both trendy and full of character. This sweet-cool abstract nail art combines fluid artistic strokes, metallic textures, and translucent nude negative spaces for a truly eye-catching finish.
Steps
- 1Apply Base Coat
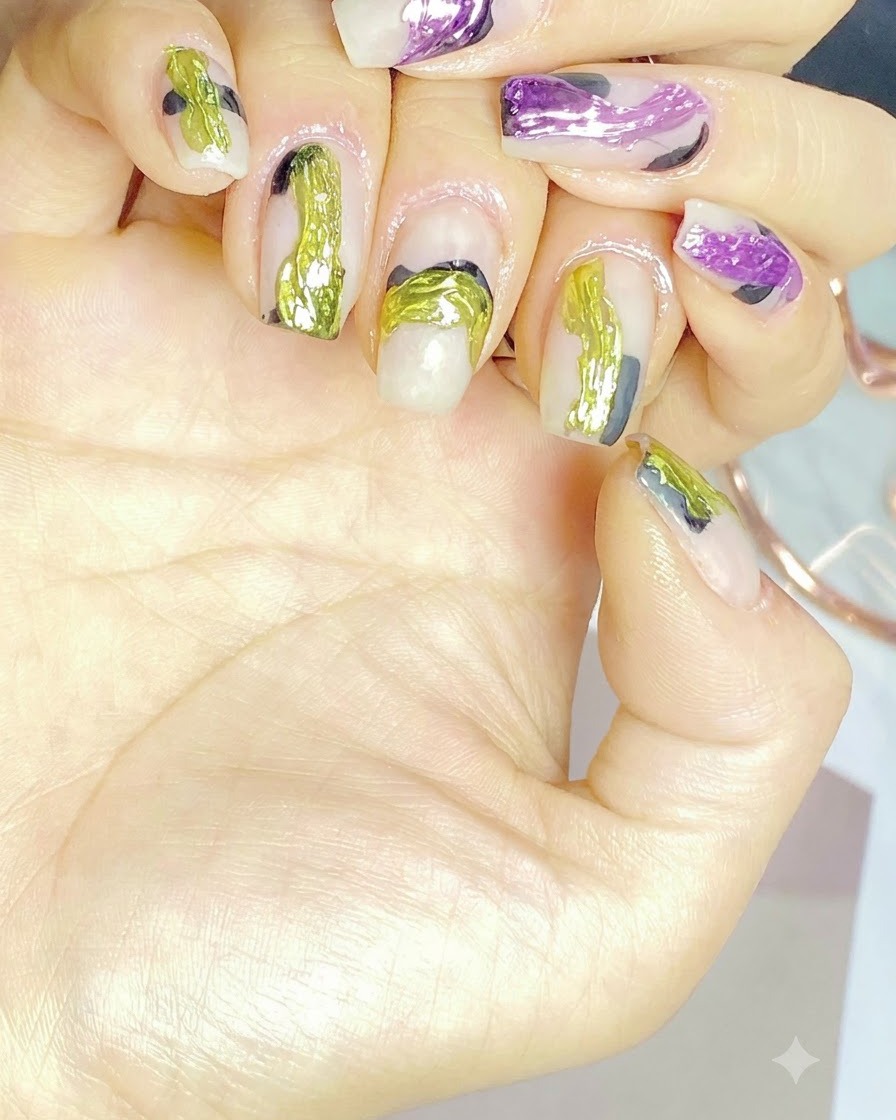
Apply an even layer of base coat onto the prepared natural nails to ensure proper adhesion for the upcoming gel layers.
Tip: Make sure to cap the free edge of the nail to prevent lifting. - 2Cure Base Coat
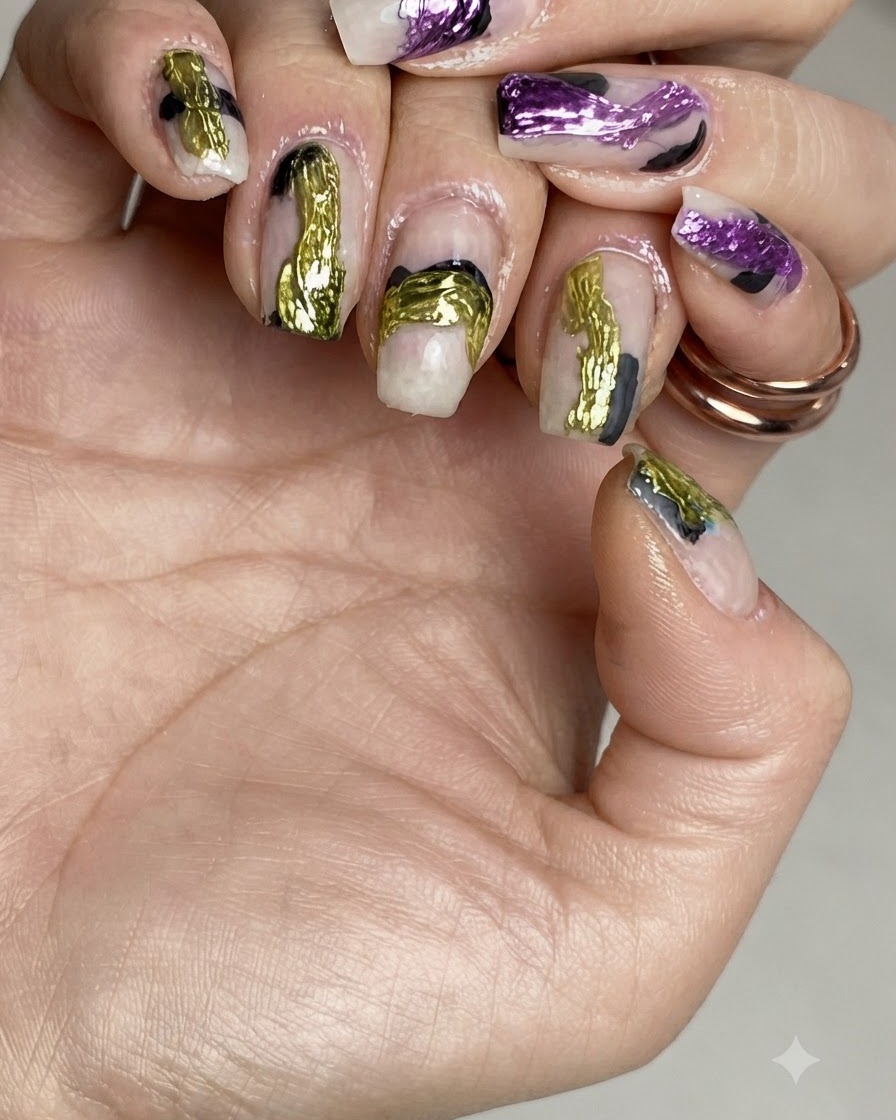
Place your hand under a UV/LED nail lamp and cure the base coat thoroughly according to your products recommended time.
Tip: Ensure your hand is positioned correctly inside the lamp for an even cure. - 3Apply Milky Translucent Nude Base
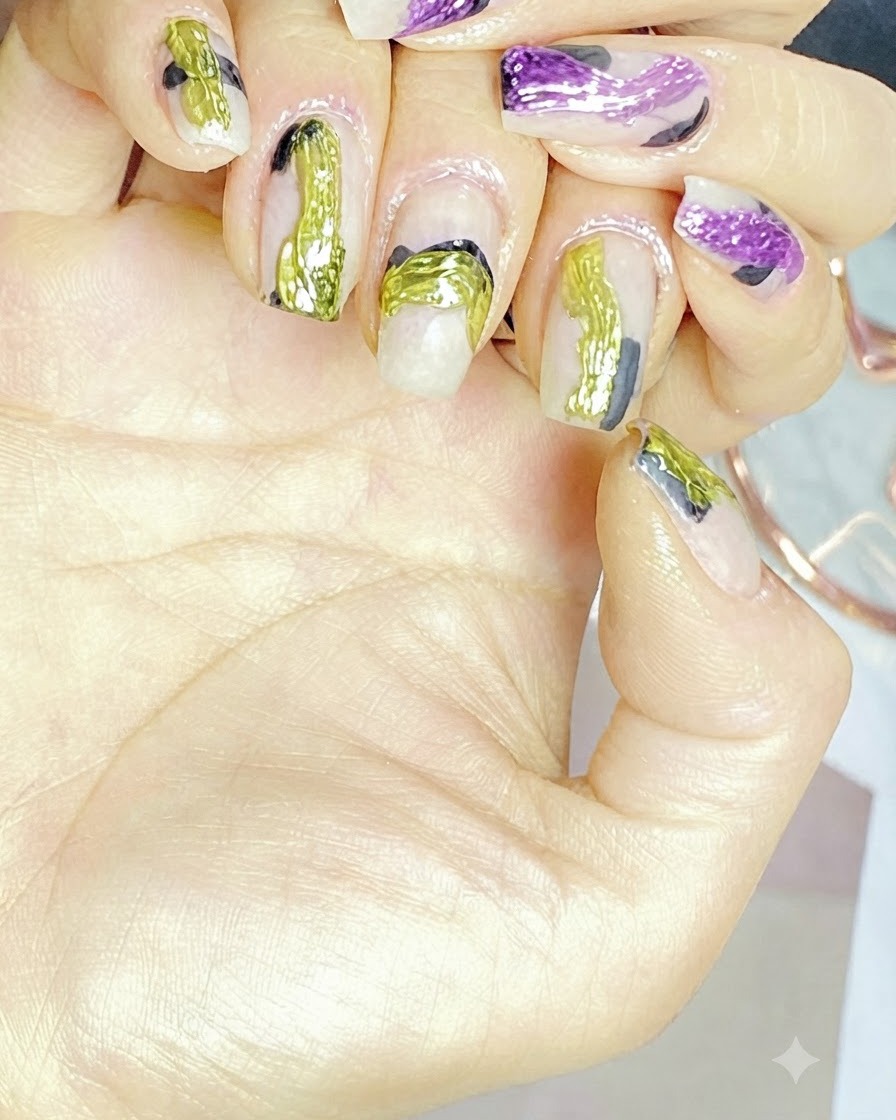
Apply a milky translucent nude gel polish across the nail to create a soft background layer for the sweet-cool abstract art design.
Tip: Apply in thin, even strokes to avoid streaks and ensure a smooth translucent finish. - 4Cure Translucent Nude Base
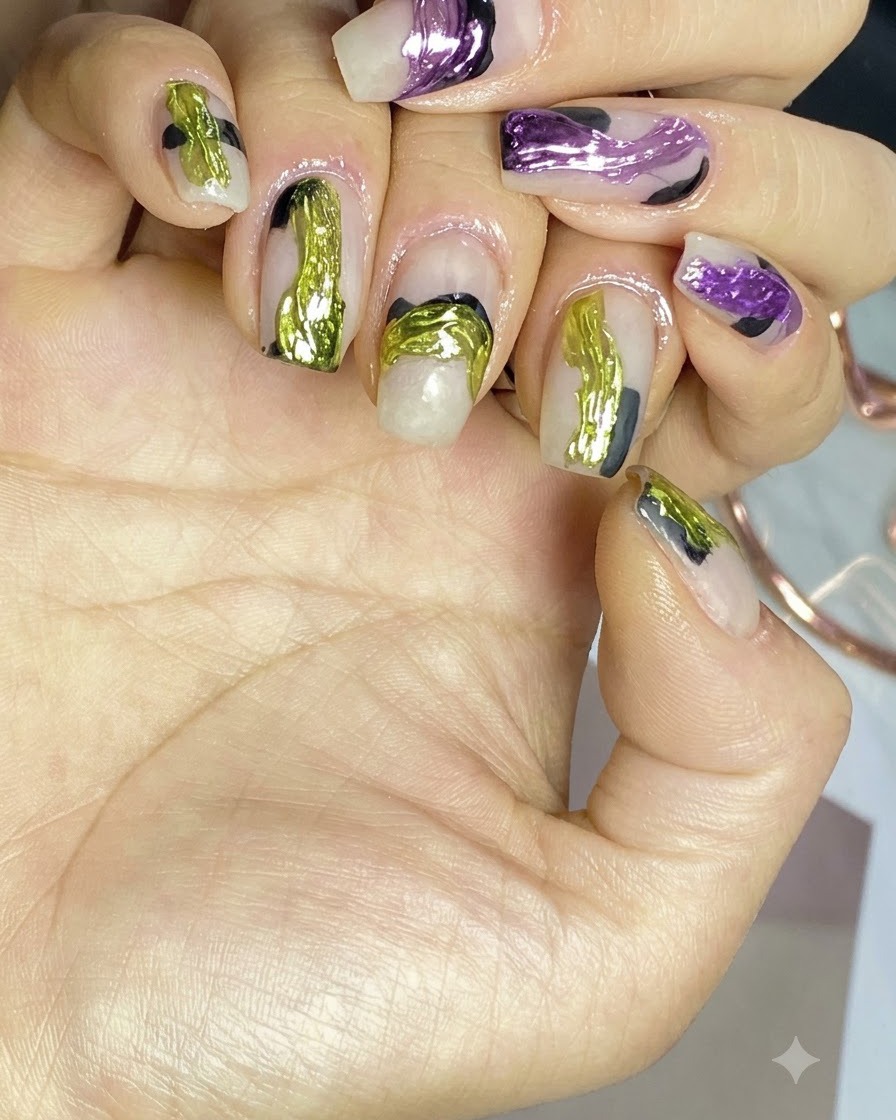
Cure the translucent nude gel base layer under the UV/LED nail lamp until fully set.
Tip: Do not skip curing to prevent shifting when applying subsequent layers of art. - 5Apply Purple Brush Strokes
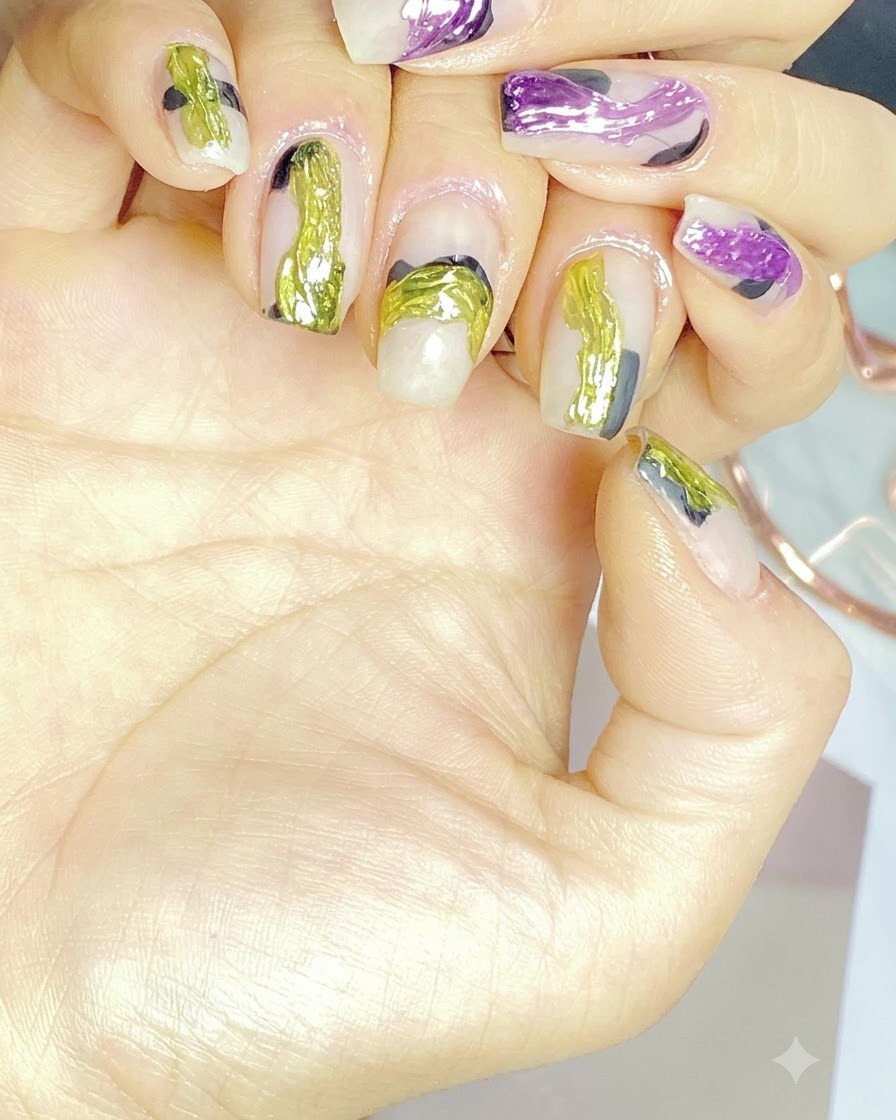
Using a fine liner brush, paint vibrant purple brush stroke accents onto selected nails to build the abstract look.
Tip: Keep a light hand on the liner brush to create fluid, artistic strokes. - 6Add Neon Green Fluid Accents
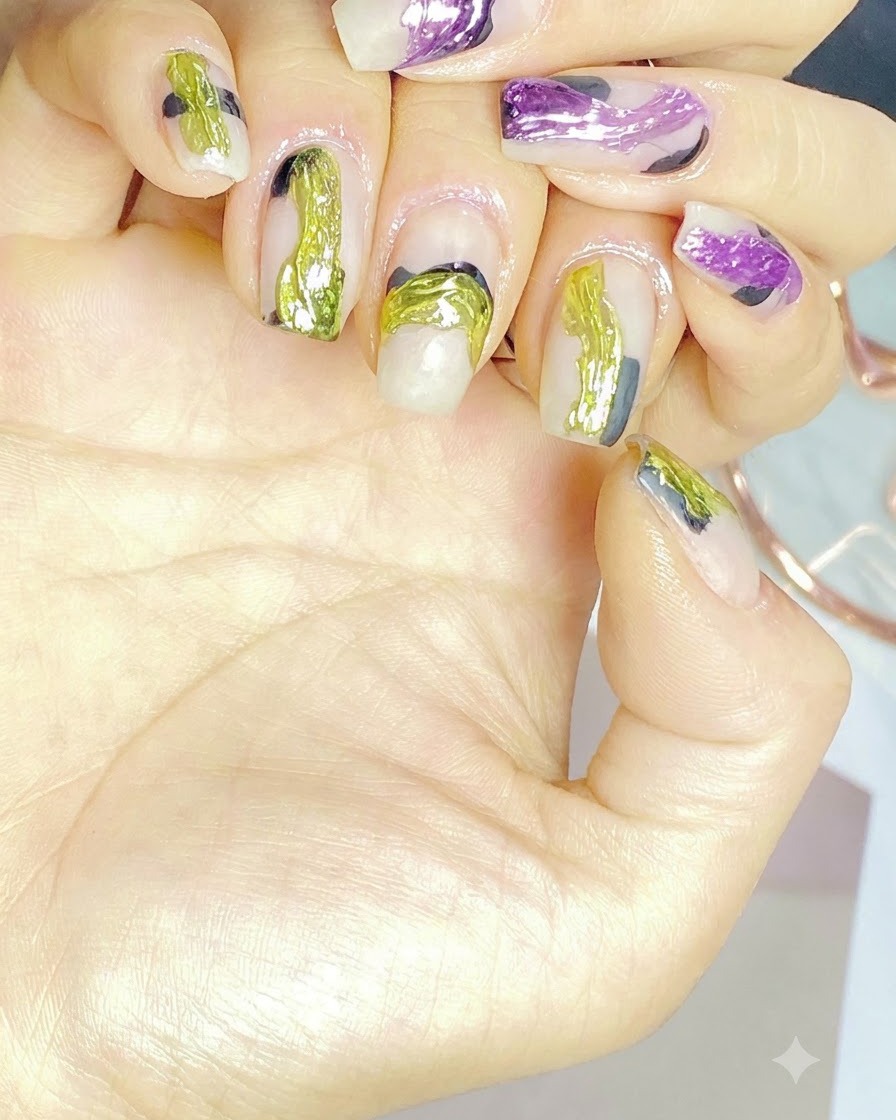
Apply striking neon green gel polish to create contrasting fluid abstract art designs that pop against the nude background and purple strokes, playing with dynamic shapes for a sweet-cool vibe.
Tip: Pairing neon green with purple creates a trendy sweet-cool vibe, so play with dynamic shapes. - 7Add Metallic Foil Details
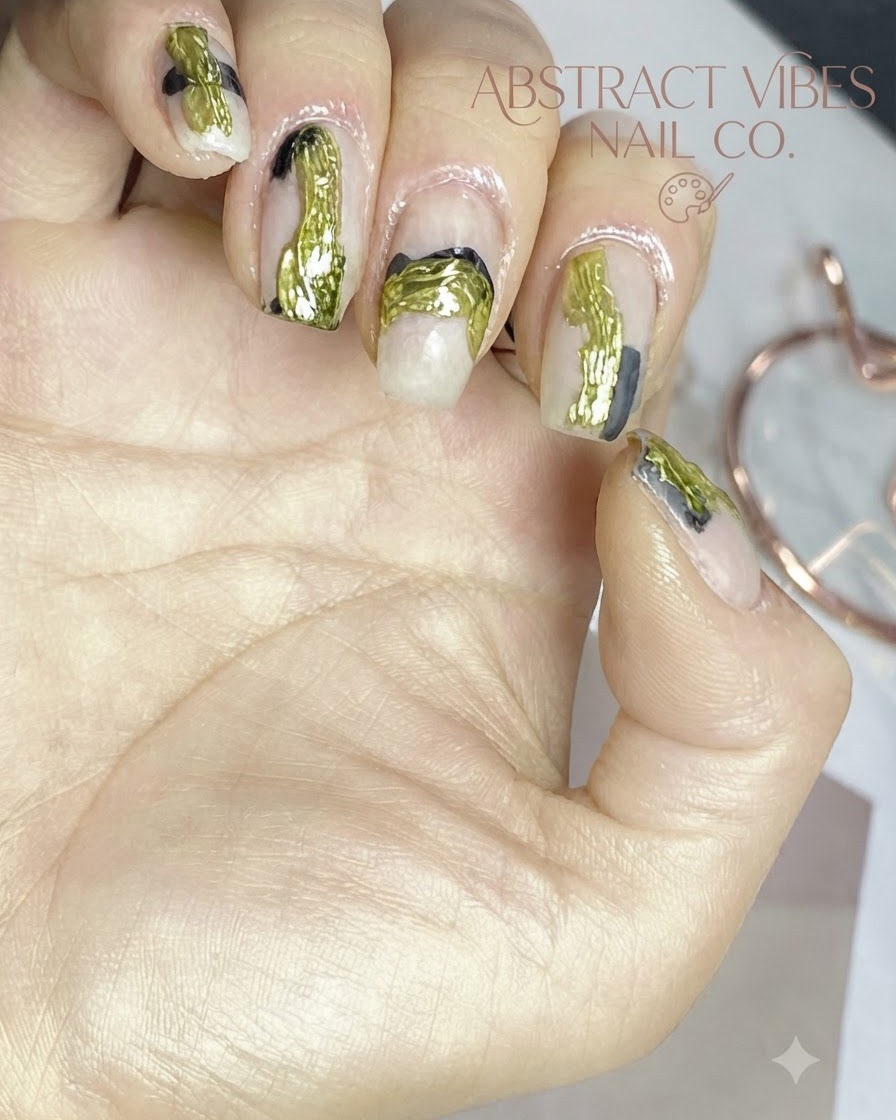
Apply metallic foil or mirror powder directly over the previously drawn abstract lines to introduce a vibrant metallic texture and a high-shine finish, gently pressing or burnishing the details to ensure smooth adhesion.
Tip: Make sure your base or line is tacky if you are using transfer foil so it grabs the metallic pigment properly. - 8Cure the color and details
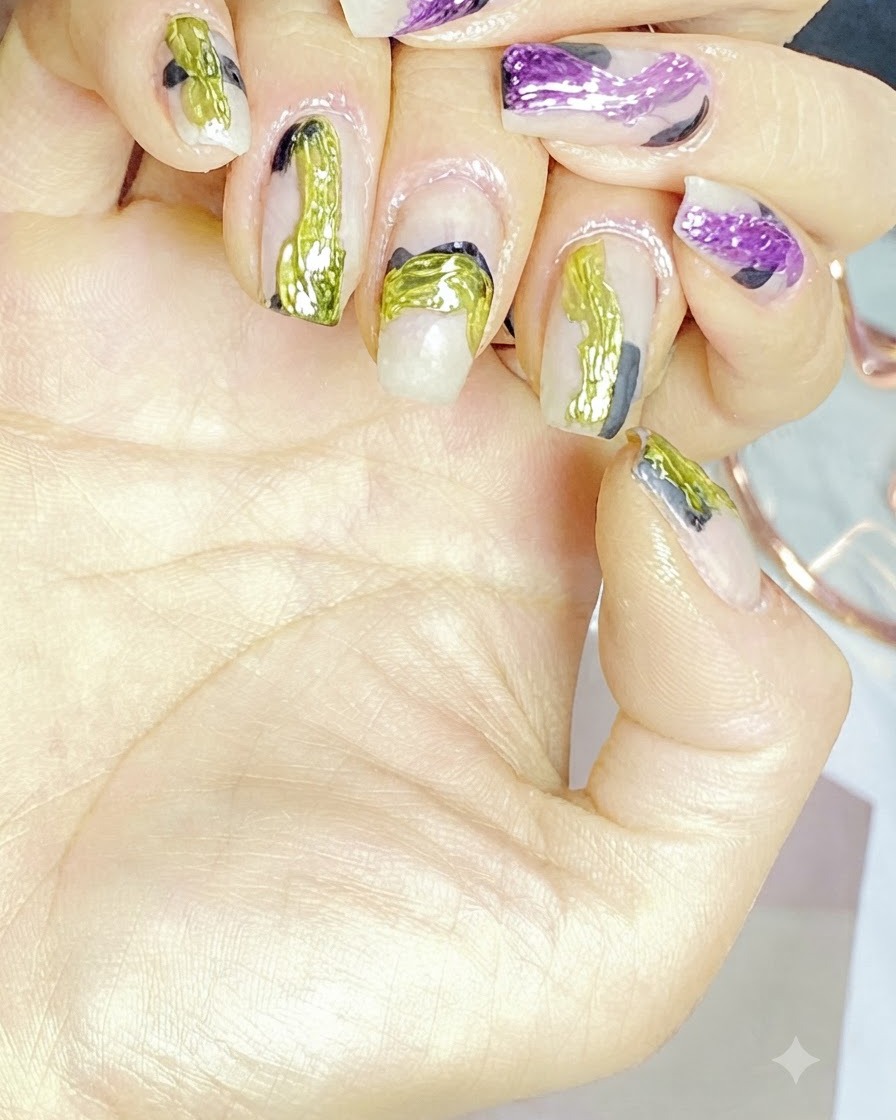
Place your hand inside the UV or LED lamp to fully cure the color coats and the newly applied metallic nail art details. Curing locks all the layered elements securely in place, preventing smudging or peeling before the final sealing layer.
Tip: Double-check that all fingers are positioned correctly under the UV or LED source for an even cure. - 9Apply gloss top coat
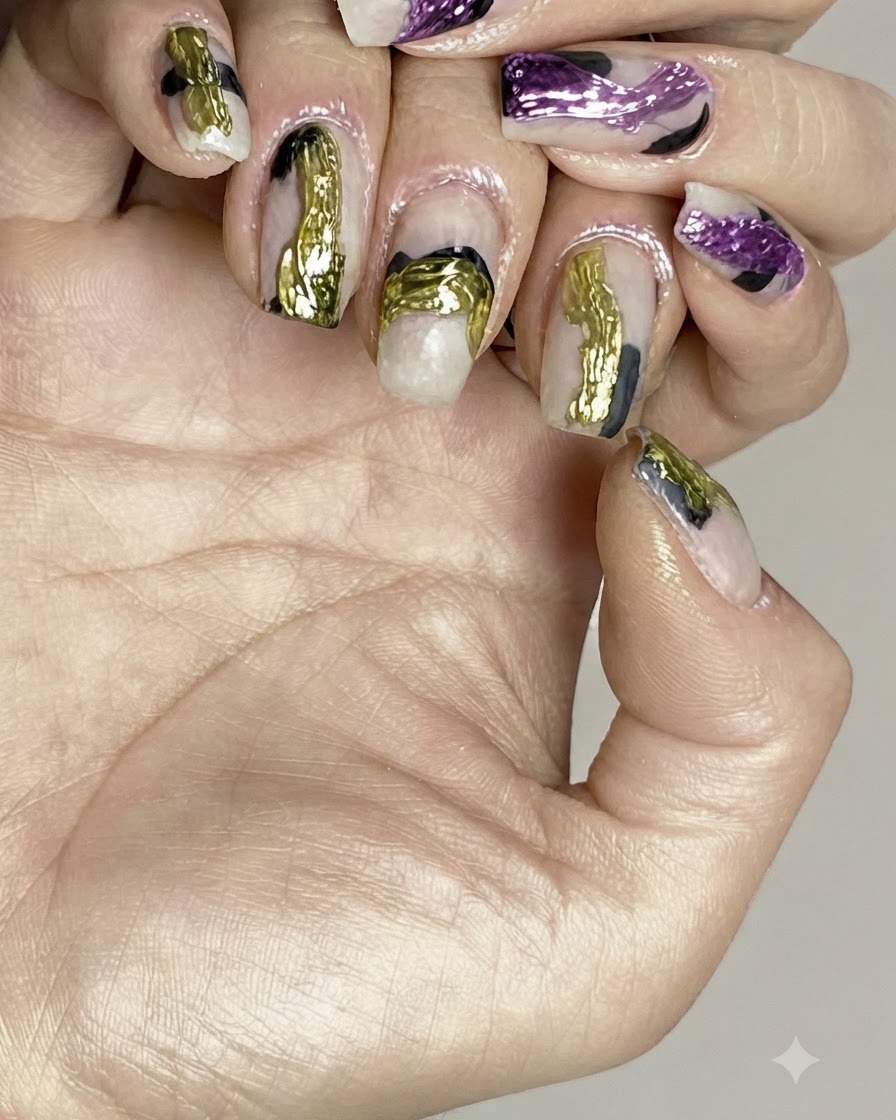
Brush a smooth, even layer of final gloss top coat over every nail to completely seal the abstract artwork and metallic details. Be sure to cap the free edge of each nail to protect the manicure from chipping and wear.
Tip: Apply a slightly thicker bead of top coat if needed to smooth out any textures created by the metallic foils. - 10Cure the Top Coat
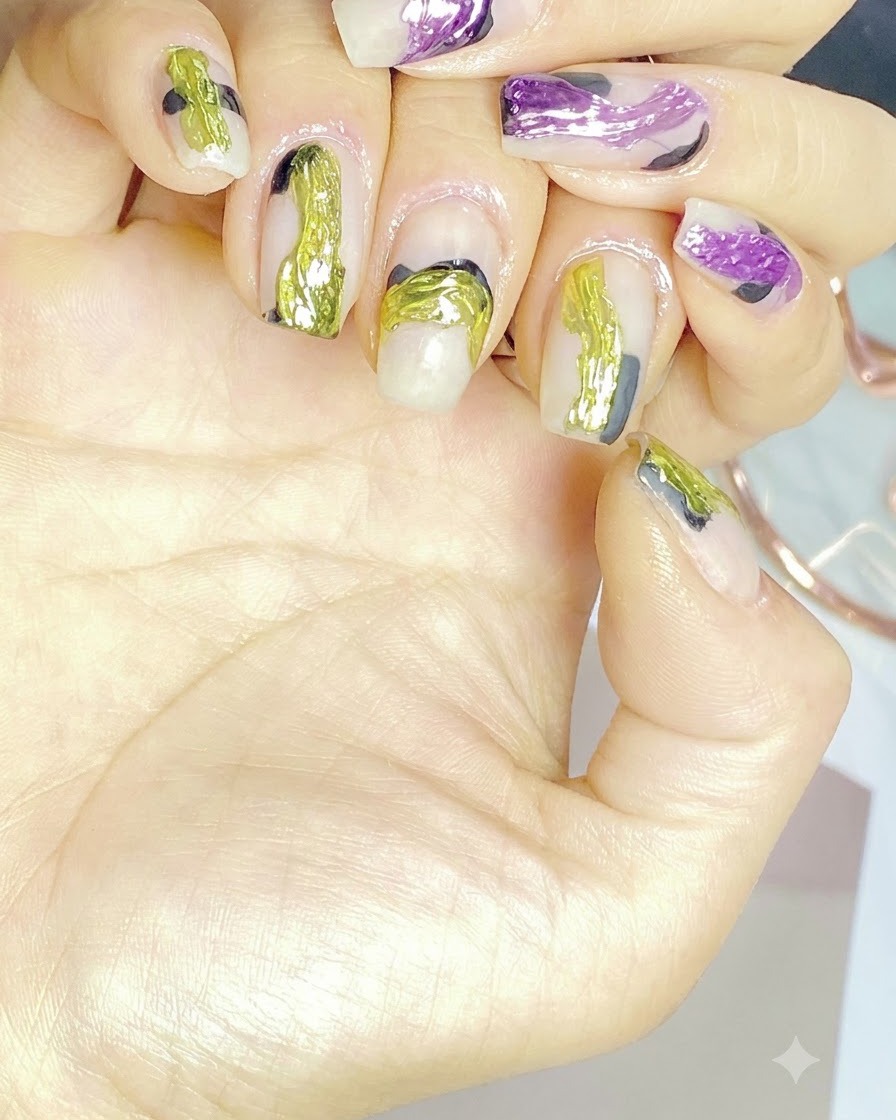
Place your hands inside the UV/LED lamp and cure the final top coat layer completely. This hardens the product, locks in your neon and purple abstract nail art, and creates a long-lasting, high-gloss protective finish.
Tip: Make sure to cure for the full recommended time specified by your gel brand to ensure proper hardening and avoid premature chipping.