Pink and Blue Gradient Ombre Nails
Star Accents — Step-by-Step Tutorial
Create dreamy pastel pink and blue gradient ombre gel nails adorned with delicate white star accents using a smooth sponge-blending technique.
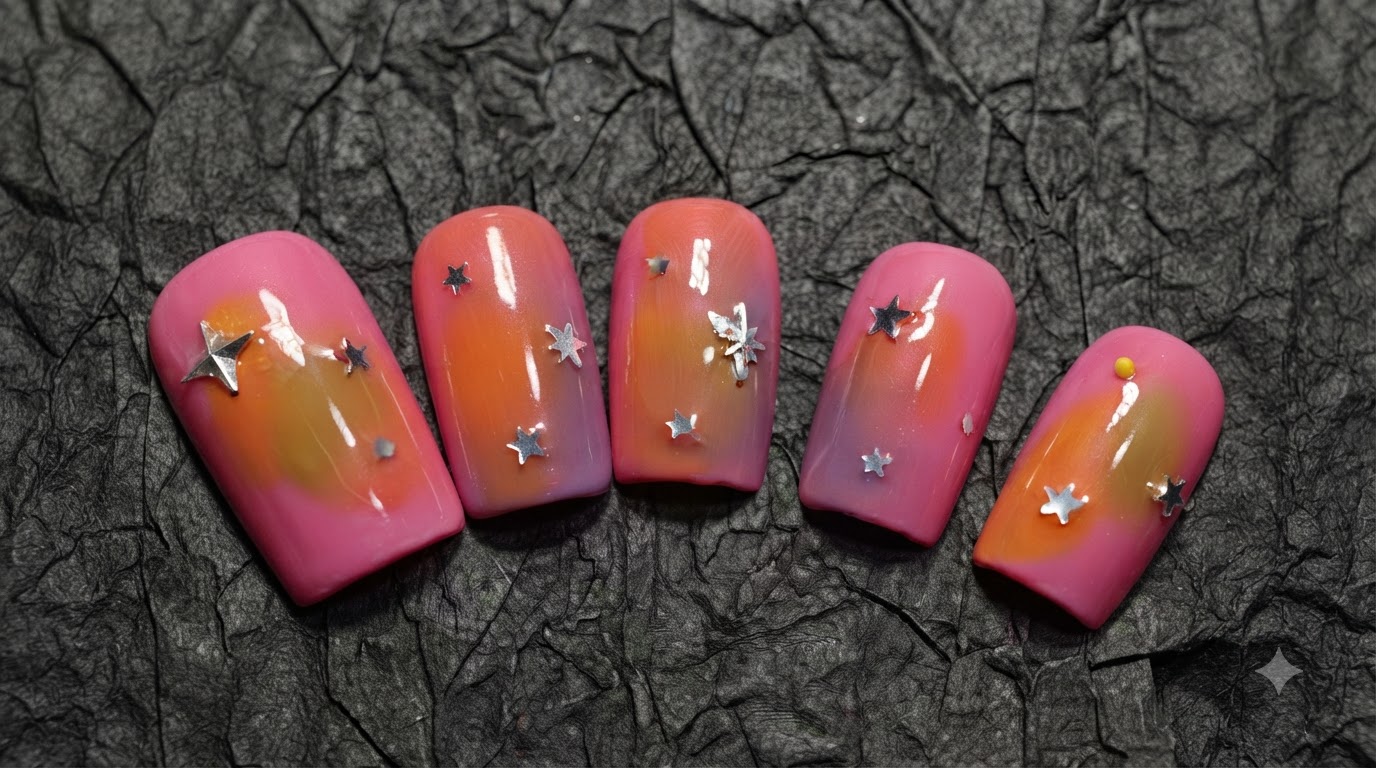
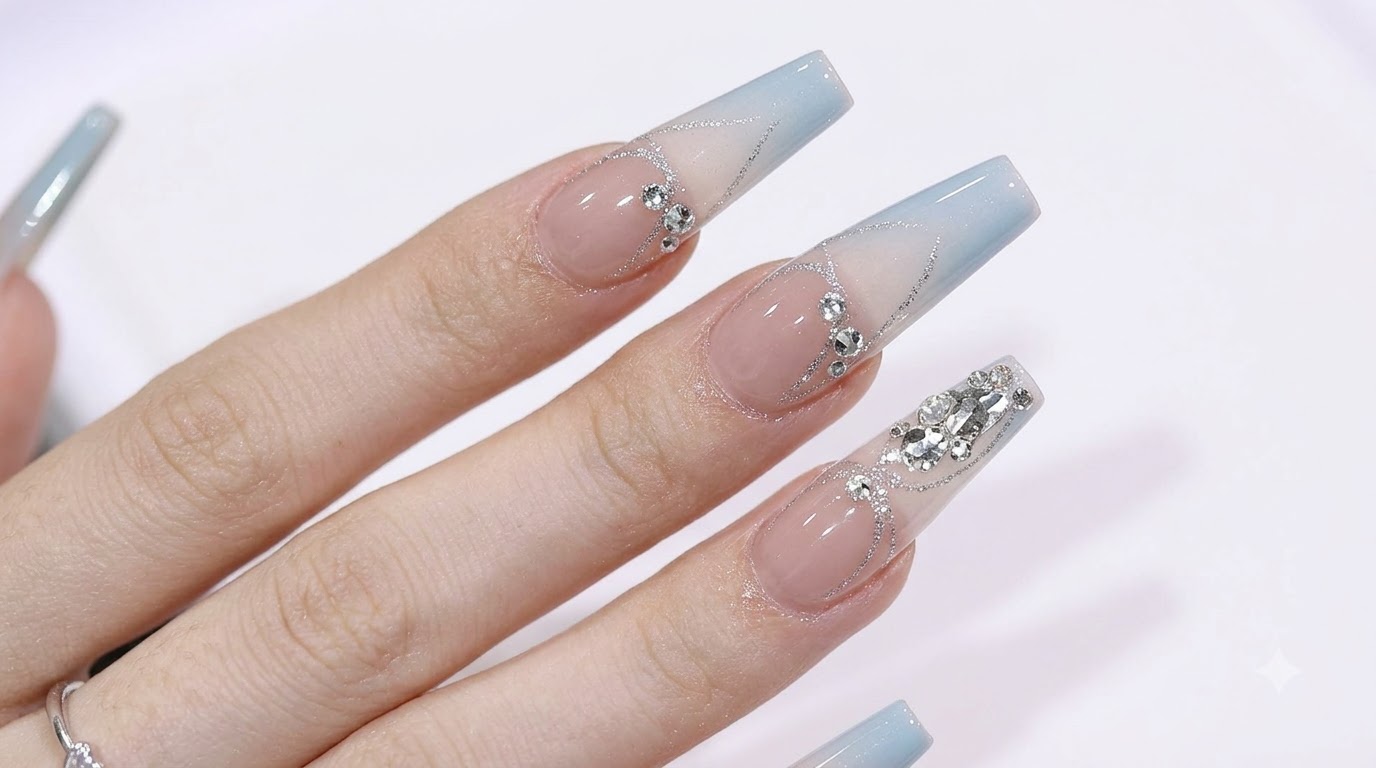
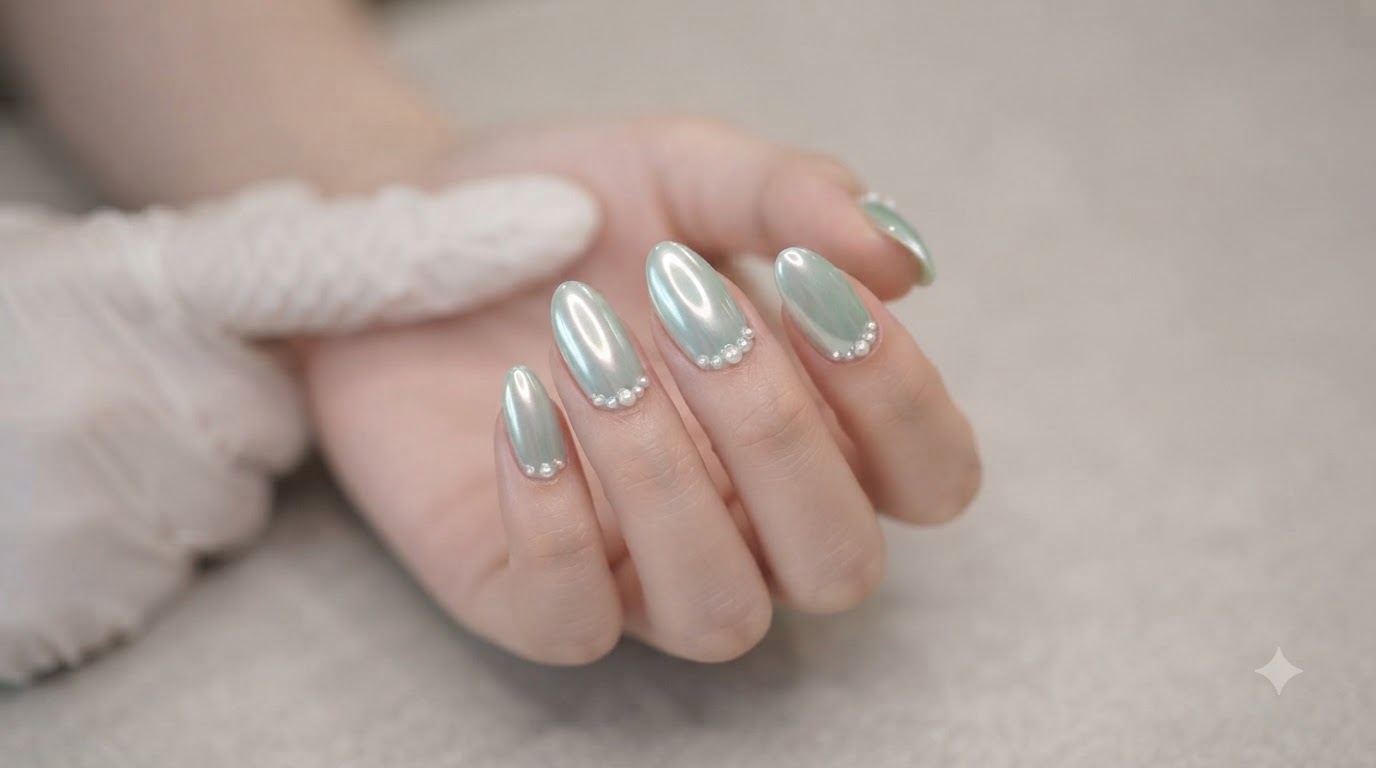
Pastel gradient nails capture a dreamy, celestial vibe that feels both playful and refined. By blending soft pink and baby blue into a seamless ombre background and adding dainty hand-painted star accents, this look brings a touch of magic straight to your fingertips.
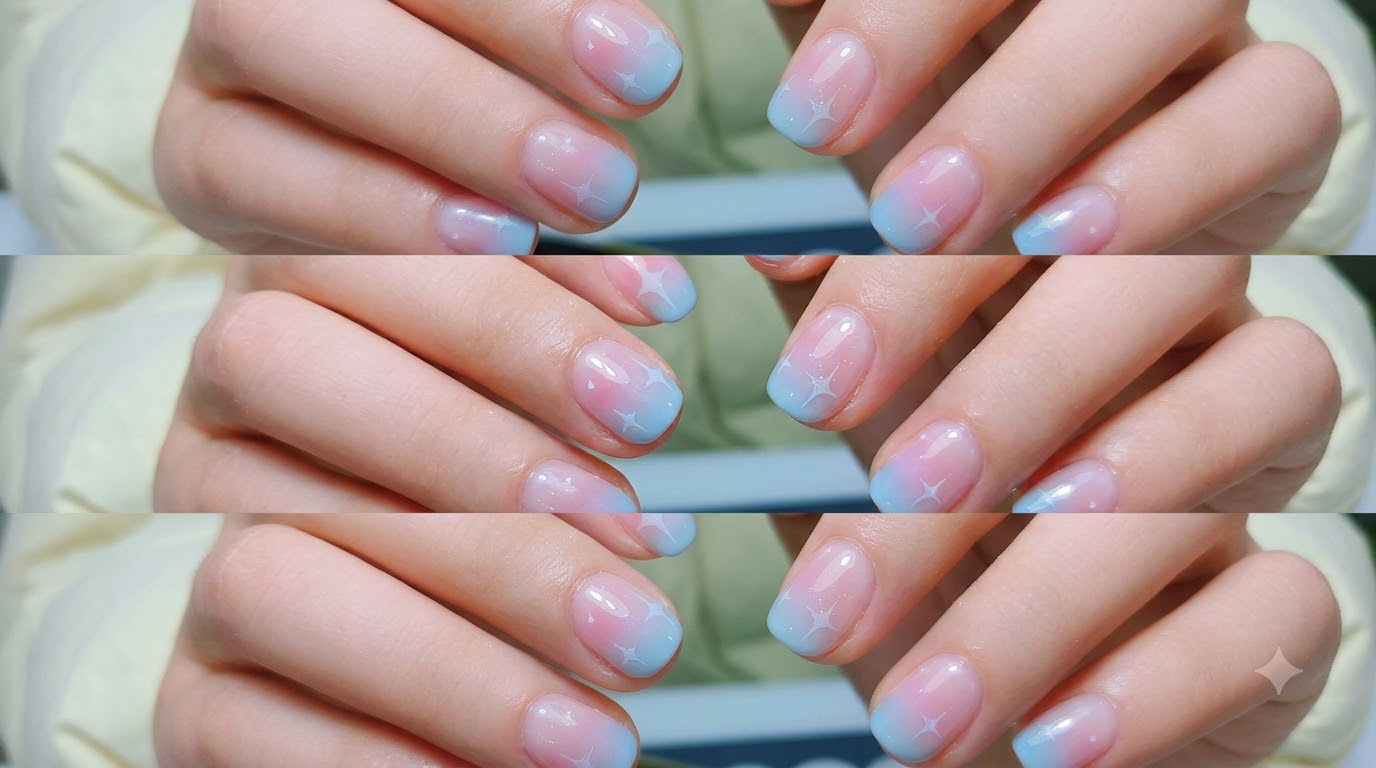
Steps
- 1Apply gel base coat
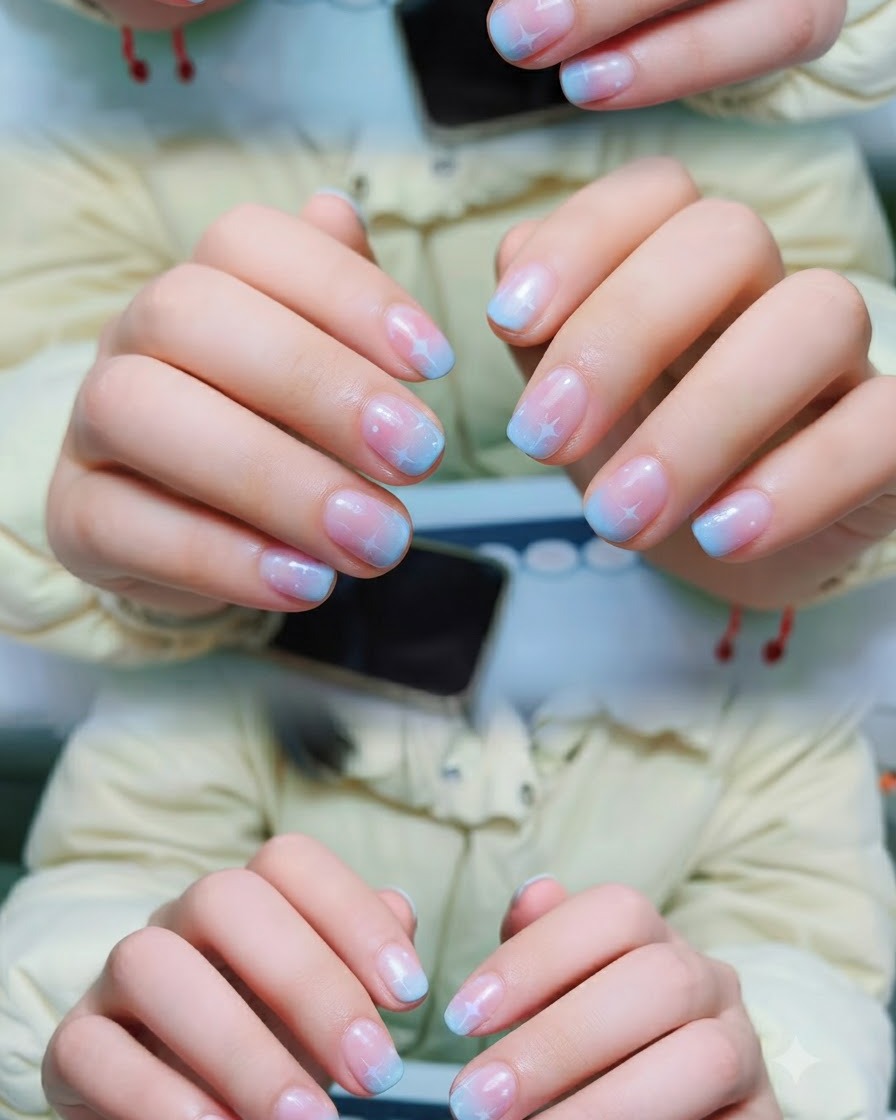
Apply a thin layer of base coat gel evenly across the nail plate to ensure proper adhesion for the subsequent color layers. Make sure to cover the entire nail surface without touching the surrounding skin or cuticles.
Tip: Apply a thin layer to prevent wrinkling or bubbling during the curing process. - 2Cure the base coat
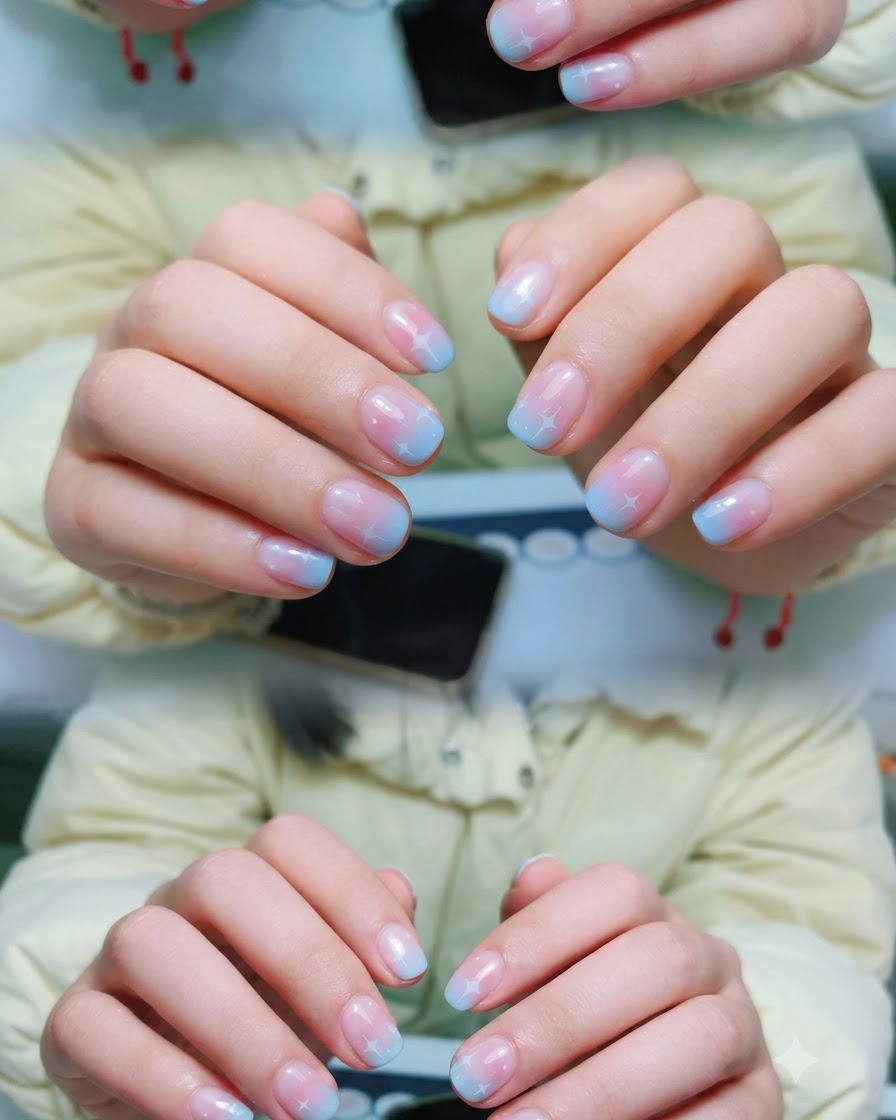
Place your hands inside a UV or LED nail lamp and cure the base coat layer for the recommended time specified by the gel manufacturer. This sets the foundation for a long-lasting manicure.
Tip: Ensure your hand is placed flat inside the lamp to cure every nail evenly. - 3Apply pastel pink base layer
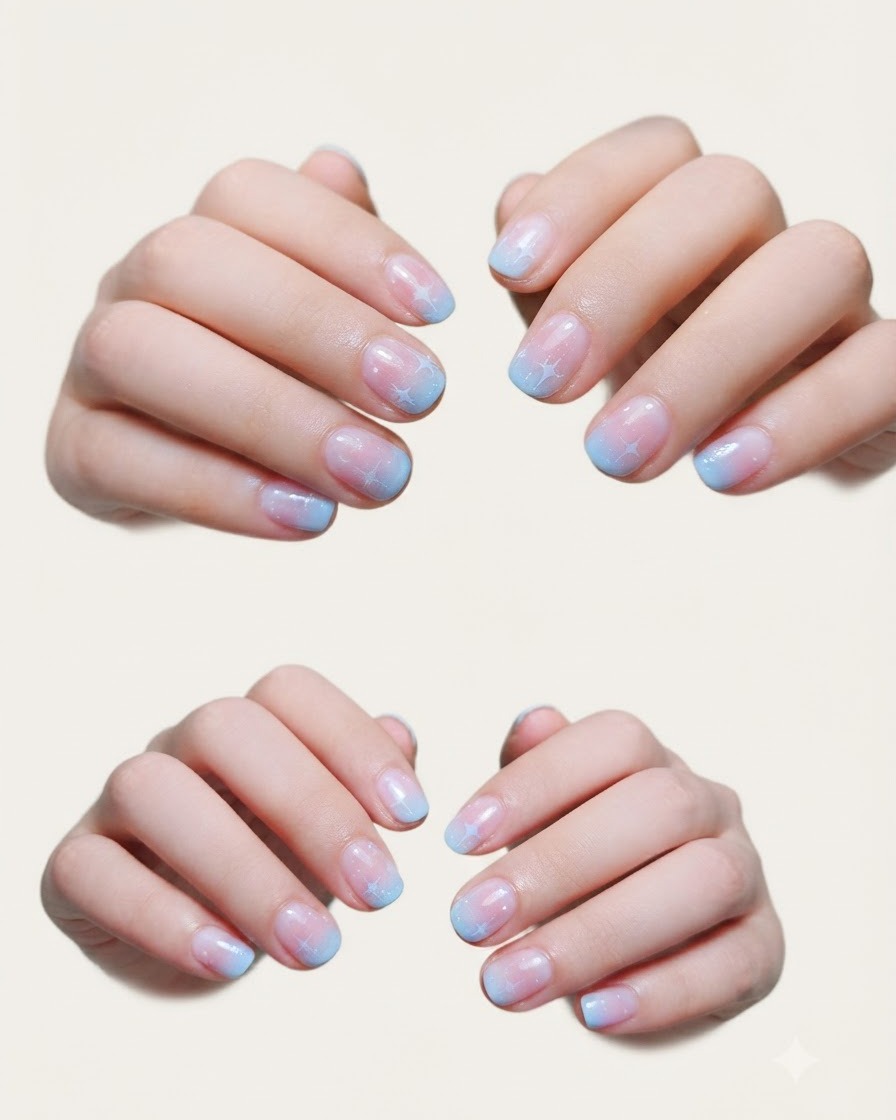
Apply the first coat of soft pastel pink gel specifically to the base halves of the nails. This forms the foundation of the gradient ombre effect.
Tip: Keep the application smooth and avoid thick pooling near the cuticles. - 4Blend pink and blue gradient
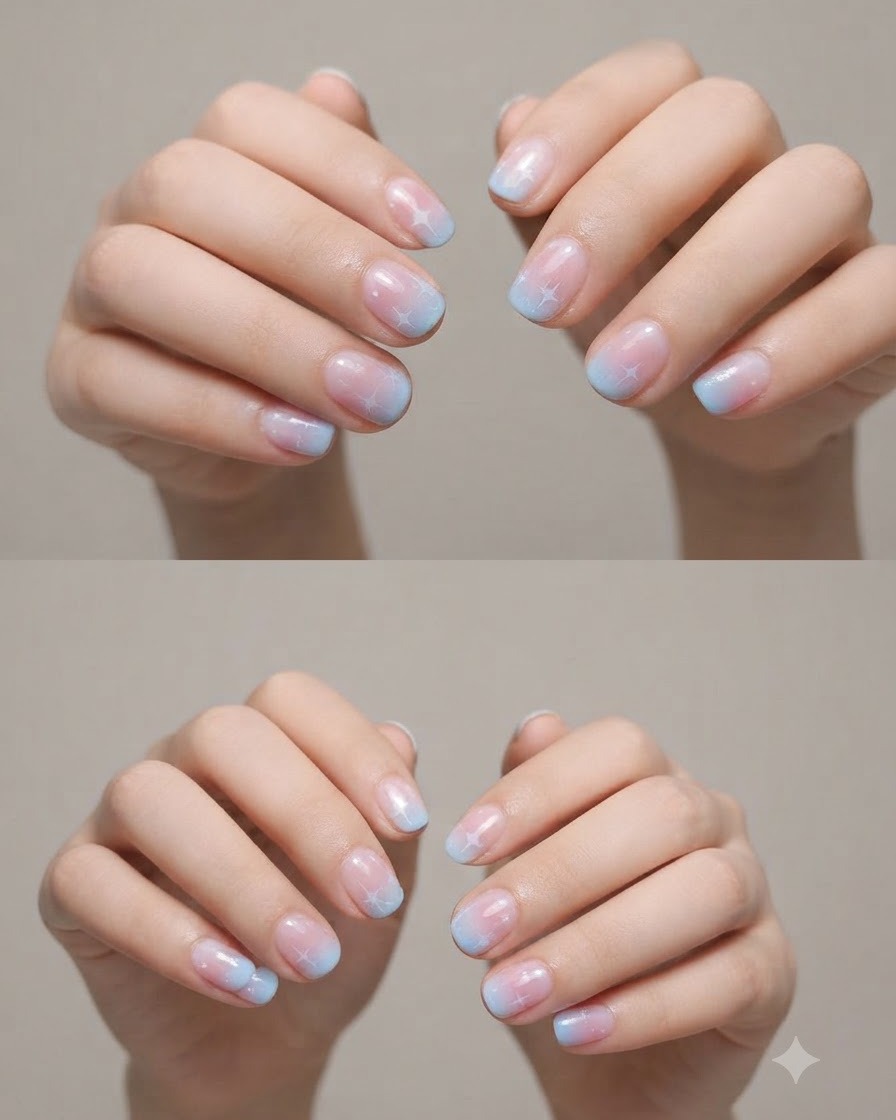
Apply light blue gel to the nail tips, then use a sponge or blending brush to softly feather and merge the boundary where the pink and blue meet, creating a seamless ombre gradient.
Tip: Tap lightly with a gradient sponge to avoid harsh lines in the color transition. - 5Cure the gradient layer
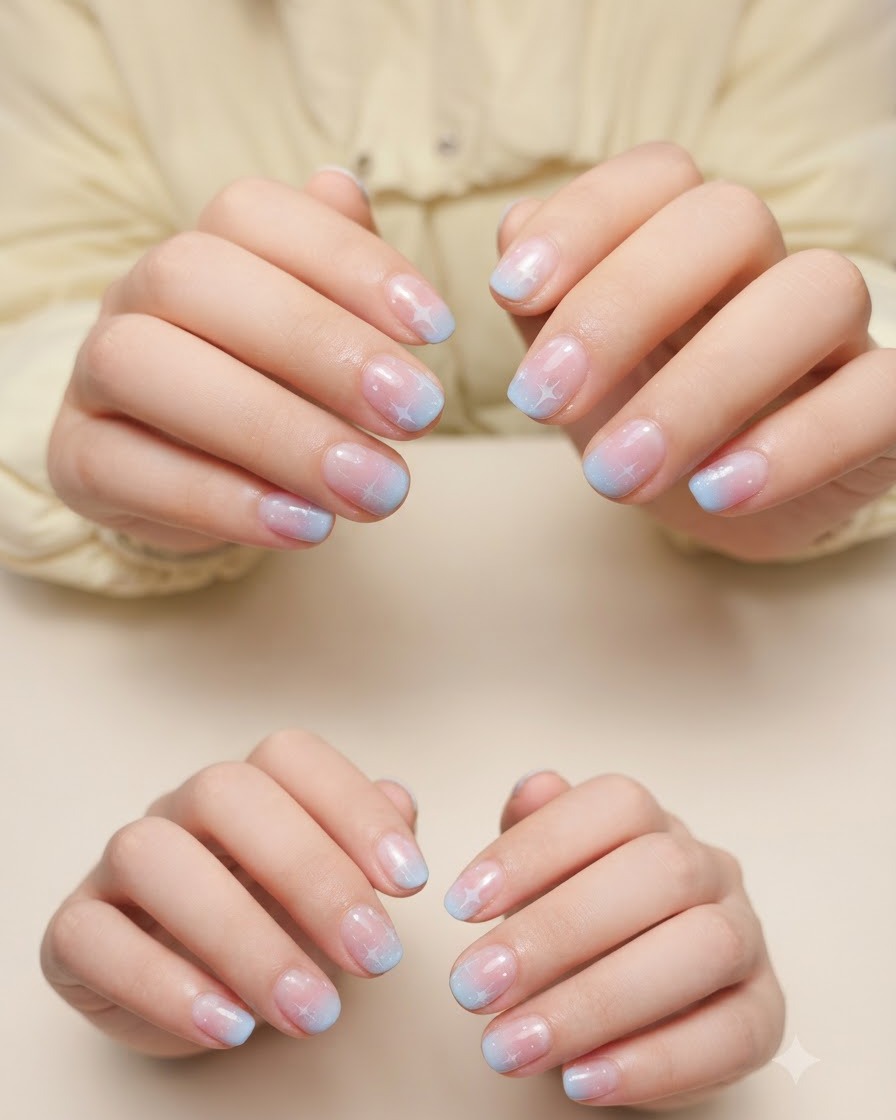
Cure the newly created pink and blue gradient layer under your UV or LED lamp to lock the blended colors into place before adding details or top coat.
Tip: Check that the ombre blend looks smooth before placing your hand in the lamp. - 6Apply second gradient layer and cure
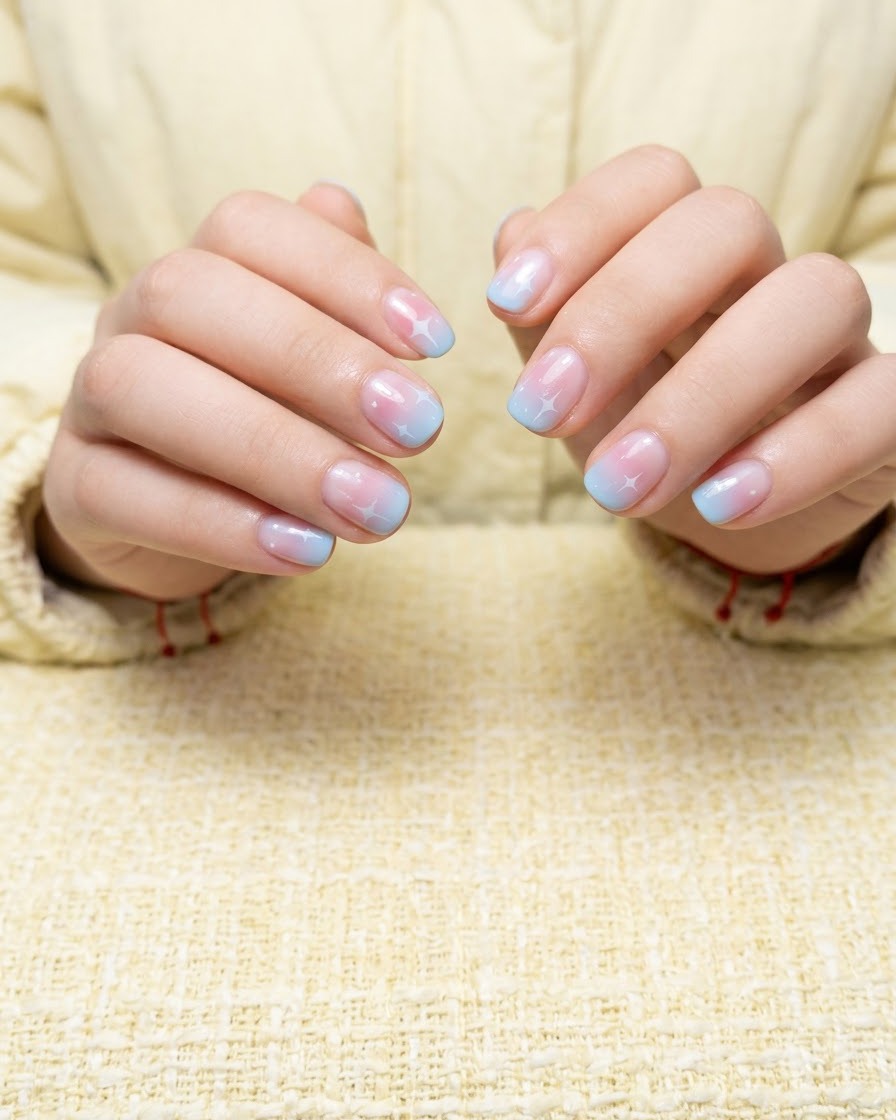
Apply a second layer of the pink and blue gradient colors to deepen the opacity and create a smooth, seamless transition. Carefully blend the shades at the center point where they meet to maintain a natural ombre effect. Cure the nails under your UV or LED lamp for the recommended time to fully set the layer before moving on to nail art.
Tip: Applying thin, even strokes during the second layer prevents bulkiness while maximizing color richness and depth. - 7Paint delicate white star details
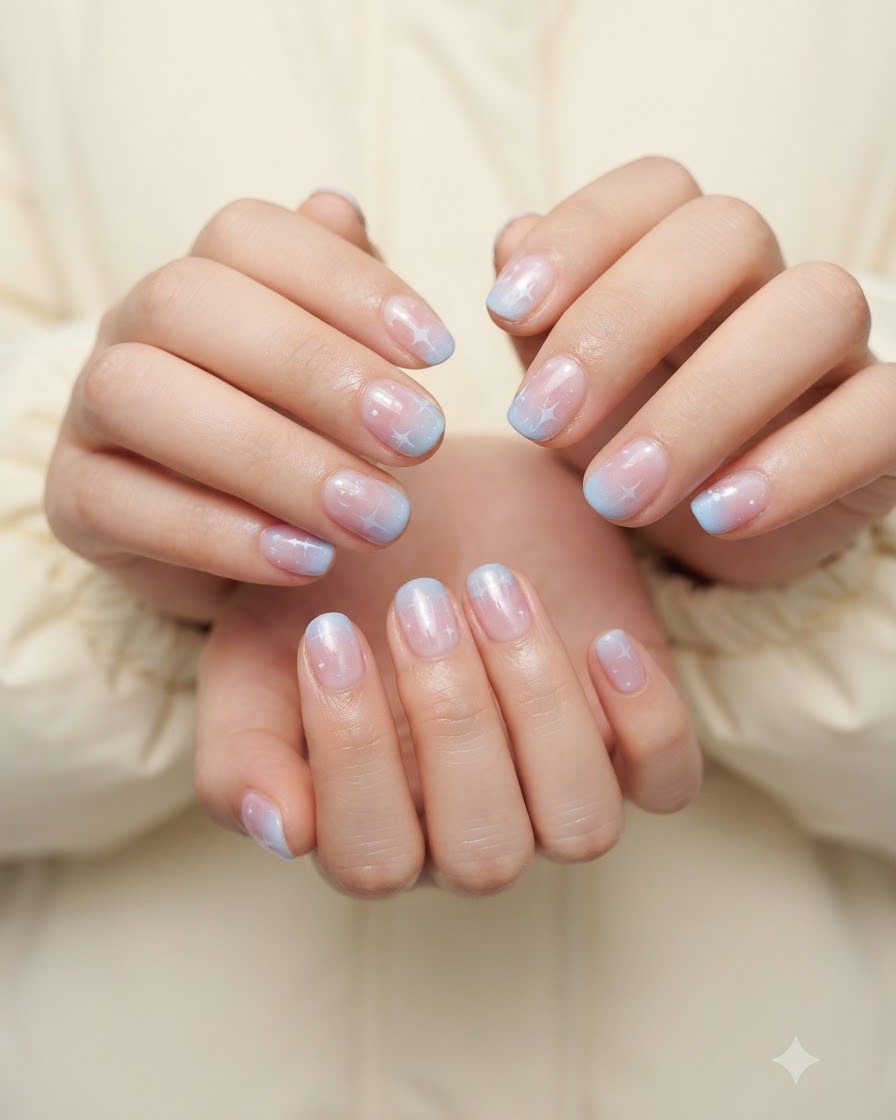
Take a fine liner brush dipped in white gel polish and carefully draw delicate, small starburst shapes onto selected accent nails. Keep your hand steady to ensure the lines are crisp and fine. This adds a charming, magical touch to the gradient background without overwhelming the soft ombre effect.
Tip: Wipe your fine liner brush frequently and use a light touch to achieve razor-sharp points on your star designs. - 8Cure the white star art
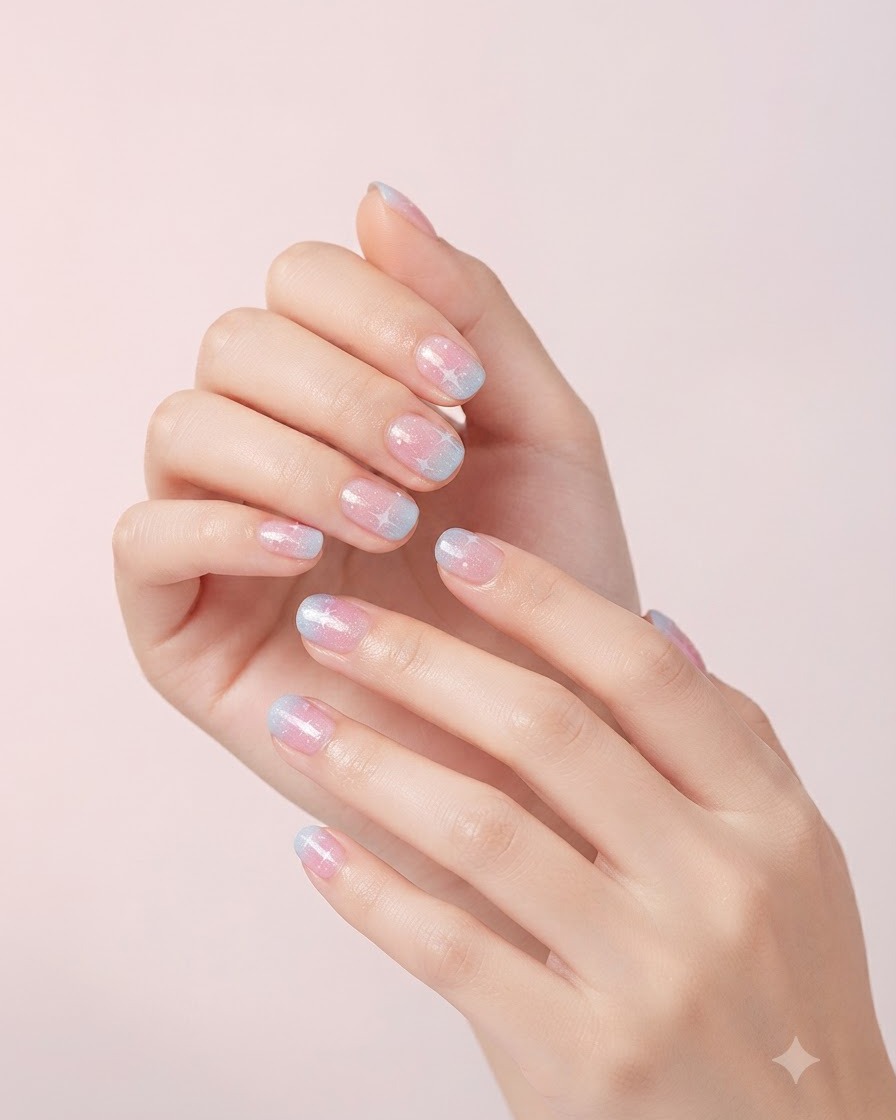
Place your hands into the UV or LED lamp to cure the freshly painted white star nail art. Curing locks the delicate lines in place so they wont smudge or distort when you apply the final top coat. Ensure all fingers are positioned correctly under the light sources.
Tip: Flash cure intricate details for 10 to 15 seconds if they tend to shift before you can place them under the full lamp. - 9Apply glossy top coat and final cure
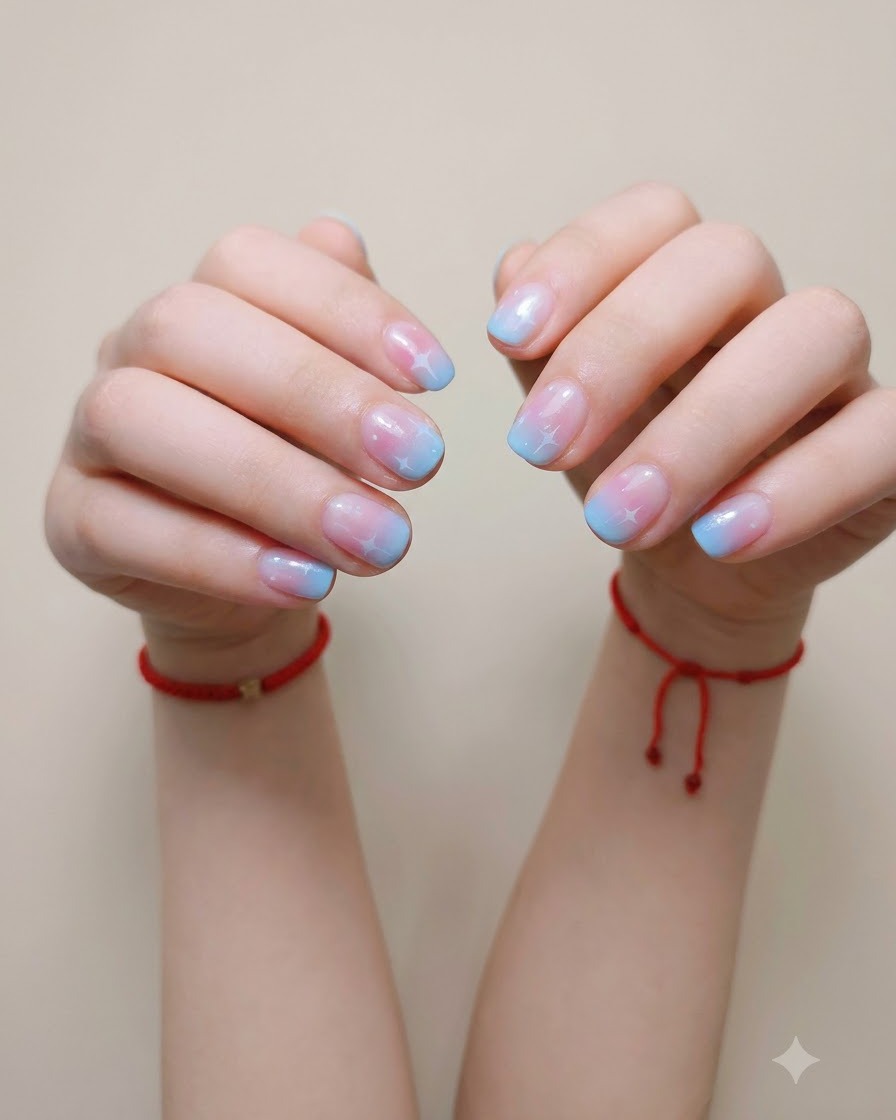
Finish the manicure by applying a generous, even layer of glossy no-wipe top coat over all nails to seal in the gradient colors and star art. Cap the free edges securely to prevent chipping and wear. Cure under the UV or LED lamp for a final time to achieve a brilliant, long-lasting shine.
Tip: Make sure to cover every part of the nail art with top coat to prevent the painted stars from wearing off over time.