Gold Rose French Cat Eye Nails — Elegant Step-by-Step Tutorial
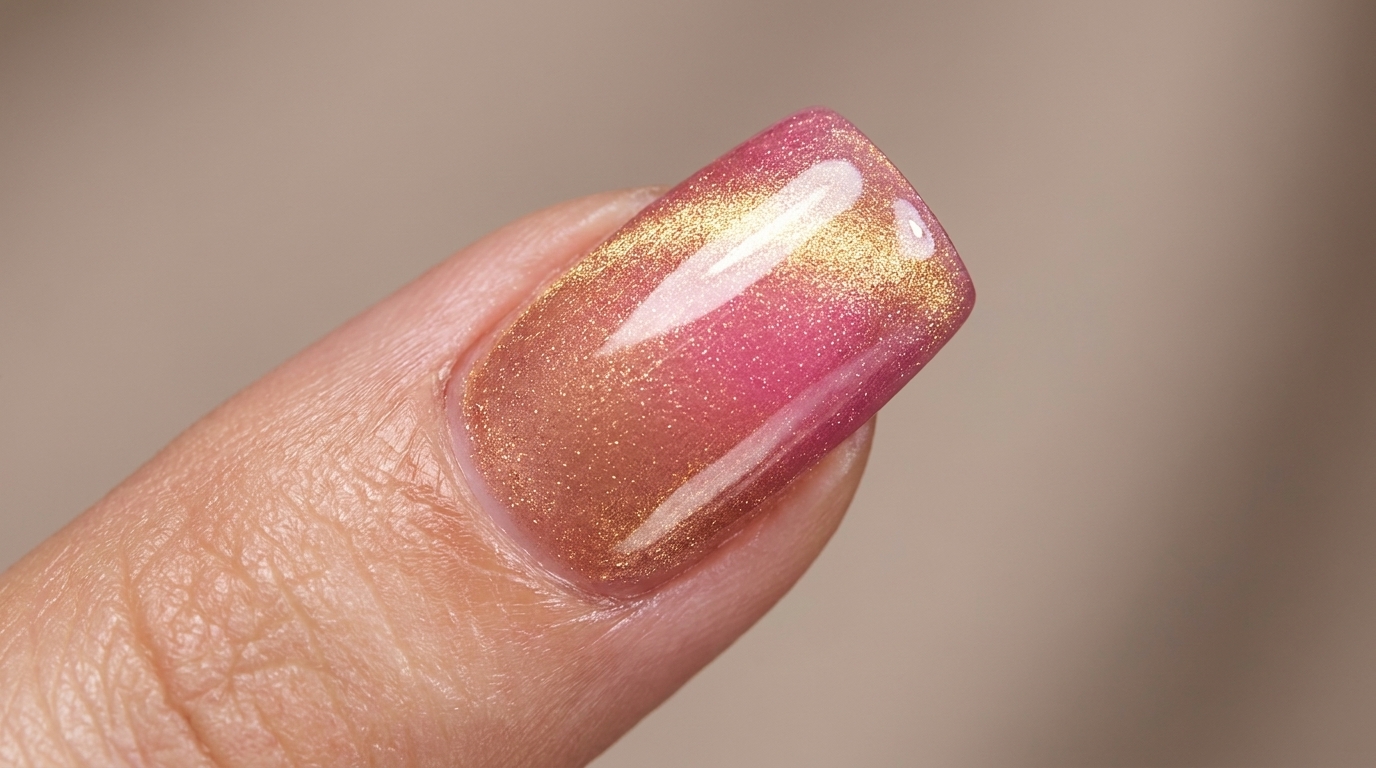
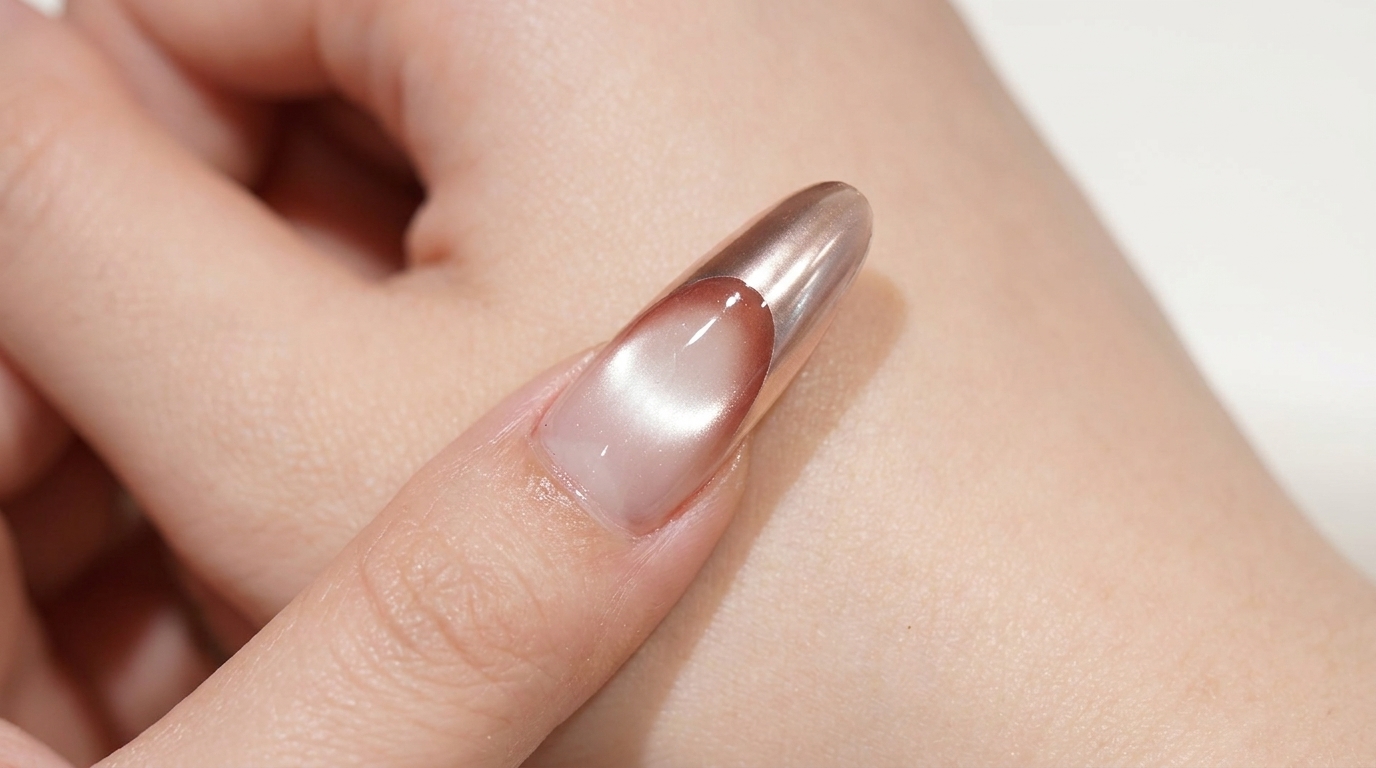
Discover how to create luxurious gold rose French cat eye nails featuring a glowing cat-eye center, soft reddish-brown gradient, and stunning metallic rose-gold tips.
Combining multi-dimensional cat-eye depth with sophisticated metallic French tips, this gold rose manicure delivers an ultra-chic, high-fashion look. By layering a subtle reddish-brown gradient beneath a shimmering magnetic center and sealing it with mirror-shine rose gold powder, this tutorial guides you through each precise stage to achieve professional salon results at home.
Steps
- 1Dab base nude gel color
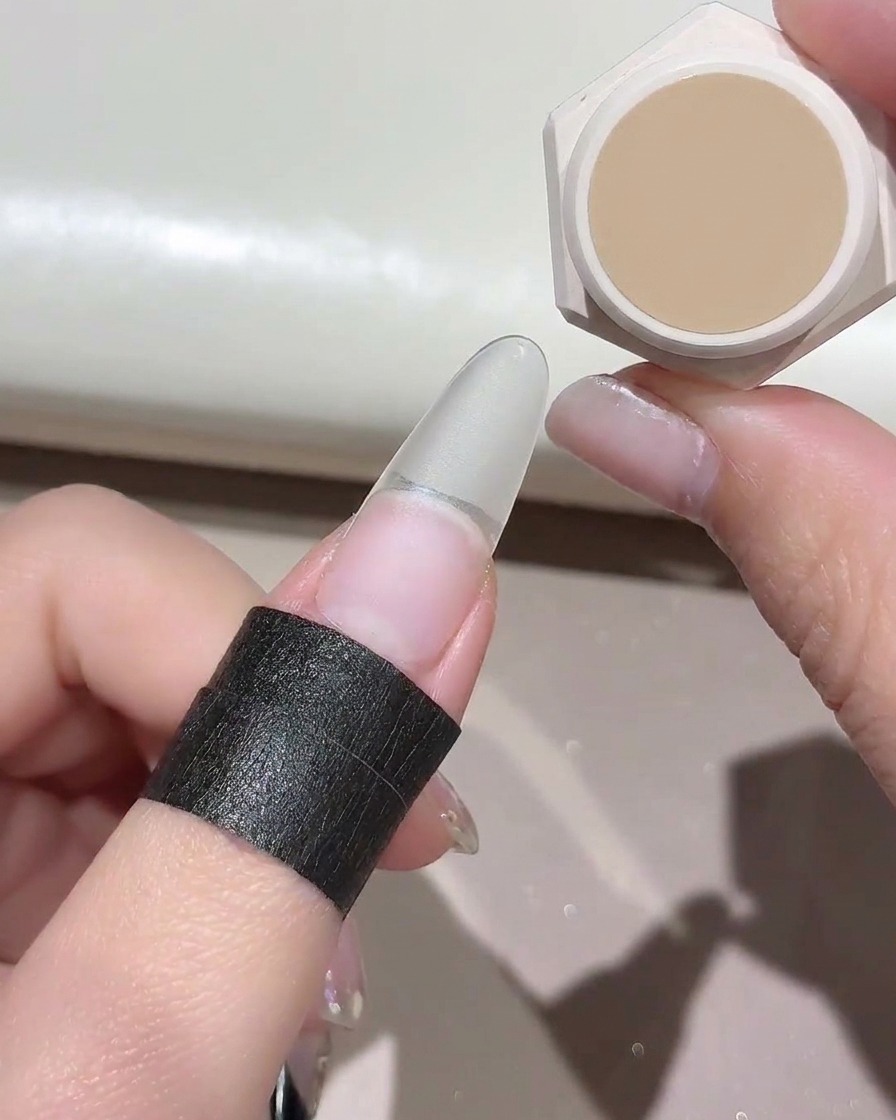
Take a small piece of sponge and use it to evenly dab the first nude gel color over the entire surface of the nail plate, ensuring smooth and uniform coverage.
Tip: Dabbing with a sponge helps create a thin, airbrushed layer without streak marks. - 2Cure the color layer
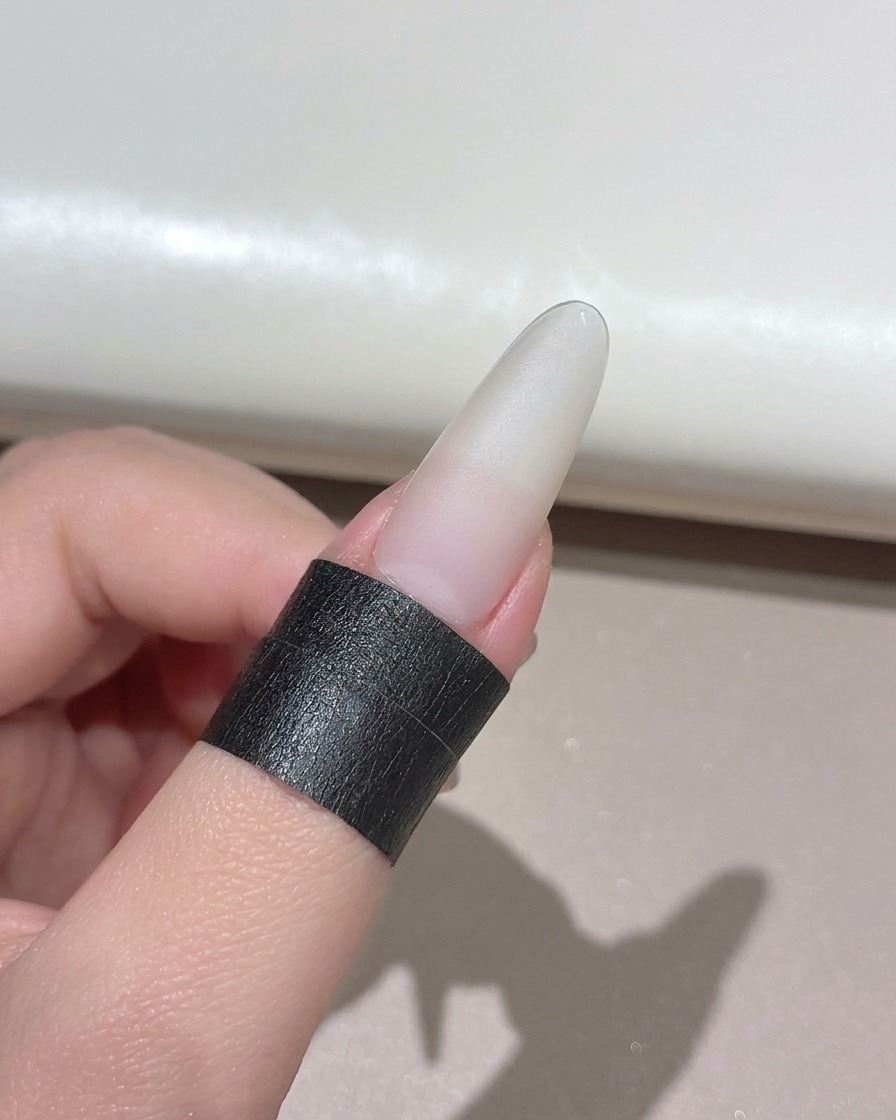
Position the finger under a mini handheld UV or LED lamp to completely cure the first nude color layer before moving on to the next step.
Tip: Ensure the light covers the entire nail surface evenly to prevent uncured spots underneath. - 3Apply clear cat-eye gel
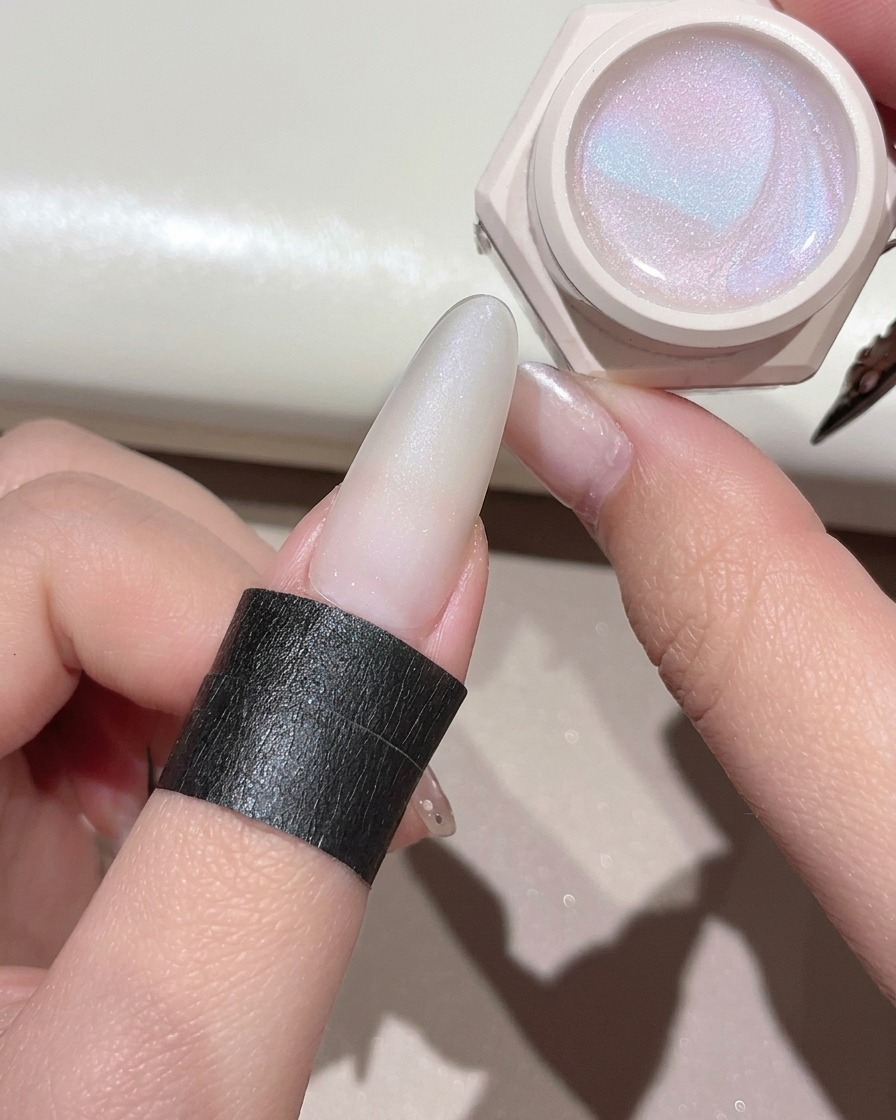
Brush a smooth and even layer of clear cat-eye gel over the entire nail plate, ensuring full coverage before using the magnet tools.
Tip: Apply an even coat so the magnetic particles can move freely and create a clean optical effect. - 4Create a wide light band effect
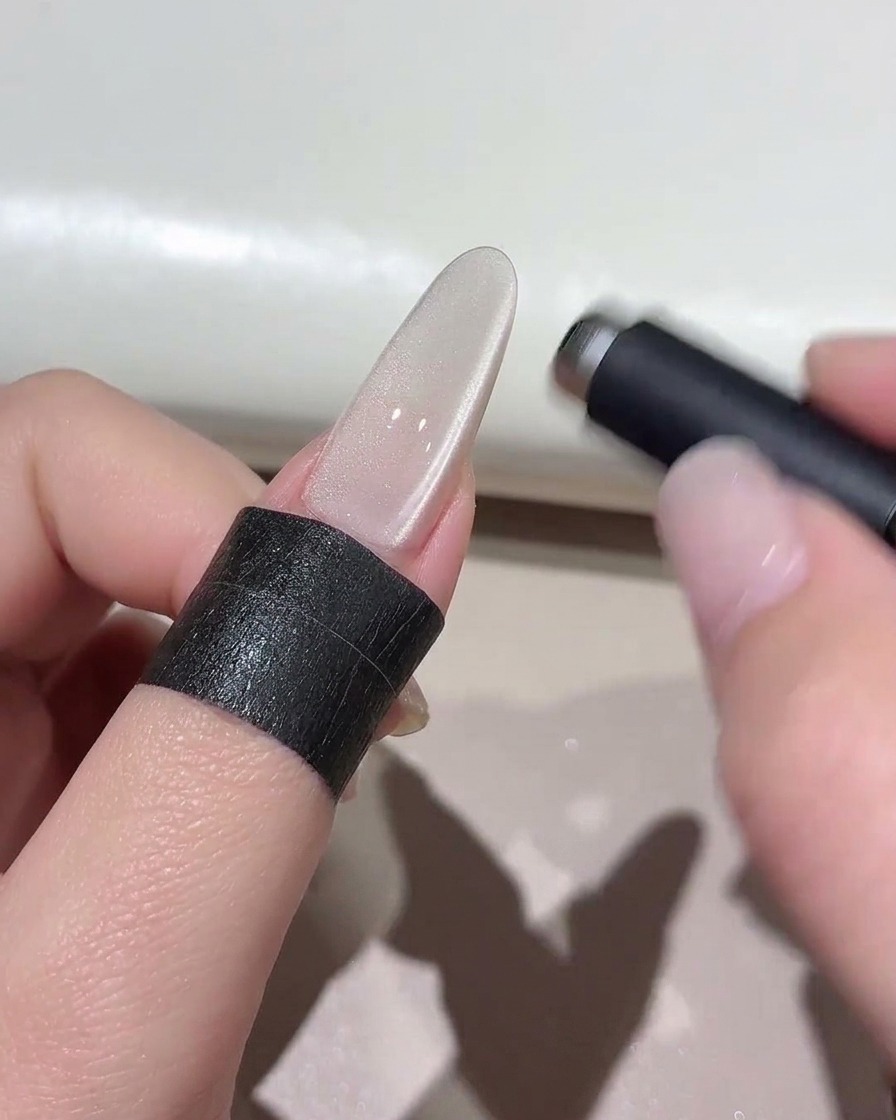
Hover a cylindrical magnet back and forth over the wet gel surface to pull the magnetic particles into position, forming a wide light band effect.
Tip: Keep the magnet close to the nail without touching the wet gel surface to maintain clean lines. - 5Create a glass bead effect
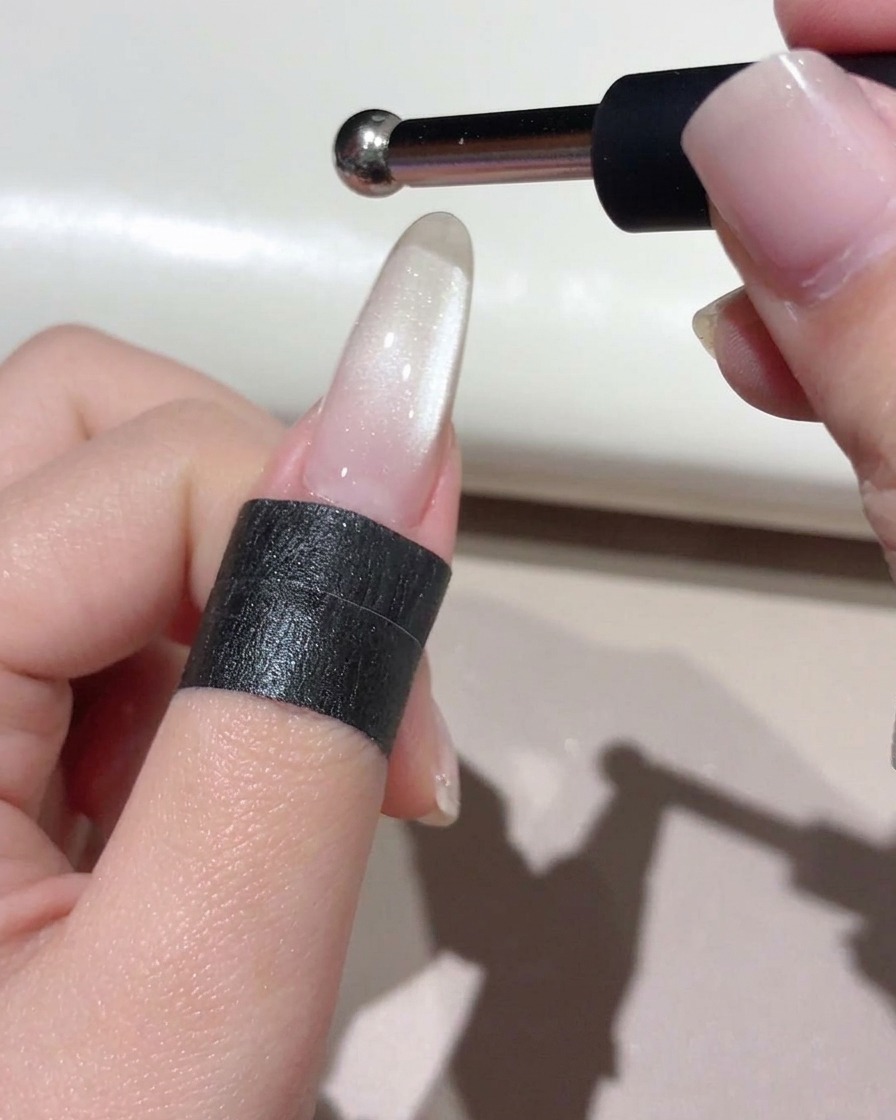
Switch to a small ball-point magnet and move it in tight circular motions over the nail to concentrate the particles and create a glowing glass bead effect.
Tip: Small circular movements help concentrate the magnetic shimmer precisely in the center. - 6Cure the cat-eye design
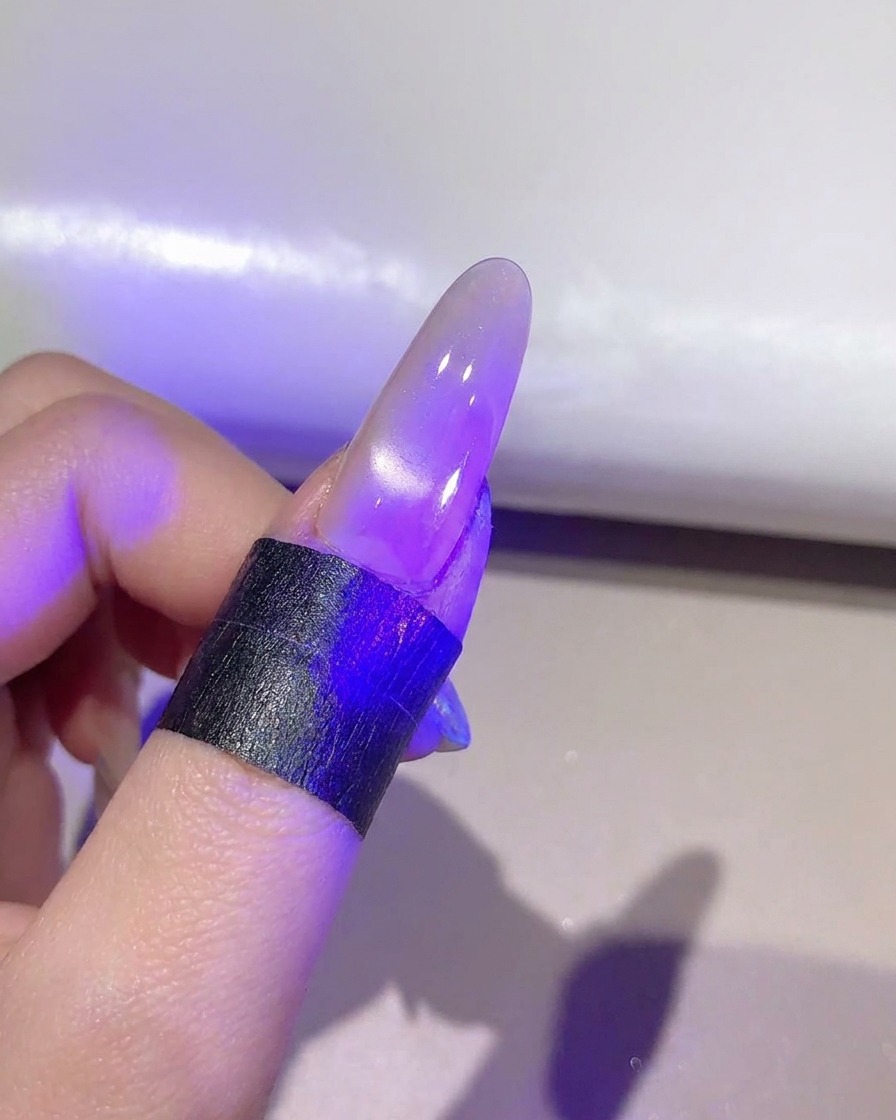
Place the finger back under the mini UV/LED lamp to cure and set the finalized cat-eye gel design in place.
Tip: Cure immediately after magnetizing so the particles do not shift before setting. - 7Peel French tip guide sticker
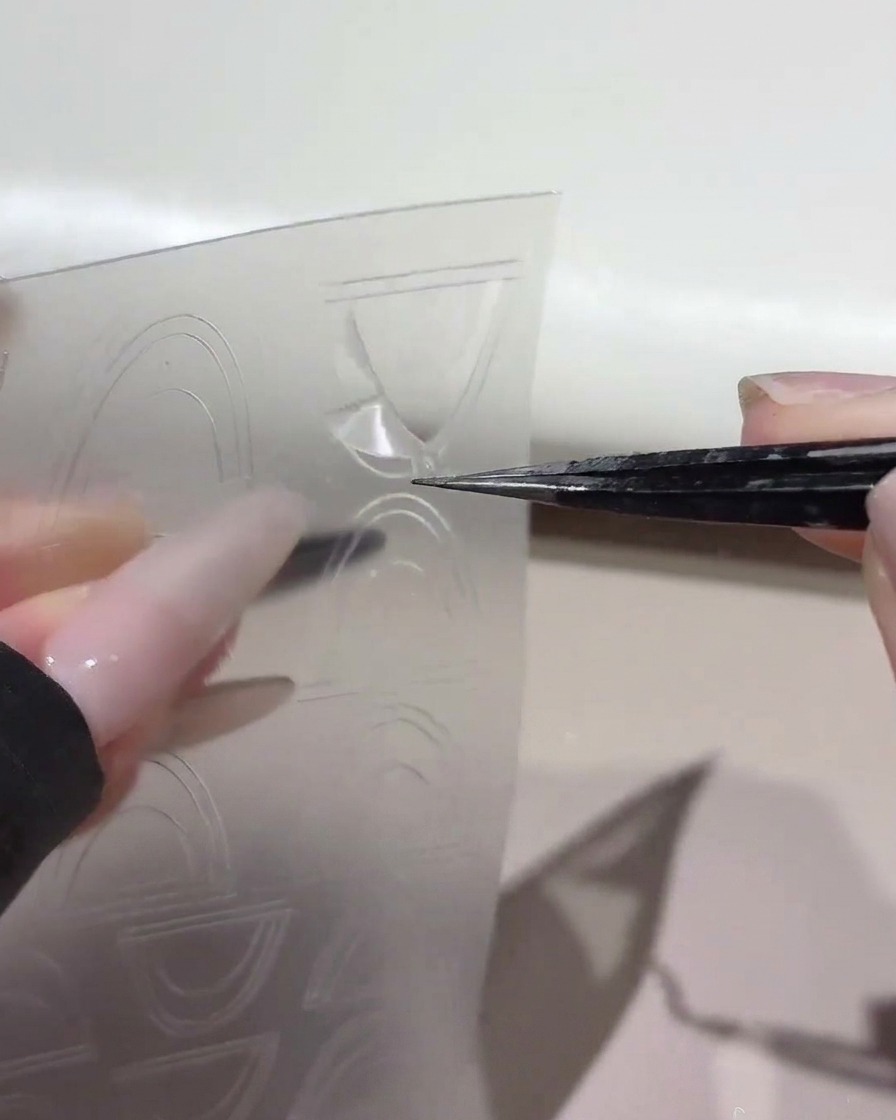
Using a pair of fine tweezers, carefully lift and peel a curved French tip guide sticker off its transparent backing sheet. Handle the sticker gently to avoid bending or folding the adhesive edges, ensuring it maintains its precise shape for clean application.
Tip: Use precision tweezers to grip the very edge of the sticker so you dont compromise the adhesive backing. - 8Apply French guide sticker to nail
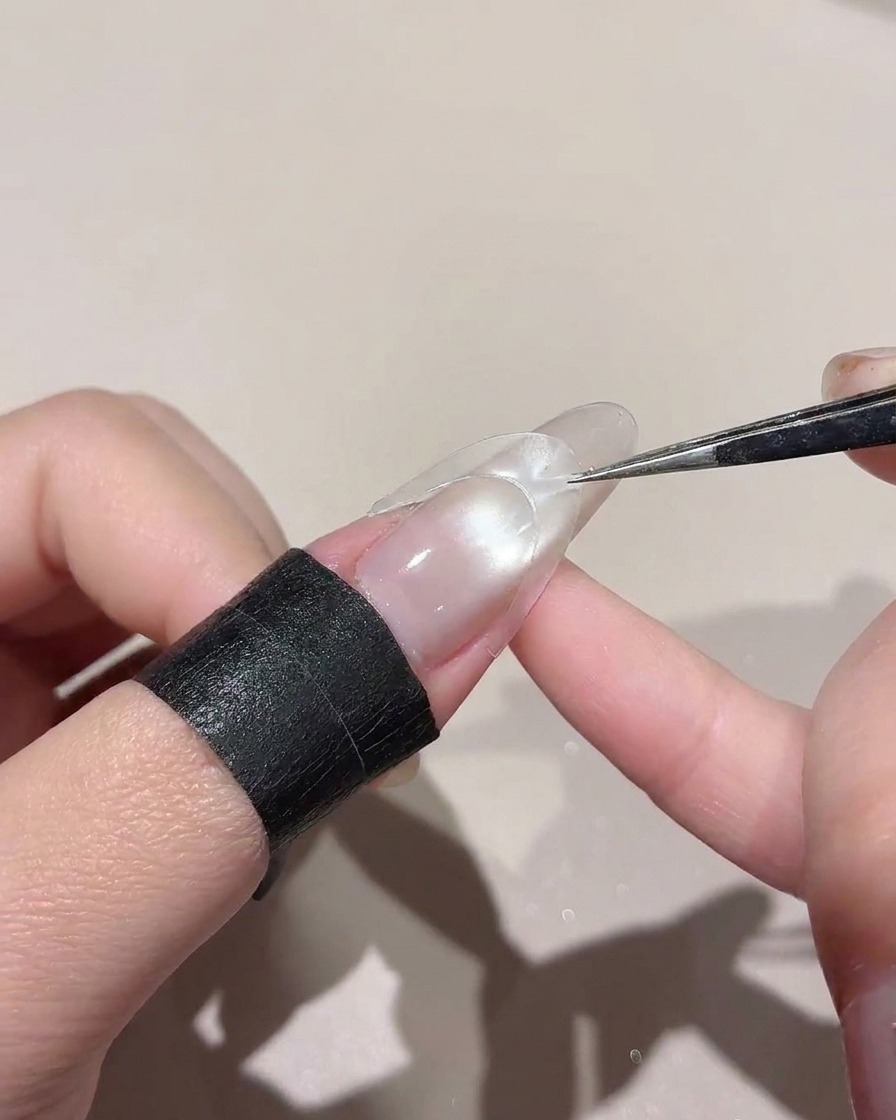
Position the curved guide sticker firmly across the nail surface to create a clean separation line, masking off the lower section of the nail. Align the curve evenly to match your desired French smile line shape.
Tip: Ensure the sticker is centered and symmetrical before pressing it down completely. - 9Press Down French Sticker Edges
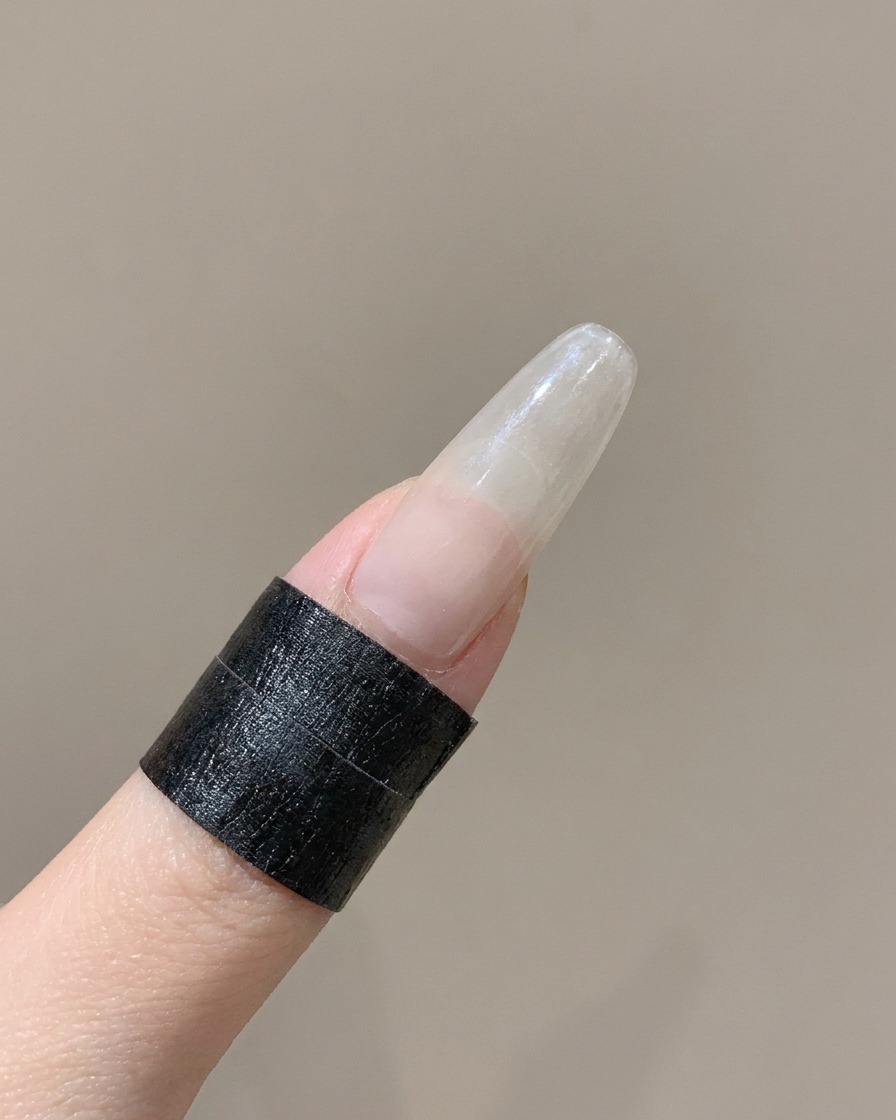
Firmly press down the edges of the French sticker using a white angled silicone tool to ensure it adheres completely and evenly to the nail surface without any lifting or gaps.
Tip: Smoothing down the edges completely prevents any gel or powder from seeping underneath the sticker lines. - 10Mix gel colors on palette
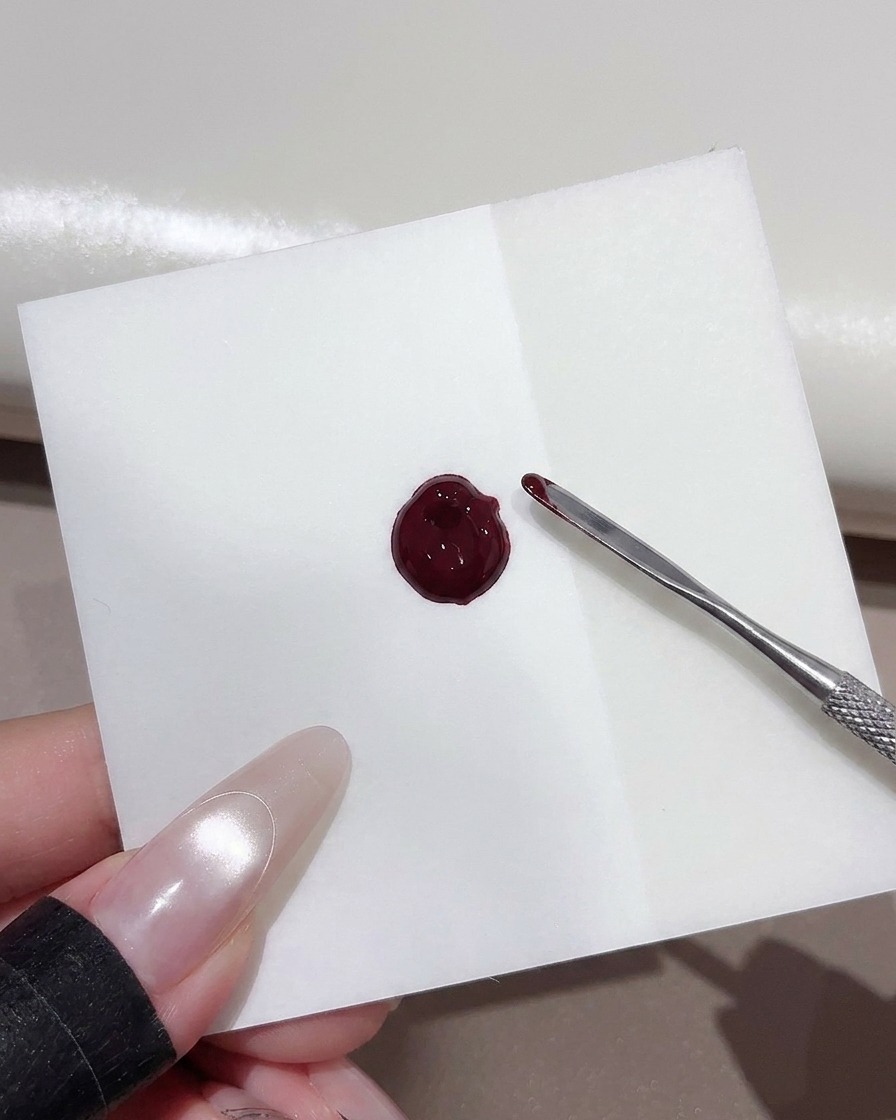
Dispense a small amount of red gel polish and light nude gel polish onto a square mixing paper. Use a metal spatula tool to blend them slightly together, creating a custom reddish-brown hue for your gradient effect.
Tip: Mix only a small amount of product to prevent waste and maintain the right consistency for sponging. - 11Dab gradient onto nail tip
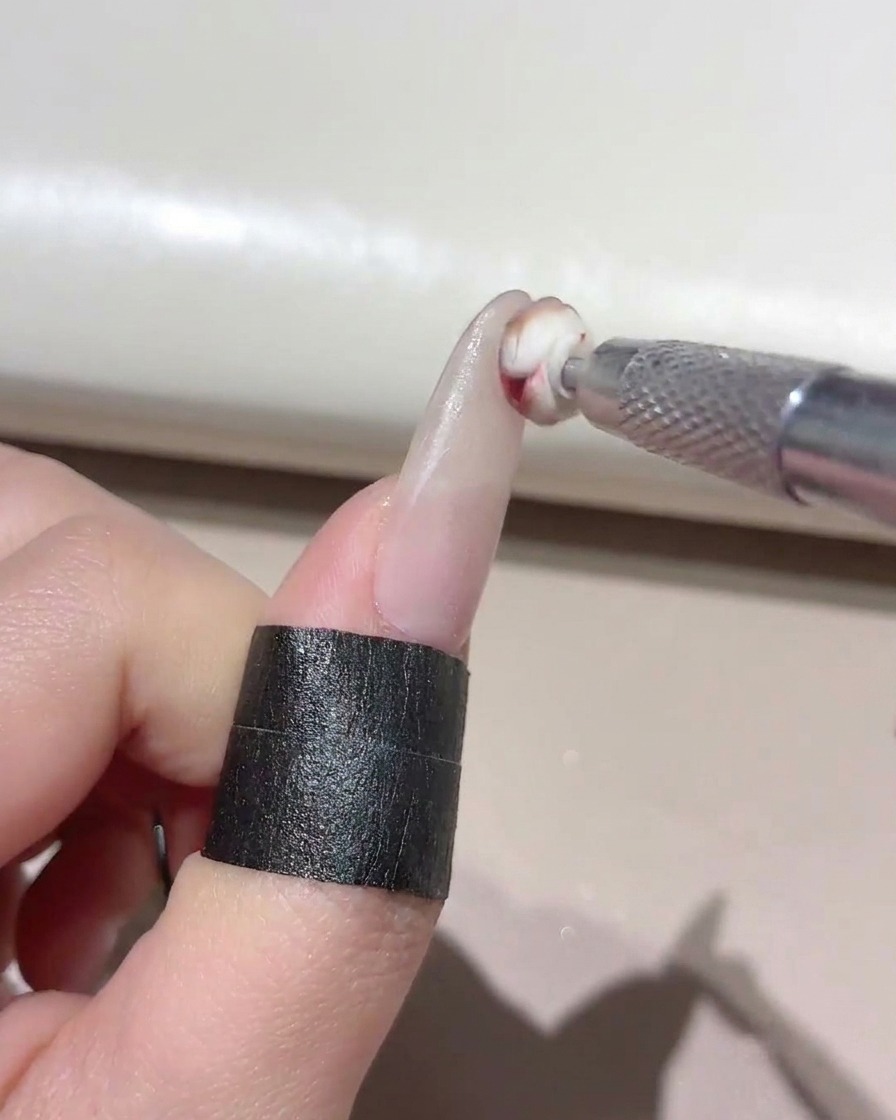
Take a small 1cm sponge tool, load it with the custom mixed gel blend, and gently dab it onto the exposed tip of the nail above the sticker. Build up the color lightly to create a smooth, seamless gradient effect.
Tip: Dab with light, repetitive motions rather than wiping to achieve an even, airbrushed gradient texture. - 12Remove guide sticker to reveal smile line
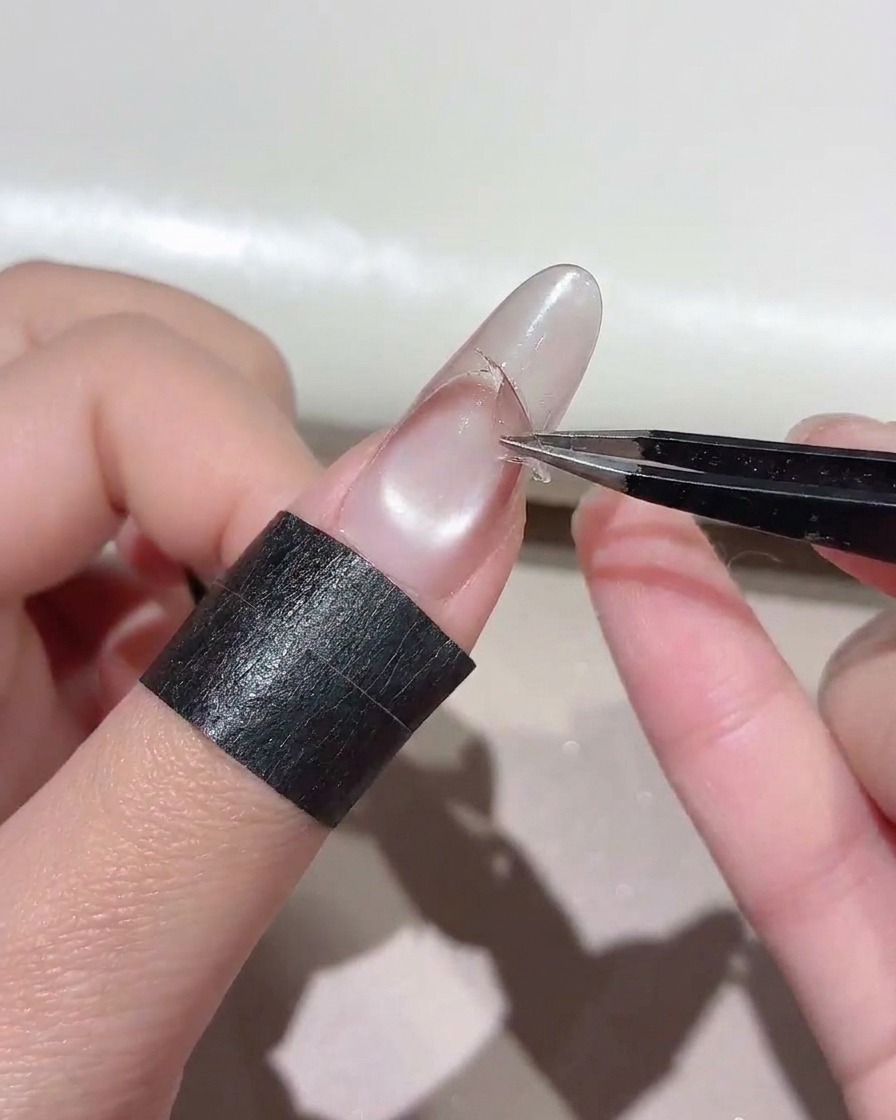
Using tweezers, gently peel off the curved sticker from the nail surface while the gel is still fresh. This reveals a crisp, clean smile line that sharply separates the new gradient tip from the clear cat-eye base underneath.
Tip: Peel the sticker off slowly and at a low angle to avoid disturbing the freshly applied gel edge. - 13Clean Excess Gel from Tip
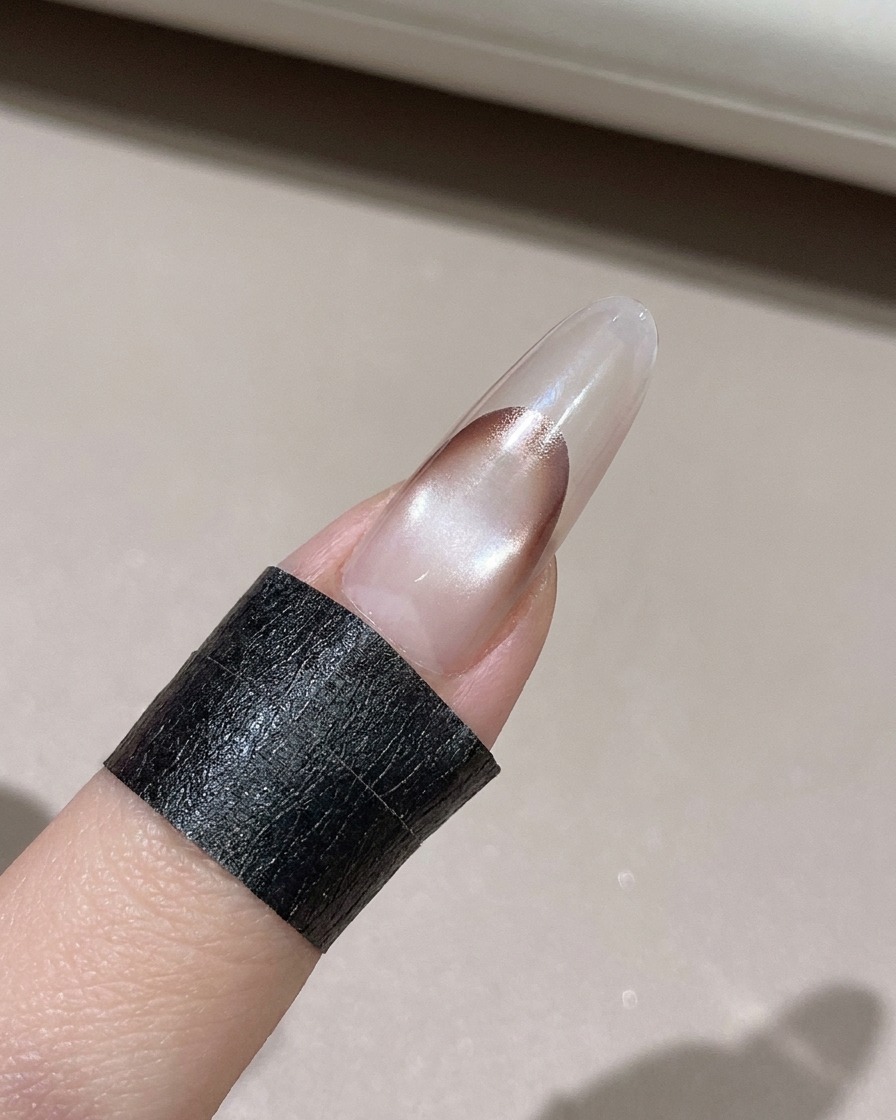
Use a small lint-free wipe to carefully clean off any excess gel from the very tip edge of the nail before curing to maintain a crisp line.
Tip: Keep your wipe slightly damp with cleanser to easily lift away uncured residue. - 14Cure Gradient Tip
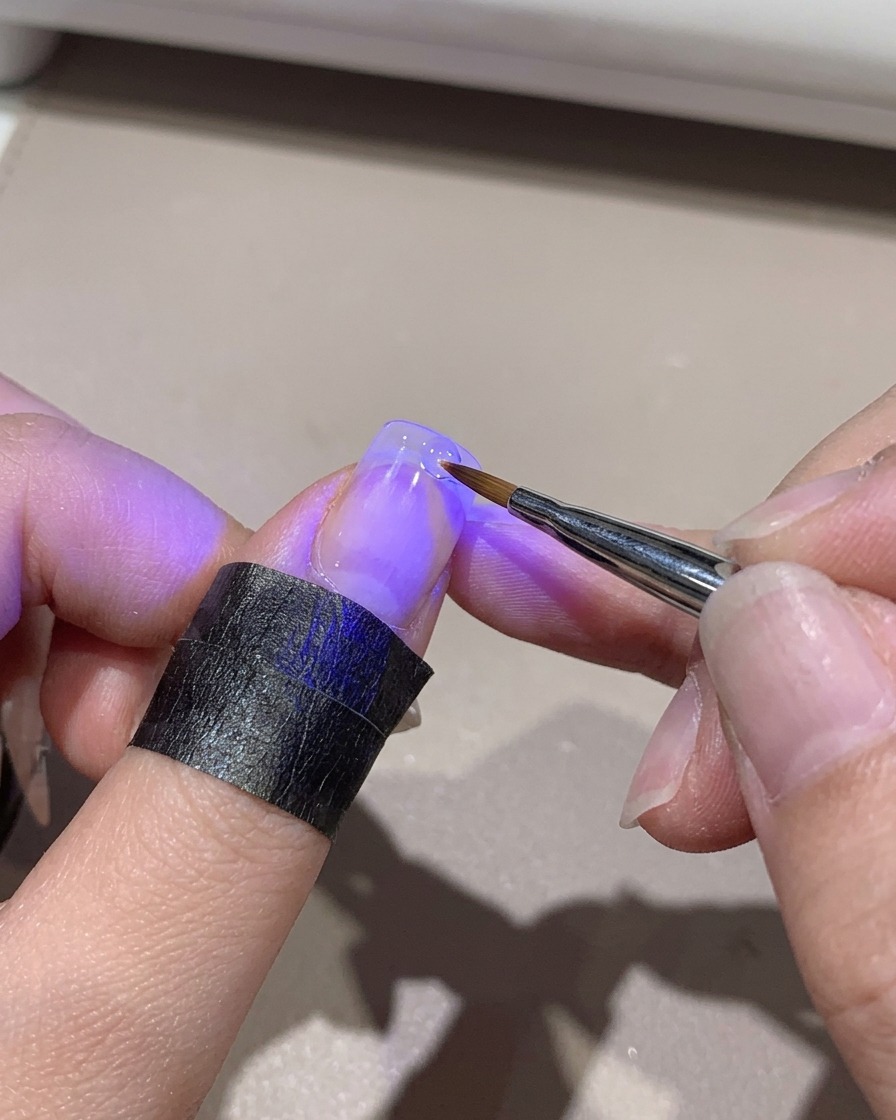
Place the finger under a mini UV/LED lamp to cure the freshly applied gradient tip securely in place.
Tip: Hold the mini lamp steady to ensure the gradient stays perfectly aligned while curing. - 15Apply Chrome-Bonding Top Coat
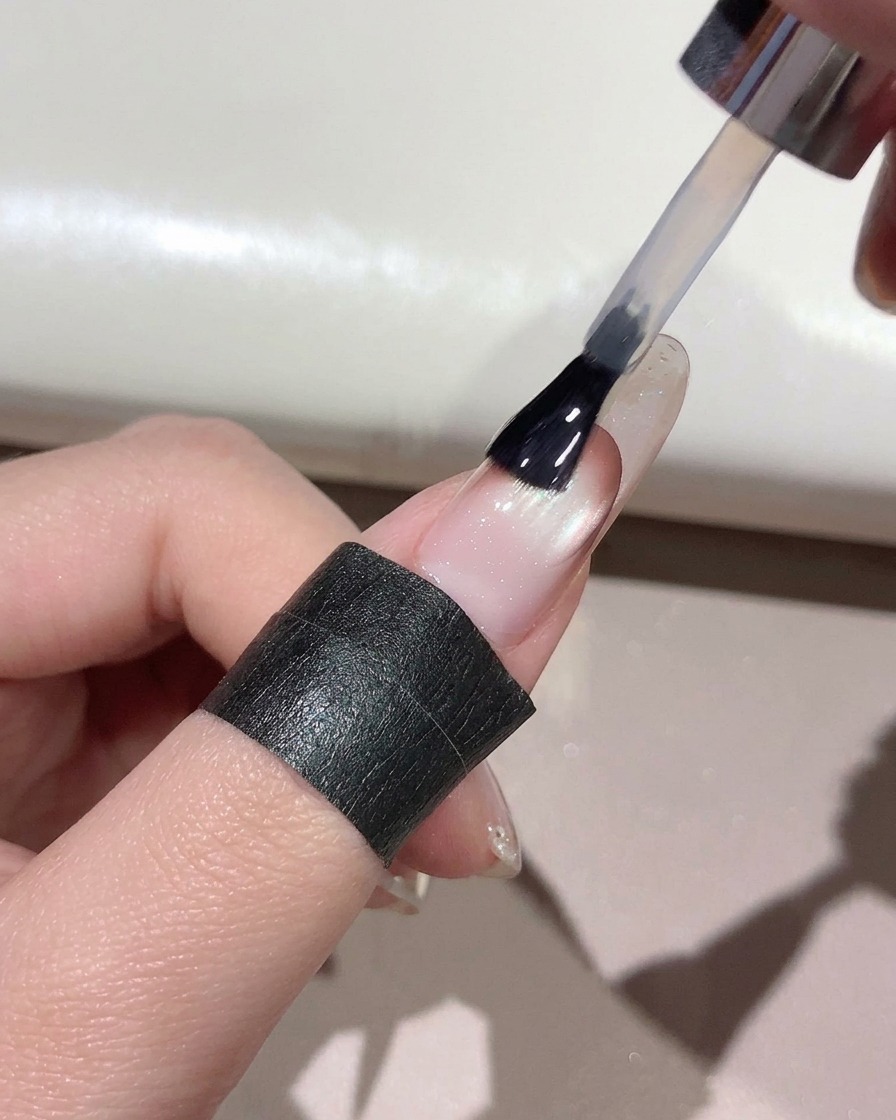
Brush a layer of chrome-bonding top coat entirely over the nail surface to prepare it for the magic mirror powder layer.
Tip: Ensure uniform coverage across the entire nail so the chrome powder adheres evenly. - 16Cure Chrome Top Coat
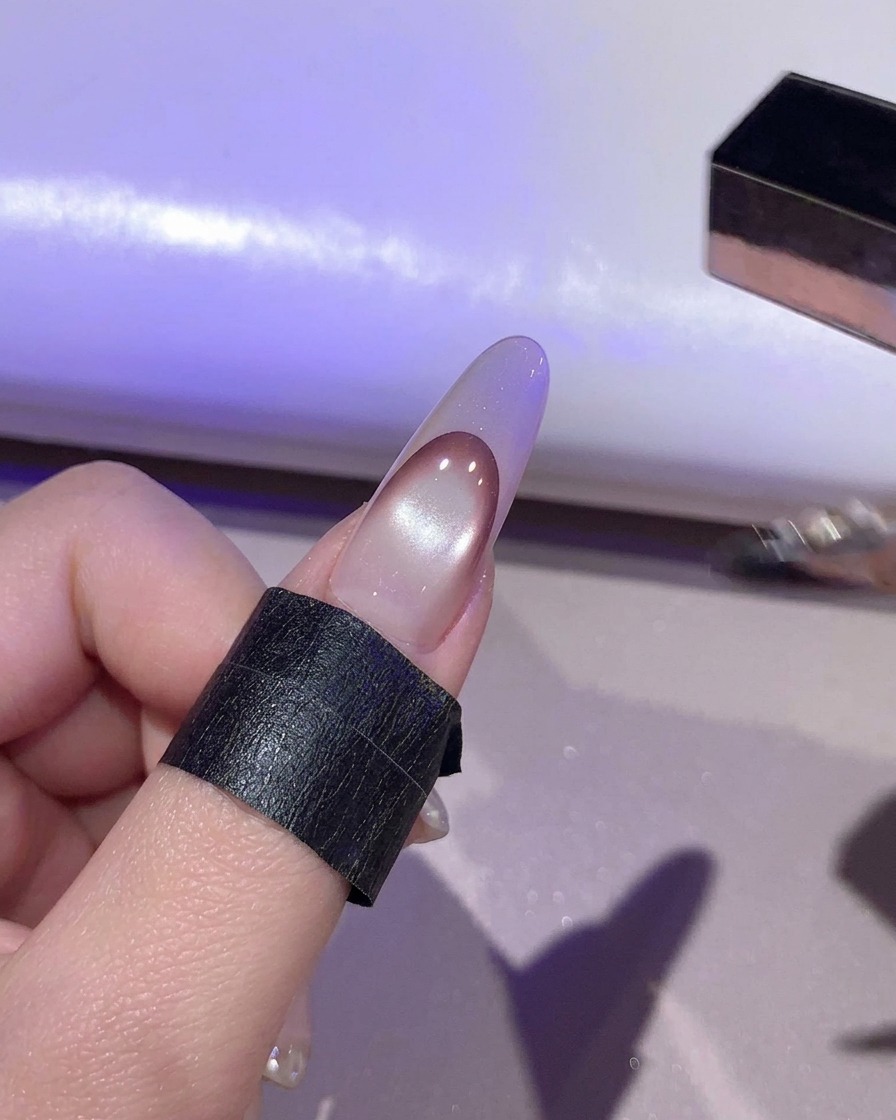
Place the hand under the UV/LED lamp to cure the chrome-bonding top coat to the correct tackiness.
Tip: Follow the exact curing time needed for the top coat to ensure proper powder adhesion. - 17Apply Second French Sticker
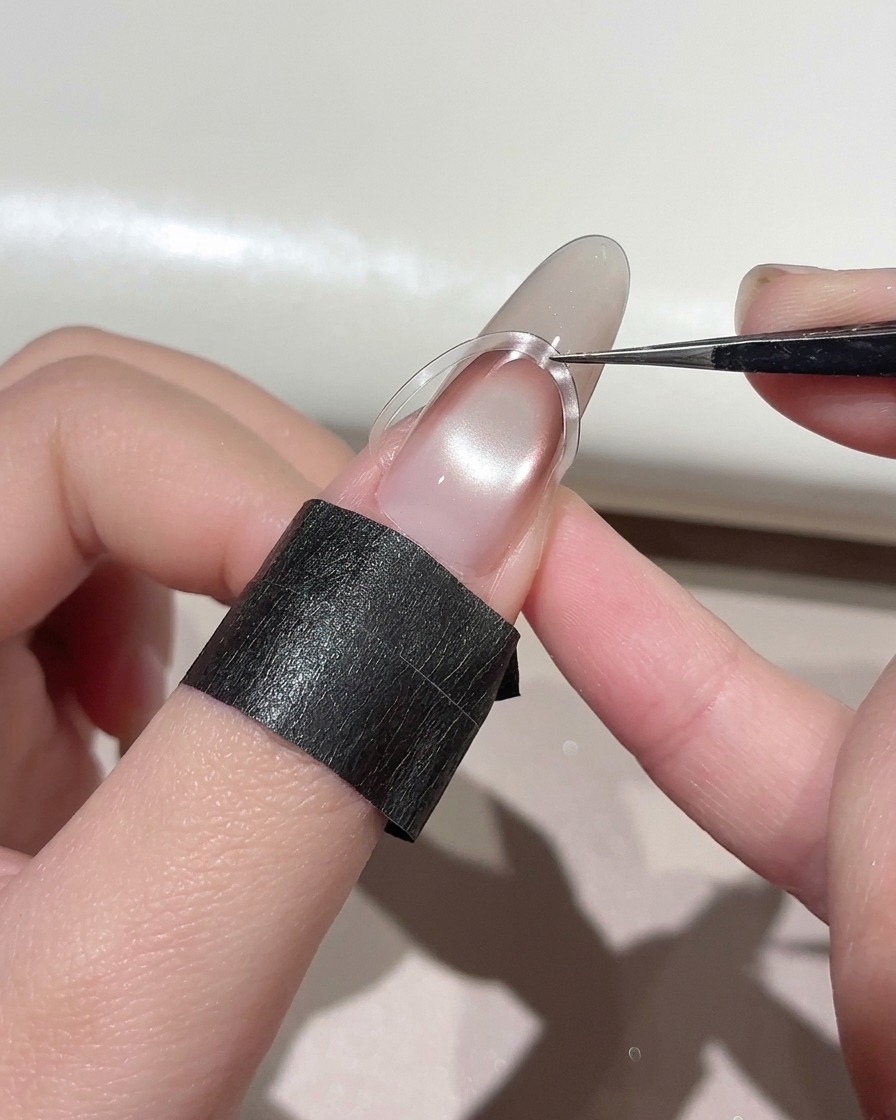
Apply a second curved French sticker carefully, placing it slightly higher up on the nail than the previous gradient line to create a layered effect.
Tip: Use fine tweezers to position the sticker with high precision. - 18Press down the second sticker
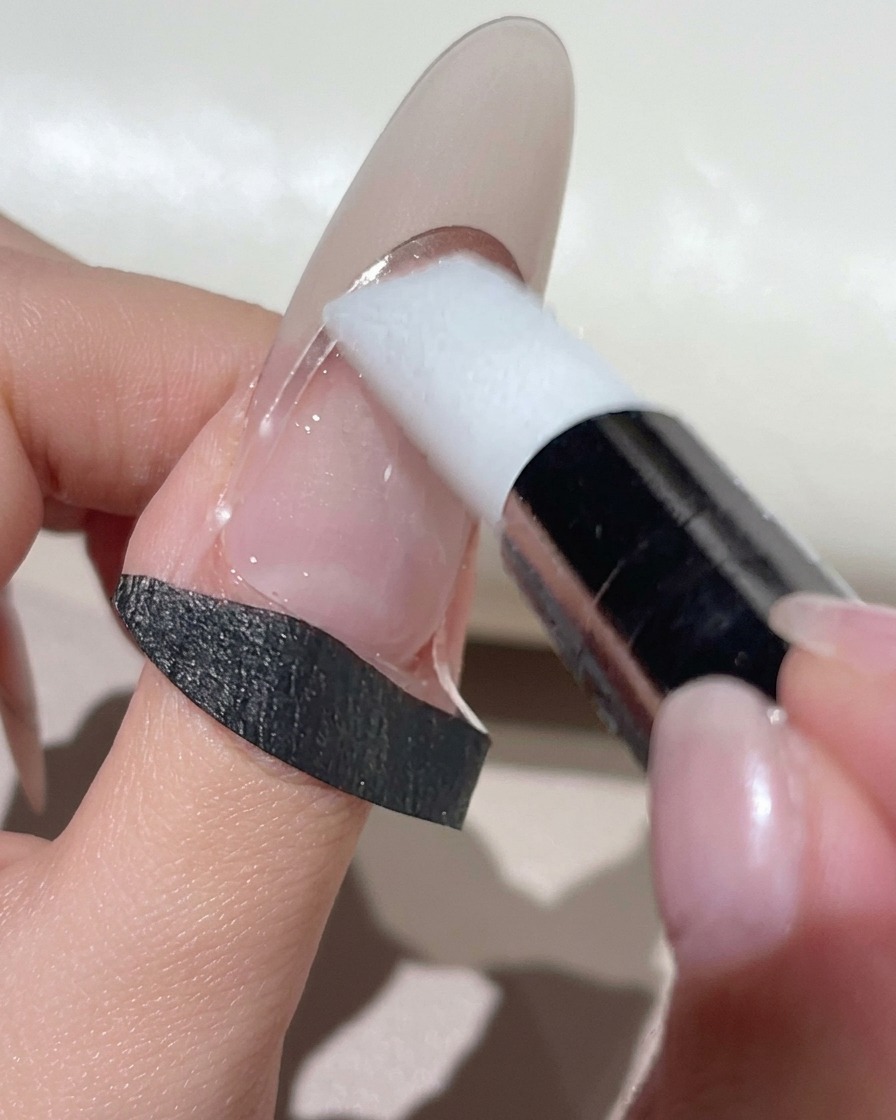
Using the white silicone tool, press the second French sticker down firmly against the nail plate to ensure it adheres securely without any lifting edges. This creates a clean boundary for the next layer of metallic chrome powder.
Tip: Make sure the sticker edges are sealed completely to prevent chrome powder from seeping underneath. - 19Rub on rose gold chrome powder
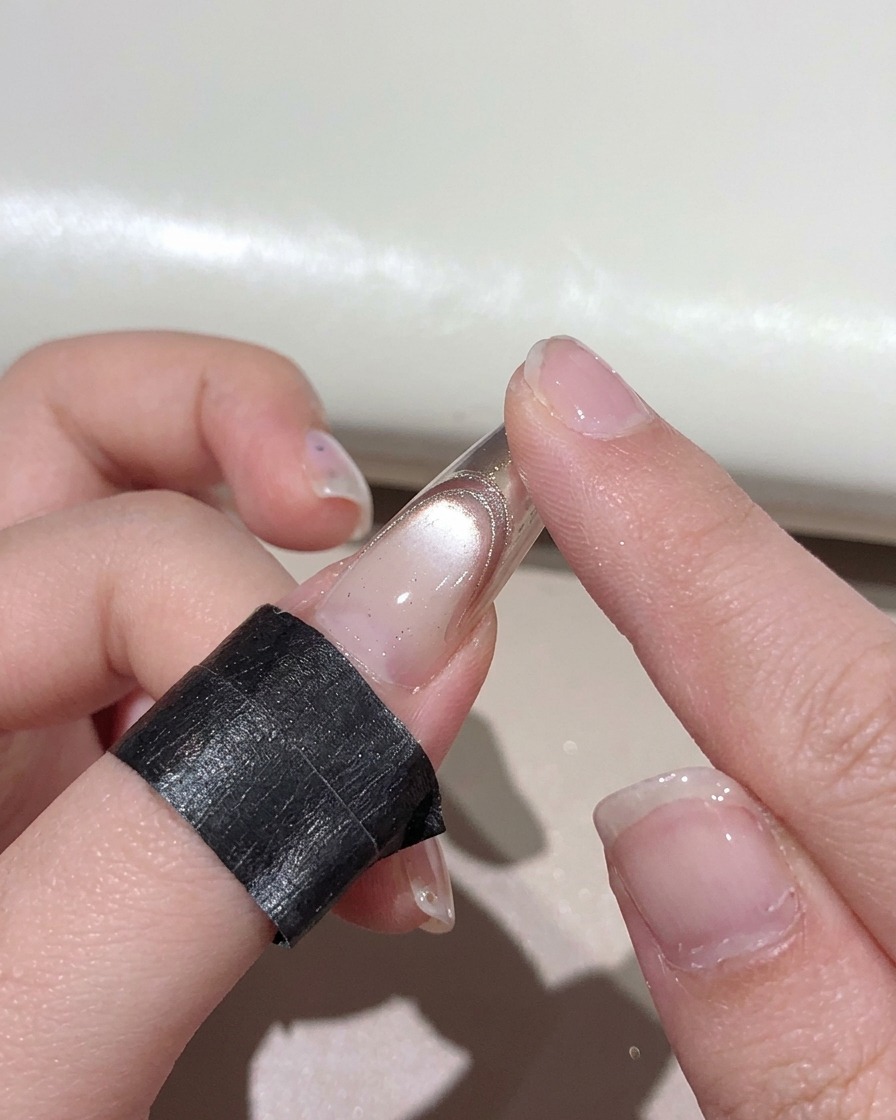
Take a small amount of rose gold metallic chrome powder and use a bare fingertip to rub it firmly onto the very tip of the nail above the sticker guide. Buff it smoothly until a high-shine mirror finish appears.
Tip: Using a bare fingertip helps generate slight friction, allowing the chrome powder to buff into an ultra-smooth finish. - 20Sweep away excess chrome powder
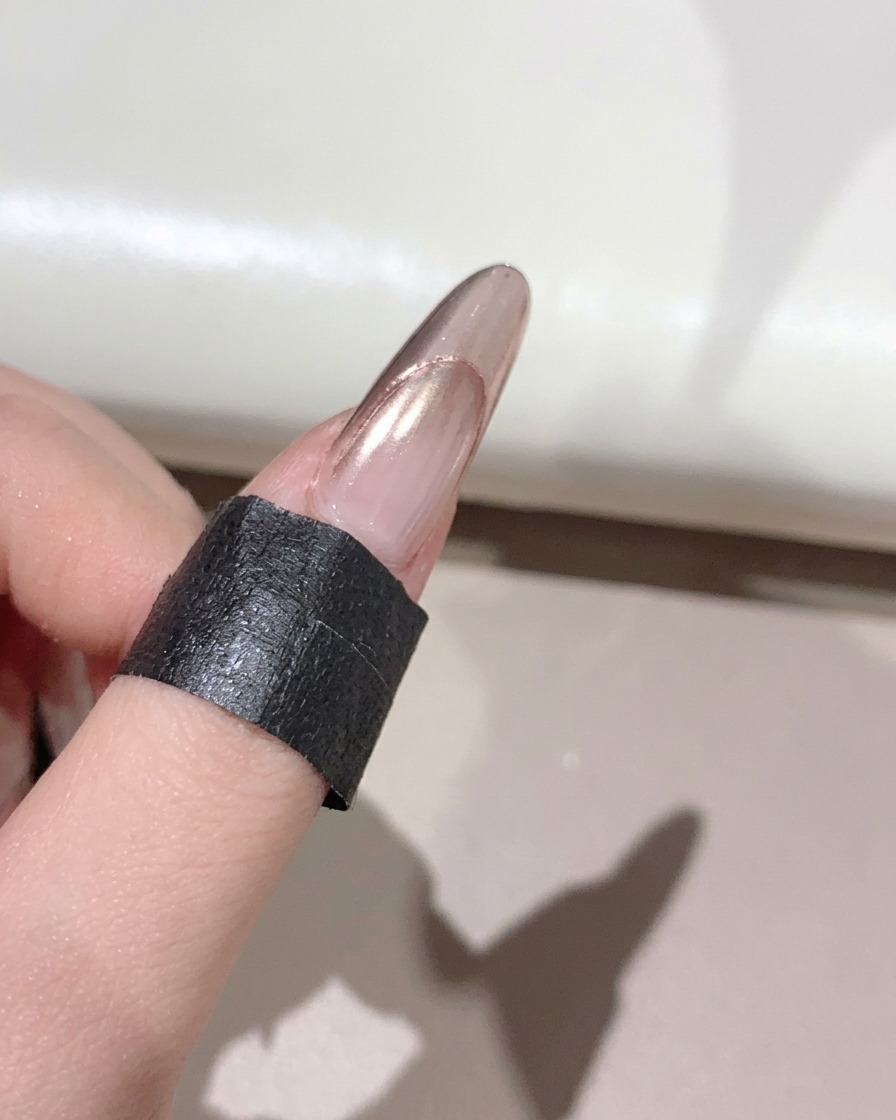
Take a soft, fluffy makeup-style brush and gently sweep across the nail surface to remove all loose and excess chrome powder particles. This cleans up the surrounding area before peeling off the guide sticker.
Tip: Use light strokes so you do not smudge the metallic shine on the French tip. - 21Peel off the guide sticker
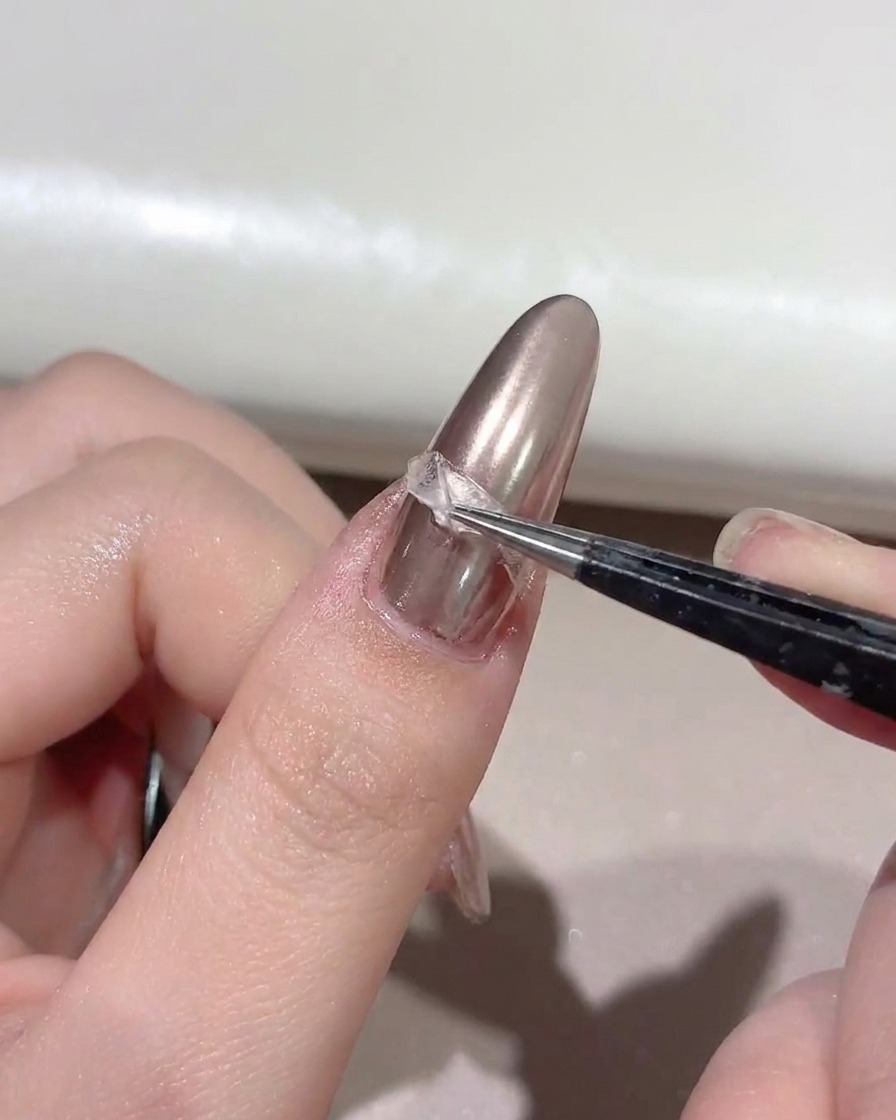
Using a pair of precision tweezers, carefully peel off the French guide sticker from the nail. This reveals a crisp, clean line separating the clear base from the sharp metallic rose gold French tip.
Tip: Pull the sticker away slowly and at a low angle to keep the painted and chromed lines sharp. - 22Clean up stray powder specks
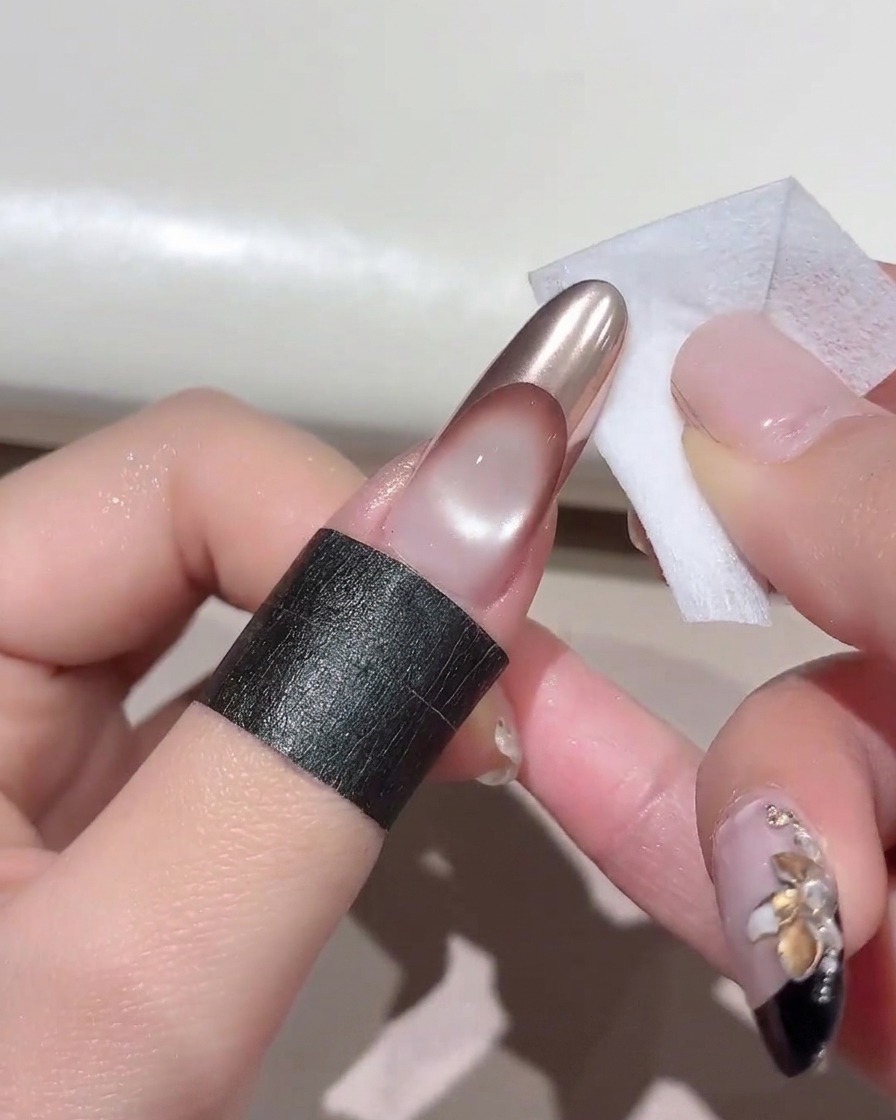
Carefully wipe the lower section, cuticles, and sides of the nail using a small cleaning pad to remove any stray chrome powder specks. Keeping the surrounding area clean ensures a professional-looking final manicure.
Tip: Lightly dampen the pad if needed, but ensure it is not too wet to avoid ruining the surrounding gel layer. - 23Seal the metallic tip with top coat
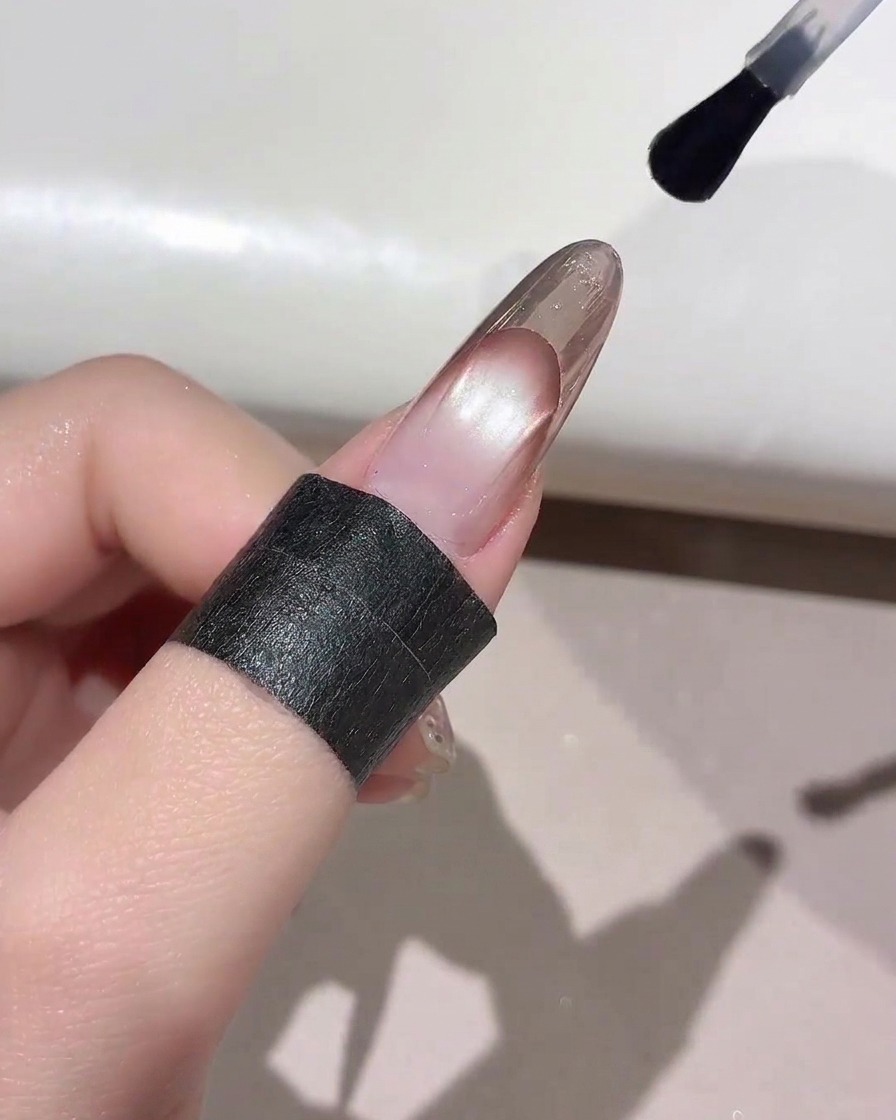
Brush a layer of clear top coat specifically over the metallic tip to encapsulate and seal the chrome powder, preventing it from chipping or wearing off. Ensure the edge is fully covered.
Tip: Always cap the free edge with top coat to lock in the chrome design securely. - 24Cure the sealed chrome tip
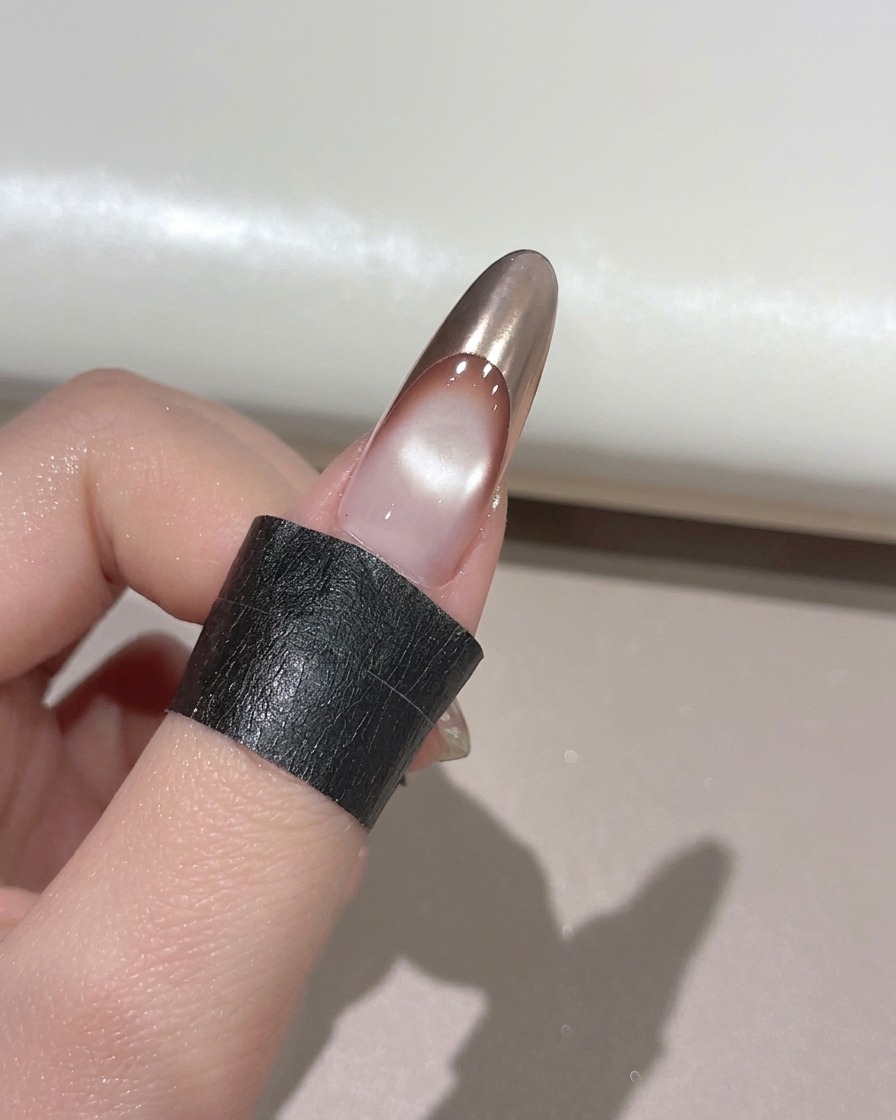
Place the hand under the UV or LED lamp to cure the chrome top coat sealing layer. Ensure proper curing time so the chrome powder remains locked in place and protected from chipping or peeling.
Tip: Curing completely ensures the mirror powder finish stays durable and glossy. - 25Apply final glossy top coat
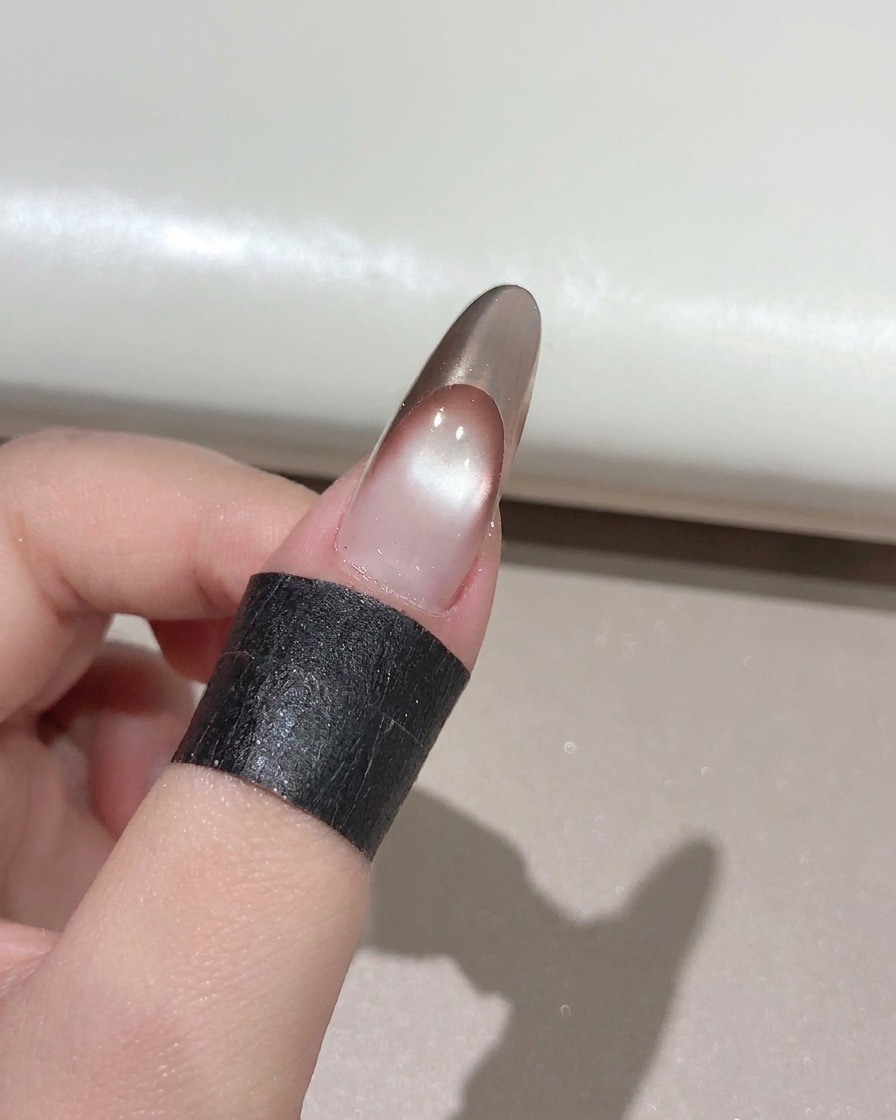
Apply a final layer of silky smooth glossy top coat evenly over the entire nail surface to lock in the complete design. Seal the free edge carefully and cure under the lamp to achieve a brilliant, long-lasting shine.
Tip: A smooth final top coat ties all the layers together and protects the nail art from wear.