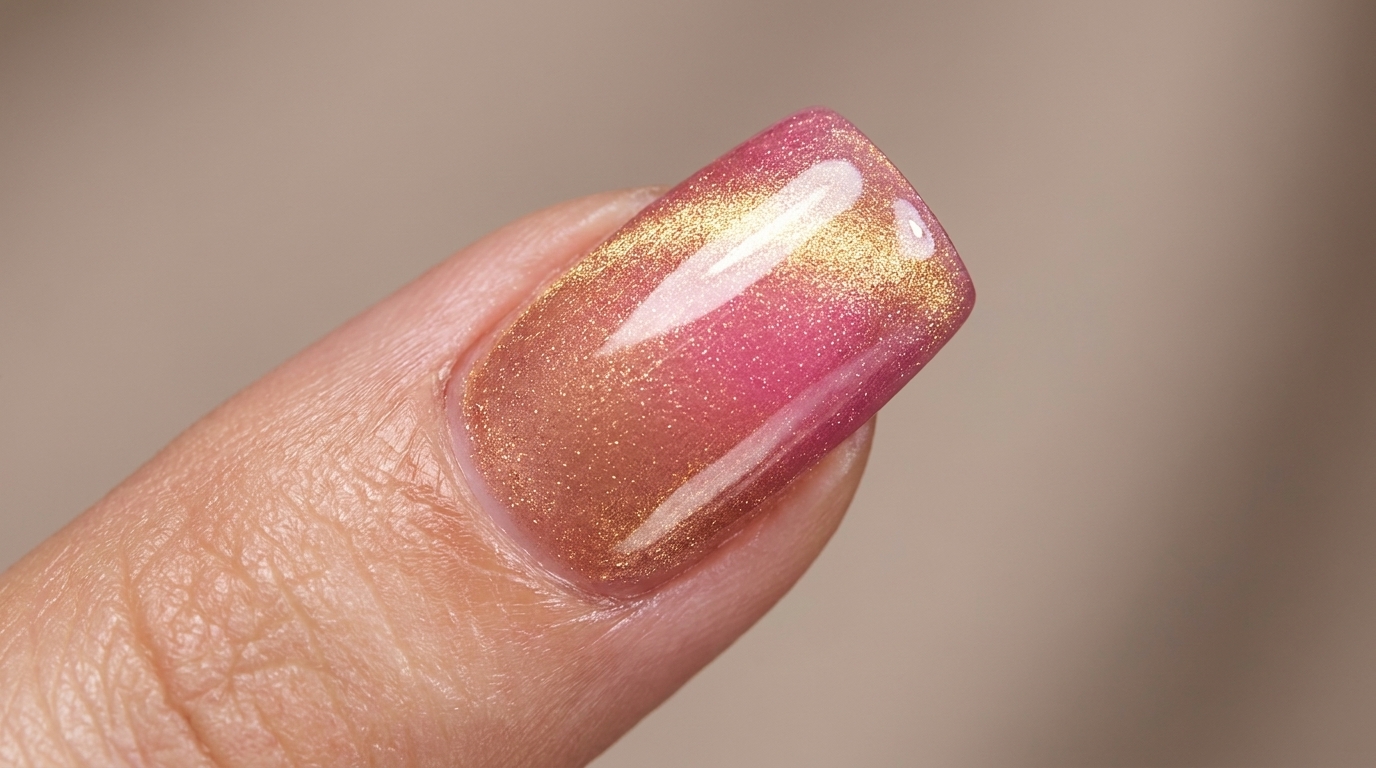
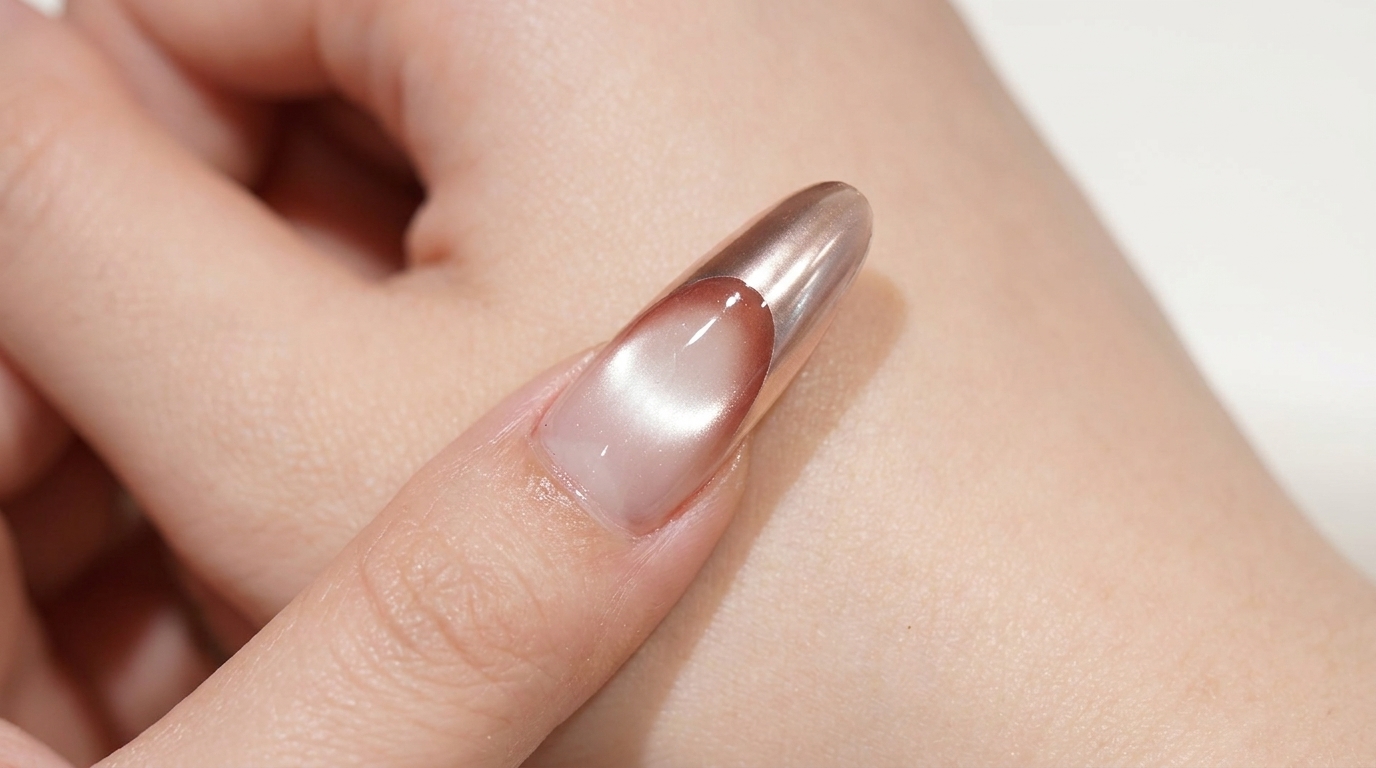
Silver Chrome Aurora
Glitter Nail Art — Step-by-Step Tutorial
Discover how to create stunning silver chrome aurora and glitter nails featuring a mesmerizing magnetic cat-eye effect and translucent cold-feeling depth.
Cold-feeling, transparent nail art styles combined with multi-dimensional magnetic cat-eye effects have taken modern manicures by storm. This look captures the essence of futuristic elegance by layering sparkling glitter under a deep, reflective silver chrome aurora beam. Follow along to master the precise magnet techniques needed to achieve this salon-quality finish at home.
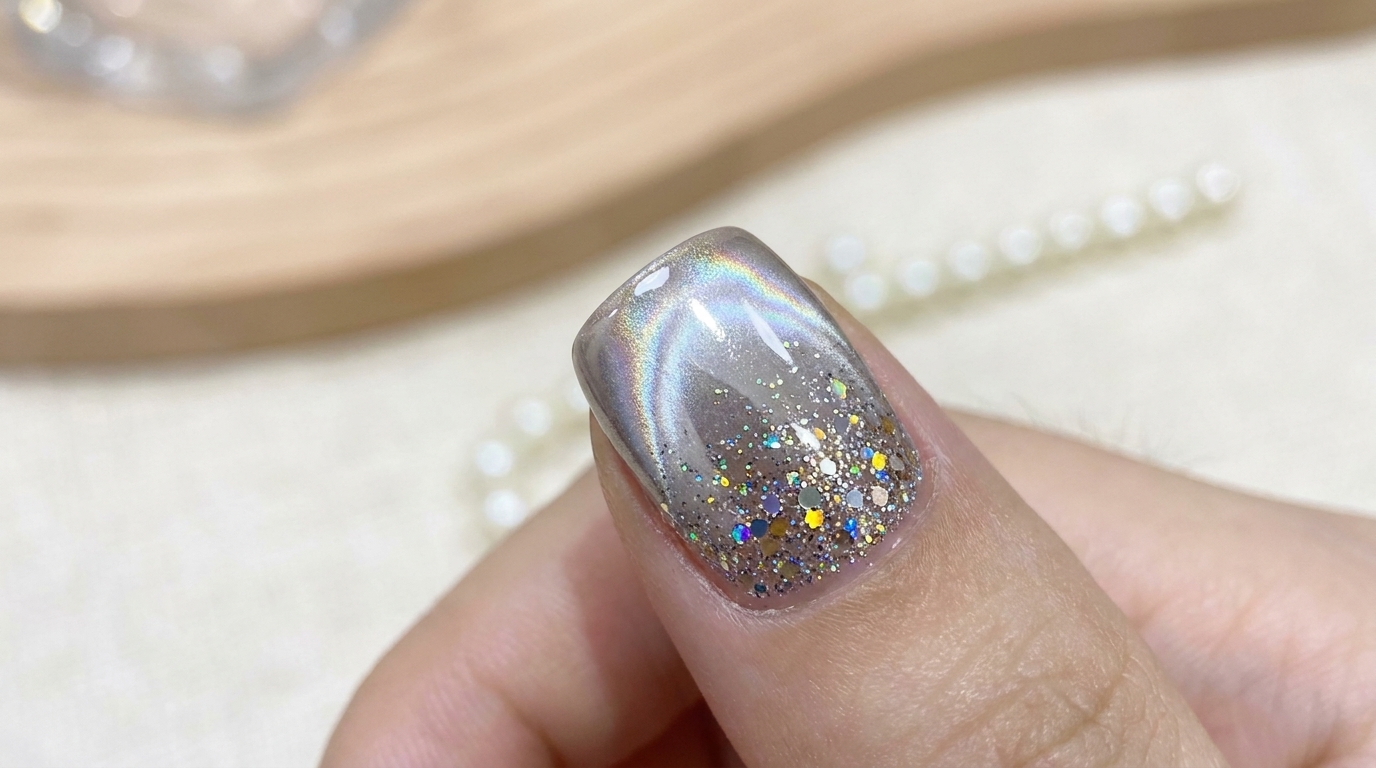
Steps
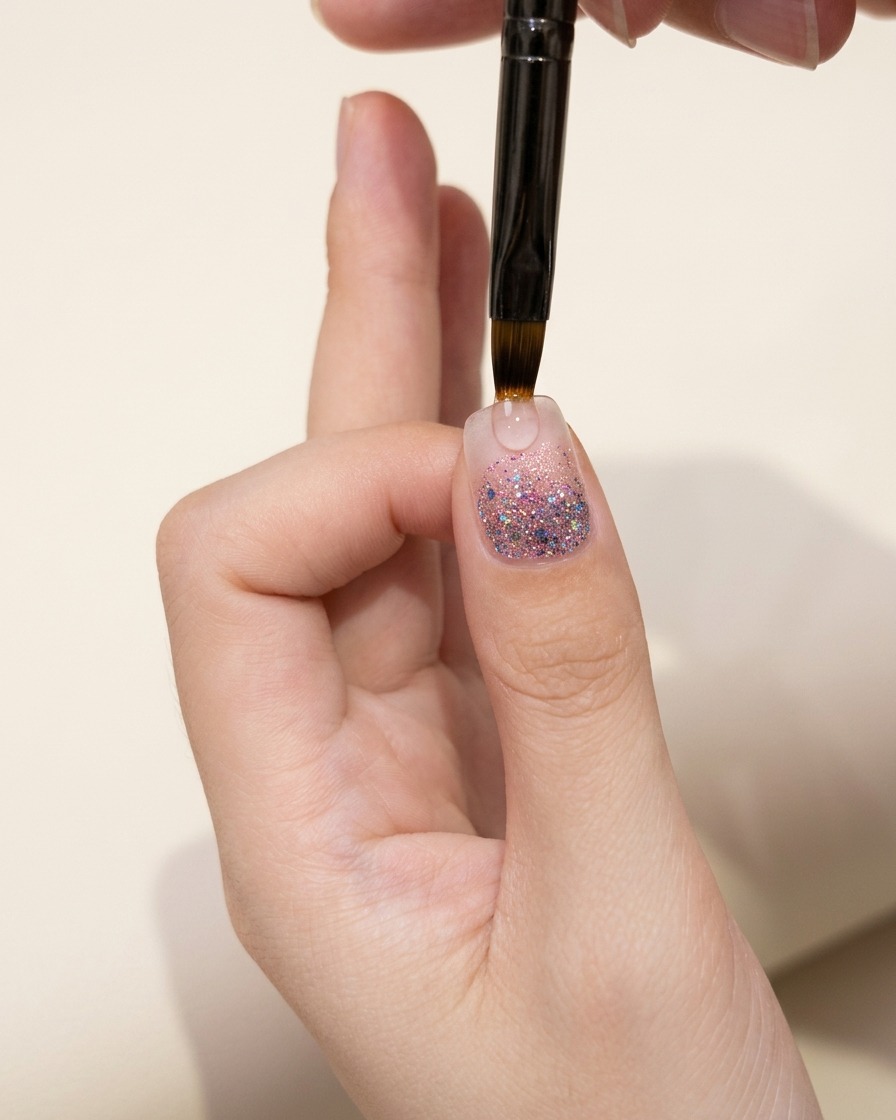
- 1Apply clear gel over glitter foundation
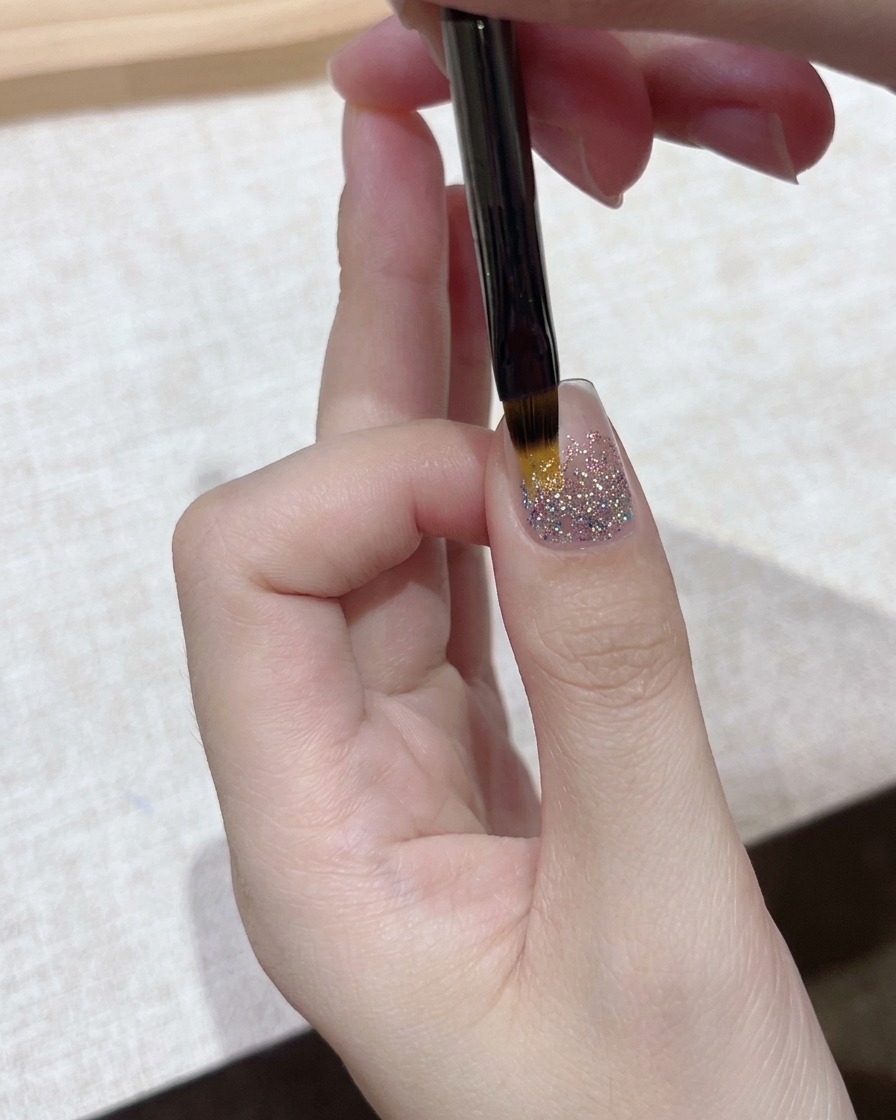
Using a fine detail brush, carefully apply a thin, smooth layer of clear gel or base product directly onto the nail plate over the existing glitter foundation. Work gently to ensure the glitter particles remain undisturbed while creating a smooth surface for subsequent layers.
Tip: Keep your brush strokes light and flat to prevent shifting or bunching up the underlying glitter pieces. - 2Inspect the glitter and gel application
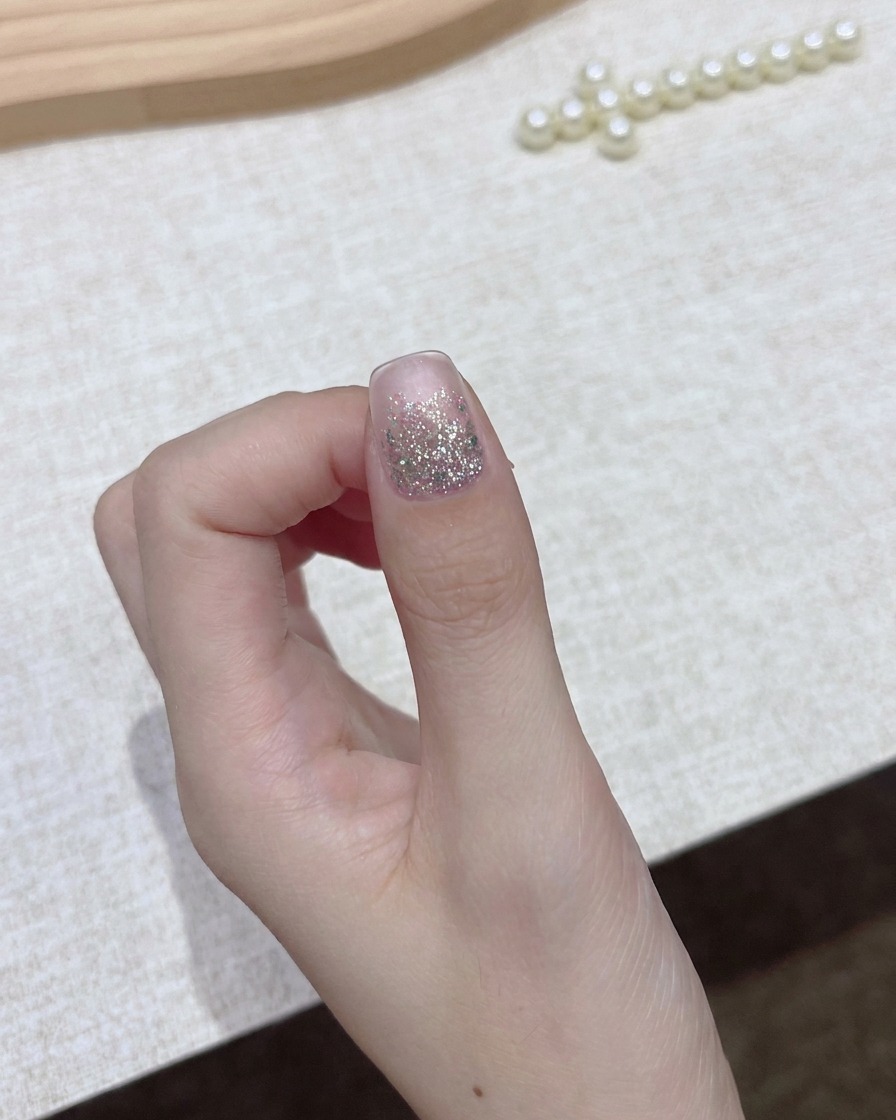
Take a moment to inspect the thumb nail under warm lighting to check the smoothness and coverage of the glitter layer and the newly applied gel. Ensure there are no uneven spots or gaps before moving on to the next step of the tutorial.
Tip: Checking your work under proper lighting helps catch tiny imperfections early before curing. - 3Prepare the dark gel polish
Uncap the bottle of black or dark base color gel polish and ensure the brush is clean and ready for application. Proper preparation of your materials keeps the workflow smooth and prevents premature drying or contamination.
Tip: Always wipe excess product off the stem of the brush to maintain control during application. - 4Apply dark gel polish
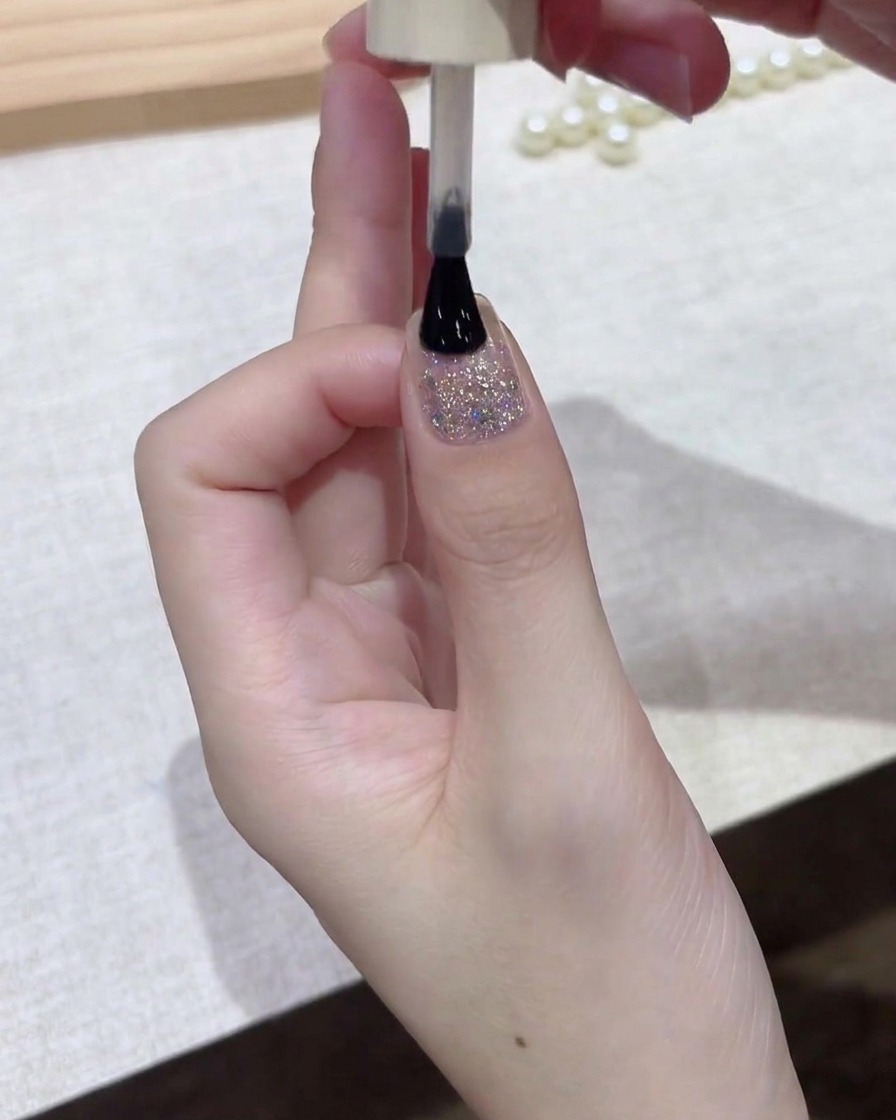
Using the polish brush, apply a very thin layer of dark gel polish over the nail surface. Start near the cuticle area and glide the brush smoothly down toward the free edge, ensuring even coverage without pooling.
Tip: Applying thin layers prevents wrinkling or uncured spots underneath during the curing process. - 5Smooth out the dark gel layer
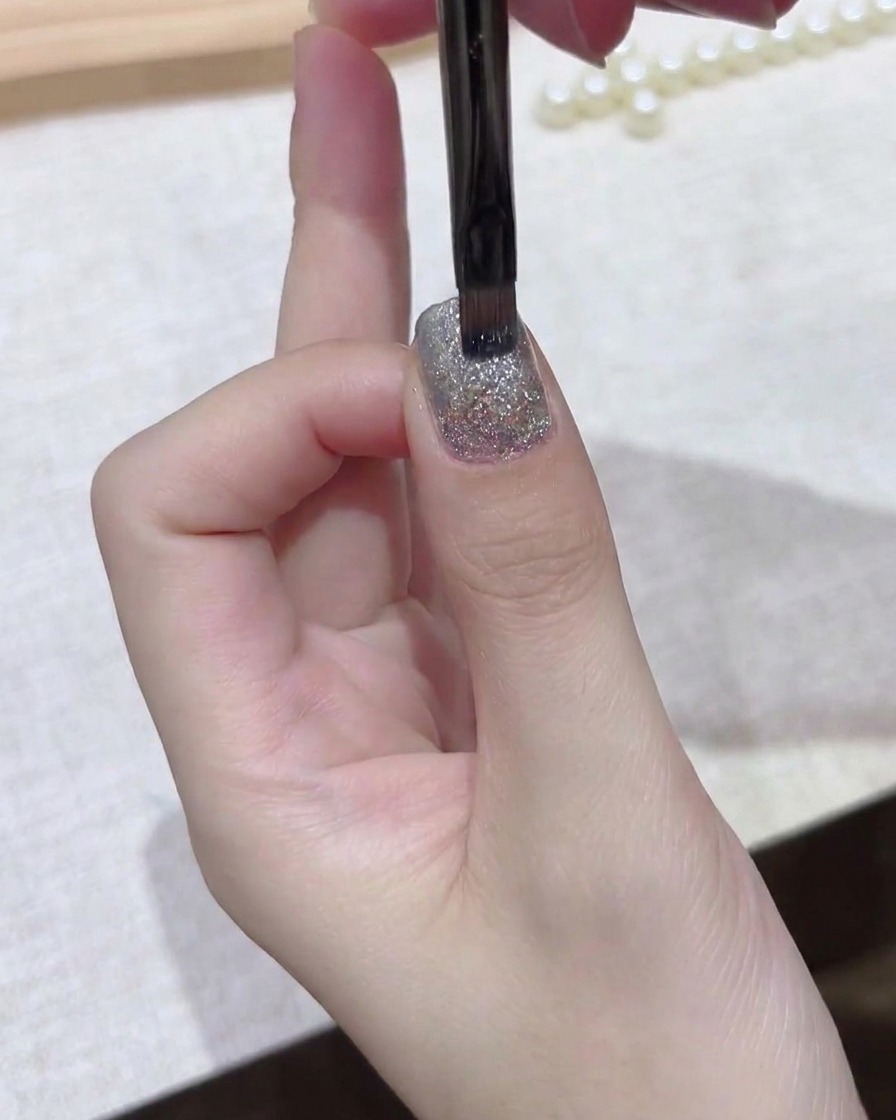
Take a fine brush and gently smooth out the dark gel layer across the entire nail plate. This ensures an even, flawless distribution of color and eliminates any streaks or brush marks left from the initial application.
Tip: Use soft, feather-light strokes with your fine brush to level the gel surface perfectly. - 6Refine edges near the cuticle
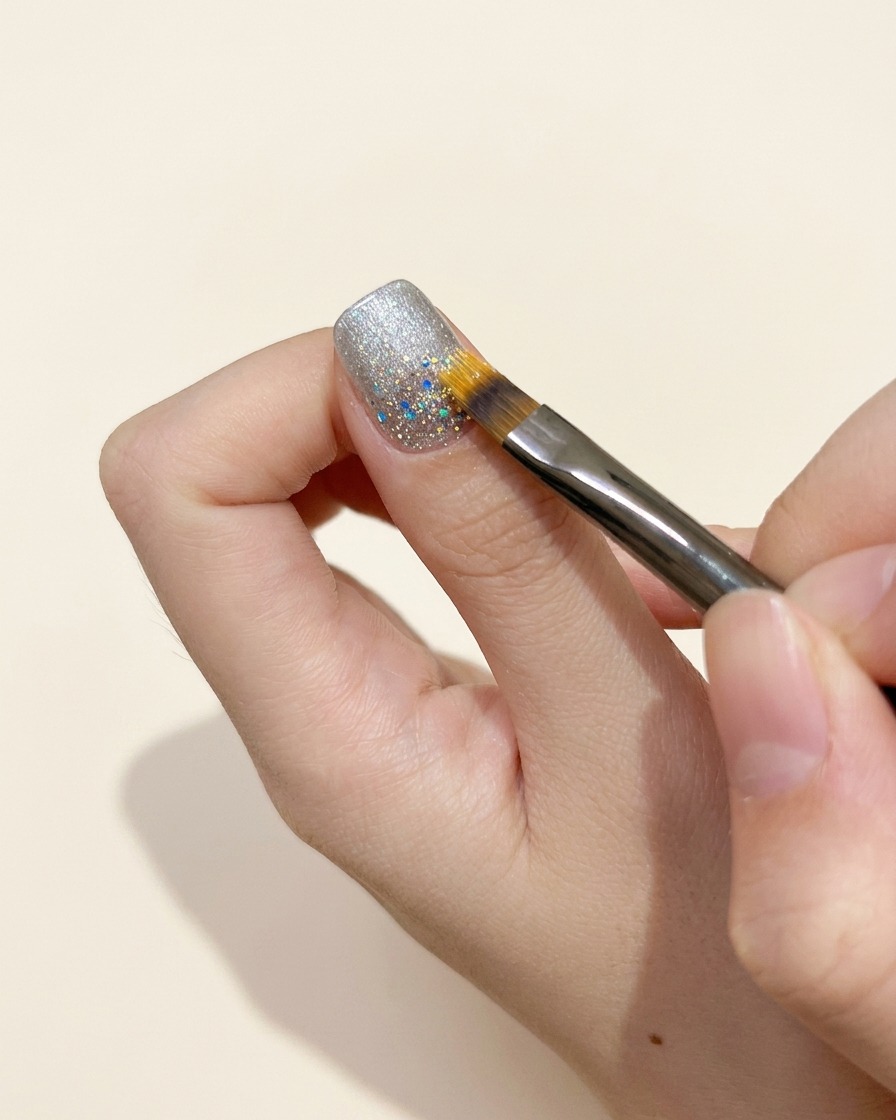
Using a cleanup brush, carefully refine the edges of the gel application around the cuticle area and sidewalls. Cleaning up any stray gel before curing ensures a professional, salon-quality finish and prevents skin irritation.
Tip: Lightly dampen your cleanup brush with alcohol or cleanser if needed to get crisp, clean edges. - 7Use a spherical magnetic tool
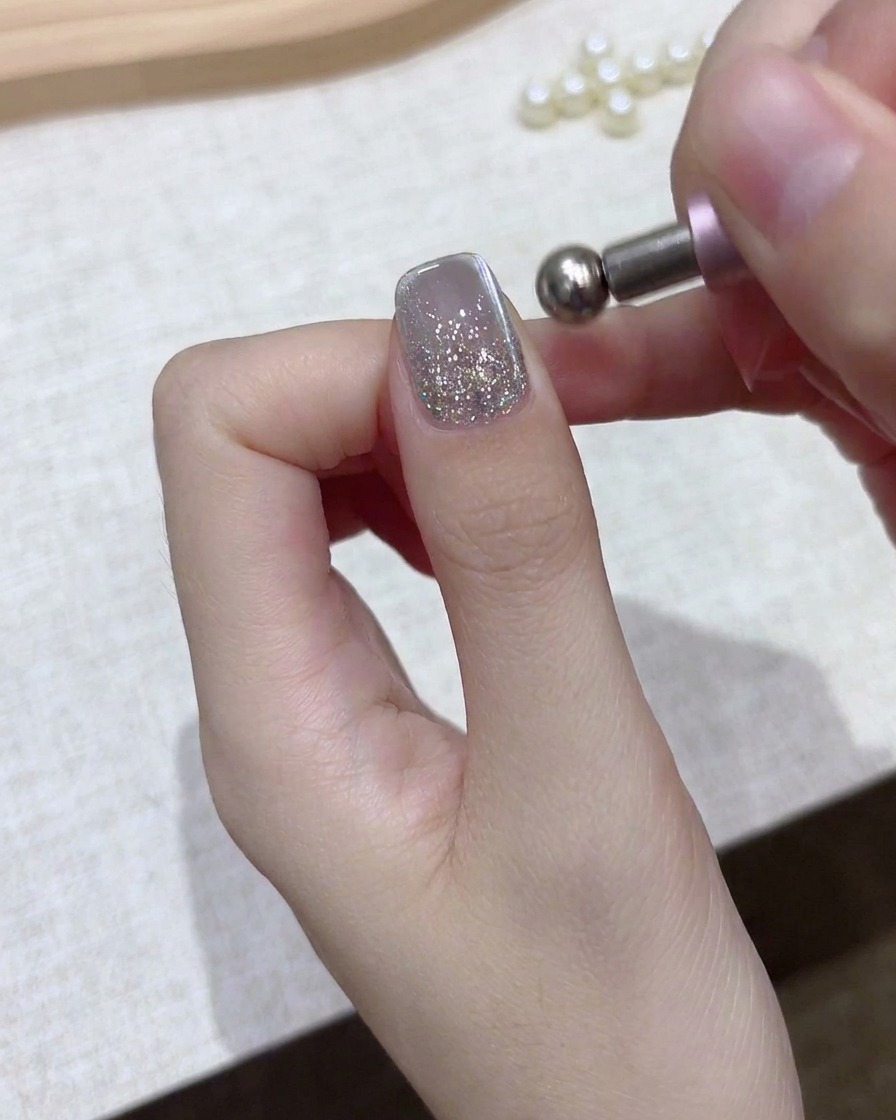
Hover the spherical metal tip of the magnetic tool closely over the wet gel layer. Use small, precise movements to begin pulling the magnetic particles into your desired pattern.
Tip: Be careful not to touch the wet gel with the magnet; keep it hovering just a few millimeters above the surface. - 8Manipulate with a magnetic pen
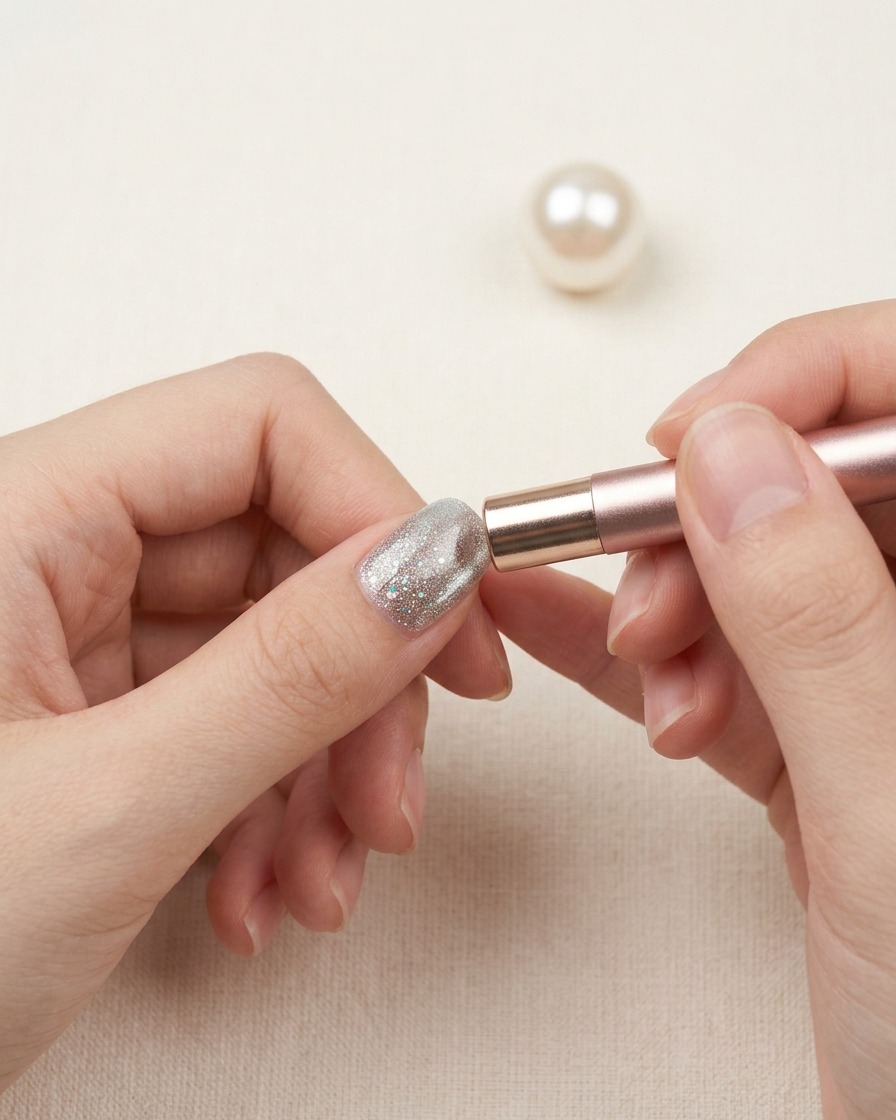
Position a cylindrical magnetic pen near the edges of the nail. Move it slowly around the perimeter to push the magnetic shimmer towards the center, adjusting the cat-eye effect.
Tip: Slow, steady movements allow the magnetic particles enough time to shift and lock into place. - 9Create aurora beam with block magnet
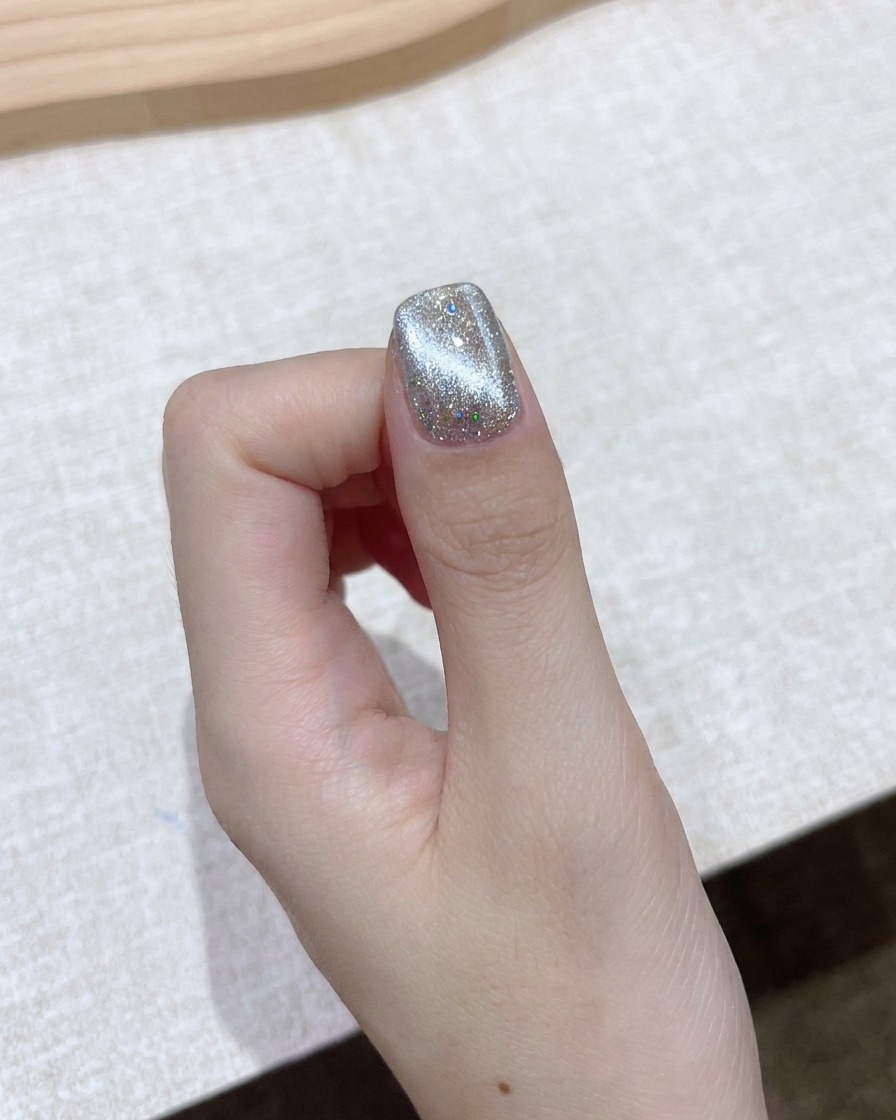
Switch to a rectangular block magnet, holding it close to the nail without touching the wet polish to pull and concentrate the magnetic shimmer into a sharp aurora beam effect. This precise magnetic manipulation creates the signature multi-dimensional light reflection characteristic of clear, cold-feeling nail art styles.
Tip: Hold the block magnet steady for a few seconds to lock the magnetic particles sharply in place before curing. - 10Cure magnetic gel layer
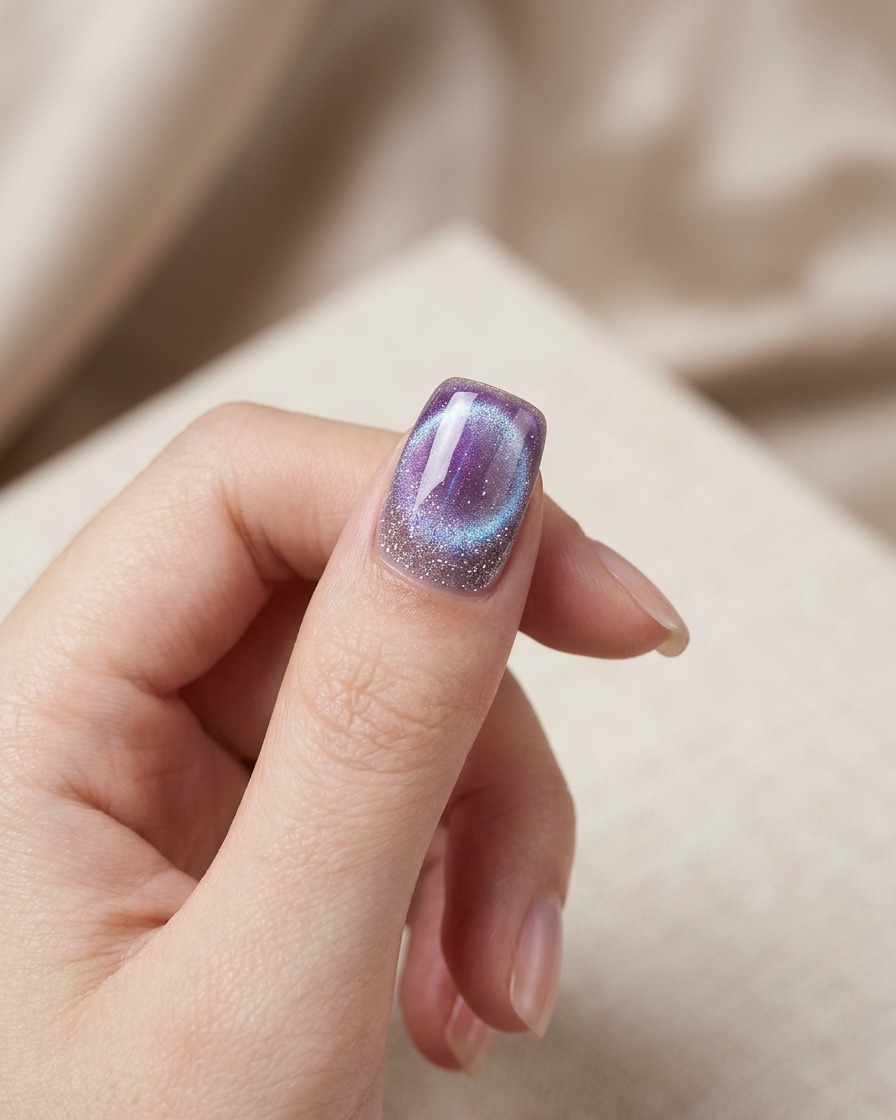
Place your hand under a UV/LED mini lamp to cure the freshly shaped magnetic gel layer. Curing immediately after achieving the desired aurora beam prevents the magnetic shimmer from shifting or dispersing before it is permanently locked into place.
Tip: Keep your finger completely still when moving your hand into the lamp to avoid disrupting the magnetic design. - 11Apply final sealing top coat
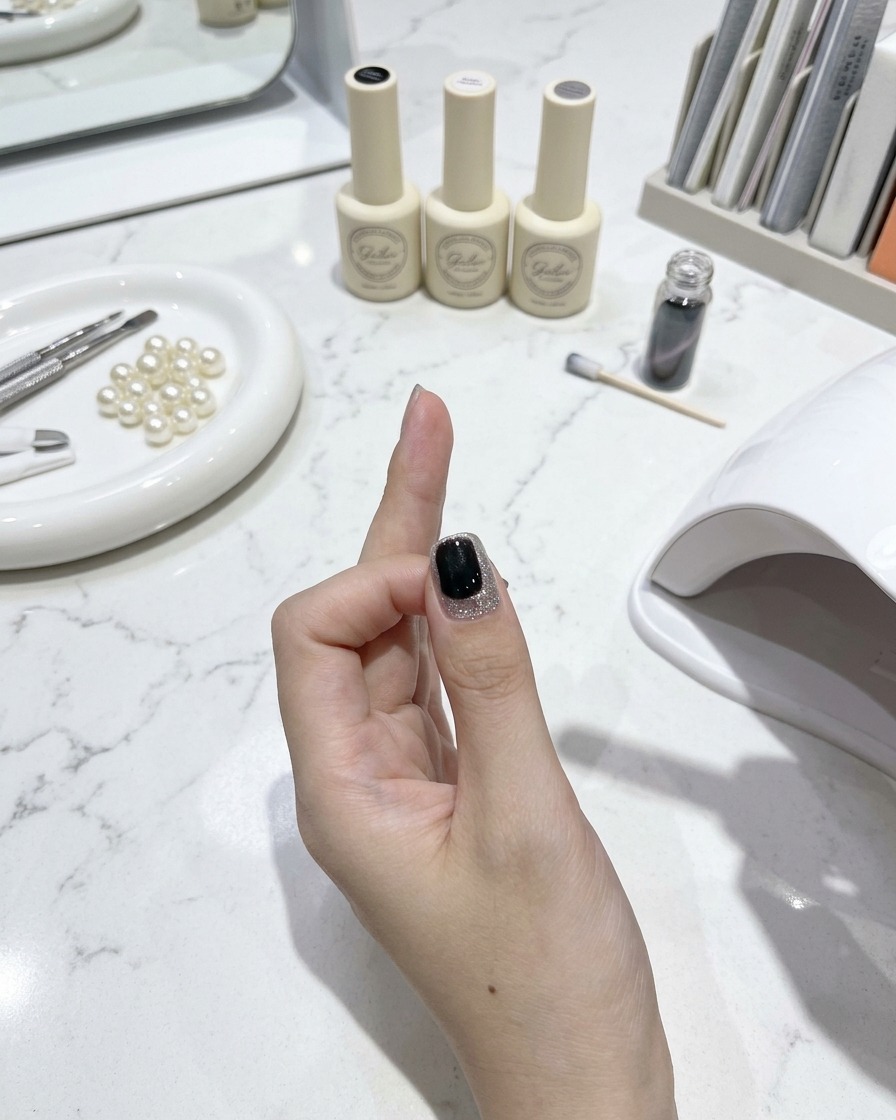
Apply a final sealing top coat layer evenly over the fully cured aurora nail design, making sure to cap the free edge for longevity. This protective glossy layer seals in the magnetic art, enhances transparency, and gives the clear cold-feeling manicure a high-shine finish.
Tip: Apply a smooth, moderate layer of top coat so it self-levels nicely without dulling the depth of the aurora effect underneath. - 12Spread the top coat evenly
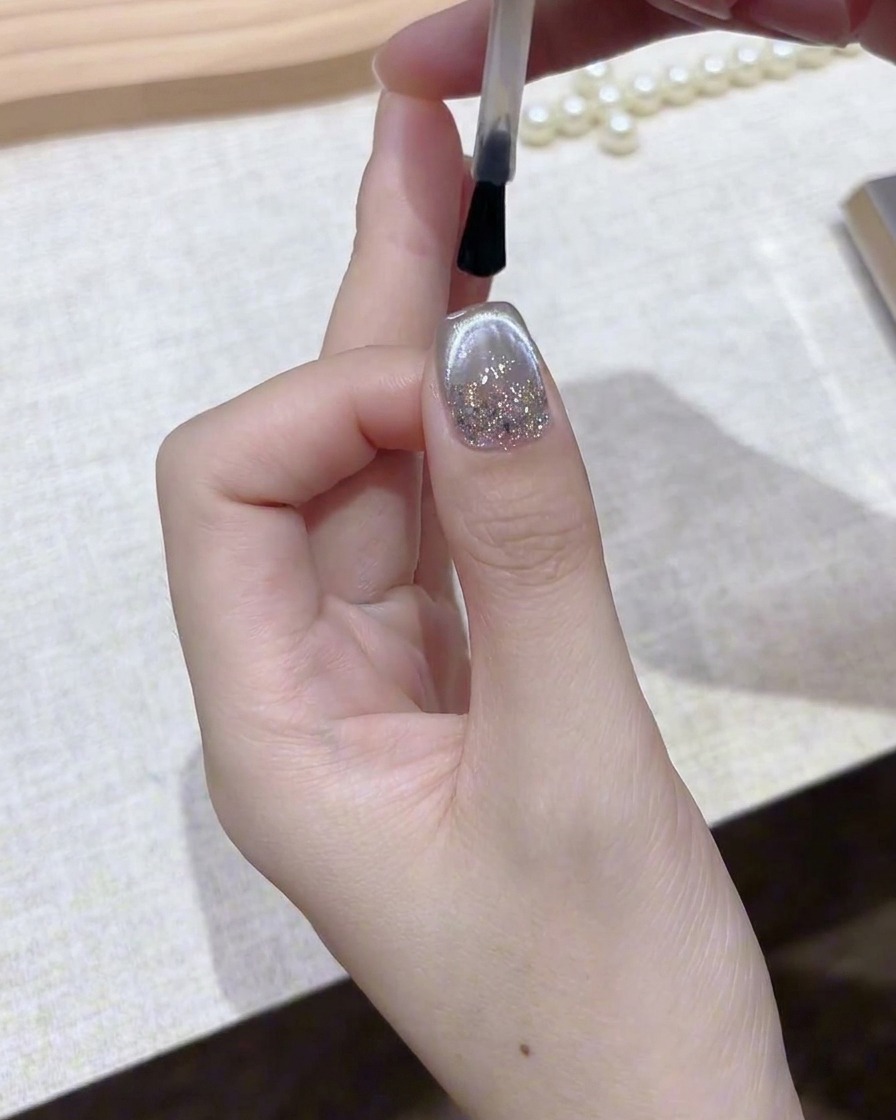
Using the brush, spread the clear top coat evenly over the entire nail plate. Ensure full coverage to protect the delicate magnetic cat-eye design and create a smooth, high-gloss finish.
Tip: Dont forget to cap the free edge of the nail with the top coat to prevent lifting and premature chipping.