Starlight Shimmer Gel Nails
White Swirls and Rhinestones — Step-by-Step Tutorial
Discover how to create magical starlight shimmer almond gel nails featuring delicate white fluid swirls, silver glitter gradients, and sparkling rhinestone accents.
Transform your manicure into a starry masterpiece with this detailed guide on creating starlight shimmer gel nails. Combining translucent milky bases with elegant white fluid art and reflective micro-glitter, this look offers a stunning balance of sophistication and modern sparkle.

Steps
- 1Showcase glossy top coat and embedded rhinestones
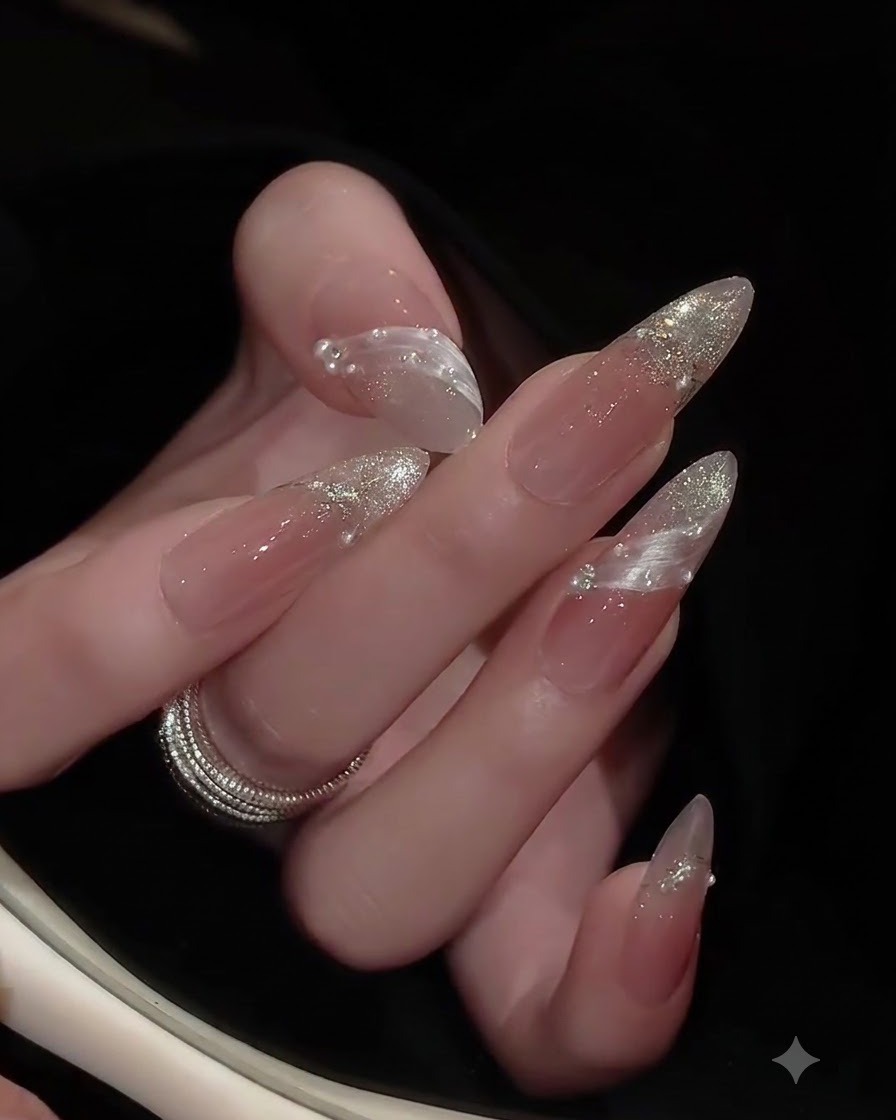
Gently move your hand under the light to inspect the smooth finish of the glossy top coat and the secure placement of the embedded rhinestones. Ensuring the rhinestones are fully encapsulated prevents them from snagging on clothing or lifting prematurely.
Tip: Add a tiny bead of builder gel around the base of larger rhinestones to lock them in place before sealing with top coat. - 2Detail the thumb nail design
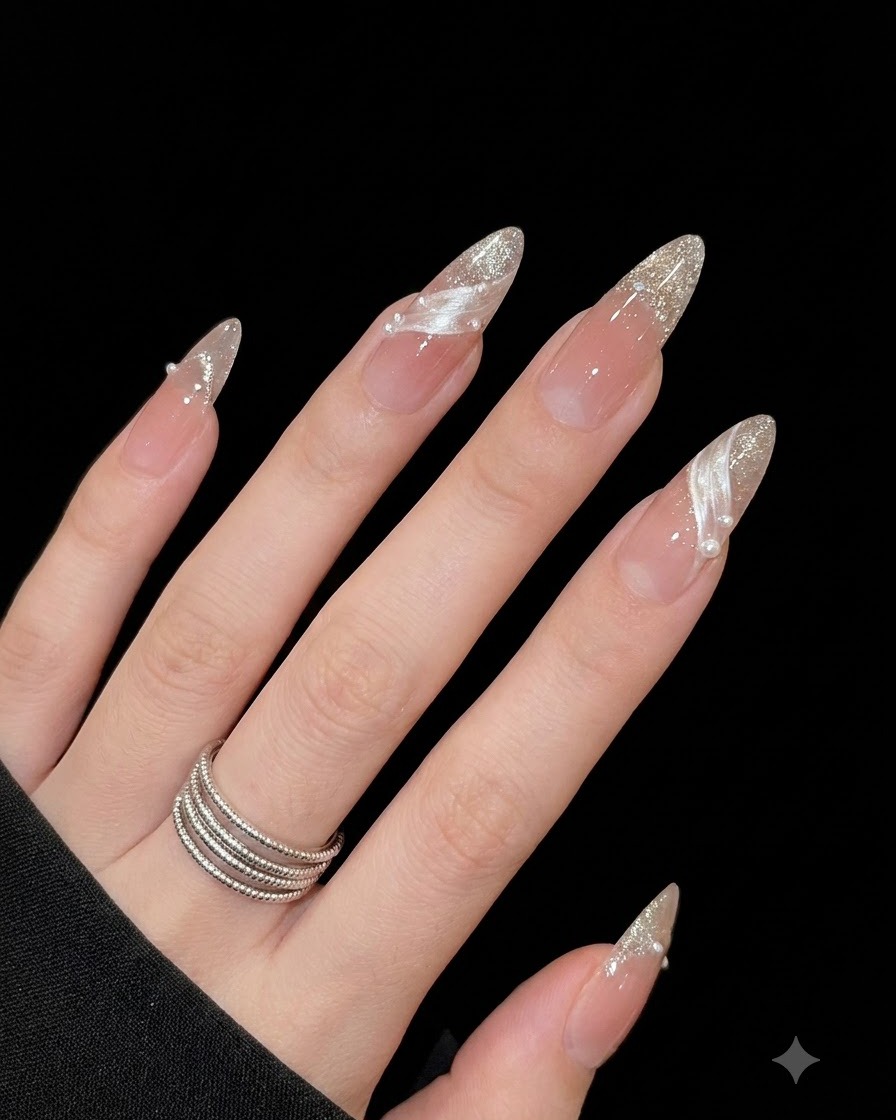
Focus on the thumb nail to showcase the dimensional white aura swirl blended with a fine silver glitter gradient along the tip. Arrange tiny micro-beads and white pearls along the curve of the swirl to add texture and intricate depth. Cure briefly under a LED light to lock the decorative elements in position.
Tip: Place pearls into a slightly uncured layer of base gel or top coat to ensure they anchor firmly before final curing. - 3Embellish index finger with glitter and rhinestones
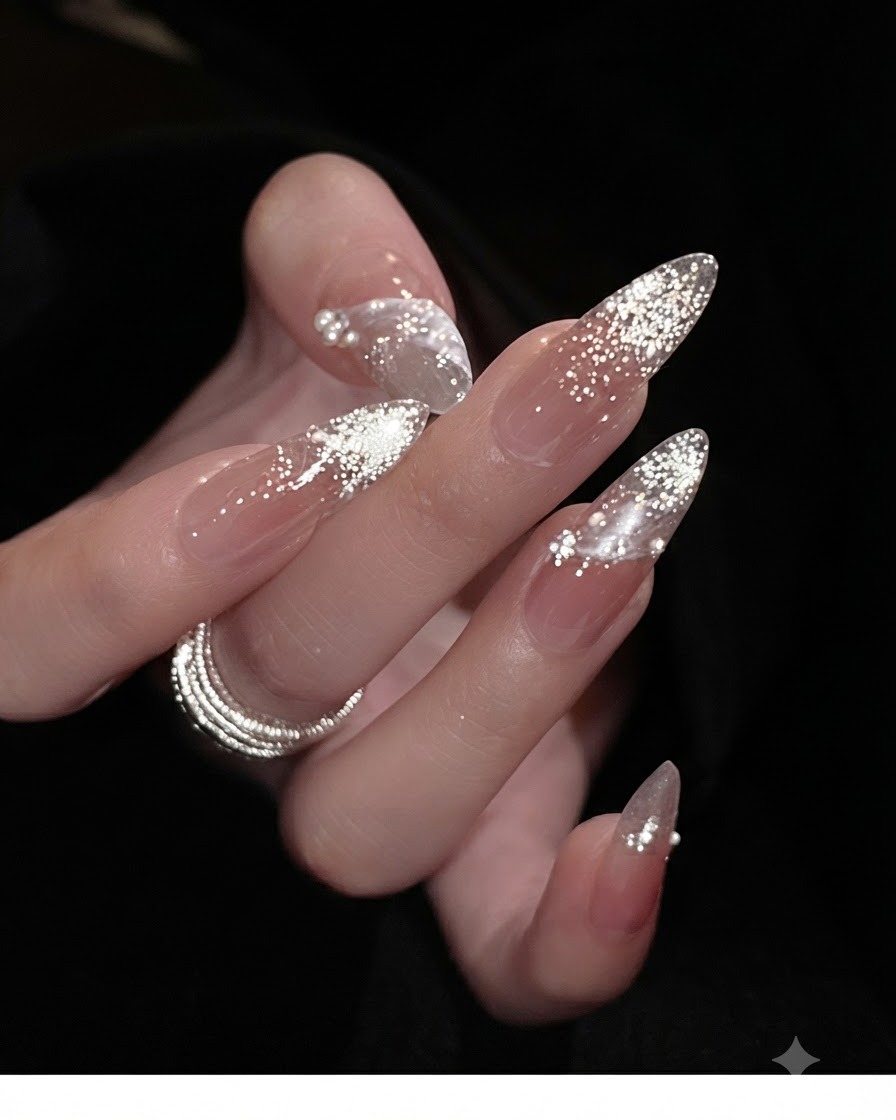
Shift focus to the index finger, highlighting the transition from a sheer nude base to a concentrated fade of reflective silver micro-glitter particles. Place small clear rhinestones and tiny micro-pearls along the boundary of the glitter gradient to enhance the starlight effect. Seal around the embellishments with a precision liner brush dipped in top coat.
Tip: Use a wax picker tool or fine-tipped dotting tool to pick up and position micro-rhinestones with high accuracy. - 4Highlight extension length and apex structure
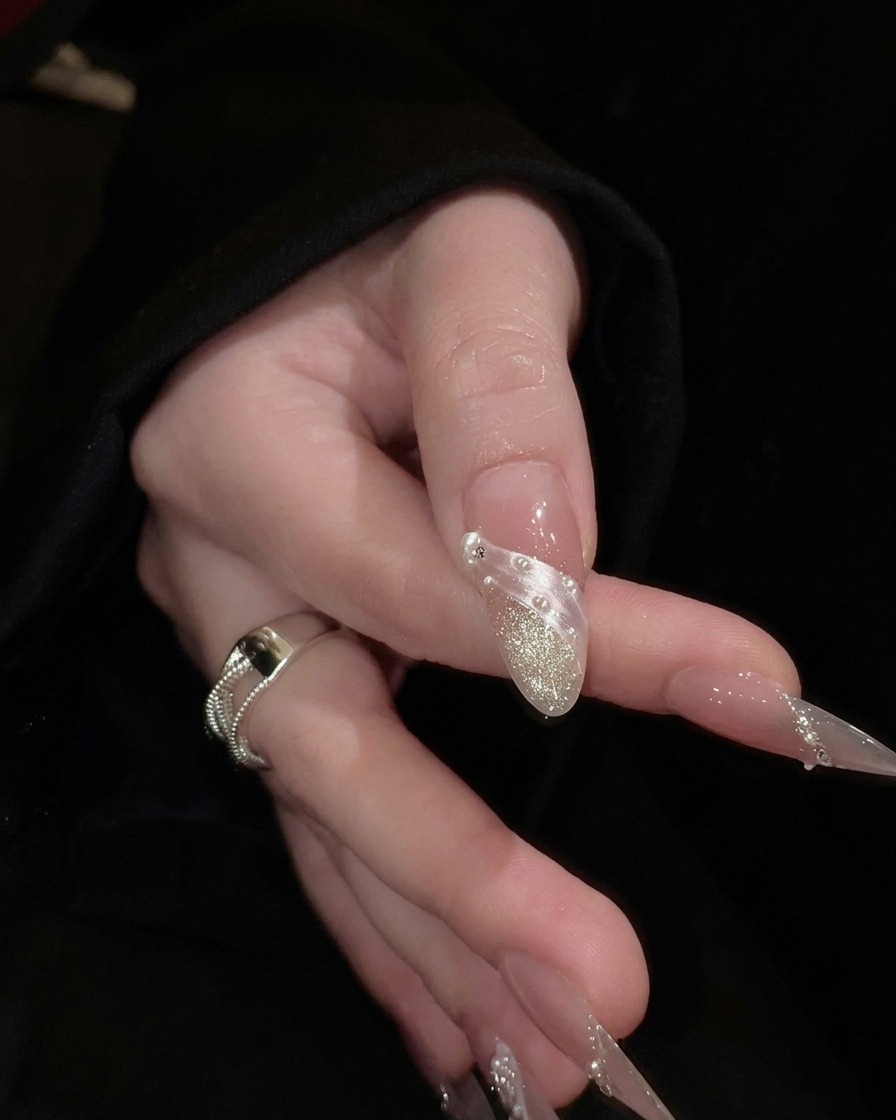
Position the hand in an elegant gesture to showcase the balanced length and well-structured apex of the translucent nude nail extensions. Confirm that the thickness tapers smoothly from the stress point to the free edge while maintaining robust structural integrity. Wipe away any surface dust before applying the final sealant.
Tip: A properly placed apex prevents the long almond extensions from snapping under pressure at the stress zone. - 5Highlight silver micro-glitter and design details
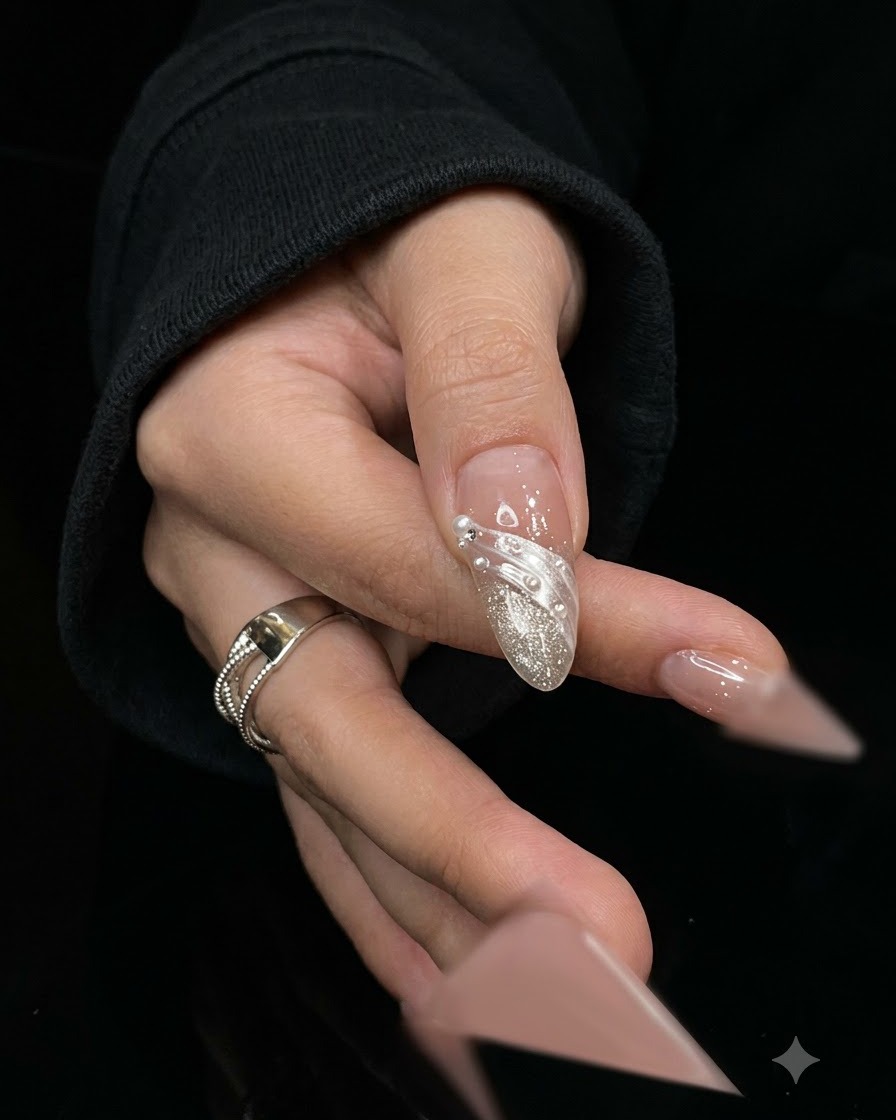
Take a closer look at the intricate silver micro-glitter particles and delicate white swirls meticulously placed on the almond-shaped nail. The interplay between the reflective glitter and the dimensional white art creates a stunning starlight shimmer effect.
Tip: Ensure the glitter layer is fully sealed beneath your top coat to maintain a smooth, glass-like finish without snagging. - 6Display light reflection on the sealed top coat
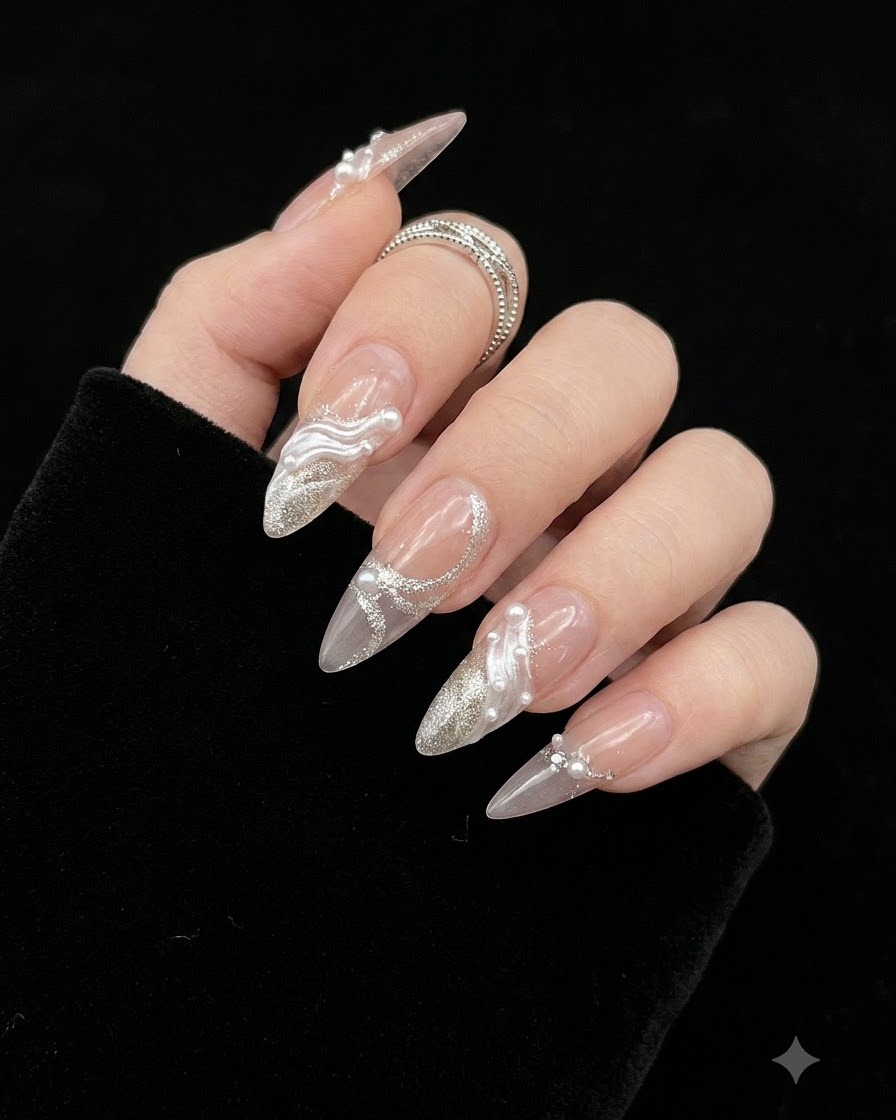
Slightly adjust the angle of your hand to allow light to catch the entire surface of the nails, highlighting the flawless reflection of the glossy sealed top coat layer. A smooth, even reflection indicates proper leveling and sealing.
Tip: If the reflection appears wavy or uneven, apply an additional thin layer of top coat to smooth out minor surface imperfections.


