Nude Pink & Silver Glitter French Manicure — Step-by-Step Tutorial
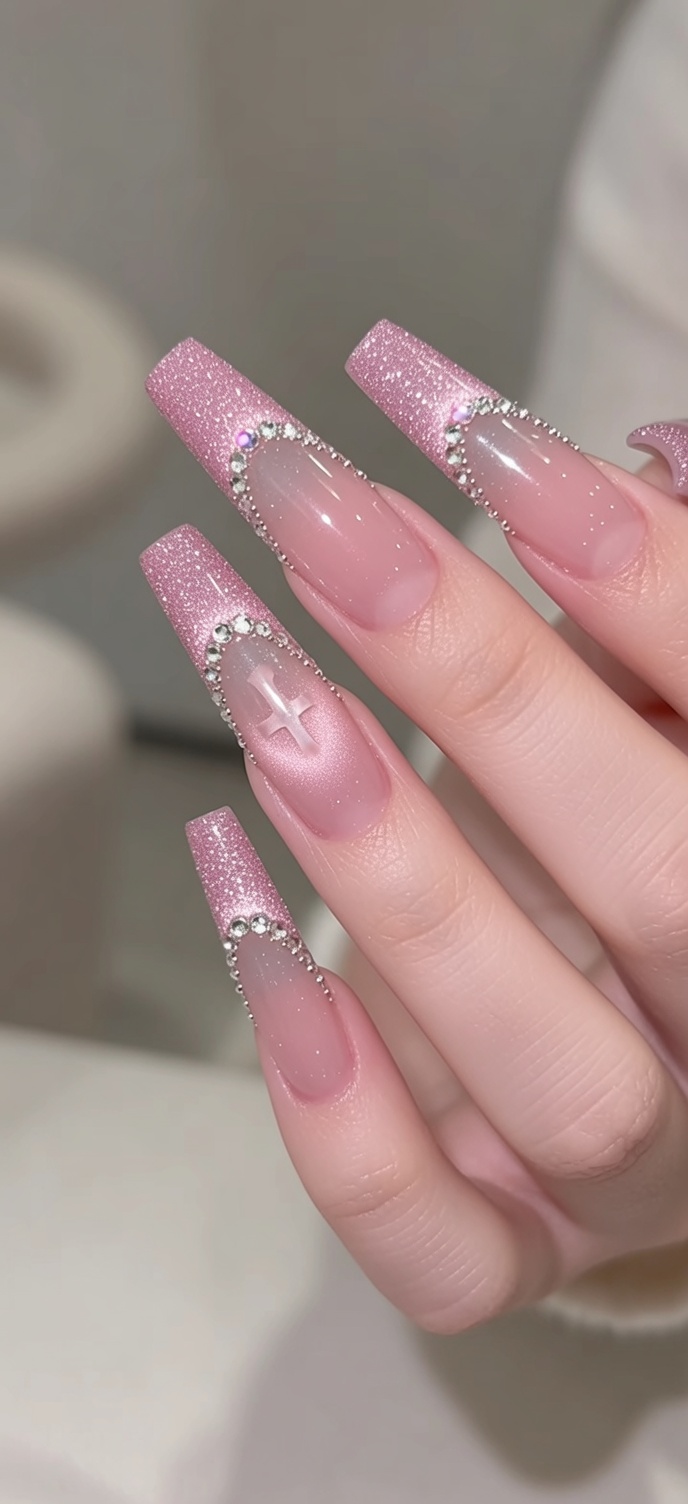
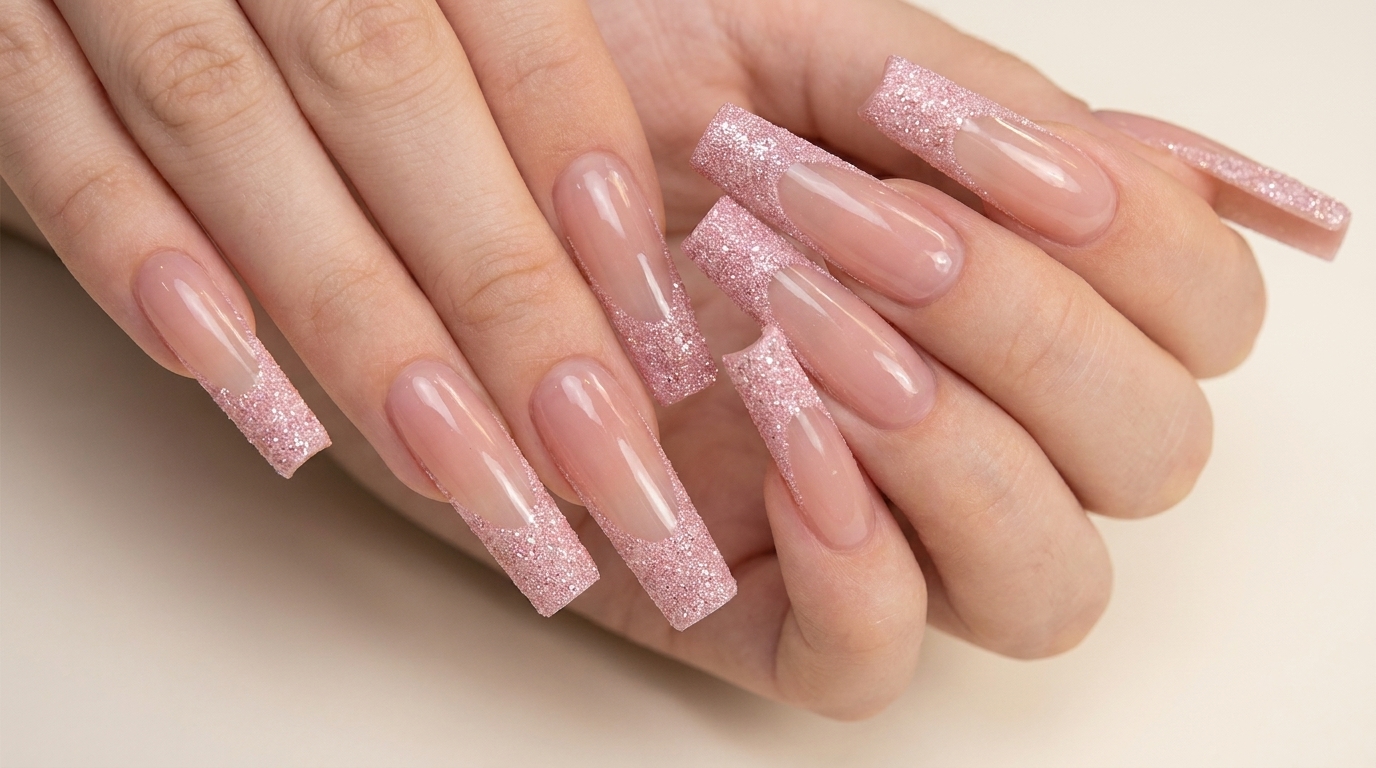
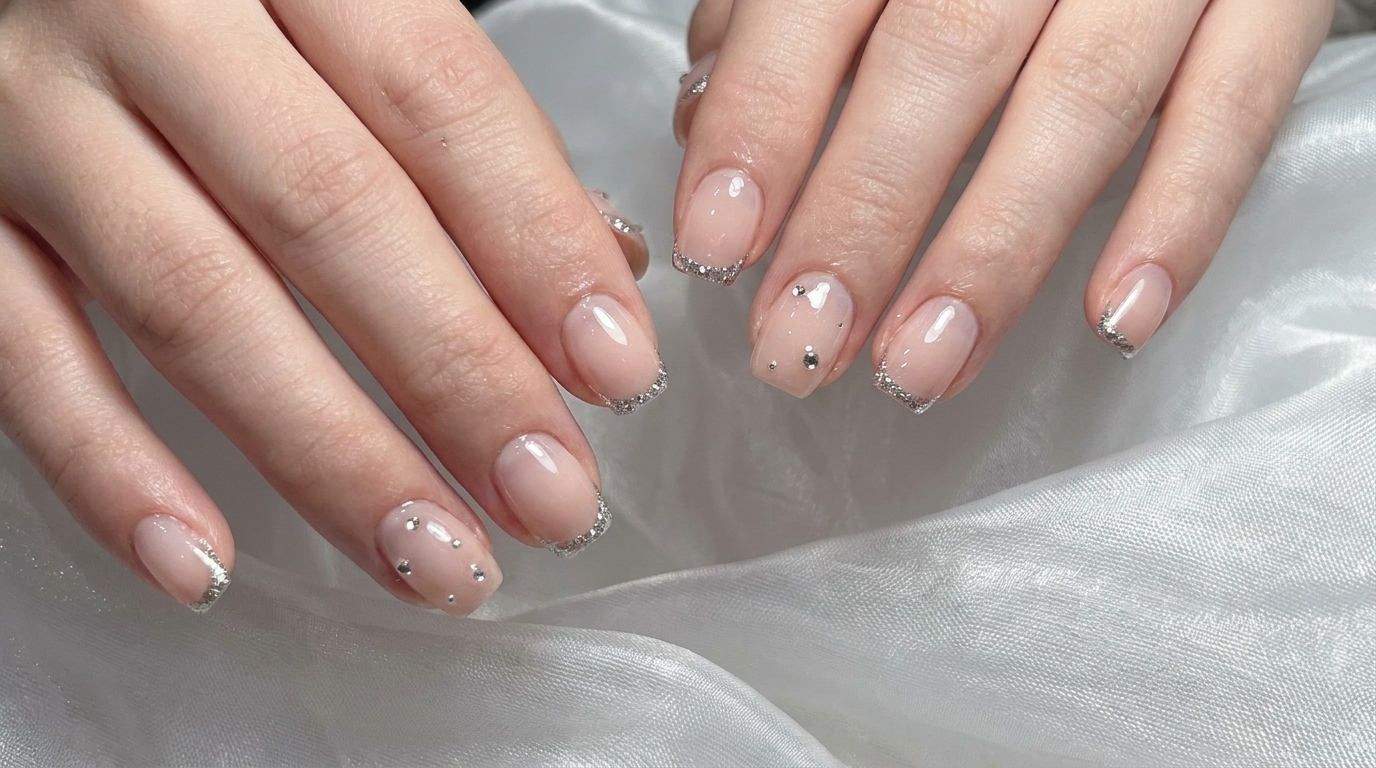
Elevate your classic French manicure with a chic nude pink base, delicate silver glitter tips, and sparkling rhinestone accents.
The French manicure remains a timeless staple, but adding a touch of silver glitter and subtle rhinestones creates a modern, sophisticated twist. This look perfectly balances minimalist elegance with just the right amount of sparkle for any occasion. By focusing on a clean, structured base and precise detailing, you can achieve a professional, salon-quality finish at home.
Steps
- 1Clean the cuticle area
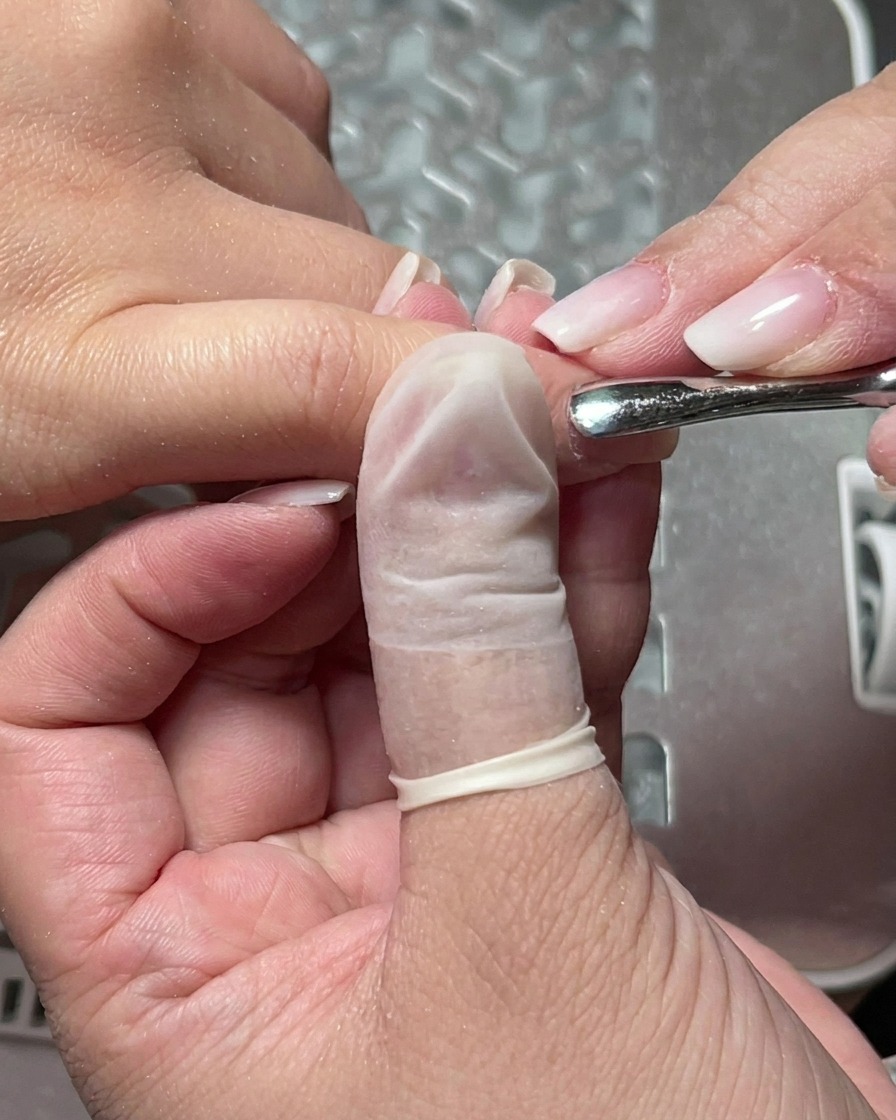
Use an e-file equipped with a pointed diamond bit to carefully lift and clean the skin around the cuticle area. Gently move the bit along the proximal nail fold to remove dead skin cells and ensure a clean, smooth surface for gel application. Keep the handpiece at a light angle and use a low speed to avoid damaging the surrounding live skin.
Tip: Maintain a light touch; the goal is exfoliation, not removing healthy skin. - 2Smooth the proximal nail fold
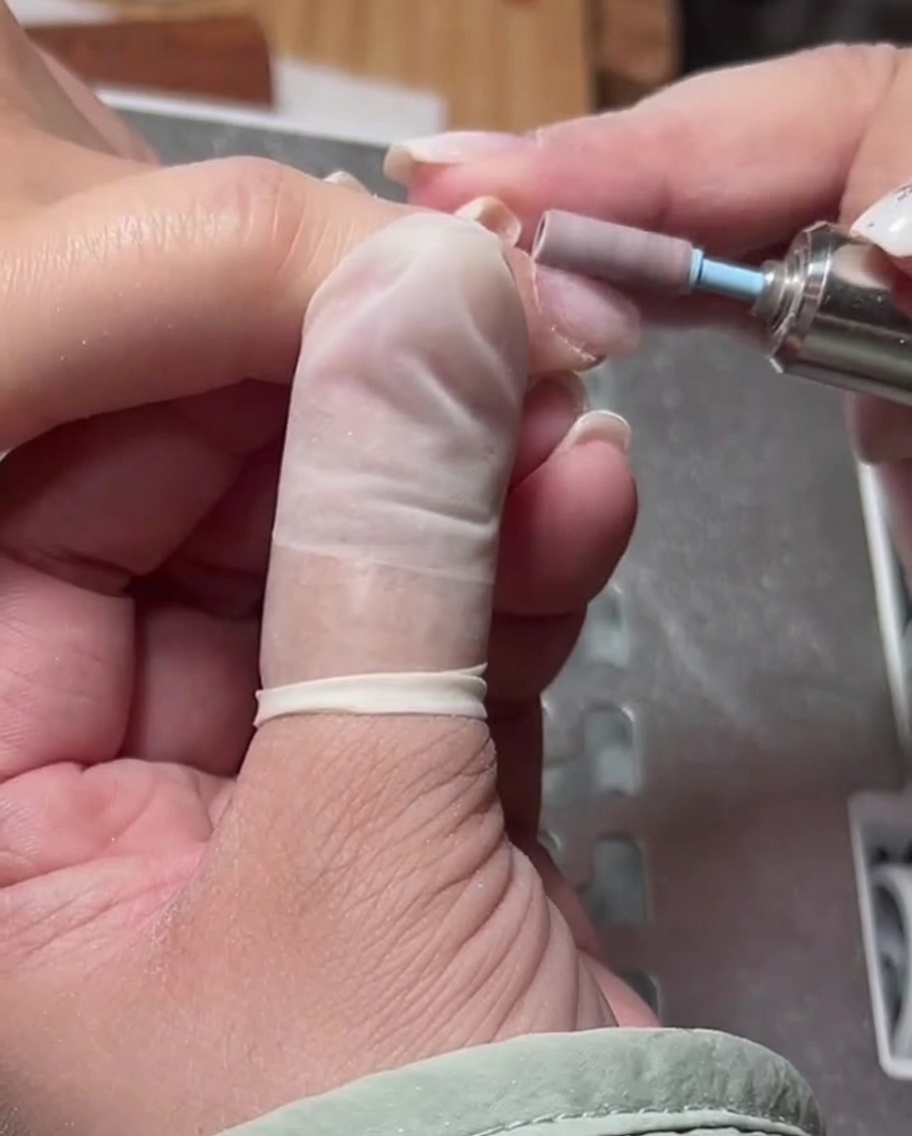
Change your e-file bit to a cylindrical diamond or flame bit to further refine and smooth the skin surrounding the proximal nail fold. This step ensures that the cuticle area is perfectly prepped and free of any remaining tags of skin, creating a professional and clean base for your manicure.
Tip: Using a cylindrical bit helps create a smooth transition between the nail plate and the cuticle area. - 3Trim the cuticles
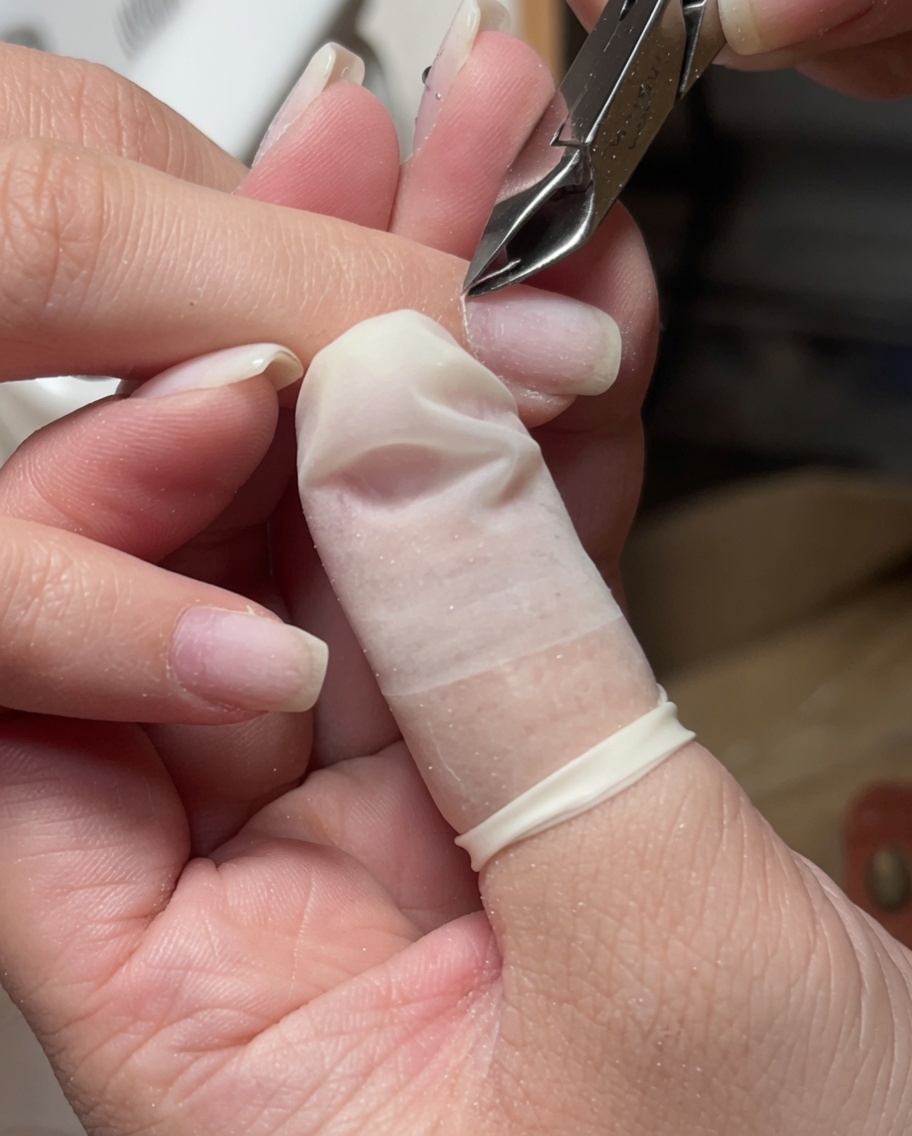
Using sharp, stainless steel cuticle nippers, gently and carefully trim away any dead skin that was lifted during the e-file prep. Place the blades of the nippers against the skin and snip with precision to avoid cutting into live tissue. Work slowly around the nail bed for a clean finish.
Tip: Always ensure your nippers are sanitized before use to prevent any risk of infection. - 4Perform a wet treatment
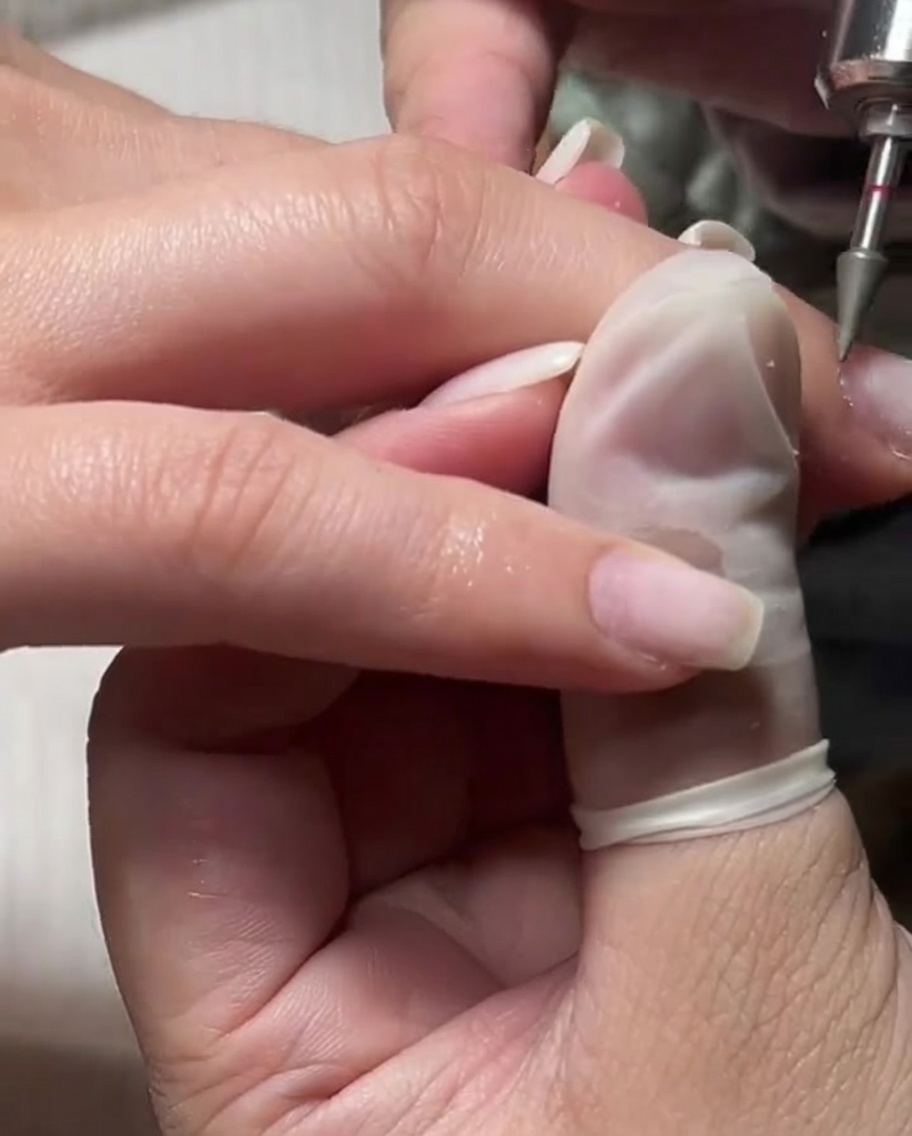
To thoroughly exfoliate and remove any remaining debris, perform a wet treatment. Use a fine-grit e-file bit to gently buff the softened skin around the cuticle while it is damp. This helps to achieve a smooth, refined look and ensures the nail bed is perfectly prepared for product application.
Tip: The wet treatment helps in removing stubborn, hard-to-reach debris without irritating the nail. - 5Clean the nail surface
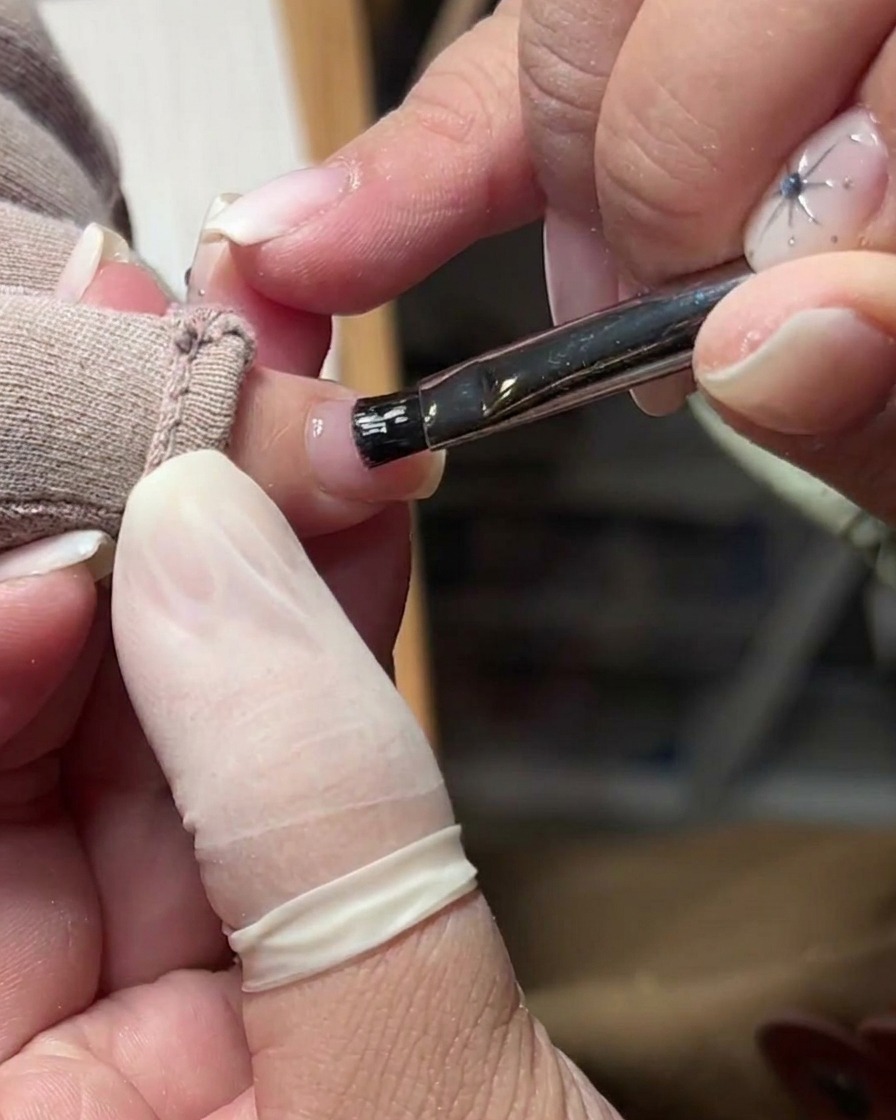
After all the filing and prep work, use a soft nail brush to thoroughly remove any remaining dust and debris from the nail plate. Ensuring the surface is completely clean and free of particles is essential for proper gel adhesion and preventing lifting during the manicure.
Tip: You can also use a lint-free wipe with a little cleanser to ensure every speck of dust is gone. - 6Apply base gel
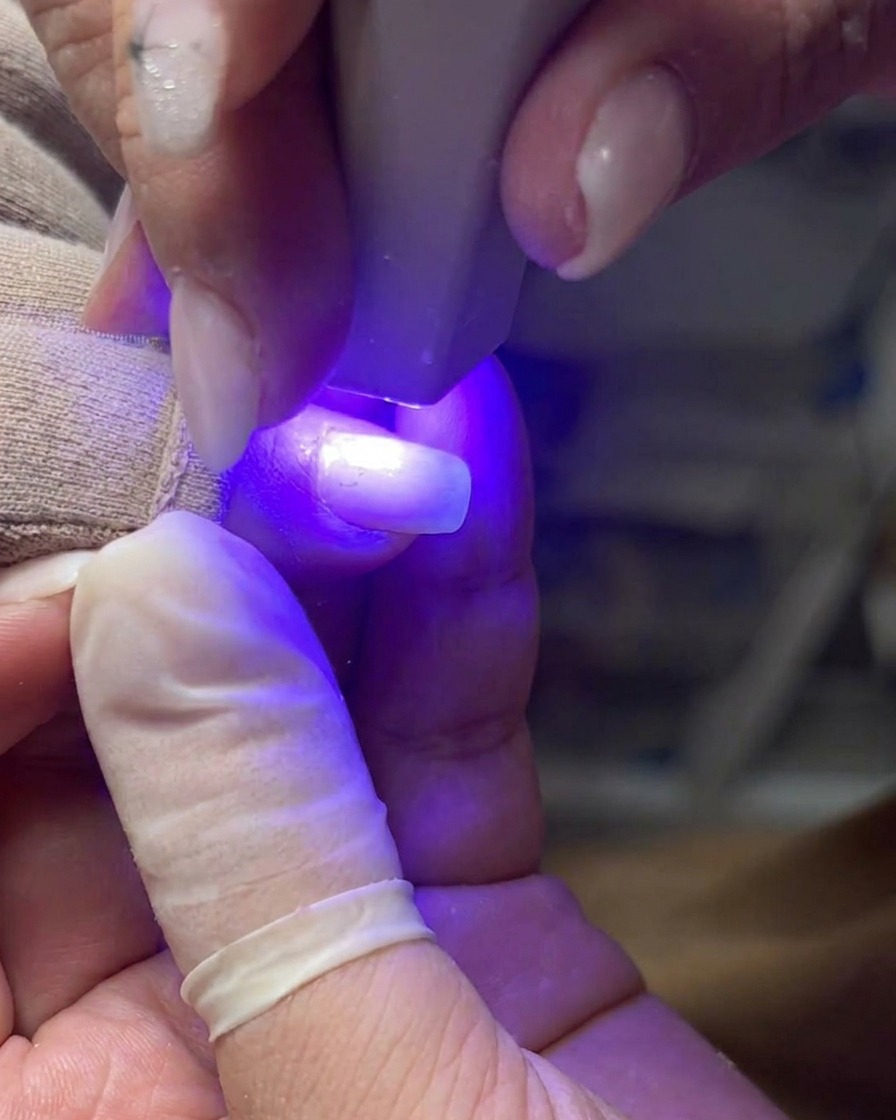
Apply an even, thin layer of clear builder or base gel over the entire nail plate, starting from the center and working toward the sides. Be careful not to let the gel touch the skin or cuticle. Capping the free edge with the gel helps provide extra strength and longevity to your manicure.
Tip: Apply in thin, controlled layers to prevent the gel from pooling or running into the cuticles. - 7Define the cuticle area with clear gel
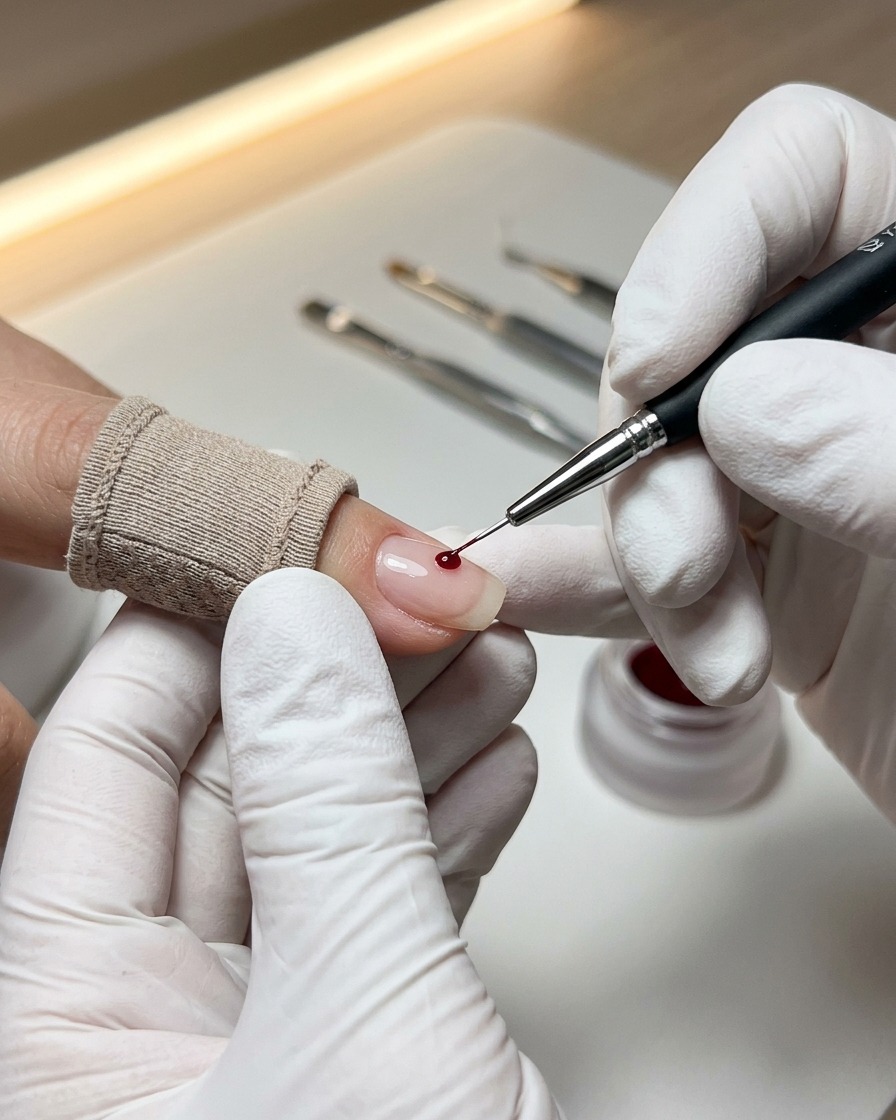
Using a fine liner brush, carefully pick up a small bead of clear builder gel. Gently push the gel towards the cuticle area, ensuring it sits flush against the skin without flooding it. This precise application creates a seamless transition that will allow for a cleaner, longer-lasting grow-out.
Tip: Work in small increments to maintain full control; flooding the cuticles can lead to lifting later. - 8Cure the gel base
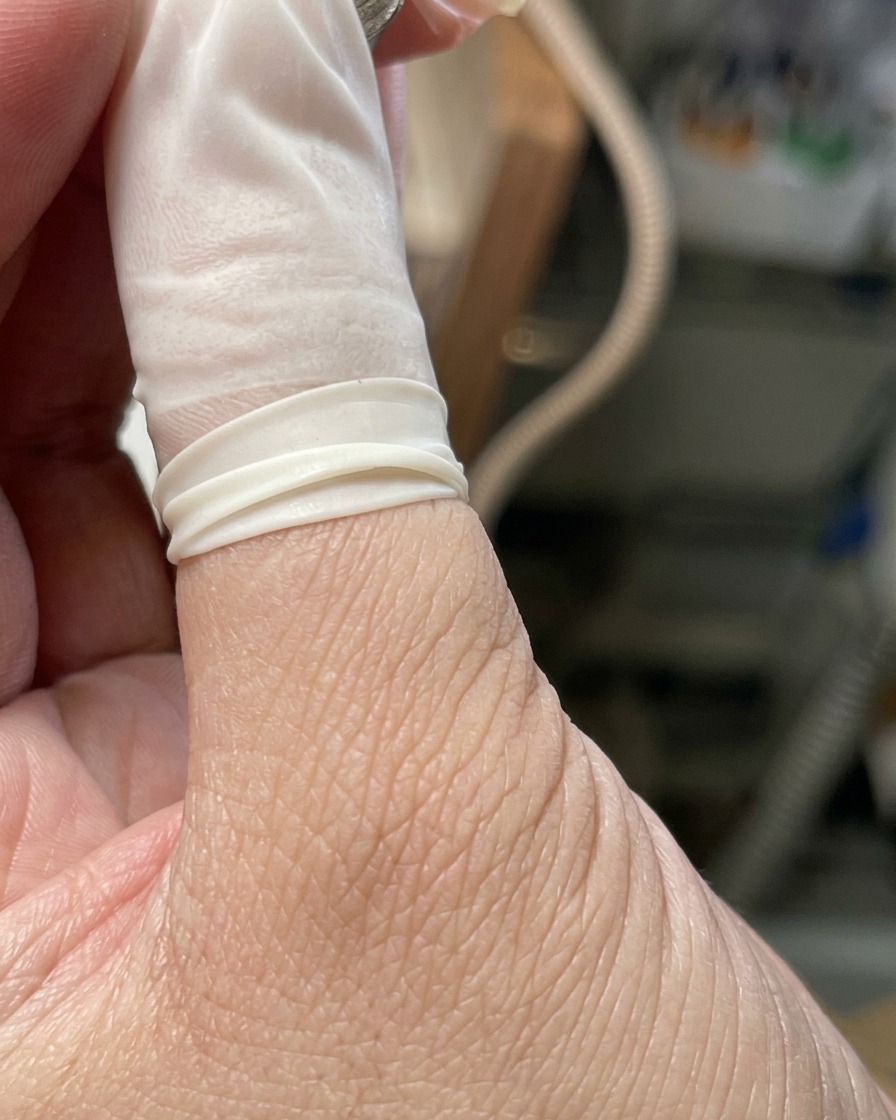
Once the structured base is perfectly shaped, place the hand into your UV/LED lamp. Ensure the fingers are positioned flat and directly under the light source for the manufacturers recommended curing time to ensure complete polymerization.
Tip: Make sure the entire surface of the nail is exposed to the light to prevent soft spots or uncured gel. - 9Refine and shape the gel surface
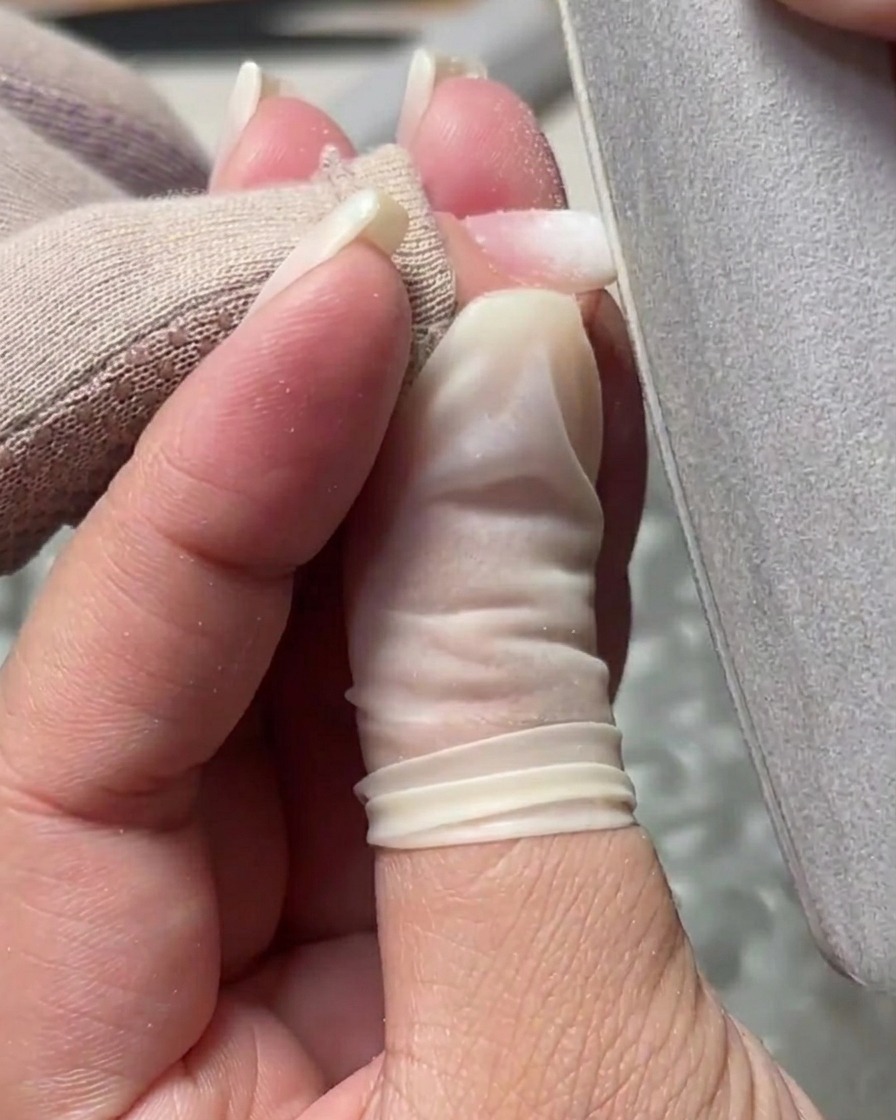
After curing, use a hand file to gently buff the surface of the gel. This step removes any minor bumps or imperfections and sharpens the free edge to achieve a crisp, uniform shape. Keep the file motion consistent to maintain the structure you built.
Tip: Light pressure is all you need here; you are just refining the surface, not removing the entire layer. - 10Apply the base color
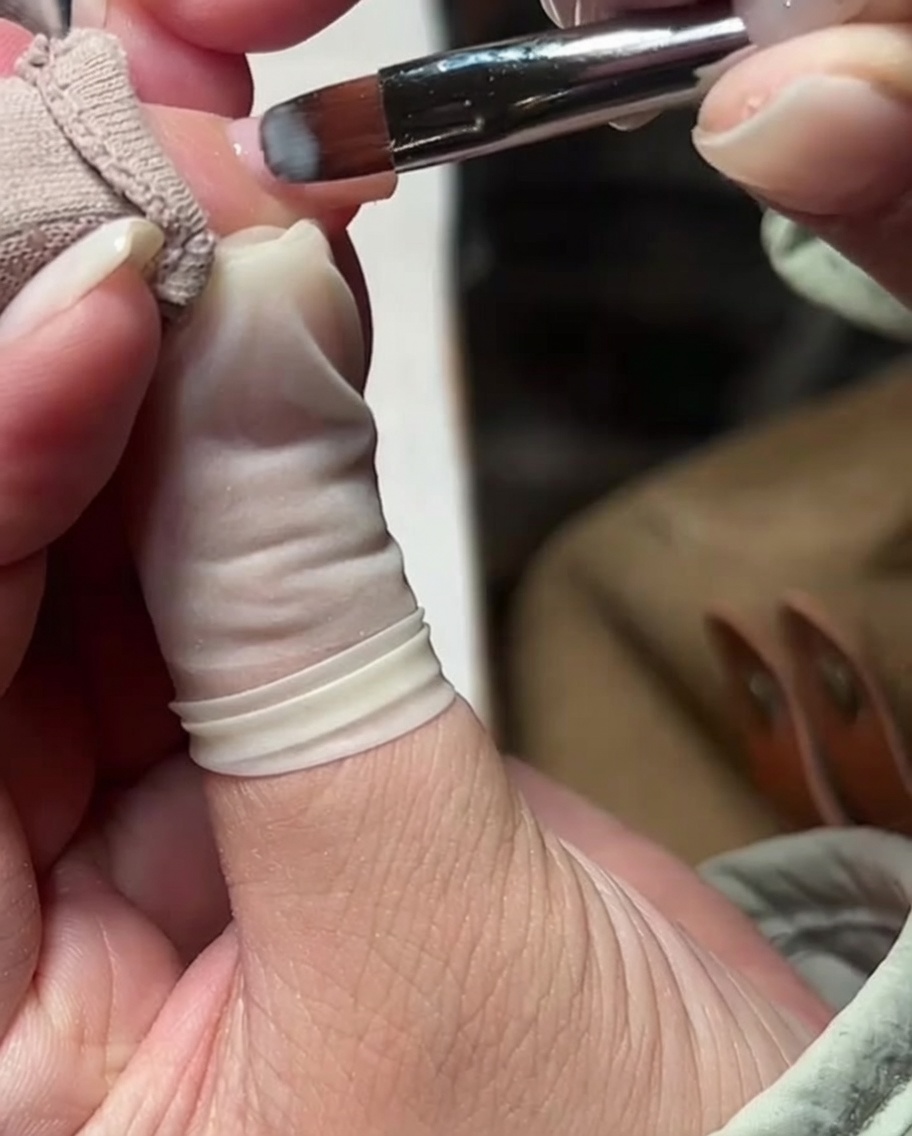
Apply a thin, even layer of milky white or nude pink gel polish over the entire nail. Use smooth, controlled strokes to ensure the color is consistent and free of streaks. This layer acts as the foundation for your French tip design.
Tip: Two thin coats are better than one thick one, as they will cure more thoroughly and look more natural. - 11Paint the French tip
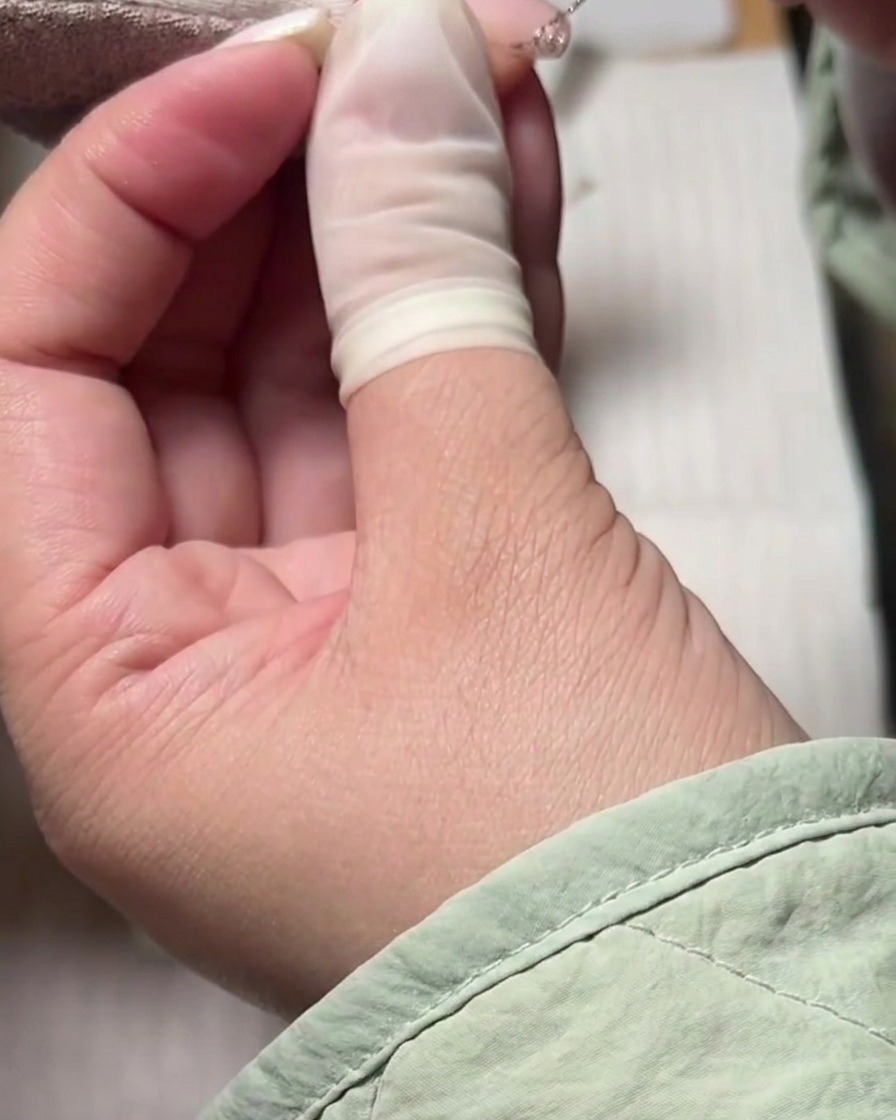
Using a thin liner brush, pick up a small amount of fine silver glitter gel. Slowly paint a delicate smile line across the free edge of the nail to create the French tip. Take your time to ensure both sides of the smile line are symmetrical.
Tip: Rest your pinky finger on the clients hand for stability, which helps you draw a straighter line. - 12Add opal flake accents
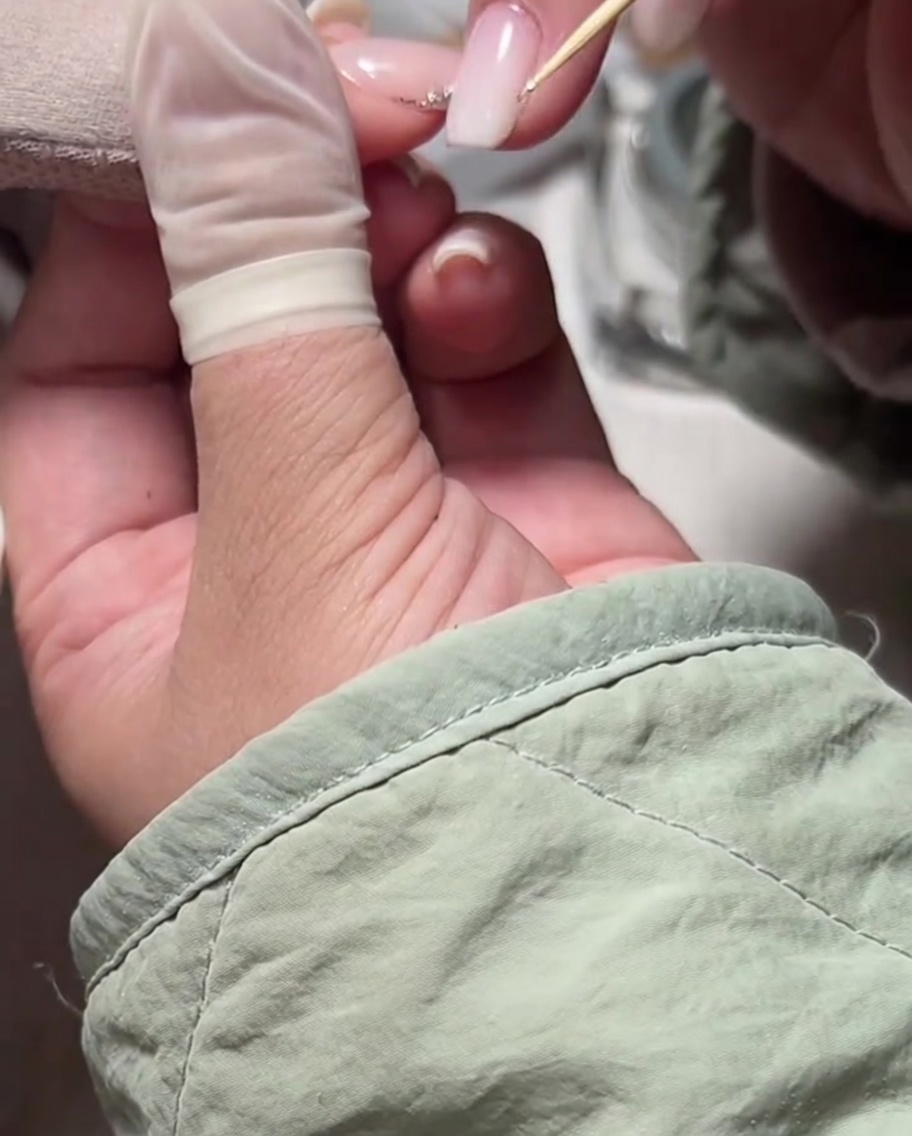
Using a pointed wooden stick, carefully pick up chunky silver opal flakes and place them along the silver French tip line. Press them lightly into the uncured glitter gel to secure them in place, adding extra dimension and a multidimensional sparkle to the design.
Tip: Dont overcrowd the line; placing a few select flakes strategically creates a more elegant, high-end look. - 13Attach rhinestones to the nail
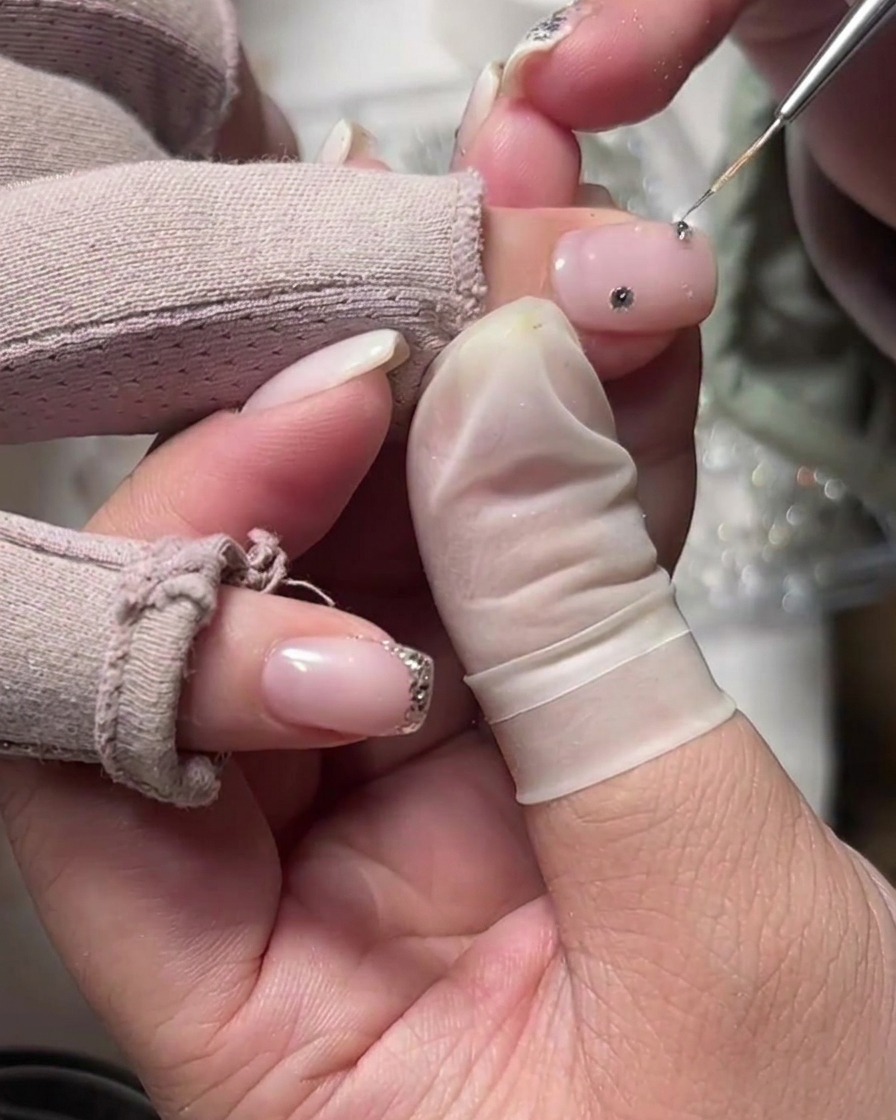
Apply a small amount of clear gem gel or top coat where you want to place the rhinestone. Gently press the rhinestone into the gel and cure it. After curing, apply a small amount of top coat around the edges of the stone to seal it securely to the nail, preventing it from catching or falling off.
Tip: Do not cover the top of the rhinestone with top coat, as it will dull the sparkle; only seal around the perimeter.