Strawberry Blush Cat-Eye Gel Nails — Step-by-Step Tutorial
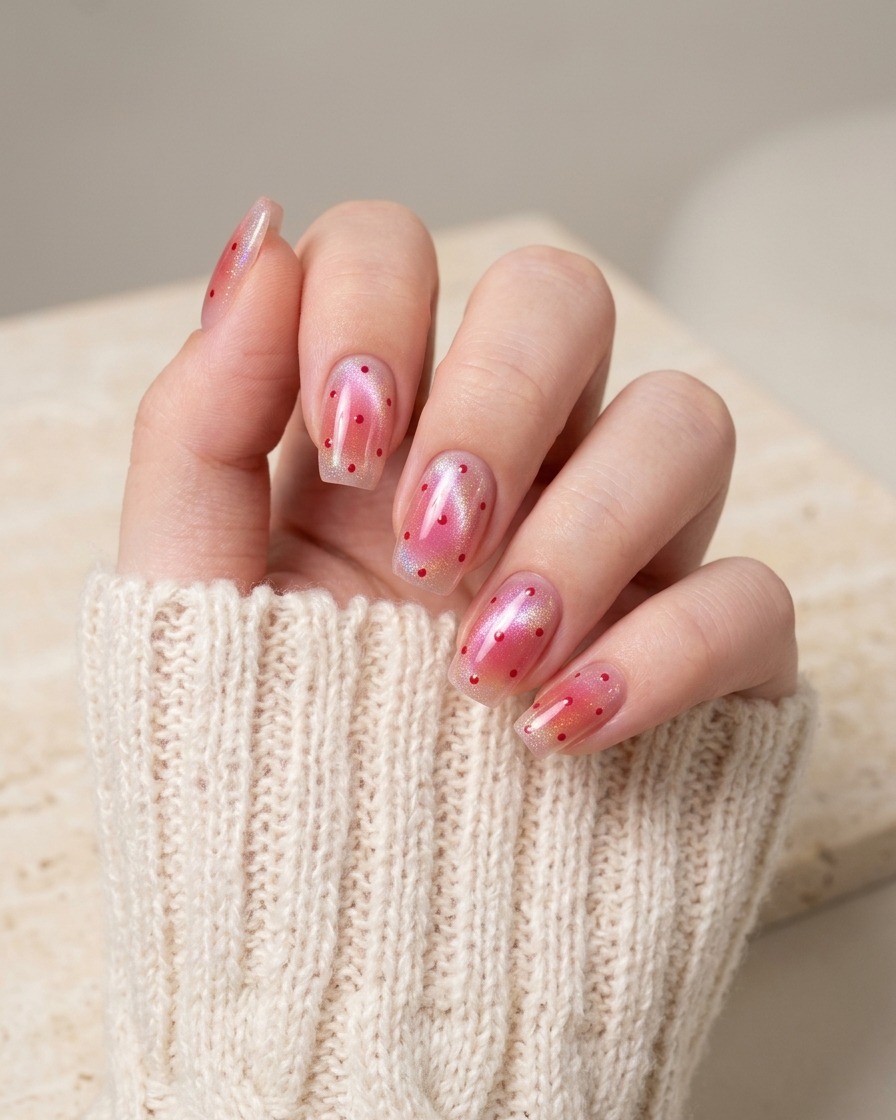
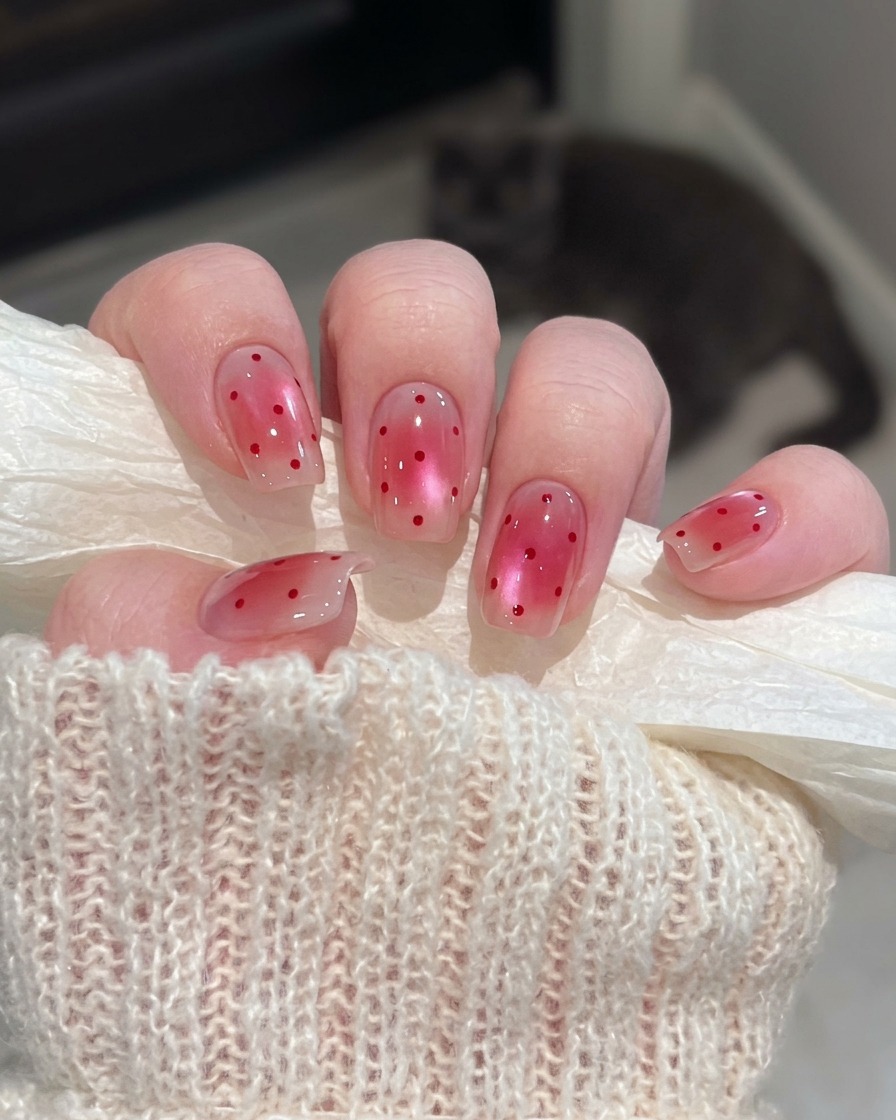
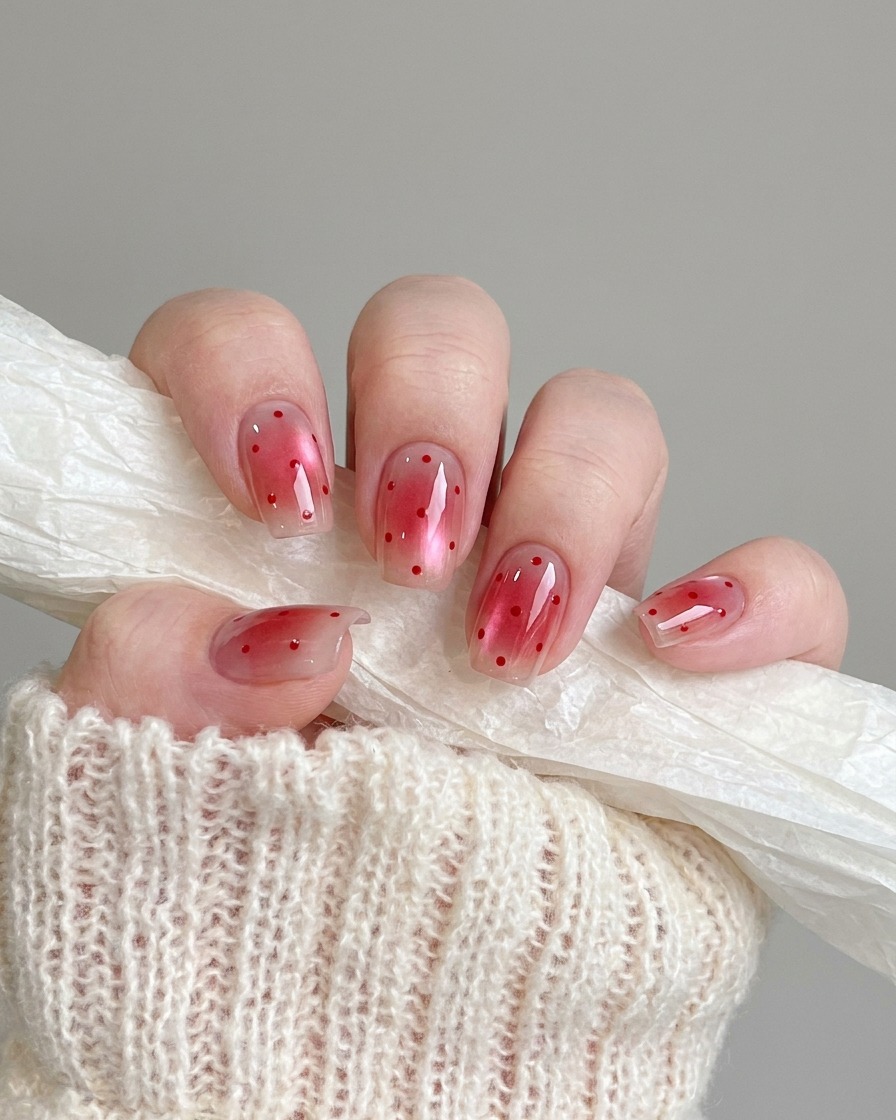
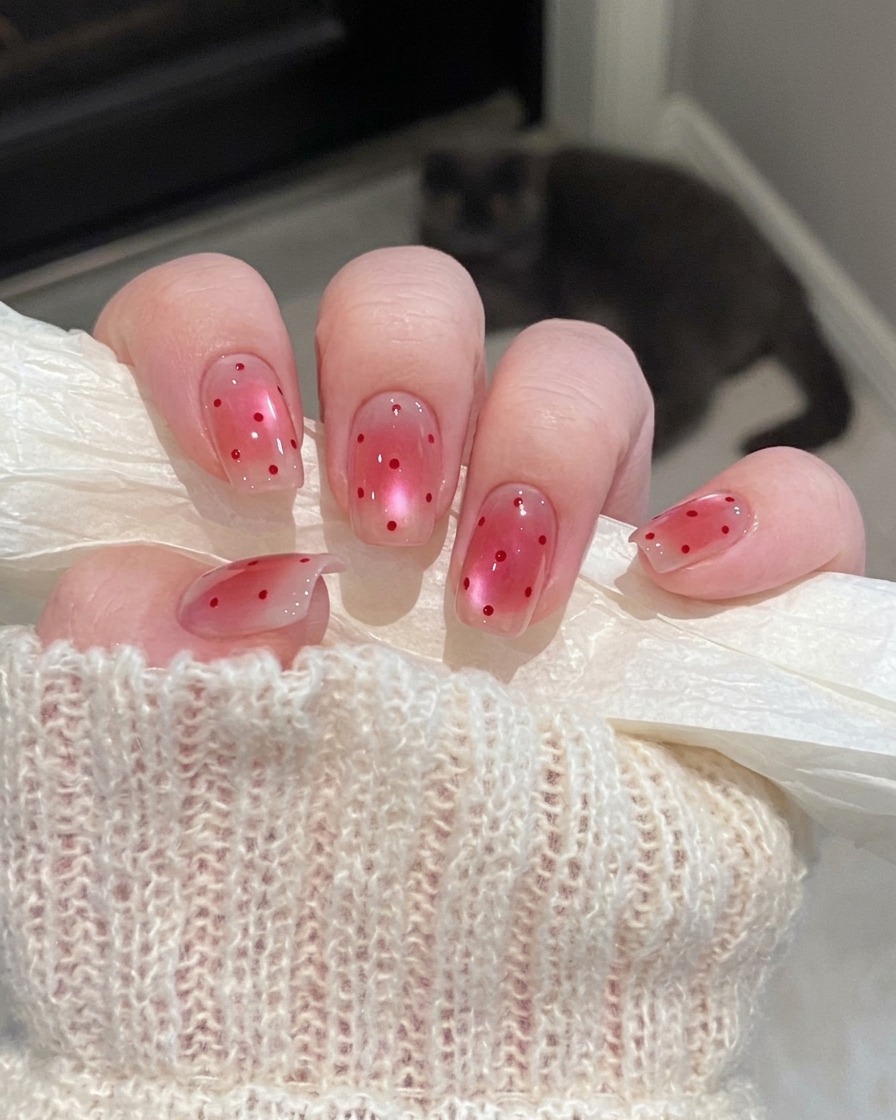
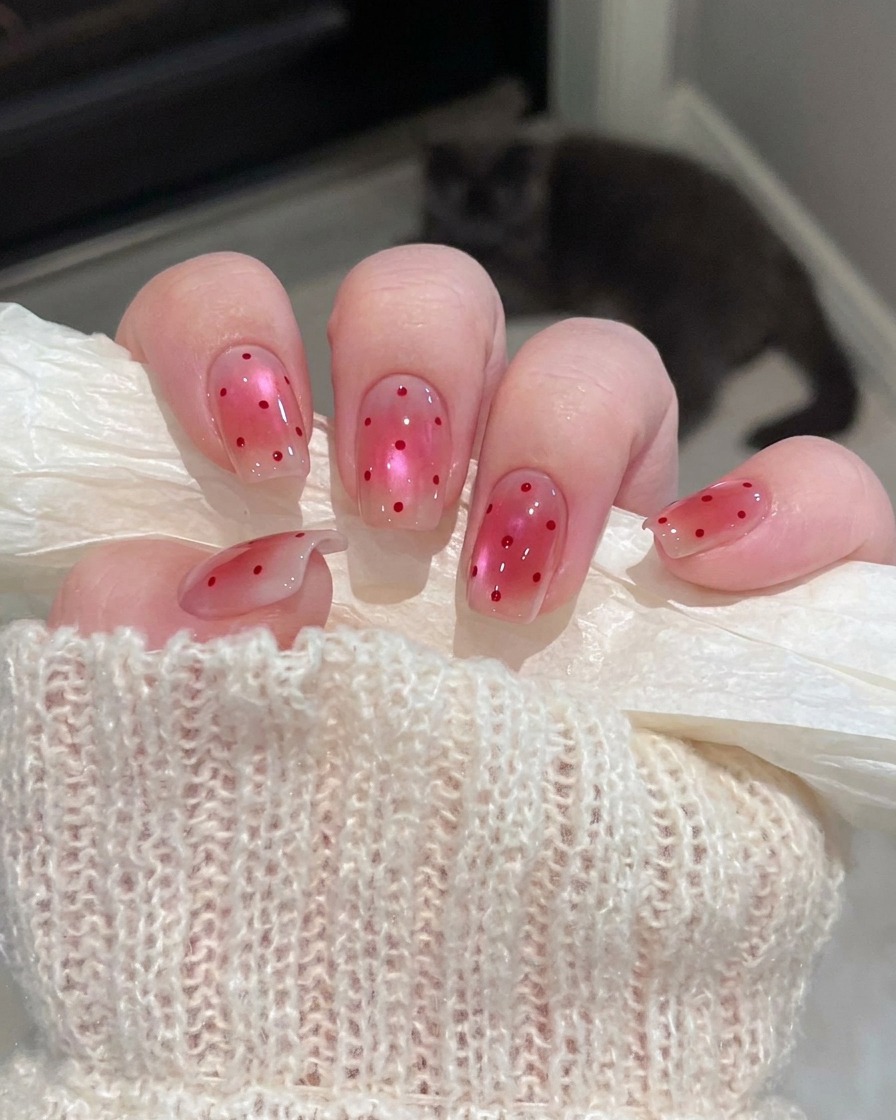
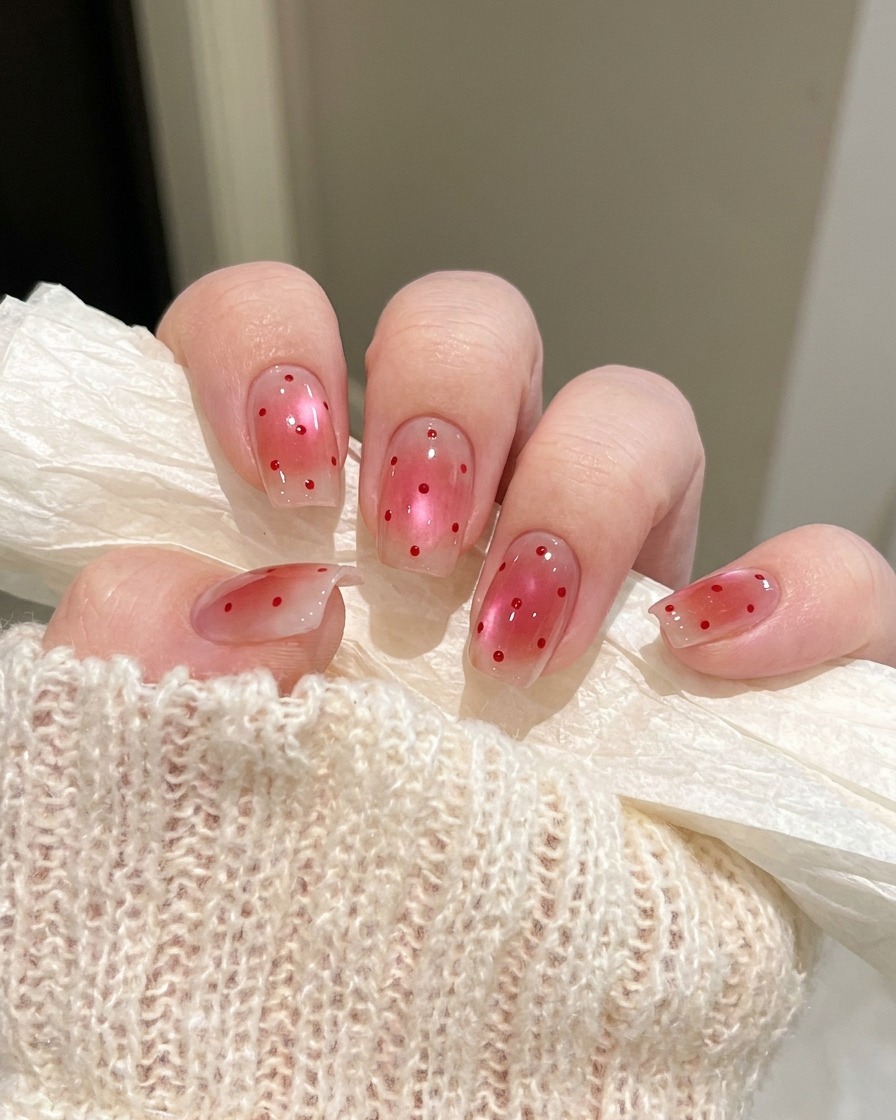
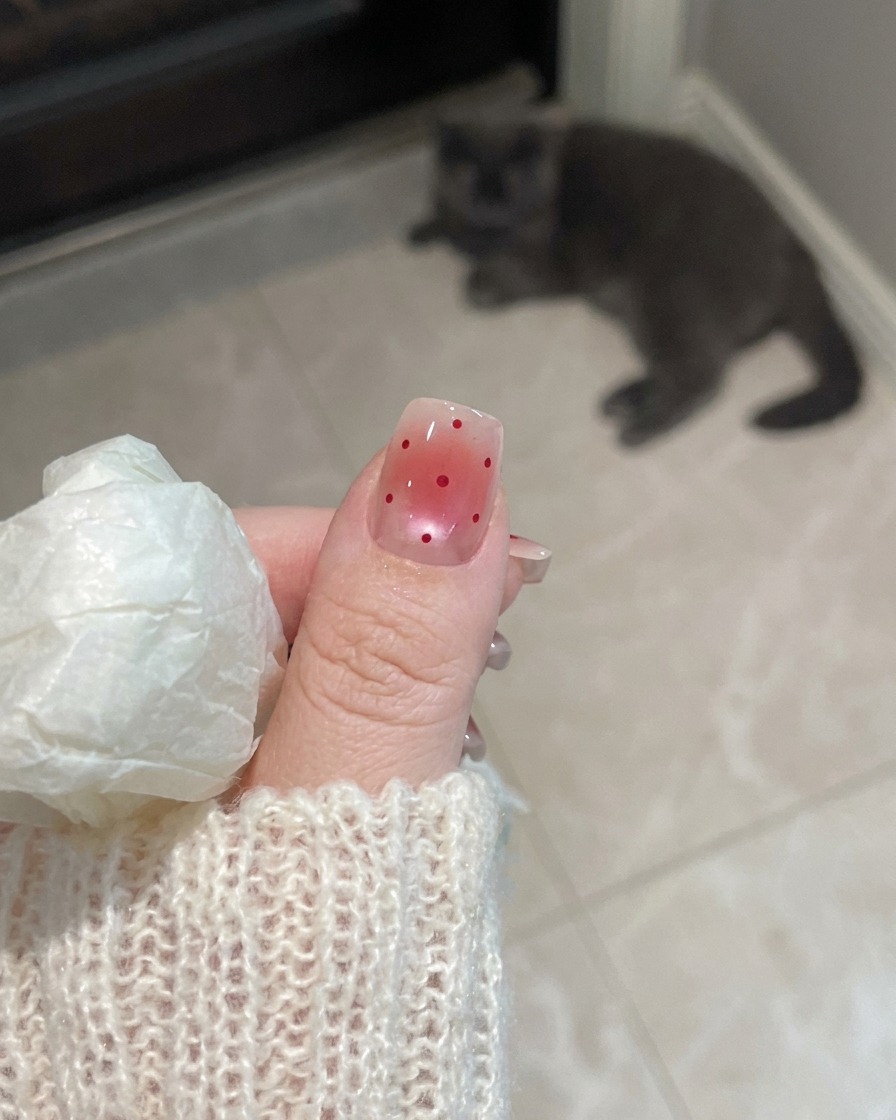
Achieve the trendy strawberry blush look with a shimmering cat-eye base, soft gradient blush, and delicate red polka dot details.
The strawberry blush manicure is a fresh, playful trend that perfectly captures a sweet, early-spring aesthetic. By layering a luminous glass-skin cat-eye base with a diffused red blush center and tiny, precise polka dots, this design offers a unique mix of depth and charm. It is a fantastic way to elevate your everyday gel manicure with a touch of whimsy.
Steps
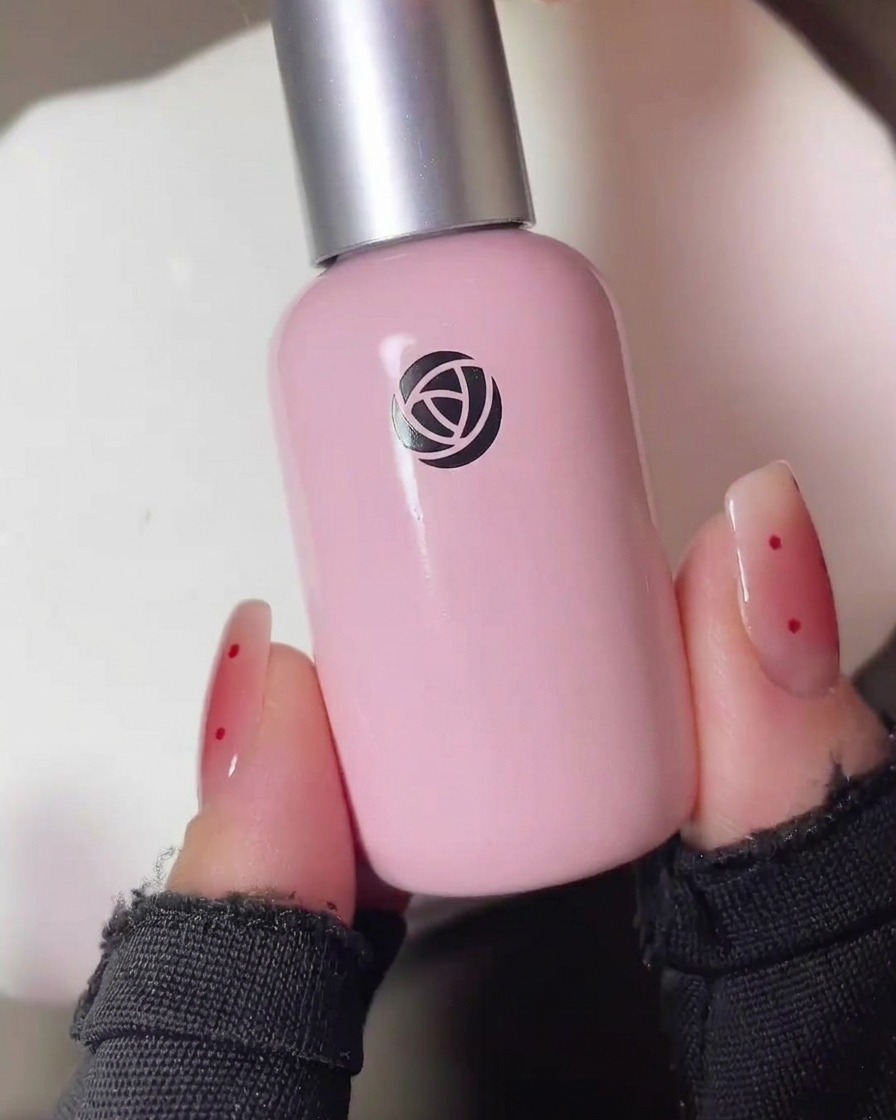
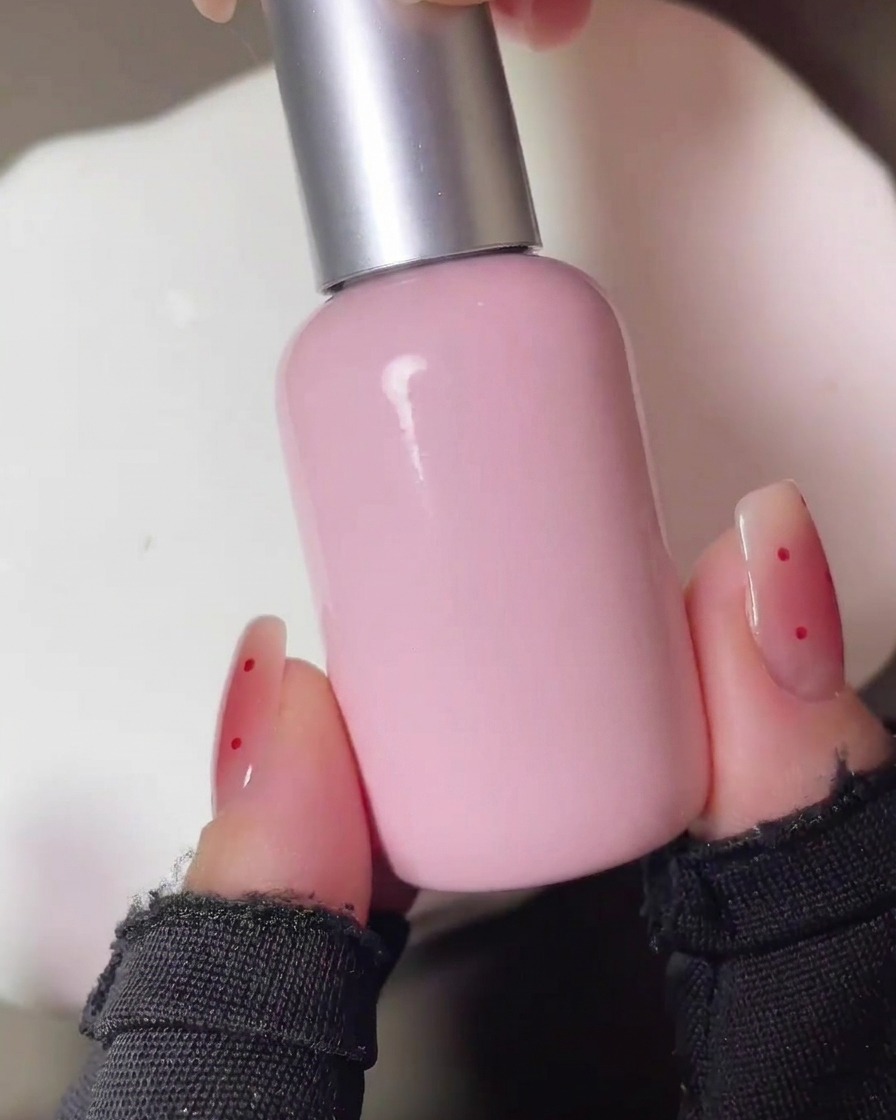
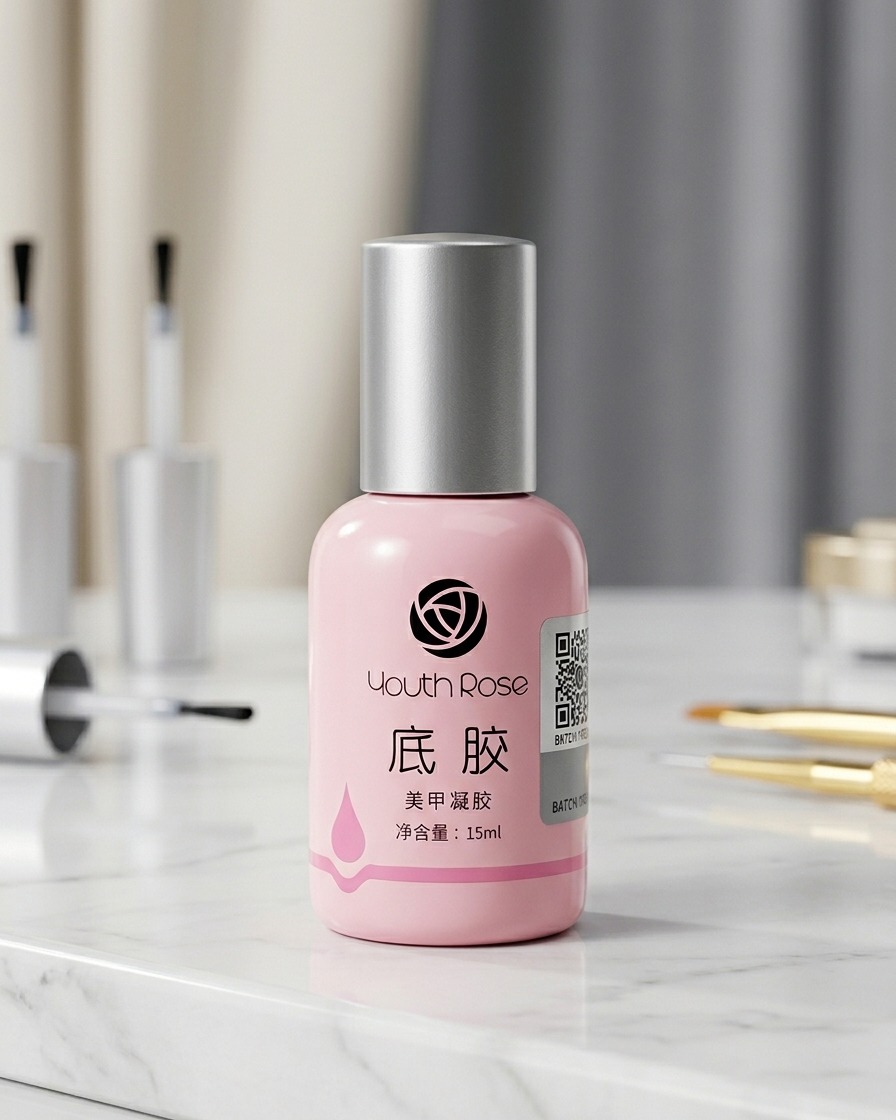
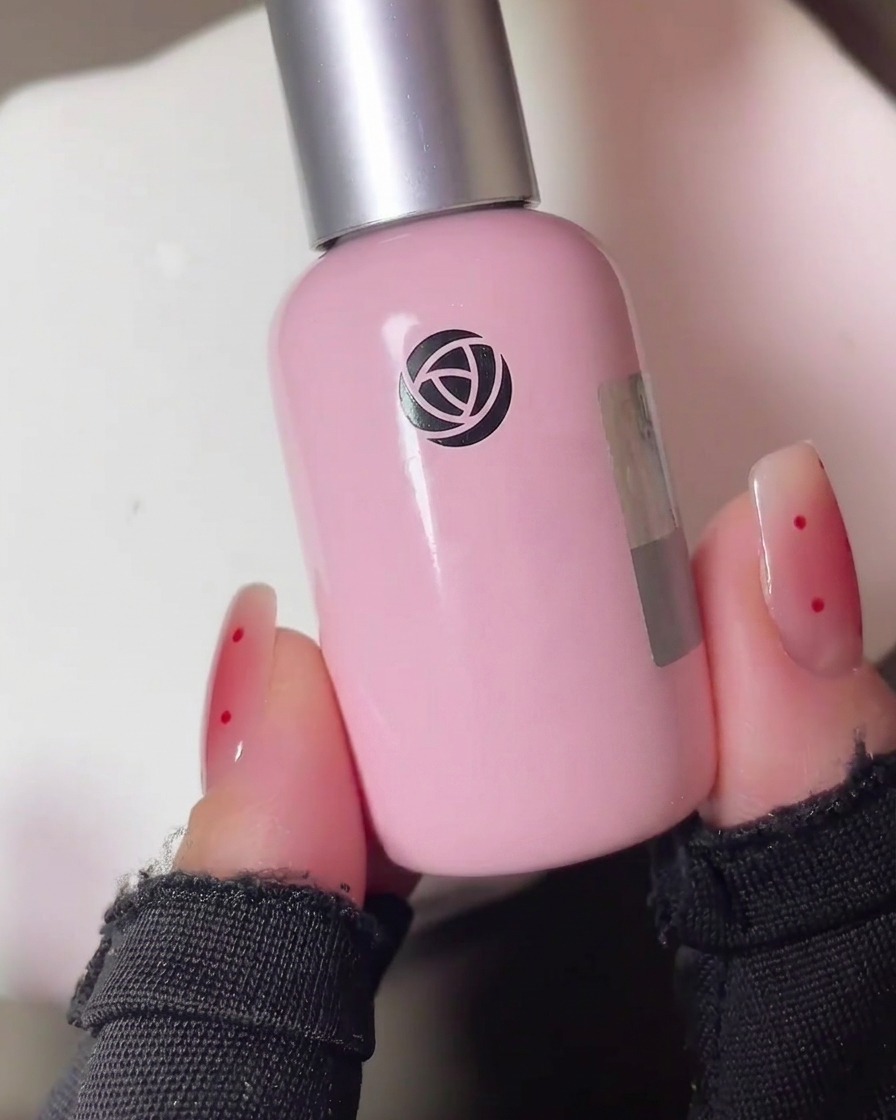
- 1Apply YOUTH ROSE base coat
Apply a thin, even layer of YOUTH ROSE base coat to each nail. Ensure you cap the free edge to prevent lifting and avoid flooding the cuticle area, leaving a tiny gap around the skin.
Tip: Apply in thin layers to ensure proper curing and prevent premature lifting of the product. - 2Cure the base coat
Place your nails under the UV/LED lamp and cure for the time recommended by the product manufacturer to ensure the base coat is fully set.
Tip: Make sure your fingers are positioned correctly inside the lamp for even light exposure. - 3Remove the inhibition layer
Using a lint-free wipe soaked in a nail cleanser or high-percentage isopropyl alcohol, gently wipe the surface of each nail to remove the sticky inhibition layer left after curing.
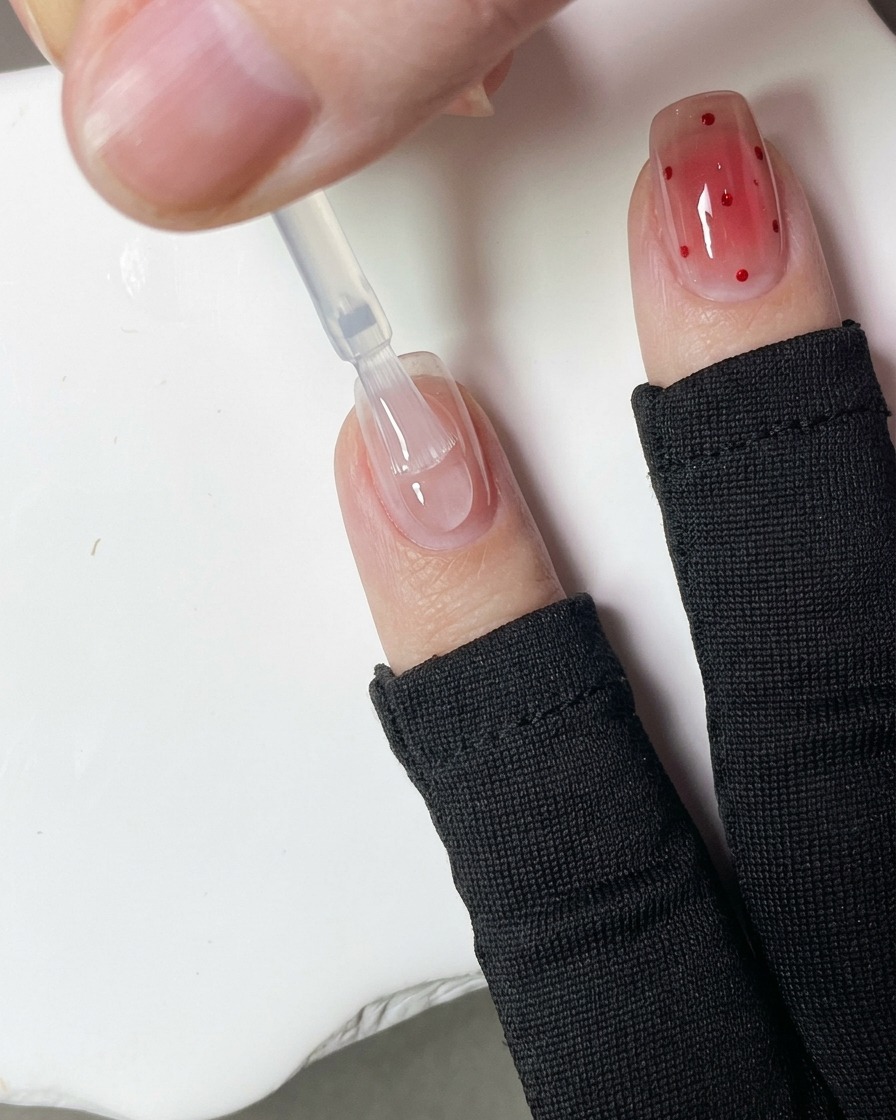
Tip: Use a fresh section of the lint-free wipe for each nail to avoid spreading the sticky residue. - 4Apply concealing gel
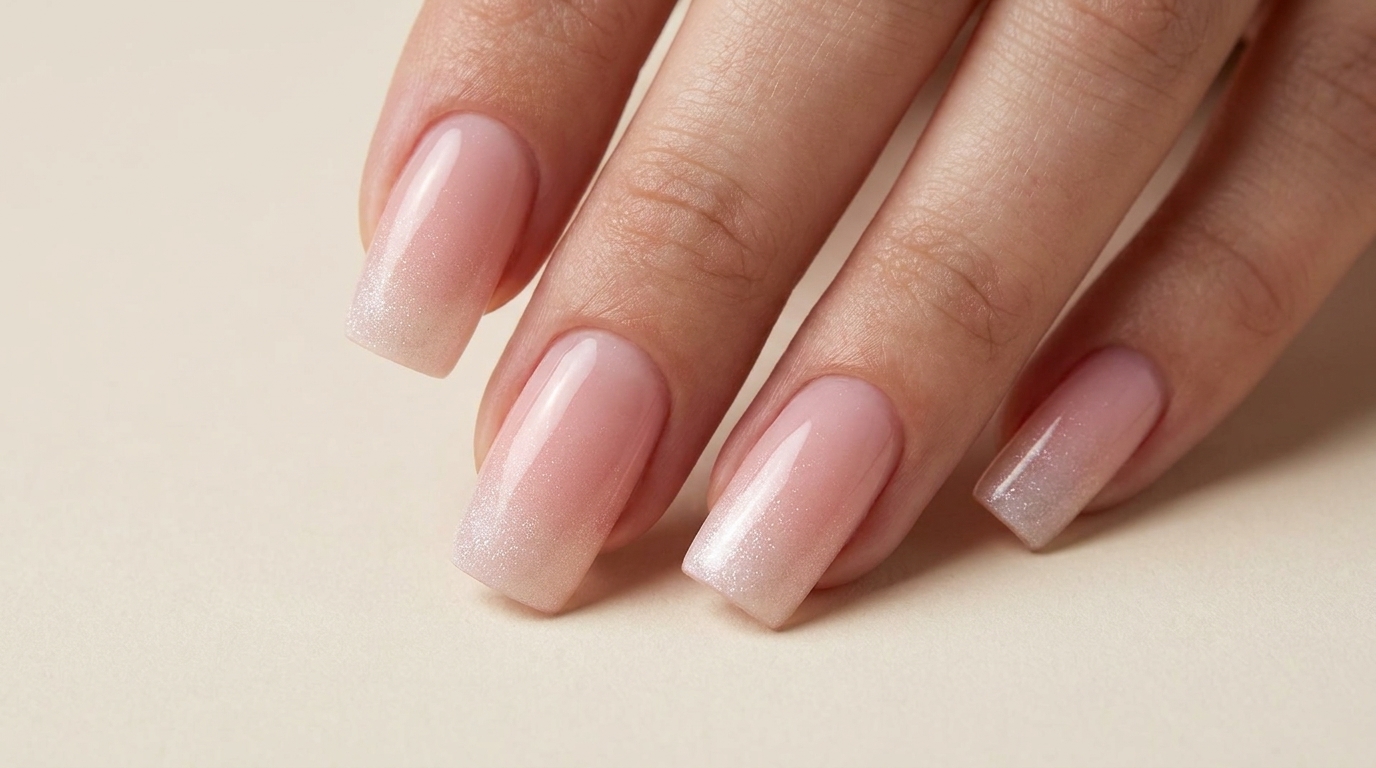
Using a thin liner brush, carefully apply the concealing gel to cover the smile line. Work precisely to create a clean, smooth transition.
Tip: Keep a light touch with the liner brush to maintain control over the gel placement. - 5Cure the concealing layer
Place your nails back into the UV/LED lamp to cure the concealing gel layer completely. This ensures the base for your design is solid.
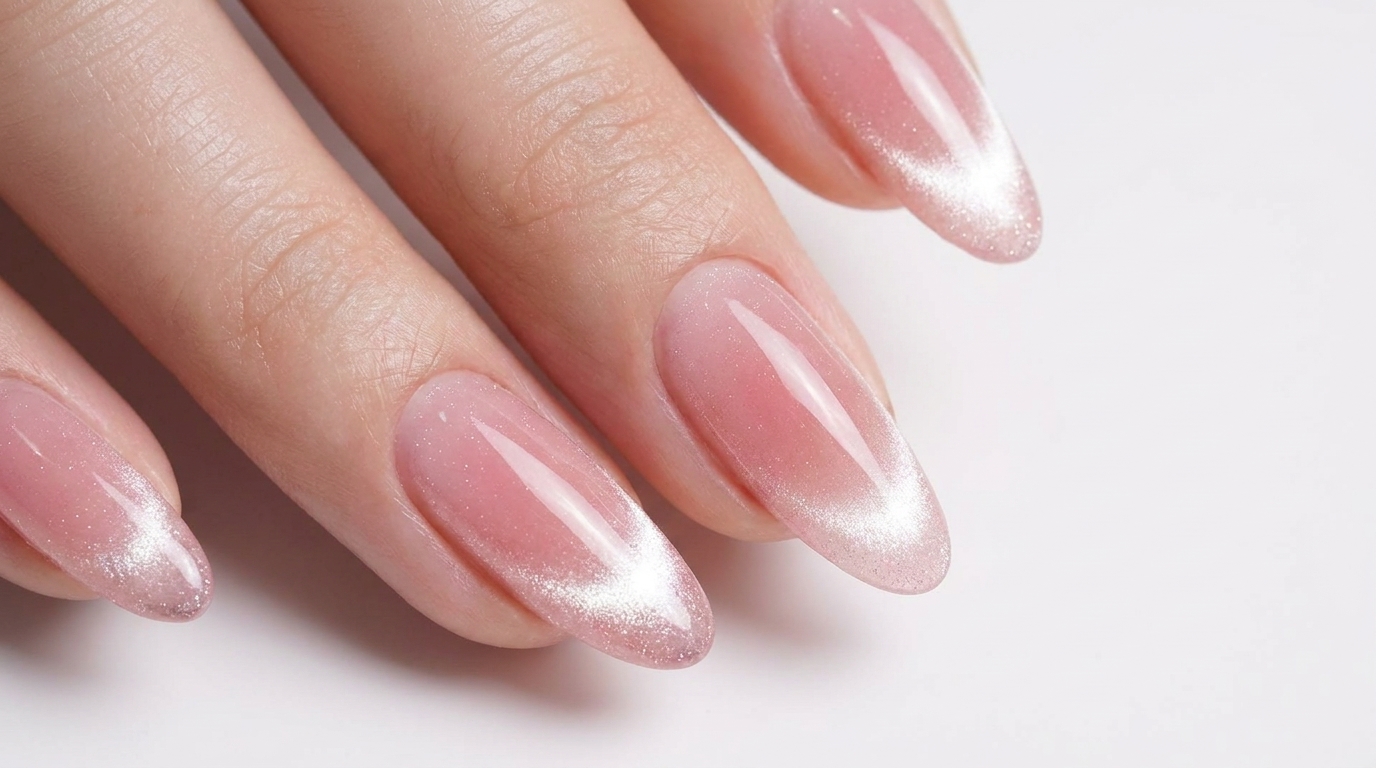
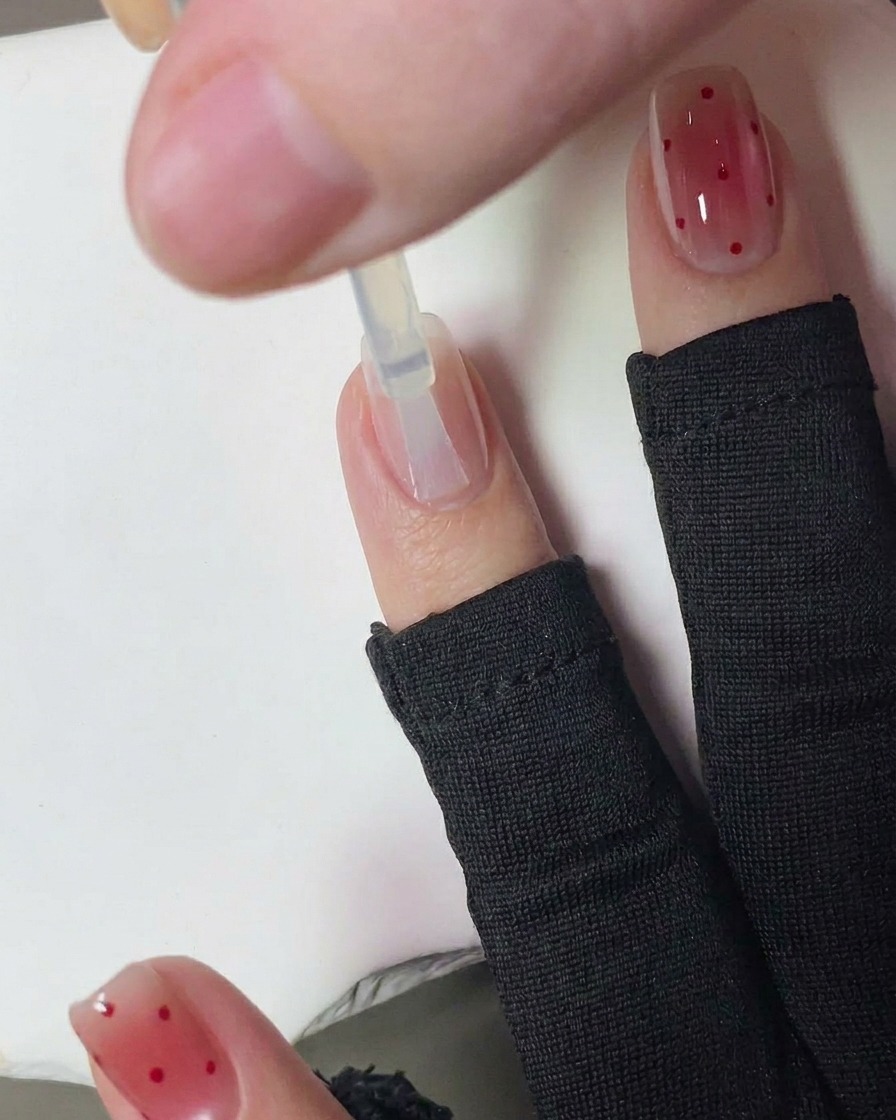
Tip: Ensure the concealing layer is fully cured before moving on to the next color application to prevent smudging. - 6Apply cat-eye gel
Apply a layer of DORYLA M40 glass skin cat-eye gel to the nails. This product provides the shimmering, depth-filled base for the strawberry design.
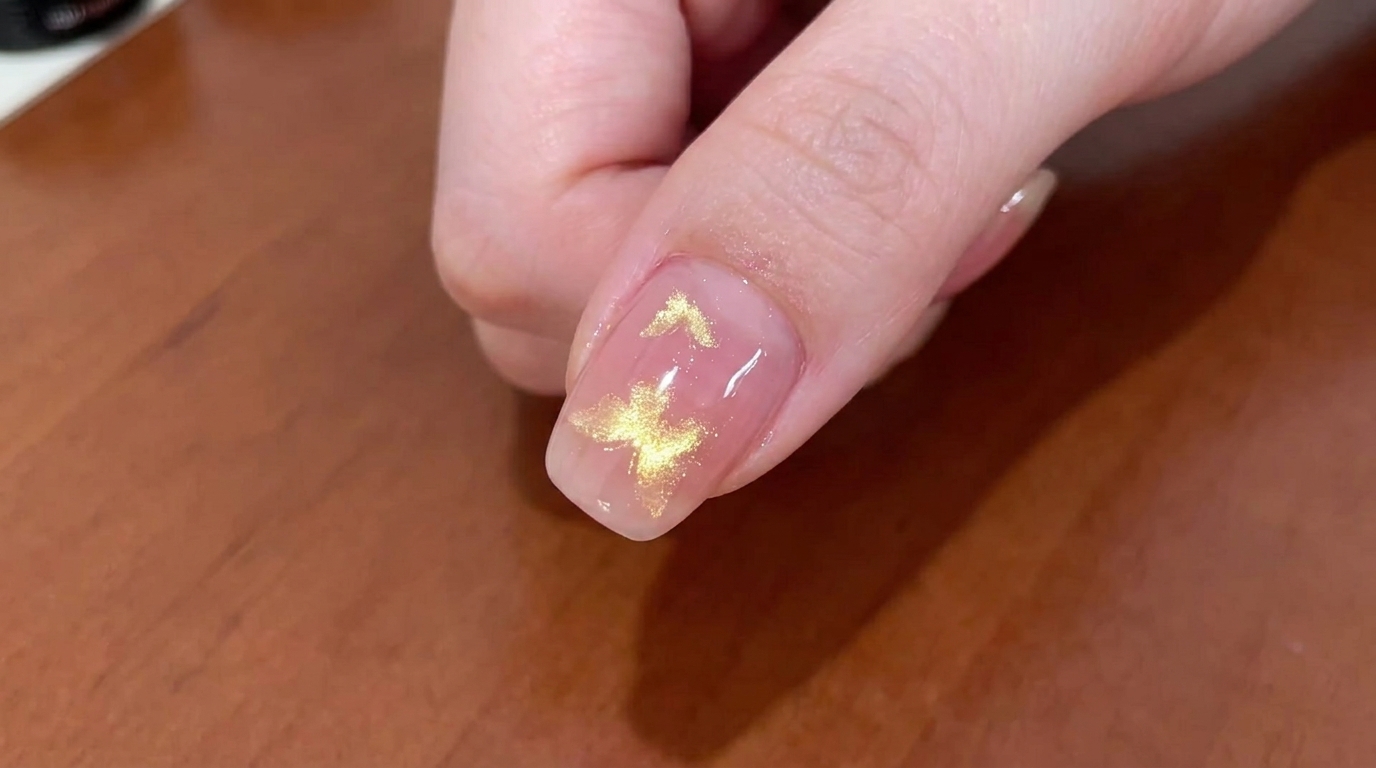
Tip: Apply a smooth, even layer to ensure the cat-eye magnetic effect looks consistent across the whole nail. - 7Create cat-eye effect
Before curing, hold a magnet over the surface of the applied cat-eye gel polish. Hover the magnet at an angle to manipulate the magnetic particles within the gel until you achieve your desired shimmering pattern or line effect. Once the pattern is set to your liking, place the nail under the UV lamp to cure and lock the design in place.
Tip: For a sharper cat-eye line, hold the magnet closer to the nail without touching the wet gel, and maintain a steady hand while the particles shift. - 8Cure the cat-eye gel
Place your hand inside the UV/LED lamp to fully cure the cat-eye gel polish. Ensure your fingers are positioned flat to allow the light to reach all areas of the nail surface evenly. Follow the recommended cure time for the specific gel product you are using to ensure proper hardening.
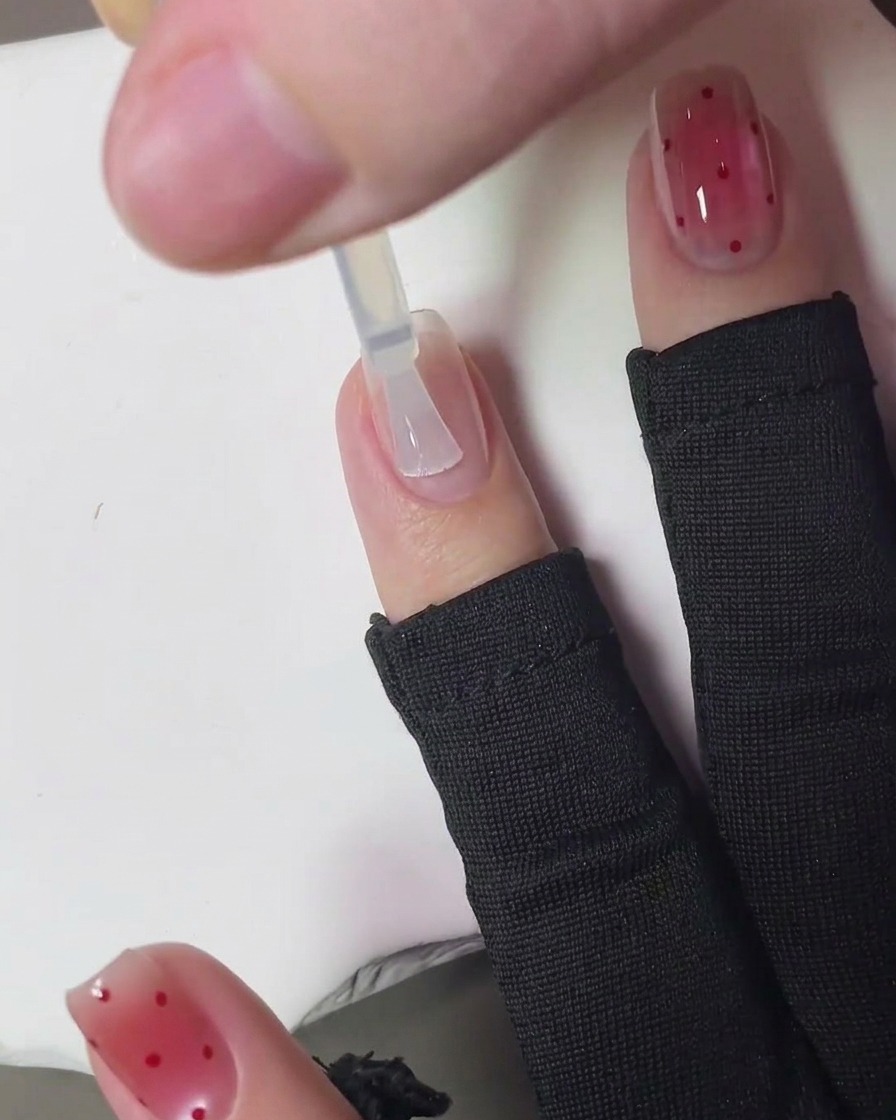
Tip: Check that no fingers are shaded by others inside the lamp, as this can lead to uneven curing or tacky spots. - 9Apply matte top coat
Apply an even layer of matte top coat over the cured nail surface. Make sure to cover the entire nail, including the free edge, to provide a consistent matte finish. This step is essential to prepare the nail texture for the subsequent blush application.
Tip: Apply the matte top coat smoothly to avoid streaks, as the matte finish will highlight any uneven application. - 10Cure matte top coat
Cure the layer of matte top coat under your UV or LED lamp. Verify that the entire surface is completely cured and dry to the touch, creating a perfect base for the blush color application.
Tip: Proper curing of the matte top coat is crucial to ensure the blush color adheres well and doesnt lift. - 11Apply first blush layer
Using a small brush, apply a small amount of KANIU blush gel to the center of the nail to create the base of the blush effect. Dab the color gently to achieve a soft, diffused look, concentrating the pigment in the center and fading it toward the edges.
Tip: Use very little product on your brush to keep the blush effect sheer and buildable, preventing harsh lines. - 12Cure blush layer
Place the nail under the UV/LED lamp to cure the first patch of blush red gel. This step locks in the initial layer of color, allowing you to add more layers if needed to intensify the blush effect.
Tip: Curing between layers helps maintain the soft gradient and prevents the colors from blending too much and becoming muddy. - 13Apply second blush gel layer
Apply another thin layer of the KANIU blush gel onto the center of the nail to intensify the color. Dab it lightly to maintain a soft, diffused gradient effect before curing.
Tip: Keep the blush gel concentrated in the center of the nail to maintain the natural gradient look. - 14Cure the blush gel
Place the nails under your UV or LED lamp to cure the second layer of blush gel. Ensure the hands are positioned correctly inside the lamp for a full, even cure.
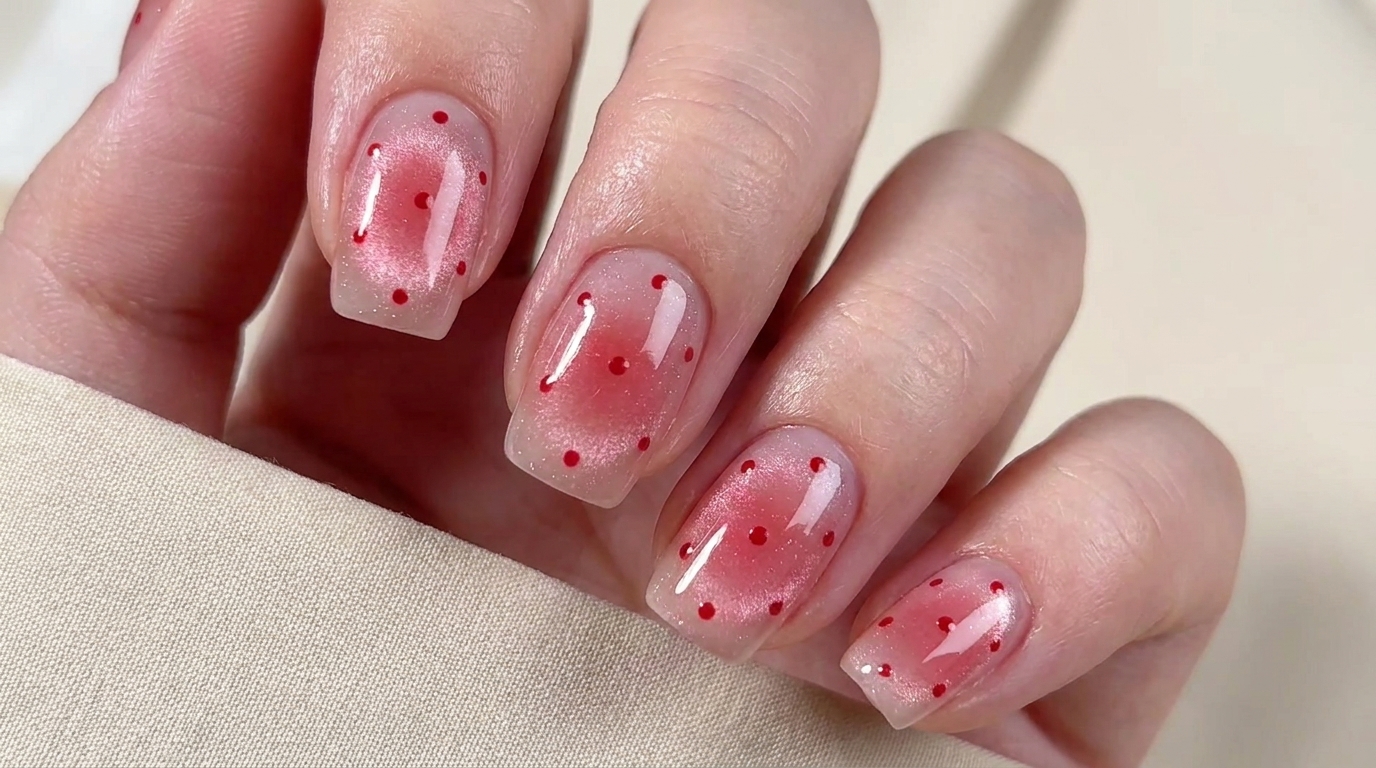
Tip: Do not skip curing between layers, as this helps achieve the soft, layered blush effect without the colors muddying. - 15Add polka dot details
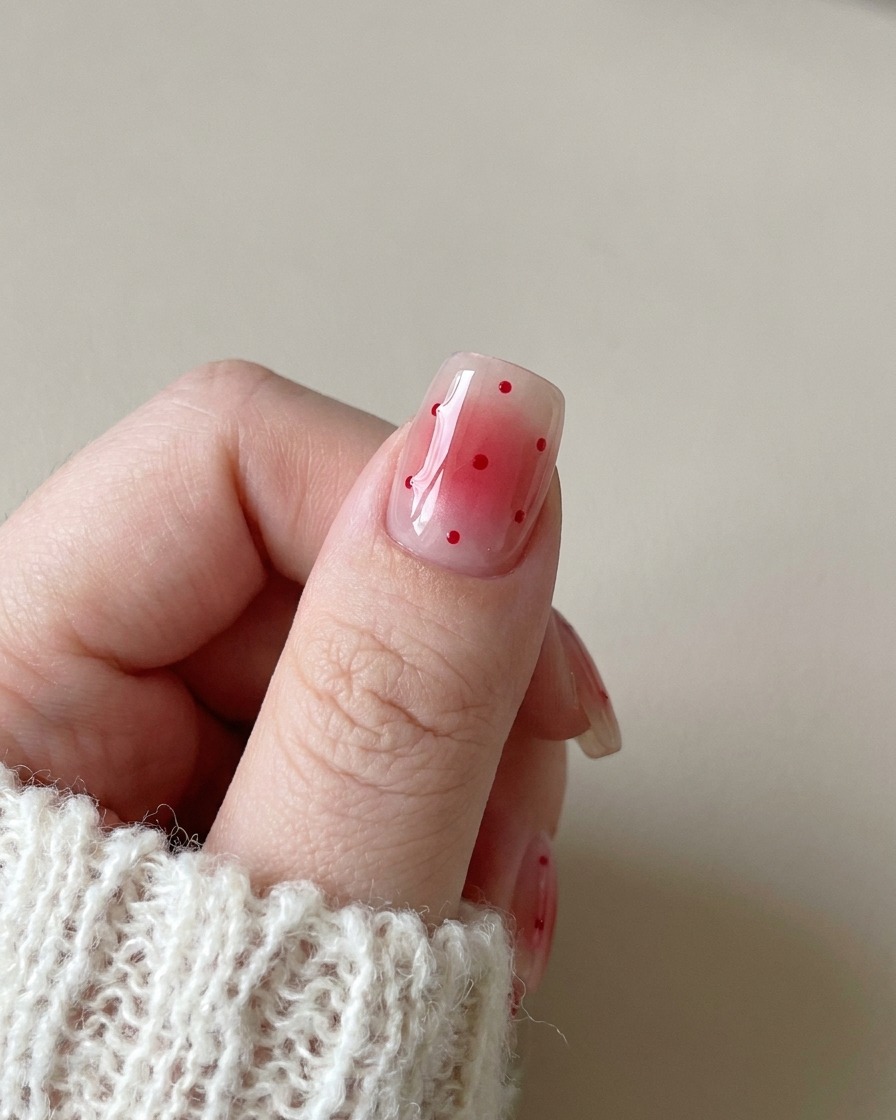
Using a fine dotting tool and the ZhiMeiYi red gel, carefully place small, precise polka dots over the blush gradient. Vary the placement slightly for a playful, strawberry-inspired pattern.
Tip: Clean your dotting tool between spots to keep the gel application neat and consistent. - 16Cure the dot design
Once the polka dots are applied, place your nails under the UV or LED lamp to cure the design. This ensures the dots are set firmly before the final top coat application.
Tip: Ensure the dots are fully cured to prevent any smearing when you apply the final top coat. - 17Apply final top coat
Apply a generous, even layer of MODING C9 glossy top coat over the entire nail to seal the design. Ensure you cap the free edge of the nail to increase the durability of the manicure.
Tip: A smooth application of top coat will protect the nail art and give your strawberry blush nails a high-shine finish.