Blush Moonlight Pink Gel Nails — Elegant Gradient Tutorial
Master the ethereal Blush Moonlight Pink manicure with this easy step-by-step tutorial. Learn to create a soft, shimmering gradient finish at home.
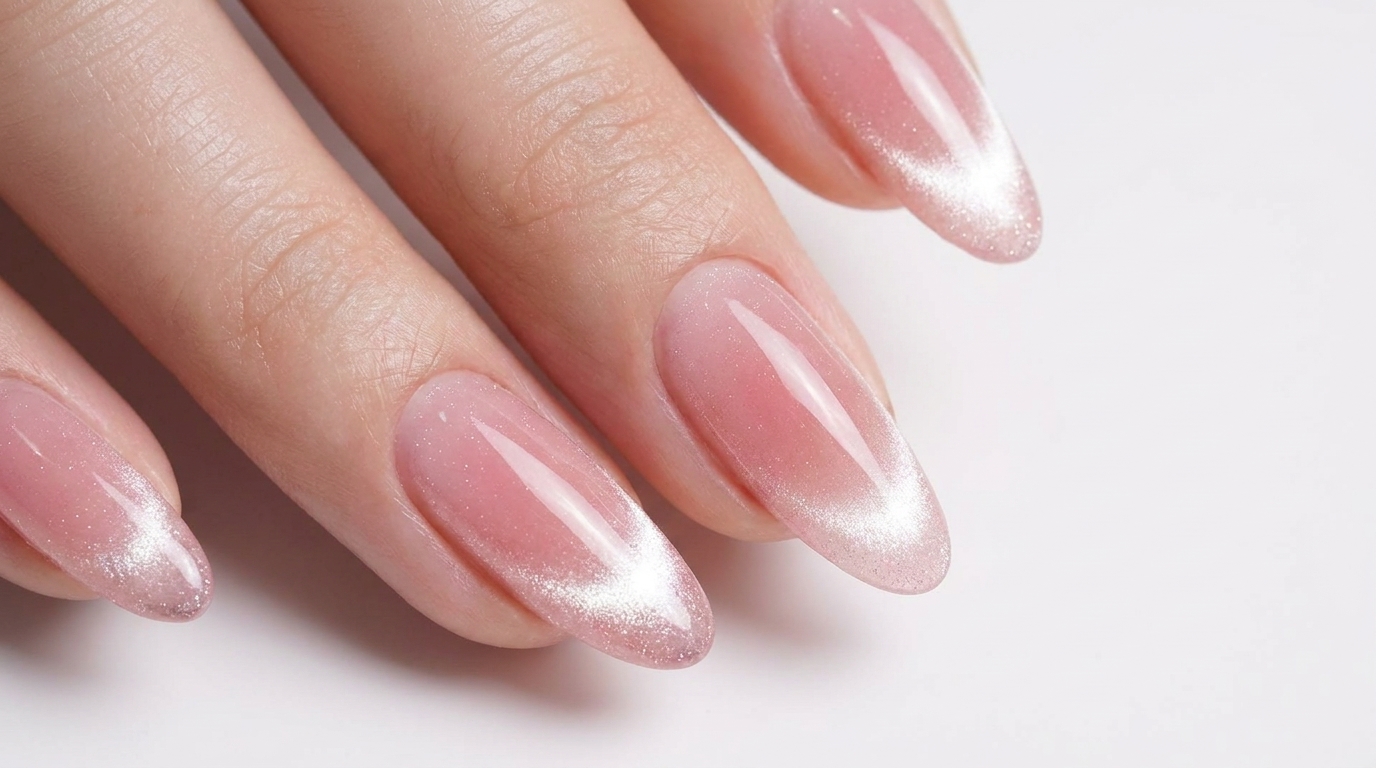
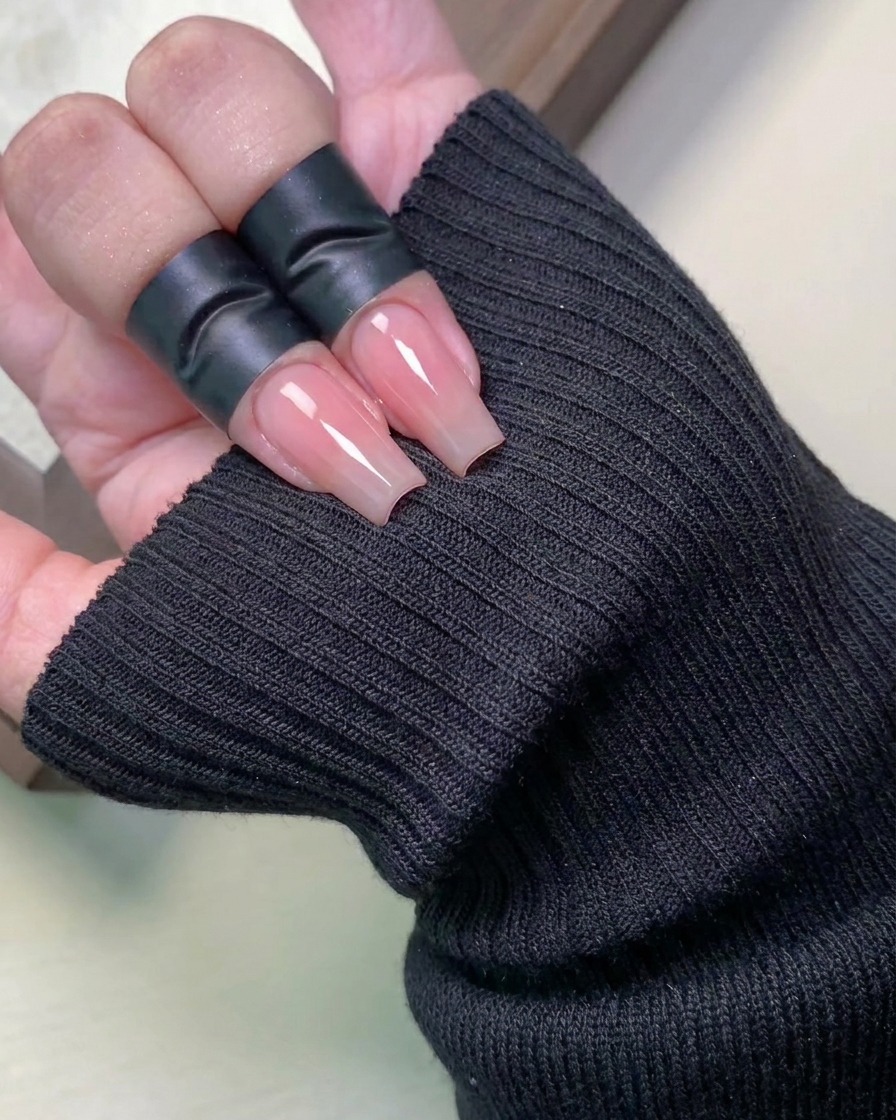
The Blush Moonlight Pink look combines a delicate, airy blush center with a sophisticated aurora powder gradient at the tips. This dreamy manicure is perfect for anyone wanting a high-gloss finish that captures the light beautifully. By layering sheer tones and iridescent pigments, you can achieve a professional salon-style look with this simple, guided process.
Steps
- 1Apply the first base color layer

Apply an even, thin layer of the 188 base color across the entire nail surface, ensuring clean coverage from cuticle to free edge. Avoid touching the surrounding skin, and cap the free edge to ensure longevity.
Tip: Applying thin coats is essential to prevent pooling and ensure the gel cures evenly without wrinkling. - 2Cure the first layer

Place your hand inside the UV/LED lamp and cure the first layer of base color for the full duration recommended by the product manufacturer to ensure the gel is fully set.
Tip: Keep your fingers flat inside the lamp to ensure all areas of the nail receive even light exposure. - 3Apply the second base color layer
Apply a second layer of the 188 base color to intensify the color and create a smooth, opaque finish. Ensure the edges are neat and the application remains thin to prevent bulkiness.
Tip: The second coat is key for achieving true color depth and hiding any potential streaks from the first application. - 4Clean the nail surface
Use a lint-free wipe saturated with nail cleanser to gently remove the sticky inhibition layer from the surface of the cured gel polish, leaving the nail smooth and ready for the next design step.
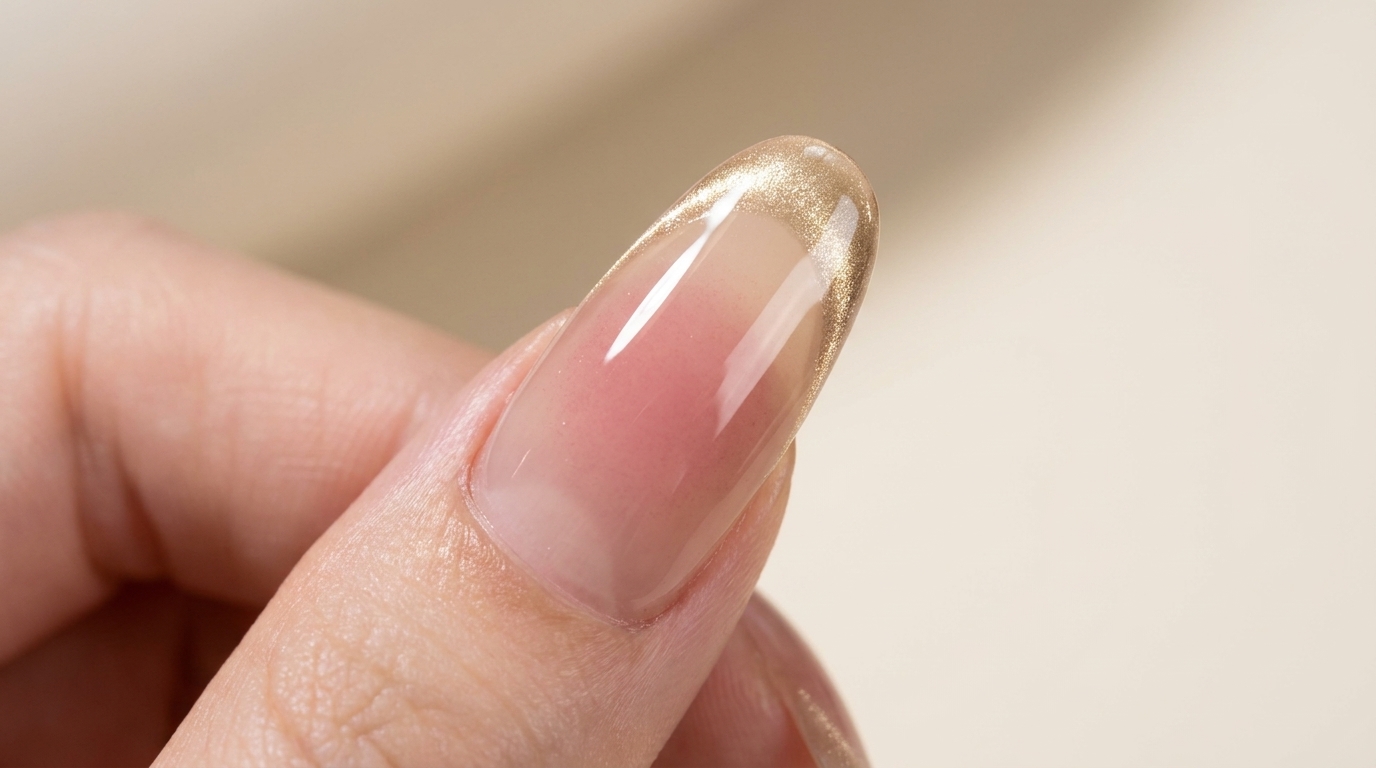
Tip: Use a fresh section of the wipe for each nail to avoid spreading uncured gel residue. - 5Create the blush effect

Using a small detailing tool, take color 7 from your palette and gently dab it onto the center of the nail. Blend the edges outward to create a soft, diffused blush gradient effect.
Tip: Start with a small amount of product and build up the intensity gradually to maintain the soft, airy look. - 6Cure the blush design
Place the nail under the UV/LED lamp again to cure the blush-colored detail. This locks the design in place before moving on to the final steps of the manicure.
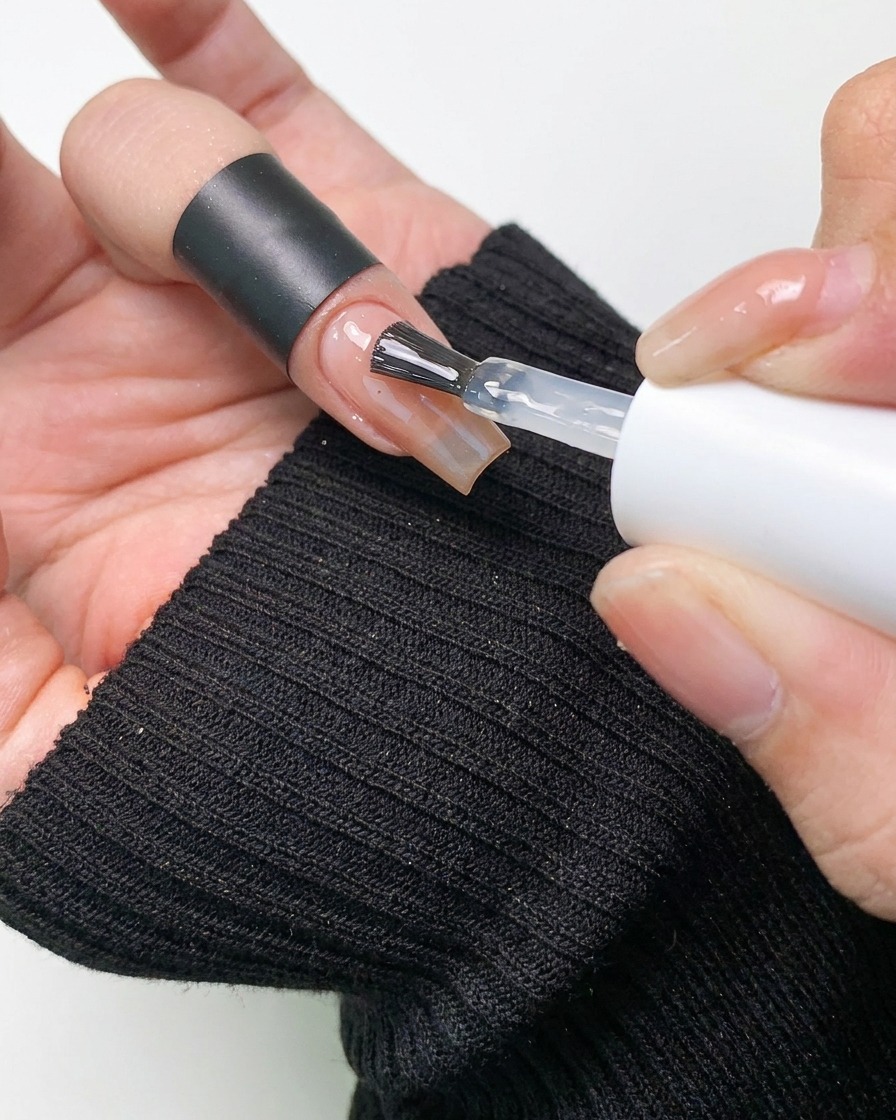
Tip: Ensure the hand is positioned correctly to avoid smudging the soft, blended blush detail. - 7Apply non-wipe top coat
Apply a thin, even layer of non-wipe top coat over the entire nail, ensuring you cap the free edge to protect the design. This creates a durable, glossy finish that seals the aurora powder and blush effect. Cure thoroughly under your UV or LED lamp as specified by the product instructions.
Tip: Check the edges to ensure no top coat has pooled, which can lead to a messy, uneven cure. - 8Cure the top coat

Place the hand into the UV or LED lamp to cure the top coat layer. Ensure all fingers are positioned directly under the light source for an even, full cure. Follow the manufacturers recommended curing time to guarantee a long-lasting, high-shine finish.
Tip: Keep your hand flat inside the lamp to ensure all parts of the nail surface are exposed equally to the light. - 9Apply aurora powder gradient
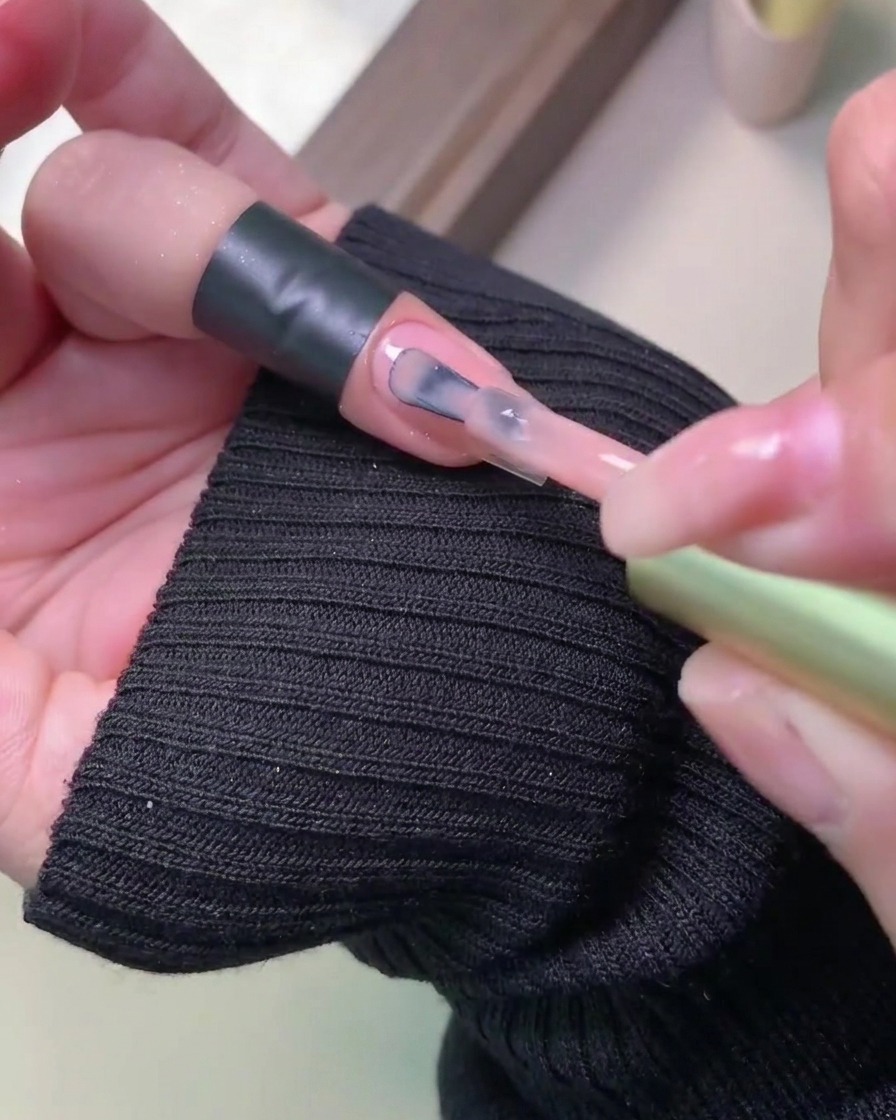
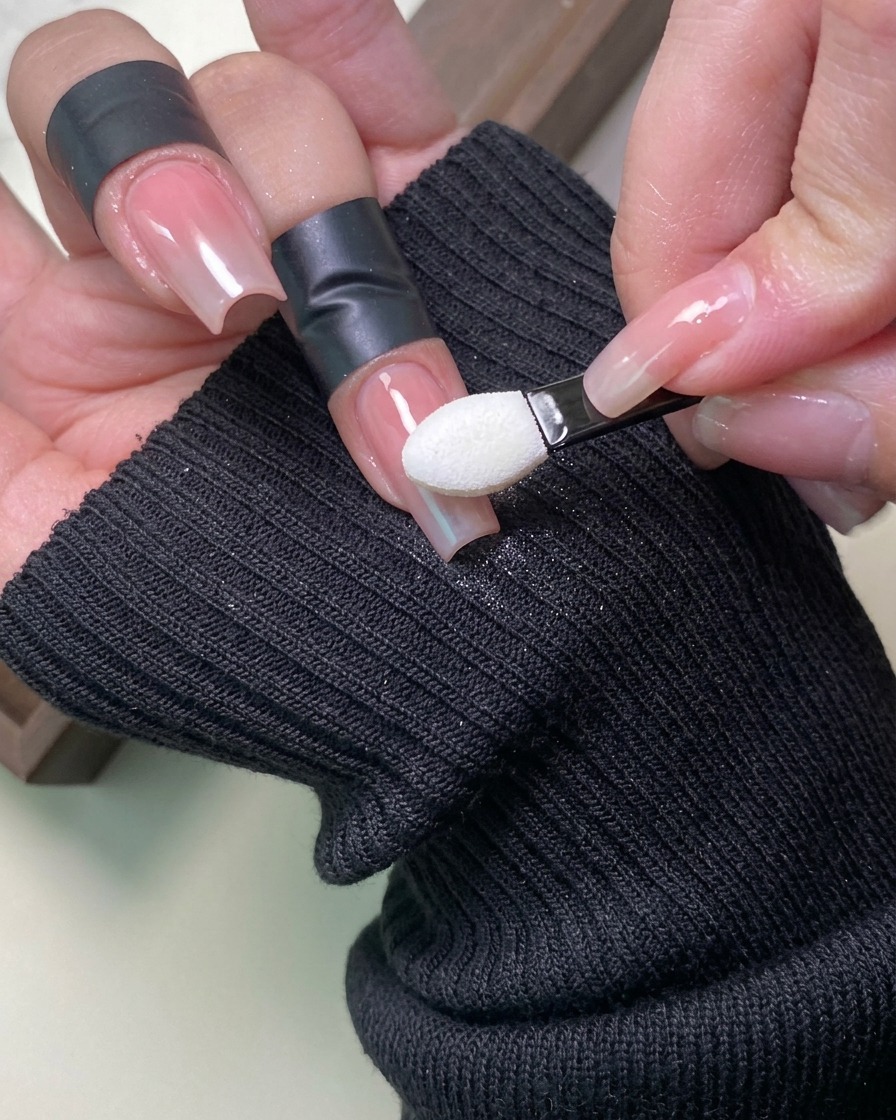
Using a sponge applicator, pick up a small amount of aurora powder and gently pat it onto the nail tip. Start applying from the middle of the nail and blend it toward the free edge to create a soft, ethereal gradient effect.
Tip: Use a light hand when dabbing the powder to avoid creating harsh lines; build up the intensity gradually. - 10Blend the aurora powder
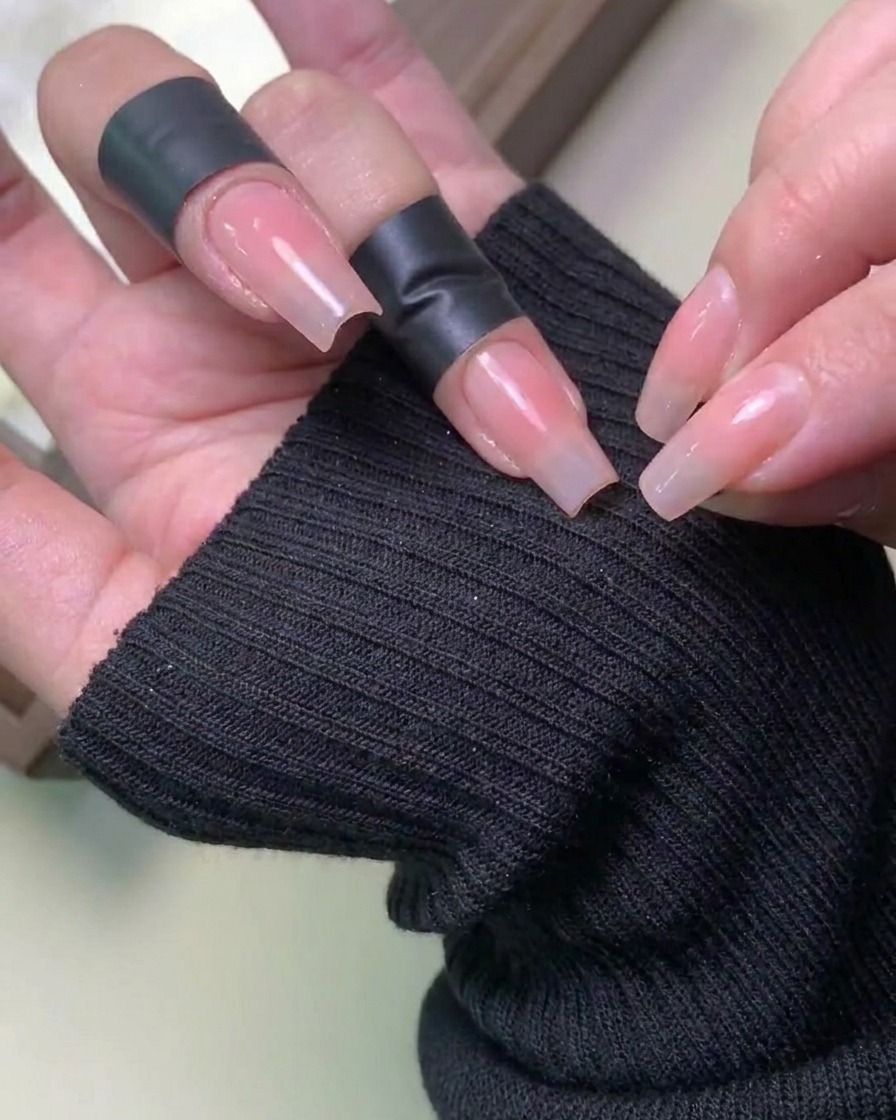
Continue blending the powder toward the middle and slightly back toward the cuticle area to smooth out the transition. The goal is to achieve a seamless, diffused look where the powder is most concentrated at the tip and fades toward the center of the nail.
Tip: If you apply too much powder, use a clean, dry brush to gently sweep away the excess. - 11Clean nail edges
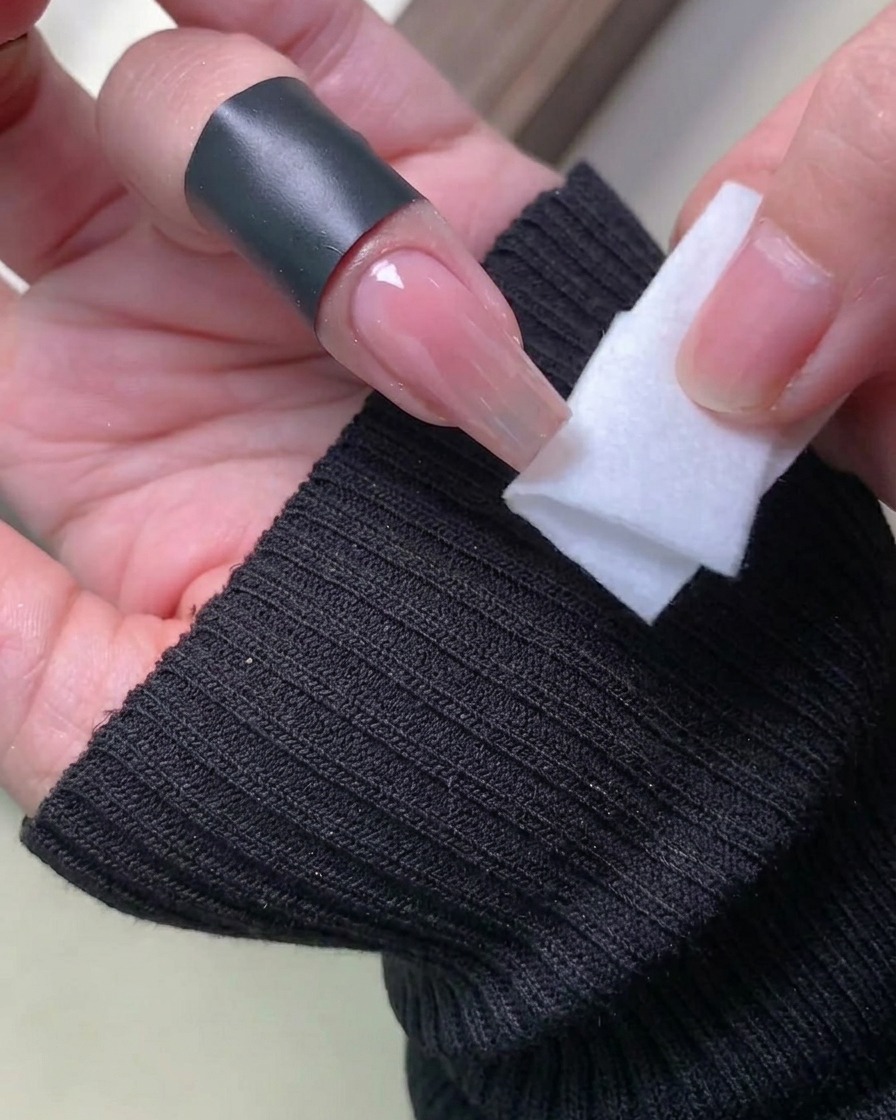
Using a lint-free wipe dampened with a small amount of nail cleanser or alcohol, carefully wipe around the edges and sidewalls of the nail. This removes any stray particles of aurora powder that may have settled on the skin, ensuring a clean and professional finish.
Tip: Be gentle near the cuticle to avoid smudging the powder youve just applied. - 12Apply sealing base gel
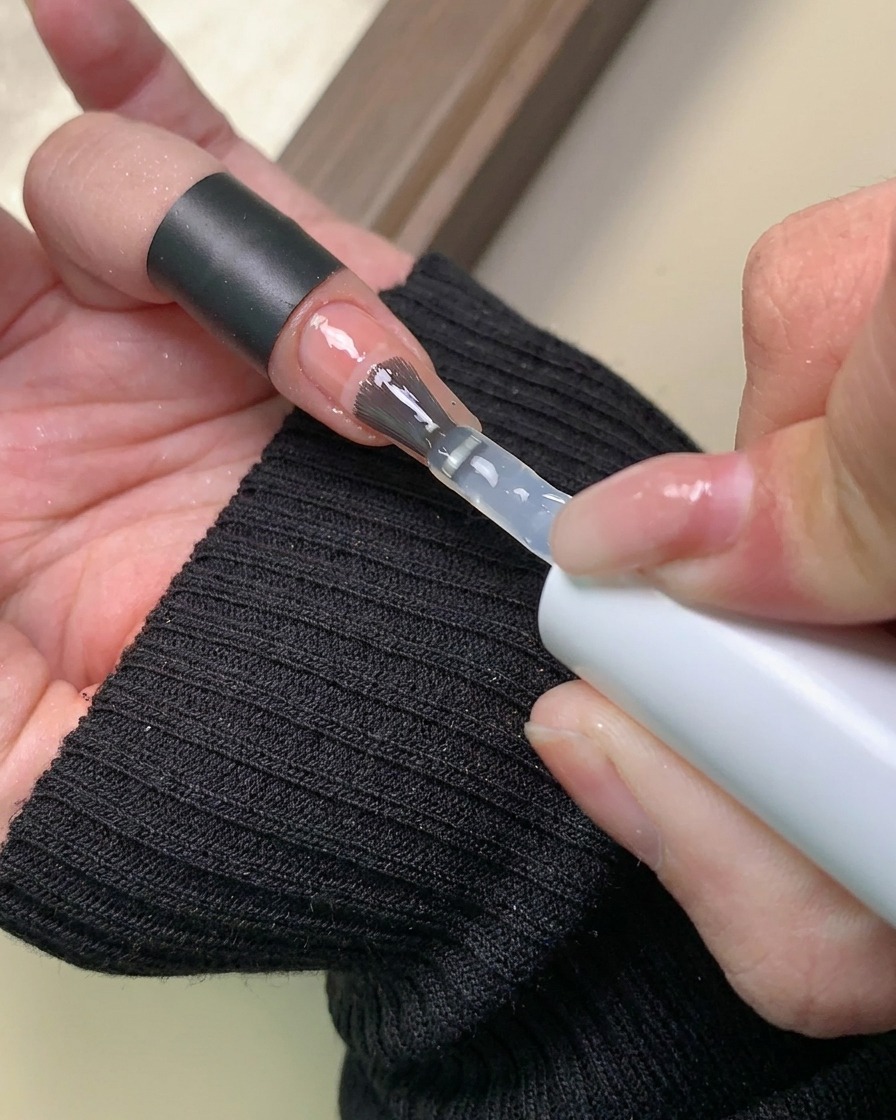
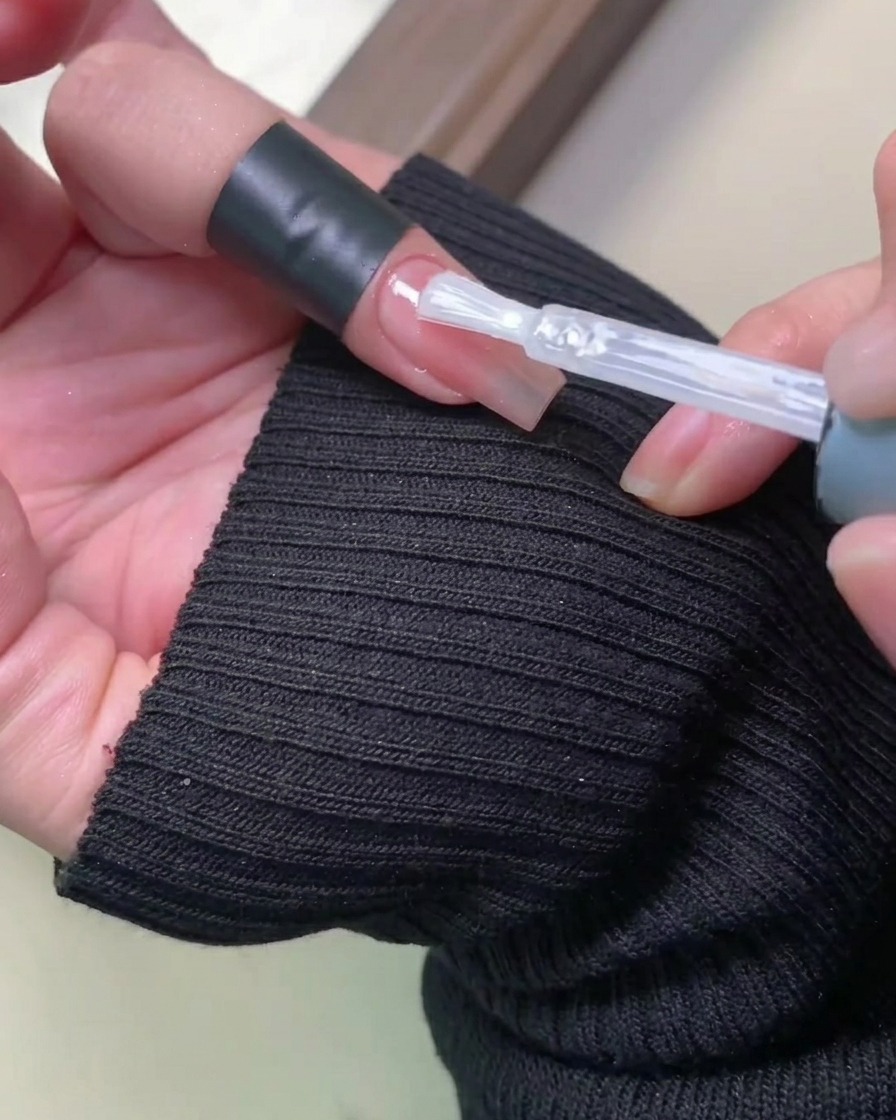
Apply a thin layer of base gel over the finished design to encapsulate the aurora powder and ensure a smooth surface. Cure the layer under the lamp as instructed. This provides an extra layer of protection and prepares the nail for the final top coat application.
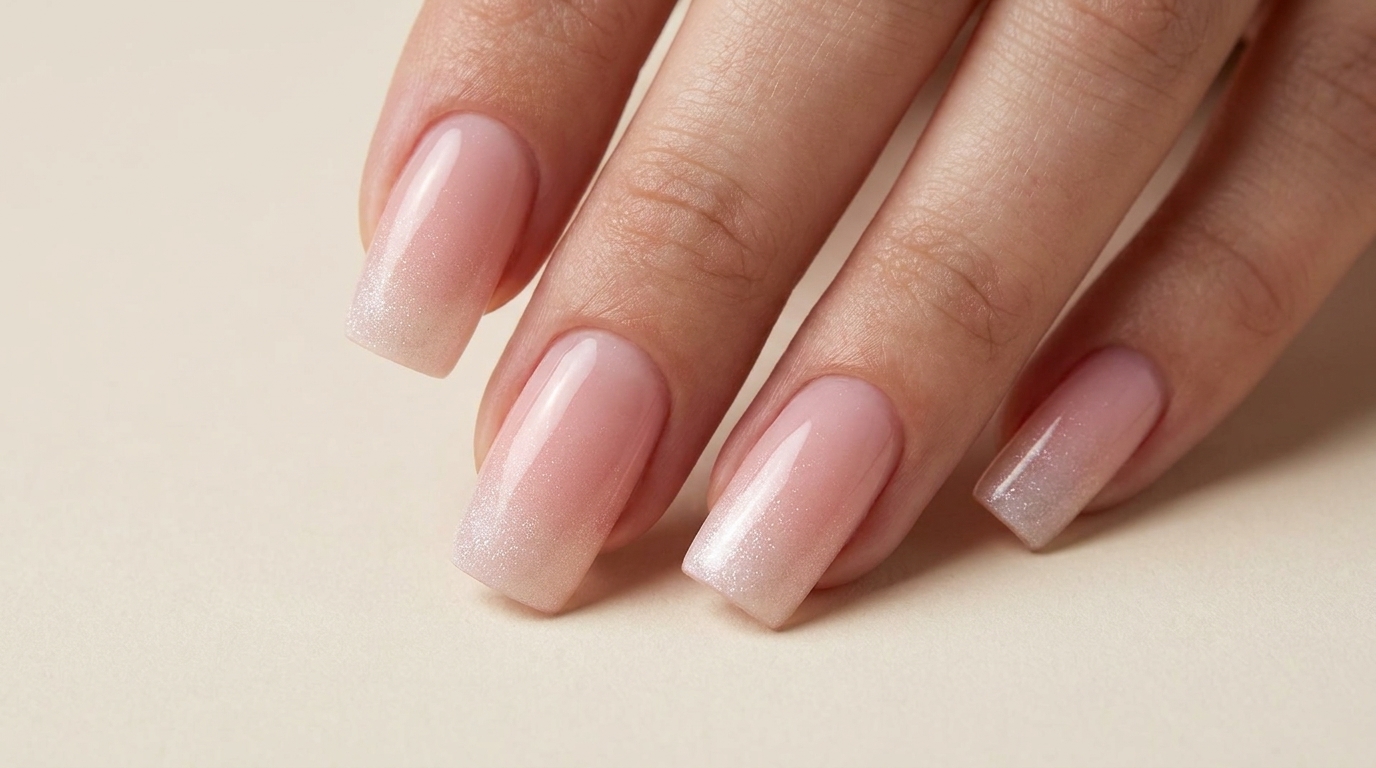
Tip: Make sure the base gel is applied smoothly to prevent any bumps or texture from showing through the final top coat. - 13Apply final top coat
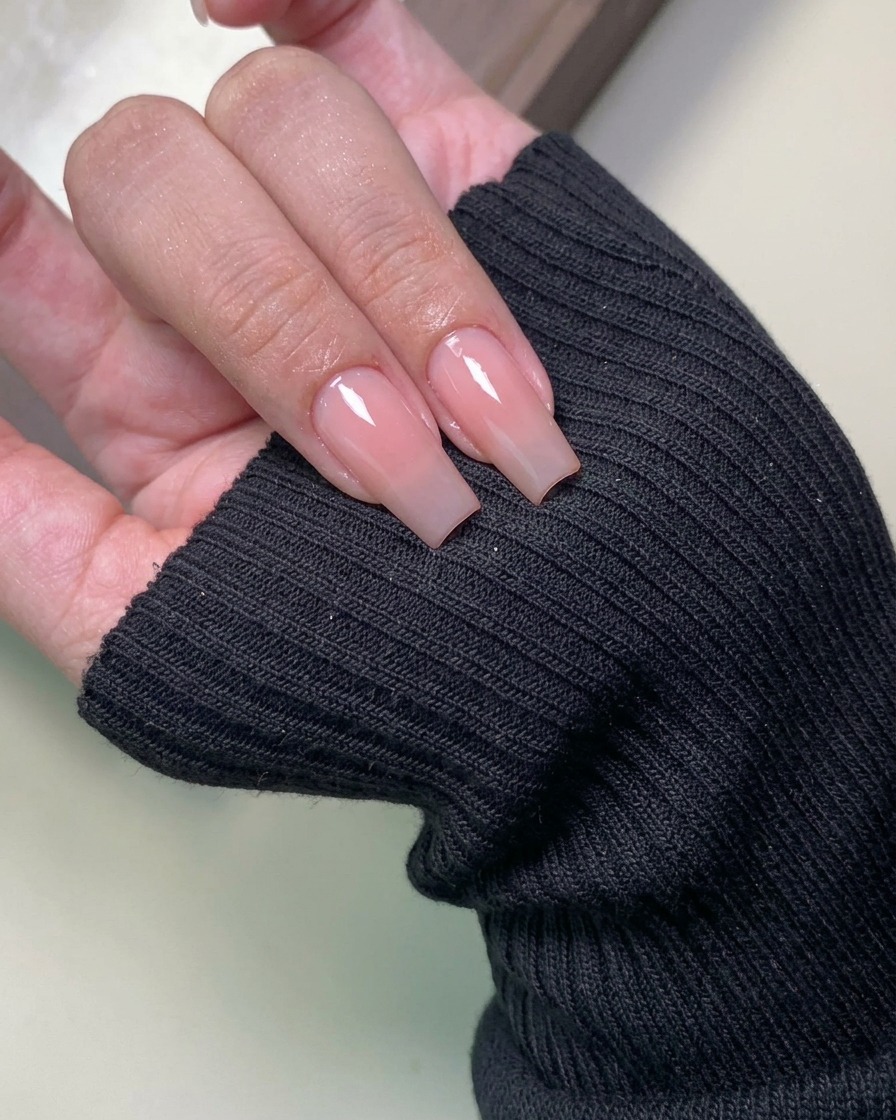
Apply a final, even layer of non-wipe top coat over the entire nail to seal the aurora powder design and provide a high-gloss finish. Ensure the free edge is capped, then cure under the lamp as recommended to lock in the manicure.
Tip: Check for any bald spots or uneven areas before curing to ensure a perfectly smooth and durable finish.