Blush Cat Eye Gel Nails — Step-by-Step French Tip Tutorial
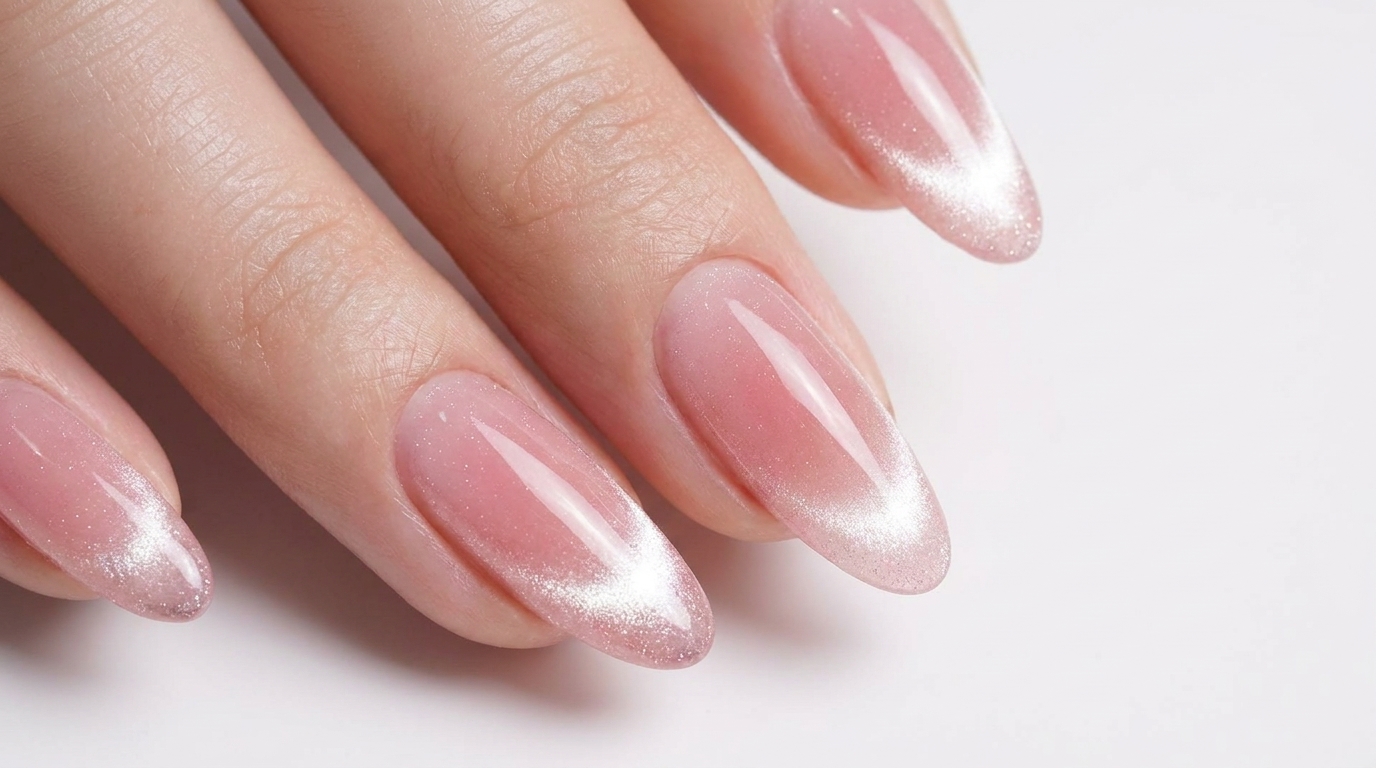
Create a pure and alluring blush cat eye manicure with this easy tutorial. Combine a soft pink diffused center with a striking metallic gold French tip highlight for a stunning, glossy finish.[cite: 1]
The blush cat eye trend perfectly balances soft, romantic aesthetics with an eye-catching metallic edge. By layering a sheer jelly nude base and a diffused pink center beneath a magnetic cat eye French tip, this look creates incredible depth and dimension. It is a highly requested salon style that looks beautifully intricate but is surprisingly achievable to recreate at home.
Steps
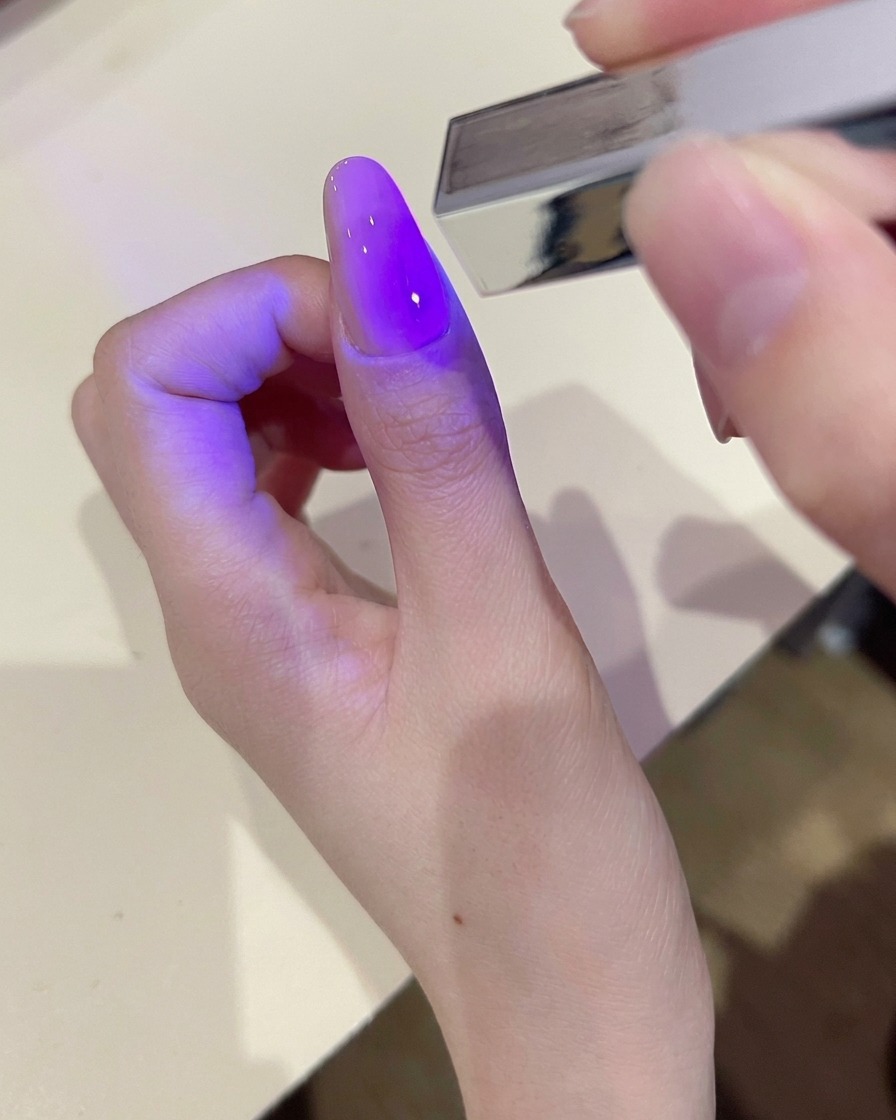
- 1Apply second coat of sheer nude gel
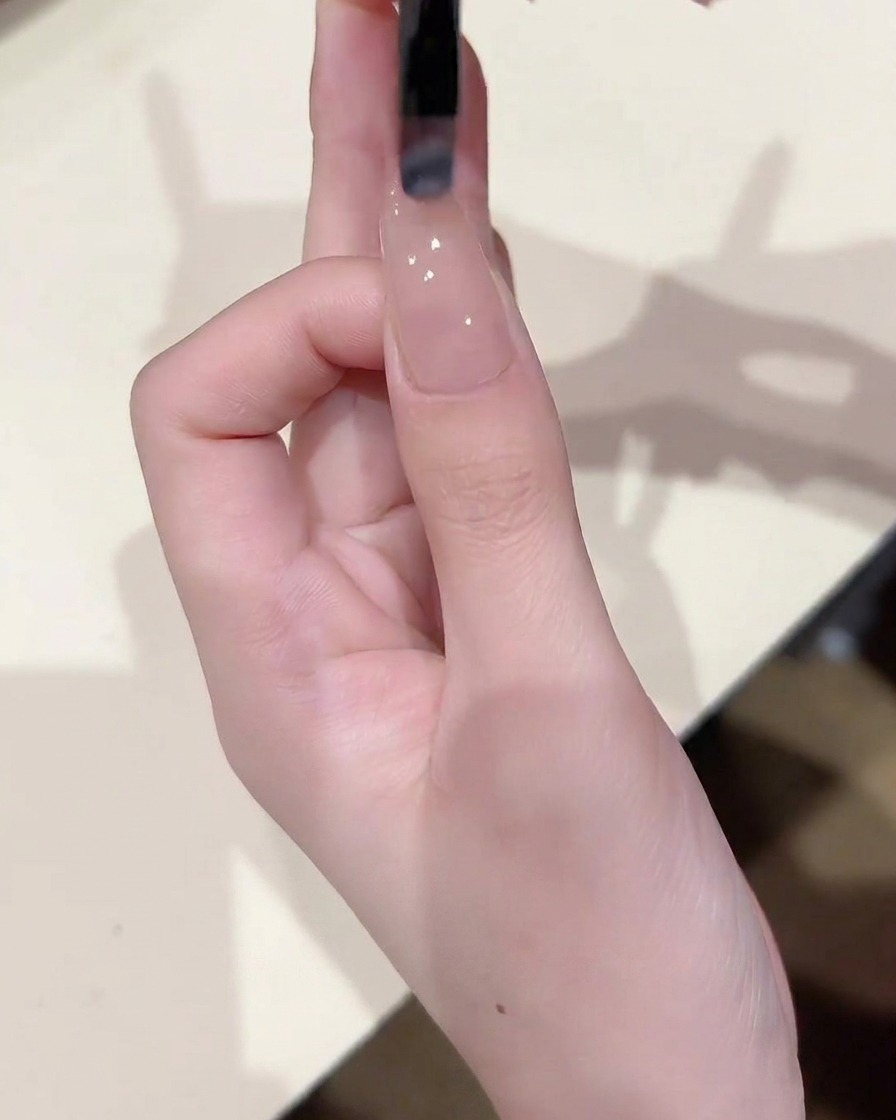
Apply a second even coat of the sheer nude gel E05 to the nail plate. Ensure smooth coverage over the first layer, capping the free edge. Cure under the UV/LED lamp as directed by the product instructions to ensure the base color is fully set.
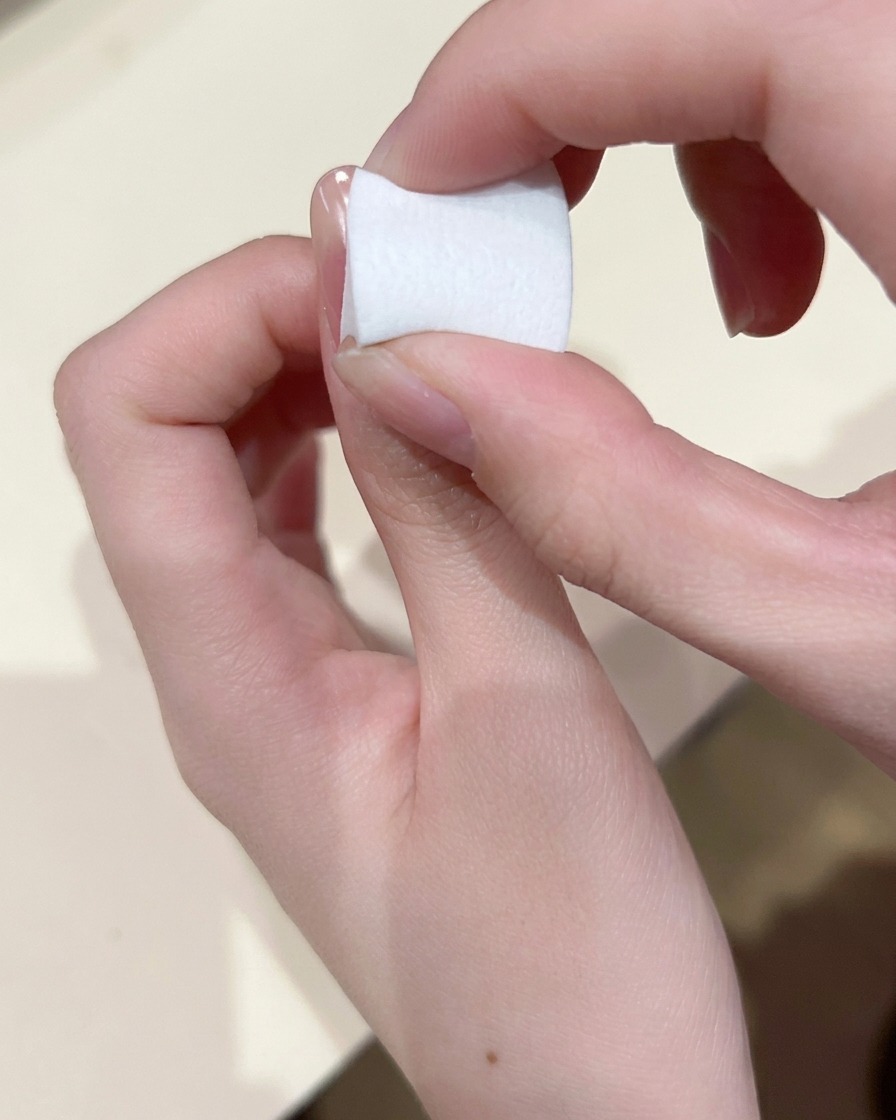
Tip: Applying two thin coats is better than one thick one, as it ensures an even color distribution and prevents the gel from bubbling or wrinkling while curing. - 2Remove the sticky inhibition layer
After curing the gel, use a lint-free wipe saturated with a nail cleanser to gently wipe the cured nail surface. This removes the sticky inhibition layer, leaving a smooth surface for the next steps.
Tip: Using a lint-free wipe is crucial to ensure no tiny fibers or dust particles get stuck on the nail surface before applying additional layers. - 3Apply color for blush effect

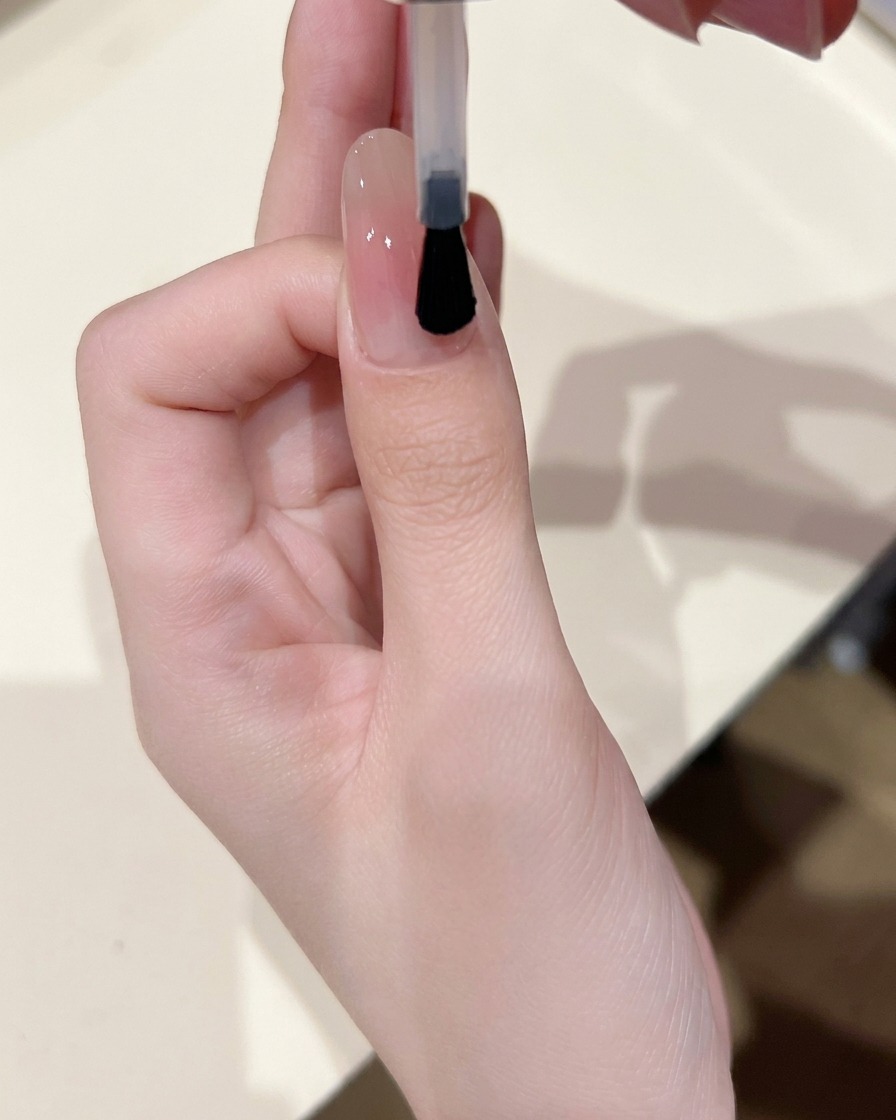
Using a fine detail brush, apply a small, concentrated dot of color gel 08 to the center of the nail plate. This serves as the foundation for the blush-style gradient.
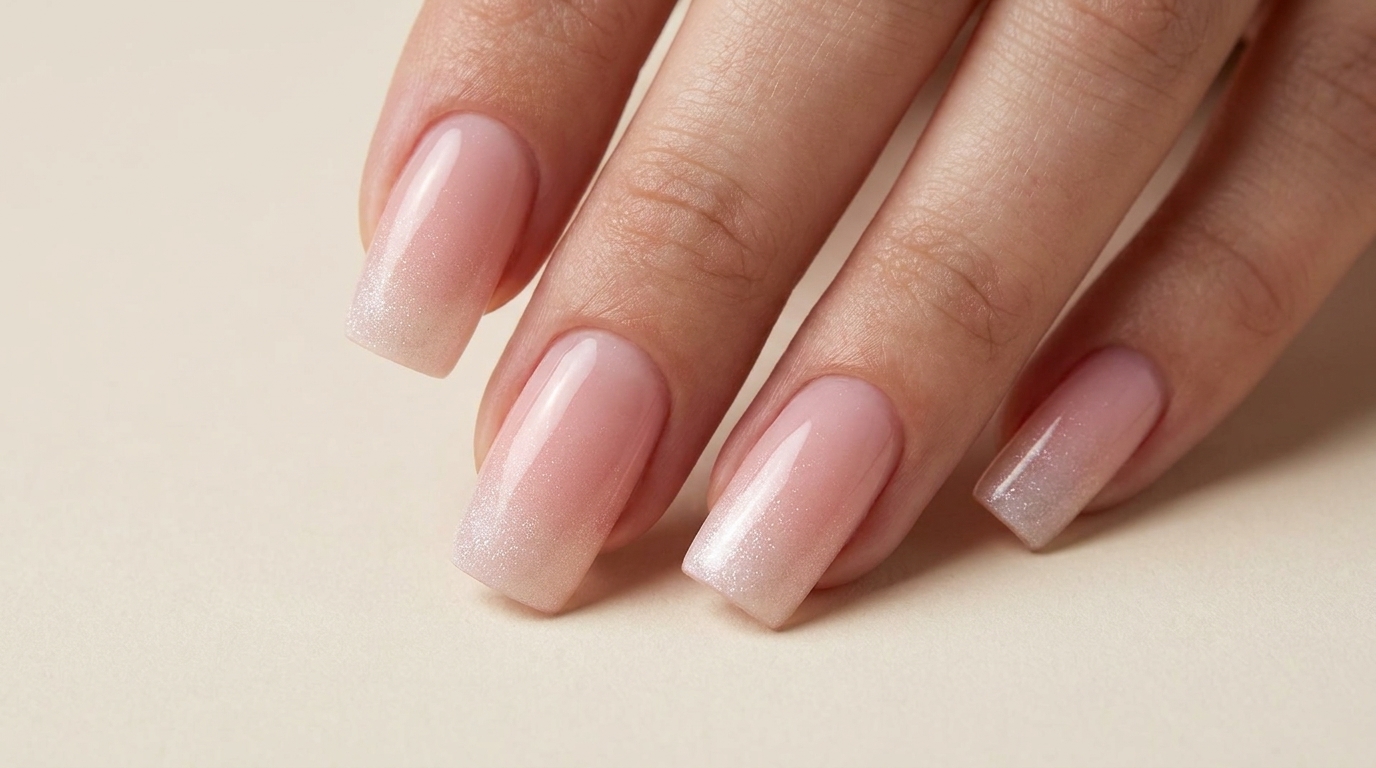
Tip: Keep the dot small and focused in the center, as this allows for easier blending later to create a soft, diffused look. - 4Diffuse color for blush effect
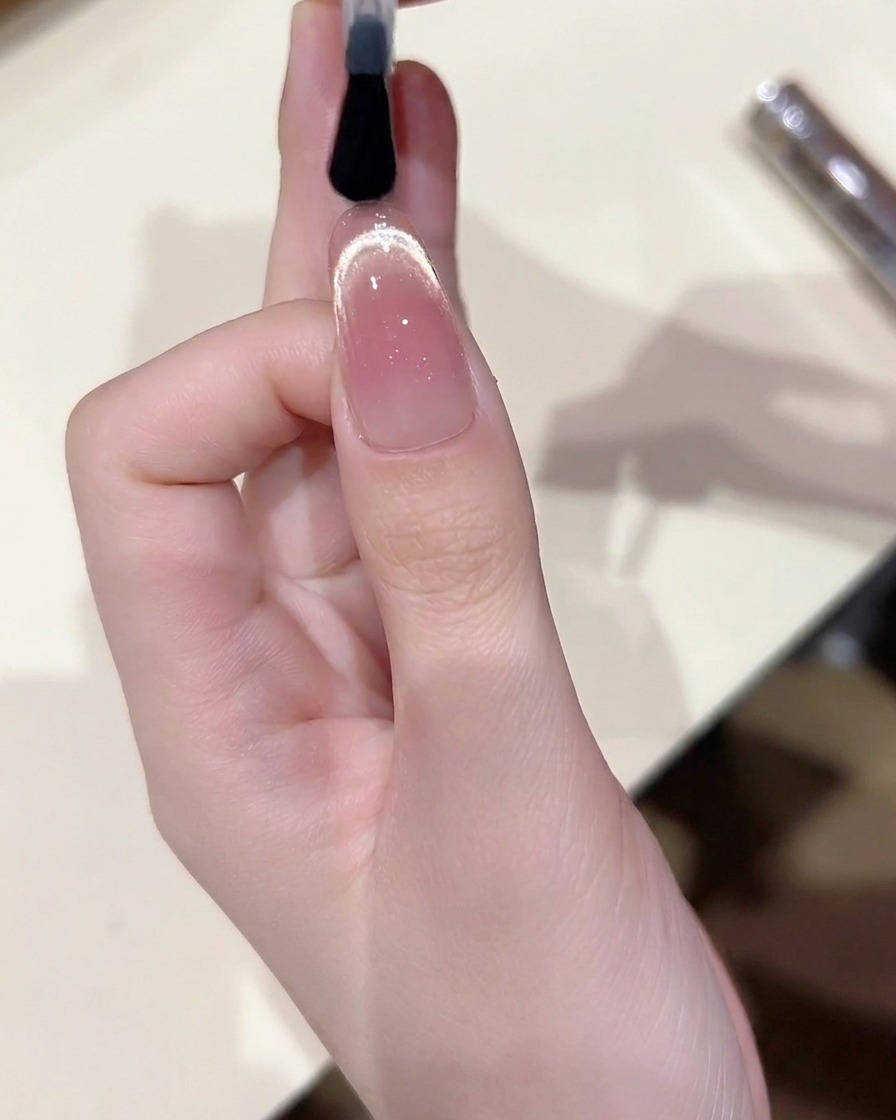
Gently tap the center color dot with a small, clean sponge. Use light, patting motions to diffuse the edges of the color outward, creating a soft, blush-like gradient that fades into the nude base.
Tip: Ensure the sponge is clean to avoid transferring unwanted color or debris onto the nail. - 5Apply clear base gel
Apply a thin, uniform layer of clear base gel over the entire nail. This provides a wet, even surface that will help the upcoming cat-eye gel to move and blend effectively.
Tip: Do not cure this layer yet; keeping it wet allows the cat-eye gel to be manipulated and blended properly for the desired effect. - 6Apply cat eye gel to tips
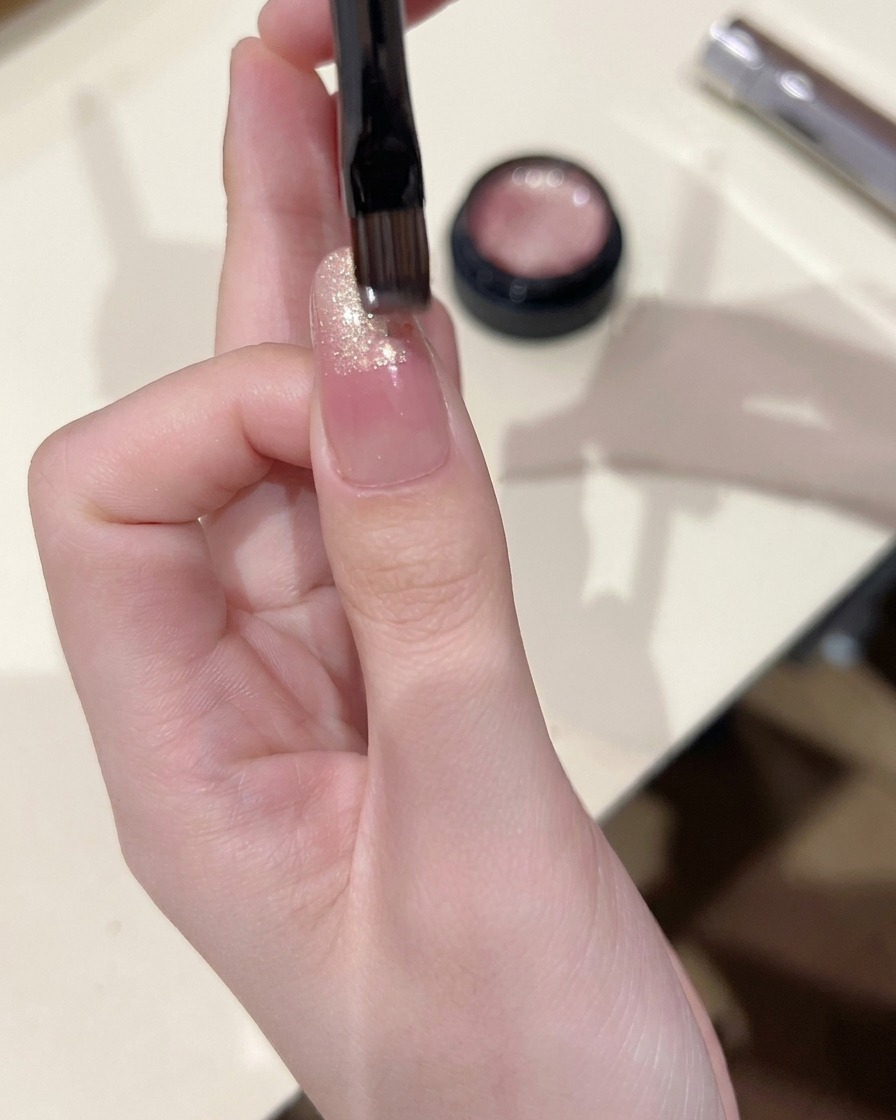
Apply a small amount of cat eye gel C51 to the tips of your nails. Using your brush, gently sweep the product downwards toward the center of the nail to create a soft, blended gradient effect.
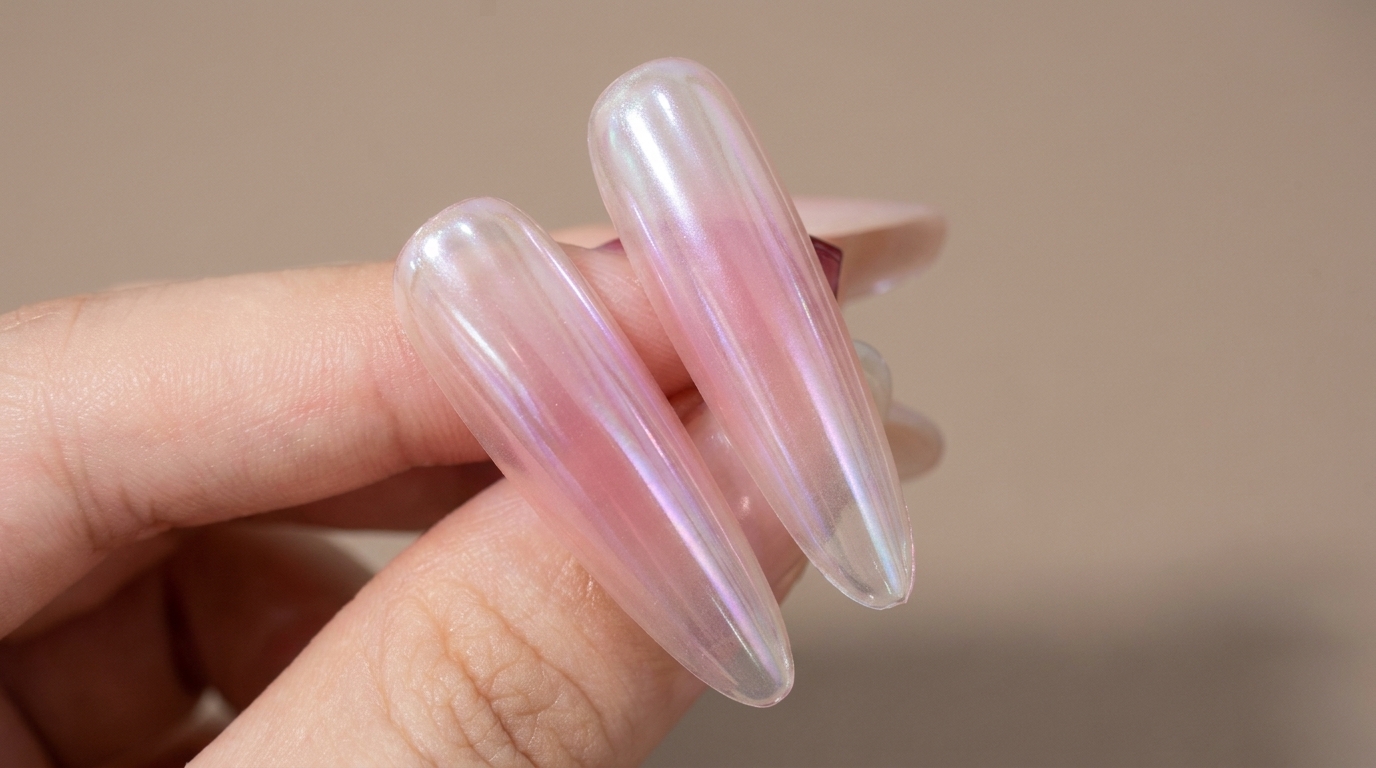
Tip: Work with a small amount of product to keep the gradient sheer and natural-looking. - 7Create a wide cat eye highlight
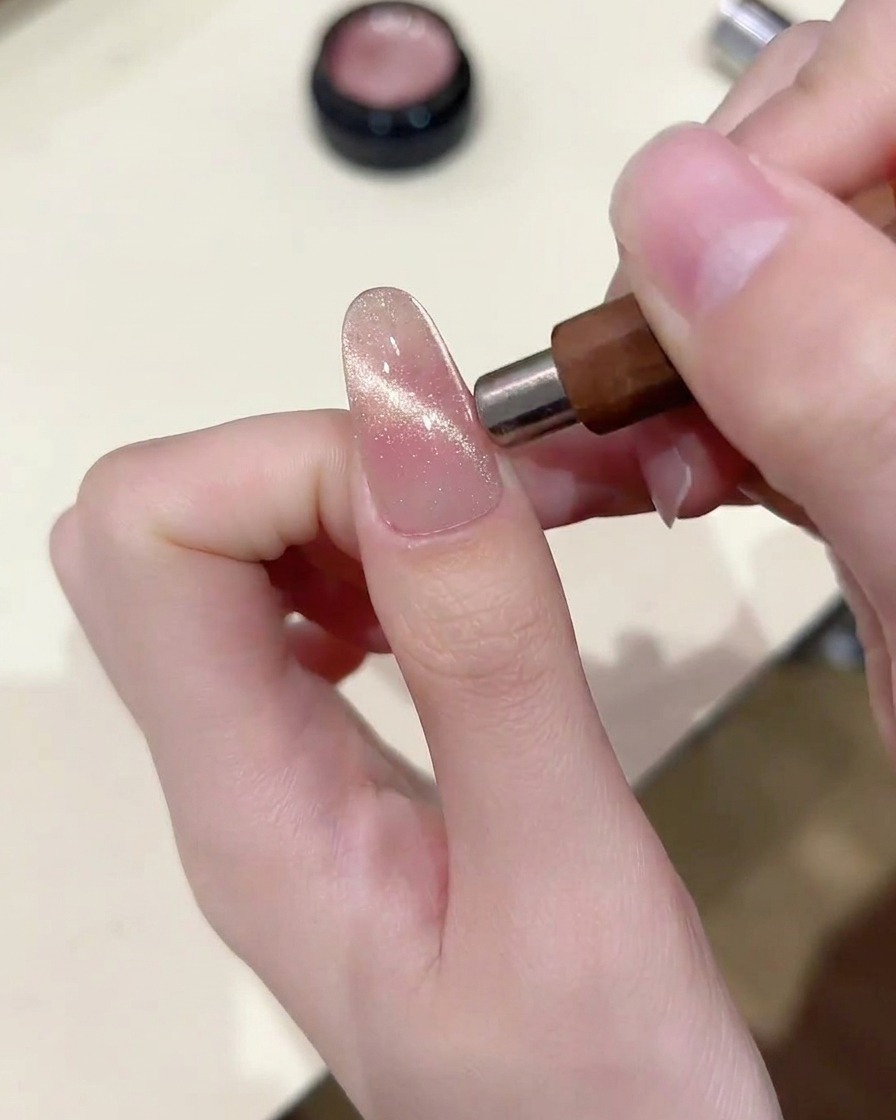
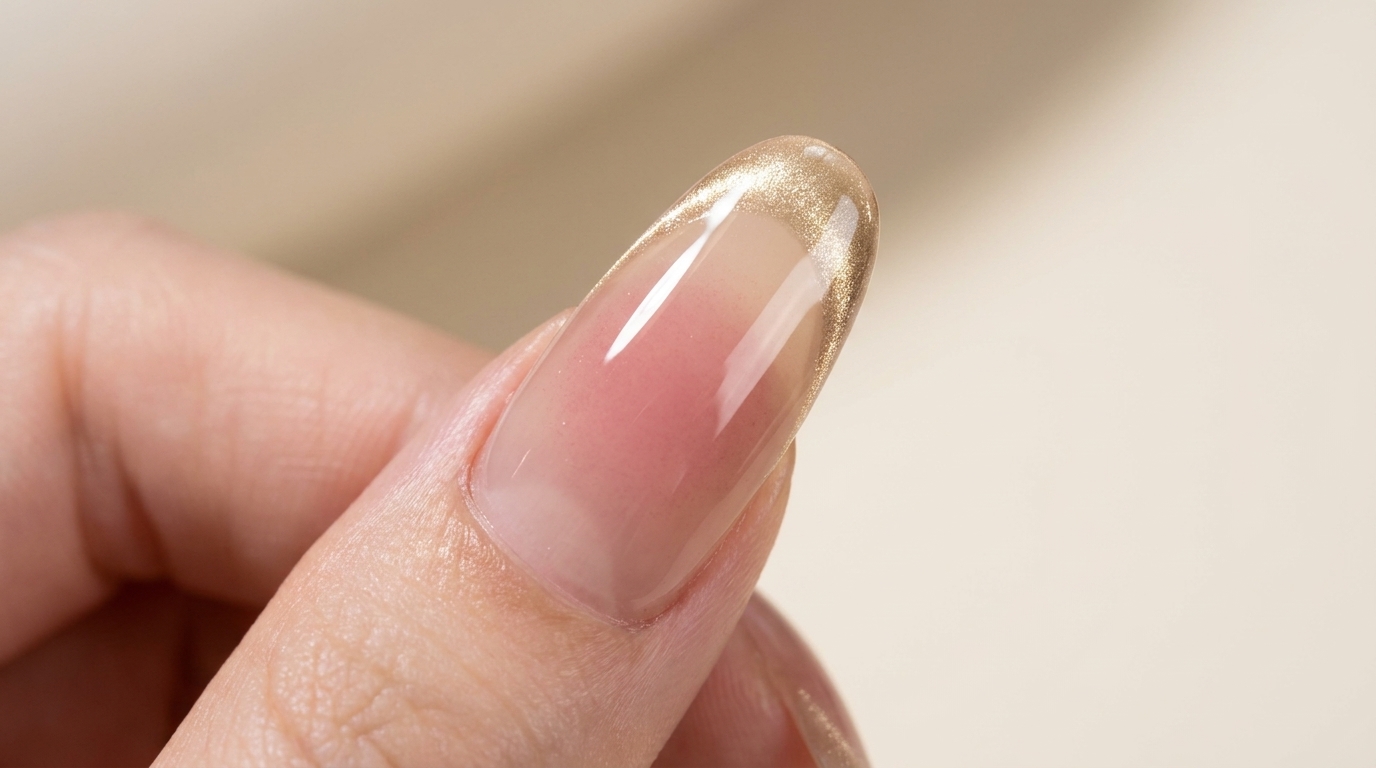
Hold your magnet parallel to the nail surface for several seconds. This will pull the magnetic particles within the gel into a wide, bright band of light across the tip.
Tip: Keep the magnet steady and close to the nail—without touching it—to achieve the sharpest, brightest highlight. - 8Shape the French cat eye effect
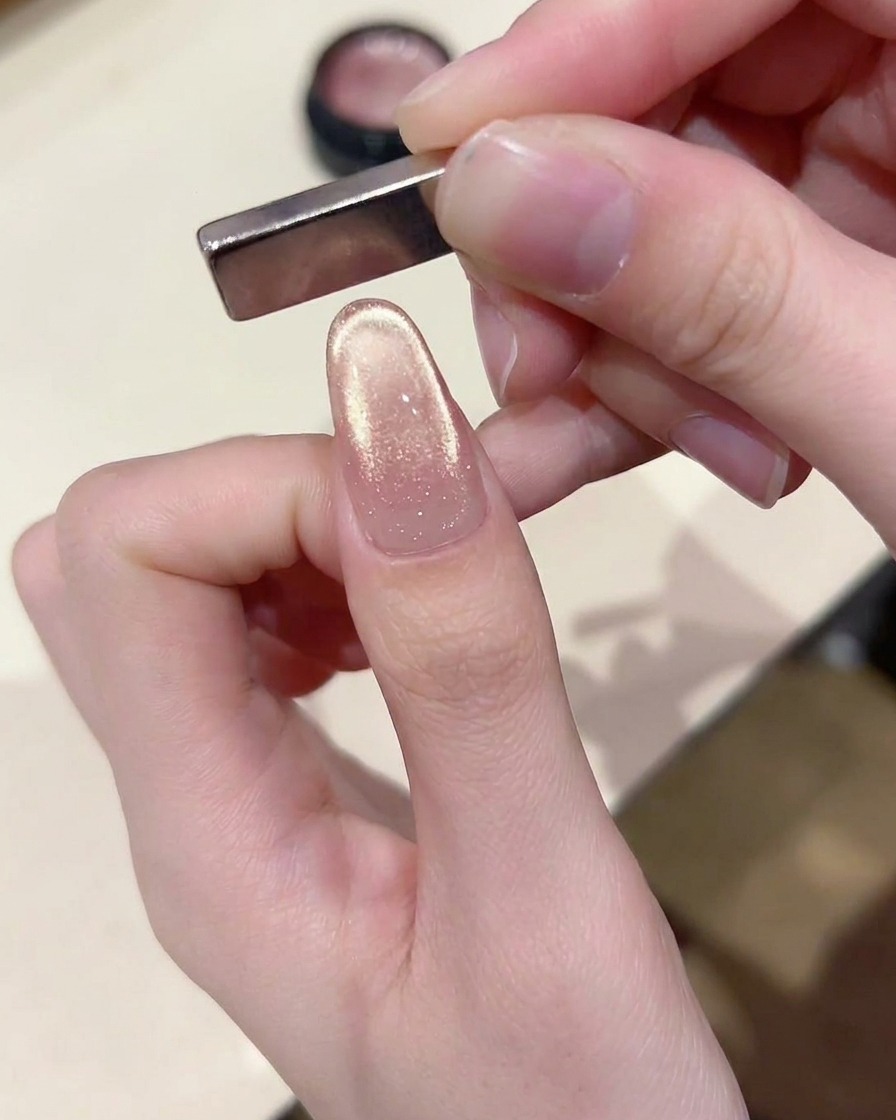
Tilt the magnet at an angle over the tip of the nail. This shifts the magnetic particles to form a crisp, curved French-tip style highlight.
Tip: Small adjustments to the magnets angle will change the curve and sharpness of your French tip line. - 9Apply glossy top coat
Finish your manicure by applying a smooth layer of glossy top coat over the entire nail. Ensure you cap the free edge to seal the design and provide long-lasting shine.
Tip: Apply the top coat in one smooth, flowing motion to ensure a glass-like finish.