Blush Hailey Bieber Chrome Nails — Ethereal Step-by-Step Tutorial
Master the viral ethereal blush nail look with this simple chrome technique. Achieve a dreamy, high-shine finish with a soft-focus pink gradient.
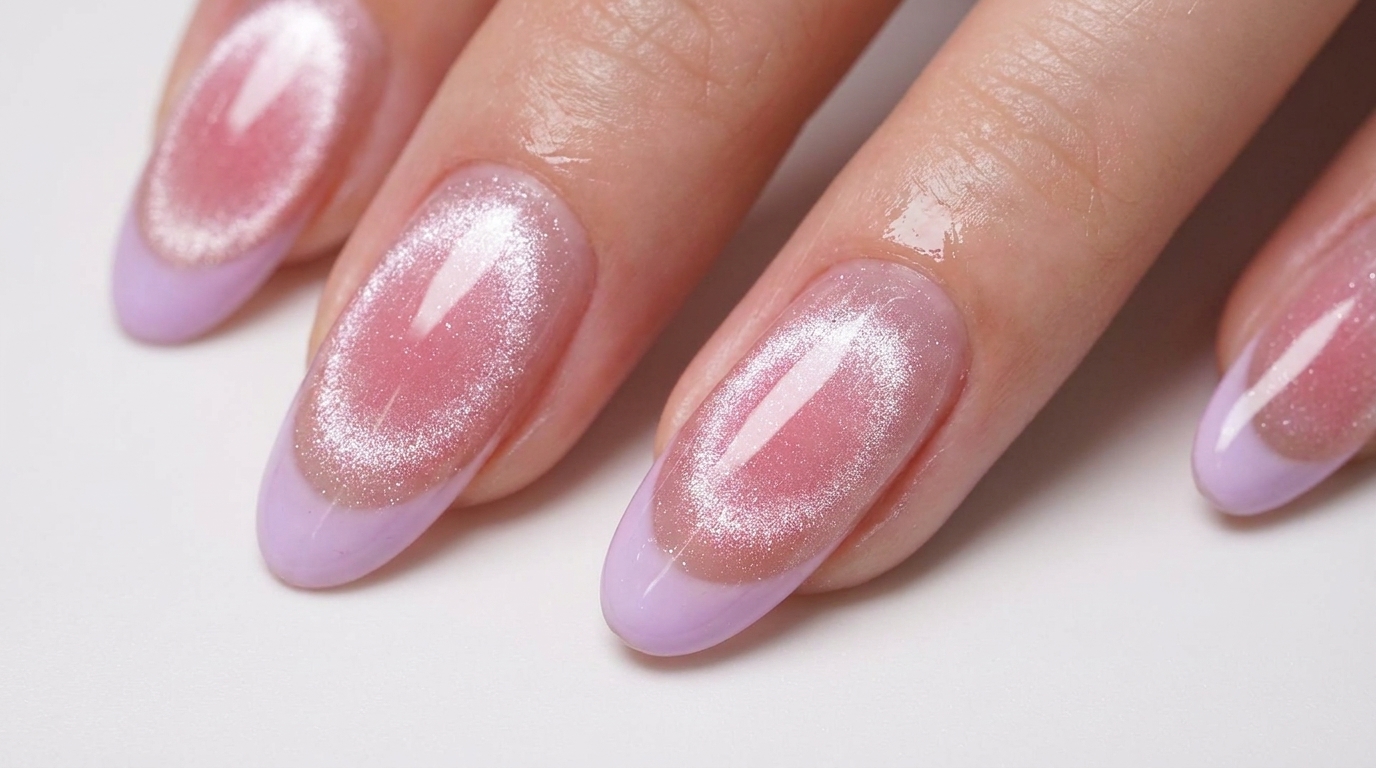
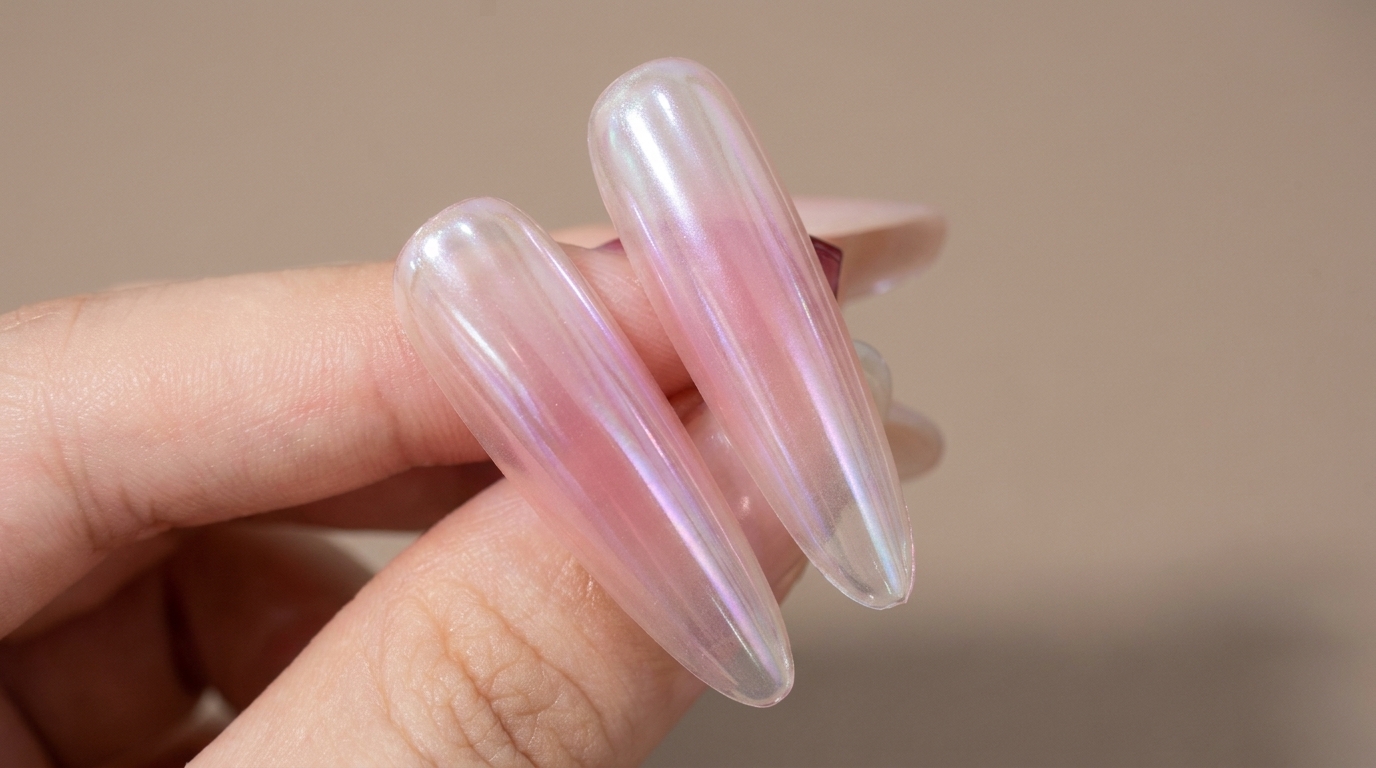
The ethereal blush trend has taken over as one of the most coveted styles, blending a delicate watercolor-like gradient with a high-fashion, mirror-like finish. This look, inspired by the iconic Hailey Bieber aesthetic, uses aurora chrome powder to transform soft pink tones into a stunning, pearlescent masterpiece. It is the perfect balance of gentle romance and modern, high-impact shine.
Steps
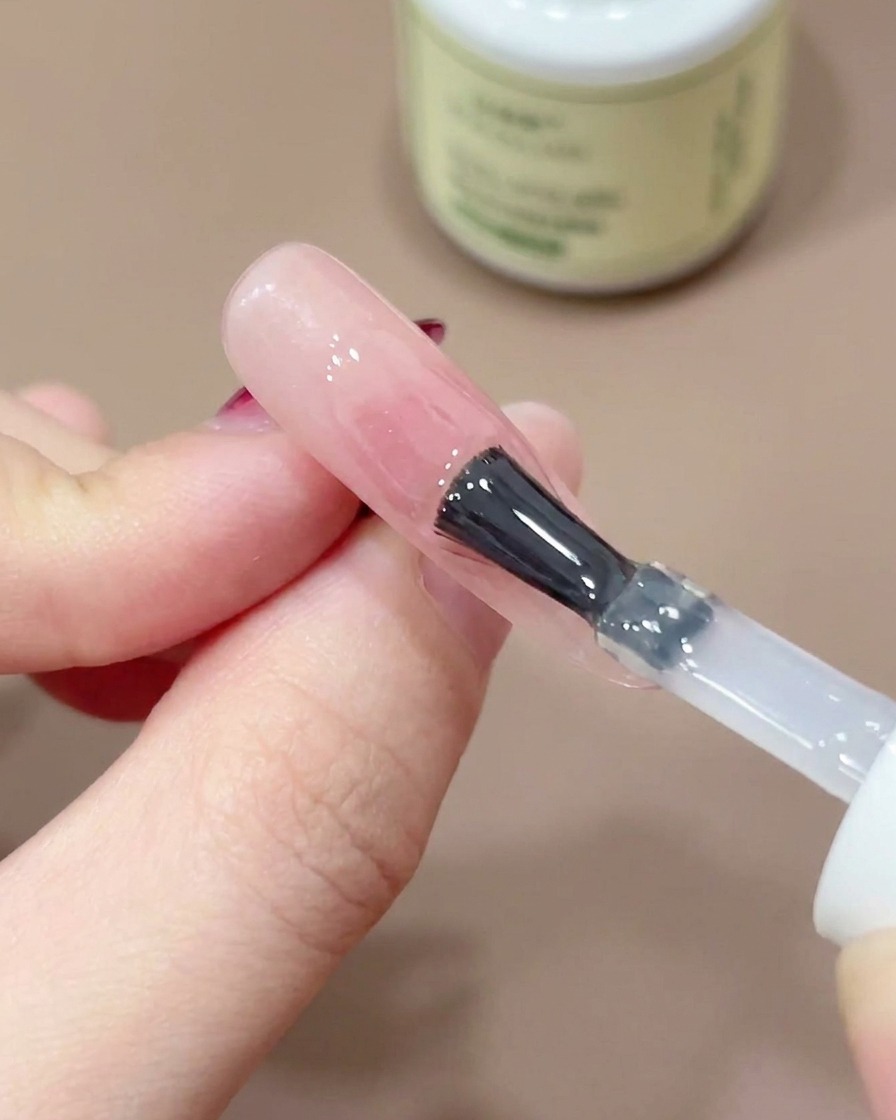
- 1Apply sheer pink base coat
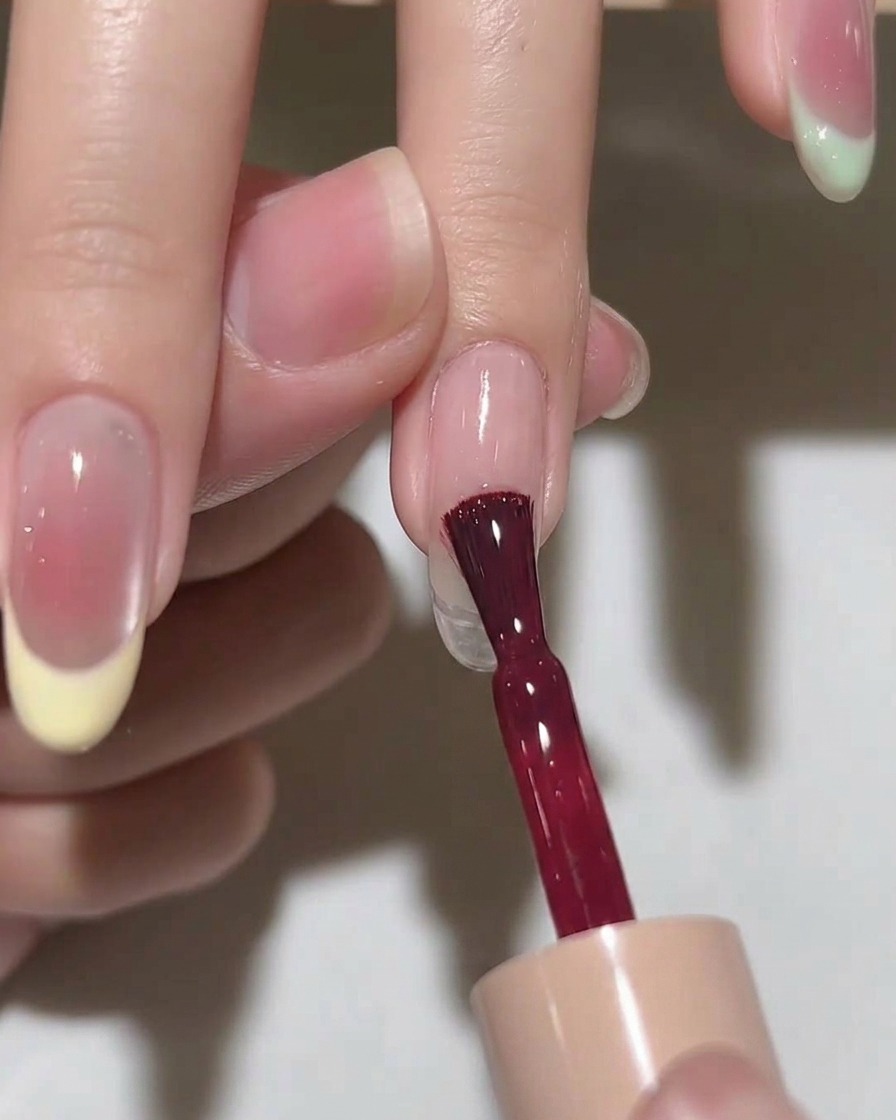
Apply a thin, even layer of sheer pink base coat to the nail surface. This layer serves as the foundation for your blush design. Ensure the application is smooth and slightly translucent, taking care not to pool product at the edges. Cure under your UV lamp for 20 seconds.
Tip: Keep the layer thin to ensure it levels perfectly and maintains that soft, ethereal transparency. - 2Cure base coat
Place your nail under a UV or LED lamp to cure the base coat for 20 seconds. Proper curing is essential to create a stable, smooth foundation for the upcoming blush and chrome effects.
Tip: Ensure your nail is positioned directly under the light source for an even, complete cure. - 3Remove inhibition layer
After curing, use an alcohol-soaked pad or lint-free wipe to remove the sticky inhibition layer from the nail surface. This step is crucial for achieving a matte base that allows the blush gel to be applied and blended without dragging.
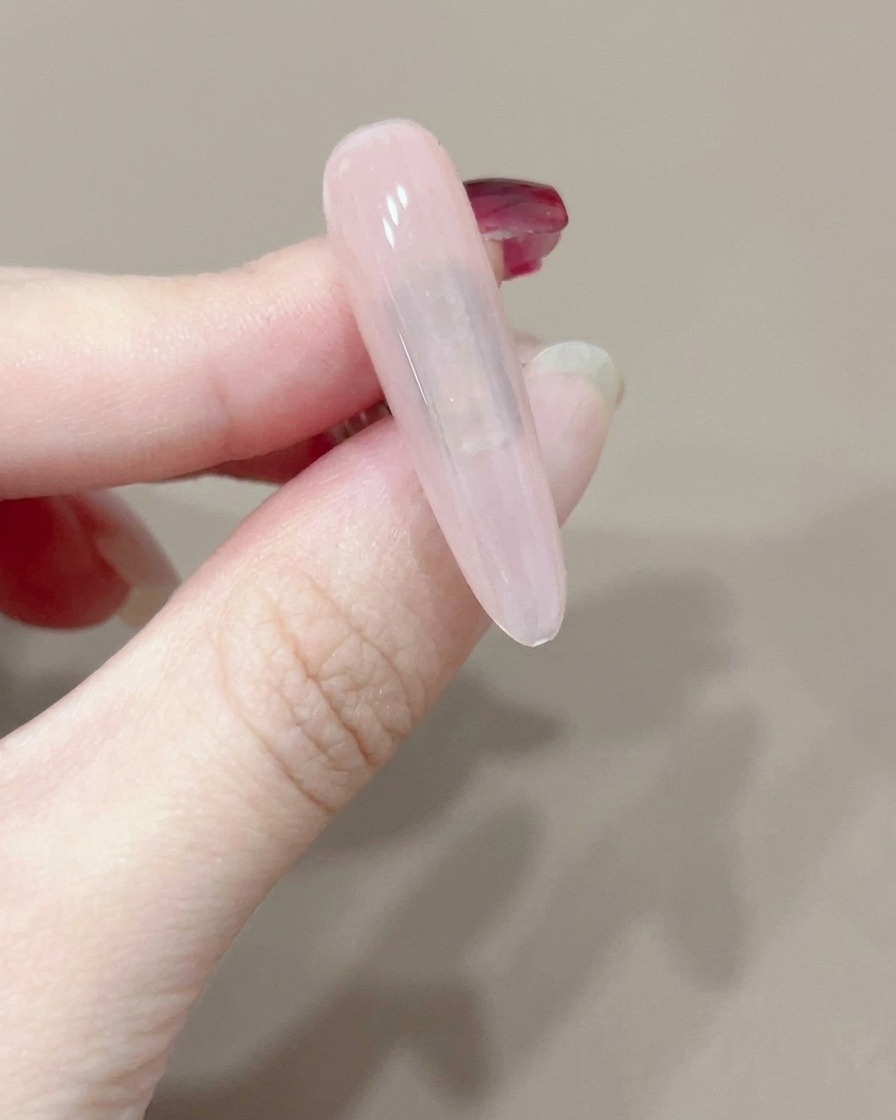
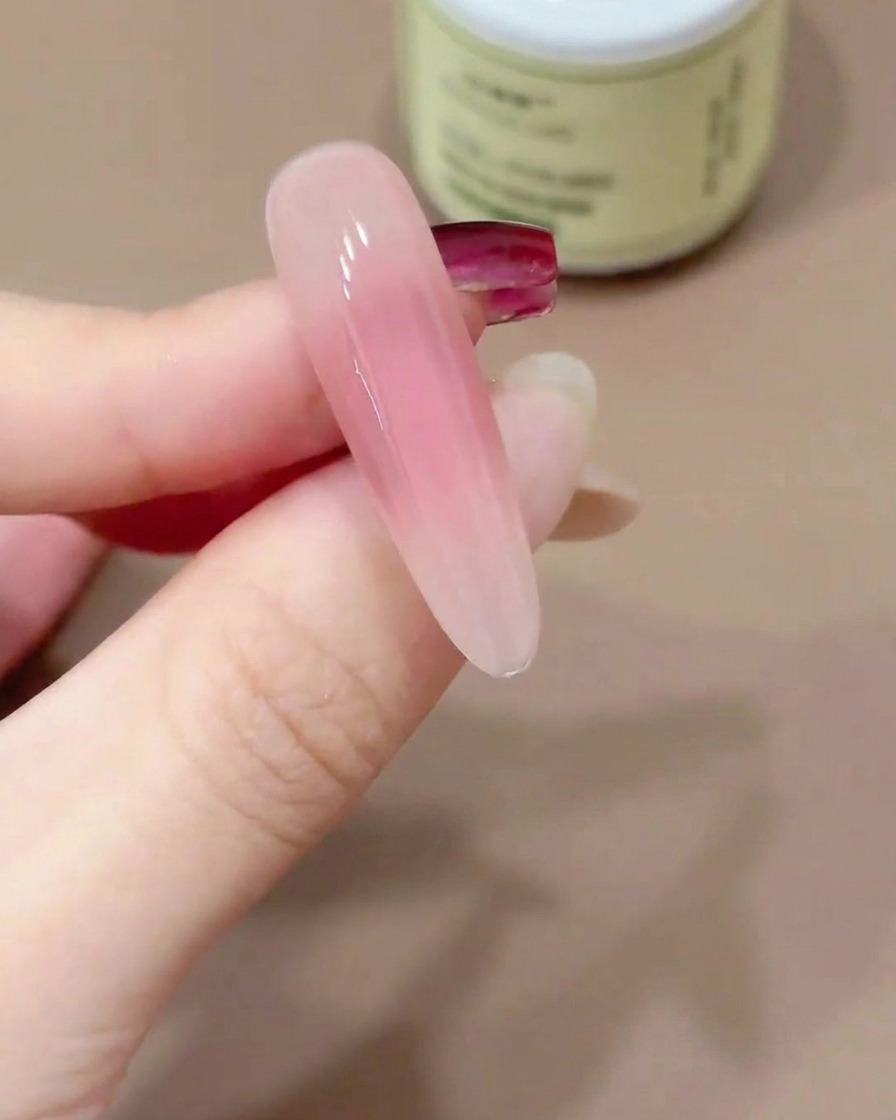
Tip: A completely matte, non-sticky surface ensures the blush gel application stays concentrated in the center for that perfect atmospheric look. - 4Dab on the pink blush
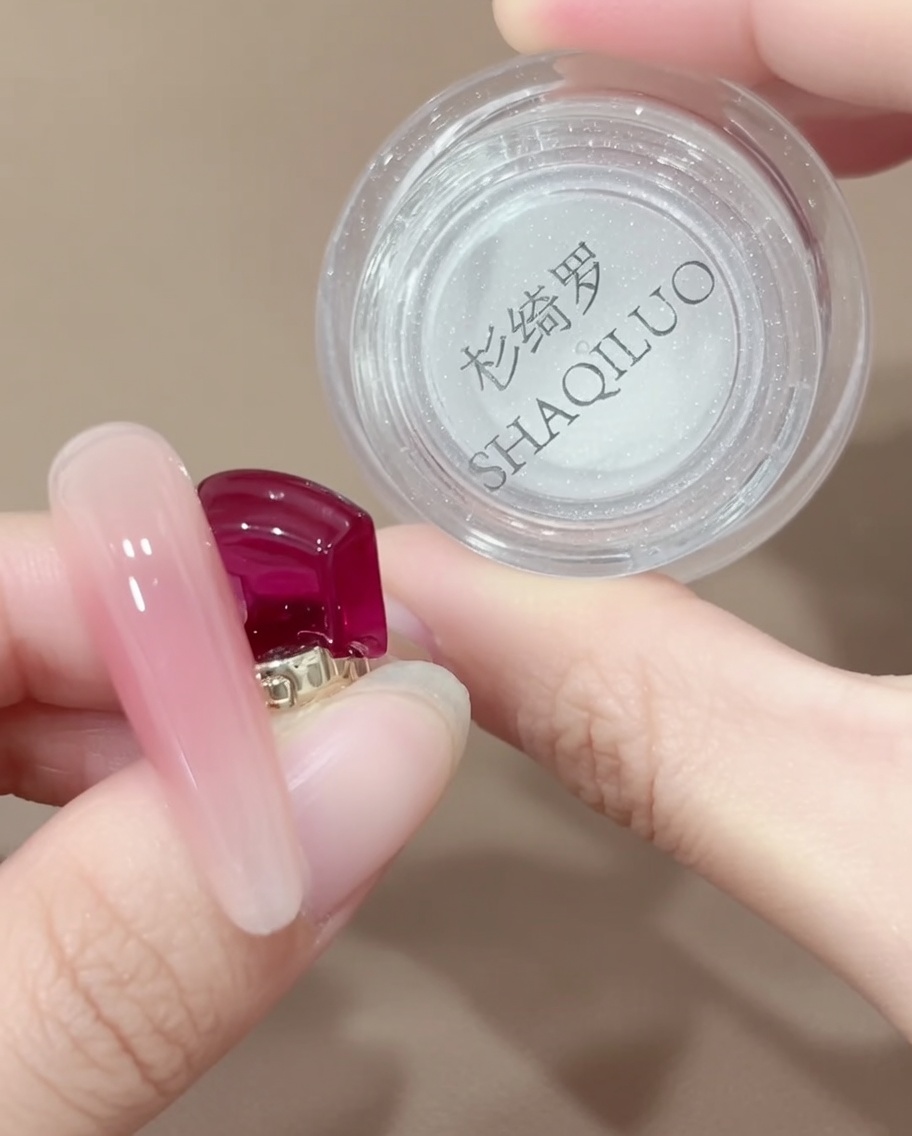
Using a silicone-tipped applicator, gently dab the pink blush gel onto the center of the nail. Use a light dabbing motion to create a soft, atmospheric gradient that radiates outwards from the midpoint.
Tip: Start with a light amount and build up to achieve the desired intensity without overwhelming the base. - 5Cure blush layer
Once you are satisfied with the initial placement of the blush gel, cure the nail under your UV or LED lamp. This locks in the first layer of color before you add more depth.
Tip: Curing between layers prevents the colors from blurring into an uneven mess. - 6Build blush intensity

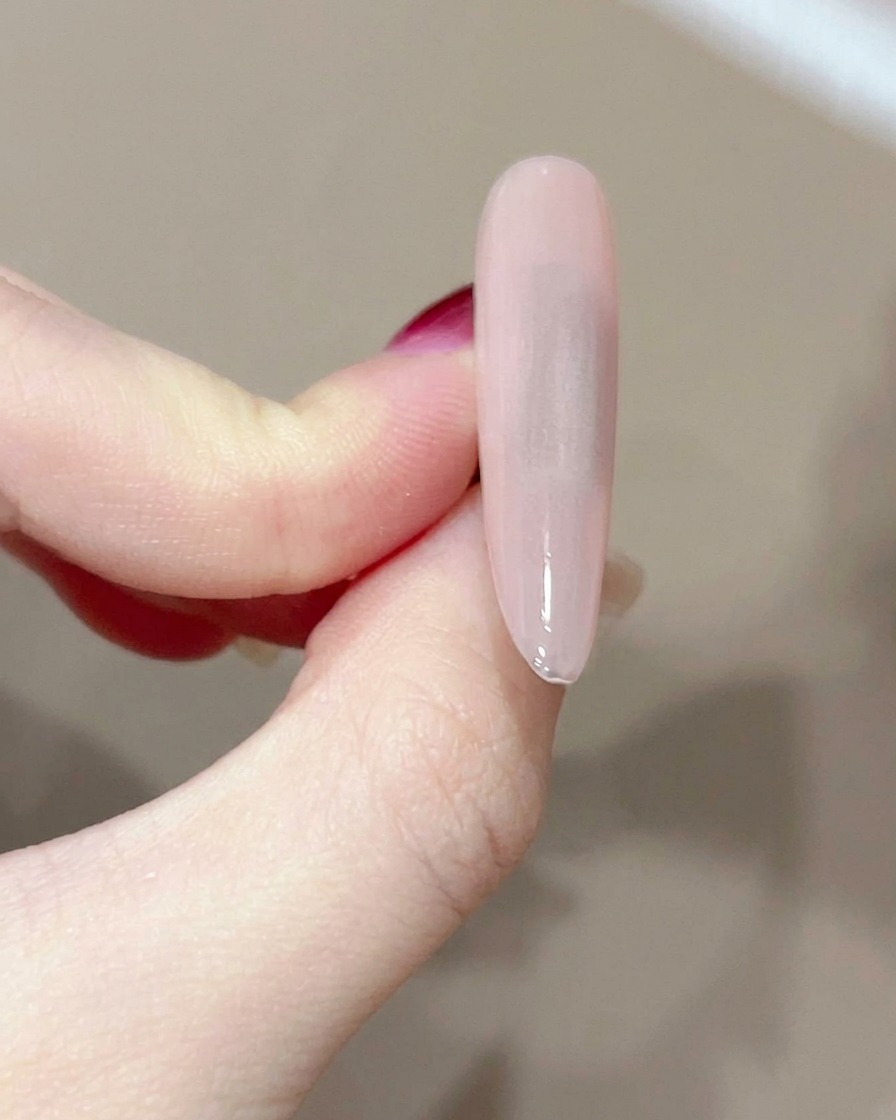
Apply a second, slightly smaller layer of pink blush gel directly over the center of your previous application. This builds the characteristic soft-focus, atmospheric depth of the blush look.
Tip: Focus your application strictly on the very center for this second pass to enhance the gradient contrast. - 7Cure the blush layer
Place the nail under your UV/LED lamp to cure the second layer of blush gel. Ensure the nail is positioned correctly to allow the gel to cure fully and lock in the soft, atmospheric gradient youve created.
Tip: Check that your lamp is clean and working correctly to ensure a complete cure for the gel layers. - 8Add depth to the blush
Using a small brush or the application tool, place a tiny, concentrated dot of pink blush gel directly in the center of the existing gradient. This adds depth and creates a more intense, multi-dimensional look to your design.
Tip: Keep the dot small and focused to maintain the soft, ethereal feel of the blush gradient. - 9Apply chrome sealing top coat
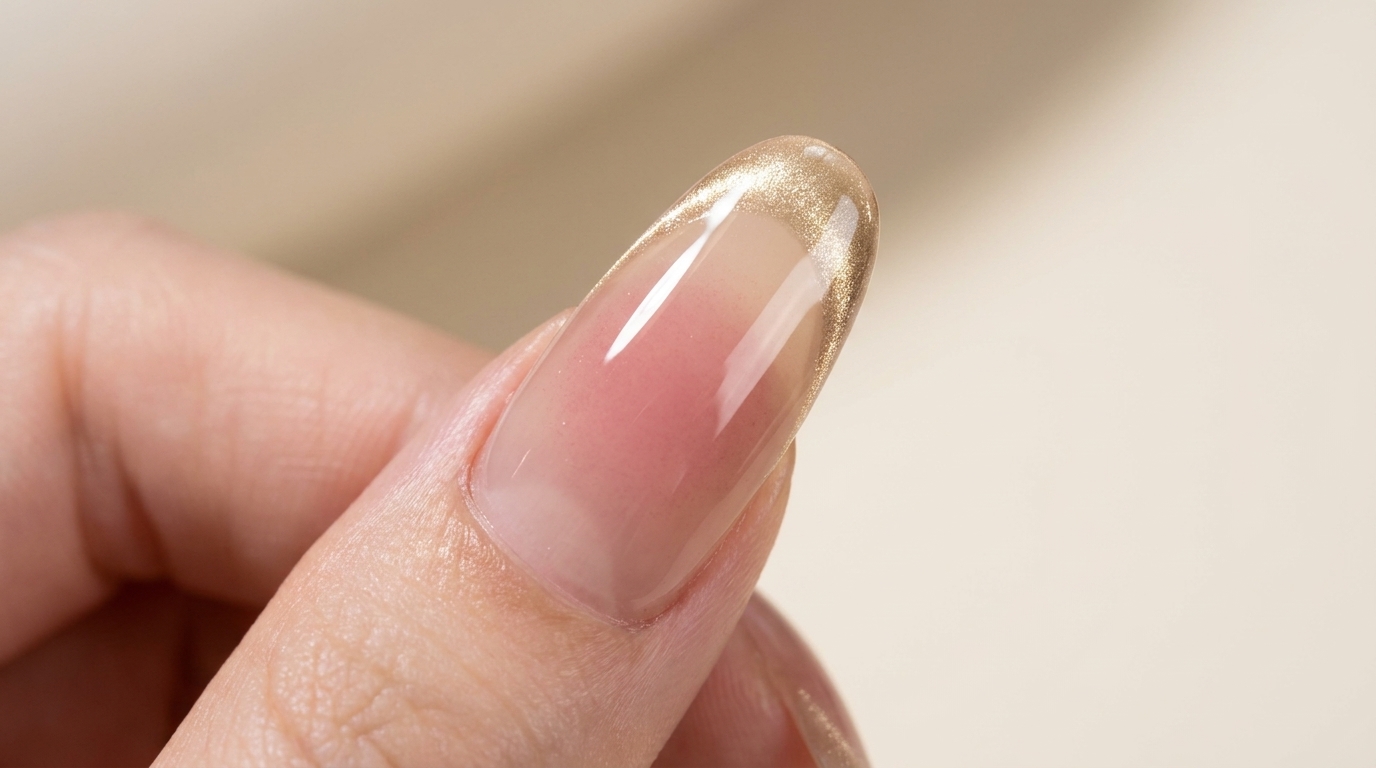
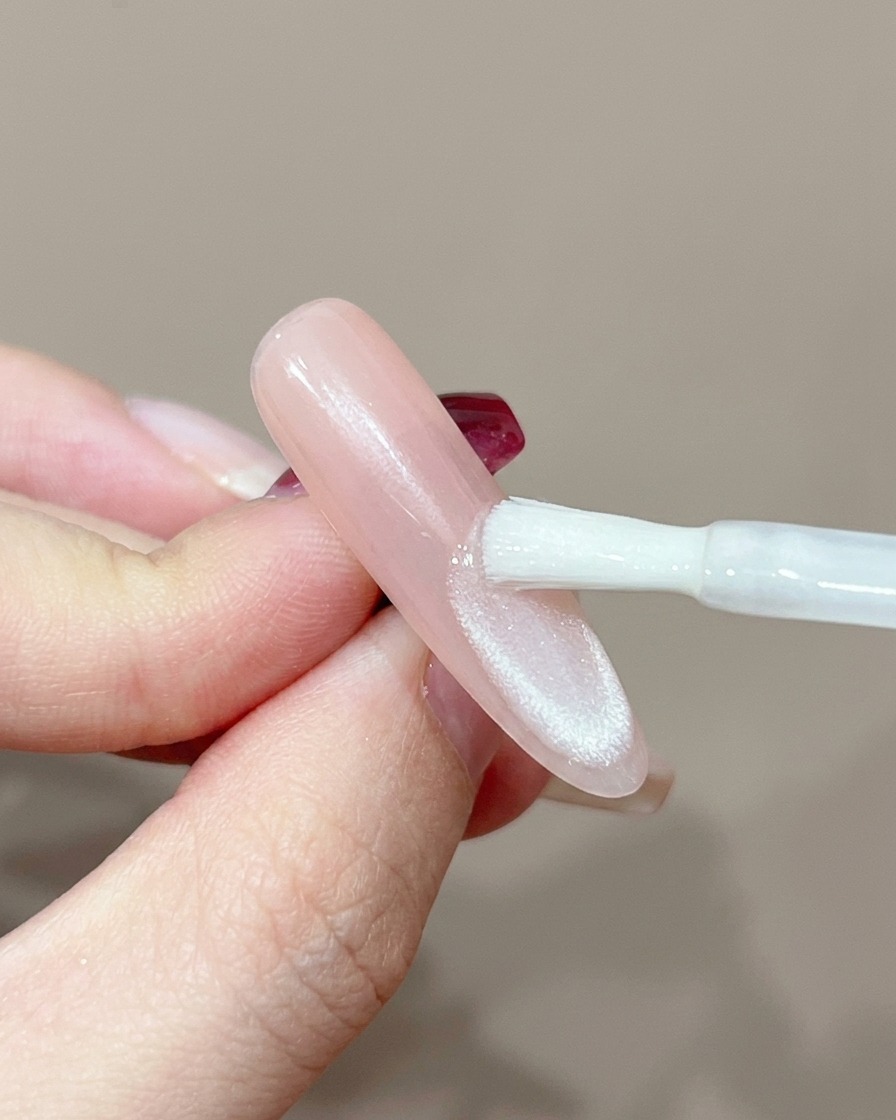
Apply an even layer of a specialized no-wipe top coat designed for chrome applications over the completed blush gradient. This step protects the blush design and provides a perfectly smooth, sticky-free surface for the chrome powder to adhere to.
Tip: Ensure you cap the free edge of the nail to keep your design sealed and prevent lifting. - 10Level the top coat
Turn the nail tip upside down (inverted) for a few seconds immediately after applying the top coat. This encourages the product to self-level toward the center, ensuring a perfectly smooth and uniform surface before you place it into the lamp to cure.
Tip: Holding it inverted prevents the gel from pooling at the sides and ensures a clean, professional finish. - 11Load the chrome powder
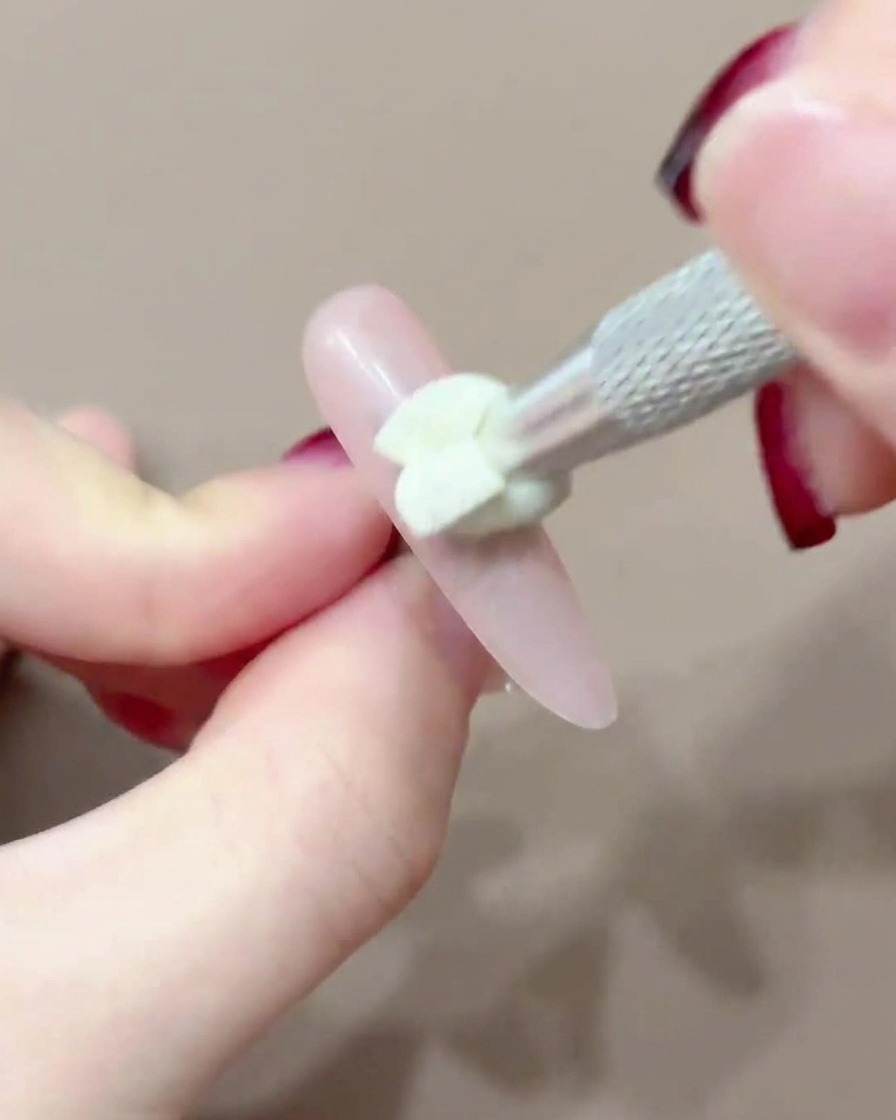
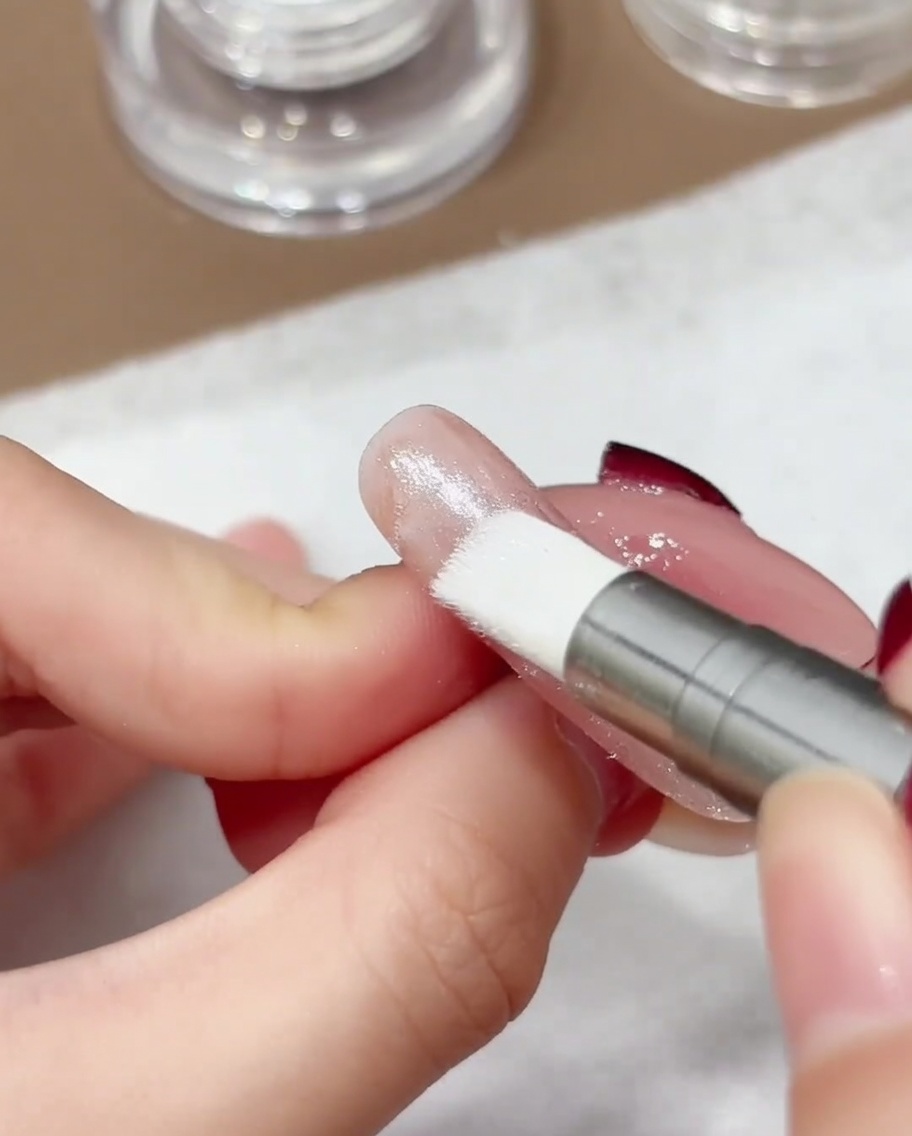
Using a silicone-tipped applicator pen, pick up a small amount of the white aurora chrome powder. The silicone tip helps to grip the fine powder and allows for precise, clean application onto the nail surface.
Tip: A little powder goes a long way; start with a small amount and build as needed. - 12Press and buff chrome
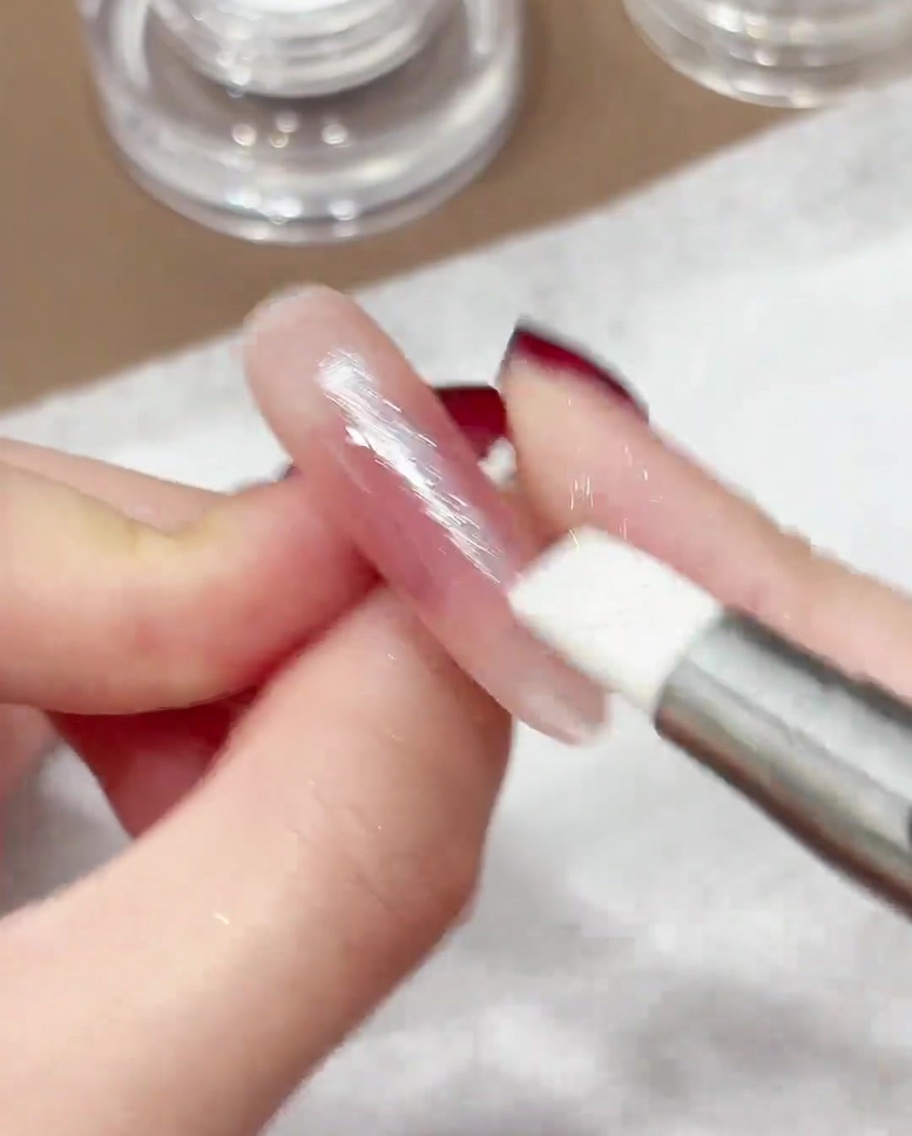
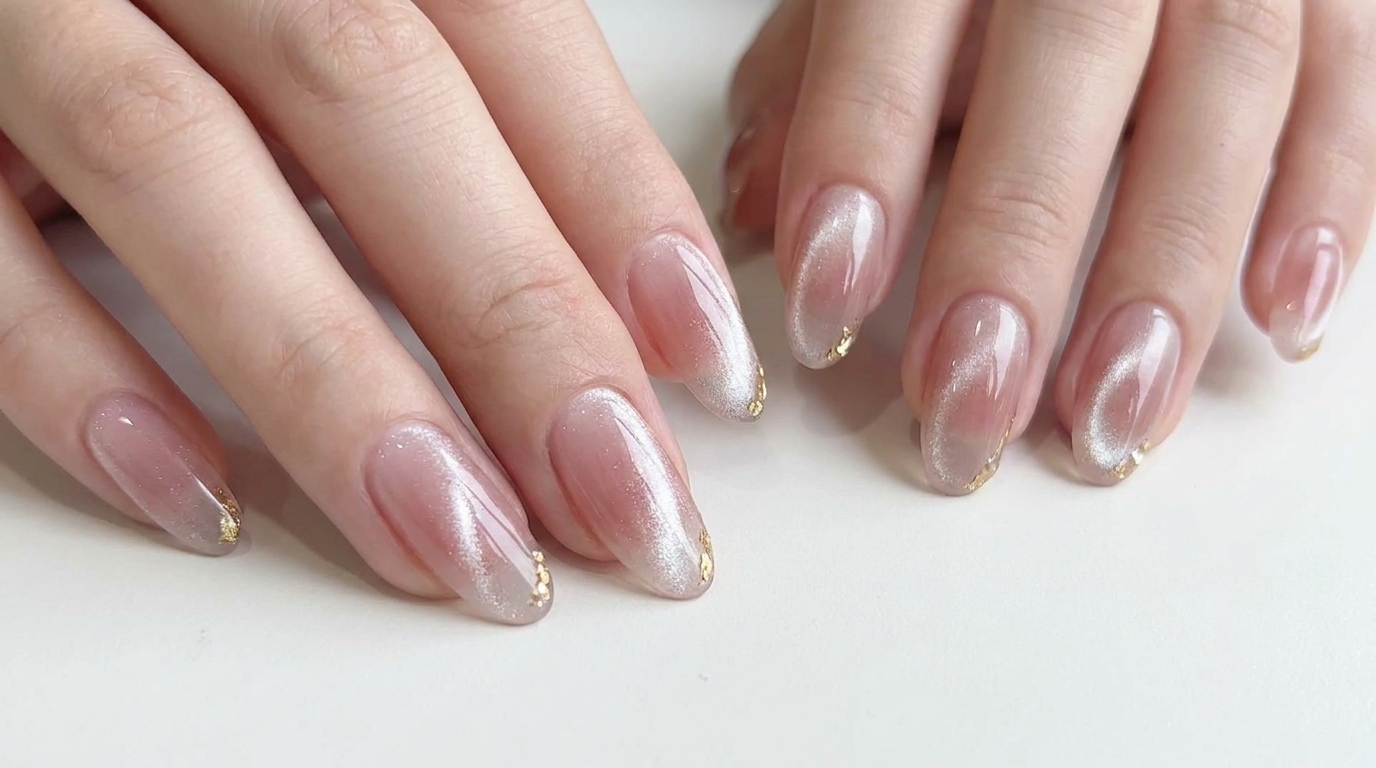
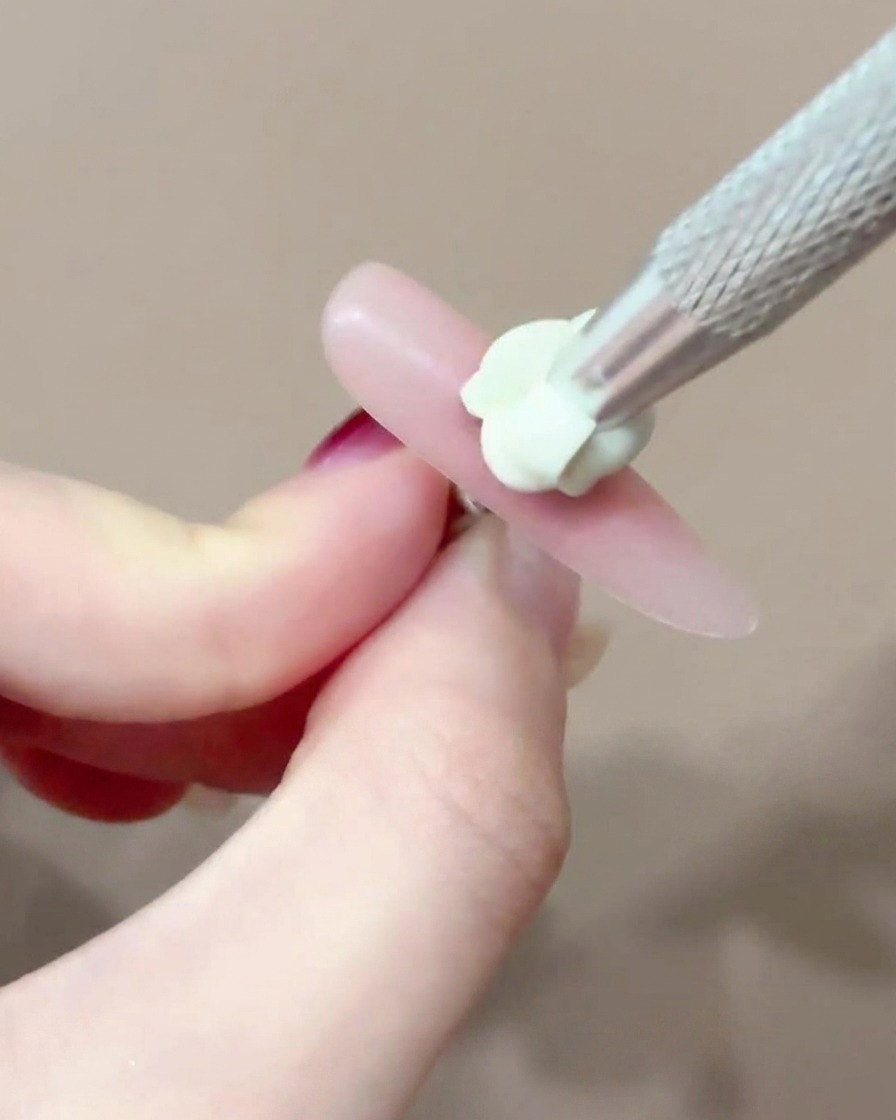
Gently press the aurora chrome powder onto the cured top coat surface. Use the silicone pen to buff the powder firmly into the nail, working it into all edges to ensure a consistent, brilliant, and mirror-like finish.
Tip: Apply firm, steady pressure to achieve the smoothest, most reflective chrome finish. - 13Final chrome polish
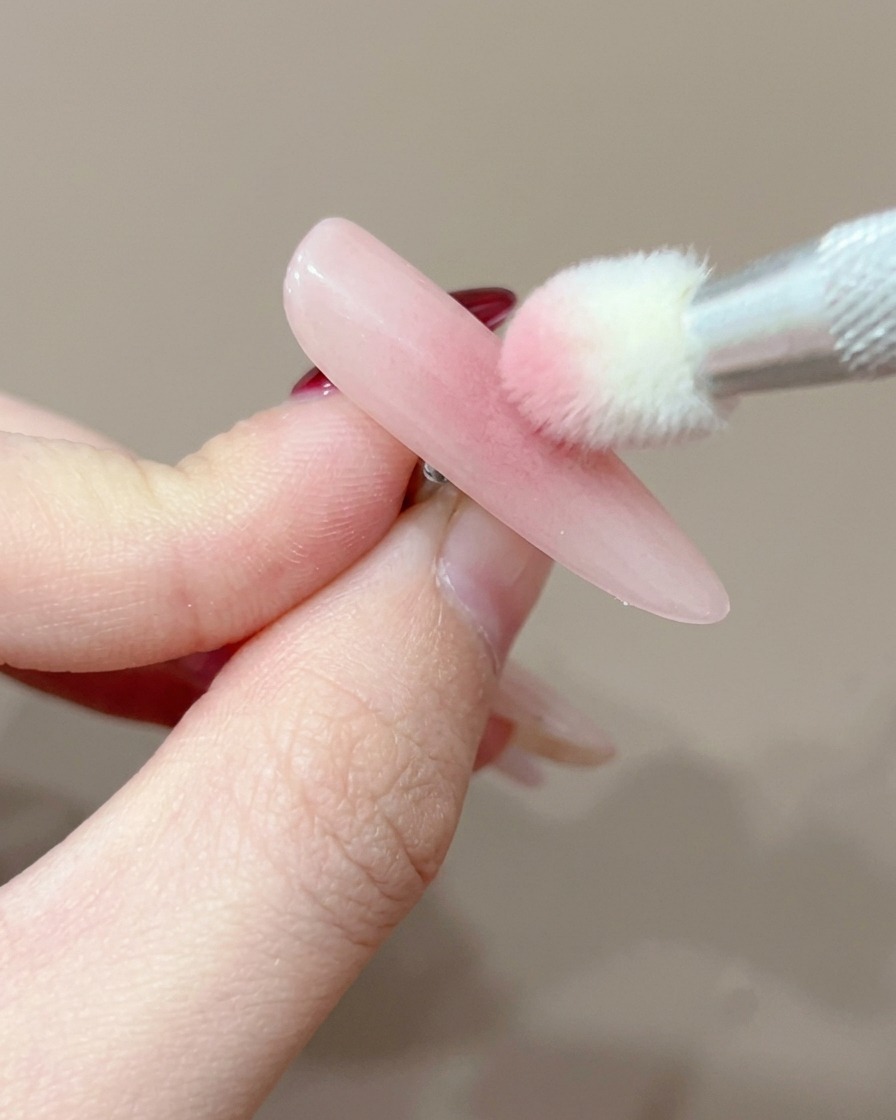
Using the silicone applicator pen, buff the aurora chrome powder into the nail surface using firm, circular motions. Apply strong pressure to ensure the pigment is fully integrated for an even, brilliant finish, taking care to cover the entire surface including the edges.
Tip: The silicone applicator pen is a great tool for this step because it provides the necessary firmness to buff the powder into the nail while keeping your fingers clean.