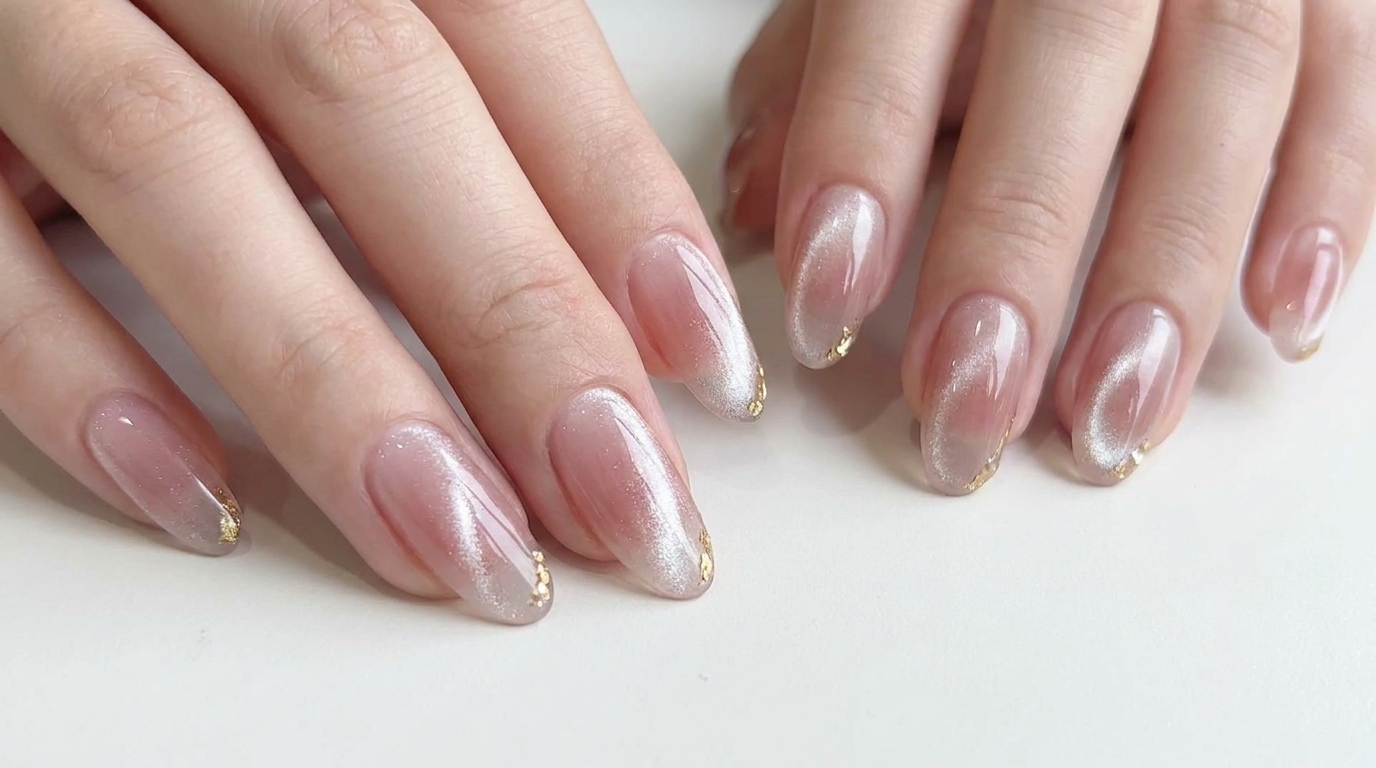
Blush Cat Eye Nails
Gold Accents — Step-by-Step Tutorial
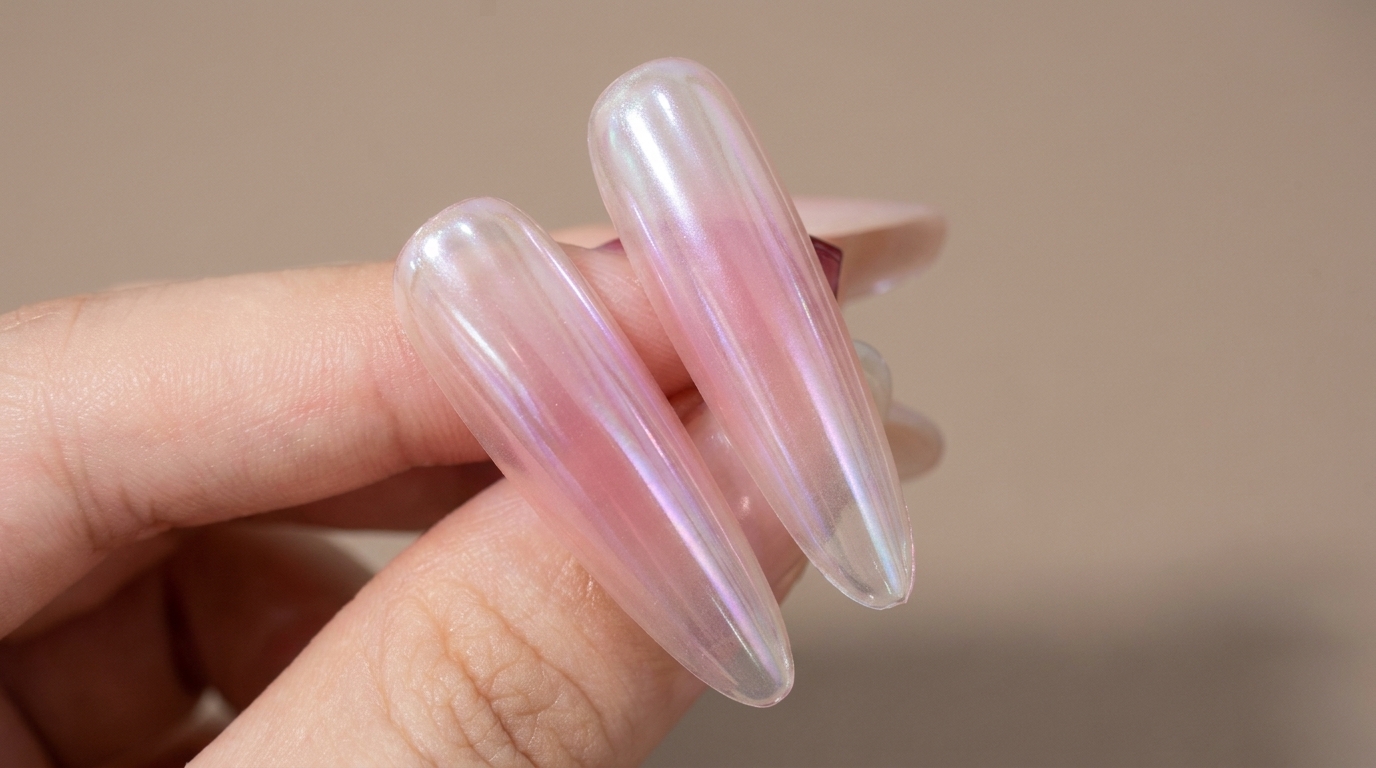
Create an ethereal look with this blush cat-eye gel manicure. We blend soft pink gradients with mesmerizing magnetic shimmer and elegant gold tip detailing.
The blush cat-eye look is the perfect fusion of soft, romantic aesthetics and modern, high-shine technology. This tutorial walks you through achieving that elusive glowing gradient effect, elevated with subtle gold leaf accents for a sophisticated finish that works for any occasion.
Steps
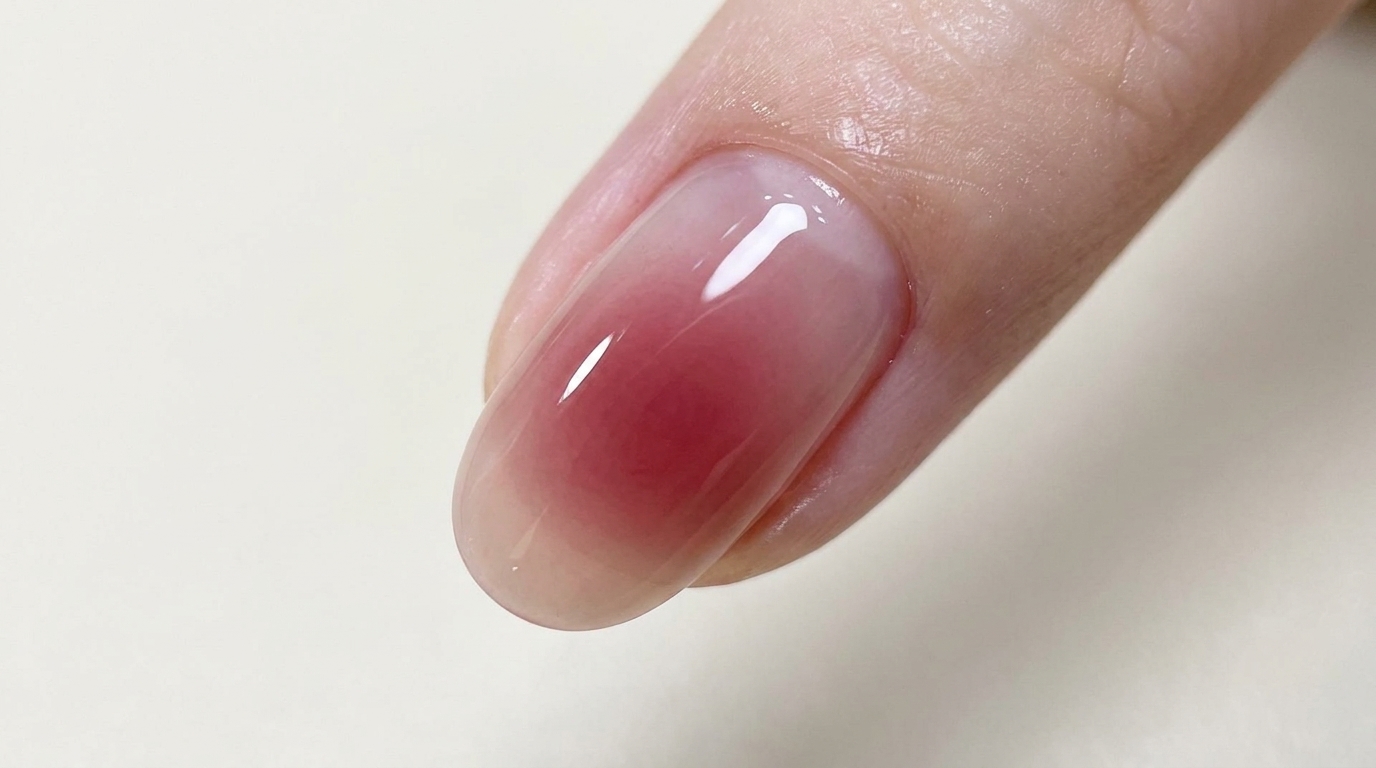
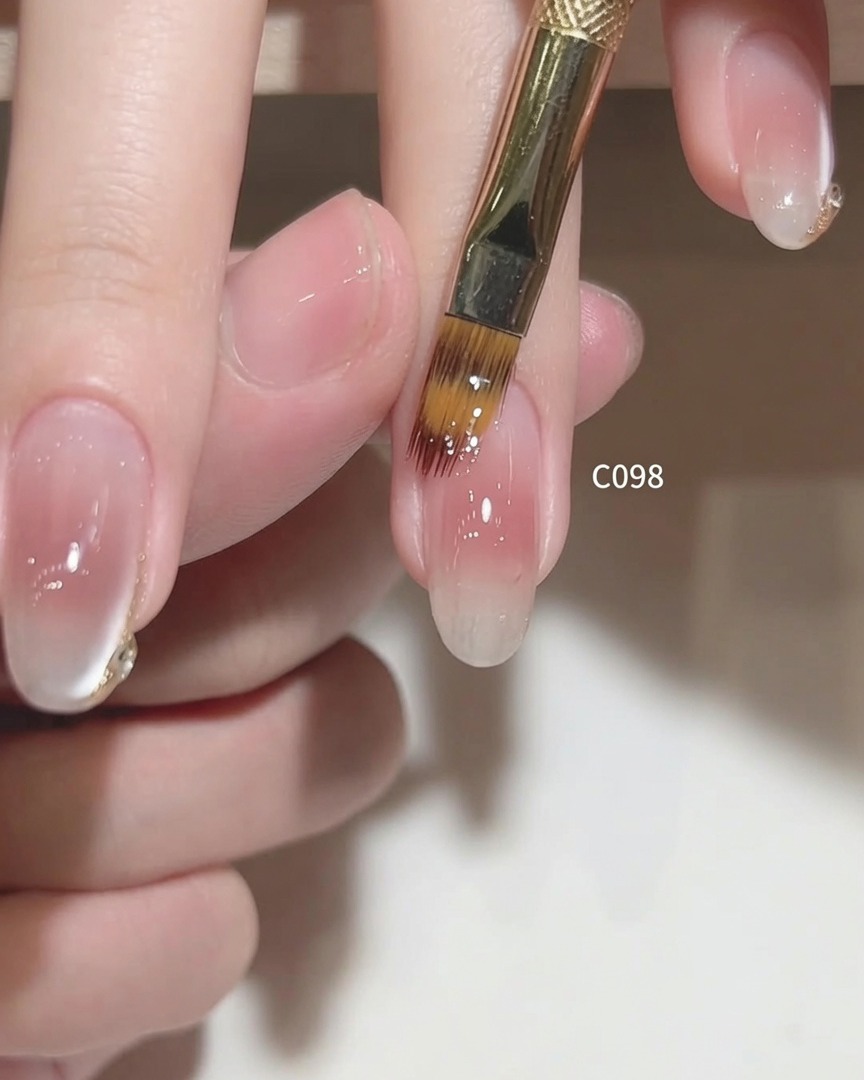
- 1Apply soft pink base gel
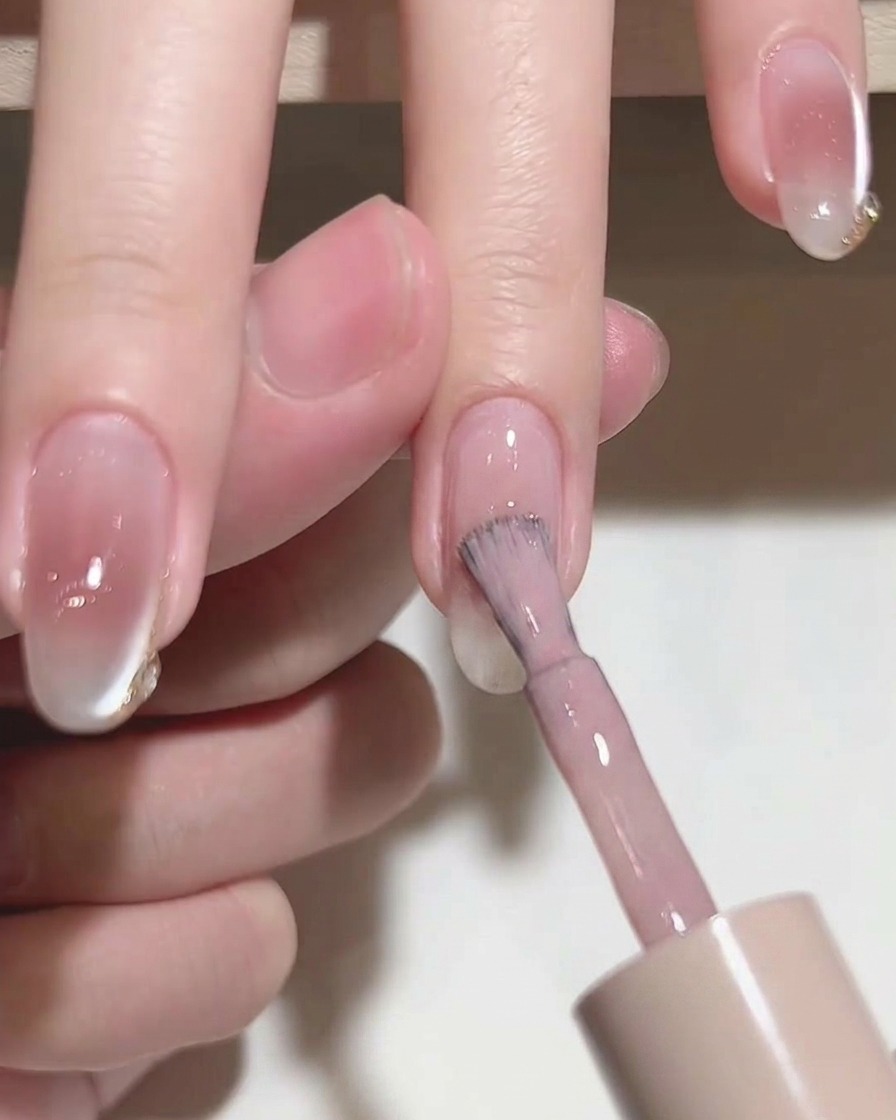
Apply a thin layer of soft pink translucent gel to the nail plate, ensuring even coverage from the cuticle to the free edge. Cap the free edge to ensure longevity. Cure under a UV/LED lamp according to the product instructions.
Tip: Apply in thin layers to maintain the transparency and avoid pooling at the cuticles. - 2Level the gel surface
Using a flat gel brush, gently smooth and level the pink gel across the nail surface. This helps eliminate any streaking or uneven patches, creating a seamless, uniform finish.
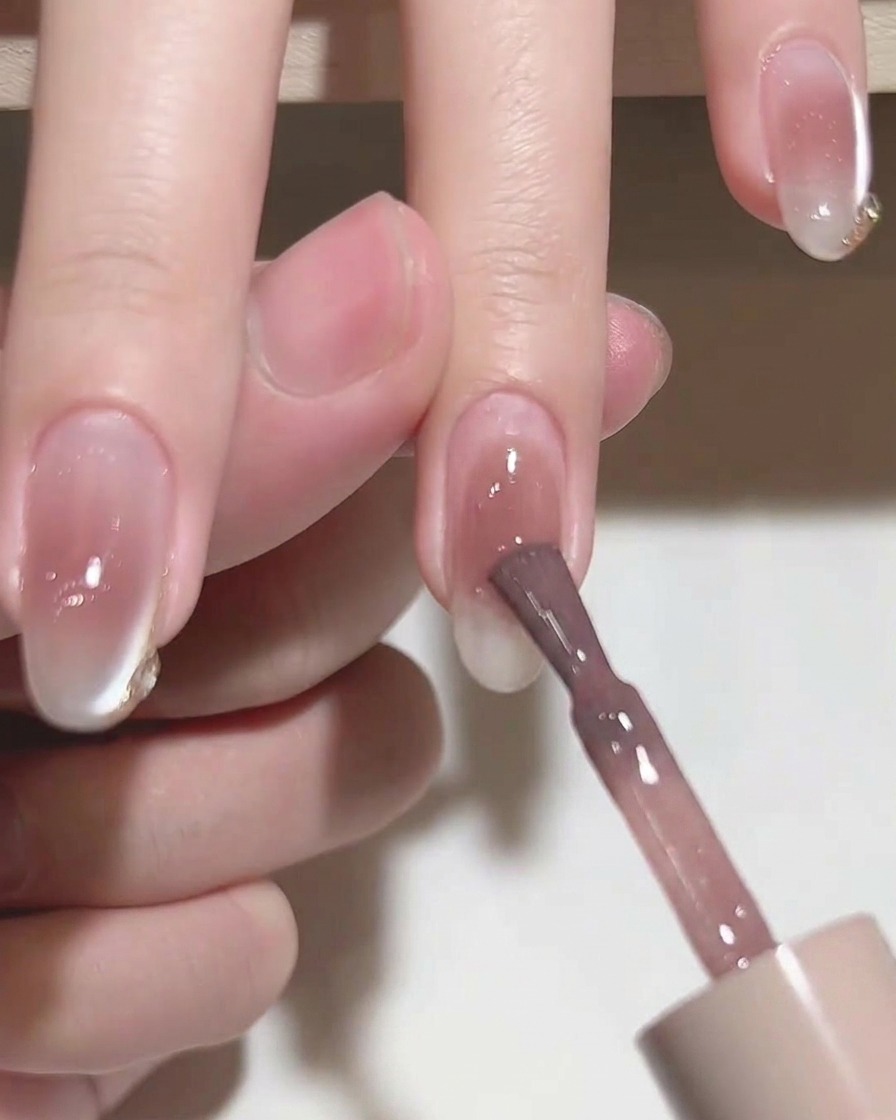
Tip: Use light, floating strokes to avoid creating drag marks in the gel. - 3Apply second pink layer
Apply a second layer of the pink translucent gel to build the desired color intensity and depth. This layer should be applied just as carefully as the first, ensuring it is even and well-leveled.
Tip: Building intensity with two thin layers is better than one thick layer for a professional, streak-free look. - 4Even out the gel finish
Brush the pink gel across the nail surface one final time to ensure an even, smooth finish before curing. Ensure the gel is distributed evenly across the entire nail plate.
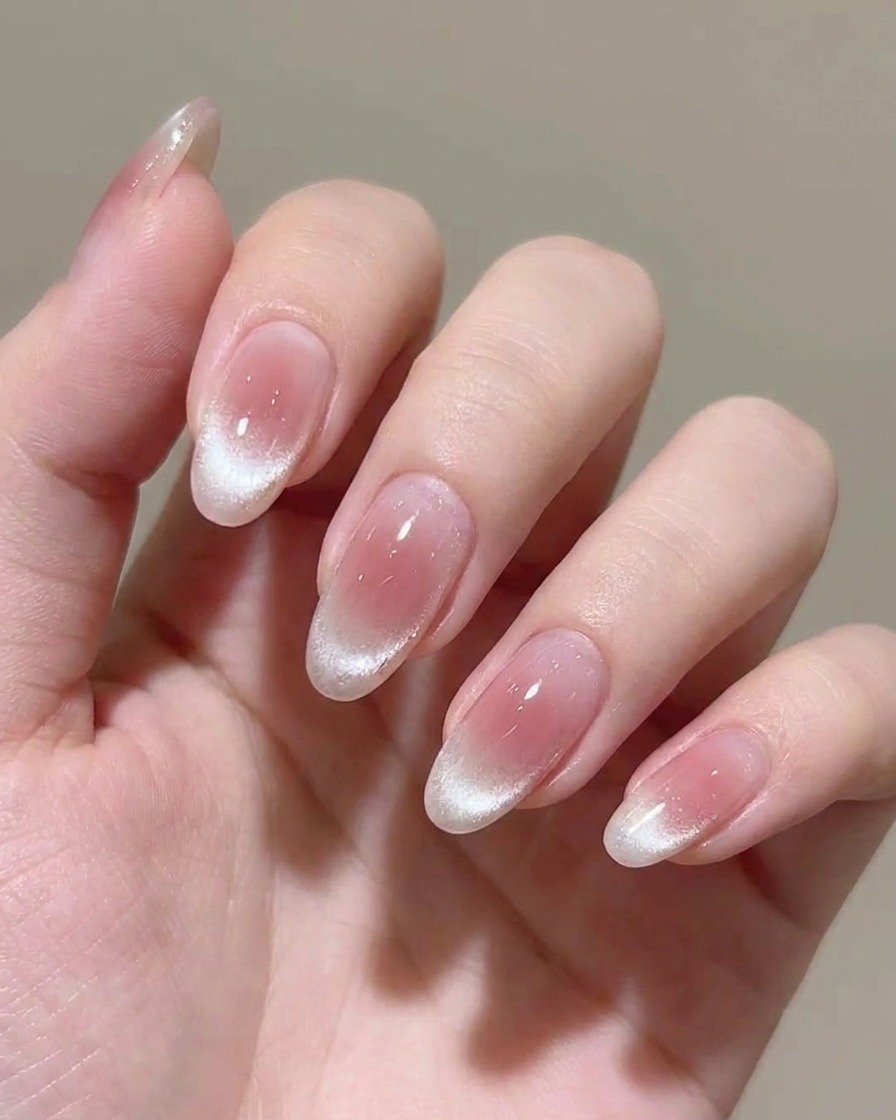
Tip: Check the reflection on the nail surface to ensure it looks smooth before placing under the lamp. - 5Apply cat-eye gel
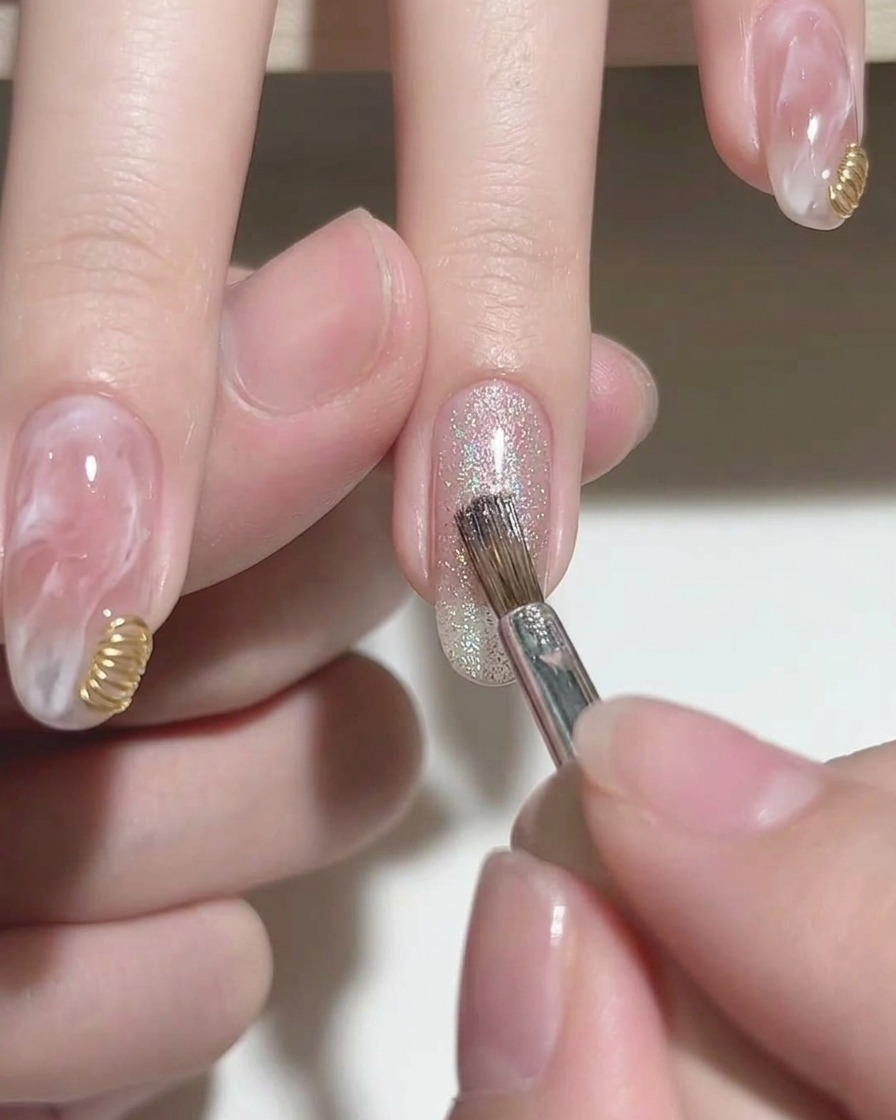
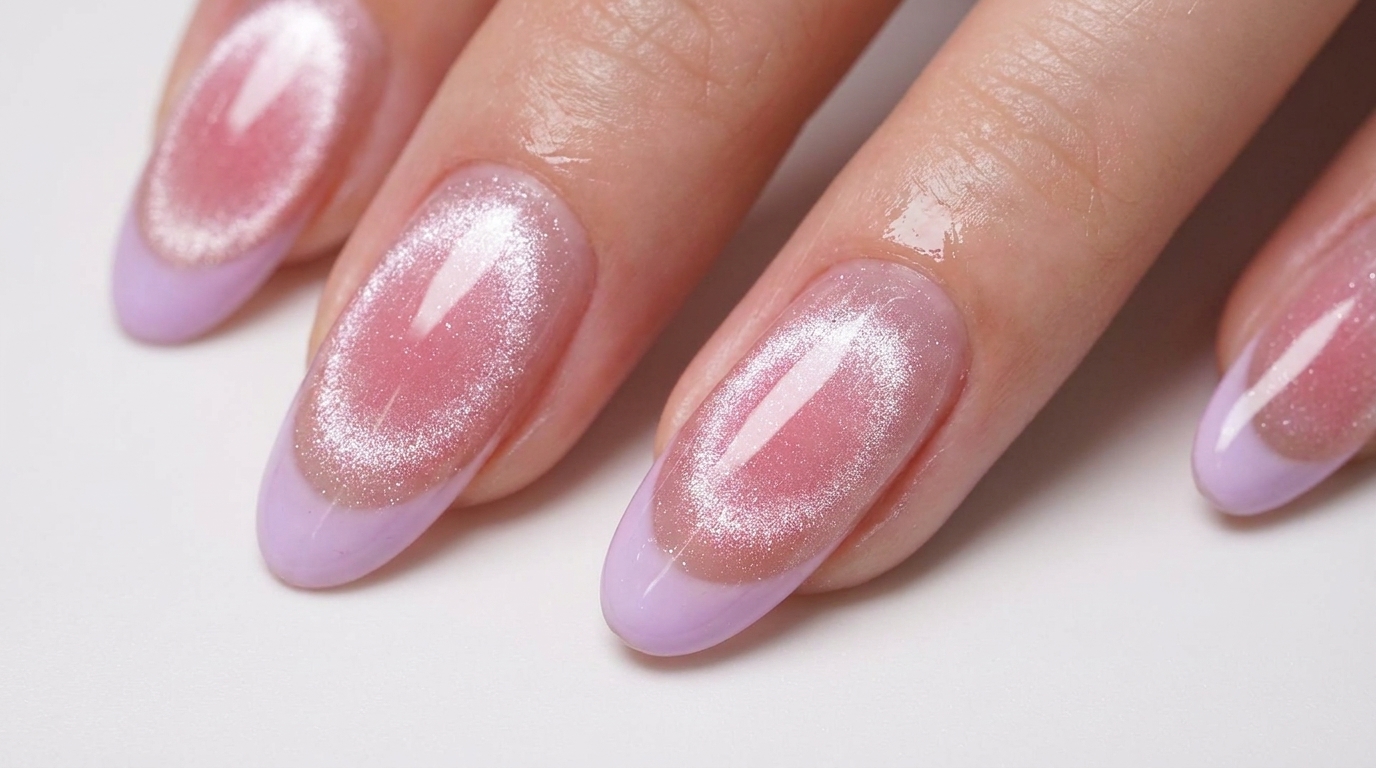
Brush a layer of magnetic cat-eye gel polish over the nail. Focus the application where you want the magnetic effect to be most prominent, such as the tip for a gradient or French illusion look.
Tip: Make sure the cat-eye gel layer is applied slightly thicker than regular polish so the magnetic particles have enough room to shift. - 6Create cat-eye shimmer
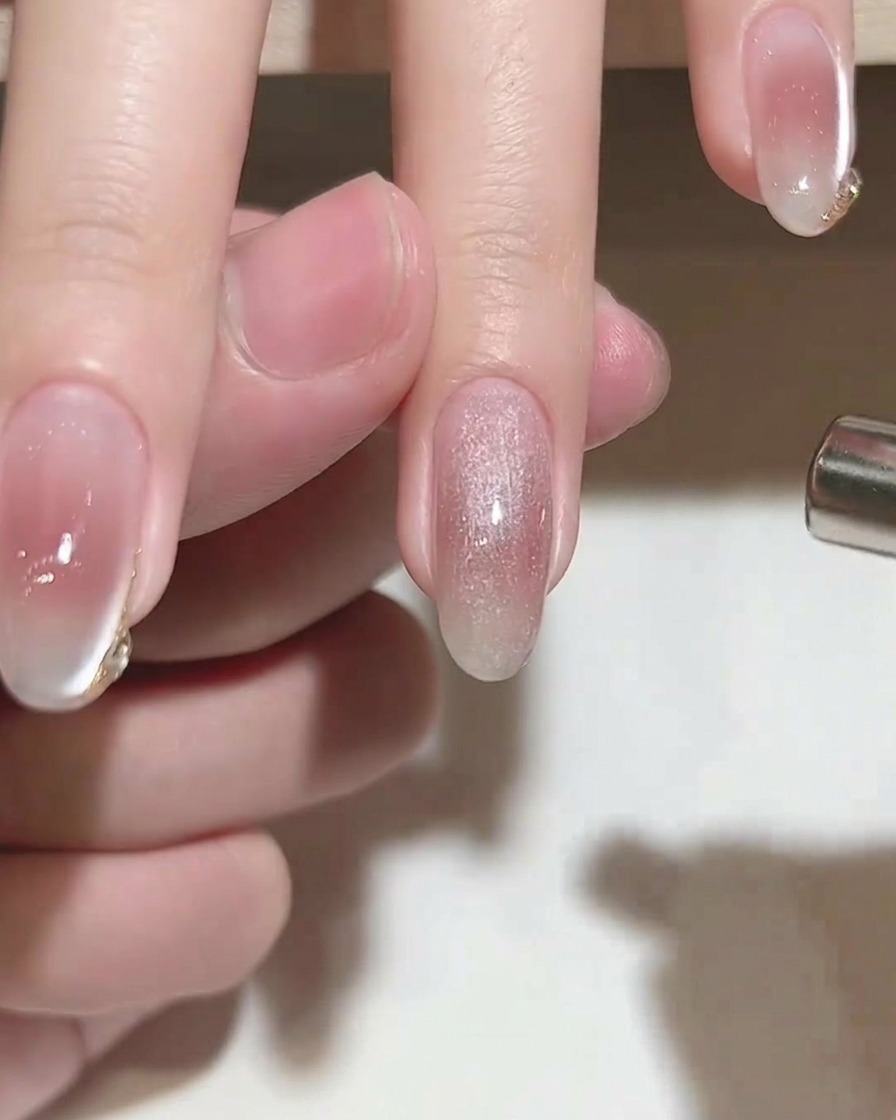
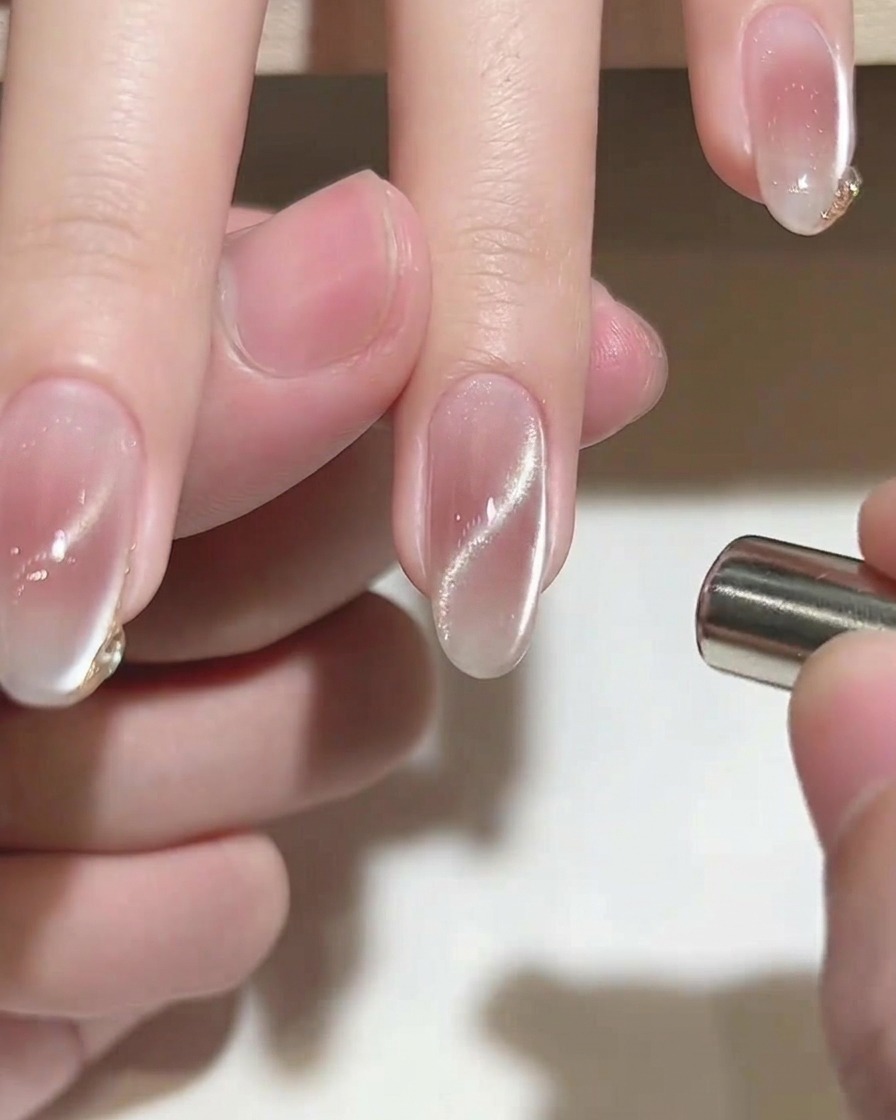
Before curing the final gel layer, hold a cylindrical magnet near the nail to manipulate the magnetic particles in the cat-eye gel. Move the magnet to create the desired shimmer pattern.
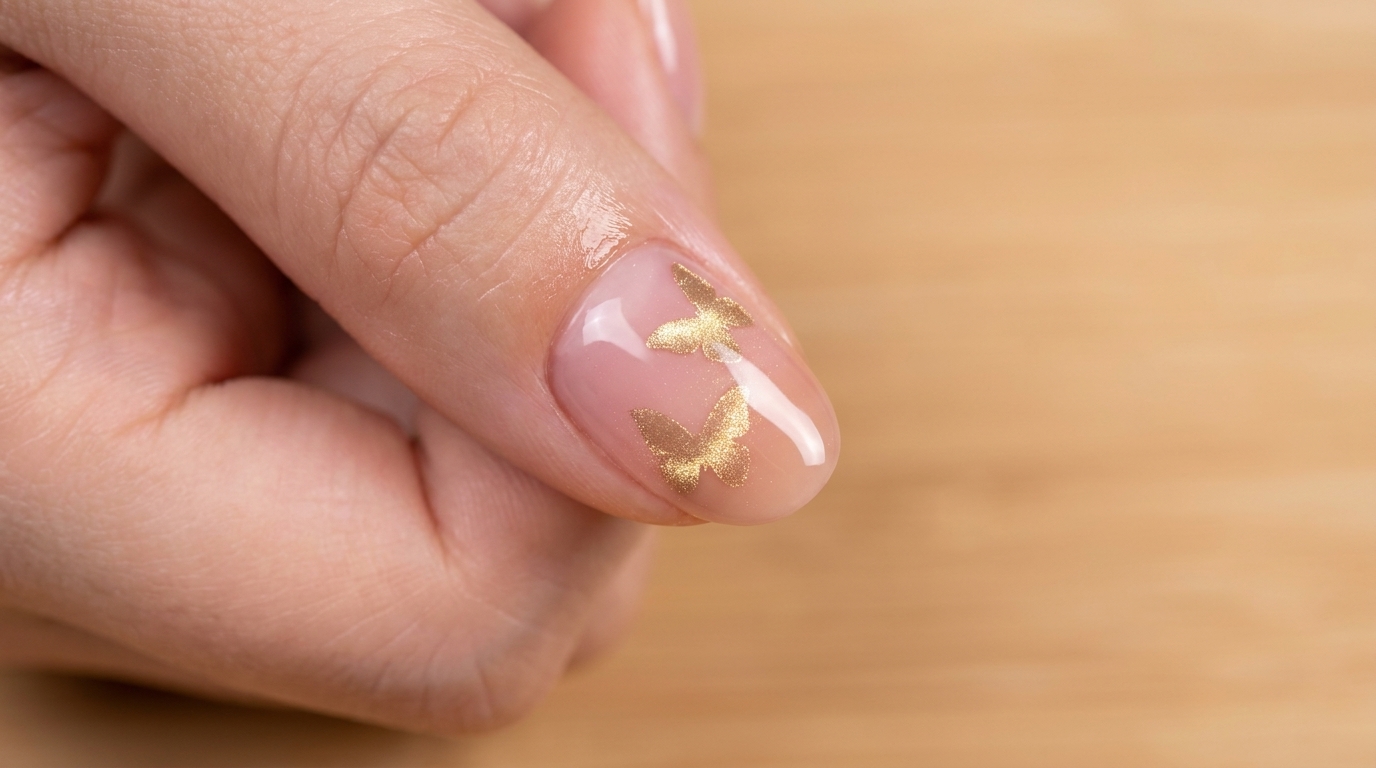
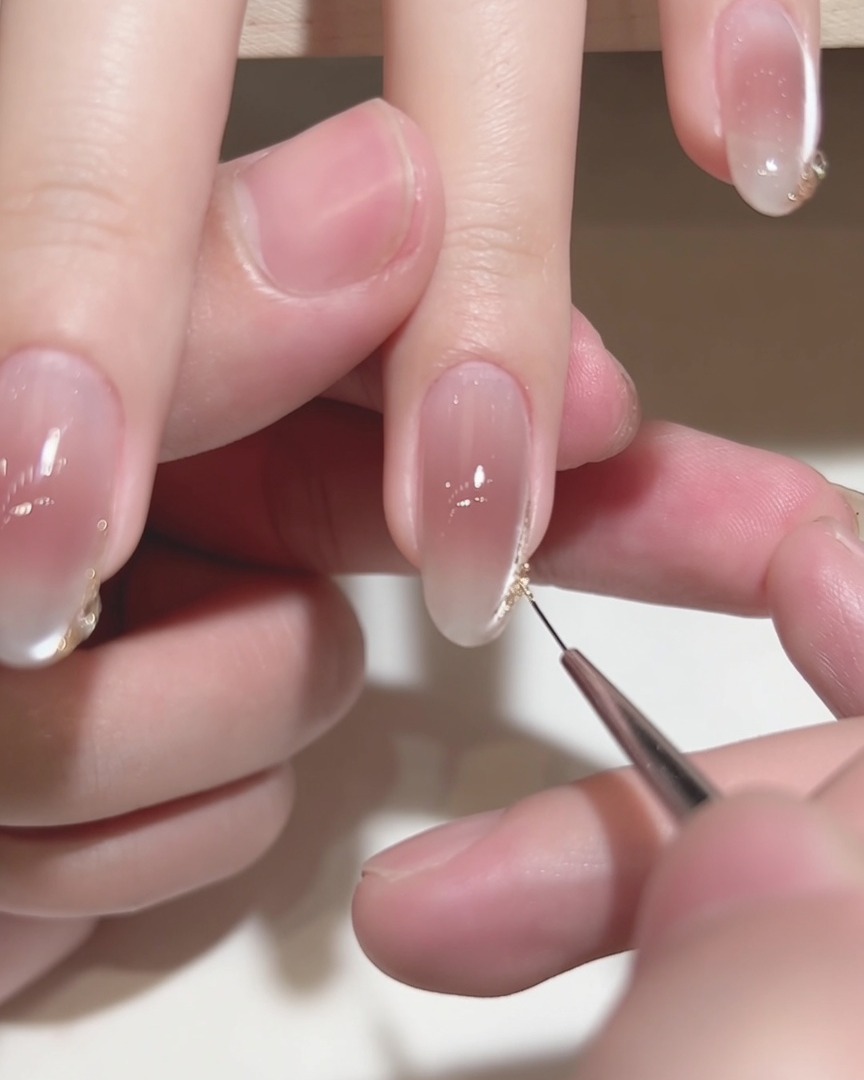
Tip: Hold the magnet steady for a few seconds to let the particles settle into the magnetic field. - 7Apply gold tip accent
Using a fine liner brush, carefully apply a small accent of gold polish to the very tip of the nail. This adds a subtle, elegant detail to the overall look.
Tip: Use a very light touch with the liner brush for a clean, precise application. - 8Refine gold nail accents
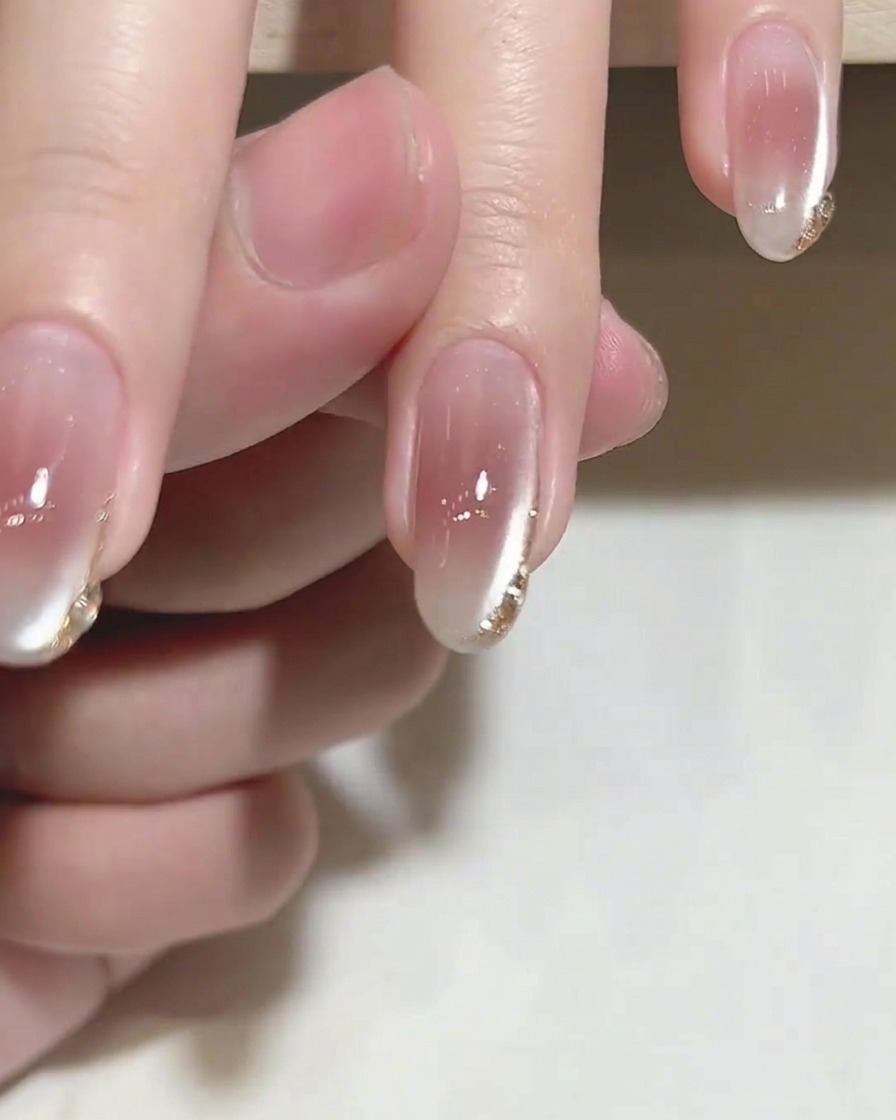
Using a fine-tipped liner brush, carefully refine the gold accent details on the nail tips. This step adds precision to the metallic elements, ensuring the gold lines are crisp, well-defined, and evenly distributed along the curve of the nail.
Tip: Hold the liner brush with a light touch to create delicate, smooth lines rather than thick, heavy strokes. - 9Apply final top coat
Apply a generous, even layer of high-shine clear top coat over the entire nail. Be sure to cap the free edge to protect the gold accents and seal the design, which helps prevent chipping and adds a professional glossy finish to the final look.
Tip: Ensure the top coat is applied smoothly to avoid streaks, and cure fully according to the gel polish instructions for maximum durability.