Water-Glossy Blush Gel Nails — Step-by-Step Tutorial
Learn how to create a flawless water-glossy blush nail using bottle builder gel. This self-leveling deep rose gradient technique requires no art brush skills.
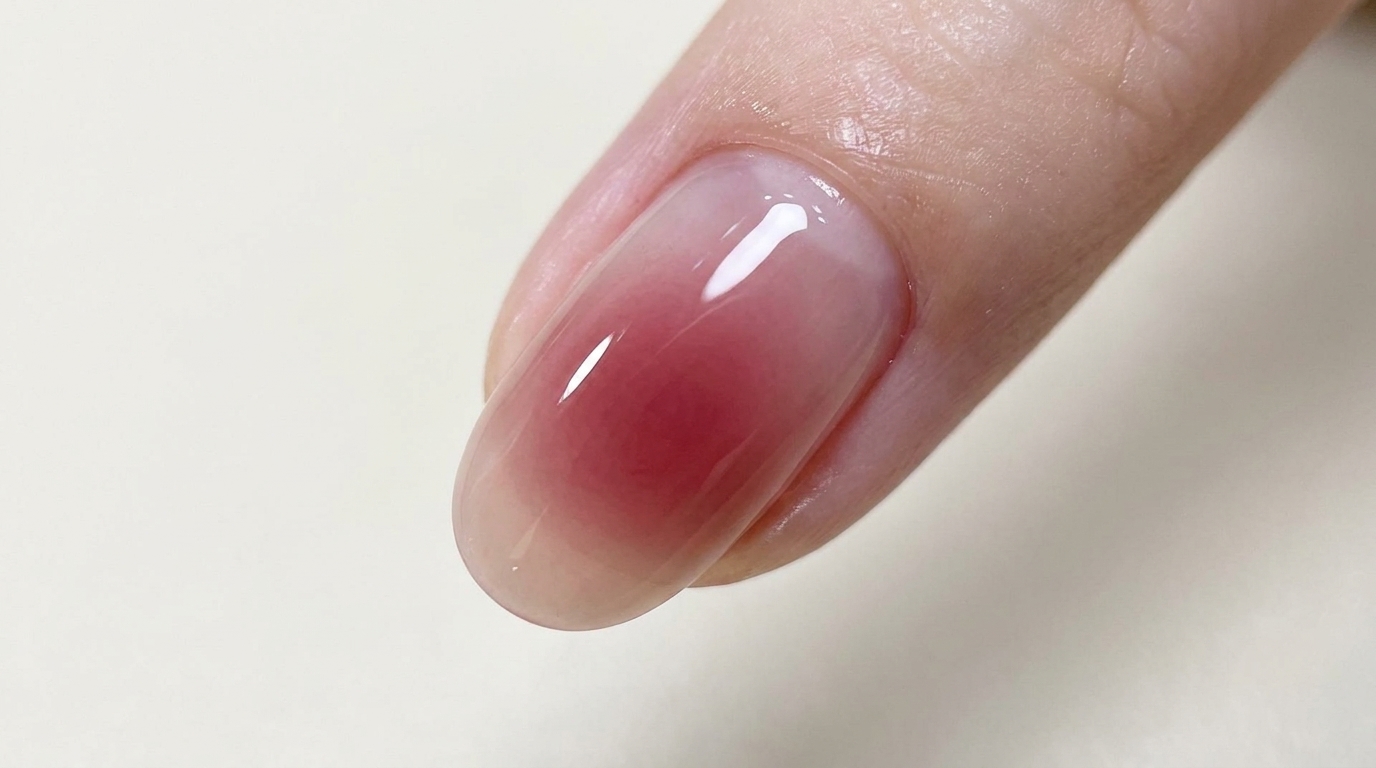
The blush nail trend continues to dominate salons, but achieving that perfectly diffused, airbrushed look can be tricky with traditional polishes. This tutorial demonstrates a brilliant self-leveling technique using bottle-type builder gel to create a seamless gradient. By letting the gel diffuse naturally and utilizing gravity to build the apex, you will achieve a plump, water-glossy finish that looks incredibly natural and dimensionally rich.
Steps
- 1Apply base layer of builder gel
Apply a thin, even layer of color #005 builder gel over the entire surface of the nail plate. Ensure the product is applied smoothly without touching the cuticle area. Cure this base layer under the UV/LED lamp as directed by your product instructions.
Tip: Applying a thin initial layer helps create a smooth foundation and prevents the gel from pooling at the edges. - 2Build the apex structure
Apply an additional bead of the #005 colored builder gel to the nail surface to build up the apex. It is completely fine if the surface isnt perfectly flat at this stage, as the goal is to establish structural support before smoothing it out with another thin layer.
Tip: Focus the bulk of the gel in the center stress area of the nail for proper structure and longevity. - 3Cure the base structure
Once the apex is built and smoothed, place your hand under the UV or LED lamp. Allow the #005 builder gel to cure completely to establish a solid foundation for the blush color.
Tip: Keep your hand level while curing so the self-leveled gel does not pool to one side. - 4Apply rose-wine slip layer
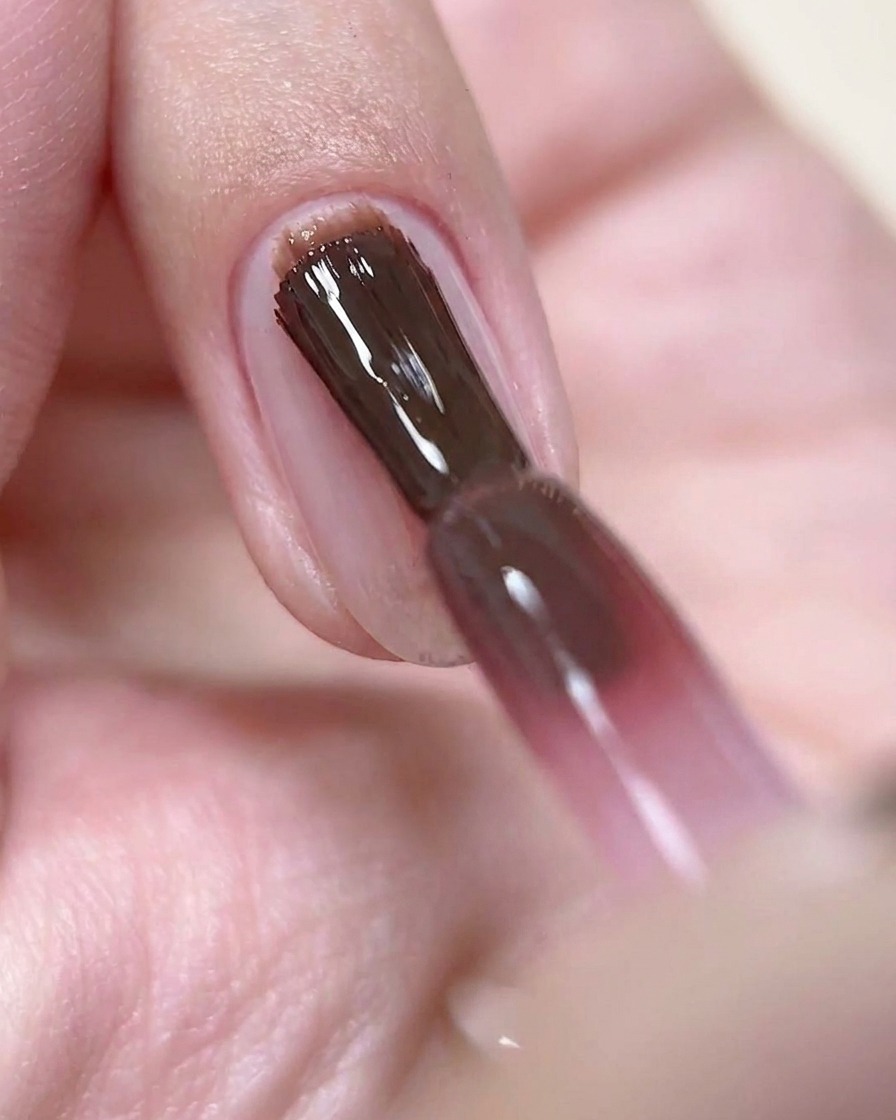
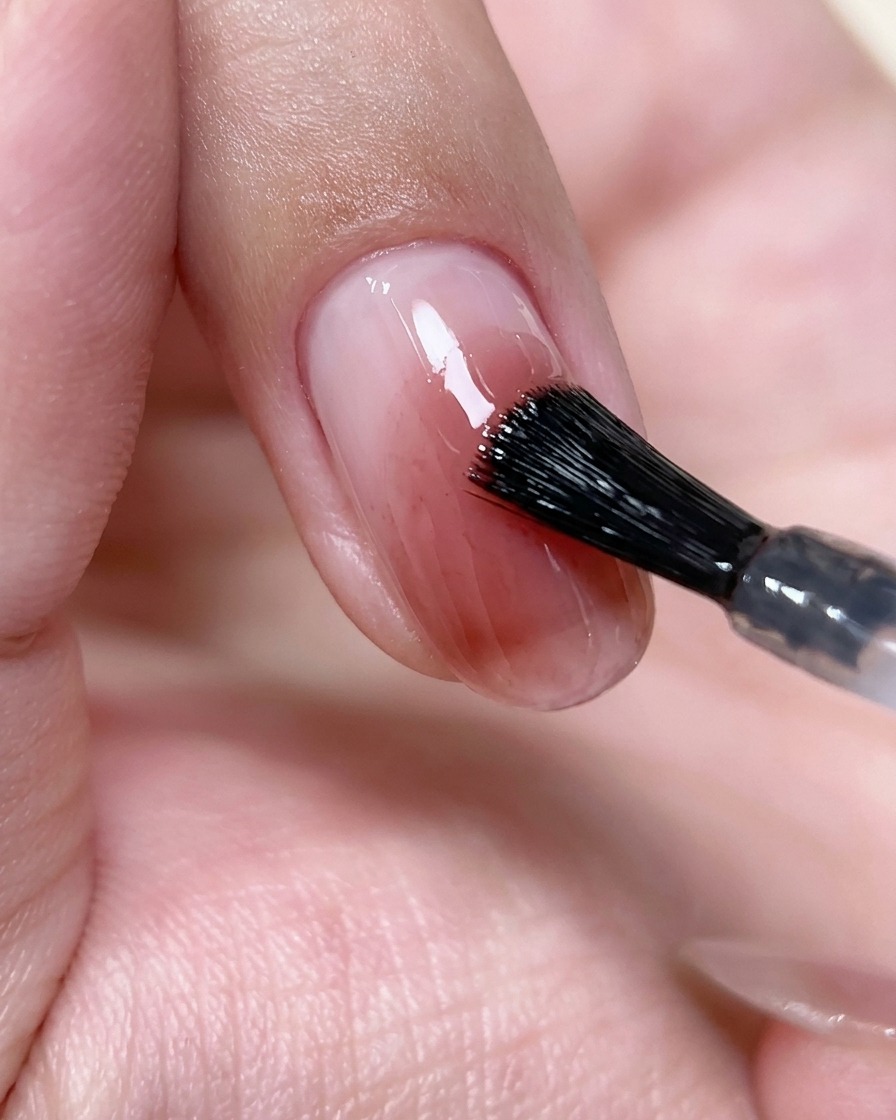
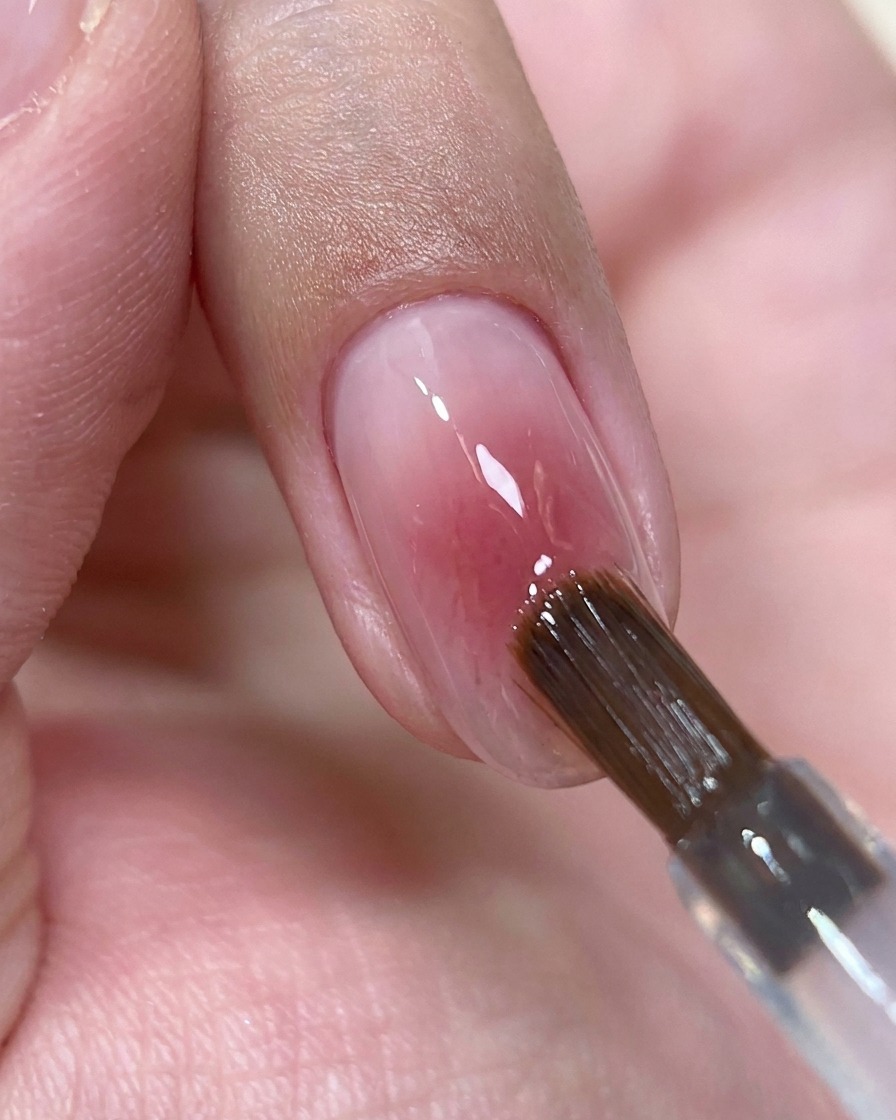
Using the #083 deep rose-wine gel, apply a thin and even base coat over the entire nail surface. This sheer layer will act as the foundation for the blush effect and help the subsequent color bead diffuse seamlessly.
Tip: Keep this layer very thin to prevent bulkiness and ensure a smooth, seamless blend for the blush nail art. - 5Apply the blush center
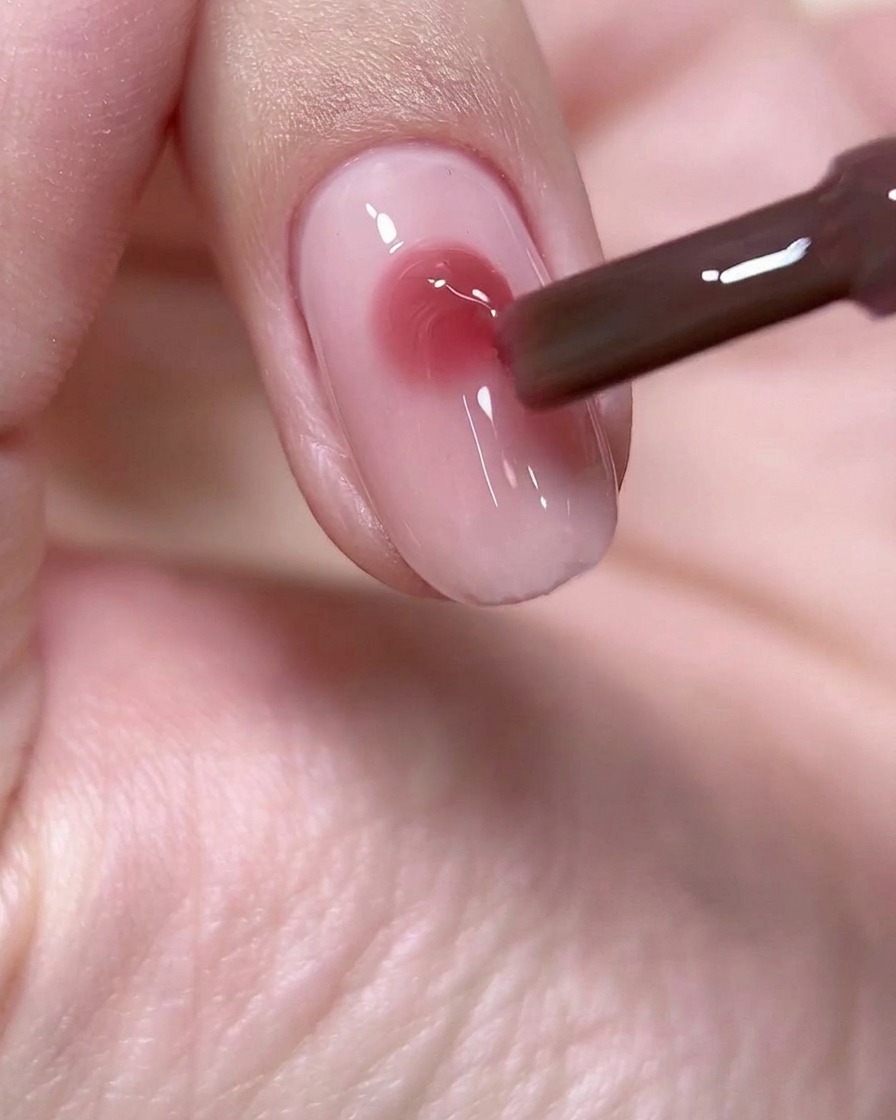
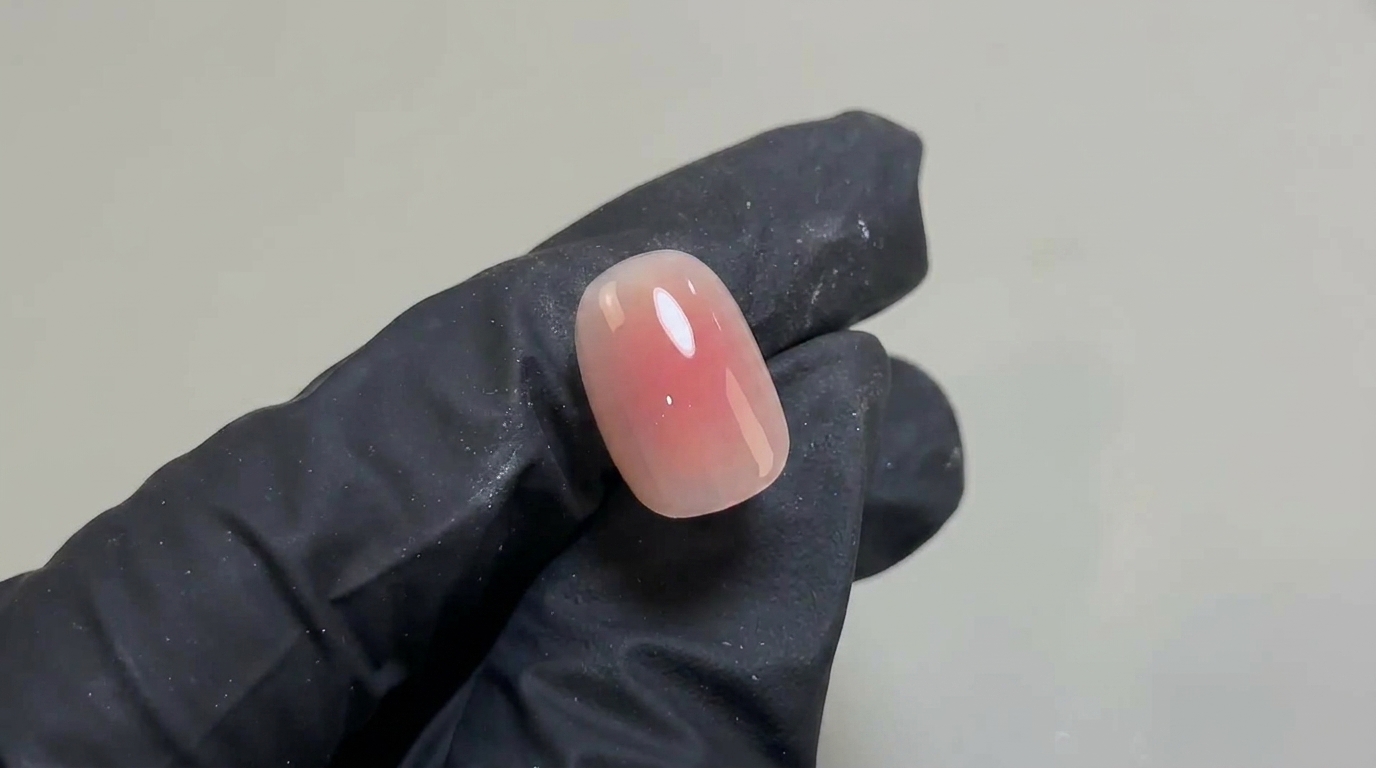
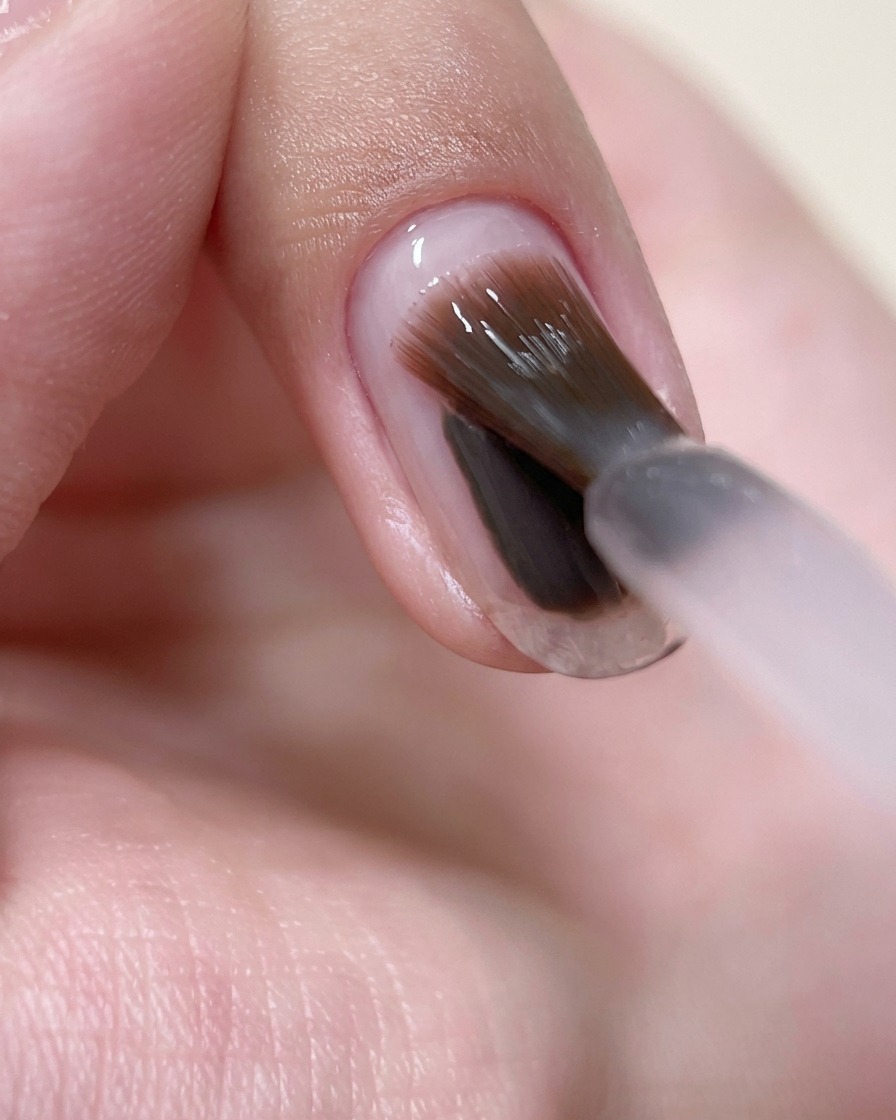
Take a bead of the #083 deep rose-wine gel and place it directly in the center of the nail. Let the gel sit undisturbed for about 10 seconds to allow the formula to self-level and naturally diffuse into the wet slip layer you just applied, creating a seamless blush effect.
Tip: Avoid over-manipulating the color bead; letting it rest gives it a much smoother, airbrushed gradient transition. - 6Invert to shape the apex
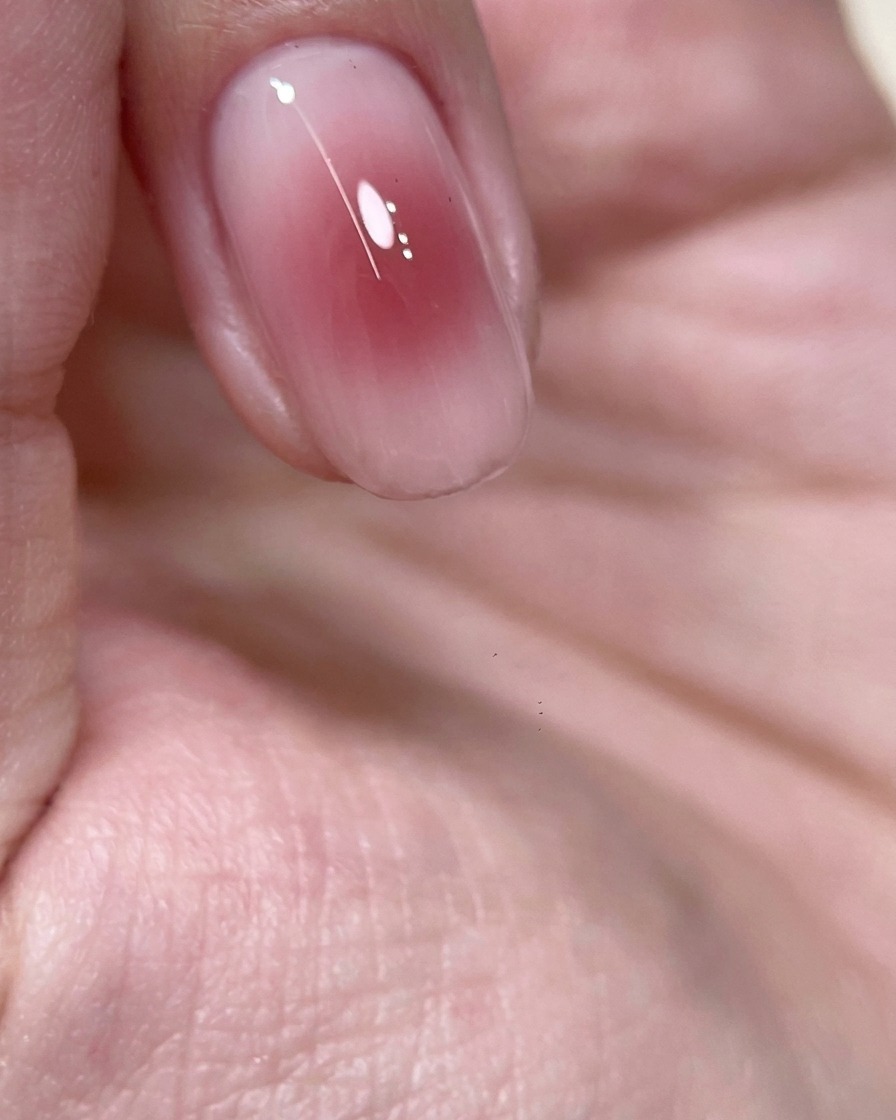
Turn your finger upside down and hold it steady. Gravity will naturally pull the wet rose-wine gel toward the center, building the apex and enhancing the blush gradient without needing brush strokes. After it visibly levels out into a plump dome, quickly flip your finger back over.
Tip: Inverting the finger is a great technique to correct the nails architecture and let gravity do the smoothing work for you. - 7Cure the blush color
Once the deep rose-wine #083 blush layer has been positioned on the nail, place your finger inside the UV/LED lamp to cure. Ensure your hand remains still under the light to allow the gel to set firmly in its leveled position.
Tip: Ensure your hand is placed flat and stable under the lamp to prevent the self-leveling gel from shifting before it cures. - 8Apply top coat slip layer
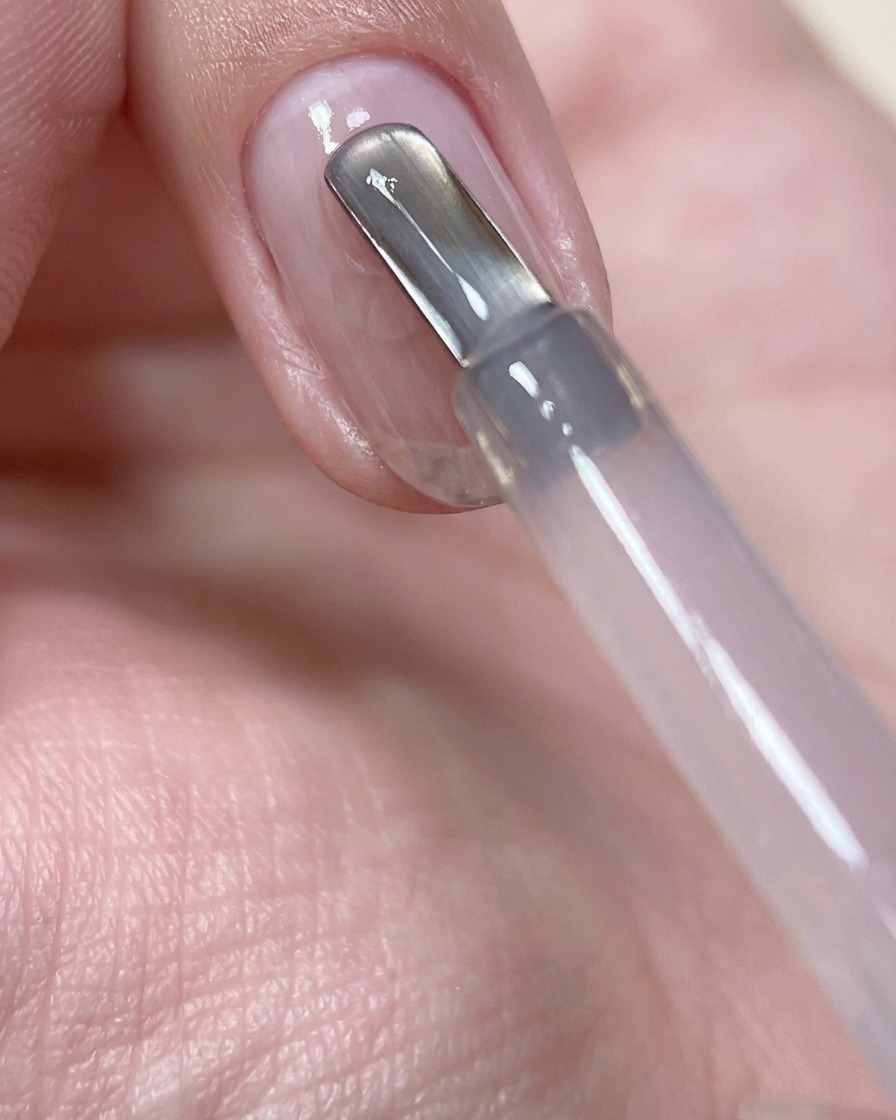
Once the blush layer is fully cured, apply a thin layer of the #11 functional top coat over the entire nail. This layer seals the diffused color design and creates a slippery surface for the final structure build.
Tip: Do not cure this thin layer yet; it needs to remain wet to help the final structure bead self-level easily. - 9Build top coat structure
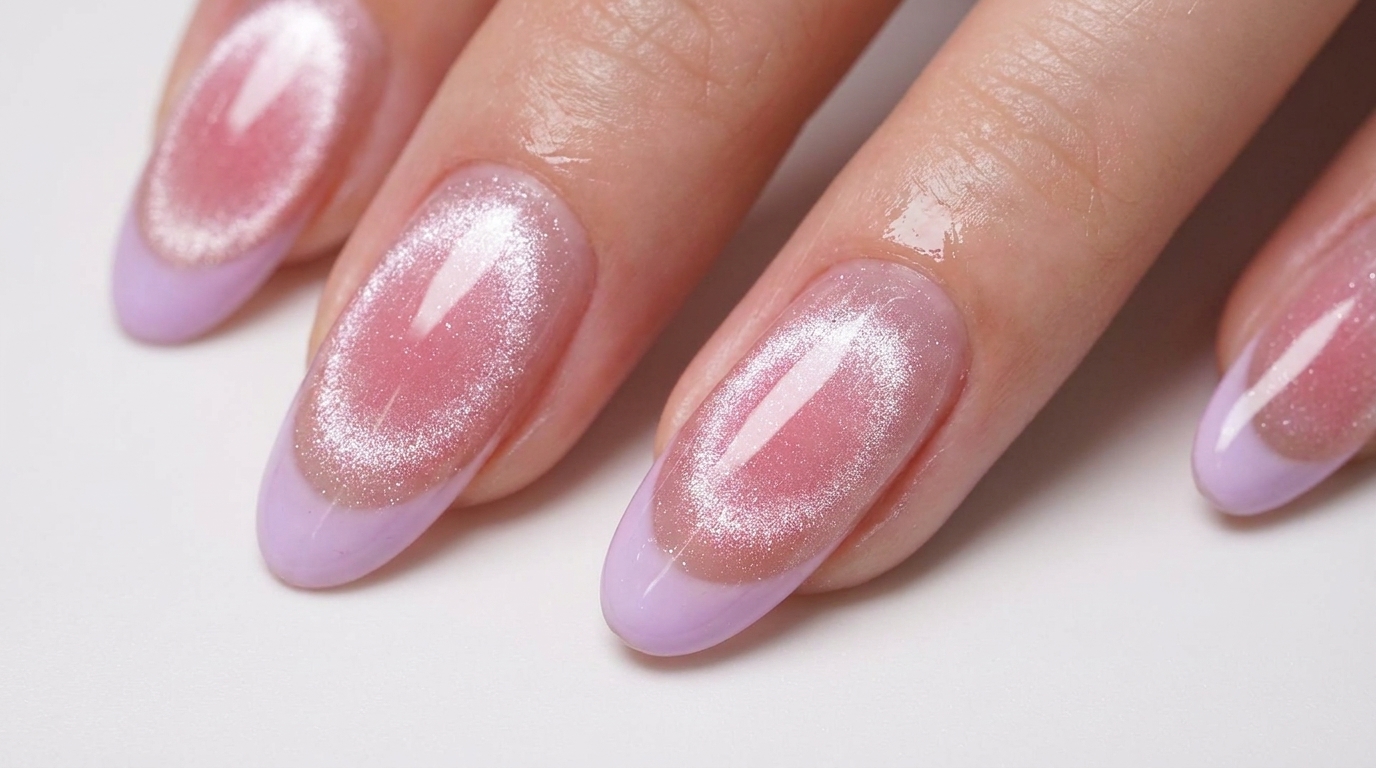
While the first top coat layer is still wet, pick up a small bead of the same top coat and place it near the center of the nail. Gently guide it to create a slight structural apex, giving the nail a plump, water-glossy finish.
Tip: Use a light touch to float the gel bead over the surface, preventing any streaks or dents in the wet slip layer. - 10Level and cure the final look
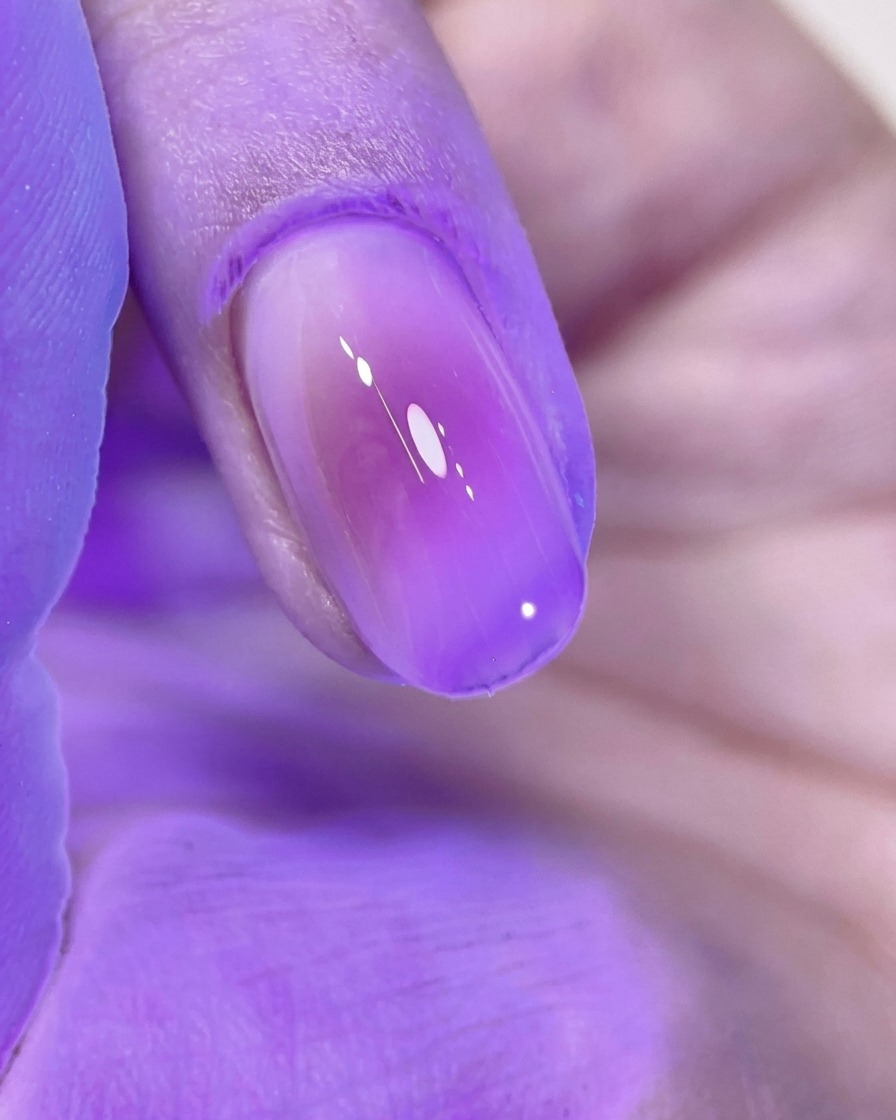
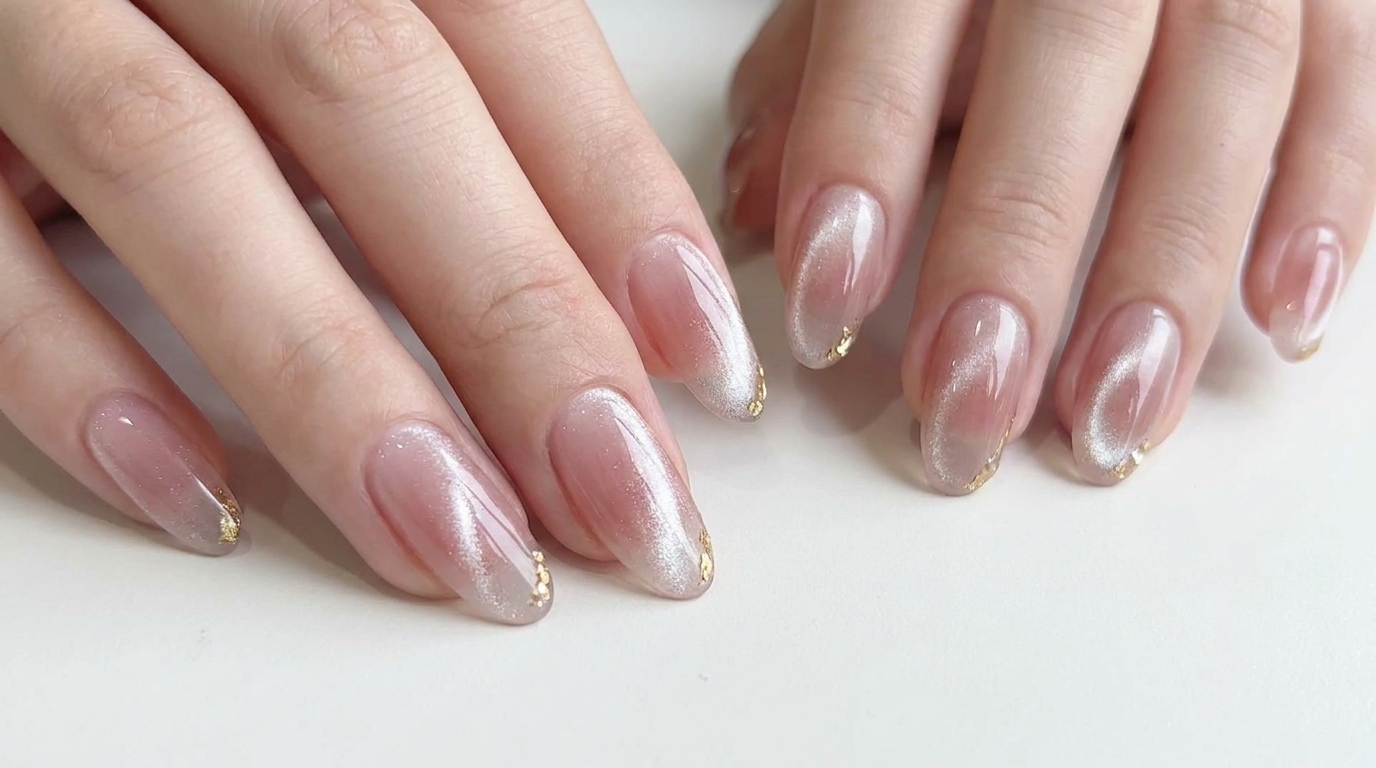
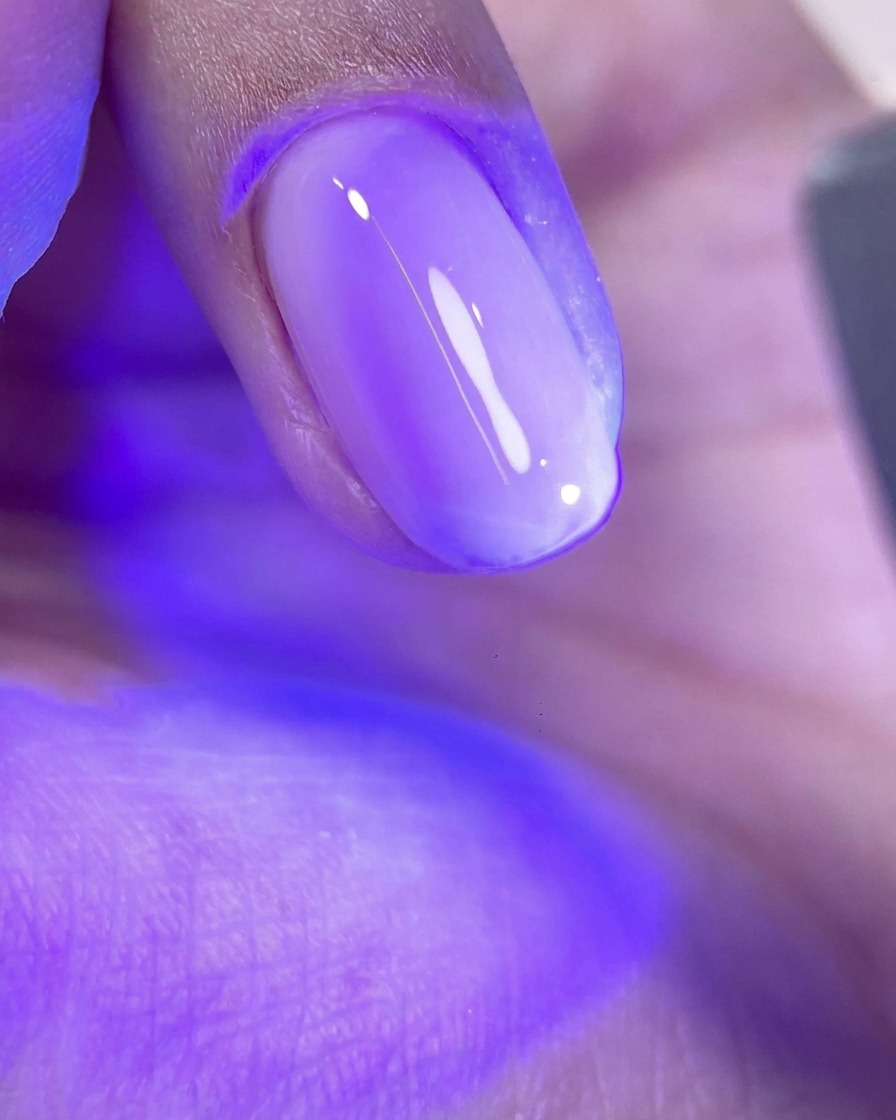
Invert your finger upside down for a few seconds to let gravity help the top coat bead self-level and form a perfectly round apex. Once leveled, immediately cure the nail under your UV/LED lamp to lock in the final water-glossy blush nail.
Tip: Check the light reflection on the nail surface before curing; a straight, unbroken line of light indicates a perfectly smooth and leveled apex.