Super Natural Blush Nail Tutorial — Easy Soft Gradient Look
Discover how to create the trending natural blush nail look. This simple, layered gel technique delivers a soft, diffused rosy gradient for a tender finish.
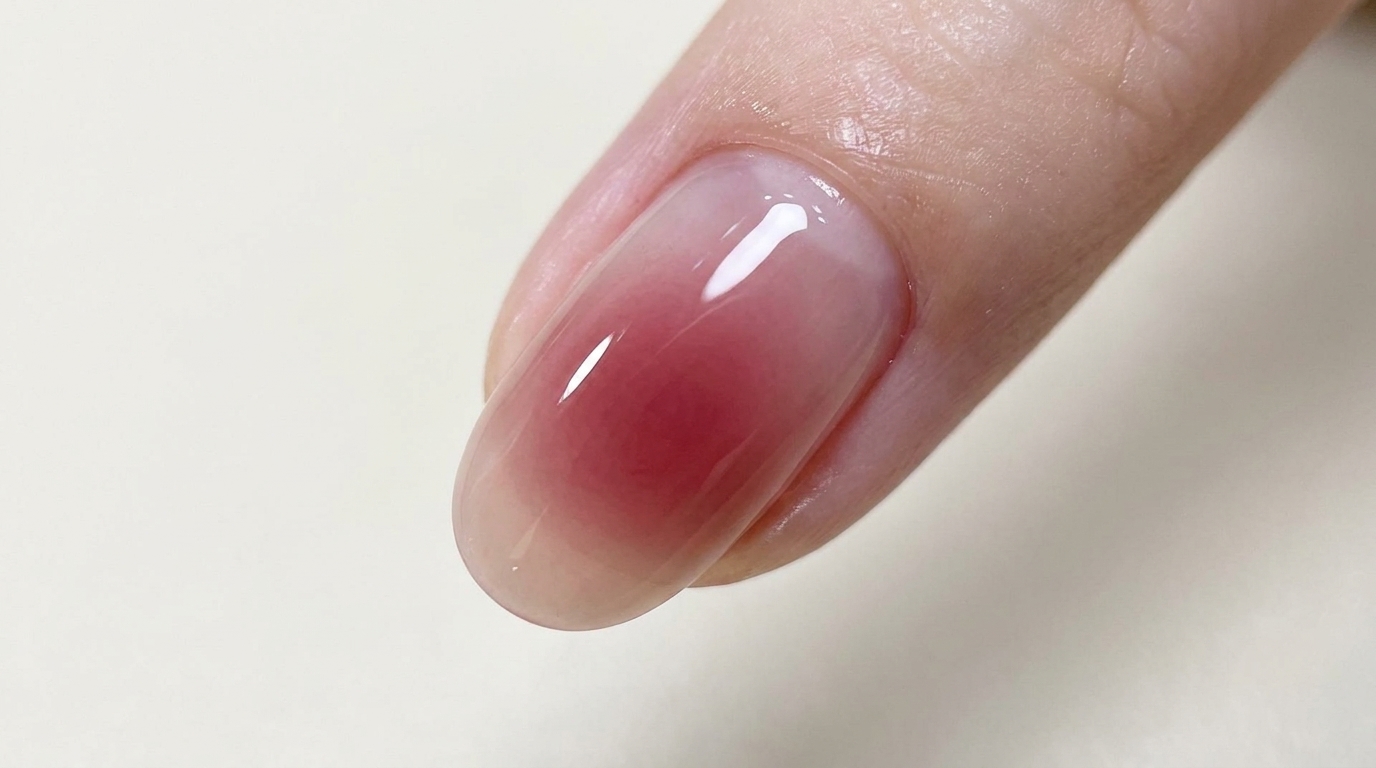
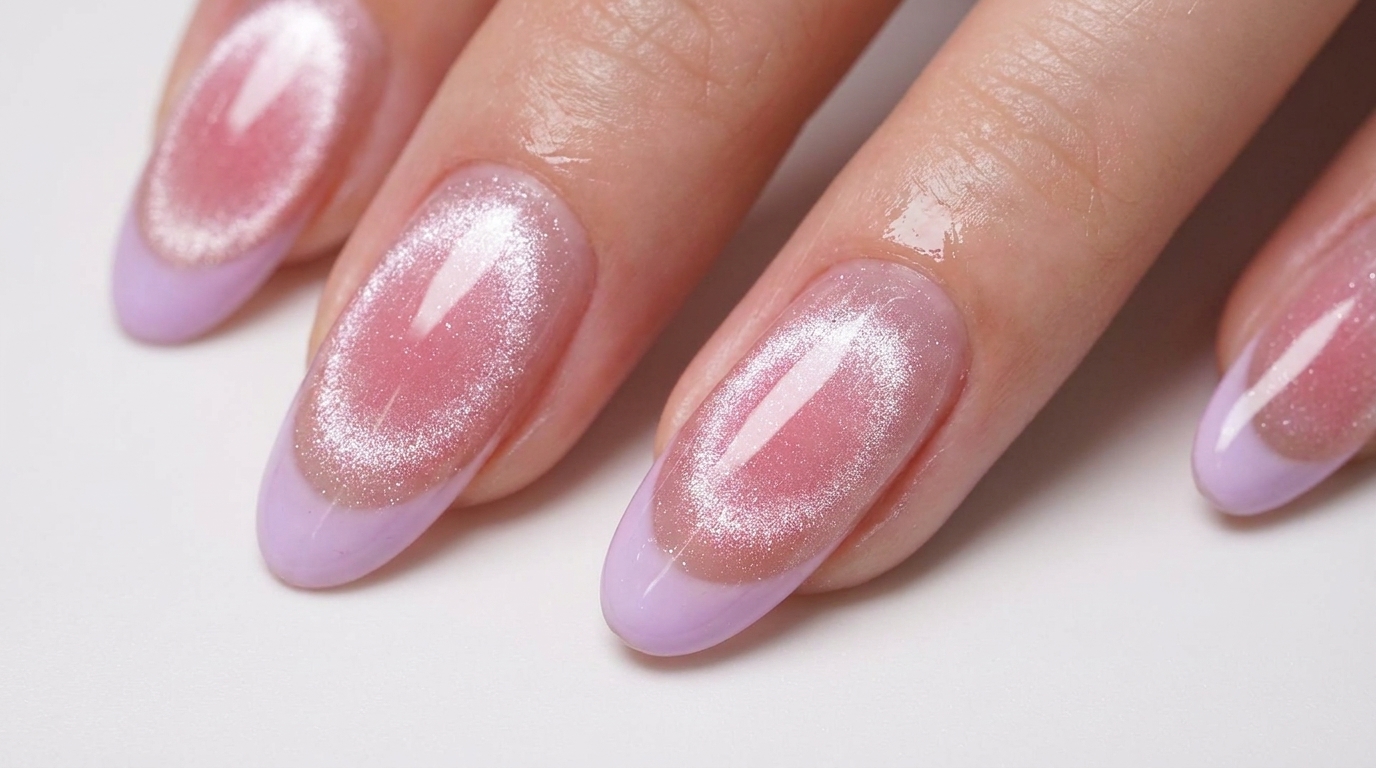
The blush nail trend is all about subtlety, mimicking the soft, healthy glow of a natural flush. This look relies on layering sheer pink gel over a nude base to build depth and a seamless transition. Perfect for those who love a minimalist, elegant aesthetic, this technique is surprisingly achievable at home with just a bit of patience and a sponge.
Steps
- 1Apply translucent nude base coat
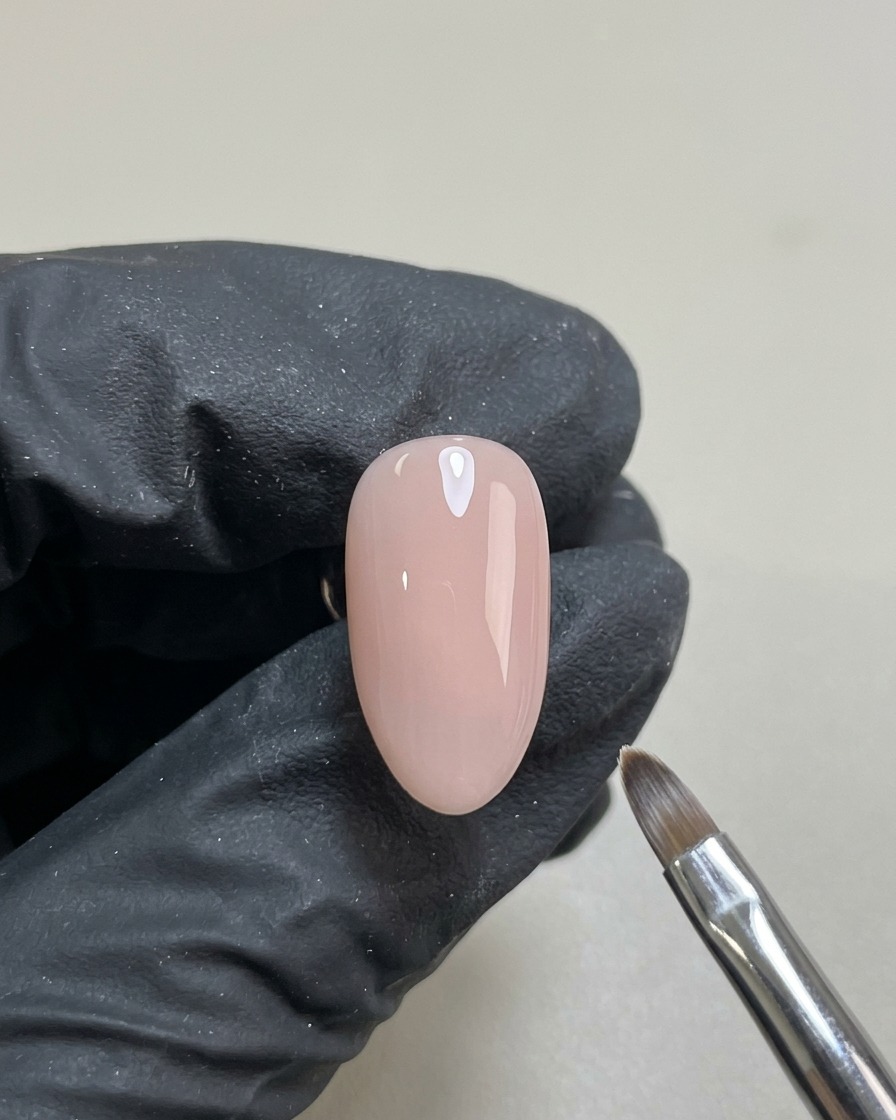
Apply a thin, even layer of translucent nude gel base coat to the prepped nail. Ensure the coverage is smooth and free of streaks before curing under your lamp for 30 seconds. This base provides the perfect neutral canvas for the blush effect.
Tip: If the base coat is uneven, it will affect how the blush color sits, so take your time to ensure a clean application. - 2Apply matte top coat
Apply a thin layer of matte top coat over the cured nude base coat. The matte finish creates a textured surface that helps the subsequent blush color stay in place during the blending process. Cure under the lamp for 60 seconds.
Tip: The matte layer is crucial as it prevents the blush gel from spreading too quickly, allowing you more control over the gradient. - 3Place the blush center dot
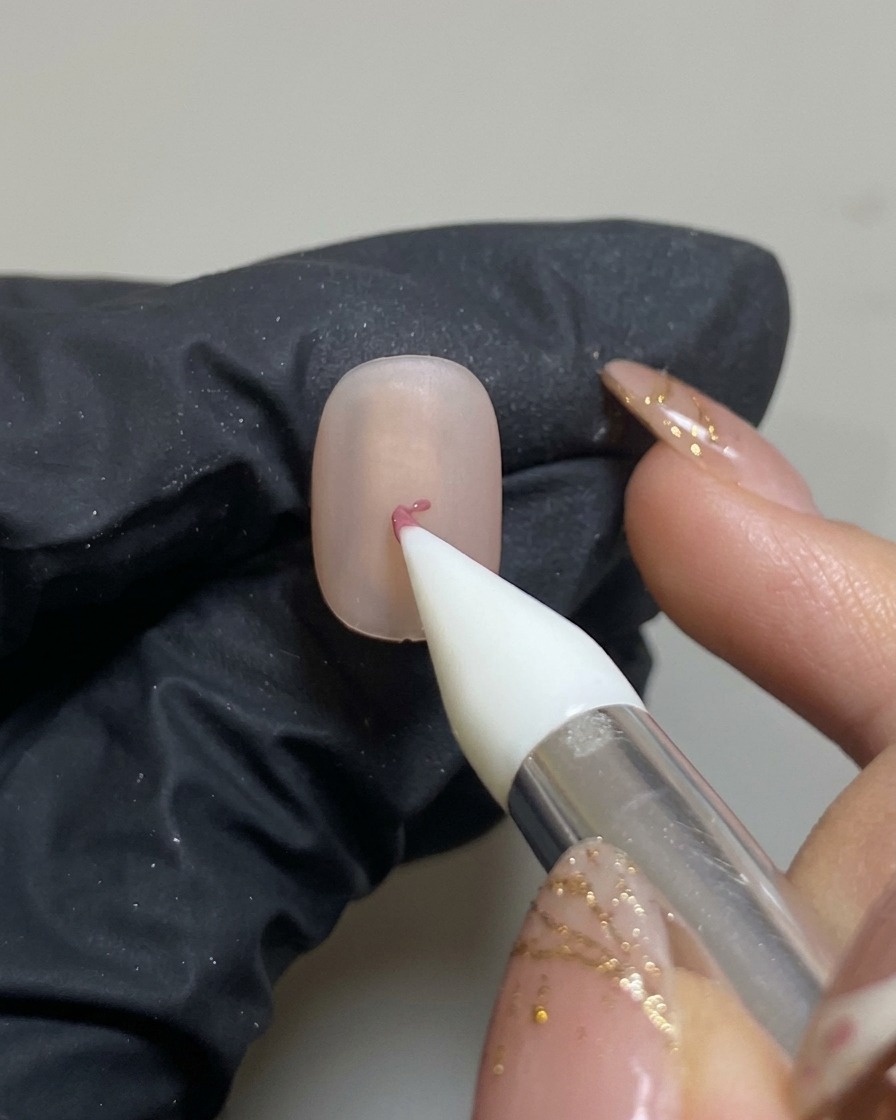
Using a silicone tool, place a small, precise dot of pink gel polish directly in the center of the matte nail surface. This acts as the anchor point for your blush gradient.
Tip: Keep the dot small; you can always add more color later, but it is difficult to remove if it spreads too far initially. - 4Pat the blush color

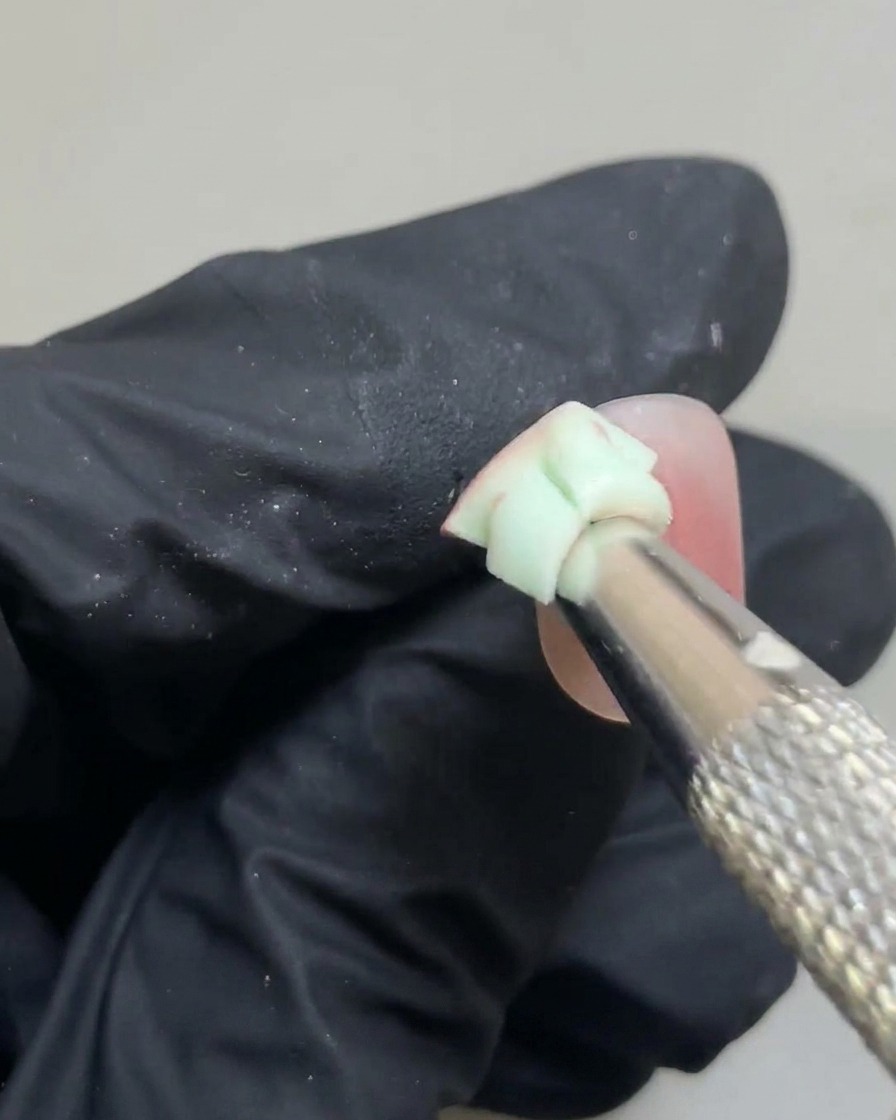
Hold a small piece of sponge with tweezers and pat it firmly directly over the center of the pink gel dot. This action begins to move the product and establishes the initial color concentration for the blush effect.
Tip: Use a firm, vertical patting motion to keep the color centered and prevent it from smearing unevenly. - 5Diffuse and blend edges
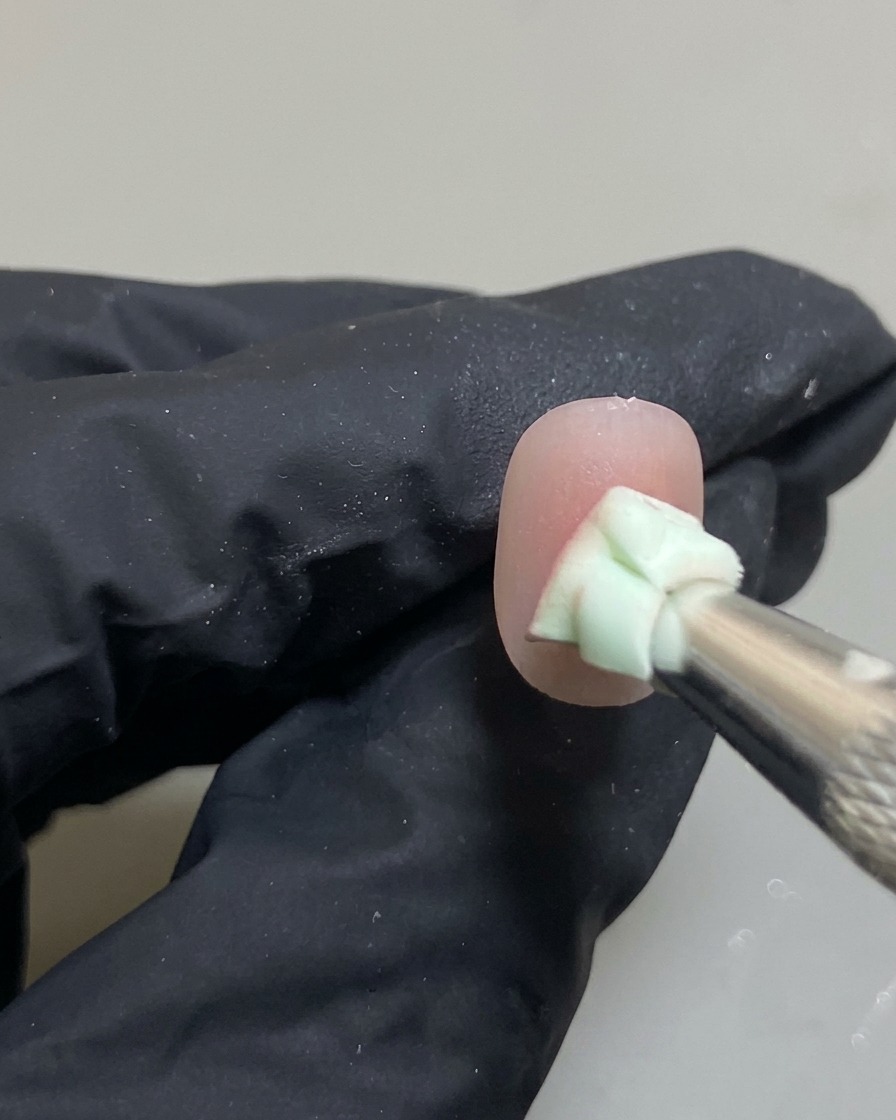
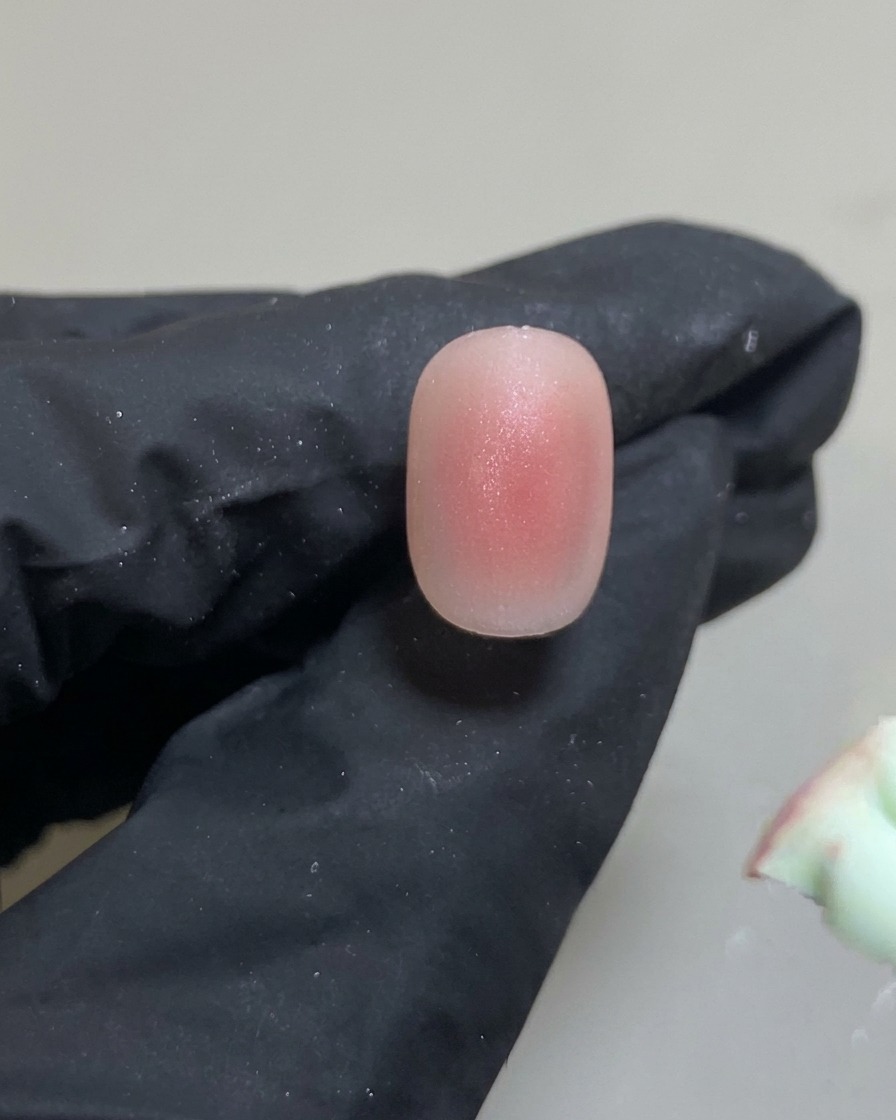
Using the same sponge, use a light, tapping motion to gently blend the outer edges of the pink gel dot. Work outwards to create a soft, diffused gradient that fades into the nude base coat.
Tip: Use very light pressure for the edges to ensure a smooth, airbrushed transition without harsh lines. - 6Add a second blush layer

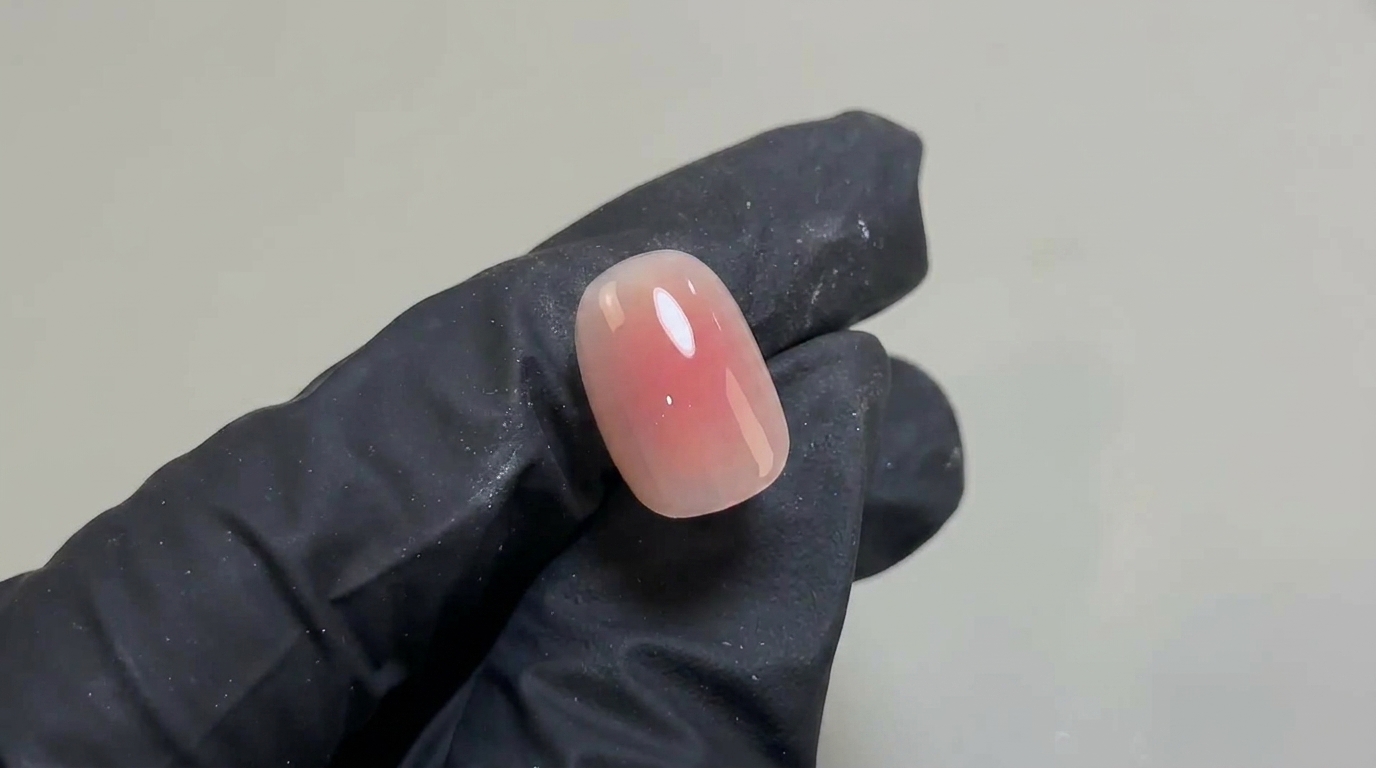
Once the first layer is cured, apply a second, smaller dot of pink gel in the very center of the existing blush color. This adds depth and intensity to the blush look while keeping the edges soft.
Tip: Layering the color in smaller amounts helps achieve a natural, multidimensional blush effect. - 7Blend the second color layer
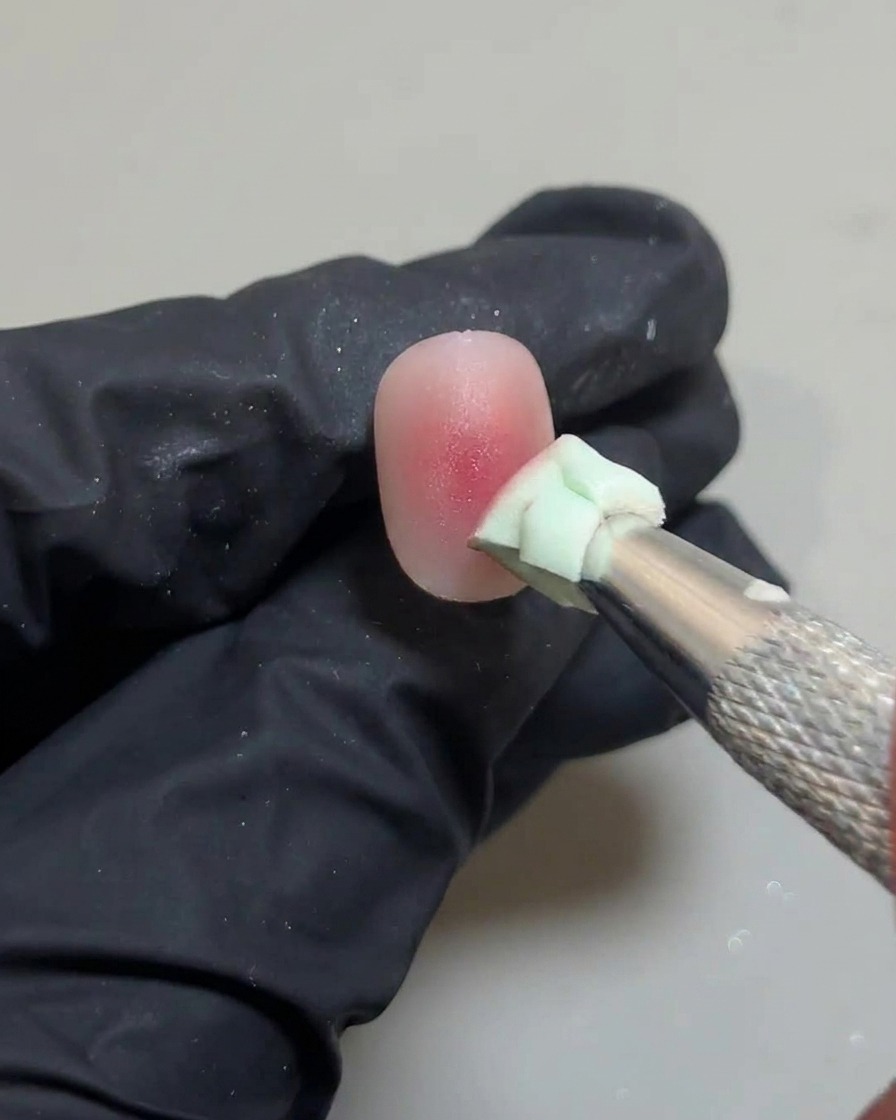
Using the sponge, gently pat the second dot of pink gel. Focus on blending it outward, ensuring the diffused area remains smaller than your previous layer to create depth.
Tip: Keep your tapping motions light to maintain the gradient effect without muddying the colors. - 8Apply the third color dot
Using a small silicone tool, apply a tiny dot of pink gel directly into the center of the existing blush area. This final layer adds intensity to the very heart of the design.
Tip: Use a minimal amount of gel for this layer to keep the color concentrated and avoid bulk. - 9Blend the third color layer
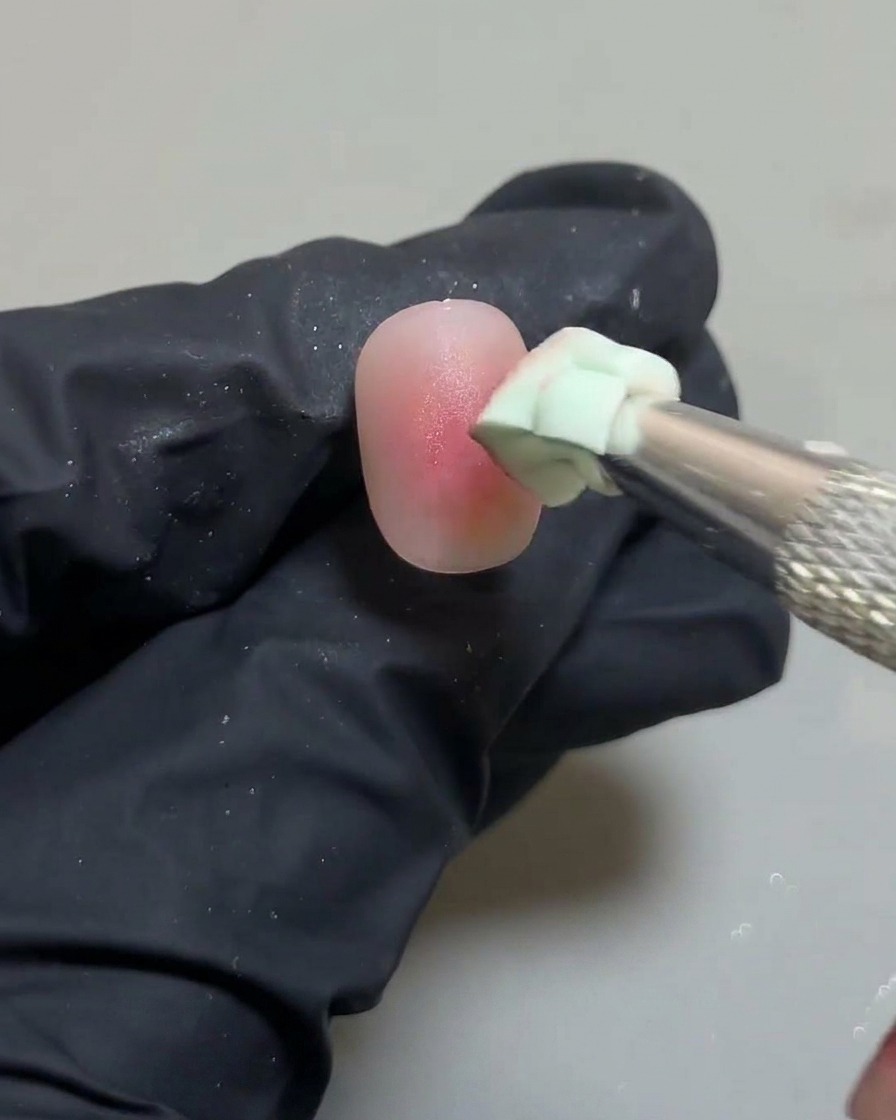
Take your sponge and lightly tap the third, smaller dot of pink gel. The goal is to blend it just enough to soften the edges while keeping the color most intense in the center.
Tip: Be very gentle here; you only want to blur the sharp edge of the dot, not spread the color across the whole nail. - 10Refine the gradient edges
With a very light touch, tap the perimeter of the third pink layer with your sponge. This final blending step ensures the transition between the deep center and the base color is perfectly seamless.
Tip: If the gradient feels too harsh, use a clean side of the sponge to soften the edges further. - 11Apply top coat
Apply a final layer of clear glossy top coat over the entire nail. Ensure you cap the free edge to protect the design and provide a long-lasting, shiny finish.
Tip: Apply the top coat in thin, even strokes to avoid streaks and ensure a smooth, professional shine.