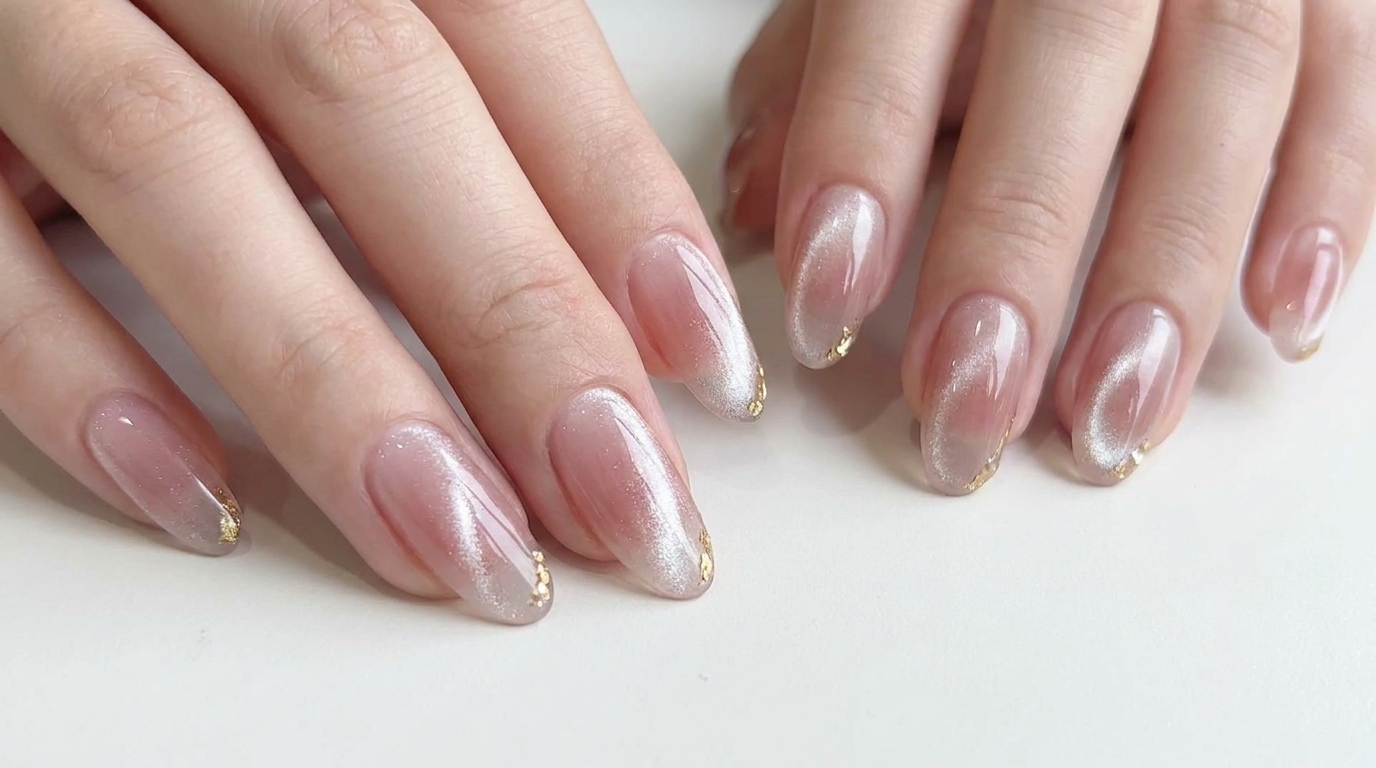
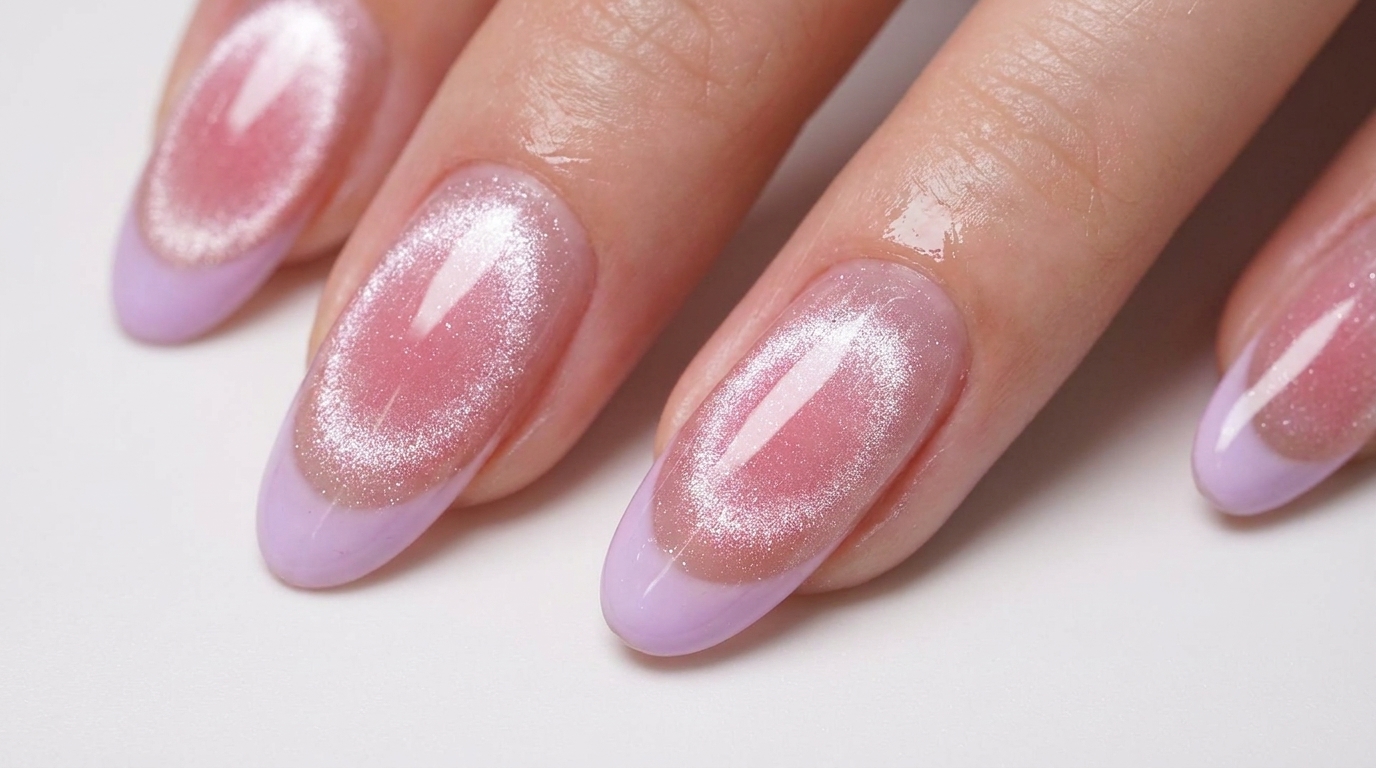
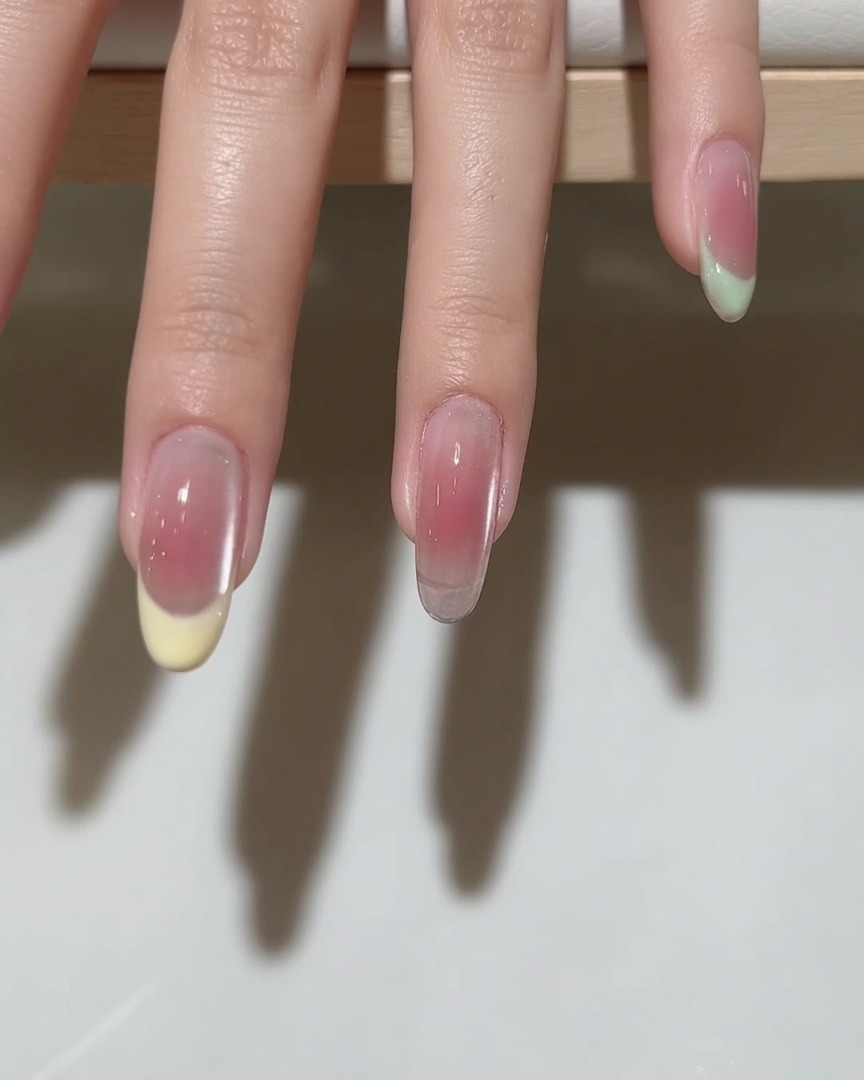
Blush Cat-Eye French Manicure — Elegant Step-by-Step Tutorial
Elevate your look with this sophisticated blush cat-eye French manicure, combining a trendy soft-focus center with a crisp, colorful twist.
This unique manicure blends the viral blush nail aesthetic with the mesmerizing depth of cat-eye magnetic polish. The addition of a clean French tip creates a refined, balanced look that is both playful and polished. It is a perfect choice for those who love ethereal, shifting colors and want to master a multi-layered gel technique at home.
Steps
- 1Apply clear gel base coat
Apply a thin, even layer of clear gel base coat to the nail plate, ensuring you cover the entire surface while avoiding the skin. Capping the free edge helps prevent lifting. Cure the base coat under a UV/LED lamp as directed by the product instructions.
Tip: Apply the gel in a thin layer to ensure even curing and better adhesion. - 2Apply pink blush gel
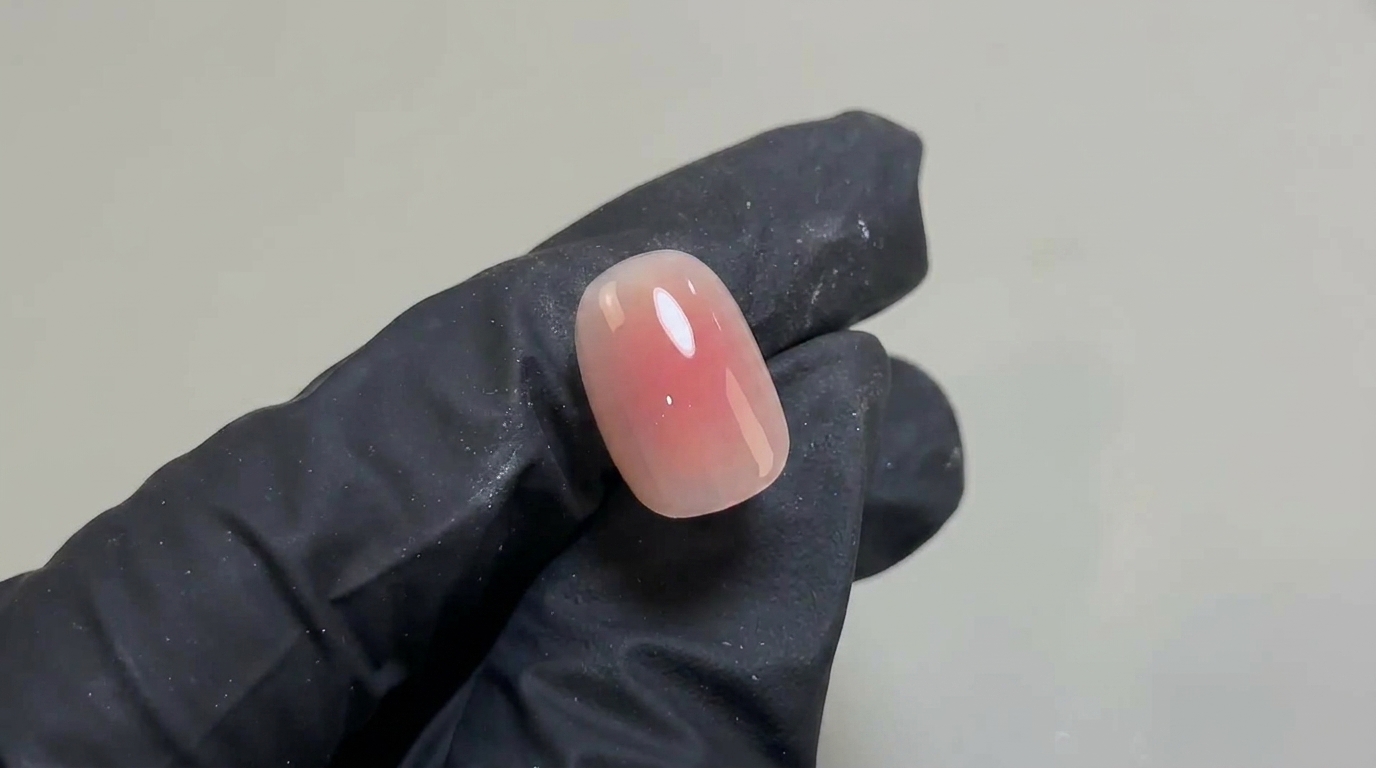
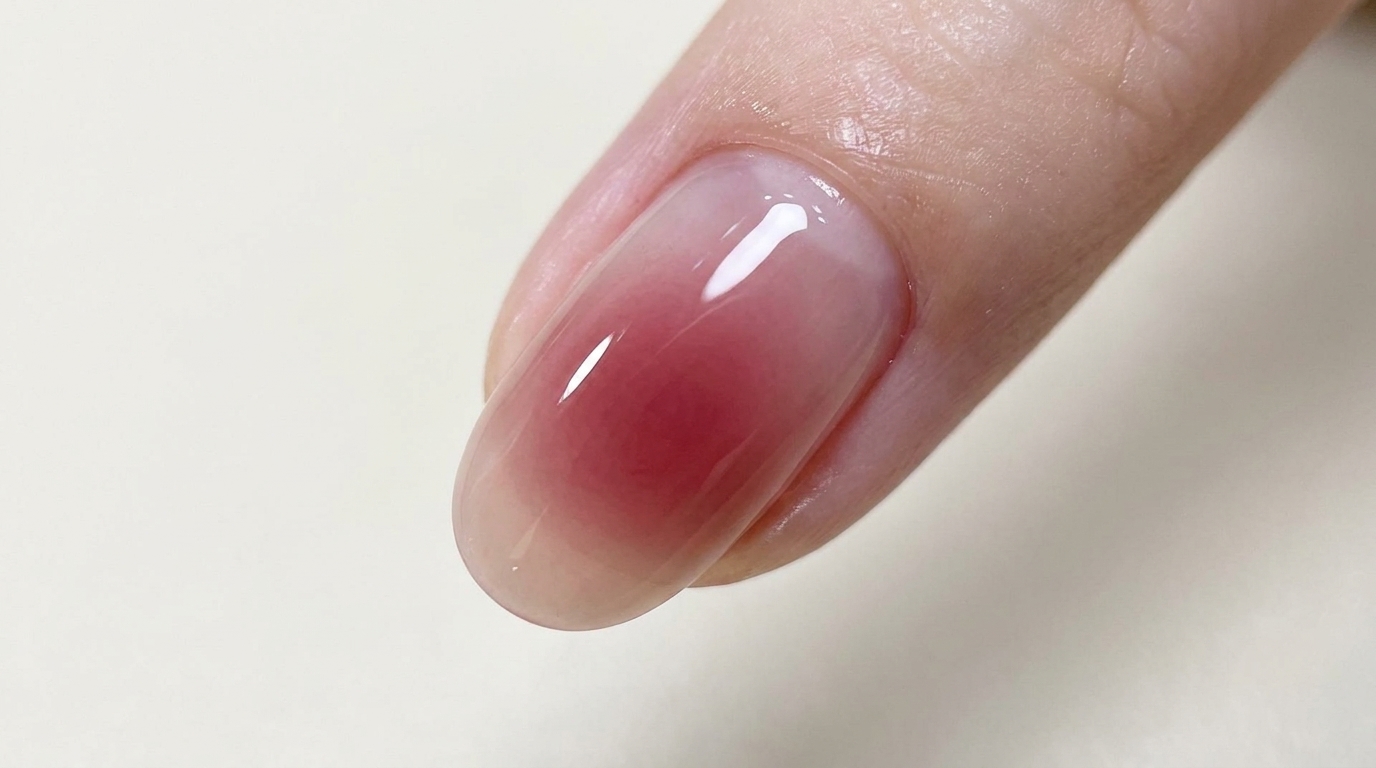
Place a small drop of pink blush gel directly onto the center of the nail plate. This serves as the foundation for the soft, gradient-style blush effect. Do not cure this layer yet, as it needs to be blended.
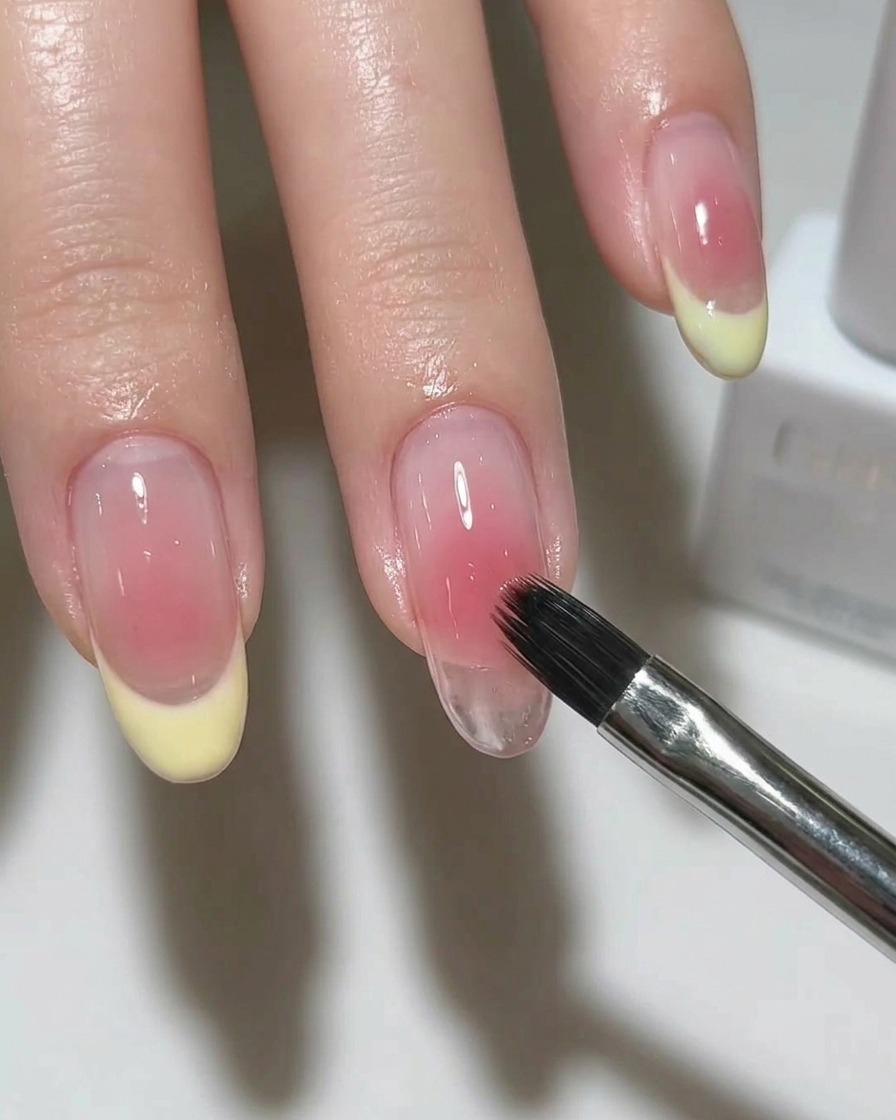
Tip: Start with a small amount of product to keep the blush effect subtle. - 3Blend the blush effect
Using a clean, soft-bristled brush, gently blend the drop of pink gel outward in a circular motion. Focus on fading the color toward the edges of the nail to achieve a soft, diffused look. Cure under a UV/LED lamp once the desired gradient is reached.
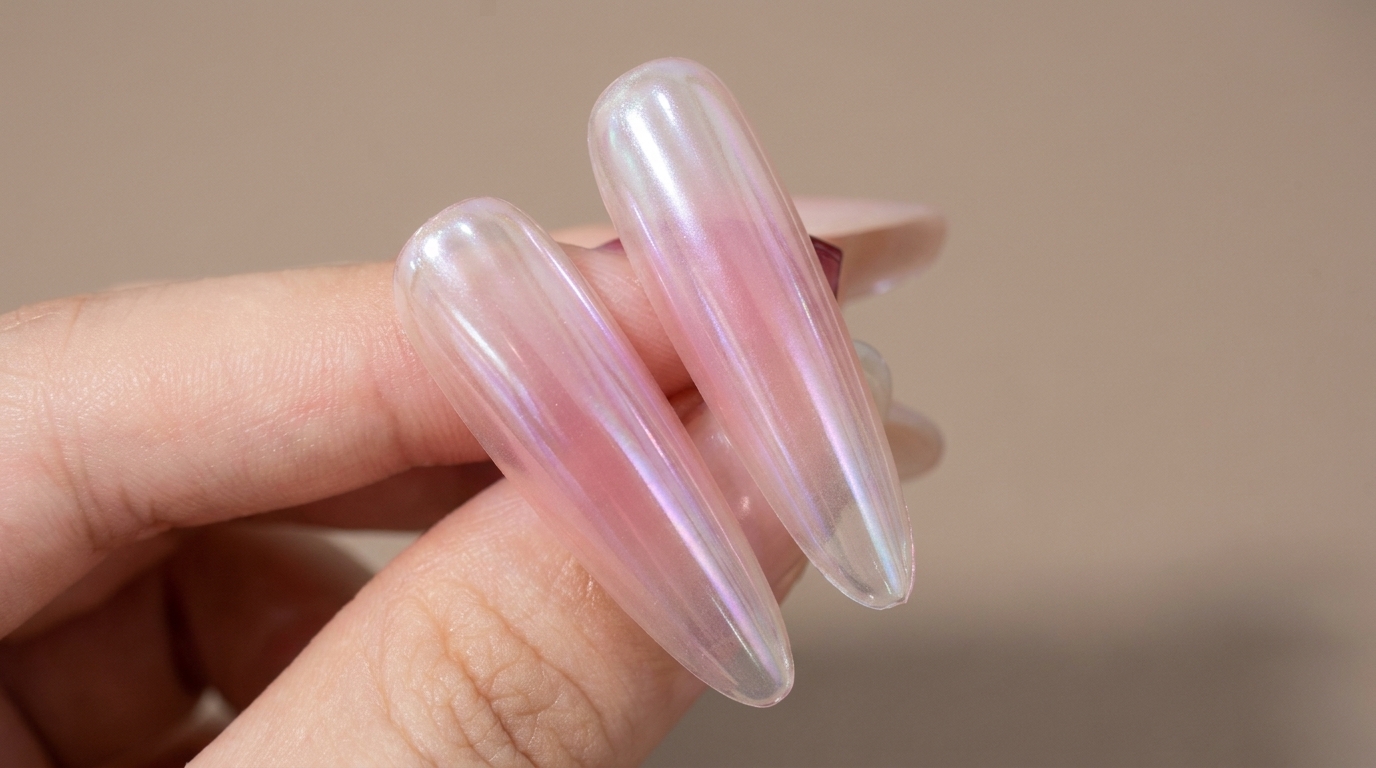
Tip: Use a light hand when blending to keep the edges of the blush soft and natural. - 4Apply cat-eye polish
Apply a layer of silver magnetic cat-eye polish over the entire nail surface. Ensure the application is smooth and consistent. Do not cure the polish before using the magnet tool to create the design.
Tip: Applying the polish evenly is key to getting a clear, sharp magnetic effect. - 5Create cat-eye shimmer
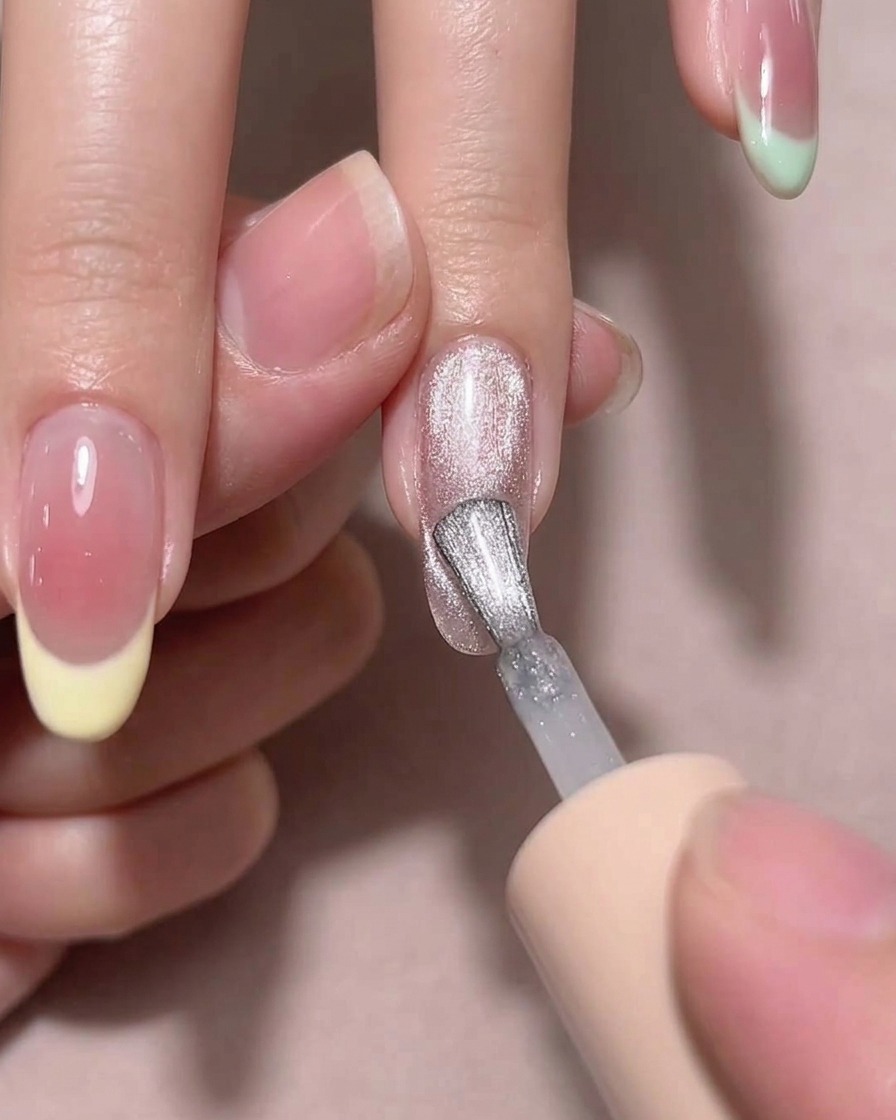
Hold a magnet tool near the nail to attract the metallic particles in the polish. Move the magnet at an angle to pull the particles into a defined diagonal shimmer line across the nail. Cure immediately once the design is set.
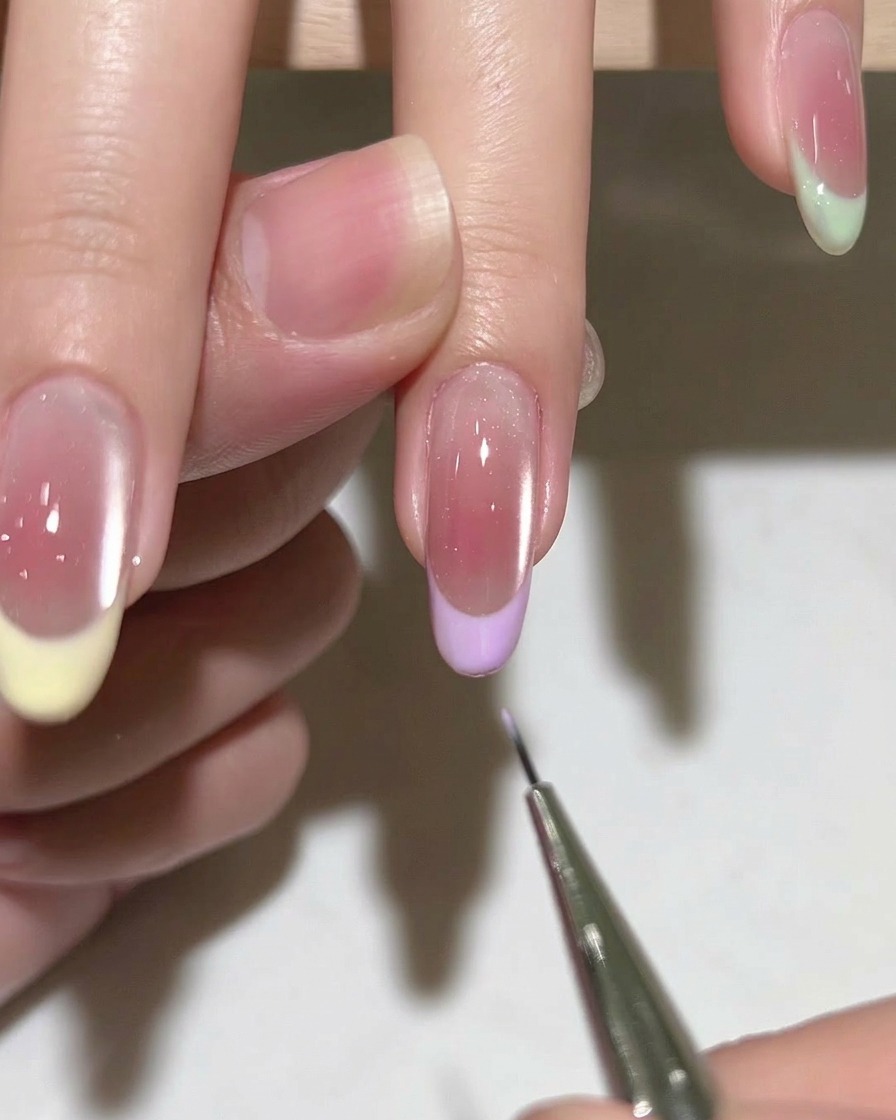
Tip: Hold the magnet steady for a few seconds to let the particles fully align. - 6Outline French tip
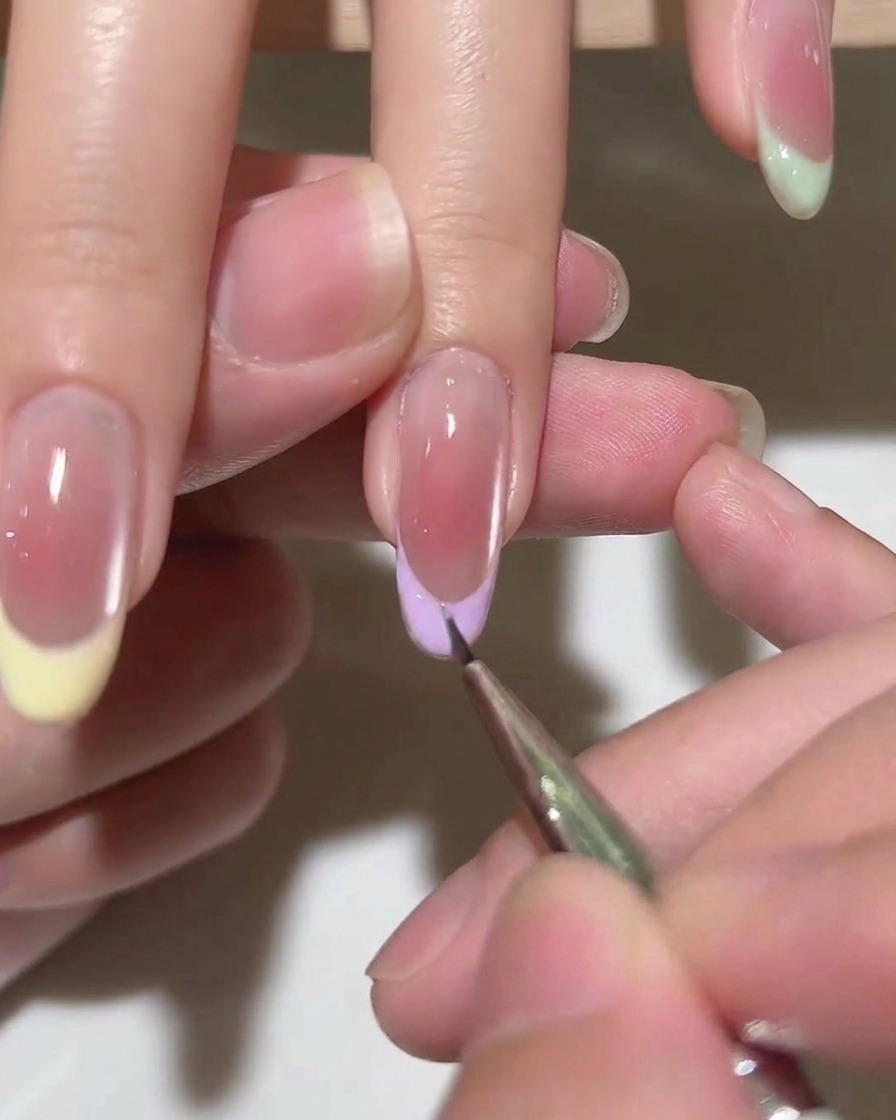
Using a thin liner brush, carefully outline the smile line to define the shape for the French tip application. This creates a crisp, clean guide for filling in the tip color. Ensure the line is symmetrical across the nail.
Tip: Use light, steady strokes to maintain a clean outline along the nail bed. - 7Paint the French tip
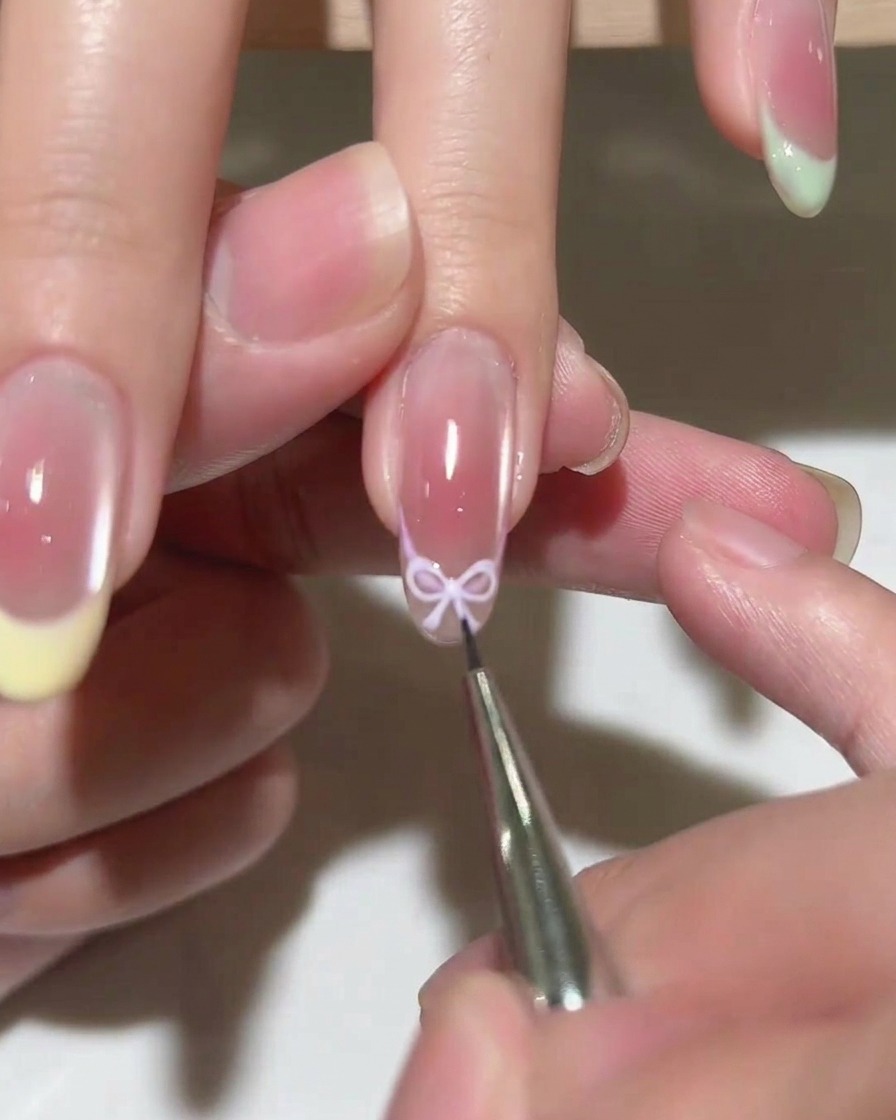
Using a thin detail brush, apply the light purple gel polish to the tip of the nail, following the curve of the free edge to create a clean French tip. Ensure the coverage is even and opaque before proceeding to the next step.
Tip: If the polish is too thick, wipe excess off the brush to maintain better control and prevent pooling at the smile line. - 8Apply top coat
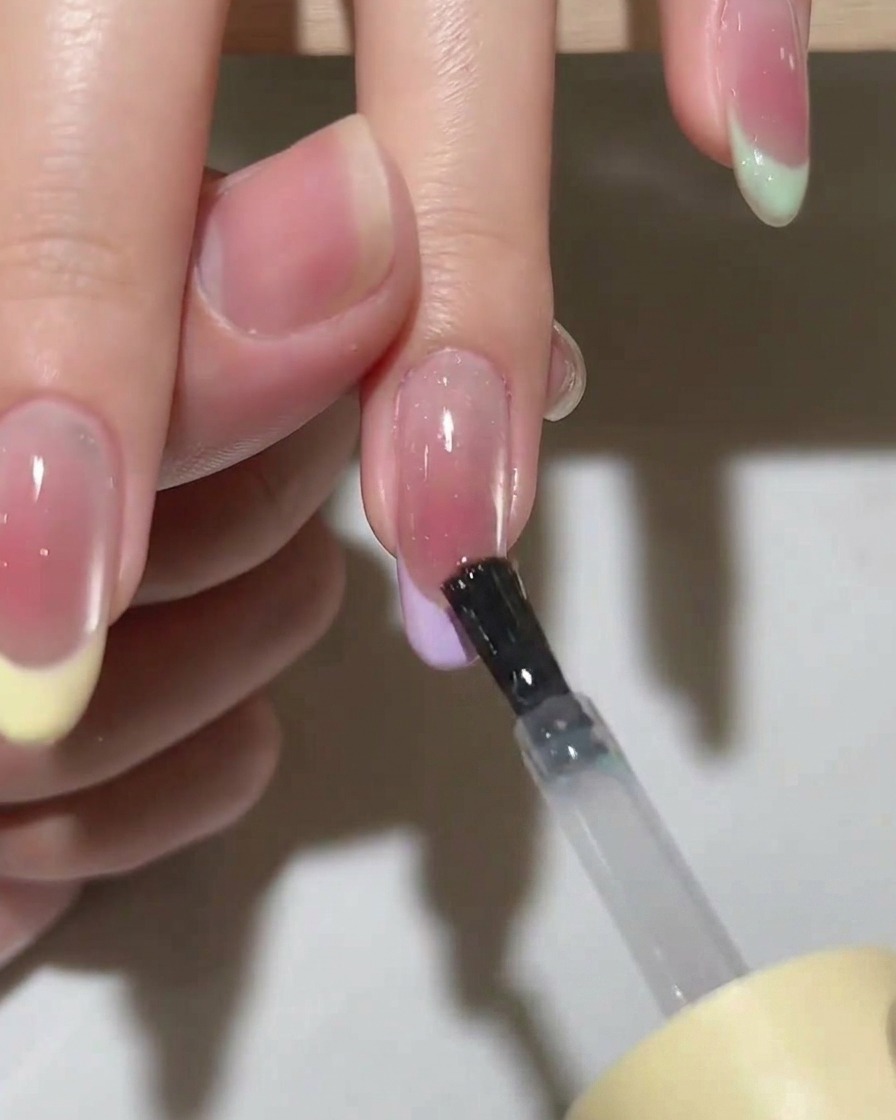
Apply a generous layer of clear gel top coat over the entire nail surface, covering the French tip and the nail base. Ensure you cap the free edge to protect the design and provide a high-gloss finish.
Tip: Check for any bubbles or streaks in the top coat before curing to ensure a smooth, professional result. - 9Cure the nails
Place your hand inside the UV/LED lamp and cure the nails for the full recommended time according to your gel polish manufacturer. This ensures the polish is completely hardened and durable.
Tip: Keep your fingers flat and centered in the lamp to ensure even light distribution across all nails.