Sweet Pink Chrome Hearts Blush French Tips — Step-by-Step Tutorial
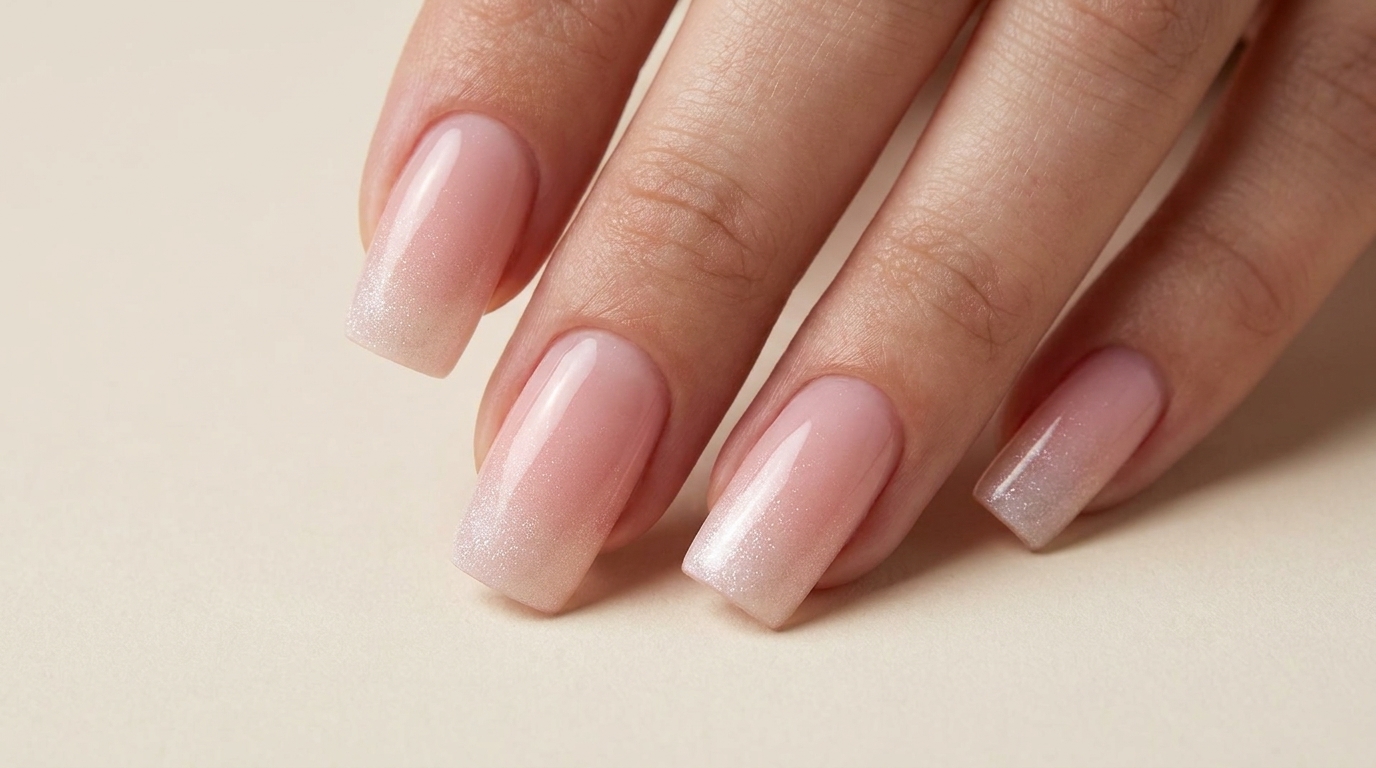
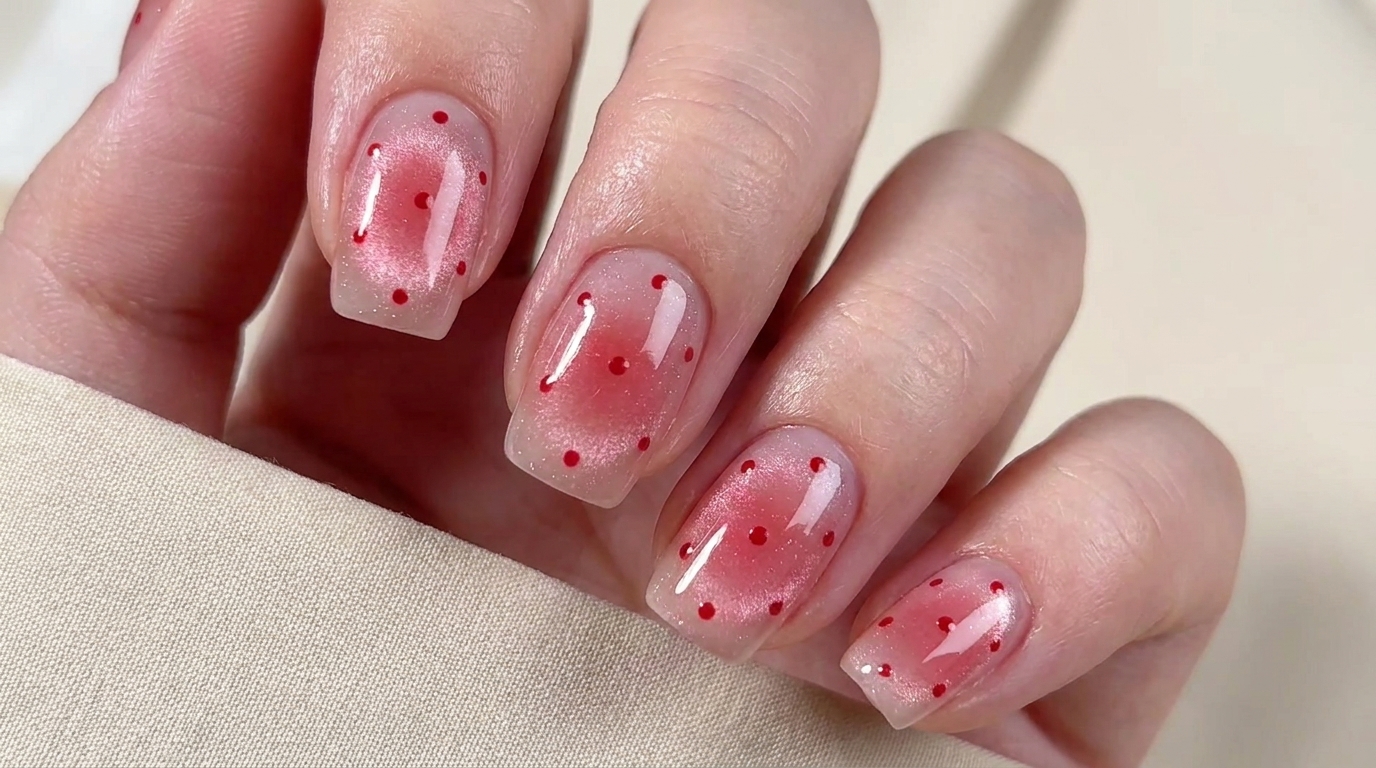
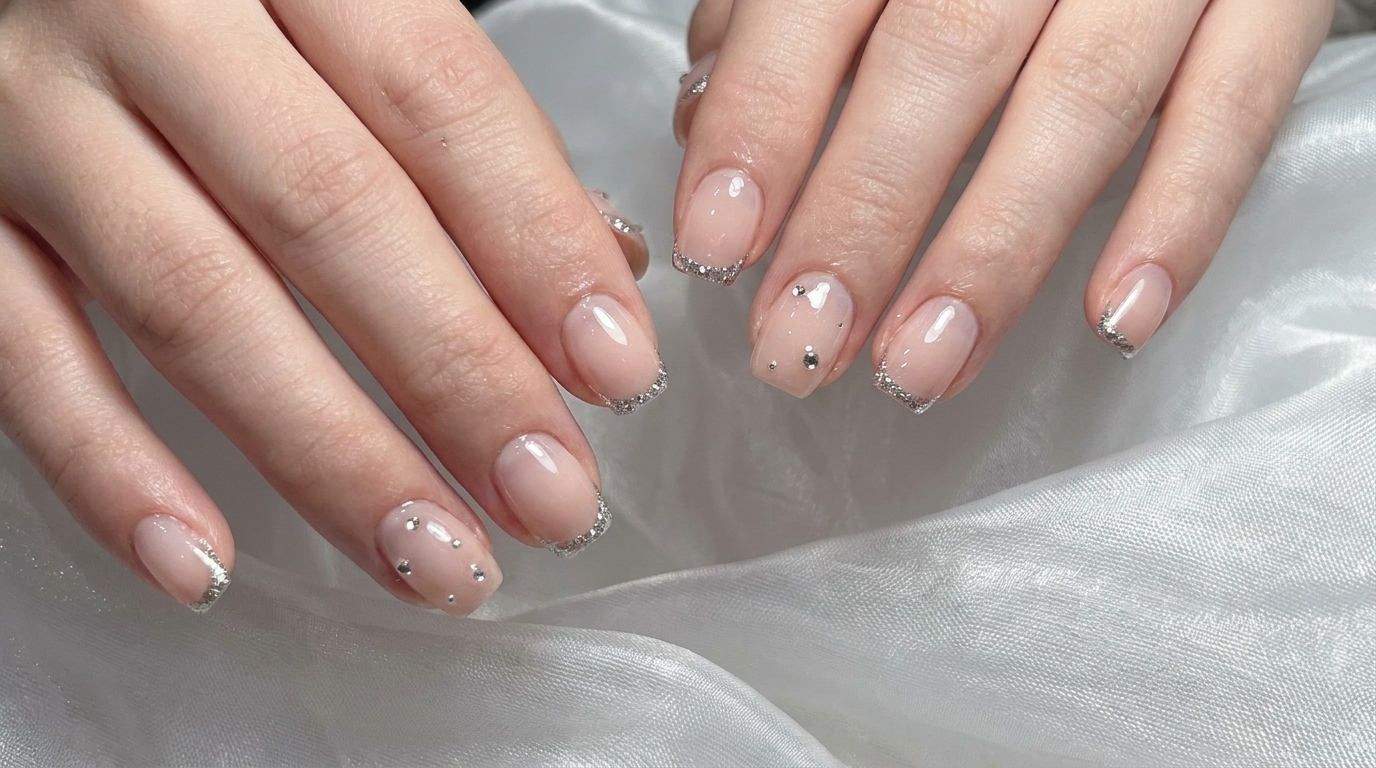
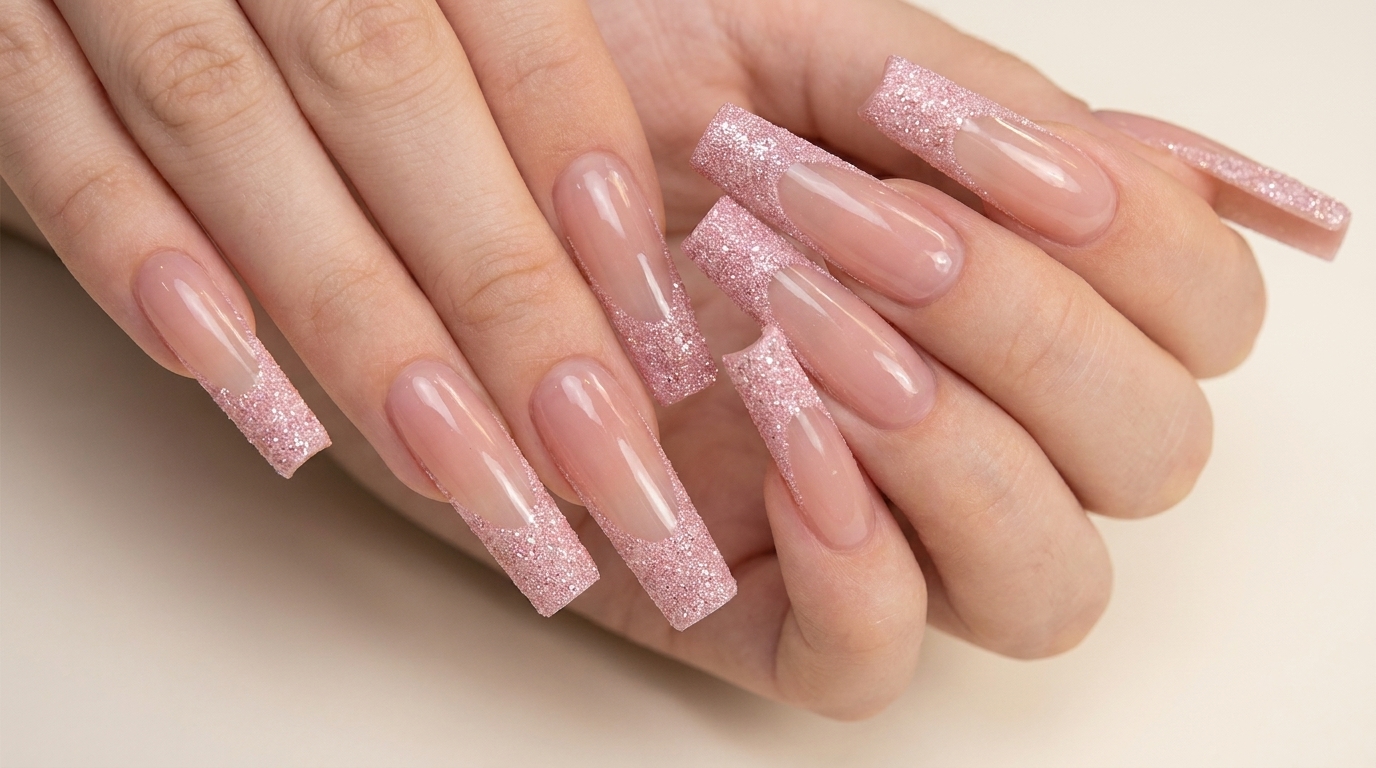
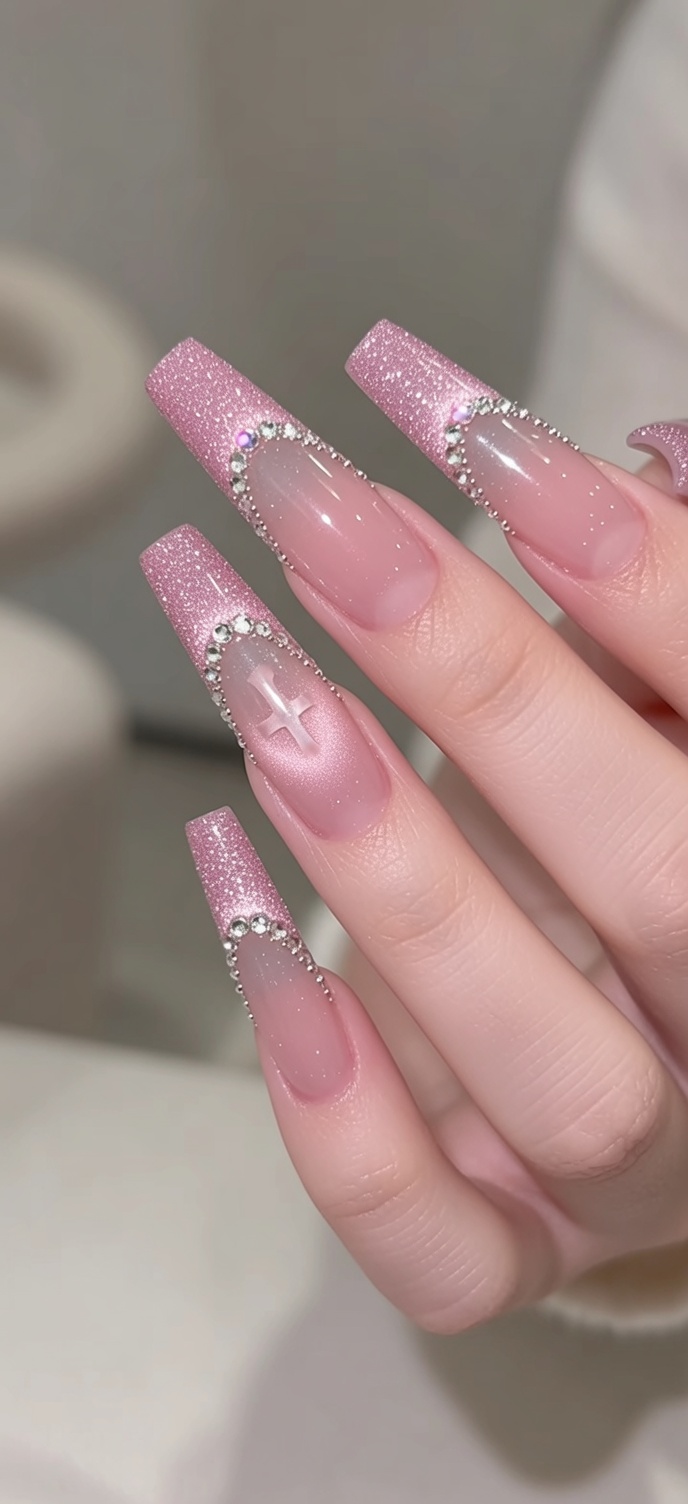
Create trendy Chrome Hearts-inspired nails with this easy step-by-step tutorial featuring cat-eye gel, textured French tips, and a delicate blush aura cross design.
This nail art look perfectly balances edgy, metallic accents with soft, romantic aesthetics. By combining the depth of magnetic cat-eye gel with the trendy blush aura technique and textured French tips, you get a dimensional manicure that feels both luxurious and modern. Whether you are a fan of streetwear-inspired designs or soft girl aesthetics, this tutorial will help you achieve a high-end salon finish at home.
Steps
- 1Apply cat-eye gel
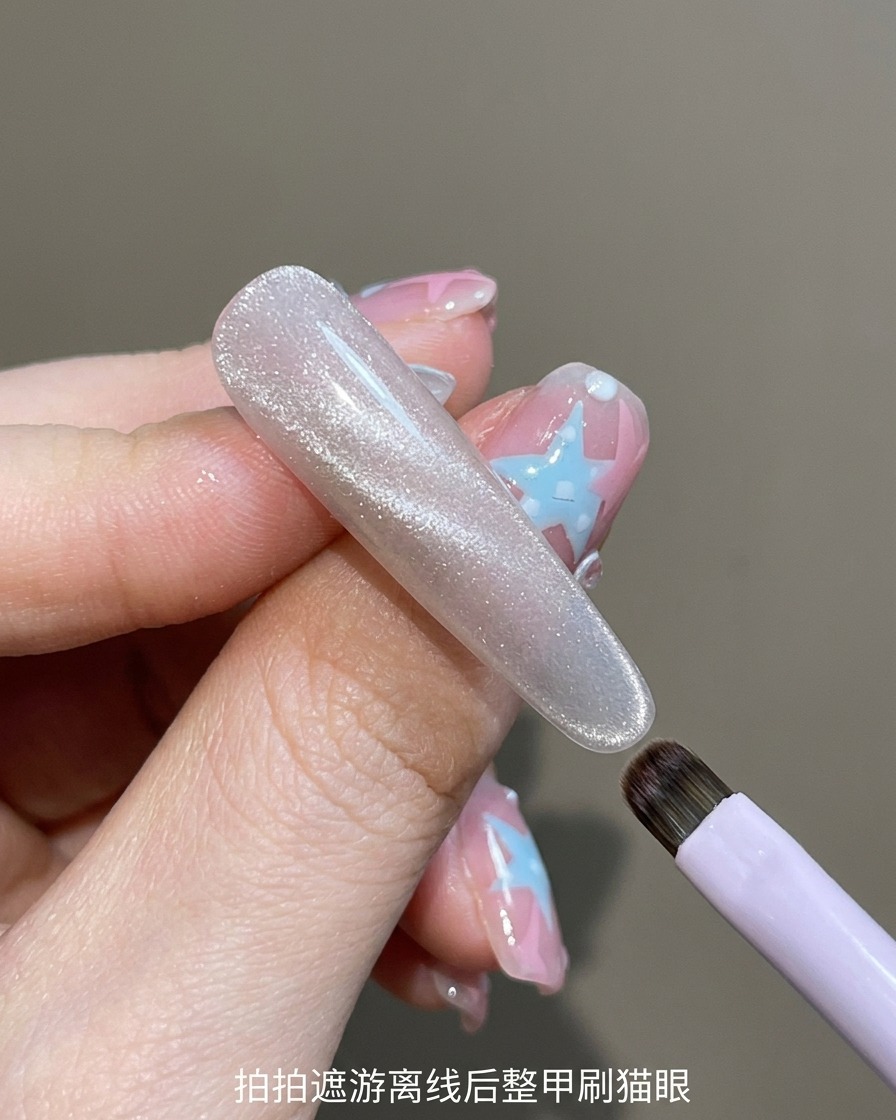
Apply a generous, even layer of clear, sparkling cat-eye gel over the entire nail bed using the brush from the bottle. Ensure the gel covers the sides and reaches near the cuticle area without touching the skin. This provides the base for the magnetic effect.
Tip: Work with a slightly thicker layer than a regular gel polish to allow the magnetic particles enough medium to move easily. - 2Pat and smooth the gel
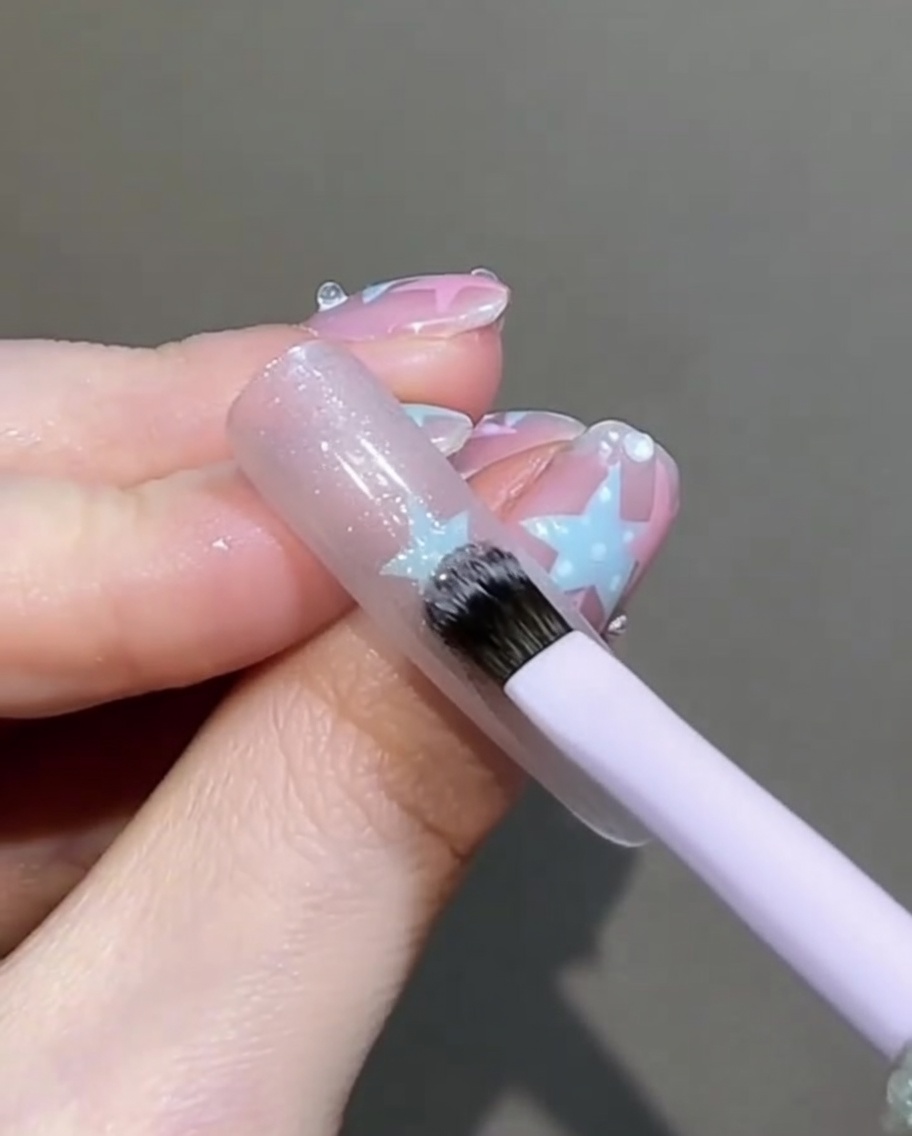
Using a small, clean flat brush, gently pat and blend the cat-eye gel near the free edge of the nail. This ensures an even distribution of the gel and particles, preventing pooling or thick buildup at the tip.
Tip: Use light tapping motions to smooth the surface without wiping away the product. - 3Magnetize the cat-eye effect
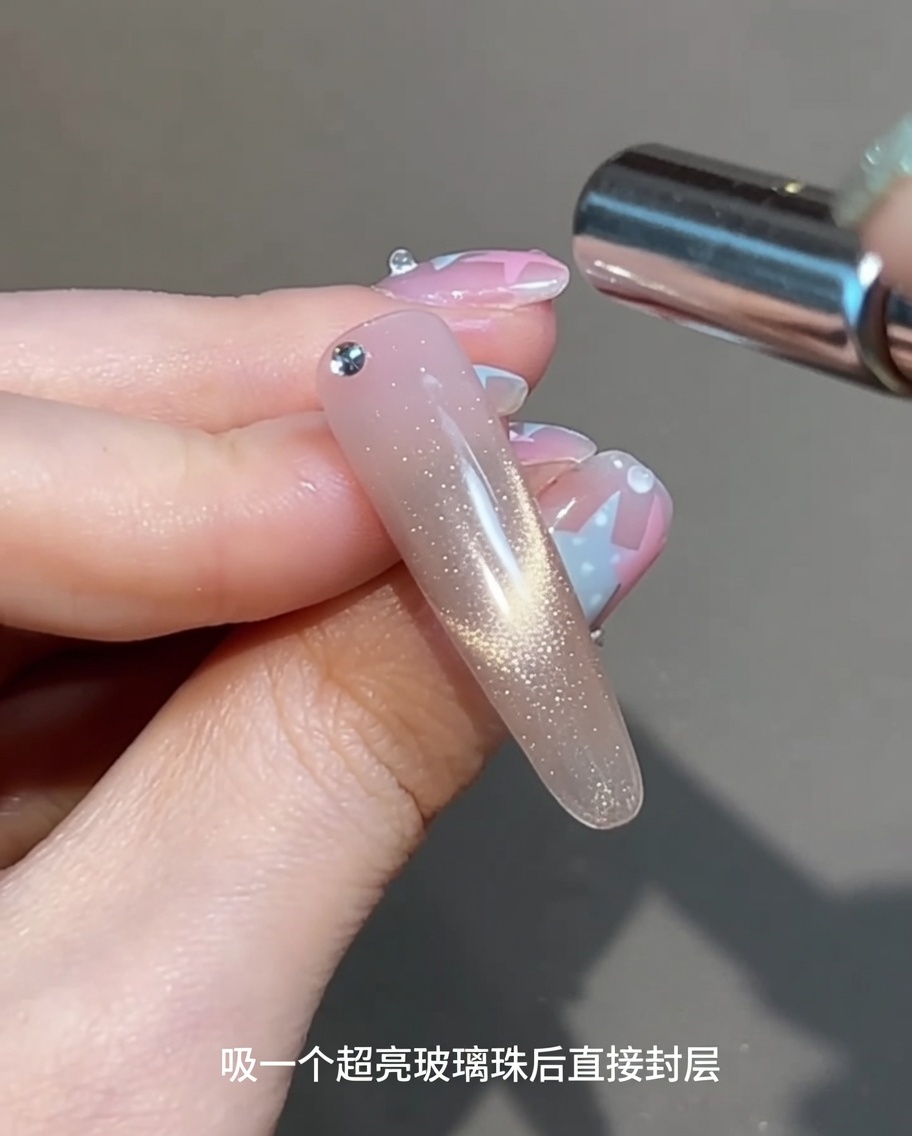
Hold a cylindrical magnet parallel to the surface of the nail, close to but not touching the wet cat-eye gel. Hold it steady for a few seconds to pull the magnetic particles toward the center, creating a sharp, bright, glass-bead-like highlight.
Tip: Keep the magnet steady; even small movements can disrupt the particle pattern and blur the crisp highlight. - 4Apply top coat
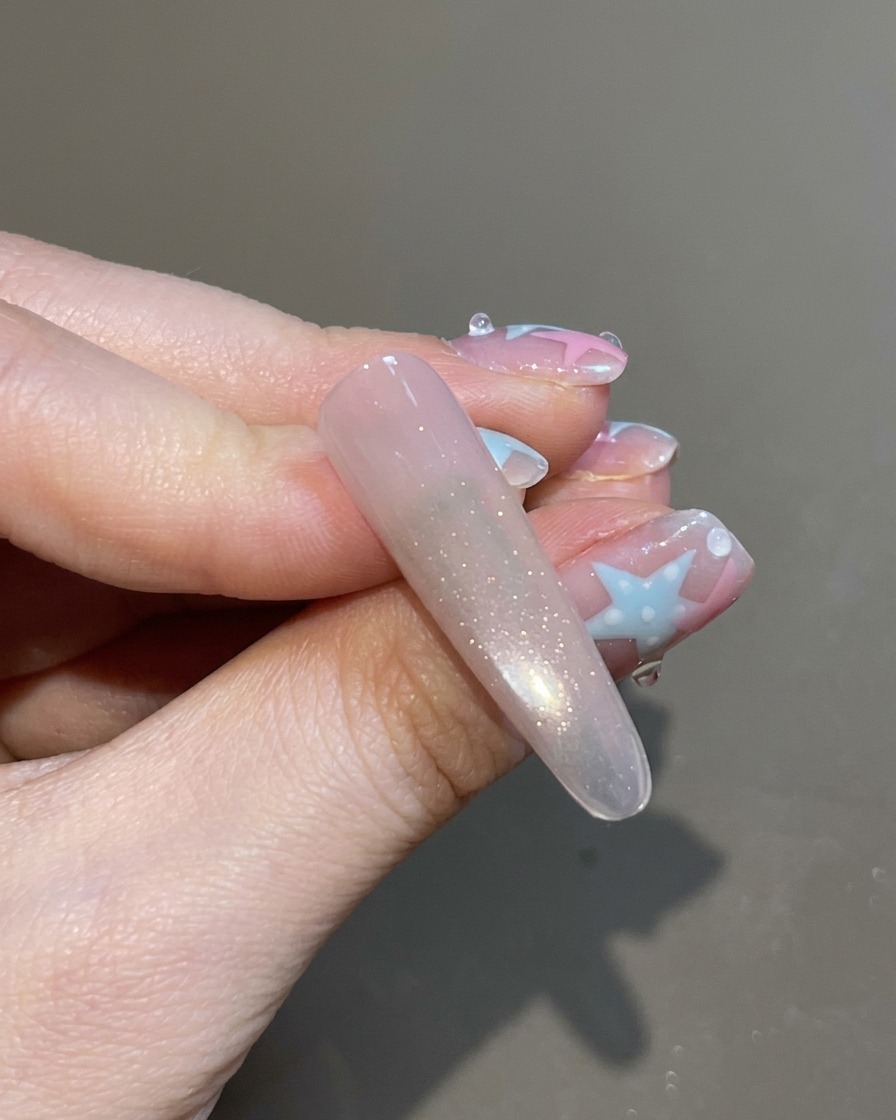
Carefully brush a layer of clear top coat over the newly magnetized cat-eye gel. This seals the design and locks the magnetic effect in place before you move on to adding the French tip.
Tip: Use a light touch to avoid dragging the brush through the wet gel and disrupting the magnetic design. - 5Draw the French tip
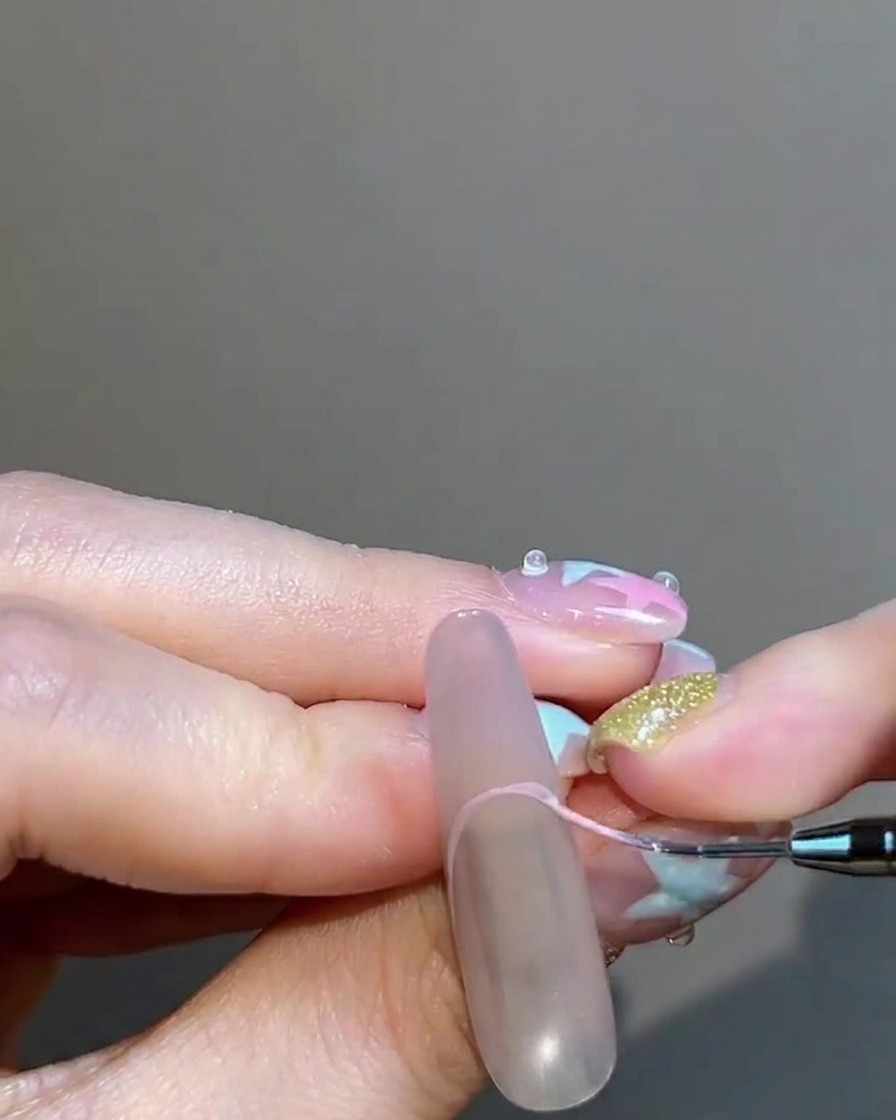
Using a fine liner brush and a pinkish-nude gel, carefully outline a French smile line on the nail tip and fill it in. Keep the lines clean and consistent to create a precise French effect.
Tip: Start by drawing the center of the smile line, then connect the sides for a more symmetrical shape. - 6Add shimmer to the French tip
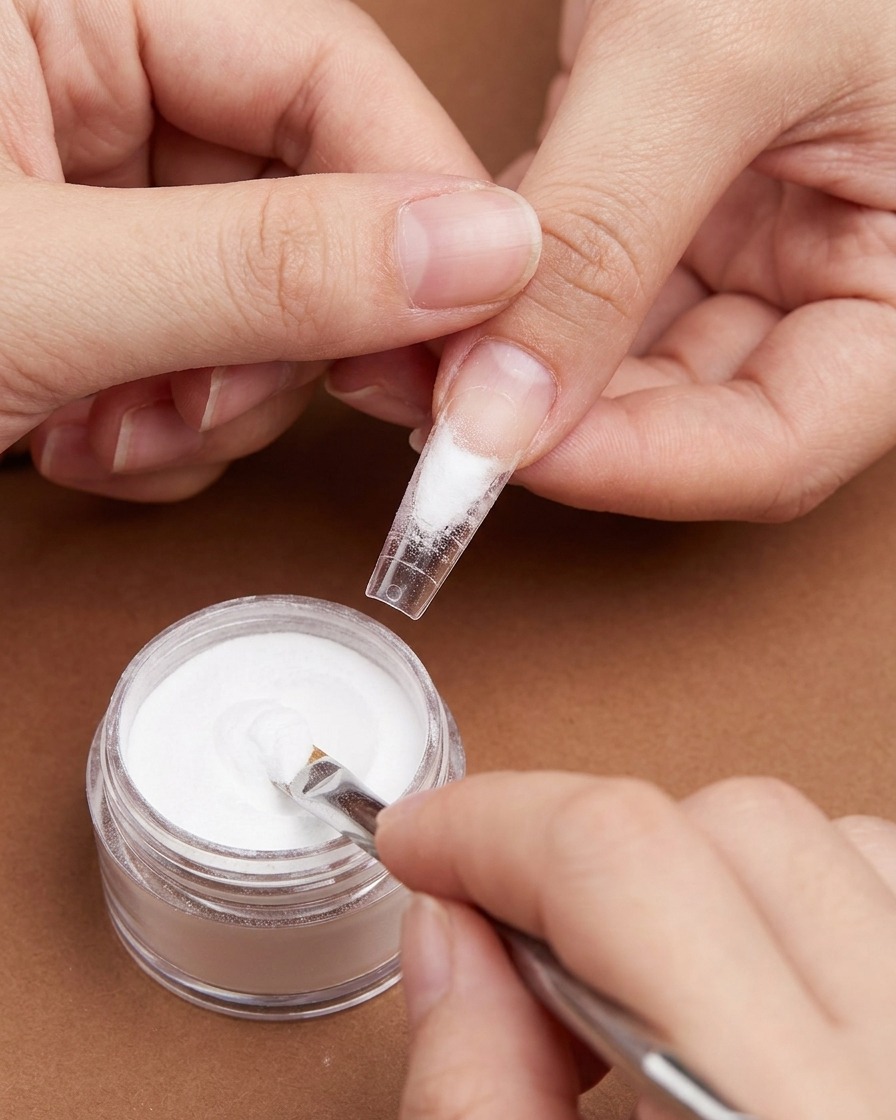
While the pink French tip gel is still wet, use a small spatula or cuticle pusher to scoop and generously sprinkle loose shimmer powder over the area. Ensure the powder covers the entire French tip thoroughly.
Tip: Sprinkle the powder over a clean tray to collect and reuse the excess. - 7Cure the powder-coated nail
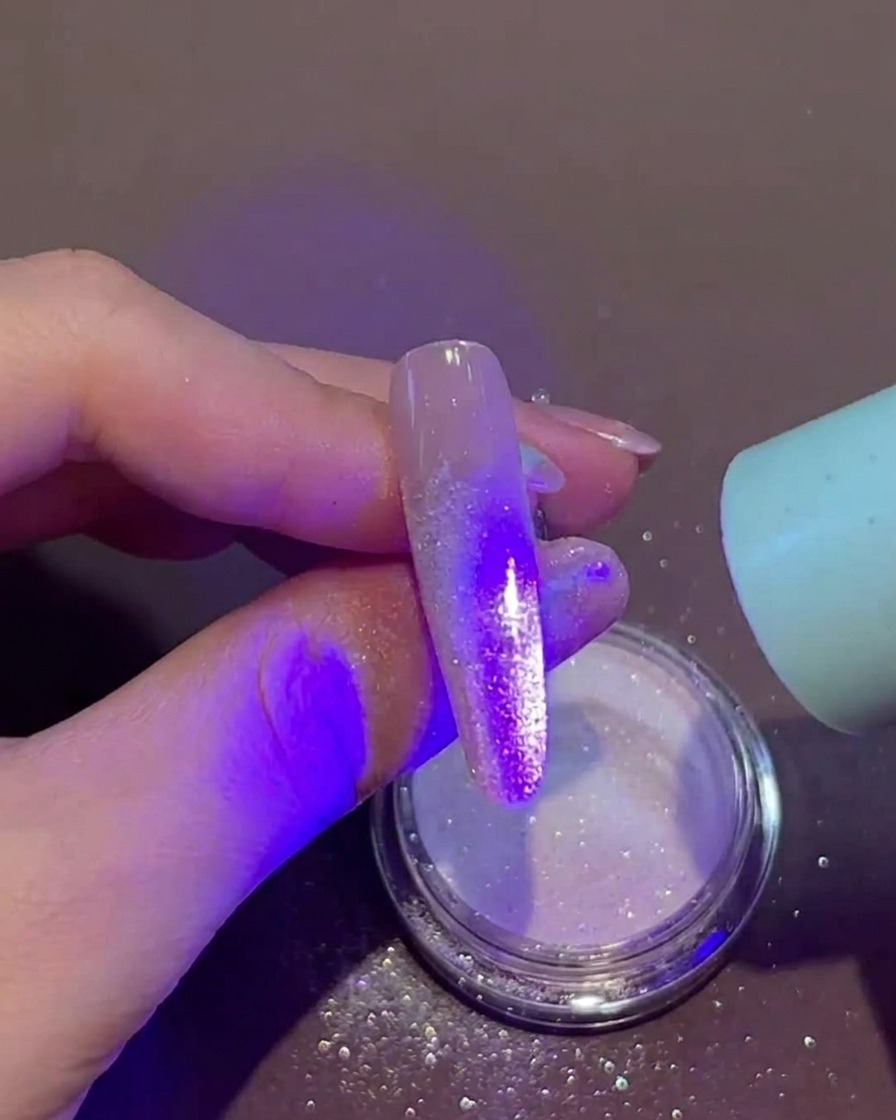
Position the mini handheld UV/LED lamp directly over the nail where the shimmer powder has been applied. Hold the lamp steady to ensure the gel and powder are thoroughly cured together, locking the texture and color in place.
Tip: Keep the lamp close to the nail for optimal curing, but be careful not to touch the wet gel surface with the lamp head. - 8Dust off excess powder
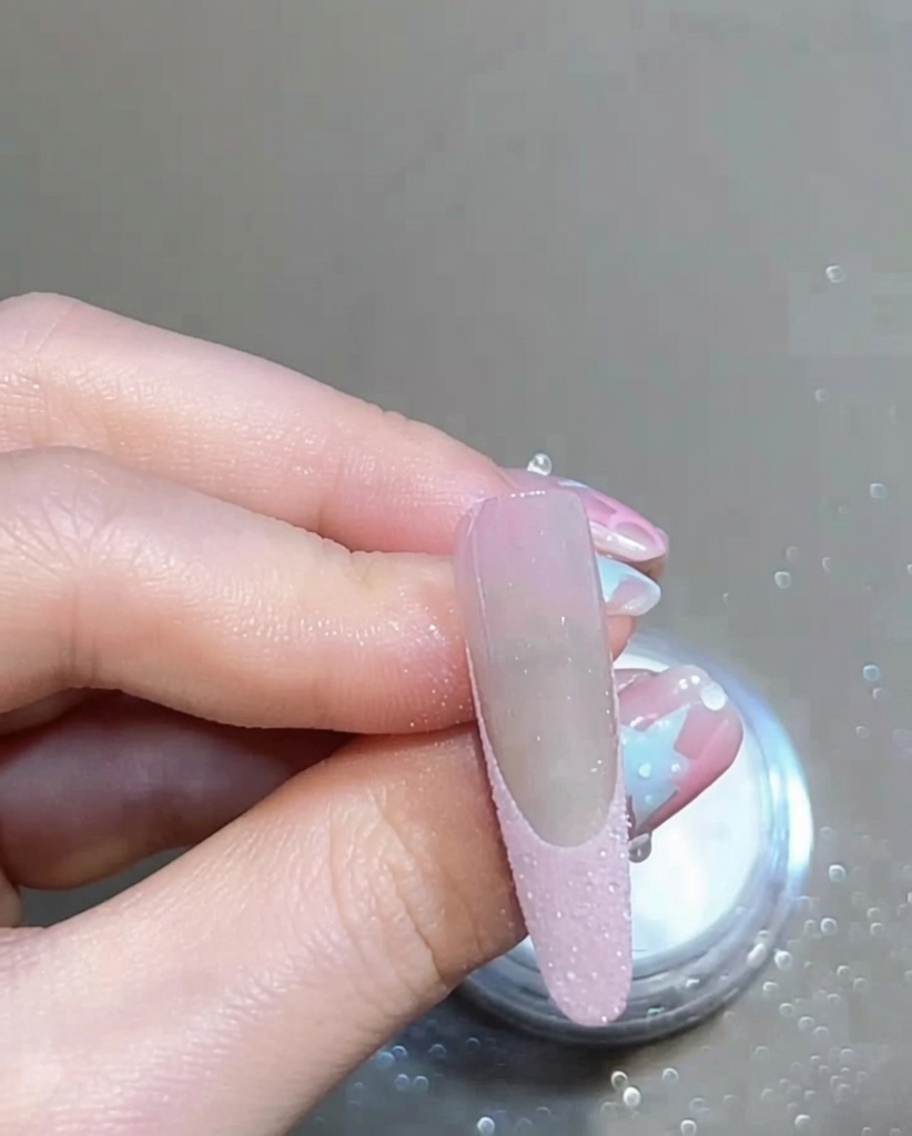
Once cured, use a soft, fluffy dusting brush to gently remove all loose shimmer powder from the surface of the nail. Sweep thoroughly to reveal the crisp French tip design.
Tip: Use a light touch to ensure you only remove the loose particles and dont disturb the cured powder attached to the French tip. - 9Apply embellishments to the French line
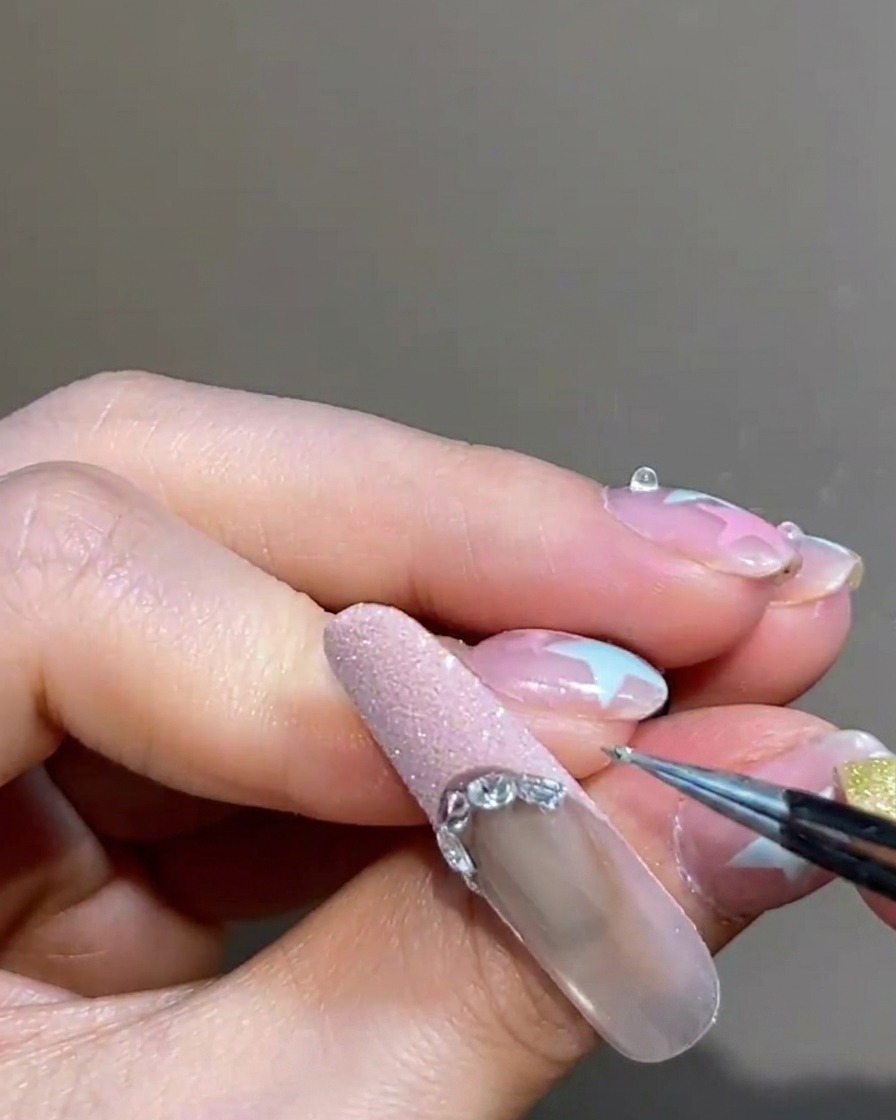
Using a fine detailing tool or tweezers, carefully place small rhinestones and silver metal beads along the curve of the French tip. Secure them into a small amount of wet top coat or gem gel along the line for a polished, decorative look.
Tip: Work one gem at a time to keep the arrangement precise along the smile line. - 10Apply Chrome Hearts sticker
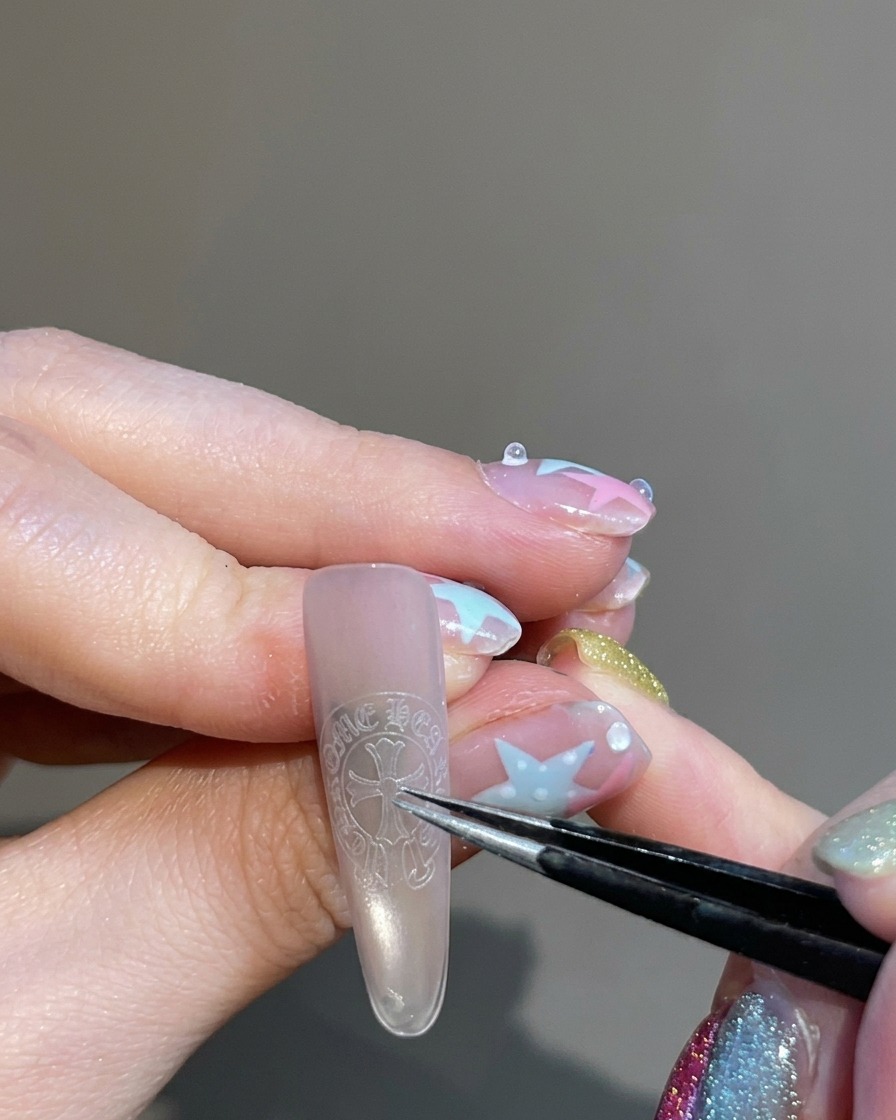
Using fine-tipped tweezers, pick up a cross-shaped Chrome Hearts sticker and place it precisely in the center of the nail bed. Press down firmly to ensure it lies flat against the nail surface.
Tip: Ensure the nail surface is smooth before applying the sticker so it doesnt wrinkle or lift at the edges. - 11Create a blush aura effect
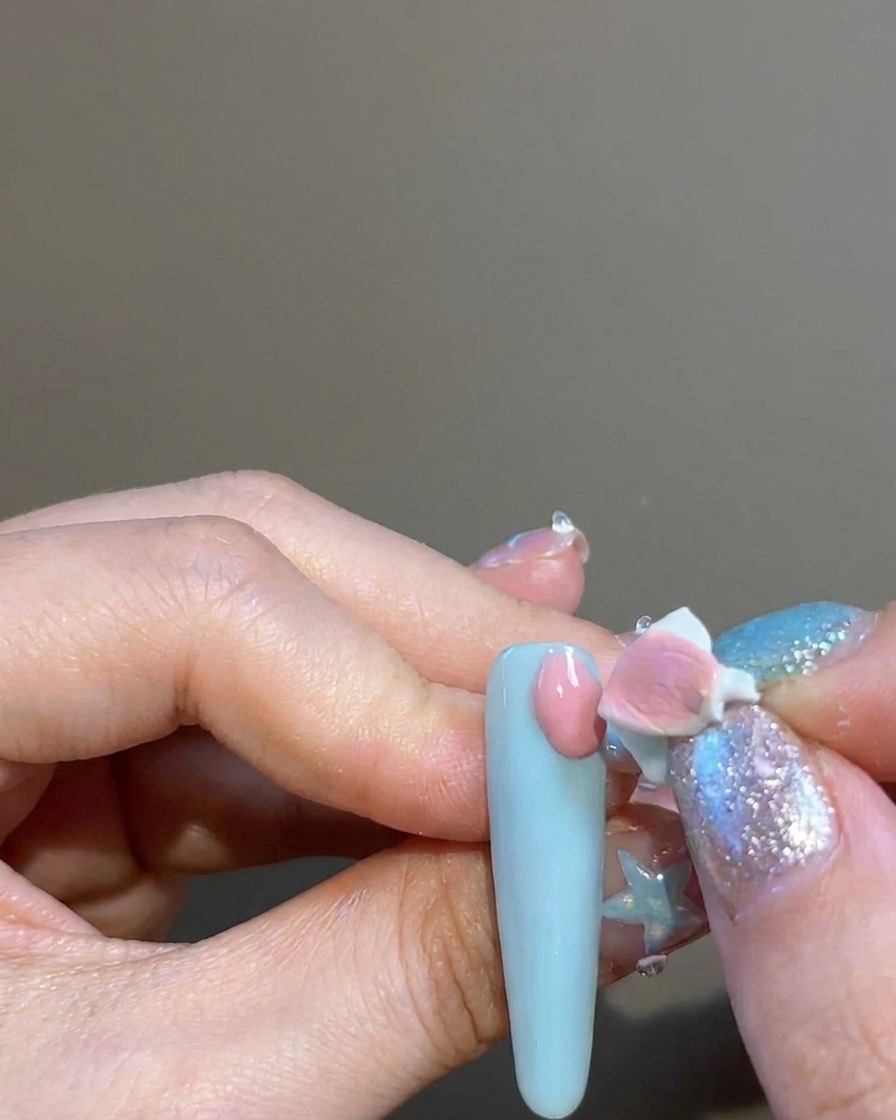
Using a small sponge applicator, pick up some pink blush powder and dab it gently over and around the sticker on the nail. Focus on blending the color outward to create a soft, diffused aura effect centered on the cross.
Tip: Build the color up slowly to control the intensity of the blush effect. - 12Reveal the sticker design
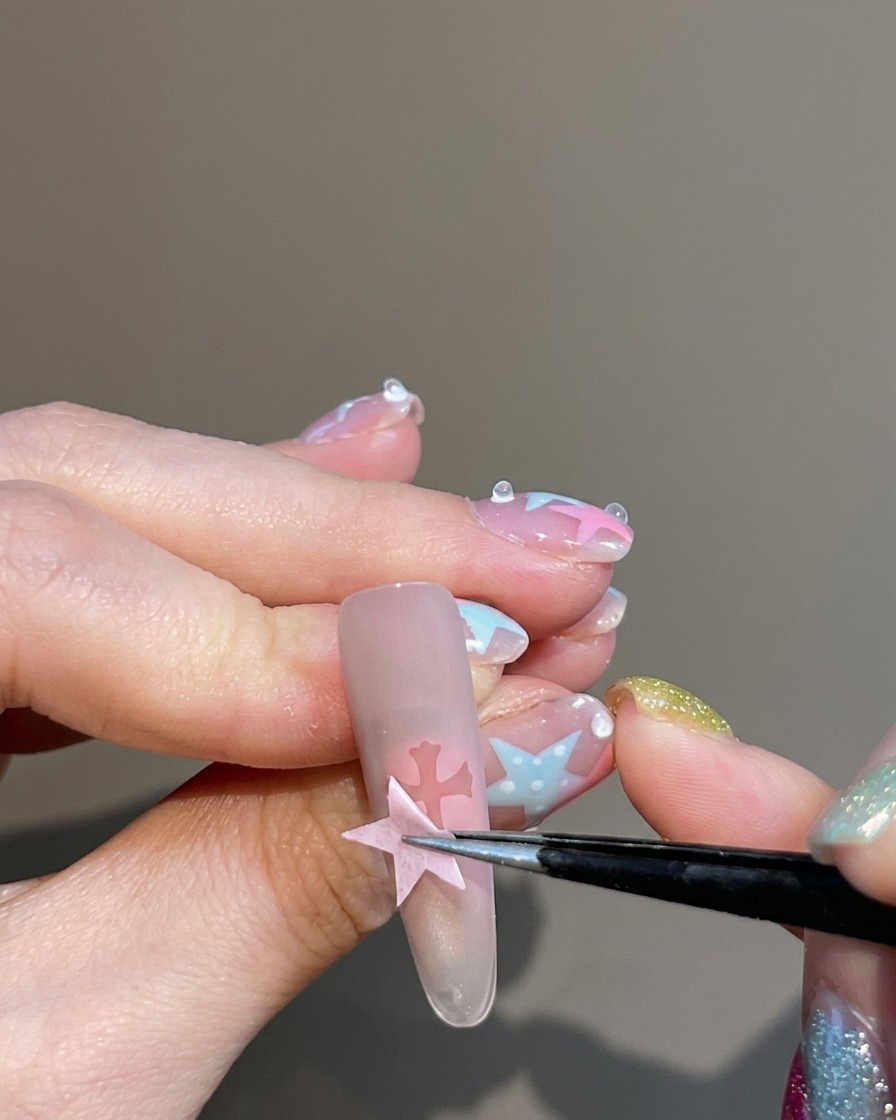
Once the blush effect is complete, use fine tweezers or a detailing brush to slowly and carefully peel off the sticker. This will reveal the clean, original nail color underneath, creating a sharp cross-shaped negative space.
Tip: Peel slowly to avoid smudging the surrounding blush powder. - 13Apply final top coat
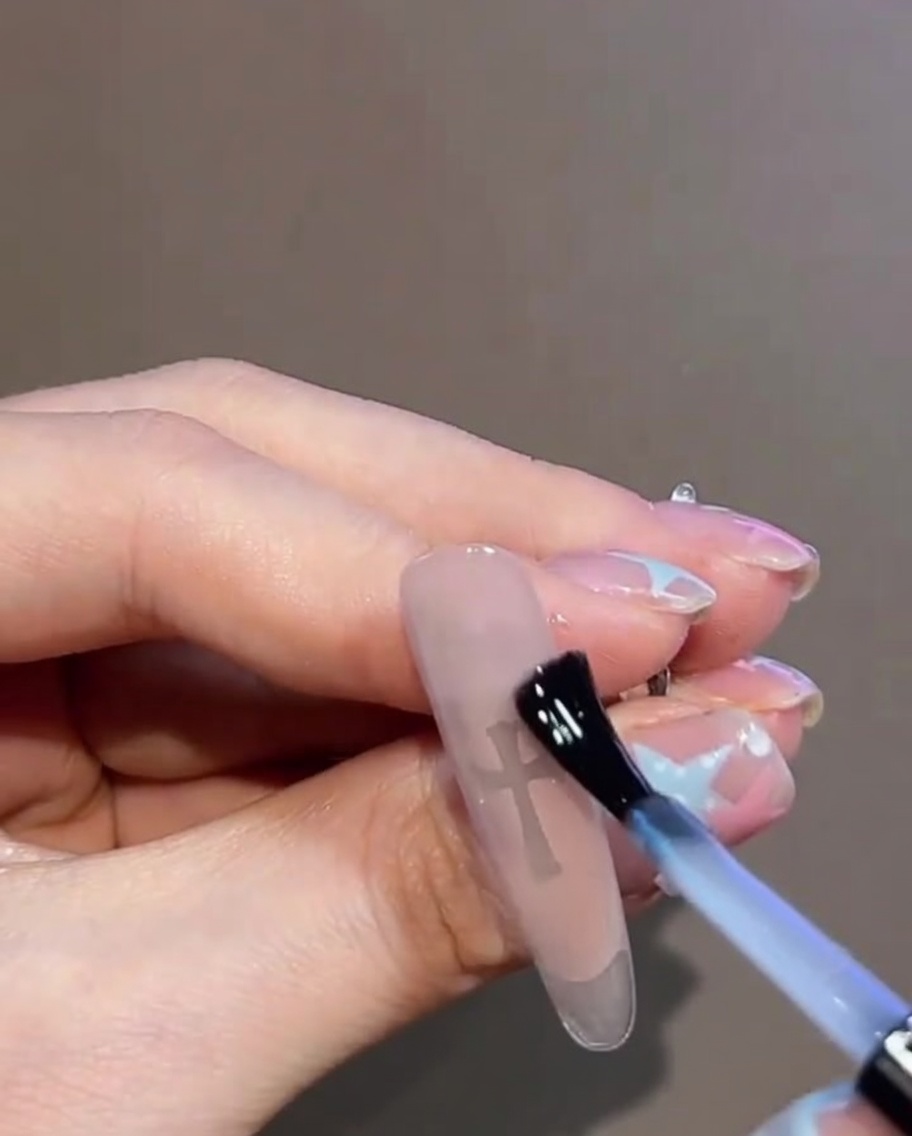
Apply a generous layer of clear top coat over the entire nail surface, ensuring you cover the Chrome Hearts cross sticker and the surrounding rhinestones. This seals the design, prevents the sticker from lifting, and adds a protective, glossy finish to the entire manicure.
Tip: Be careful when brushing over the rhinestones to avoid dragging them out of place; use a gentle dabbing motion if needed.