Flying Apsaras Dunhuang Style Nail Art — Step-by-Step Guide
Create breathtaking ancient Chinese Dunhuang style nail art featuring smudged watercolor backgrounds, gold flakes, and intricate flying Apsaras figures.
Inspired by the magnificent ancient murals of Dunhuang, this intricate nail art style combines ethereal watercolor smudging, metallic gold accents, and detailed character stamping. Recreating the flowing ribbons and graceful figures of the Flying Apsaras brings a unique piece of cultural artistry straight to your fingertips.

Steps
- 1Apply clear solid glue
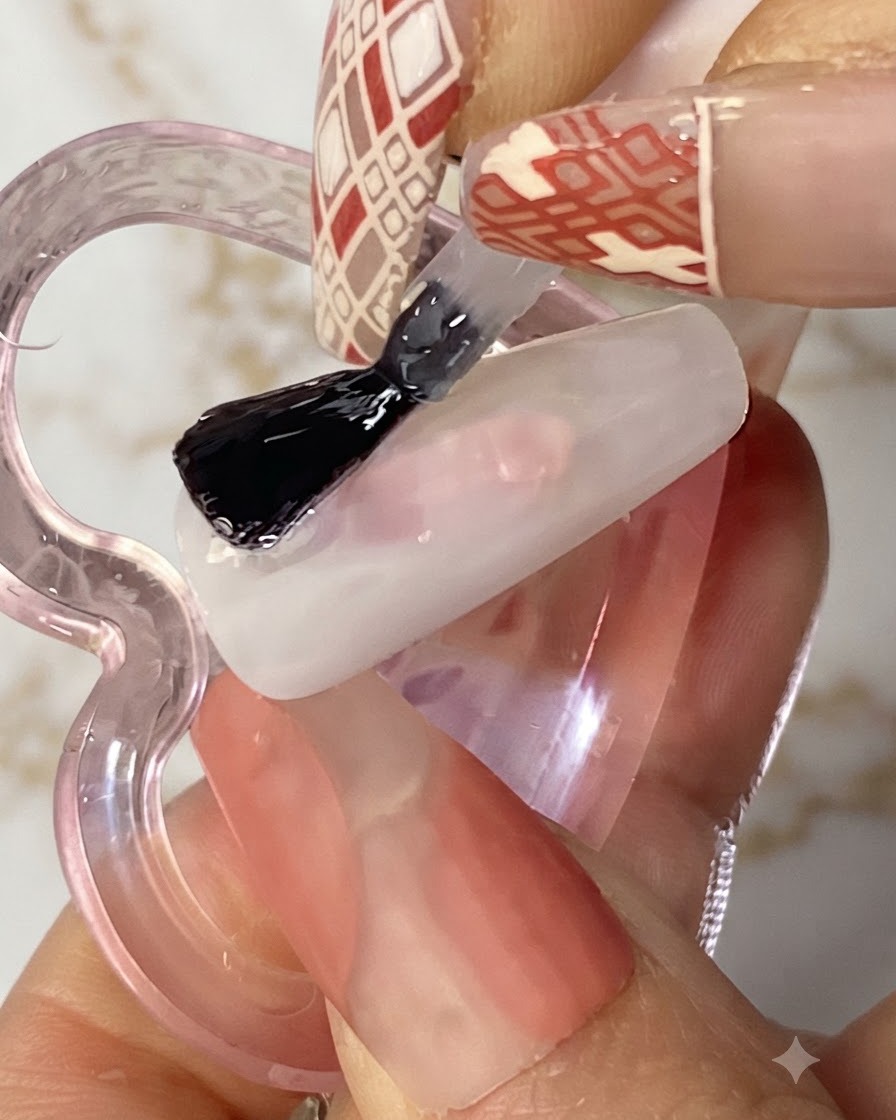
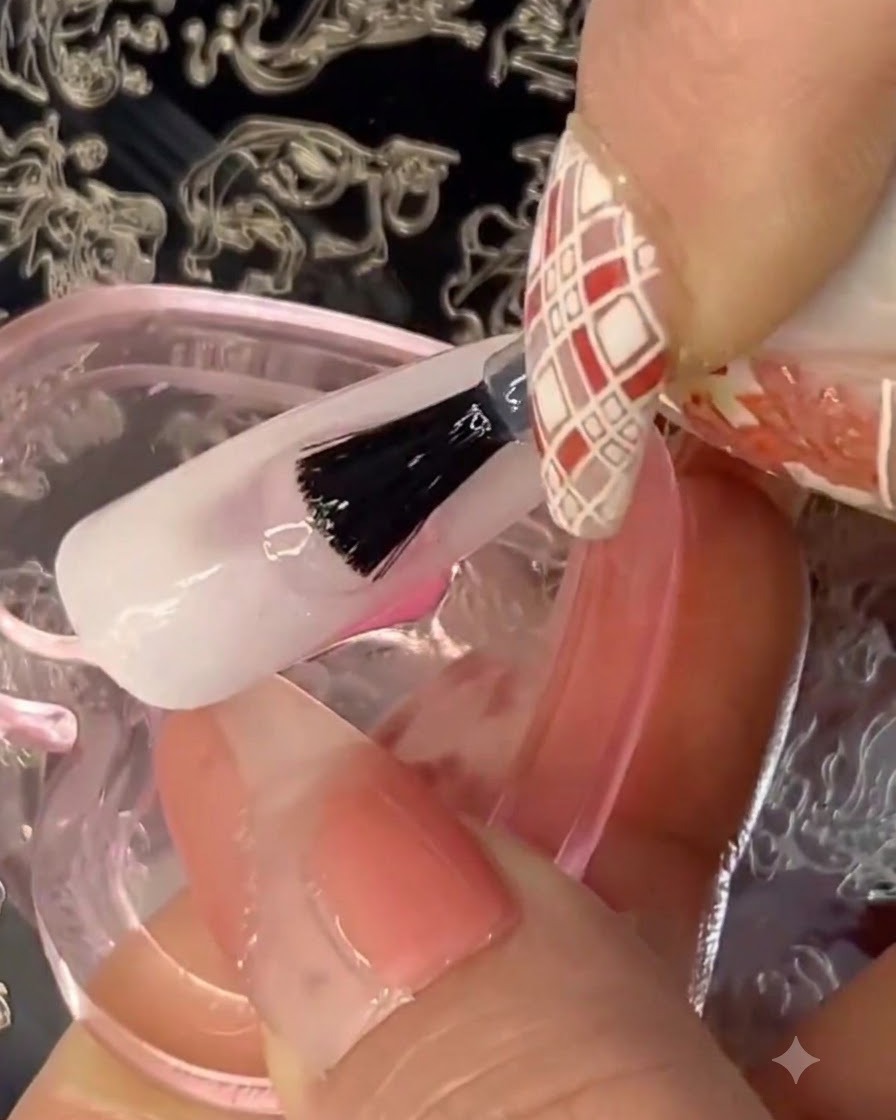
Using a flat gel brush, apply an even layer of non-baking clear solid glue over the white base coat. Do not cure this layer, as it will act as an adhesive surface for the foil flakes.
Tip: Keep the layer thin and avoid flooding the cuticles to ensure a smooth, even base for the next steps. - 2Place gold foil flakes
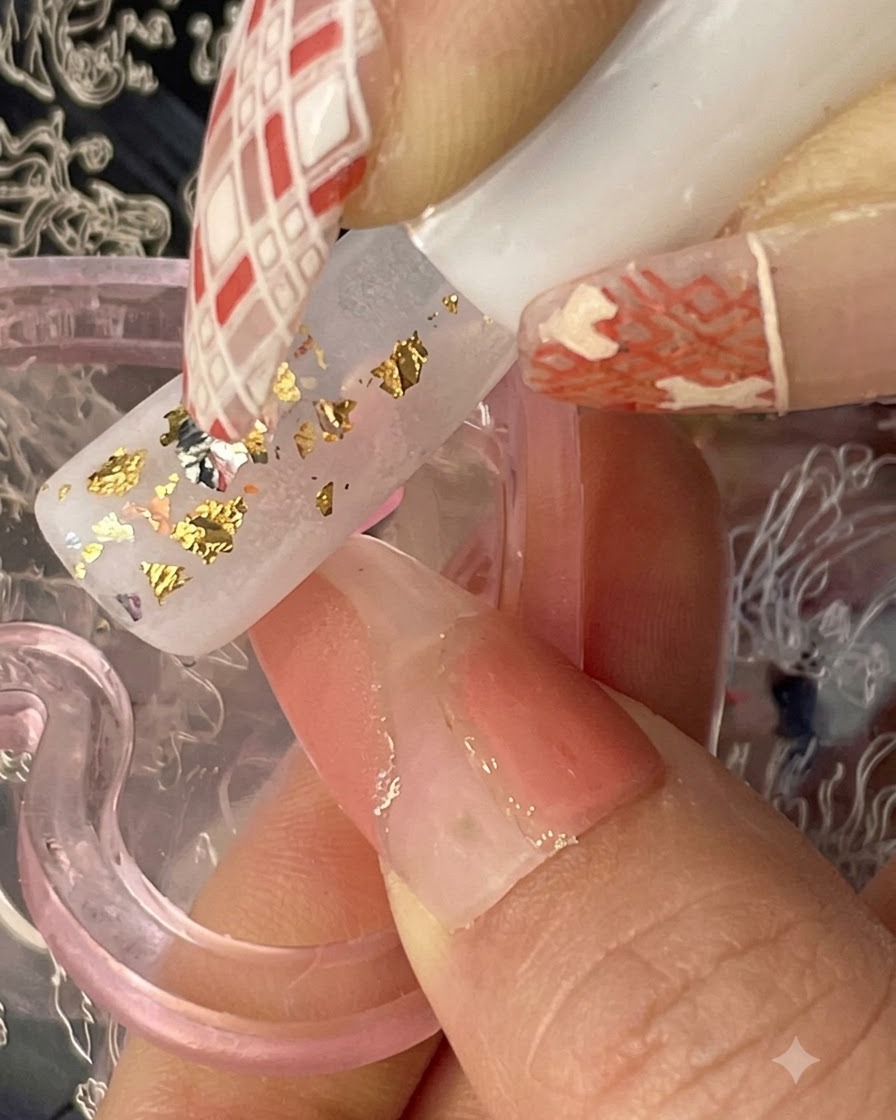
Using a pair of fine tweezers, gently pick up small pieces of gold foil and place them directly onto the uncured solid glue base. Arrange them in a scattered pattern across the nail surface to add metallic texture and depth before curing.
Tip: Do not cure the solid glue before applying the foil; the tacky surface acts as the adhesive to hold the pieces in place. - 3Apply iced tea colored gel for smudged marble look
Apply iced tea colored gel in irregular patches over the base and gold foil layer. This creates an organic, smudged marble effect that forms the multicolored background of the design.
Tip: Keep the application random and uneven to enhance the natural stone-like appearance of the smudge effect. - 4Build depth with solid gel
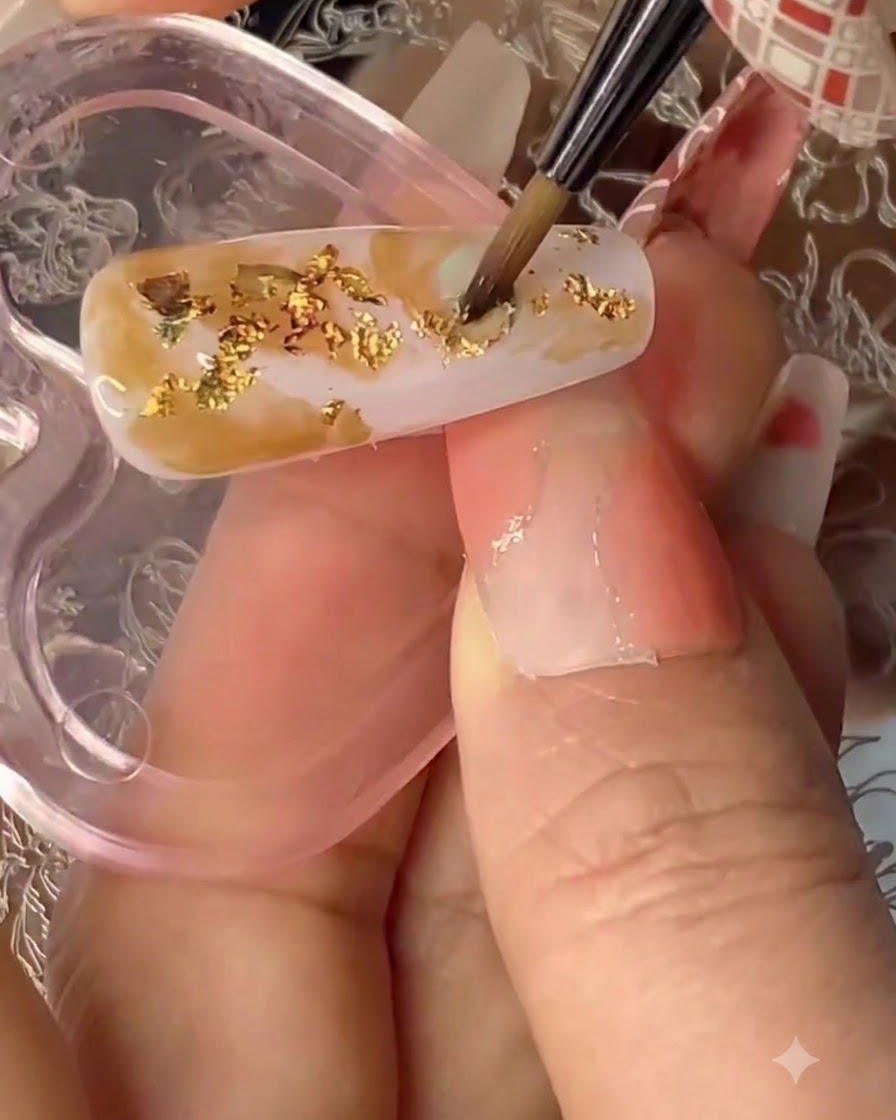
Using a thin detail brush, apply solid gel number 295 over the wet layers of the smudged design. Randomly pull the gel a few times to create texture and build three-dimensional depth within the pattern.
Tip: Use a light hand when pulling the gel to maintain the irregular, organic appearance of the smudged marble effect. - 5Draw random cloud lines
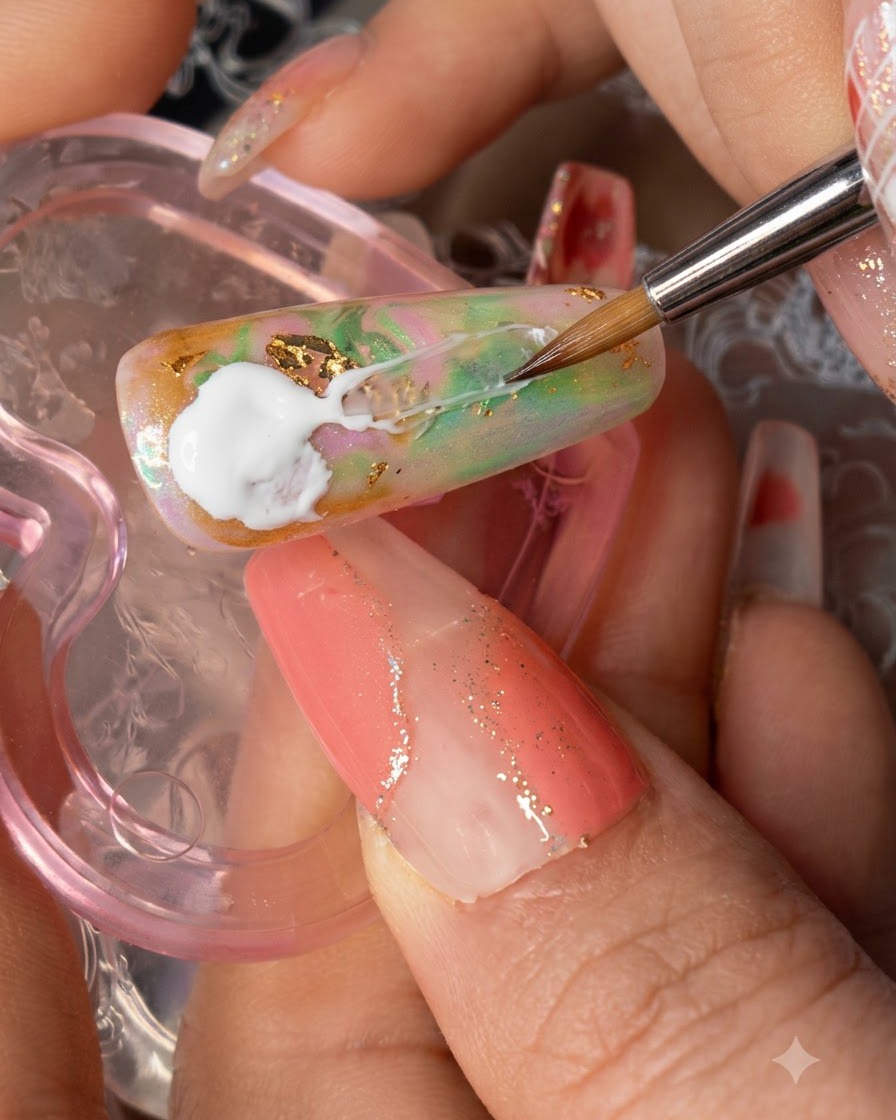
Mix white gel with clear gel to achieve a semi-sheer, milky consistency. Use a fine detail brush to draw random, wispy cloud lines across the textured nail surface until you reach the desired effect, then cure the nail in the lamp.
Tip: Mixing white with clear gel softens the opacity, giving the cloud lines a much more natural and ethereal look. - 6Paint a small textured circle with gold glitter gel
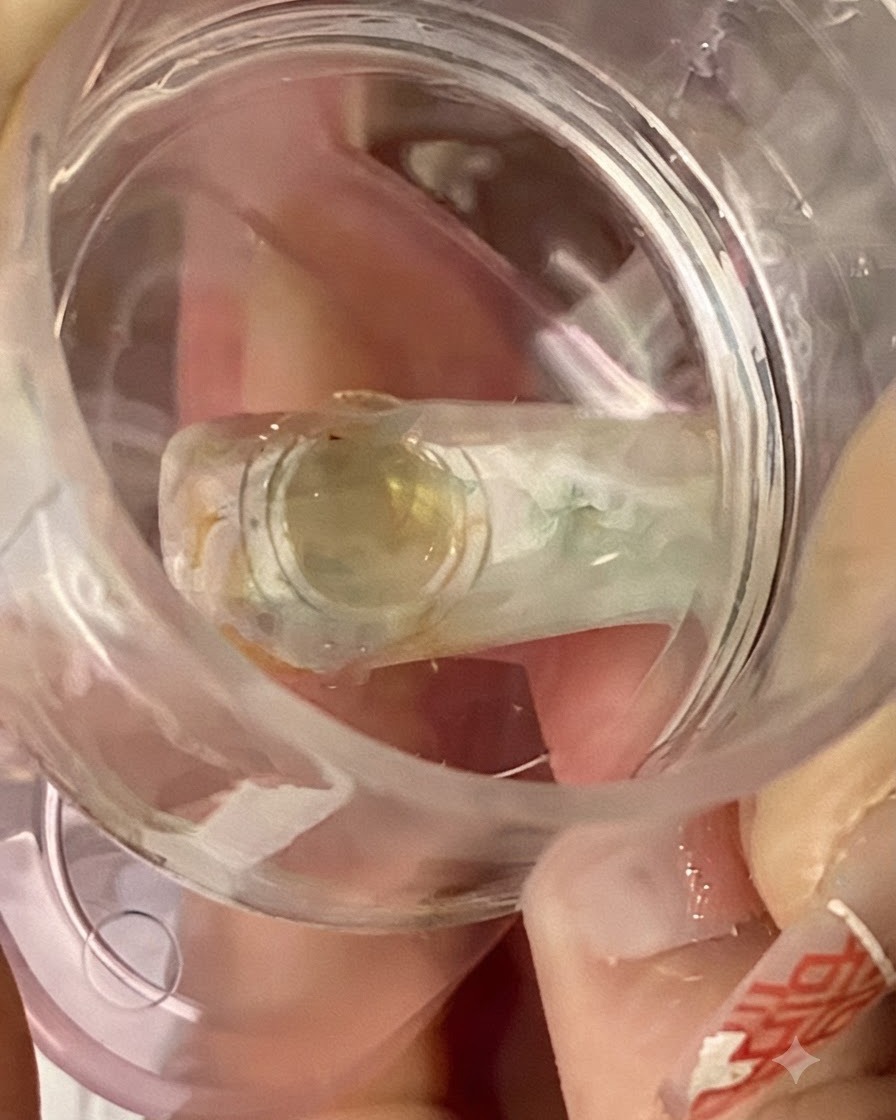
Using a fine detail brush and gold glitter gel, paint a small textured circle near the cuticle area on the prepped nail surface. This circle serves as a decorative base frame for the upcoming character transfer. Cure under the lamp once placed.
Tip: Keep the glitter concentrated within the outlined circle to maintain a clean and defined shape. - 7Scrape brown stamping polish over the plate
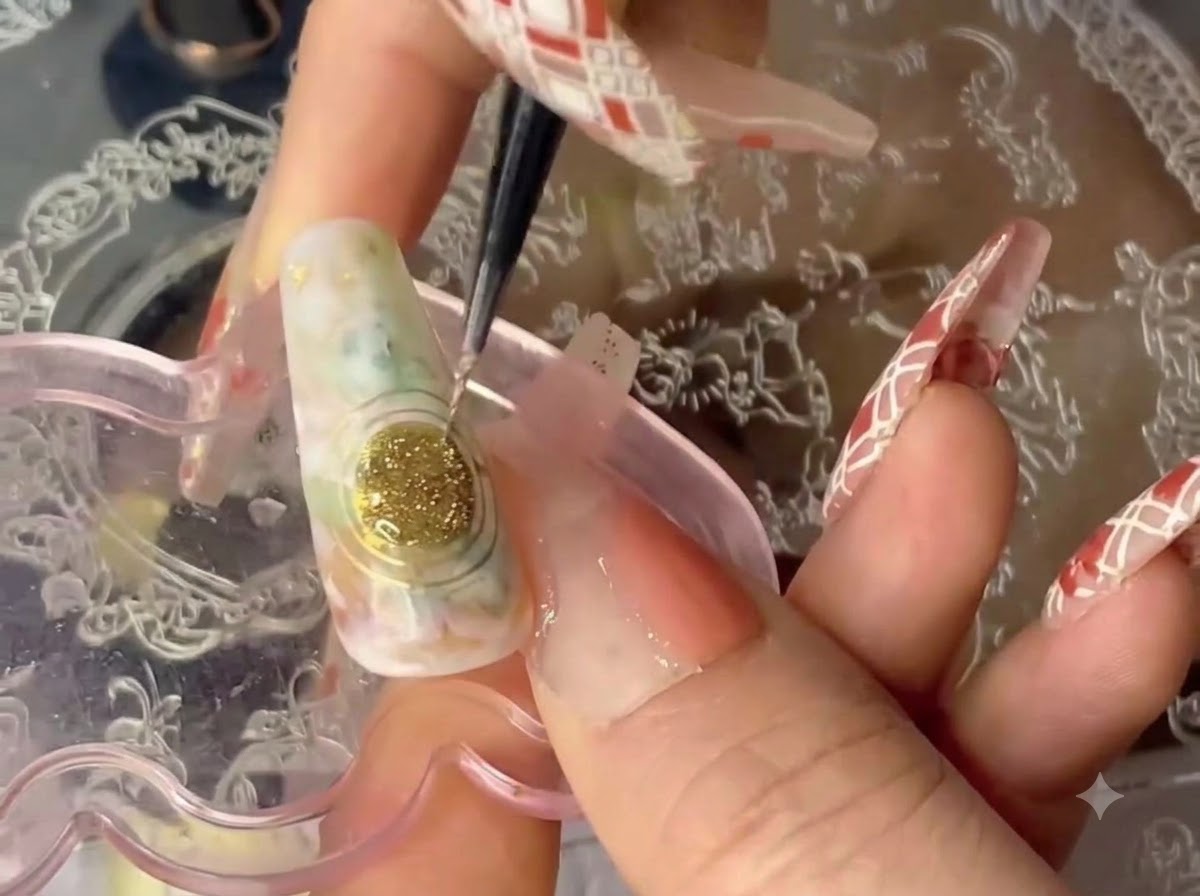
Apply brown stamping polish over the intricate flying Apsaras figure engraved on the metal stamping plate. Use a scraper at a 45-degree angle across the plate to remove excess polish, leaving the design filled evenly within the etched grooves.
Tip: Scrape quickly and firmly in a single smooth motion to ensure clean lines without smudging the details. - 8Fill in skin areas on the stamper head
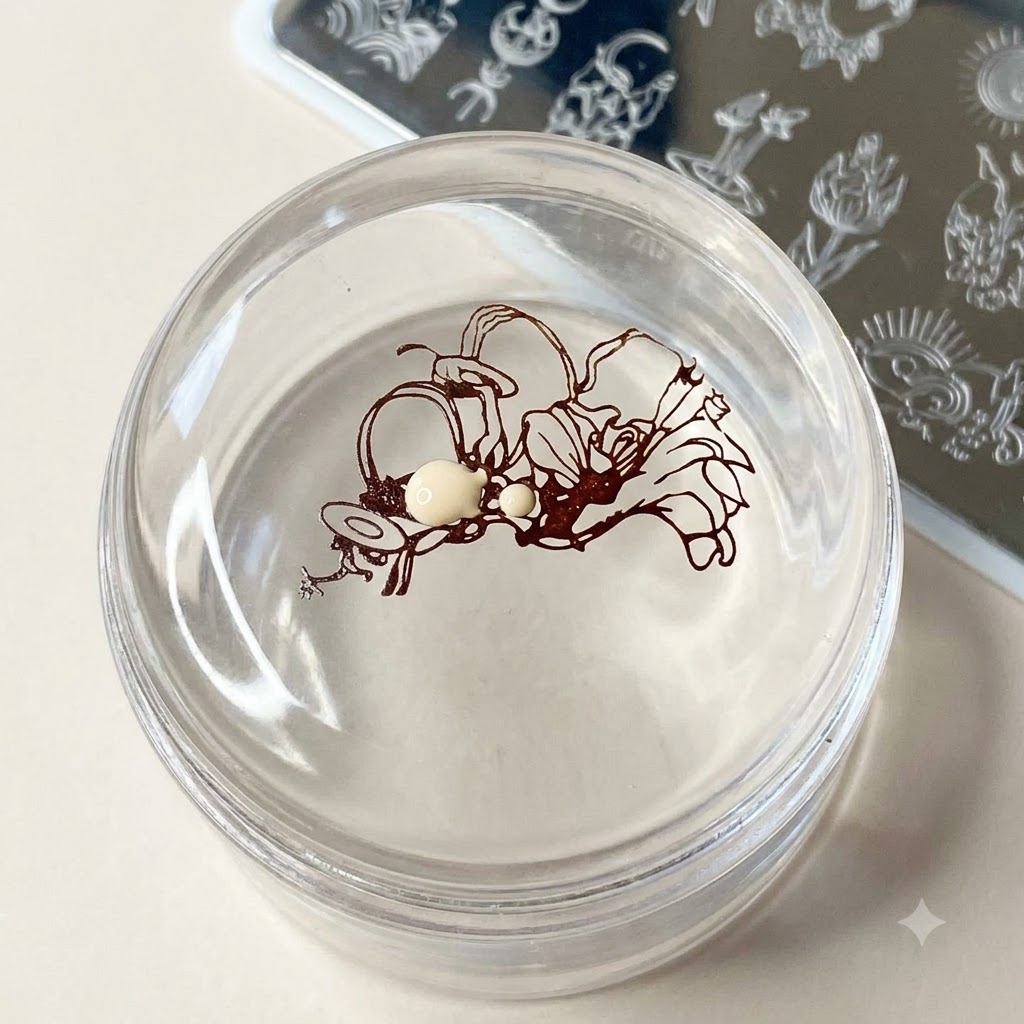
Using a fine liner brush, carefully fill in the skin areas of the stamped figure directly on the clear stamper head with a custom nude polish mix. This allows you to pre-color elements of the design before transferring it to the nail.
Tip: Work with a steady hand and a small amount of polish on your brush tip to avoid spilling over the stamped outline lines. - 9Transfer the stamped figure onto the nail
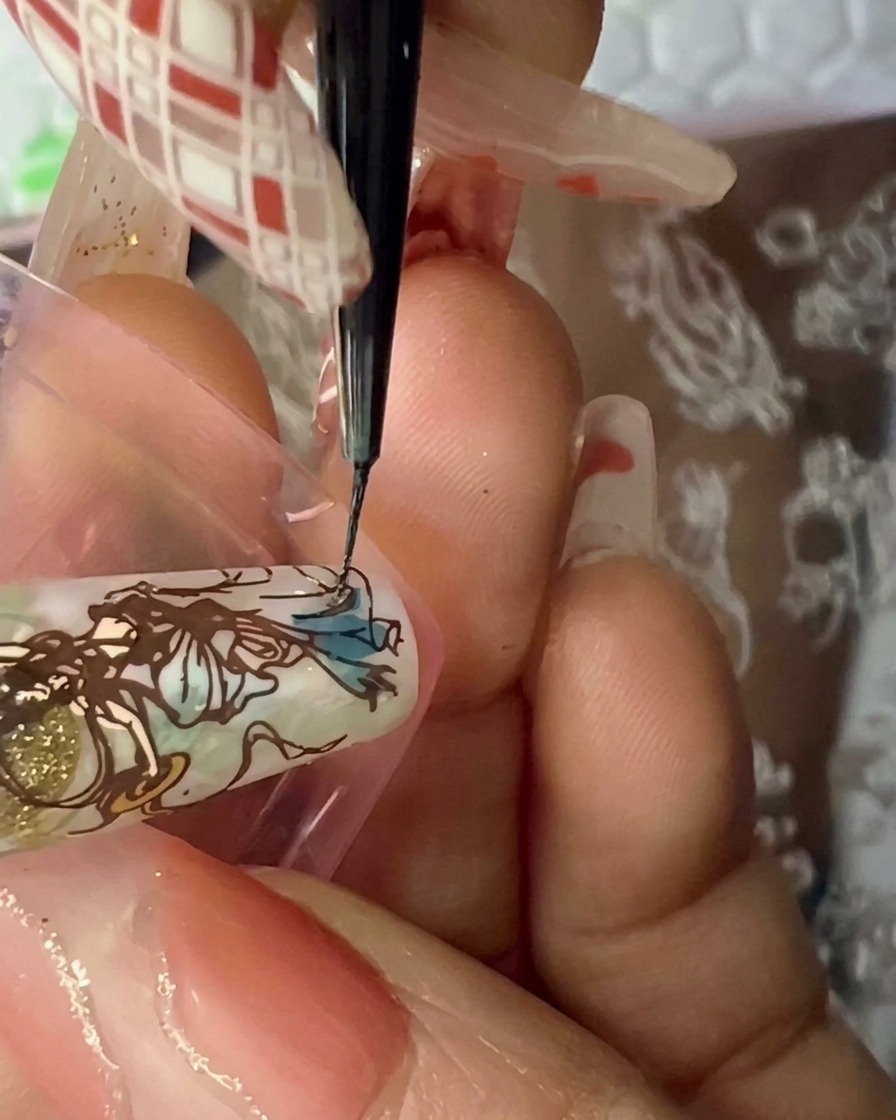
Align the clear stamper over the nail and press down firmly to transfer the pre-colored character figure directly onto the nail surface, positioning it precisely over the gold circle and background design.
Tip: Press gently and evenly across the clear stamper head to ensure the entire multi-colored transfer adheres cleanly without smudging. - 10Color the flowing ribbons with smudge liquids and white gel
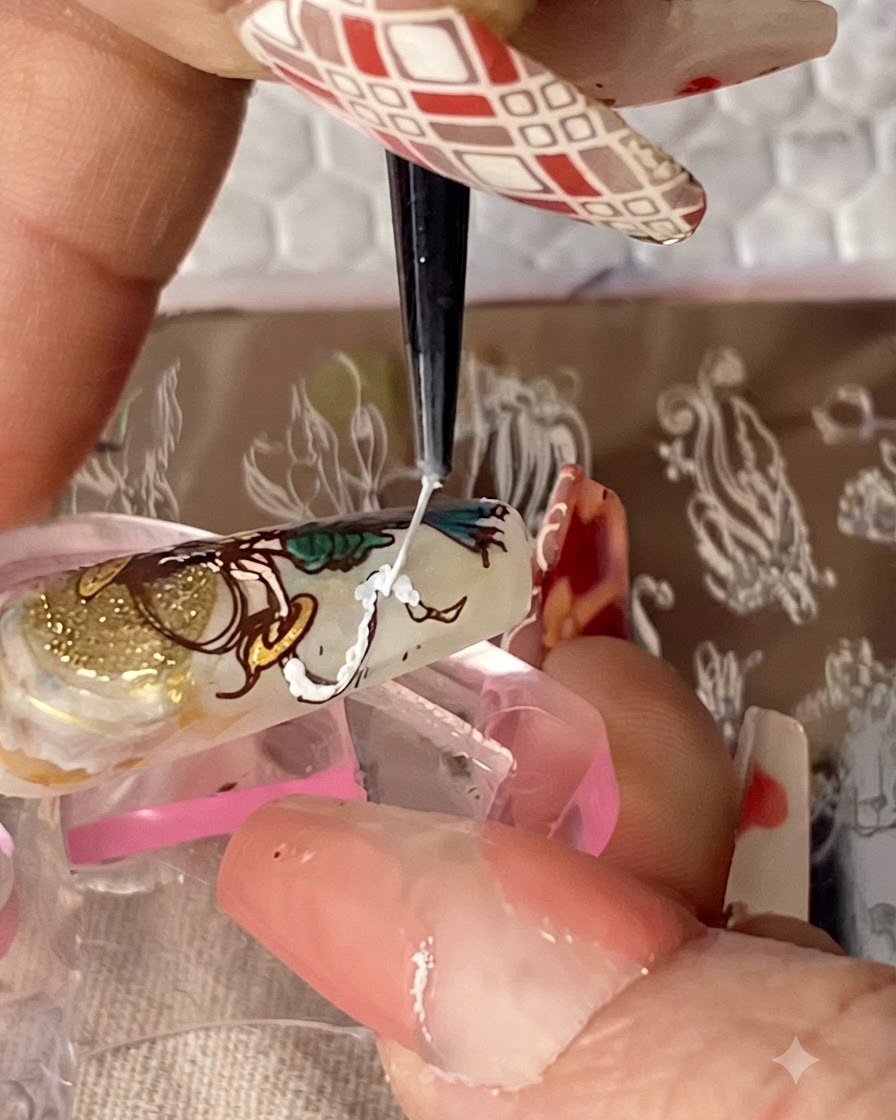
Using a fine brush, color the flowing ribbons of the stamped figure on the nail using a custom mix of smudge liquids and white gel. Blend the colors carefully to give the ribbons a vibrant, dimensional appearance.
Tip: Work with small amounts of smudge liquid to keep the details sharp and prevent bleeding outside the lines. - 11Stamp and transfer small cloud outlines
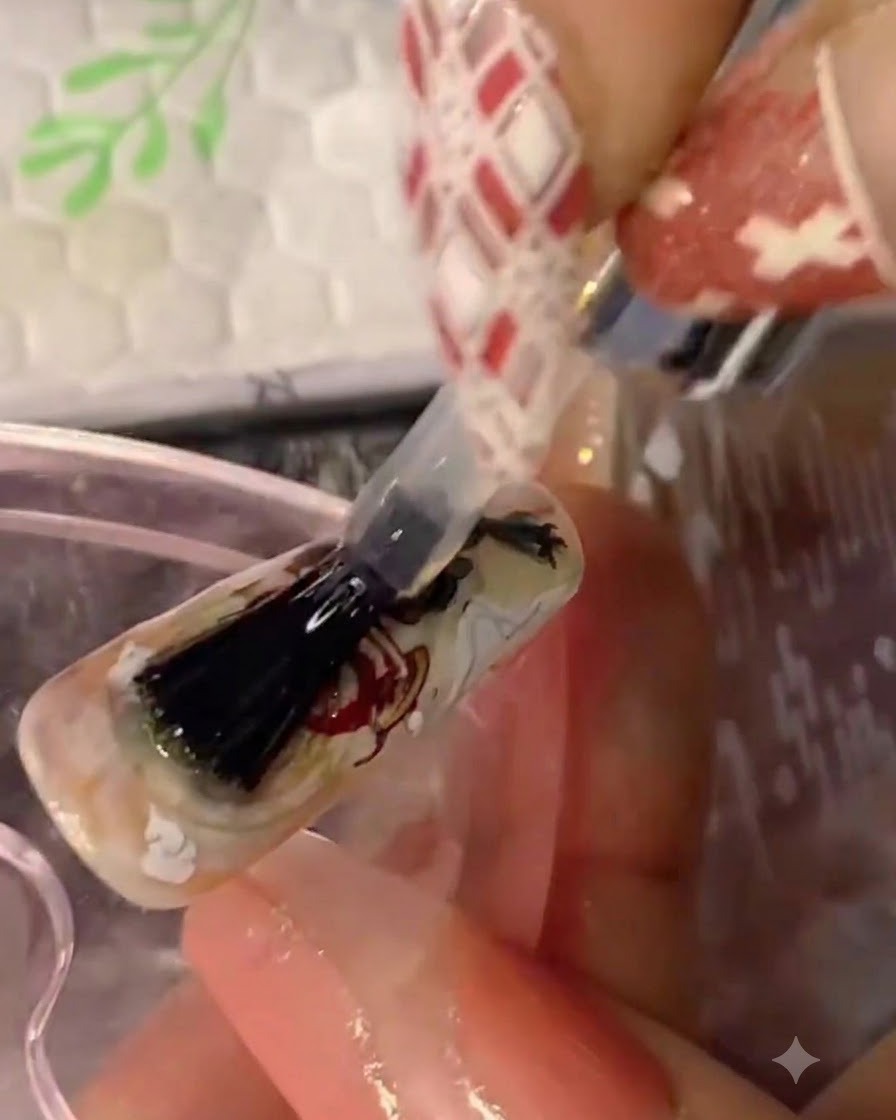
Use a clear silicone stamper to pick up two small cloud outline patterns from the stamping plate and carefully transfer them around the central figure on the nail. Position them symmetrically to frame the design.
Tip: Press the stamper down gently and roll it lightly to ensure the cloud lines transfer without distortion. - 12Apply clear solid glue and gold foil on index finger
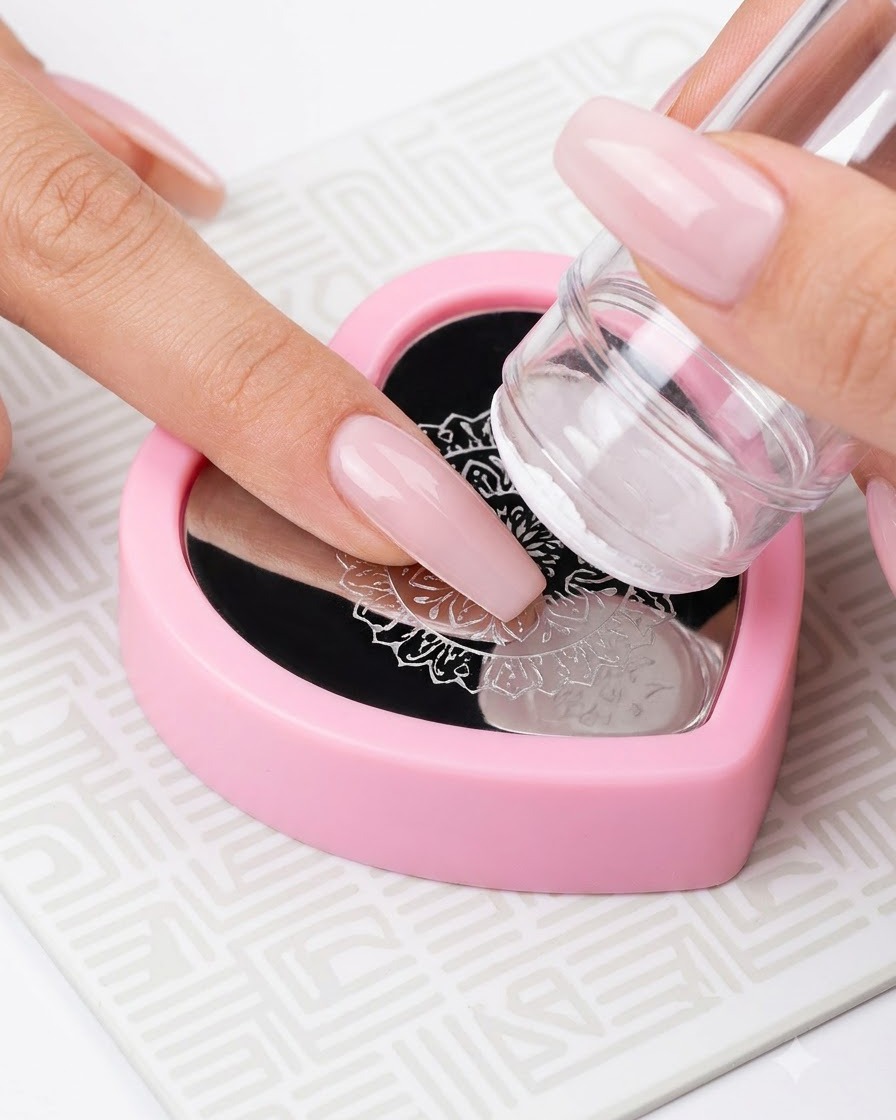
Apply a layer of clear solid glue onto a second nail designated for the index finger. Carefully pick up and stick gold foil flakes onto the tacky surface without curing yet, creating an irregular, textured golden layer.
Tip: Press the gold foil flakes down gently with a silicone tool so they adhere securely into the solid glue. - 13Smudge iced tea gel and solid gel #295 for background
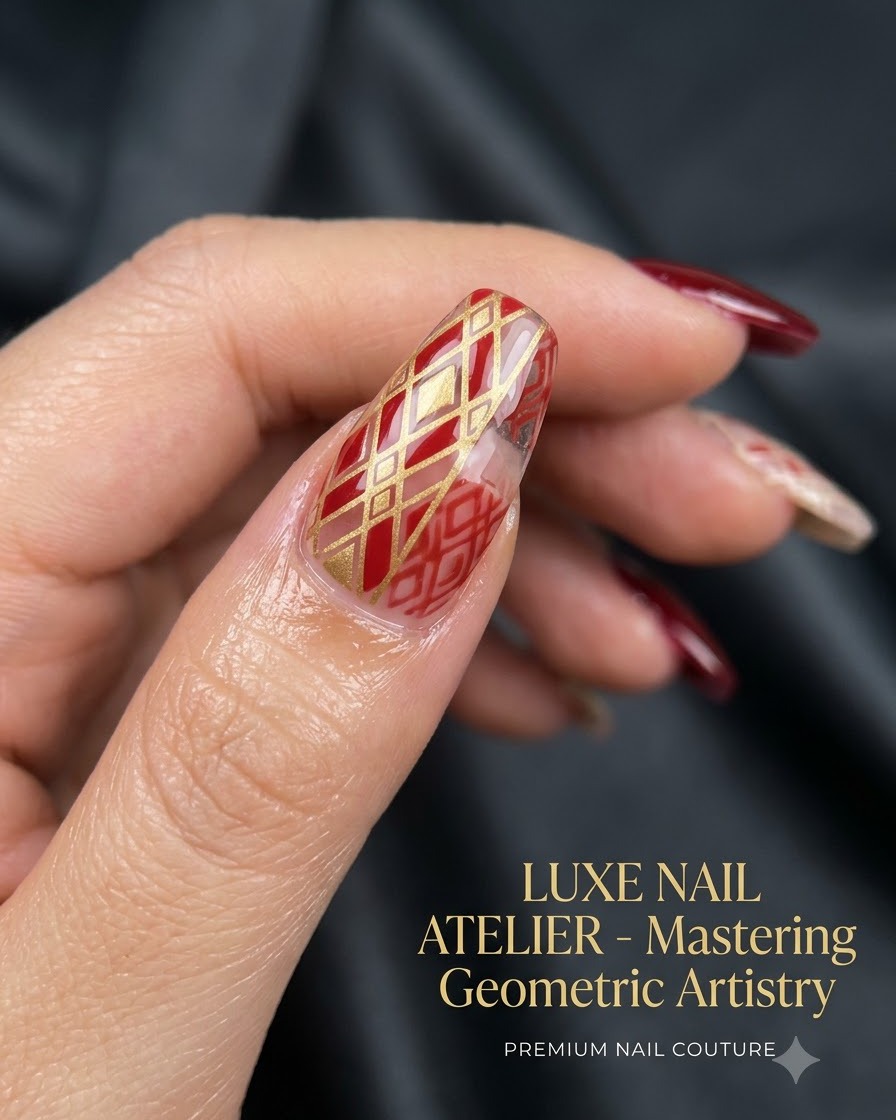
Apply iced tea gel in irregular patterns for a smudged look on the index finger, followed by solid glue number 295 to add depth. Randomly pull the gel a few times to create rich texture before curing.
Tip: Vary the direction when pulling the gel to create a more organic, multi-dimensional stone effect. - 14Draw White Cloud Lines
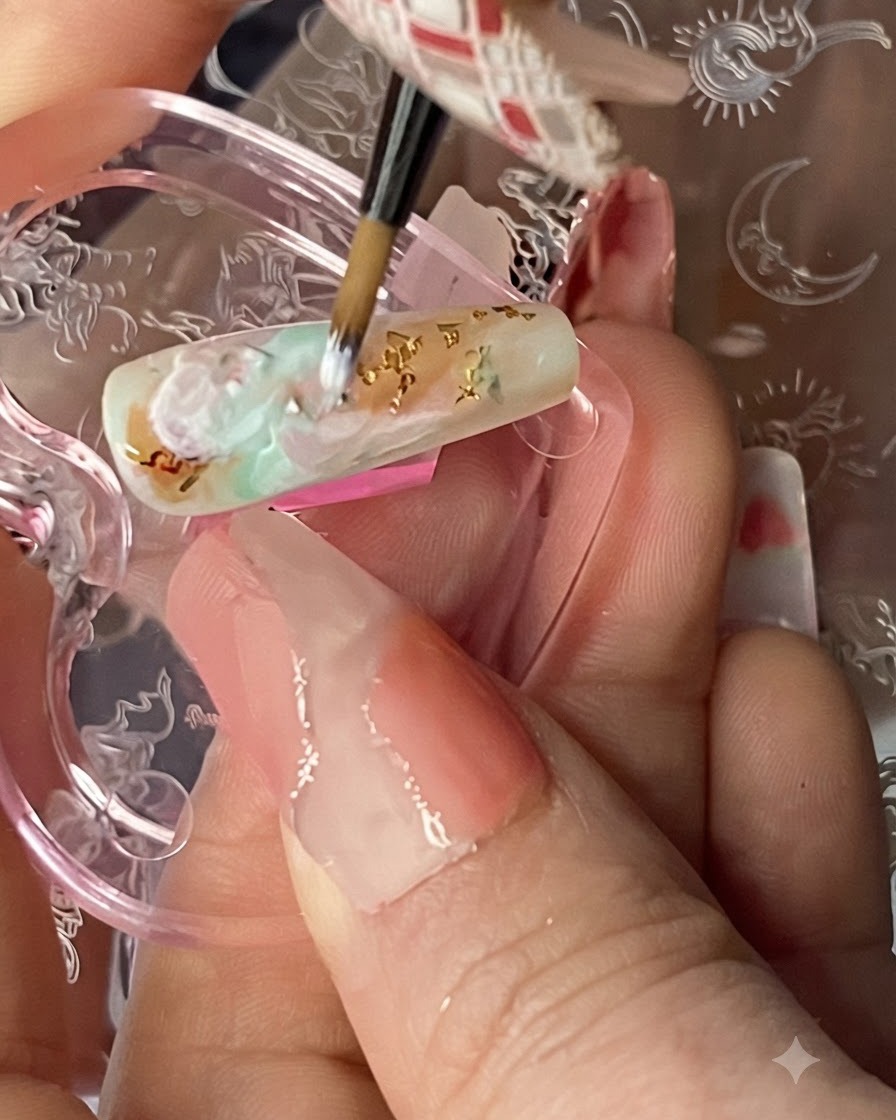
Using a fine detail brush and a mixture of white gel and clear gel, carefully draw delicate and random cloud lines over the cured smudged background on the index finger. This technique adds depth and ethereal dimension to the background, creating the signature look of the Flying Apsaras Dunhuang style. Continue drawing until the desired airy, cloud-like effect is achieved before curing.
Tip: Mixing white gel with clear gel softens the opacity, making the cloud lines look semi-transparent and much more dimensional rather than starkly opaque. - 15Color Ribbons on Stamper Head
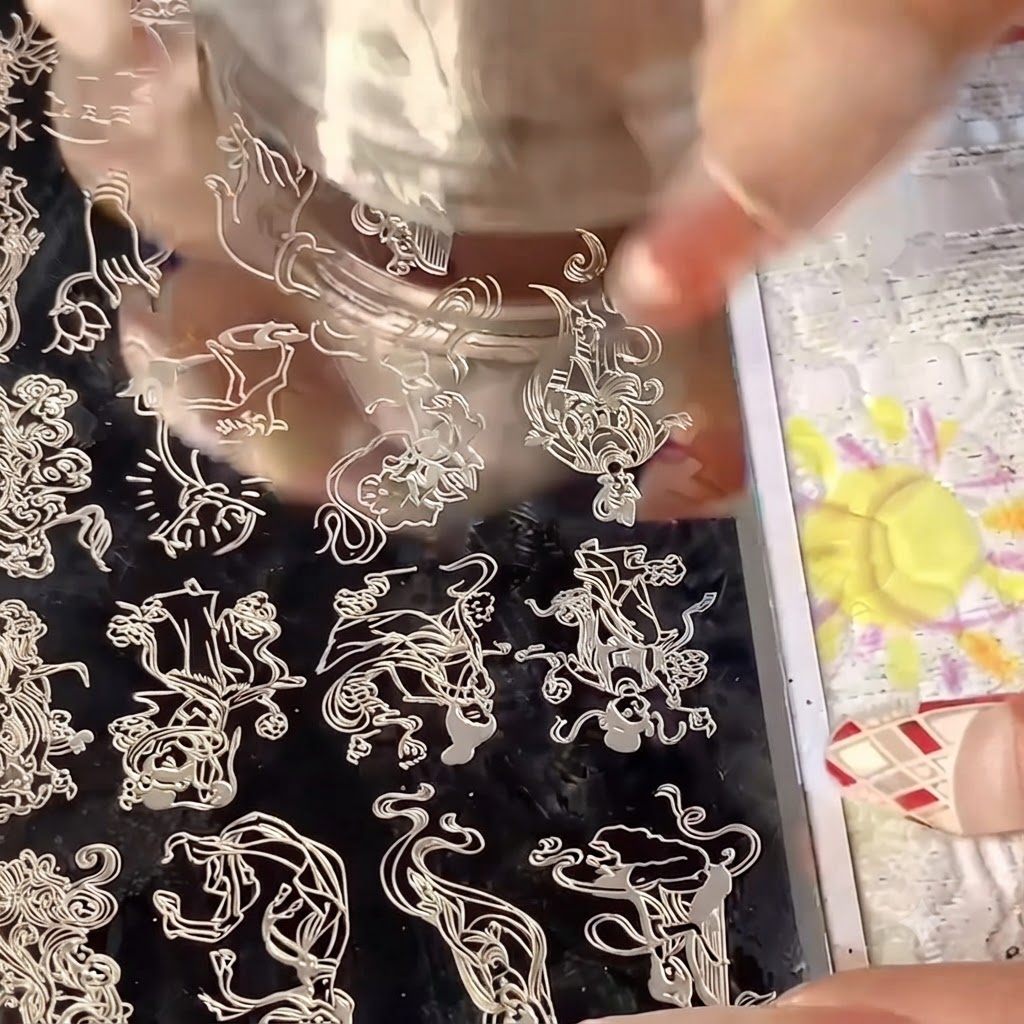
Using a fine detail brush, carefully apply color to the ribbons of a newly transferred figure directly on the surface of the clear stamper head. This allows you to paint and shade the detailed components before transferring the complete multi-colored design onto the nail, ensuring precise control over the placement of each color.
Tip: Working on a clear stamper head gives you a clear view from underneath and makes intricate multi-color detailing much easier to manage. - 16Transfer Figure to Middle Finger
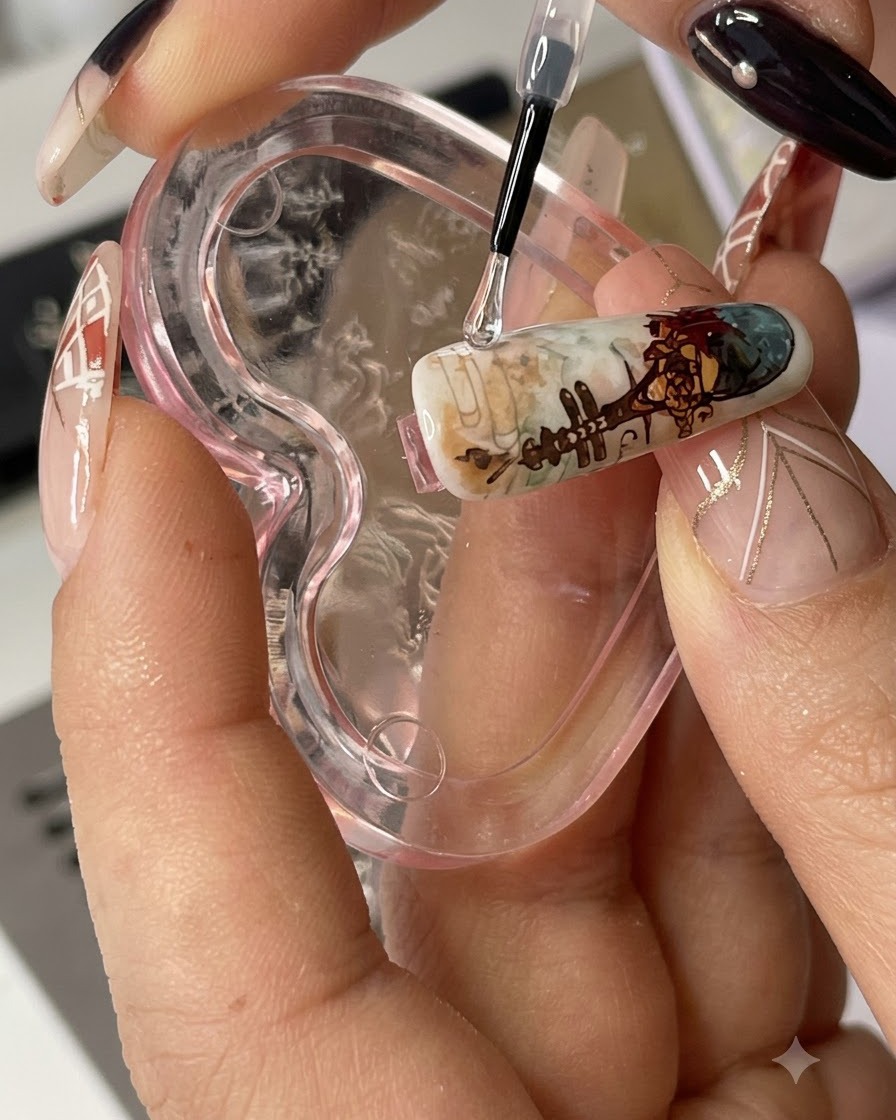
Carefully align and press the clear stamper head onto the prepped middle finger nail to transfer the newly painted figure. Roll the stamper gently from side to side to ensure complete and seamless transfer of the design without air bubbles or smudging. Secure the transferred pattern on the nail surface.
Tip: Check the alignment from multiple angles before pressing down to ensure the figure is centered perfectly on the nail. - 17Apply Dark Smudge Liquid to Ribbons
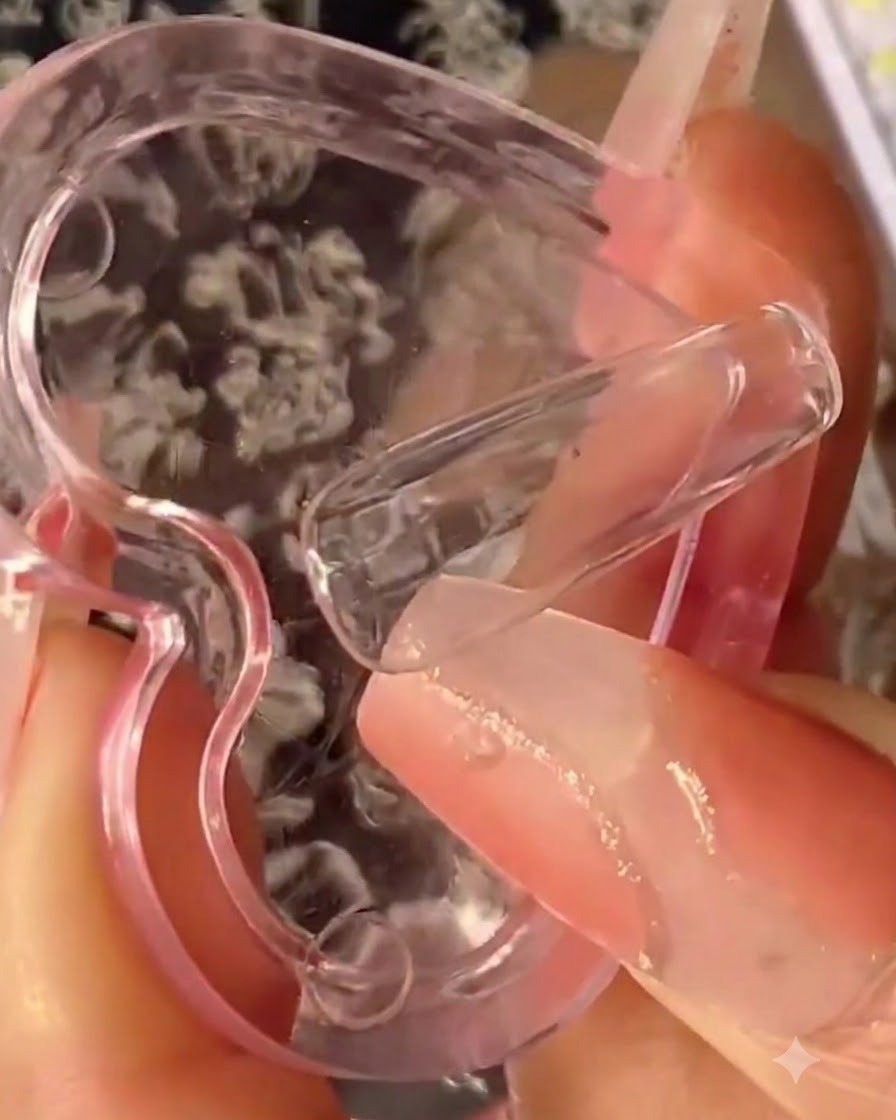
Using a fine brush, apply dark smudge liquid to the ribbons of the figure on the middle finger nail. The darker color provides a strong contrast and establishes rich definition within the flowing garments of the design. Allow the liquid to interact with the underlying layers to develop the intended gradient texture.
Tip: Keep a small amount of cleansing water nearby to easily correct or soften any areas where the smudge liquid applies too heavily. - 18Fill Skin Details on Stamper Head
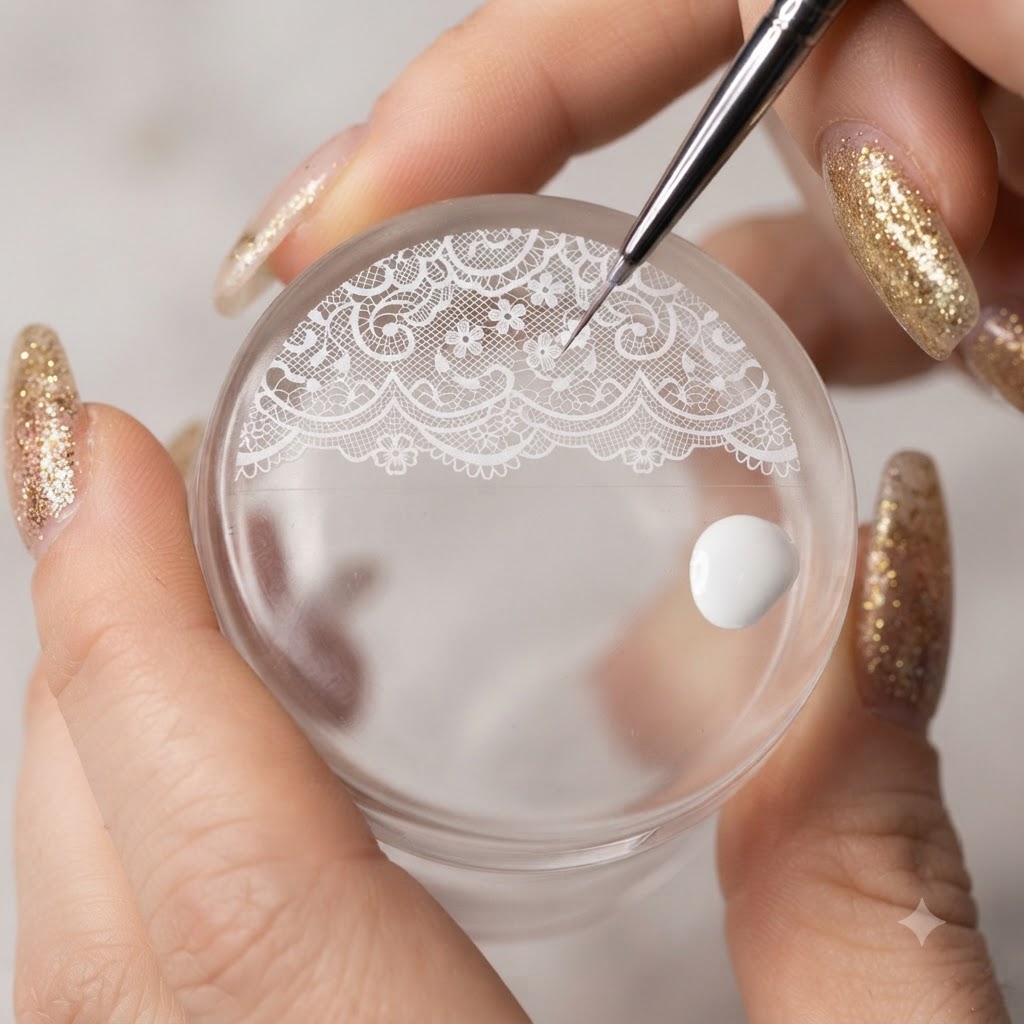
Using a fine detail brush, meticulously fill in the skin areas of another stamped figure resting on the clear stamper head. Use the custom-mixed skin tone to ensure accurate color representation for the character before it is transferred to the nail. Work carefully within the stamped outlines.
Tip: Take your time with the skin fill-in step to avoid bleeding past the fine black stamped boundary lines. - 19Transfer Colored Figure to Ring Finger
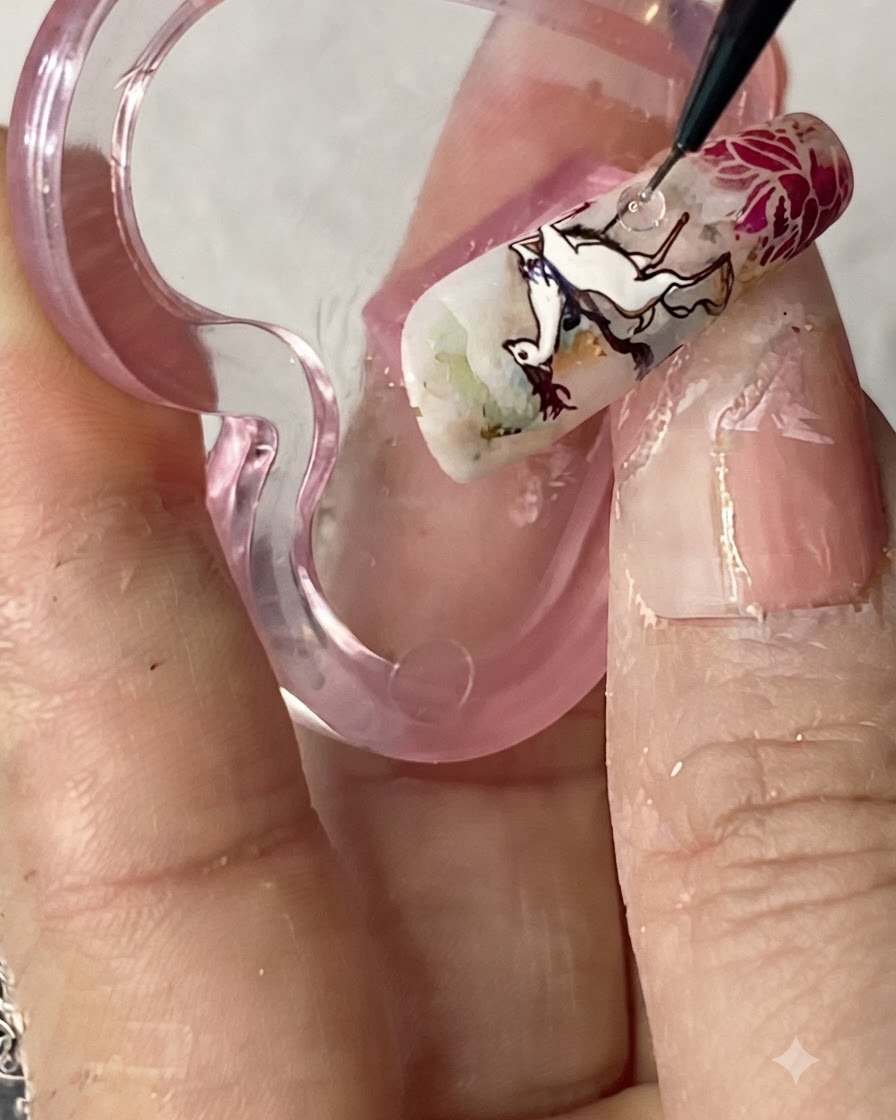
Position and press the clear stamper head containing the fully colored and detailed figure onto the ring finger nail. Roll smoothly to transfer the complete multi-colored artwork onto the nail surface. Check that all edges of the transferred design adhere properly before moving on to the next step.
Tip: Ensure the nail surface has a slight tacky layer or base layer if needed so the transferred design adheres firmly. - 20Paint pinky figure skin details
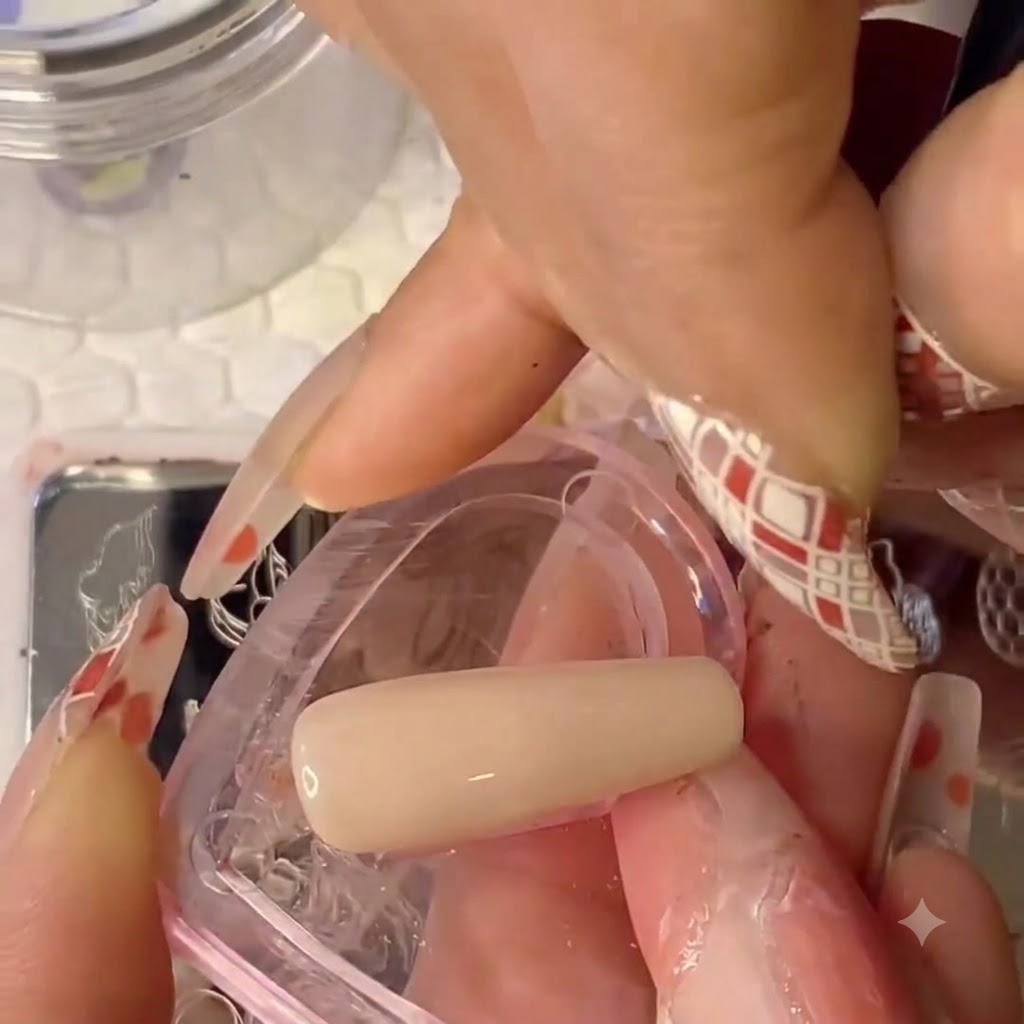
Using the stamper head as a palette, carefully paint the skin details for the small figure destined for the pinky finger nail. Ensure clean lines and precise color placement to match the overall Dunhuang Apsaras theme before transferring.
Tip: Keep a steady hand and use a fine-detail liner brush to achieve crisp facial features and skin tones. - 21Fill ribbons with red and blue smudge liquids
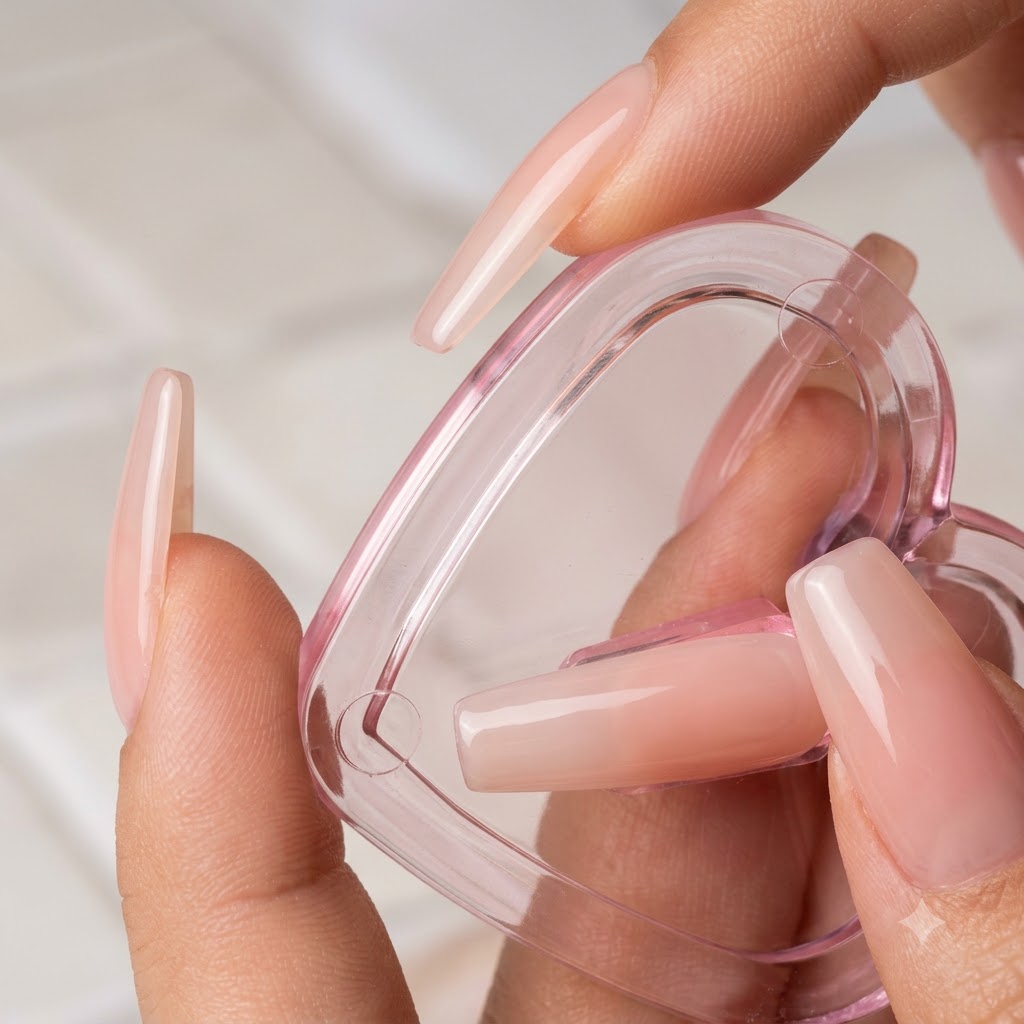
Apply red and blue smudge liquids to fill in the ribbon details of the figure on the stamper head. Blend the colors smoothly to create a vibrant, multi-dimensional effect suited for the Flying Apsaras style.
Tip: Work quickly while the smudge liquids are wet to achieve a soft gradient transition without harsh lines. - 22Transfer the final small colored figure onto the pinky finger nail
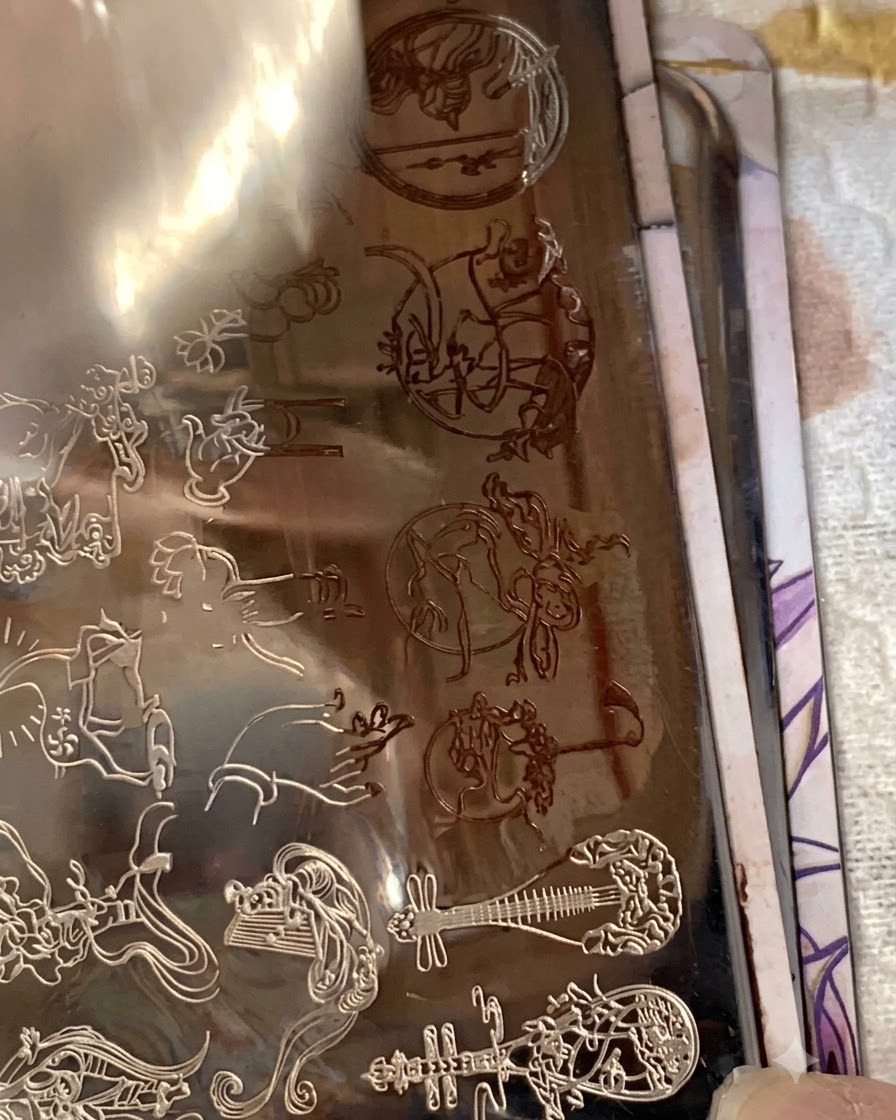
Carefully align and transfer the last small colored character pattern onto the prepped pinky finger nail using the stamper. Press gently to ensure complete transfer of all details before smoothing down the edges.
Tip: Roll the stamper smoothly from one side to the other across the nail to prevent air bubbles and distorted patterns. - 23Apply tempered top coat
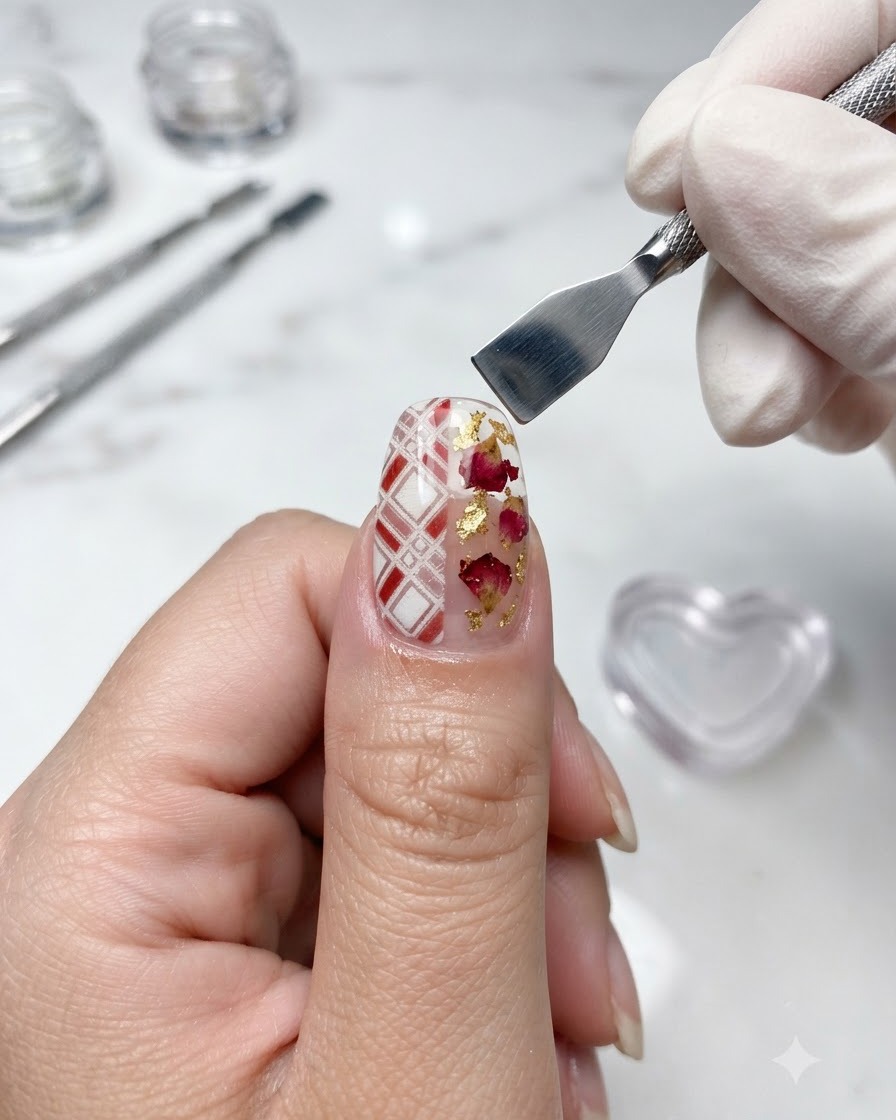
Apply a generous, even layer of tempered top coat over all the completed nail artwork to seal and protect the design. Ensure the free edges are capped thoroughly to prevent chipping, then cure completely under the UV or LED lamp.
Tip: A tempered top coat provides high scratch resistance and long-lasting gloss to protect intricate nail art.


