Traditional Chinese Twelve Flower Gods Stamping Nail Art Tutorial
Discover how to create stunning traditional Chinese Twelve Flower Gods press-on nails using stamping plates, blooming liquids, and intricate character details.
Traditional motifs and classical Chinese aesthetics bring a uniquely poetic elegance to nail art. This tutorial guides you through layering stamping plates, blooming liquids, and custom color fills to recreate the legendary Twelve Flower Gods look with professional precision.

Steps
- 1Apply blooming liquid to the floral plate
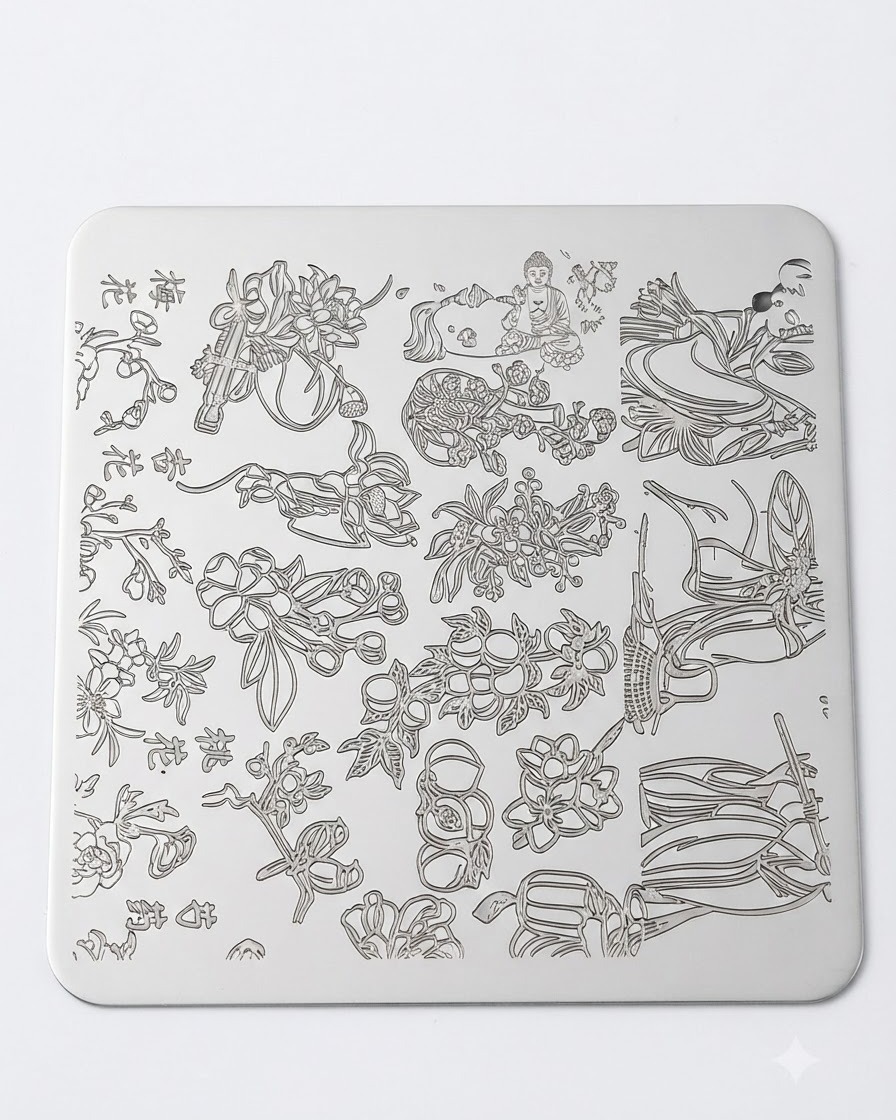
Select the desired floral pattern on the stamping plate and carefully apply number 9 blooming liquid directly onto the etched design area. This liquid prepares the pattern to interact with the stamping polish, creating a unique watercolor or blooming effect once transferred.
Tip: Apply a moderate amount of blooming liquid to ensure the design fills evenly without pooling outside the etched lines. - 2Apply and scrape stamping polish
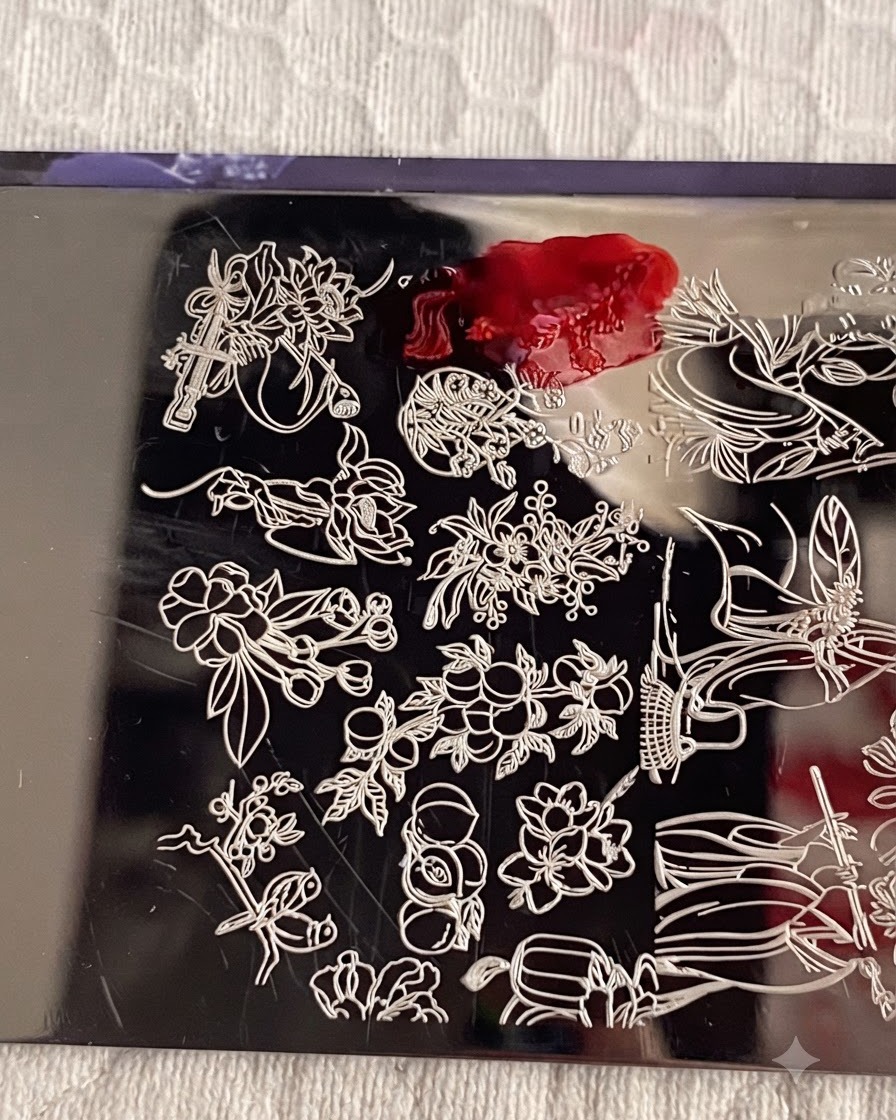
Allow the blooming liquid to dry completely on the plate. Next, sweep number 1 stamping polish over the floral pattern, then hold the scraper card at a 45-degree angle and firmly scrape away the excess polish across the surface to leave clean polish only inside the etched grooves.
Tip: Scrape quickly and smoothly in a single fluid motion to avoid leaving streaks or removing polish from the design lines. - 3Pick up and transfer the floral pattern
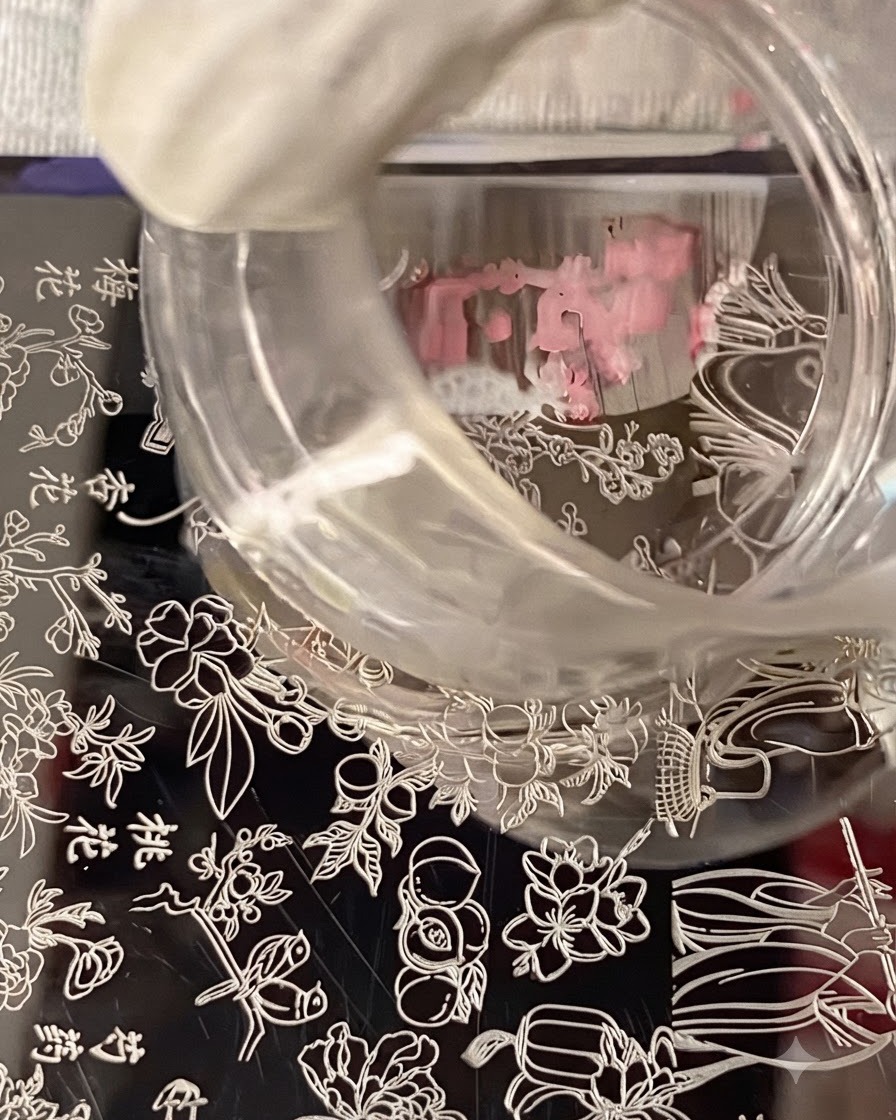
Gently press a clear silicone stamper straight down onto the polished design on the plate to pick up the floral pattern. Verify the image transferred clearly onto the stamper head, then press it onto the nail tip to transfer the design accurately.
Tip: Use a rolling motion or a light, direct push with the clear stamper depending on your stamper type to avoid distorting the pattern. - 4Pick up female figure design from stamping plate
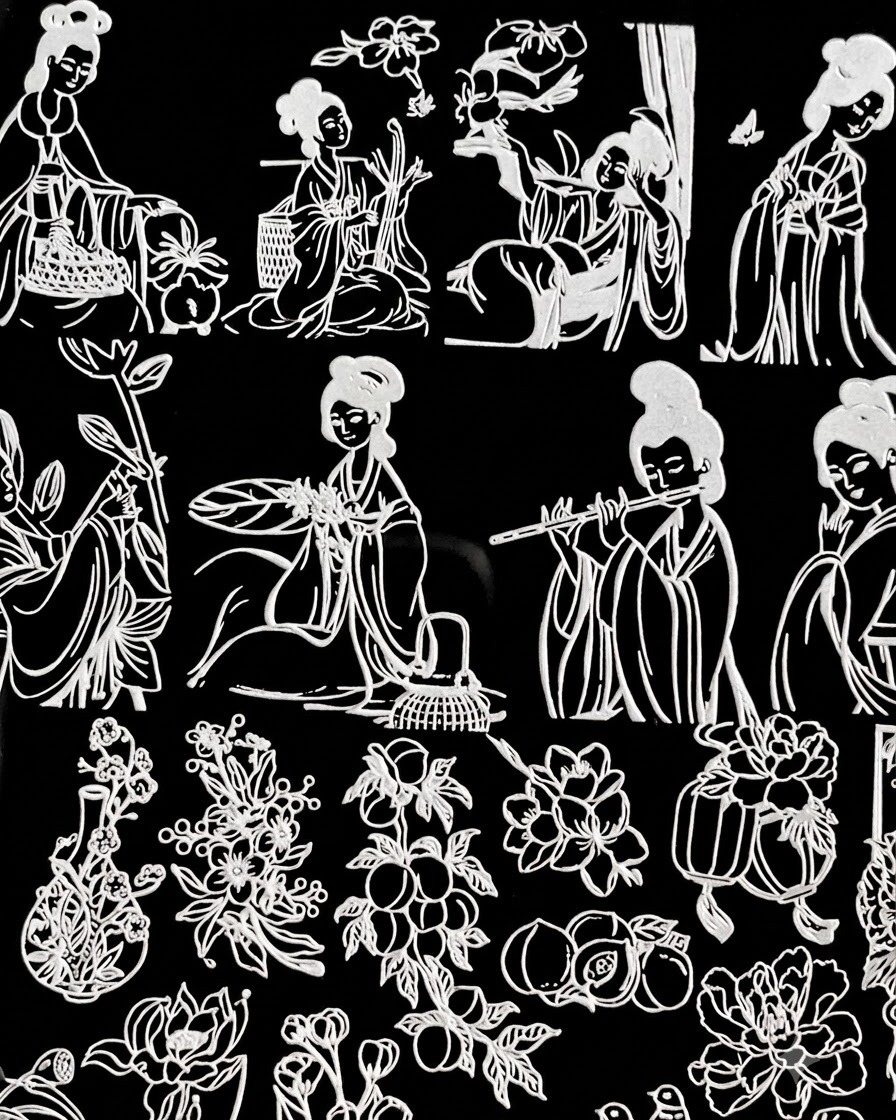
Apply number 30 stamping polish evenly across the traditional female figure design on the stamping plate. Use a scraper to remove excess polish at a 45-degree angle, then firmly press the stamper onto the etched design to pick it up clearly.
Tip: Work quickly when using stamping polish so it does not air-dry on the metal plate before you press the stamper. - 5Color in the hair accessory details
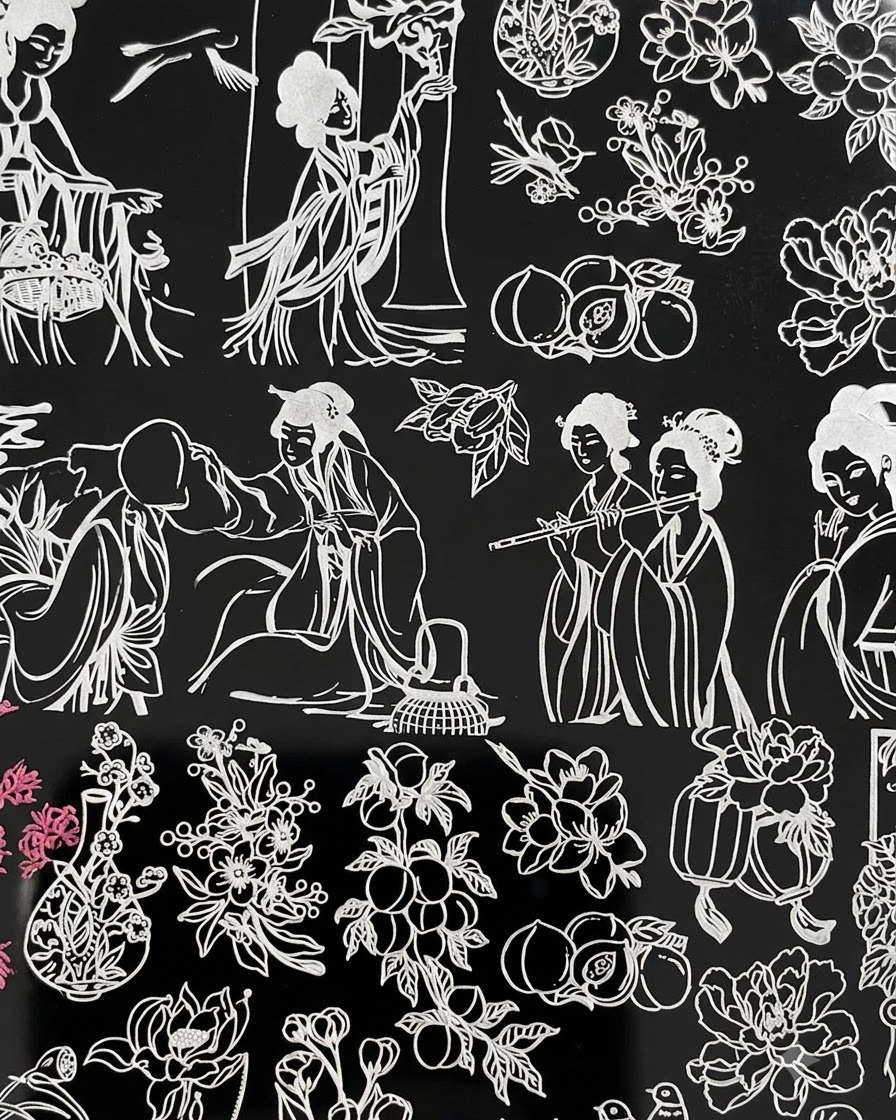
Take a fine liner brush dipped in number 1 stamping polish and meticulously color in the small flower petal details located on the figures hair accessory. Take your time to stay within the lines for a neat, hand-painted finish.
Tip: Keep your hand steady and use only the very tip of the fine liner brush for precise coloring on tiny design elements. - 6Create and fill in skin tones
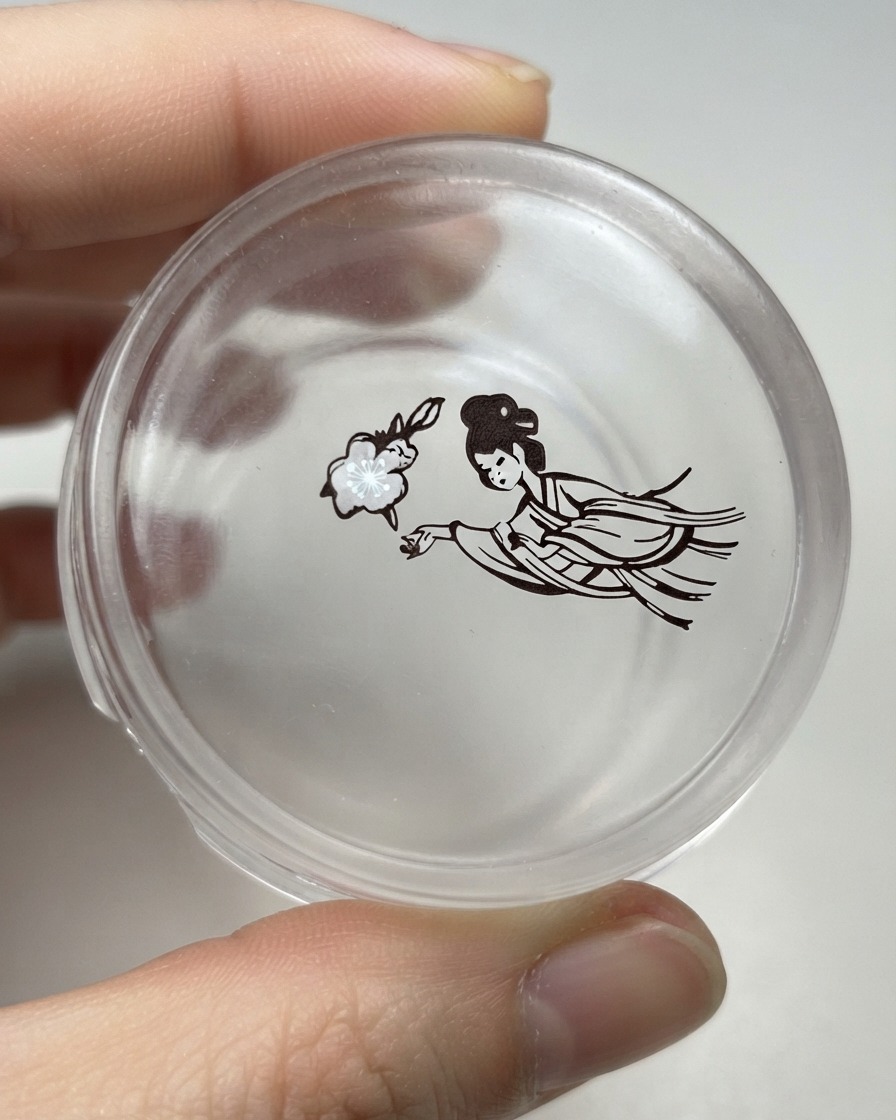
Mix and blend number 1 and number 29 stamping polishes together using a fine brush to achieve a smooth custom skin tone. Carefully paint and fill in the facial area of the traditional figure design to bring the character illustration to life.
Tip: Mix a small amount of polish at a time to maintain the right consistency and shade before applying it to the design. - 7Transfer design onto the nail tip
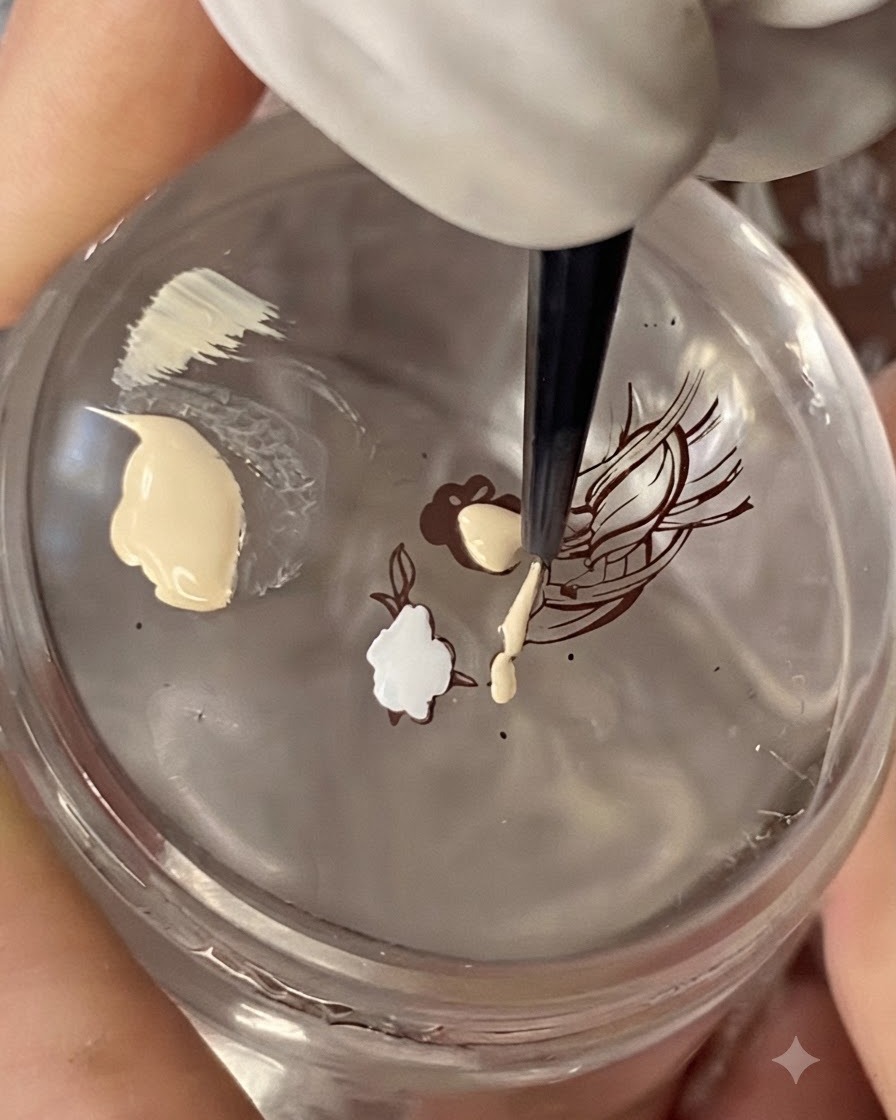
Carefully align the stamper over the prepared nail tip and gently roll or press it down to transfer the female figure and flower design smoothly onto the surface without distortion.
Tip: Roll the stamper gently from one side to the other to prevent air bubbles from getting trapped underneath. - 8Fill in flower petals and skin tones
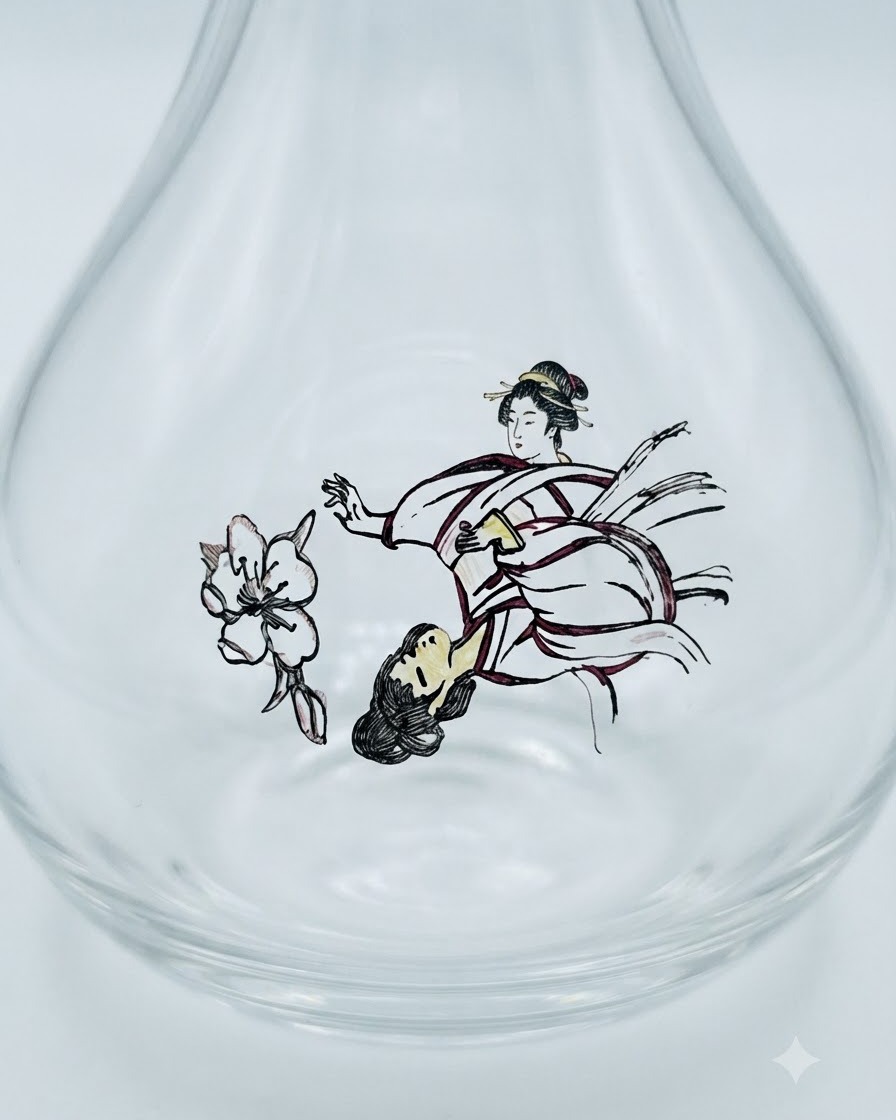
Using a fine detailing brush, mix and apply number 1 stamping polish alongside number 29 to carefully color in the flower petals and the figures skin tone on the nail design.
Tip: Keep your brush strokes light and controlled to stay within the stamped outline boundaries. - 9Apply blooming liquid for leaves and clothing
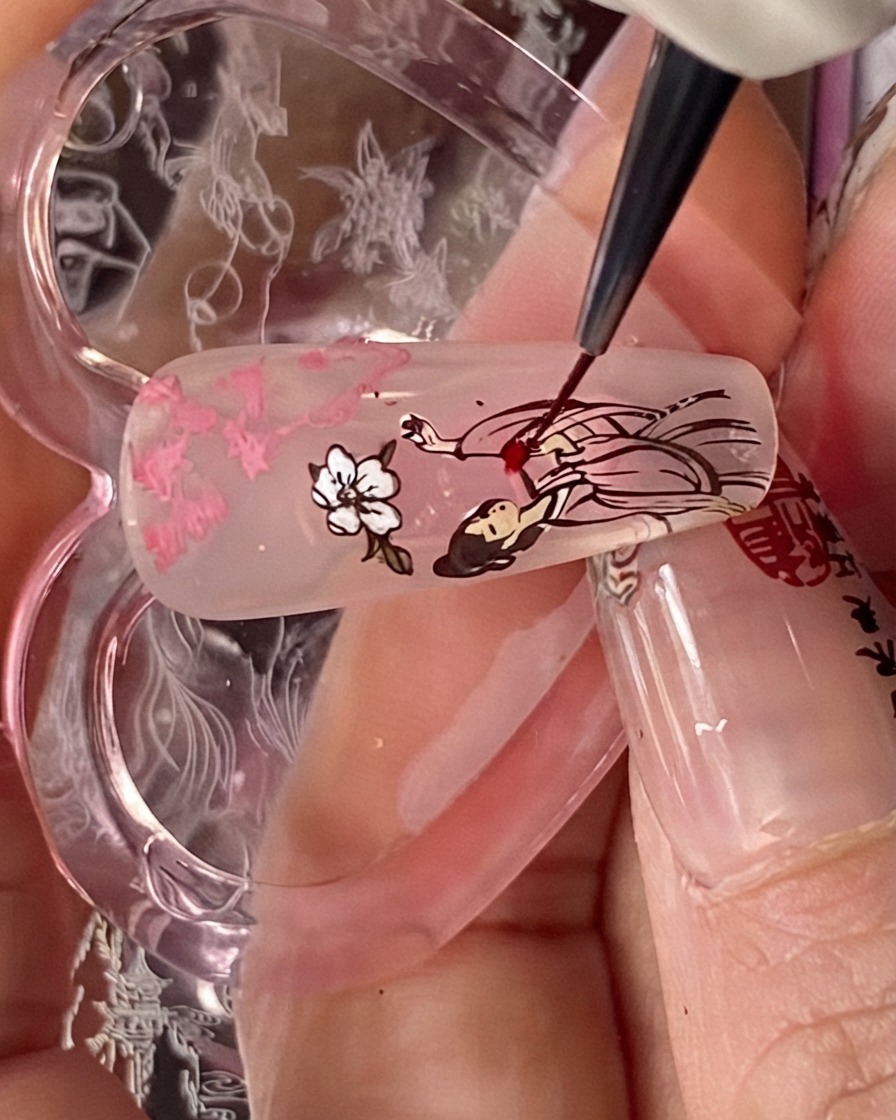
Dip a fine brush into number 10 blooming liquid and gently apply it to fill in the foliage and garment areas, allowing the color to disperse naturally within the designated sections.
Tip: Control the amount of blooming liquid on your brush to avoid over-diluting or bleeding past the black outlines. - 10Color flowing ribbons with blooming liquid
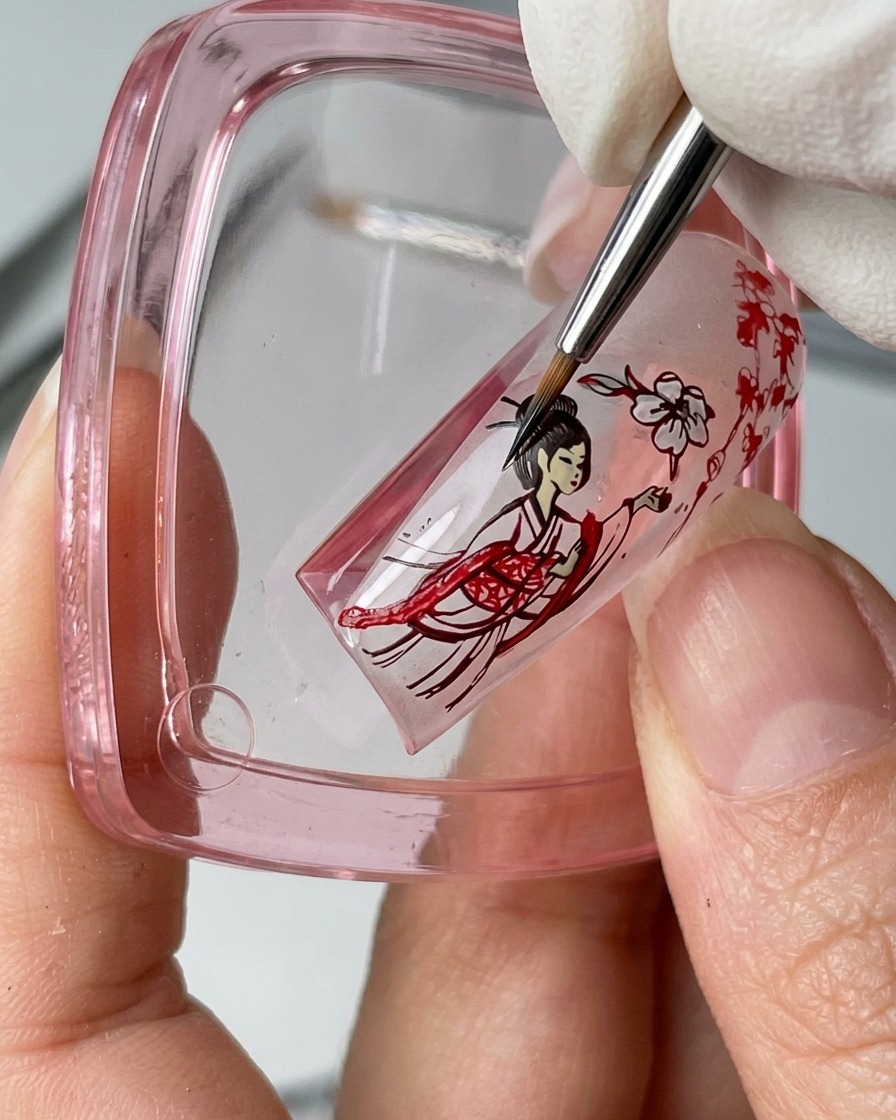
Take number 9 blooming liquid with a fine brush and softly fill in the flowing ribbons on the figures clothing to create a vibrant, watercolor-like color dispersion.
Tip: Work in small sections to keep the blooming effect soft and well-contained within the ribbon lines. - 11Stamp text patterns from stamping plate
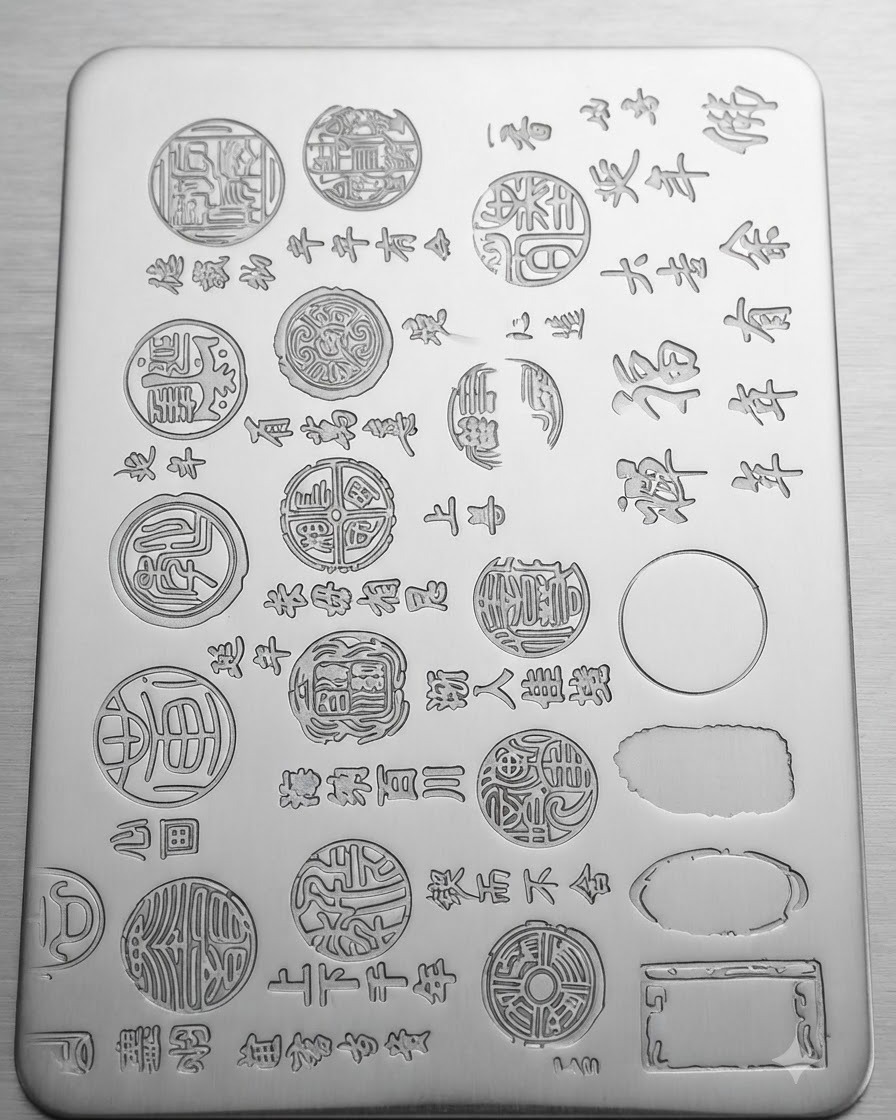
Apply number 7 stamping polish onto the text patterns on number 57 stamping plate, scrape off the excess, and use the stamper to pick up the lettering before transferring it onto the designated nail tip.
Tip: Ensure the scraper is held at an angle so it cleans the plate grooves cleanly without gouging out polish from the text lines. - 12Apply matte top coat to thumb
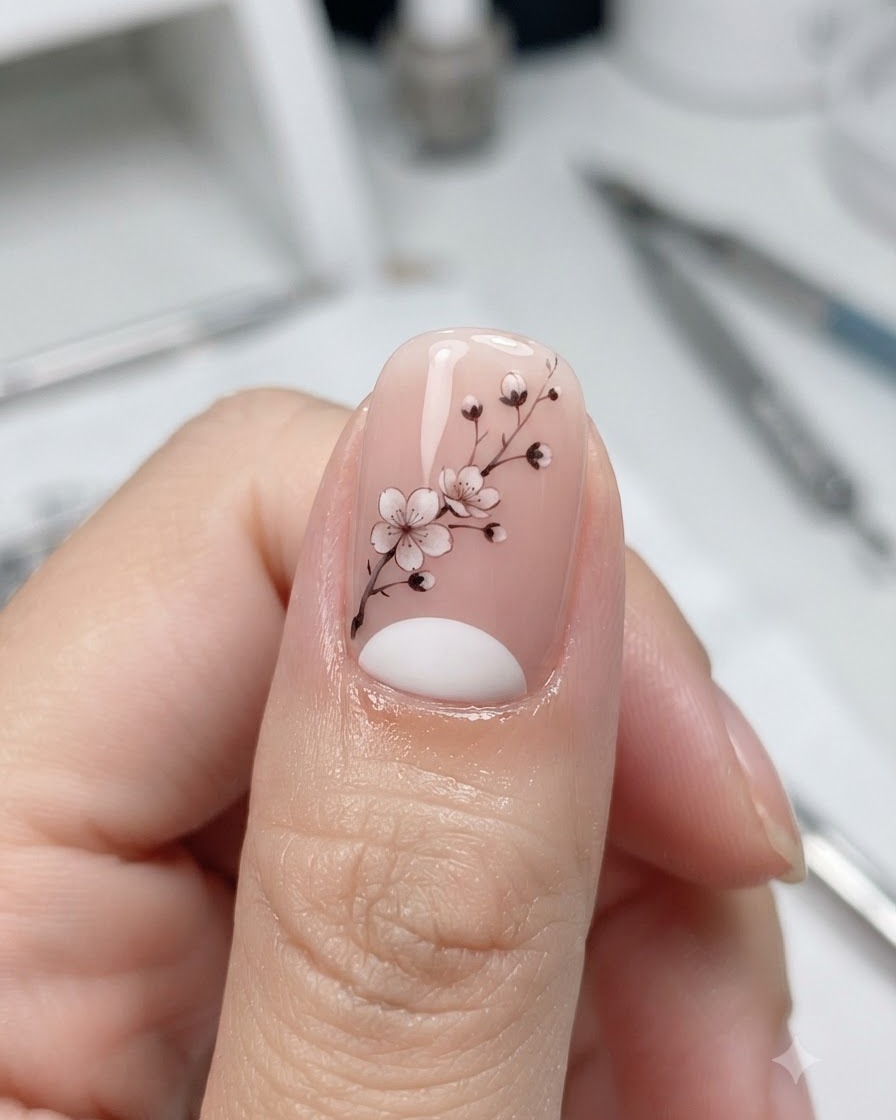
Apply an even layer of matte top coat over the finished thumb nail tip to seal the design and create a velvety finish. Cure the nail under the UV or LED lamp for the recommended time to fully set the top coat.
Tip: Make sure the matte top coat is applied smoothly and covers all edges to prevent chipping. - 13Apply blooming liquid on stamping plate
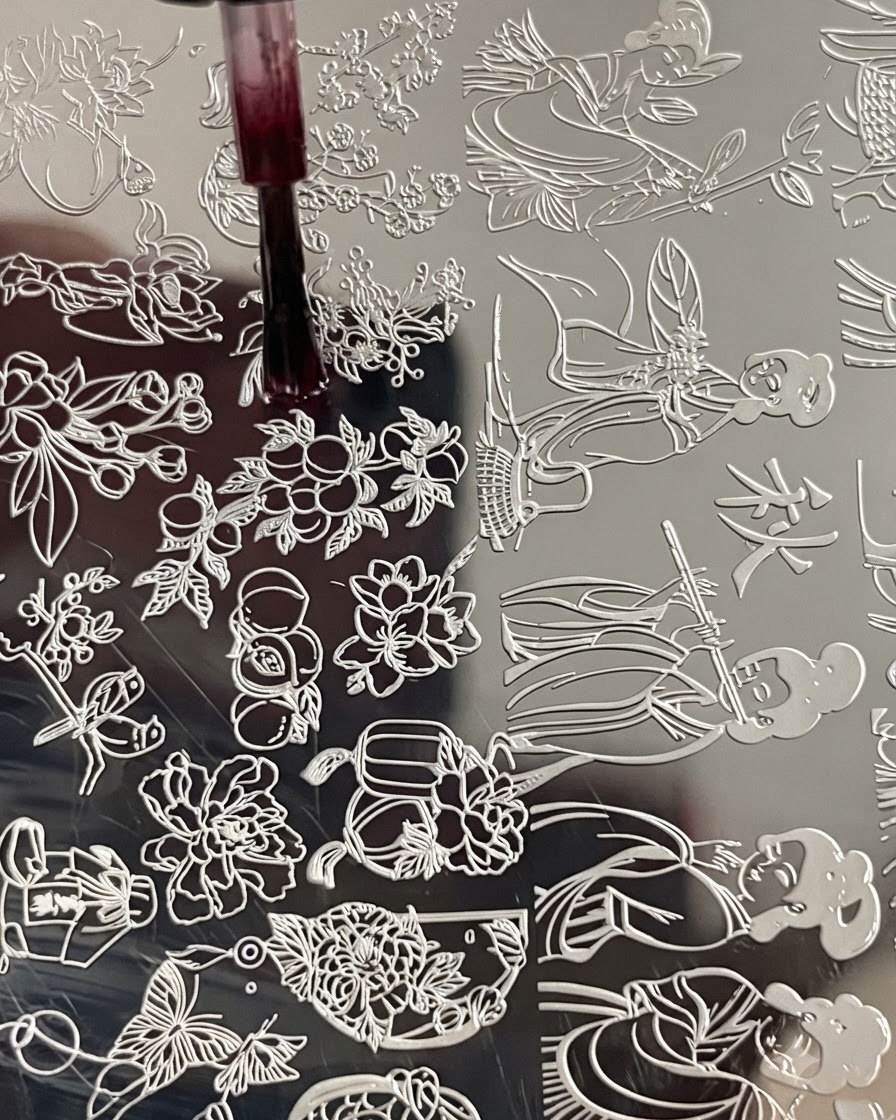
Select the desired flower pattern on the stamping plate for the index finger and apply number 9 blooming liquid directly onto the engraved design. This prepares the pattern for blending and stamping.
Tip: Work quickly with blooming liquid before it begins to dry on the metal plate. - 14Apply and scrape stamping polish
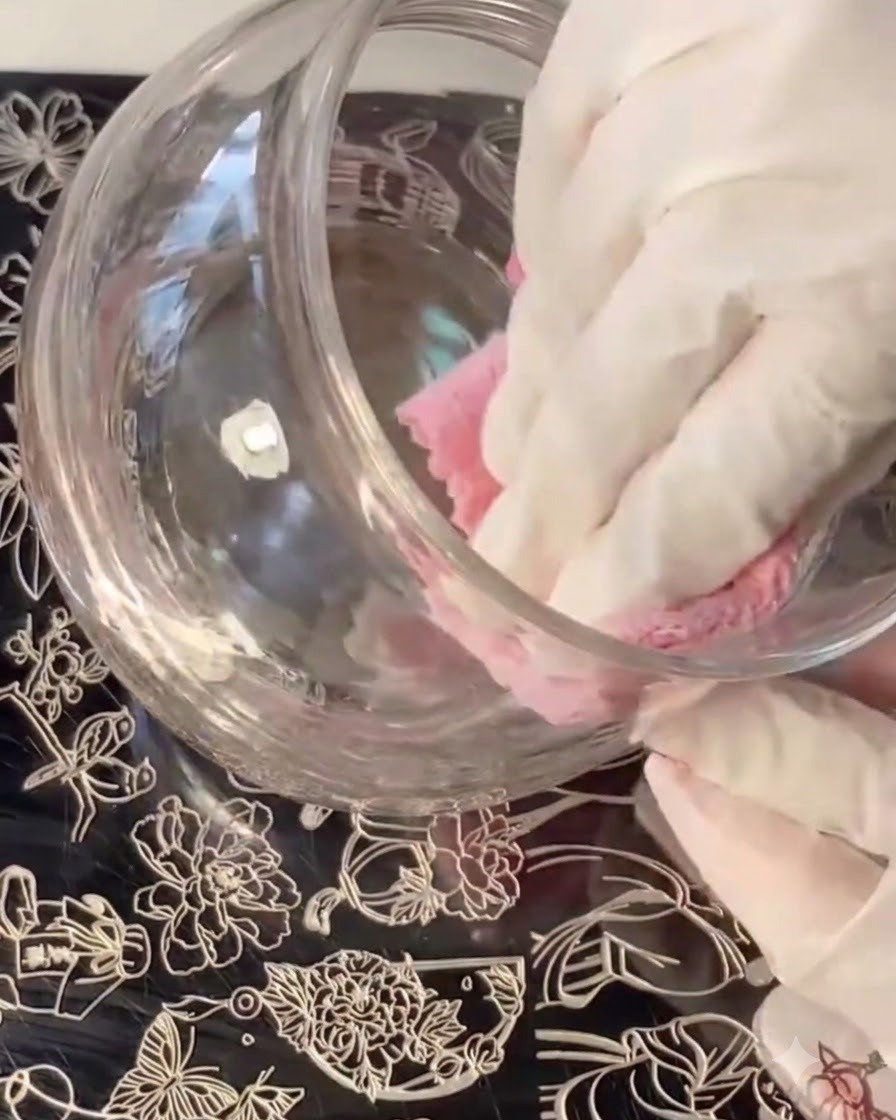
Wait for the blooming liquid to dry, then apply number 1 stamping polish over the pattern on the plate. Use a scraper at a 45-degree angle to remove excess polish quickly and evenly across the engraved design.
Tip: Hold the scraper at a consistent angle to ensure a clean transfer without leaving polish inside the non-engraved areas. - 15Pick up floral pattern with stamper
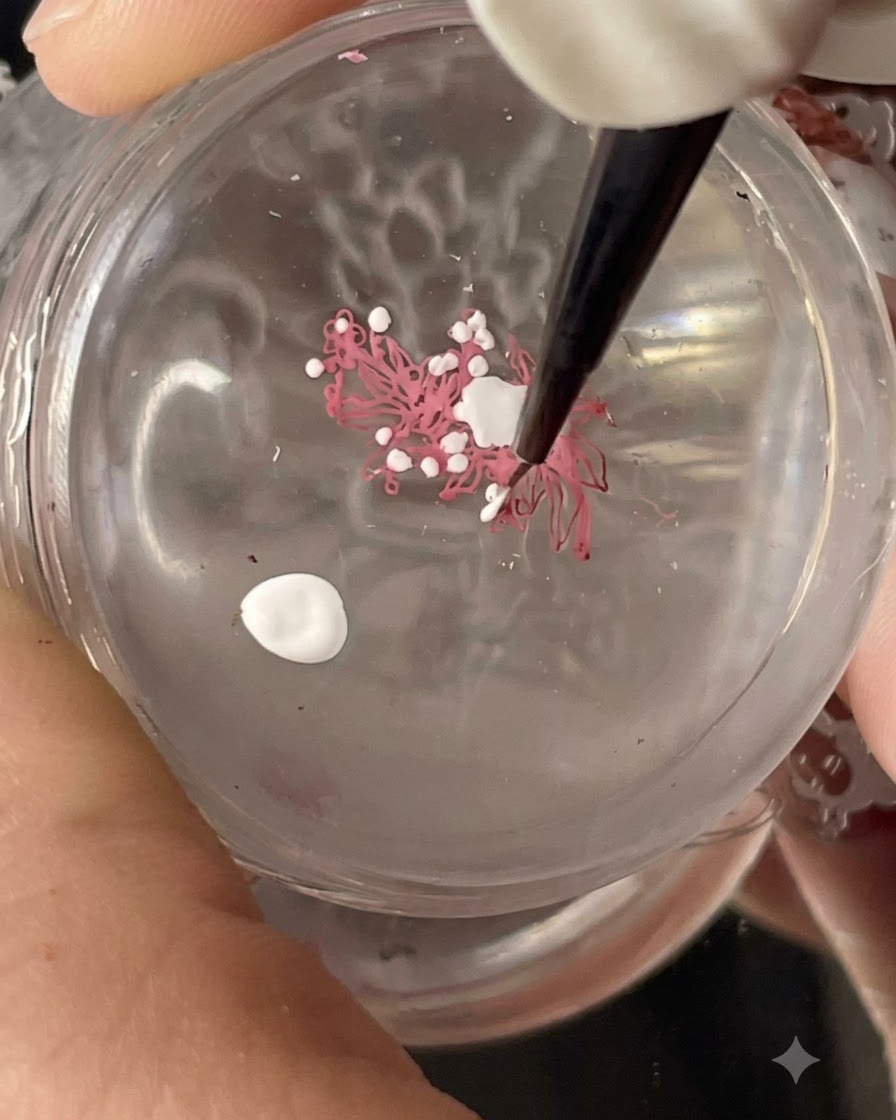
Press the clear stamper firmly onto the prepared plate design to pick up the floral pattern. Layer number 1 stamping polish directly on top of the design on the stamper head to enhance the details.
Tip: Use a rolling motion with the clear stamper to avoid air bubbles when picking up the design. - 16Transfer seal stamp design
Take number 57 stamping plate and use number 7 stamping polish to pick up a seal stamp design with your stamper. Carefully align and transfer the design onto the designated nail tip.
Tip: Check alignment carefully before pressing the stamper onto the nail surface for a precise placement. - 17Apply matte top coat to index finger
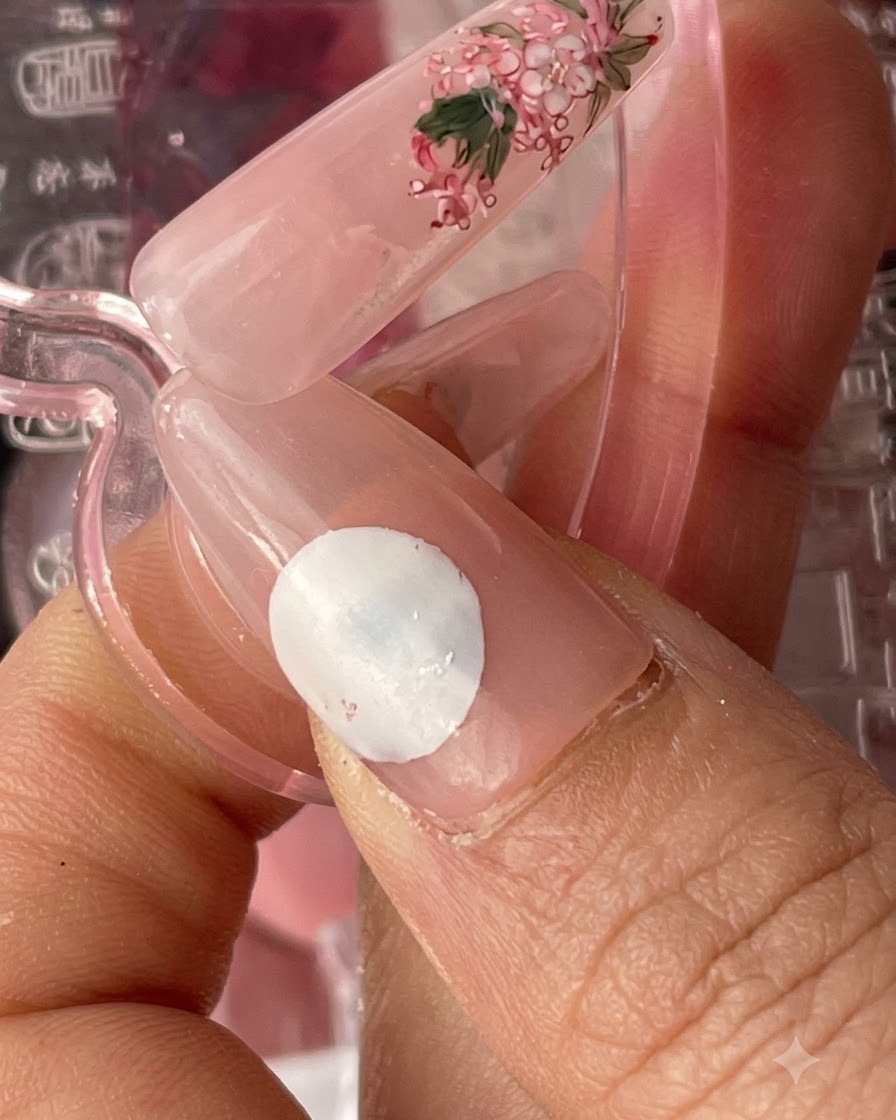
Apply a final layer of matte top coat over the decorated index finger nail tip to protect the transferred design. Place the nail under the UV or LED lamp to cure and set the finish.
Tip: Cap the free edge with top coat to secure the stamped design against wear and tear. - 18Pick up resting figure character design
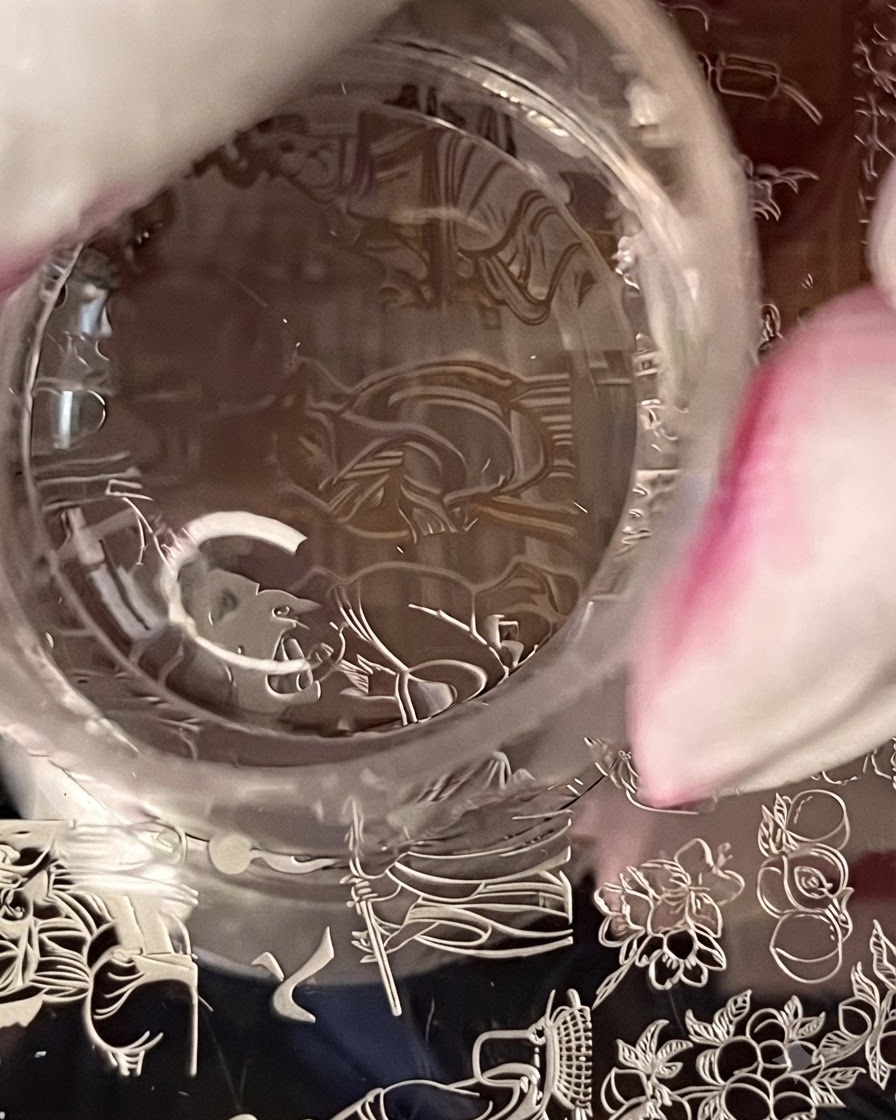
Apply number 30 stamping polish onto the character plate design, scraping evenly and using a stamper to pick up the resting figure character motif for the middle finger nail.
Tip: Work quickly with stamping polish to avoid drying before transfer. - 19Fill in ribbon and ornament colors
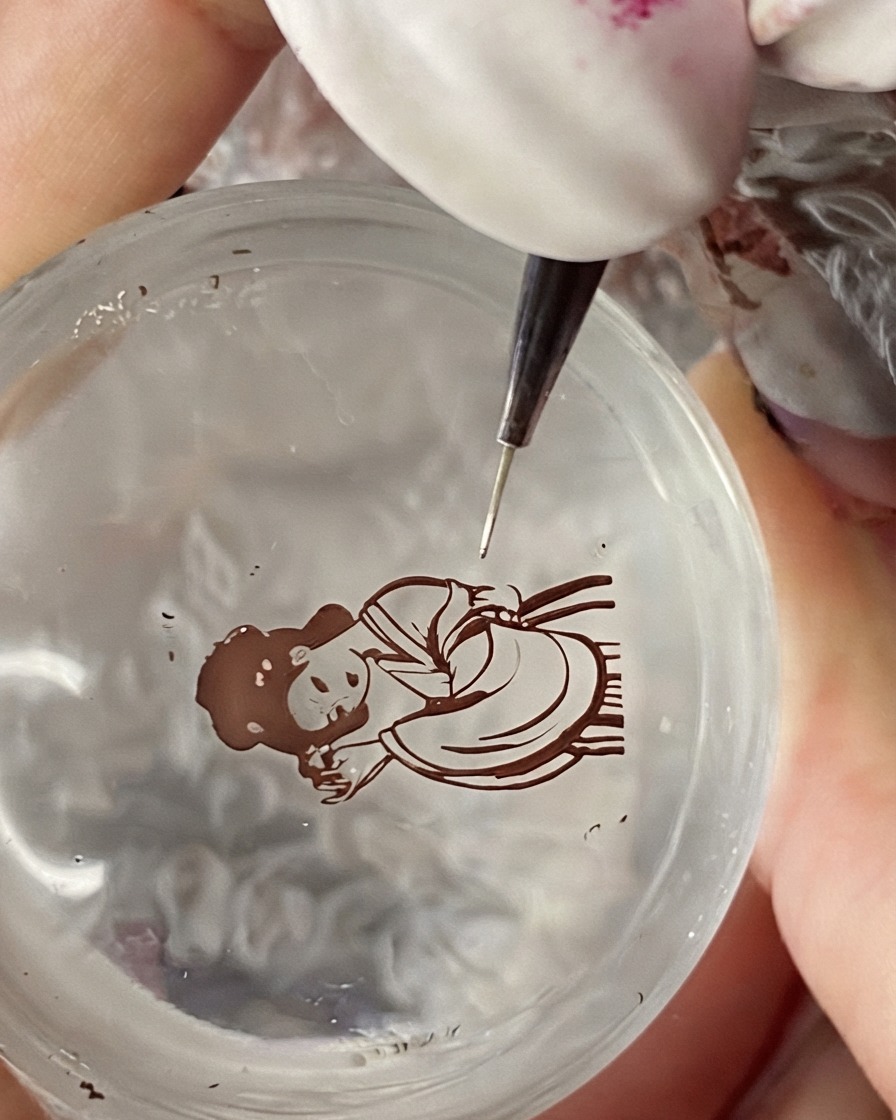
Using a fine detail brush, apply number 1 stamping polish to carefully fill in the clothing ribbon details on the stamped figure. Next, use number 7 stamping polish to color in the head ornament details. Work precisely within the stamped outlines to keep the character artwork clean and defined.
Tip: Keep your detail brush clean and use minimal product on the tip to avoid overflowing past the stamped black lines. - 20Fill in facial skin tone
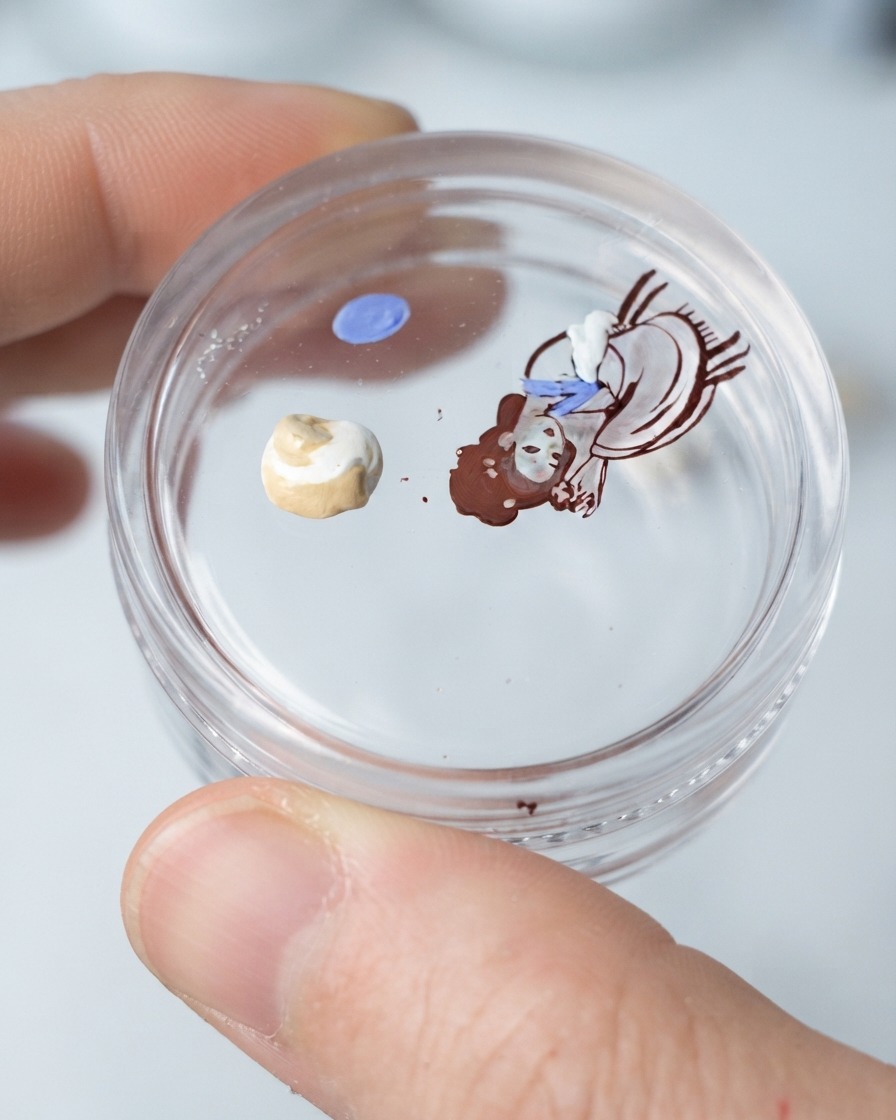
Take number 33 stamping polish and use a fine nail art brush to carefully fill in the facial skin tone areas of the resting figure. Ensure an even, smooth application across the face and exposed skin regions within the stamped border.
Tip: Apply the skin tone color in thin layers to prevent the paint from pooling or looking textured under subsequent top coats. - 21Fill in dark clothing fabric
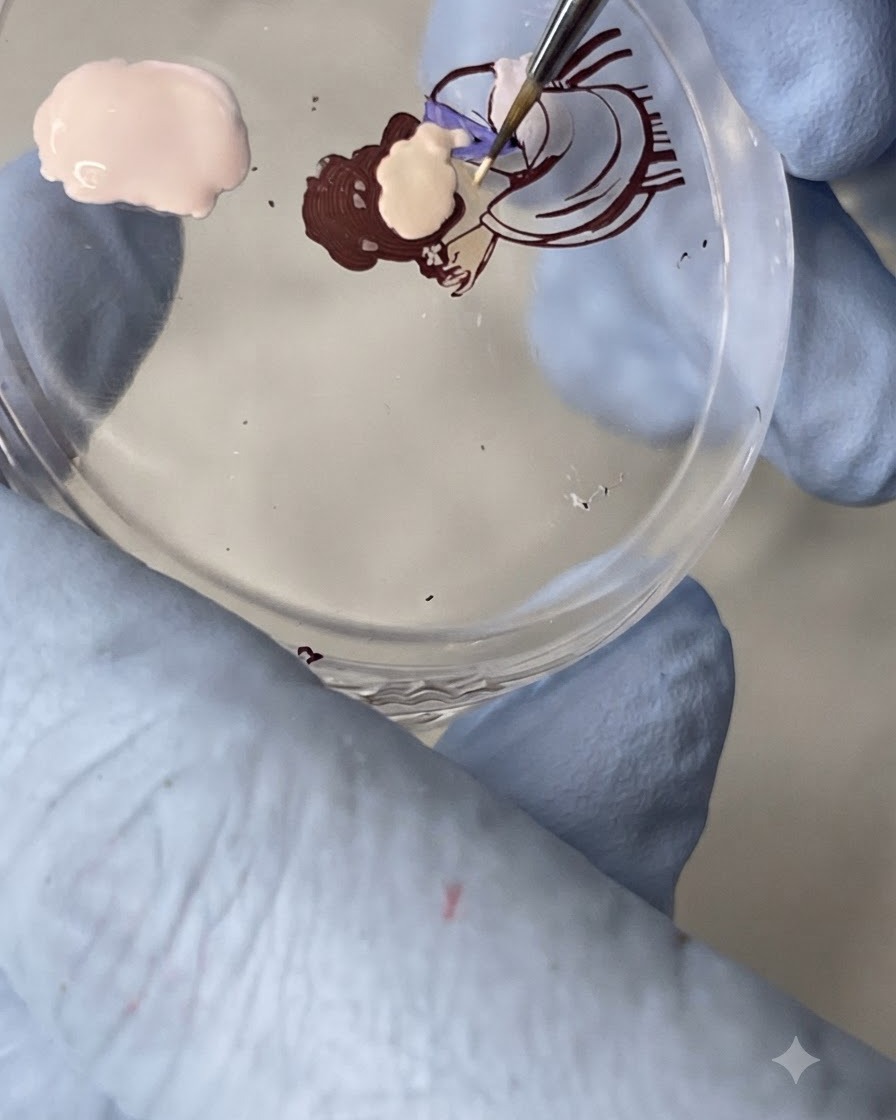
Using number 13 stamping polish, carefully fill in the dark fabric sections of the figures garments. Follow the stamped outlines closely to establish the layered color scheme of the traditional outfit.
Tip: Work in small sections when filling large colored areas to maintain clean edges and prevent premature drying on the palette. - 22Touch up clothing and skin details
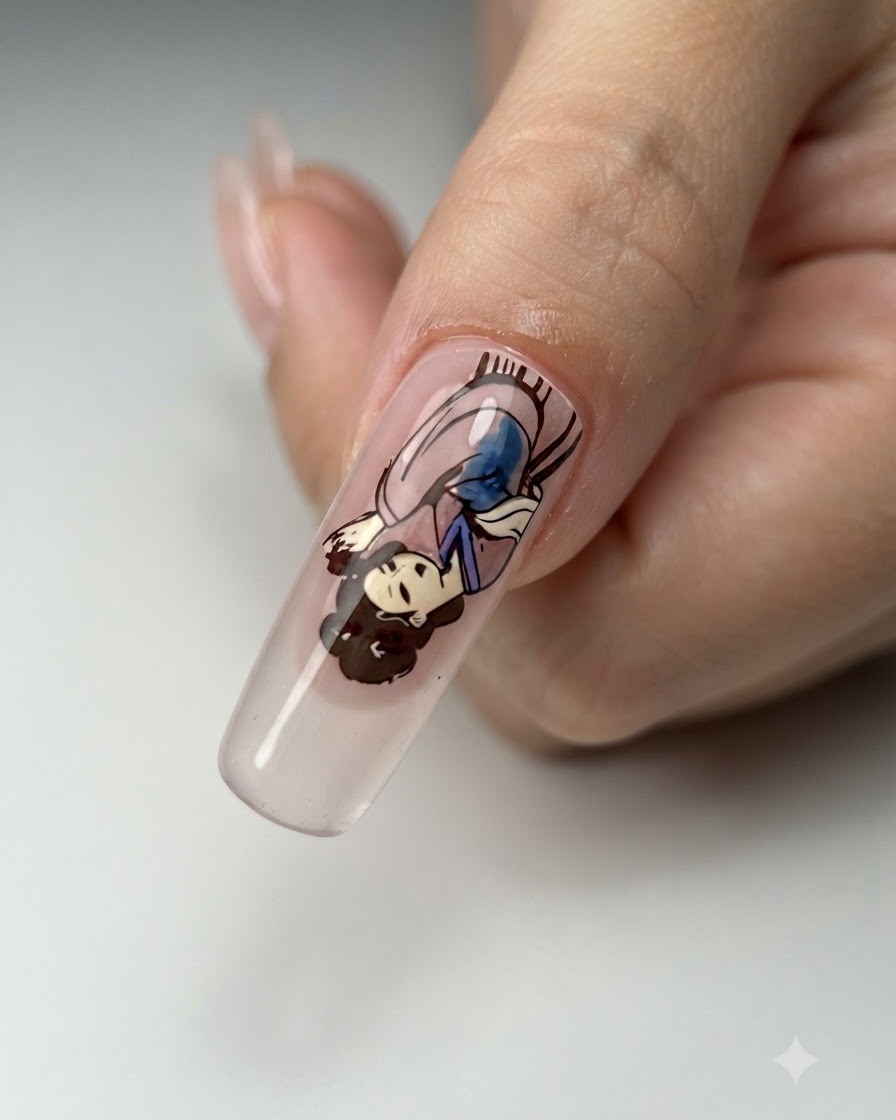
Mix number 1 and number 29 stamping polish together on your palette to create the desired shade for touching up the clothing and skin tone details. Use a fine liner brush to refine any edges, correct small overspills, and perfect the characters appearance.
Tip: Blending custom shades directly on your palette allows you to match subtle gradients and highlights on complex character art. - 23Add clothing color details with blooming liquid
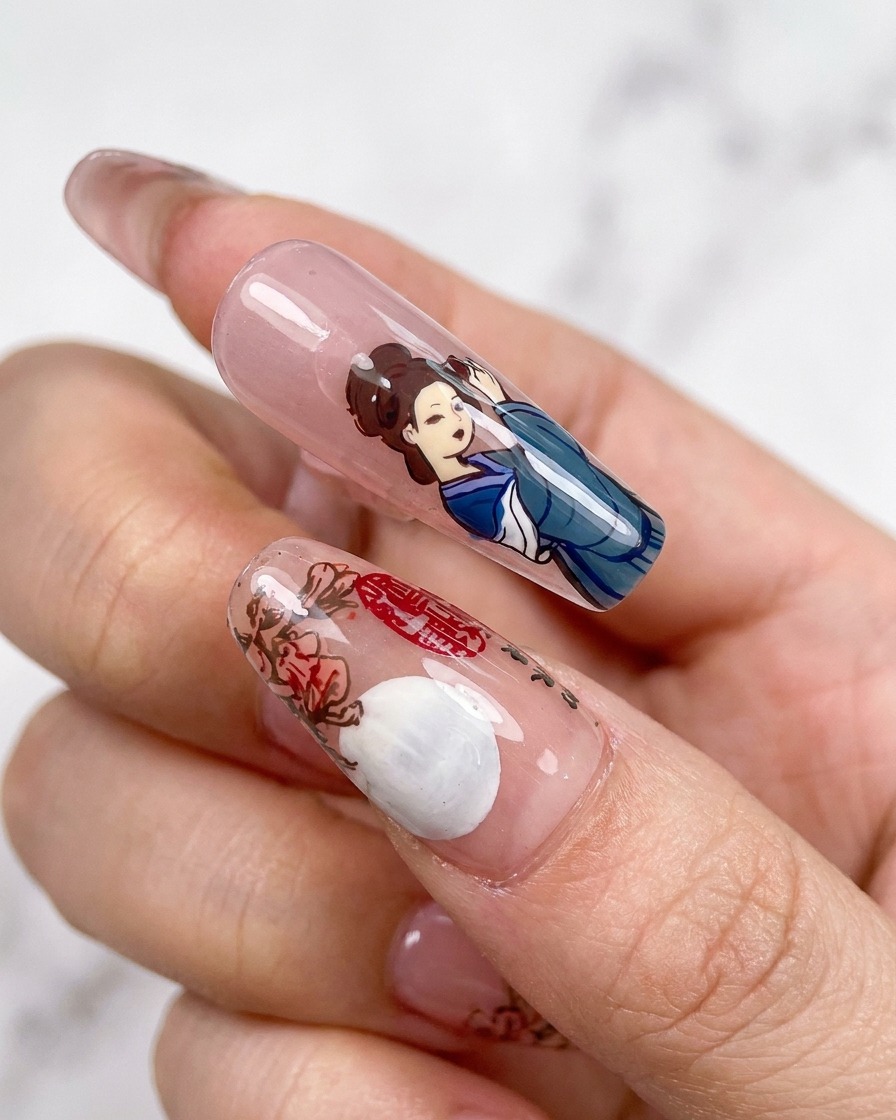
Apply number 5 blooming liquid onto specific sections of the characters clothing to create soft shading and additional color dimension. Allow the liquid to interact with the underlying polish to achieve a natural, fluid watercolor effect on the fabric.
Tip: Control the spread of blooming liquid by wiping excess product from your brush before applying it to the detailed artwork. - 24Pick up butterfly pattern
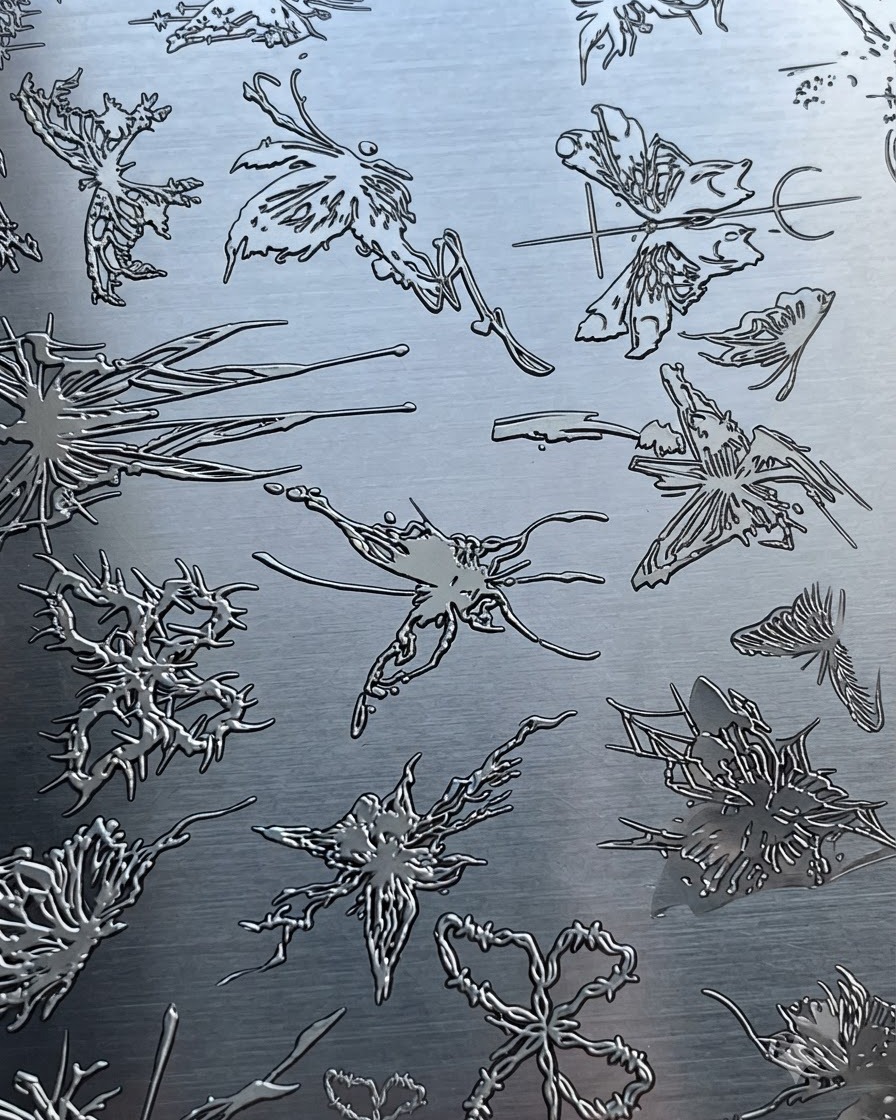
Select the butterfly design on stamping plate number 17, apply number 30 stamping polish, and use the stamper to pick up the butterfly pattern cleanly.
Tip: Ensure the scraper is held at a 45-degree angle to clear excess polish without scratching the plate. - 25Transfer butterfly and fill colors
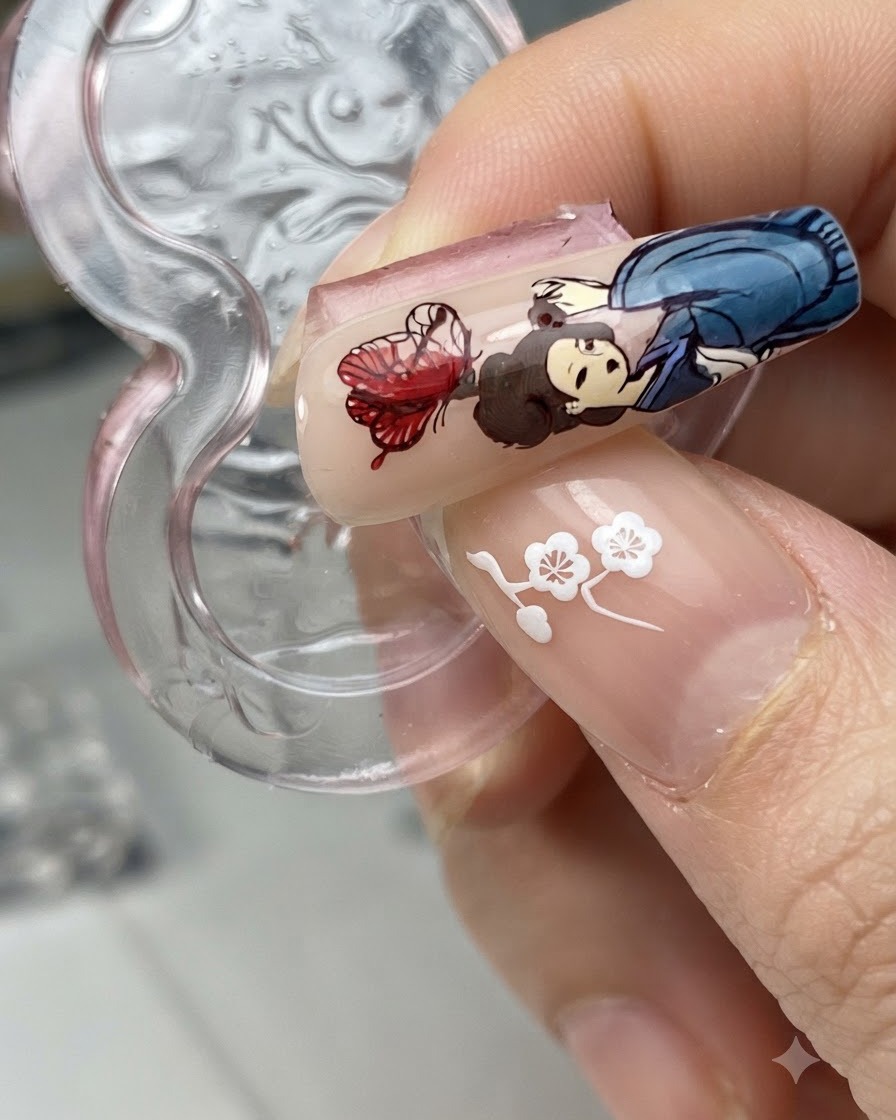
Carefully stamp the butterfly design onto the middle finger nail over the character design, then apply number 9 blooming liquid to blend and fill in color on the butterfly wings.
Tip: Blooming liquid allows the color to spread softly for a watercolor effect inside the stamped lines. - 26Apply matte top coat and cure
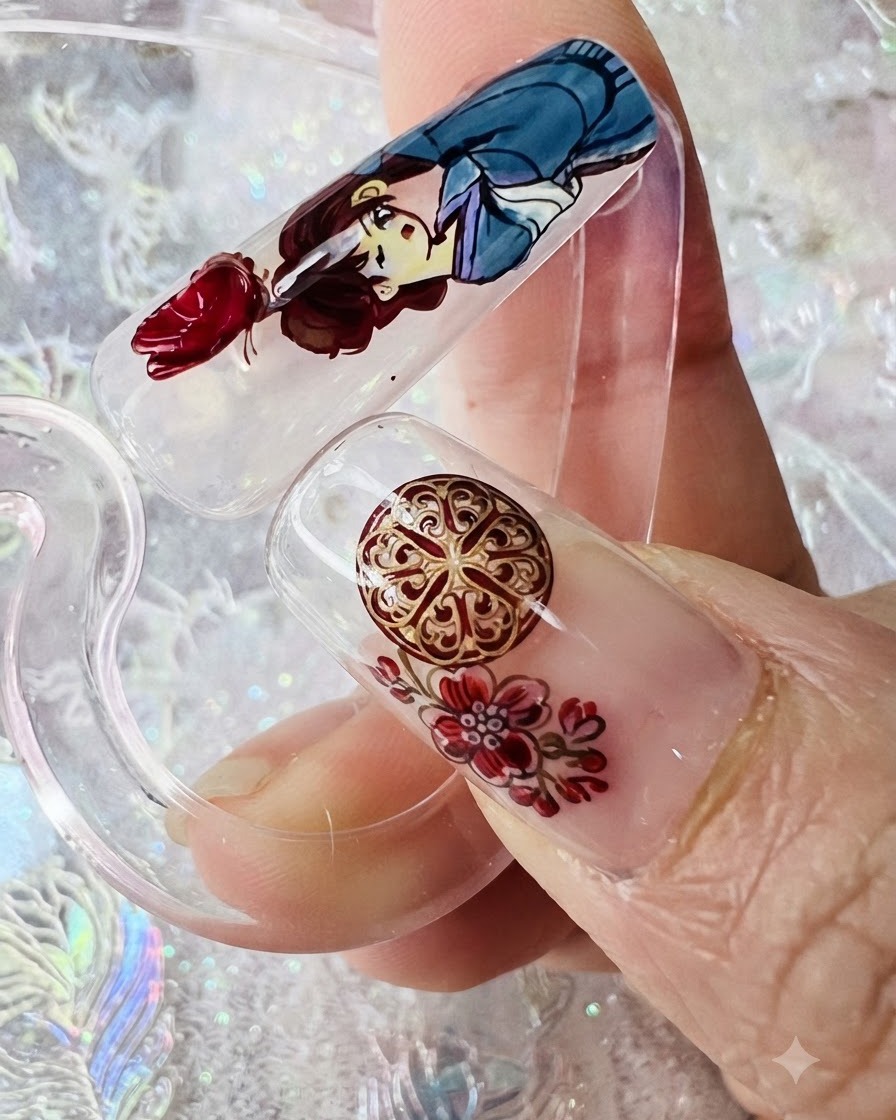
Brush a layer of matte top coat evenly over the middle finger nail tip to seal the design, then place it under the UV or LED lamp to cure completely.
Tip: Ensure full coverage over the edges to prevent chipping of the matte finish. - 27Pick up text patterns
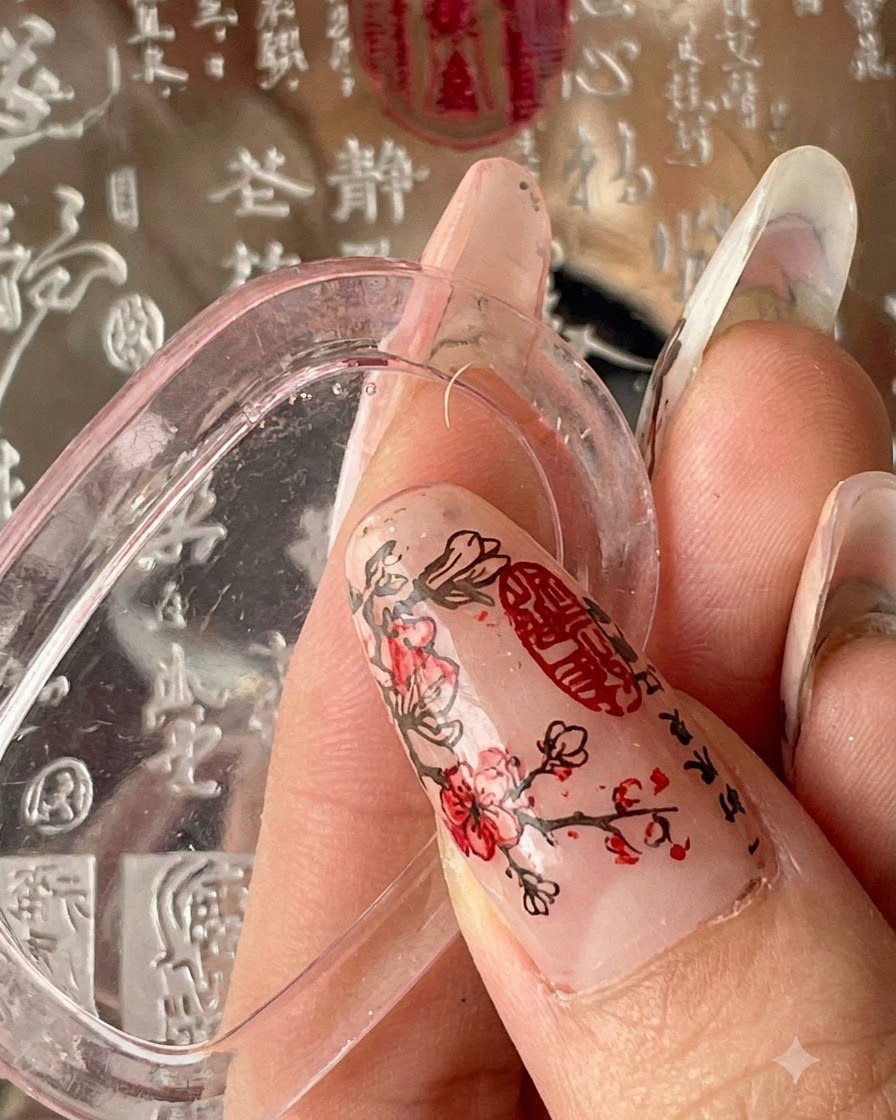
Take the stamping plate and use number 7 stamping polish to pick up the fine text patterns intended for the ring finger nail.
Tip: Lightly roll the stamper across the plate to pick up fine text elements without distortion. - 28Transfer and duplicate text pattern
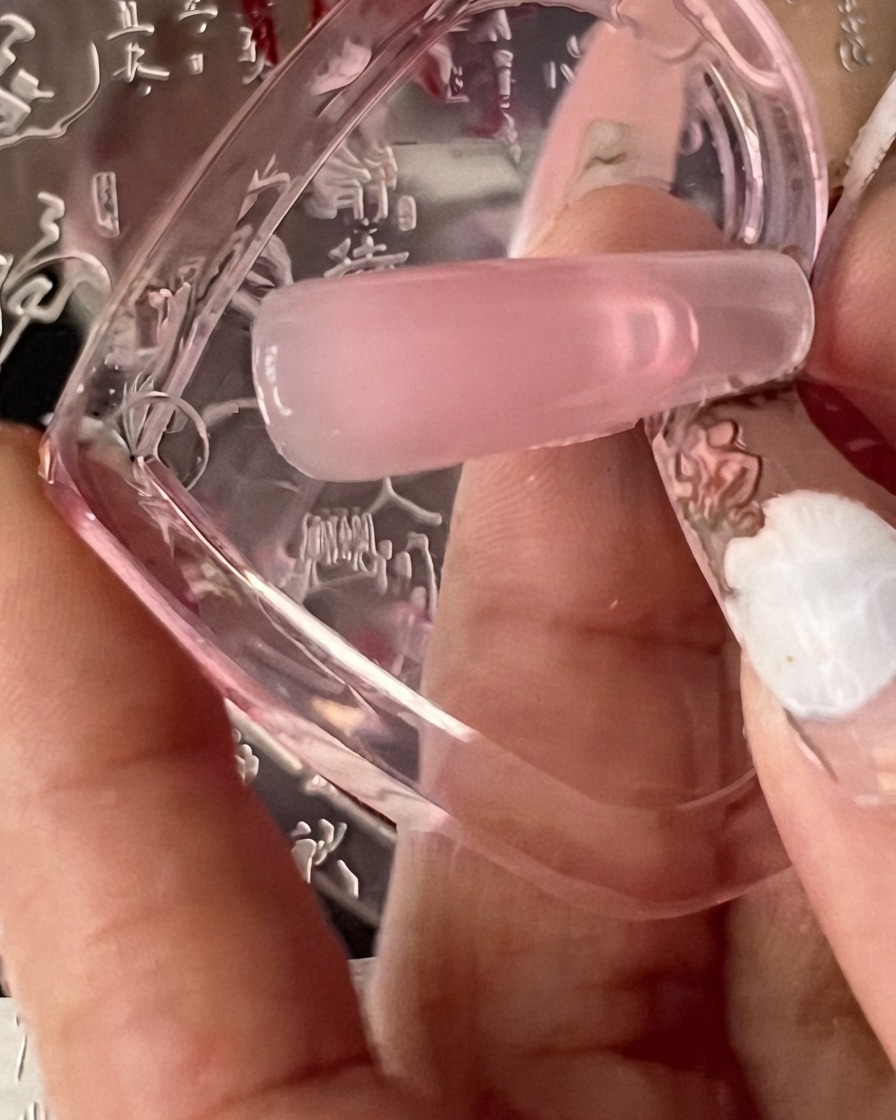
Carefully transfer the printed text pattern onto the ring finger nail tip using a stamping technique. Repeat the transfer process over the same area to duplicate the text design and build up density for a richer, more layered look.
Tip: Line up your stamp precisely on the second pass to avoid smudging the first layer of text. - 29Apply matte top coat and cure
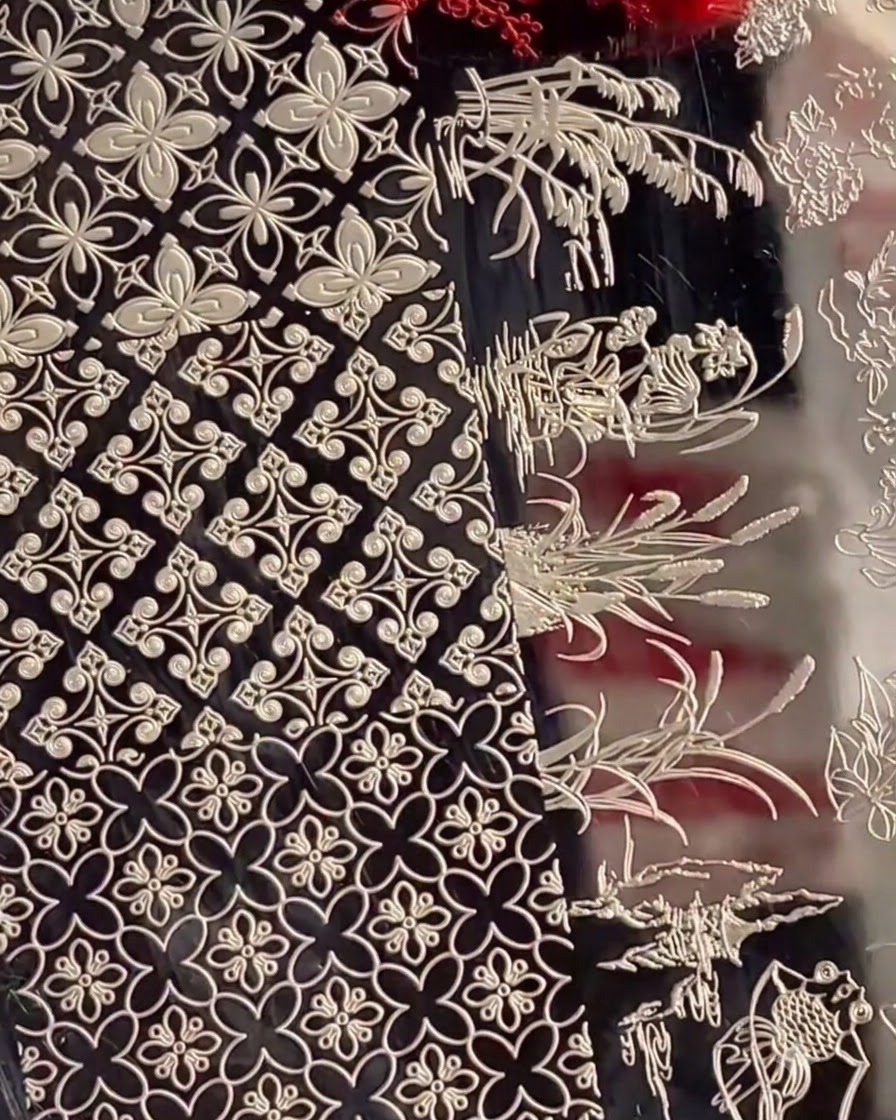
Brush a smooth, even layer of matte top coat over the ring finger nail tip to seal the stamped text design and create a velvet finish. Place the nail under your UV or LED lamp to cure according to the product guidelines.
Tip: Ensure the matte top coat is applied evenly across the entire surface to avoid glossy patches. - 30Pick up branch patterns with blooming liquid
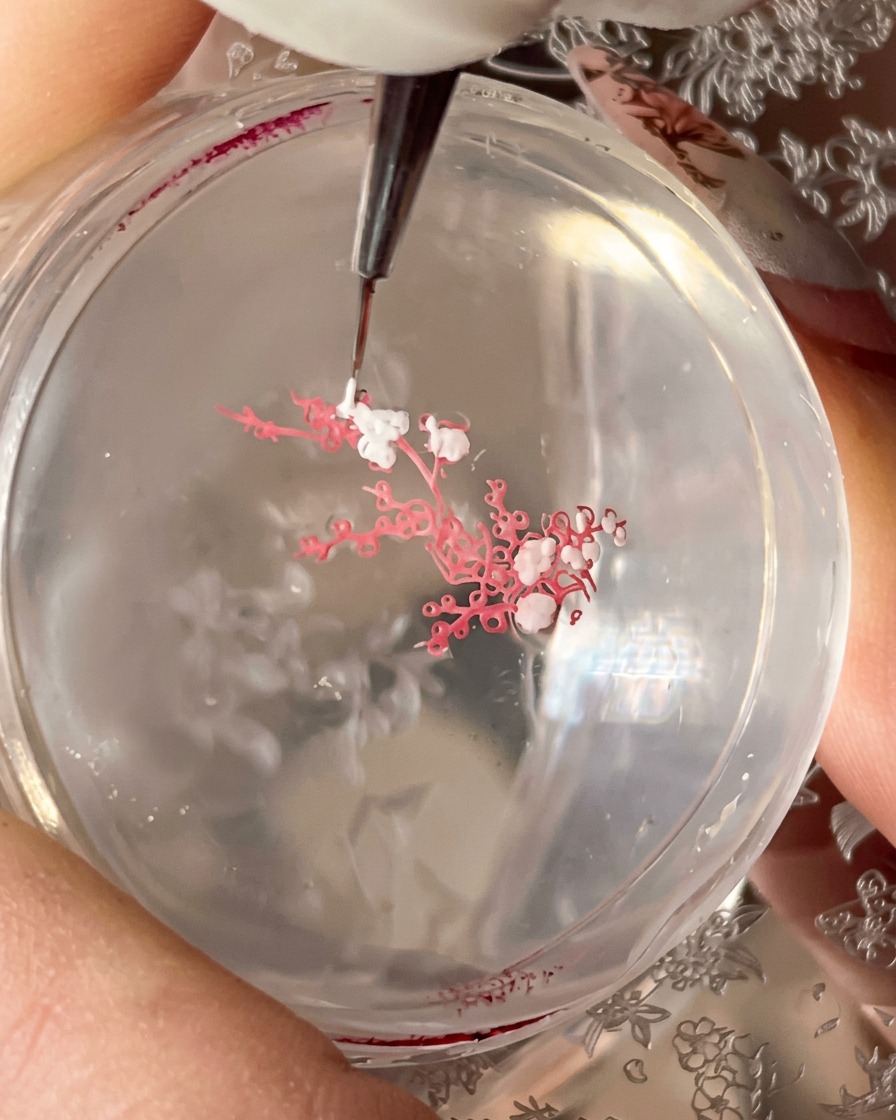
Apply number 9 blooming liquid onto the stamping plate over the desired design area. Use a fine detail brush to pick up delicate branch patterns directly from the plate to prepare them for transfer onto the little finger nail.
Tip: Work efficiently with blooming liquid so it does not dry out before you transfer the design. - 31Apply stamping polish and transfer pattern
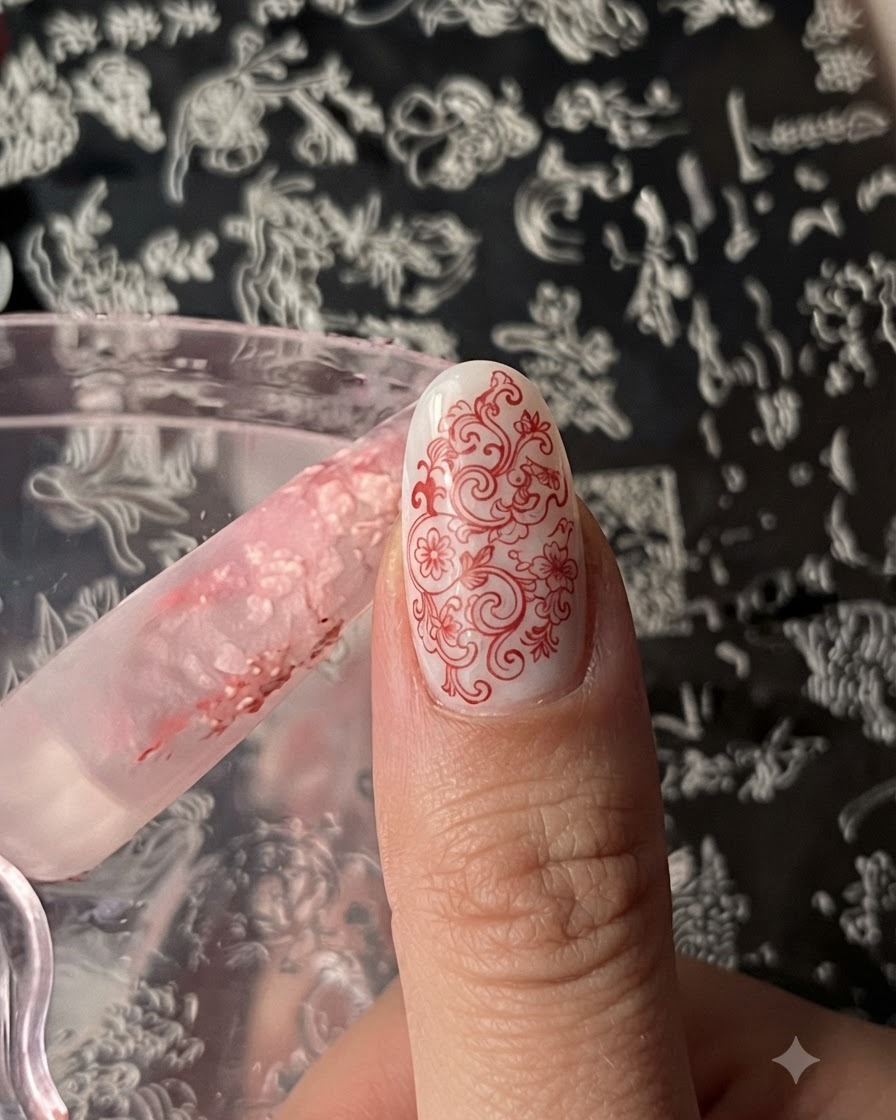
Allow the design area to dry slightly, then apply a coat of number 1 stamping polish directly over the pattern. Quickly pick it up with a stamper and transfer the detailed design onto the little finger nail tip.
Tip: Scrape excess polish quickly and use a rolling motion with your stamper for a crisp transfer.


