Pink Butterfly
Diamond Luxury Long Almond Nail Art Tutorial
Create breathtaking luxury long almond nails featuring 3D sculpted pink butterflies, large crystal gems, and intricate rhinestone chains.
This ultra-detailed luxury nail art look combines a delicate translucent nude-pink gradient base with stunning dimensional embellishments. Featuring handmade 3D pink butterflies, sparkling crystal gems, and delicate jewelry-inspired chains, this tutorial walks you through every step to master high-end salon-style nail art at home.

Steps
- 1Apply base gel
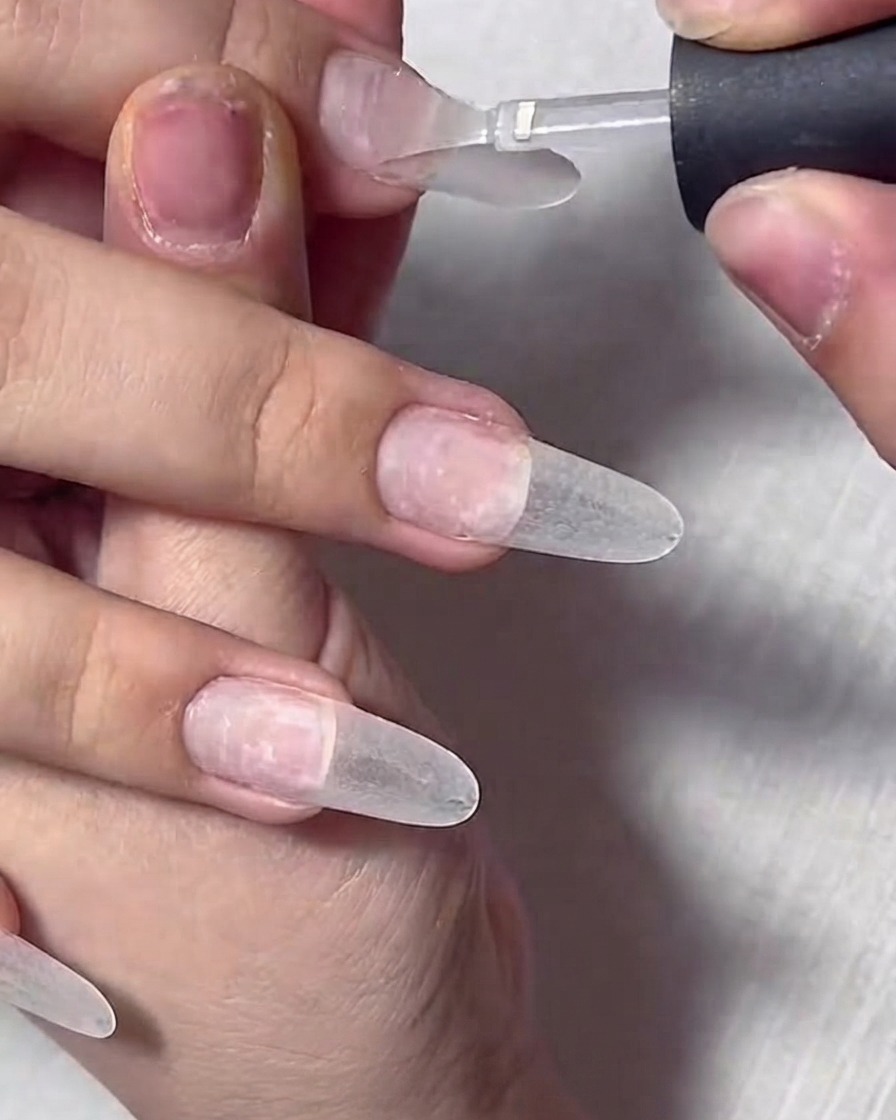
Apply an even, thin layer of base gel over the pre-shaped and filed natural nail plate. This acts as a foundation to protect the nail and helps subsequent builder gel layers adhere securely without lifting.
Tip: Avoid getting the base gel on the cuticles or sidewalls to prevent premature peeling. - 2Pick up builder gel
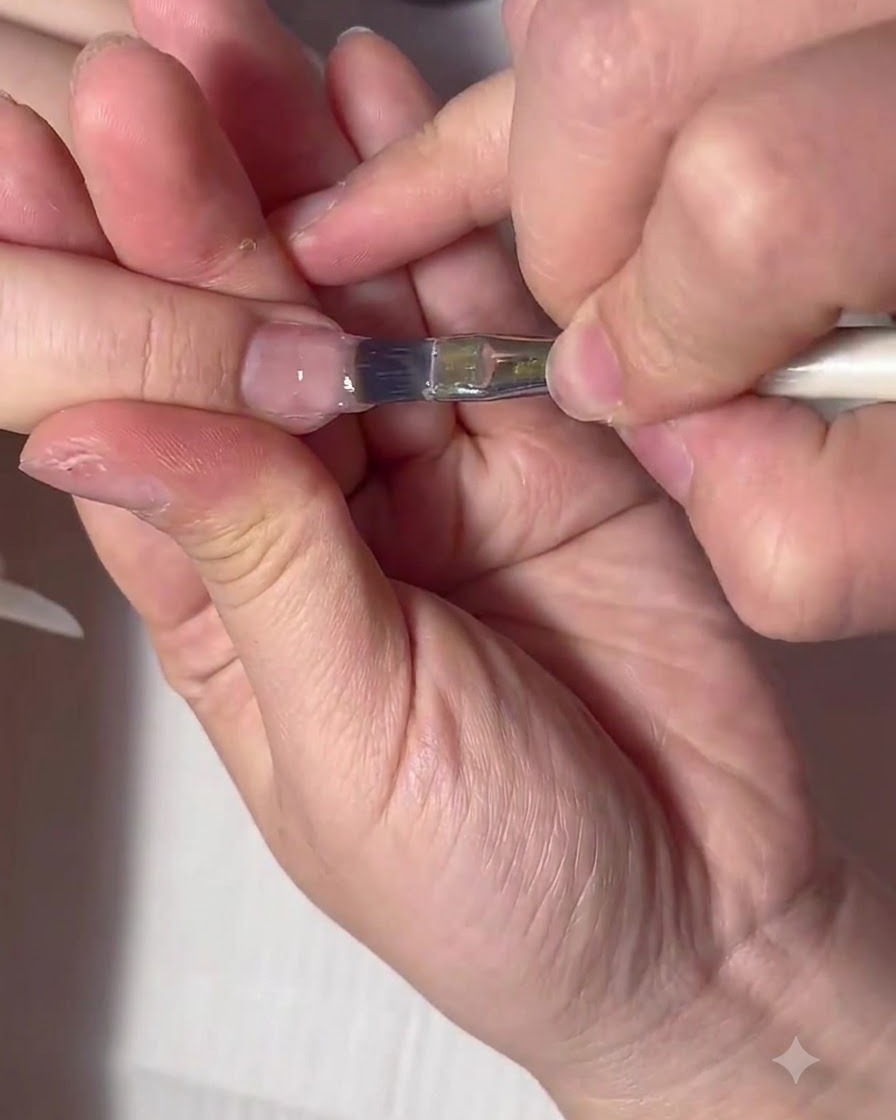
Using a flat gel brush, pick up a substantial bead of the 3-in-1 builder gel and place it onto the center of the nail. This large amount of product is necessary to establish the apex and lay a strong structural foundation.
Tip: Keep the bead concentrated near the stress area where the nail needs the most support. - 3Build the apex structure
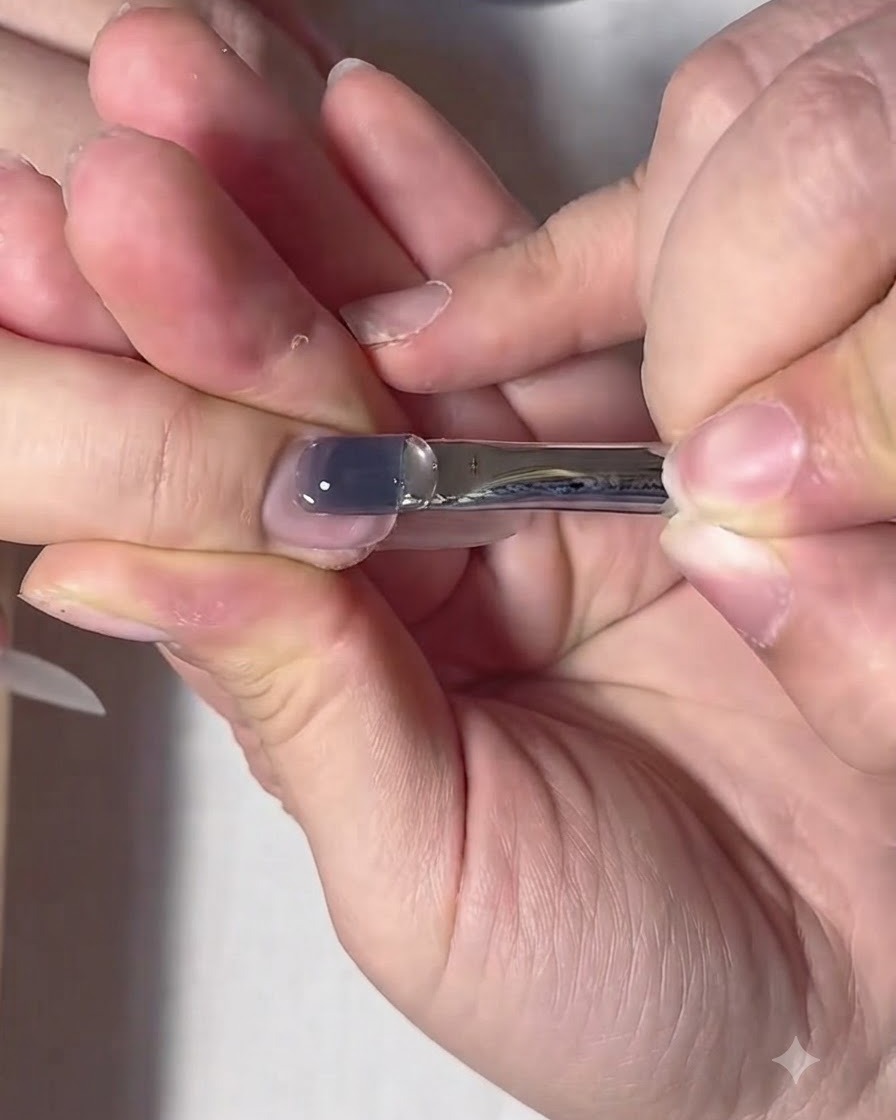
Gently float and pull the builder gel down the length of the nail. Use a very light touch to guide the product without flattening it, ensuring a smooth apex and a well-structured foundation for the design.
Tip: Allow the builder gel a few seconds to self-level before curing to minimize filing later. - 4Refine edges with a liner brush
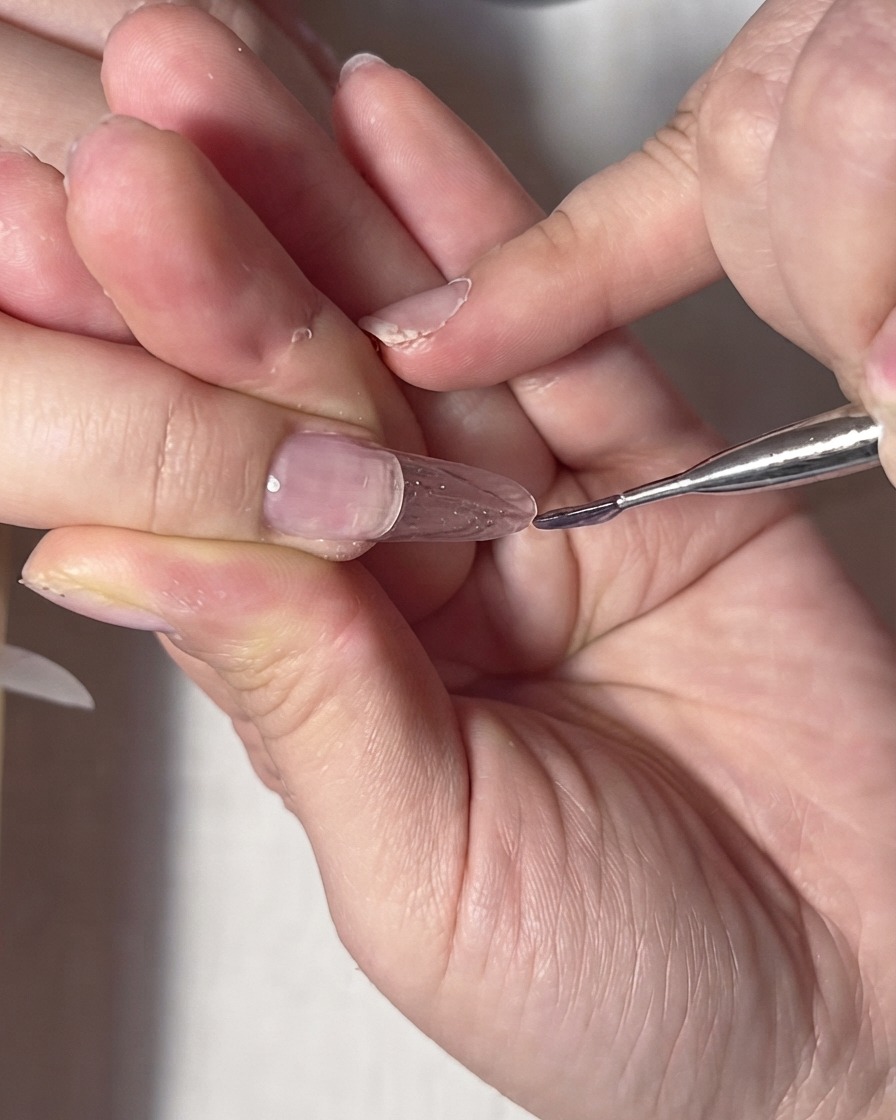
Switch to a fine liner brush to delicately tuck the builder gel around the cuticle line and sidewalls. This allows for precise application in tight areas, ensuring the gel is flush with the natural nail and preventing future lifting.
Tip: Use a light hand when detailing around the cuticle to avoid flooding the skin with gel. - 5Apply nude pink base color
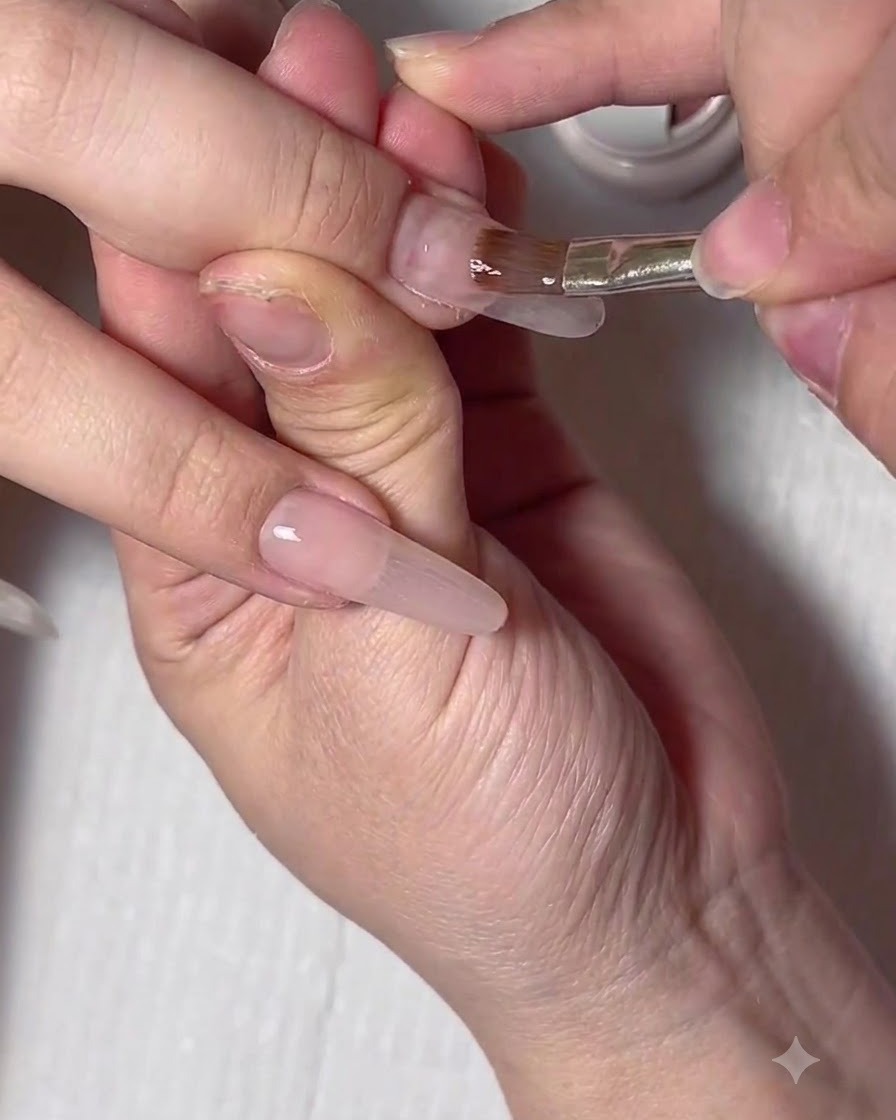
Apply an even layer of the highly wearable nude pink color gel over the entire built nail structure. This serves as the primary base color, giving the nails a healthy, natural flush before adding the gradient effect.
Tip: Work in thin layers to ensure a smooth, even application without bulking up the nail structure. - 6Apply tip color for ombre
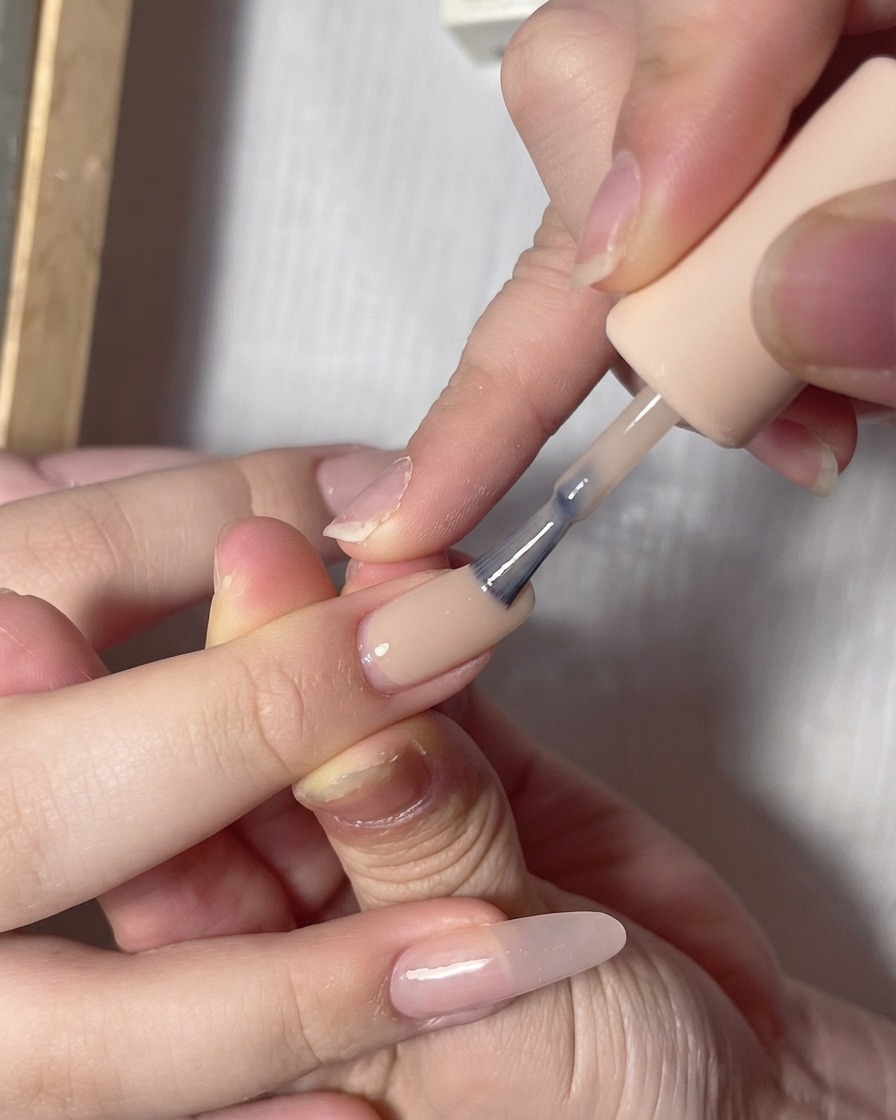
Apply the secondary, lighter gel color directly to the free edge of the nail. This will act as the tip color for the ombre design, which will be blended backward into the nude pink base.
Tip: Do not cure this layer yet, as it needs to remain wet to successfully blend the colors together. - 7Blend the ombre gradient
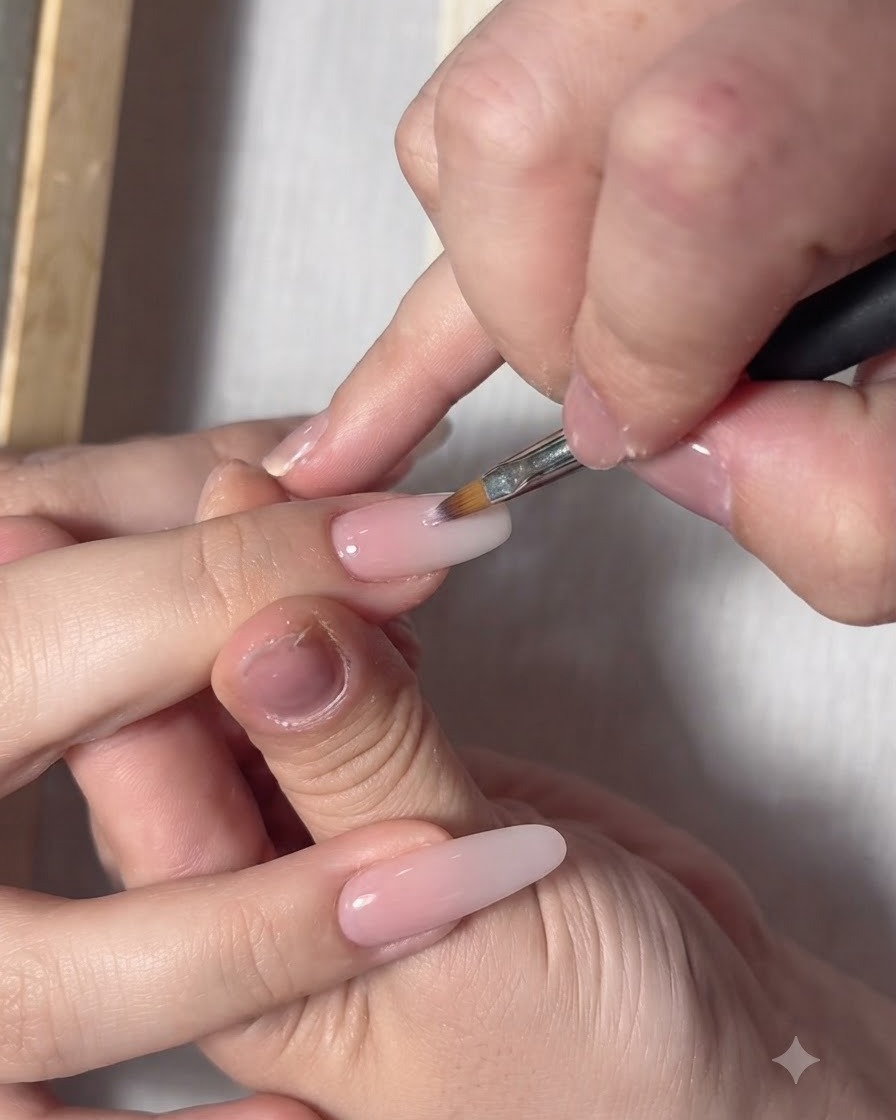
Use a specialized blending or ombre brush to softly tap and feather the transition area between the tip color and the base color. Smooth out the lines until a seamless, soft gradient is achieved across the nail surface.
Tip: Wipe your blending brush frequently on a lint-free pad to keep the colors from becoming muddy. - 8Outline butterfly wings
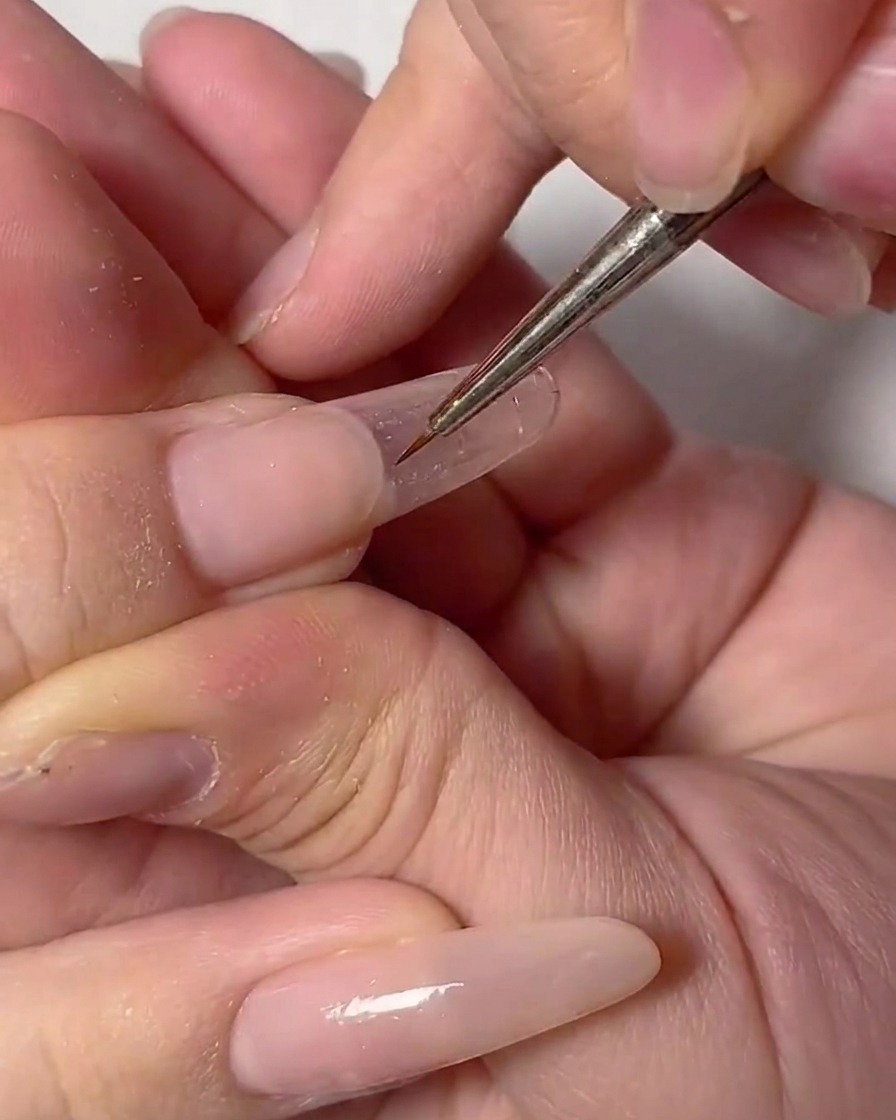
Using a fine liner brush dipped in white gel, carefully outline the initial structure of the butterfly wings on the nail tip. Keep the lines delicate and precise to form the skeleton of the wing pattern.
Tip: Keep your hand steady and use only the very tip of the liner brush for fine, clean lines. - 9Complete wing skeleton
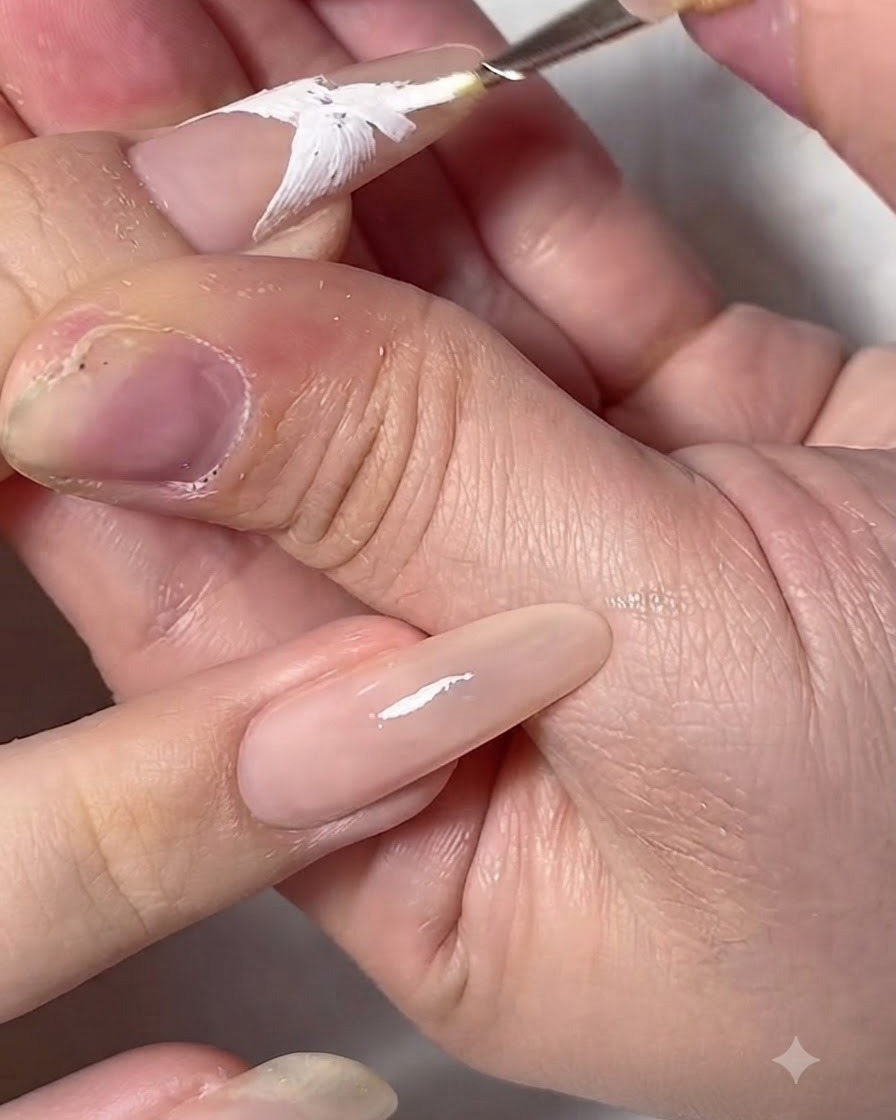
Continue filling out the details to complete the full white outline skeleton of the butterfly wings across the nail surface. Ensure the symmetry and shape match the desired artistic layout.
Tip: Work in light layers so the gel doesnt pool or run before you get a chance to flash cure. - 10Apply wet-in-wet color inside wings
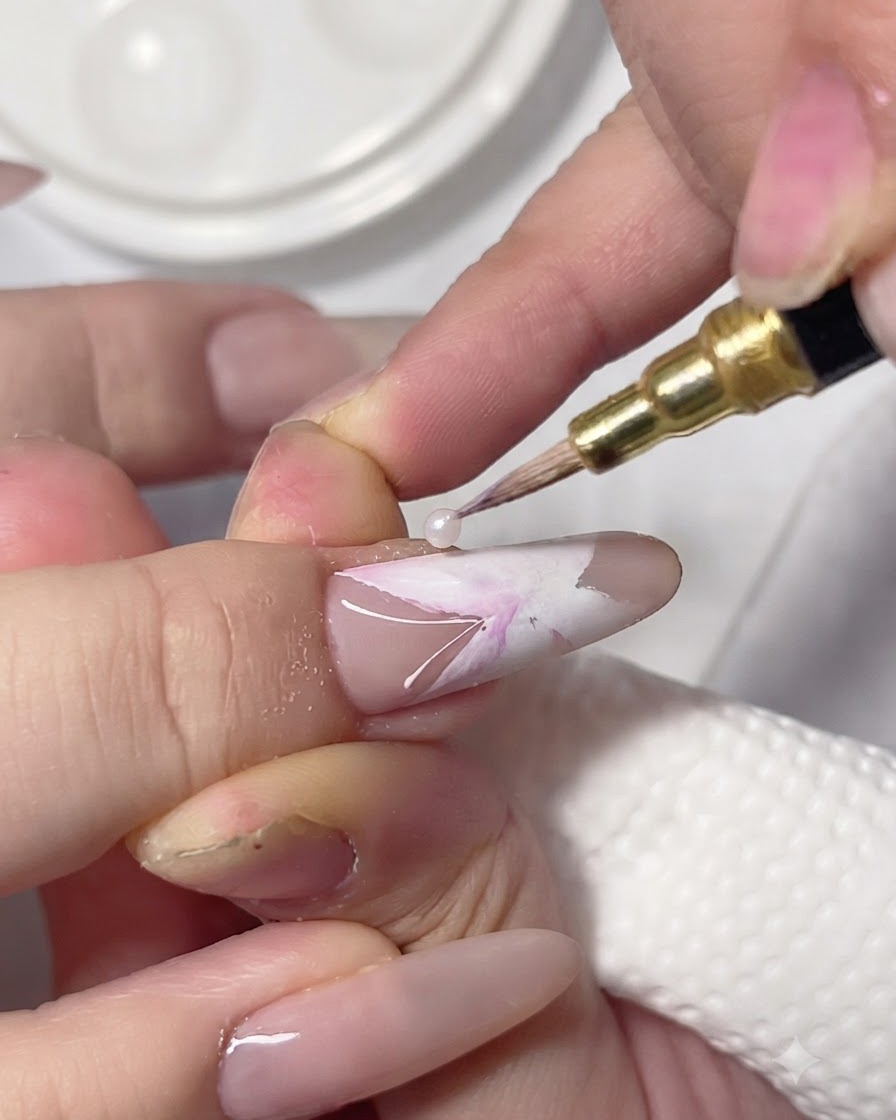
Using a detailing brush, apply pink and purple gel colors wet-in-wet directly inside the sections of the butterfly wings. This technique allows the colors to blend smoothly into one another while still wet.
Tip: Do not cure between colors; the wet-in-wet method relies on the gel staying fluid to create a seamless gradient. - 11Blend and soften wing colors
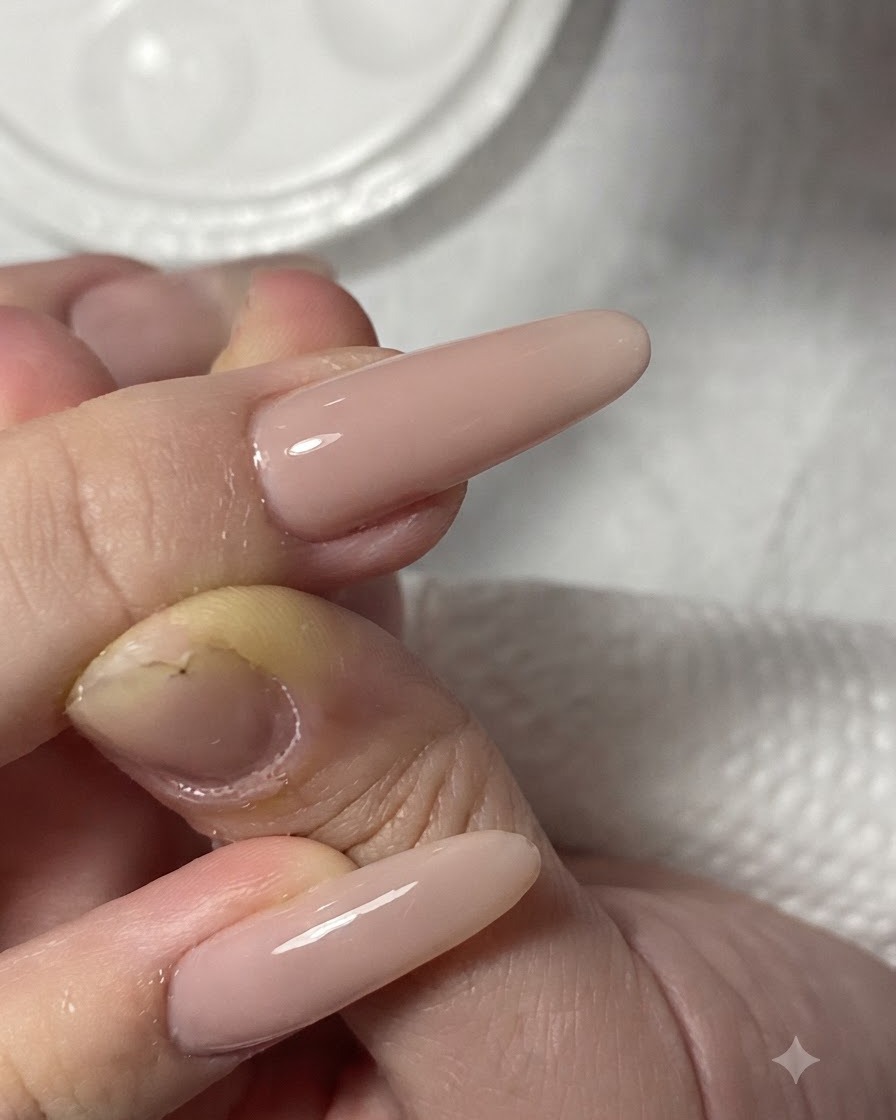
Gently blend and soften the colors within the butterfly wings to achieve a smooth watercolor effect. Soft transitions make the wings look translucent and ethereal.
Tip: Clean your brush frequently with a bit of alcohol or base gel if it picks up too much product during blending. - 12Refine final wing details
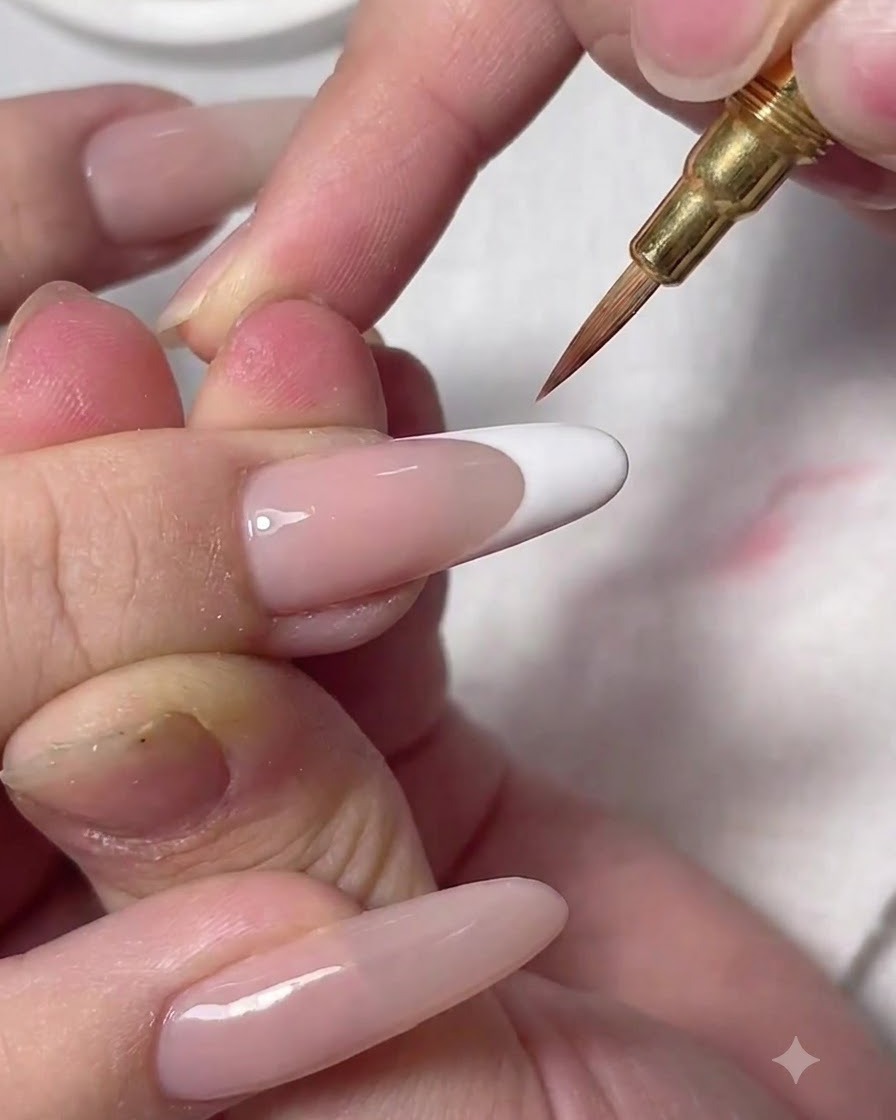
Refine the final wing details and add any necessary shading to enhance the depth and dimension of the painted butterfly art. Clean up any outer lines if required.
Tip: A quick flash cure after getting the shading right will lock it in place before applying top coat. - 13Place crystal gems and rhinestone cluster
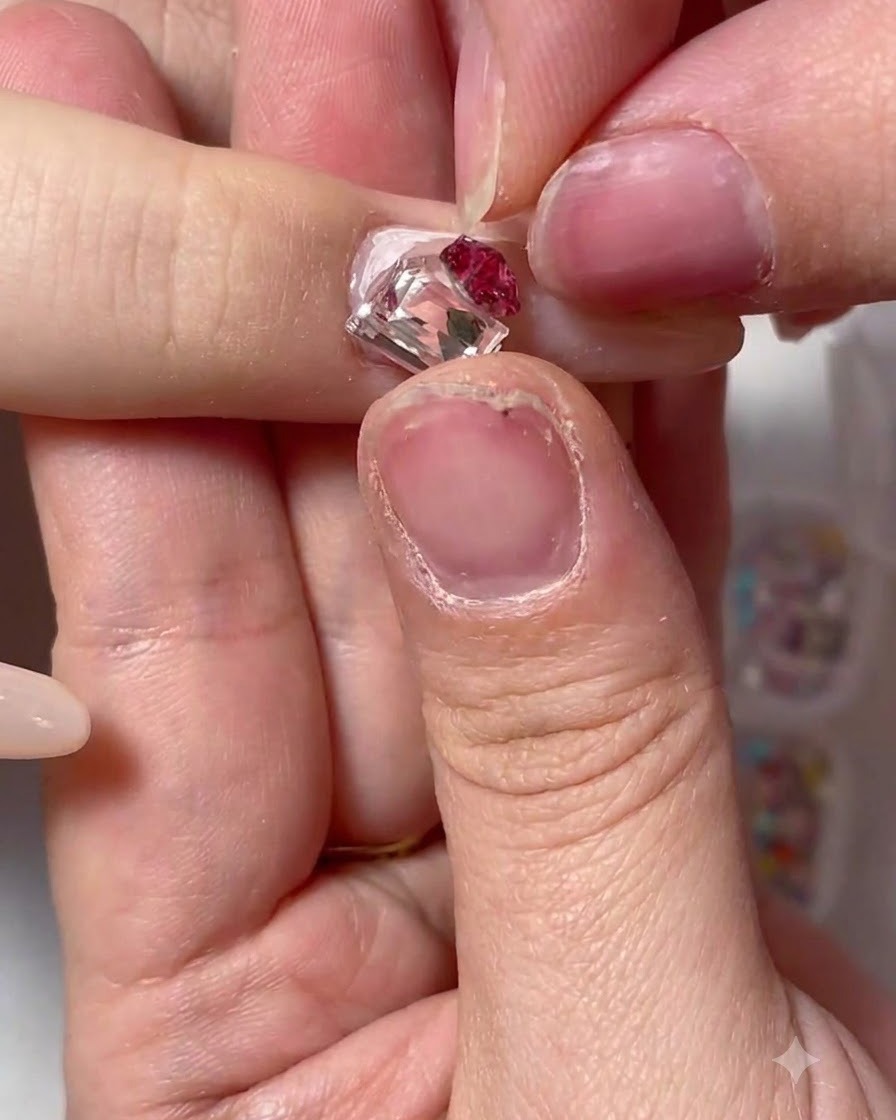
Securely place a large square crystal gem and a small red floral rhinestone cluster onto the sealed nail using gem gel. Press them gently into place and cure fully to lock the embellishments down.
Tip: Seal around the base of the gems with a small liner brush dipped in top coat to secure them without dulling their sparkle. - 14Secure charms with top coat
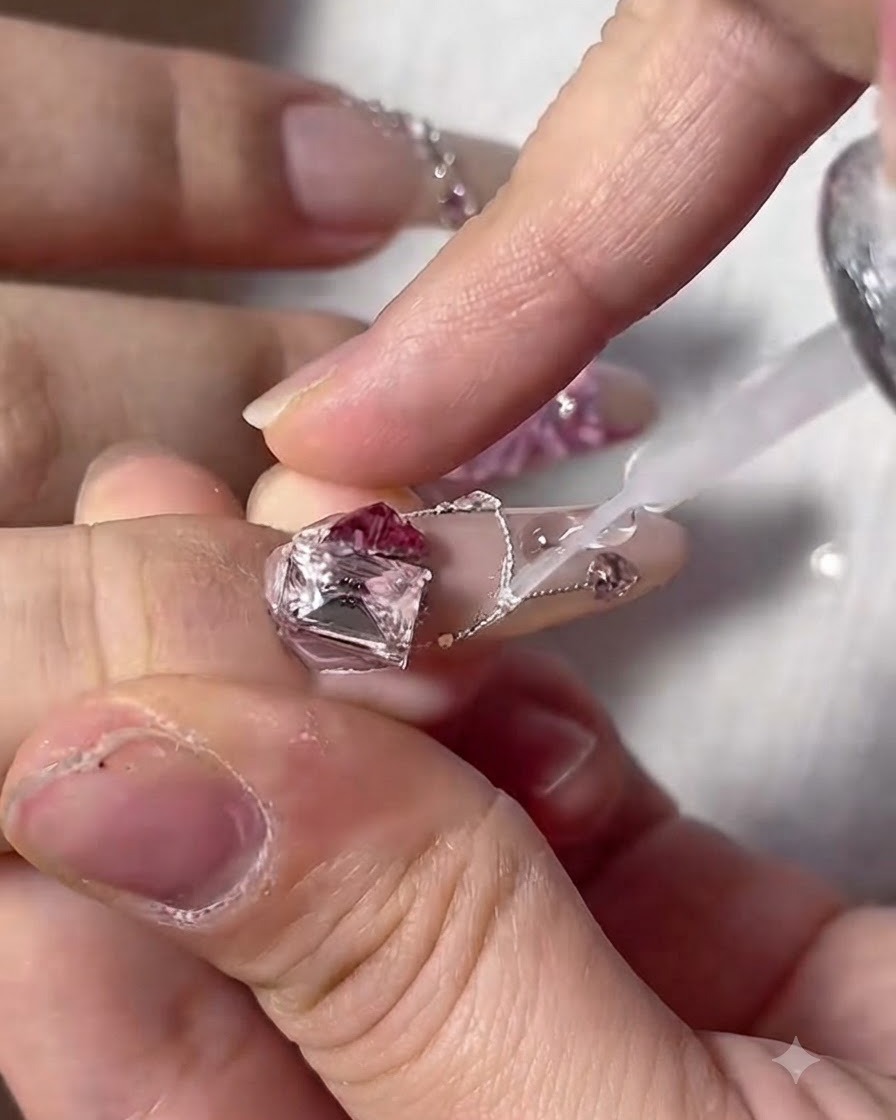
Using a fine detail brush, carefully apply top coat gel around the base of the charms and over the delicate hanging chains to secure them in place. Be careful not to flood the faceted top of the gems, which would dull their beautiful shine.
Tip: Sealing around the edges of 3D charms and chains prevents them from snagging on hair or clothing. - 15Pinky finger rhinestone details
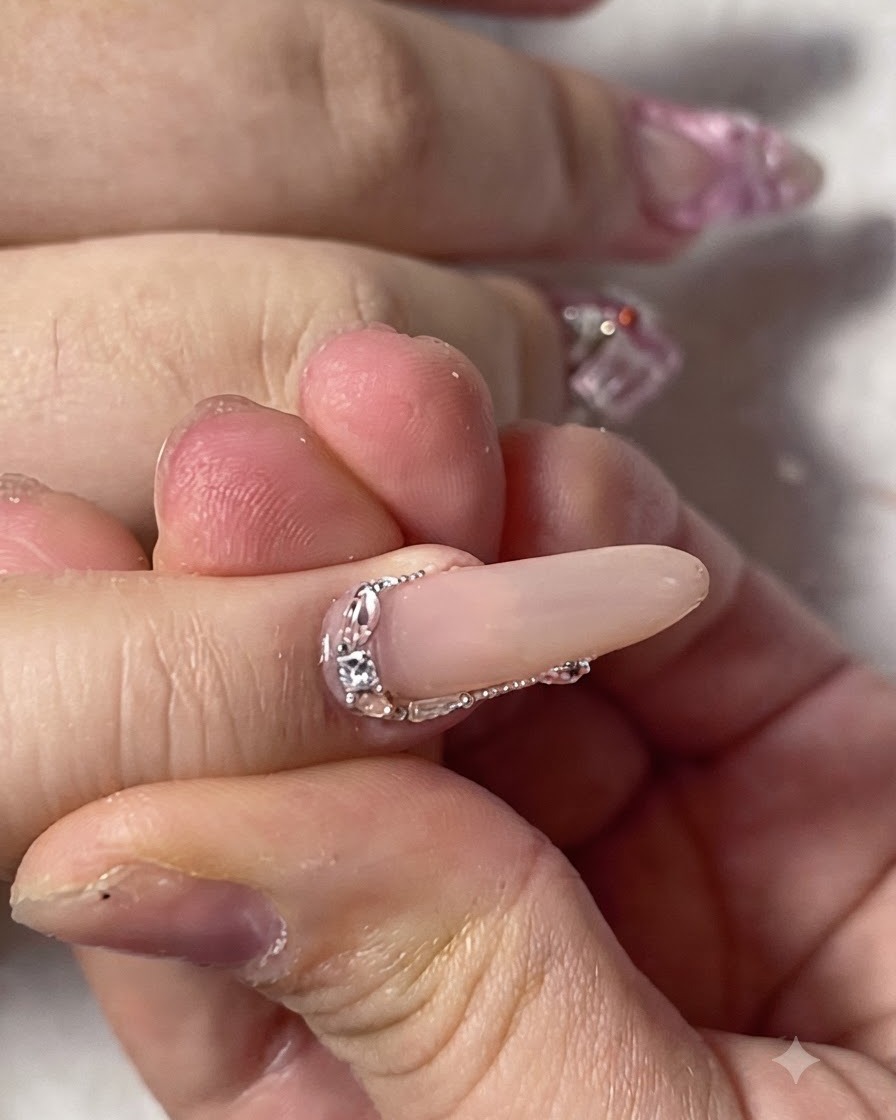
The pinky finger features a delicate arrangement of small embedded rhinestones tracing smoothly along the cuticle line and side edge. This provides a subtle yet elegant sparkle that complements the larger, more intricate charms on the other nails.
Tip: Using a mix of different sized micro-rhinestones creates a more dynamic and seamless border effect along the nail curve. - 16Add rhinestone details to index finger
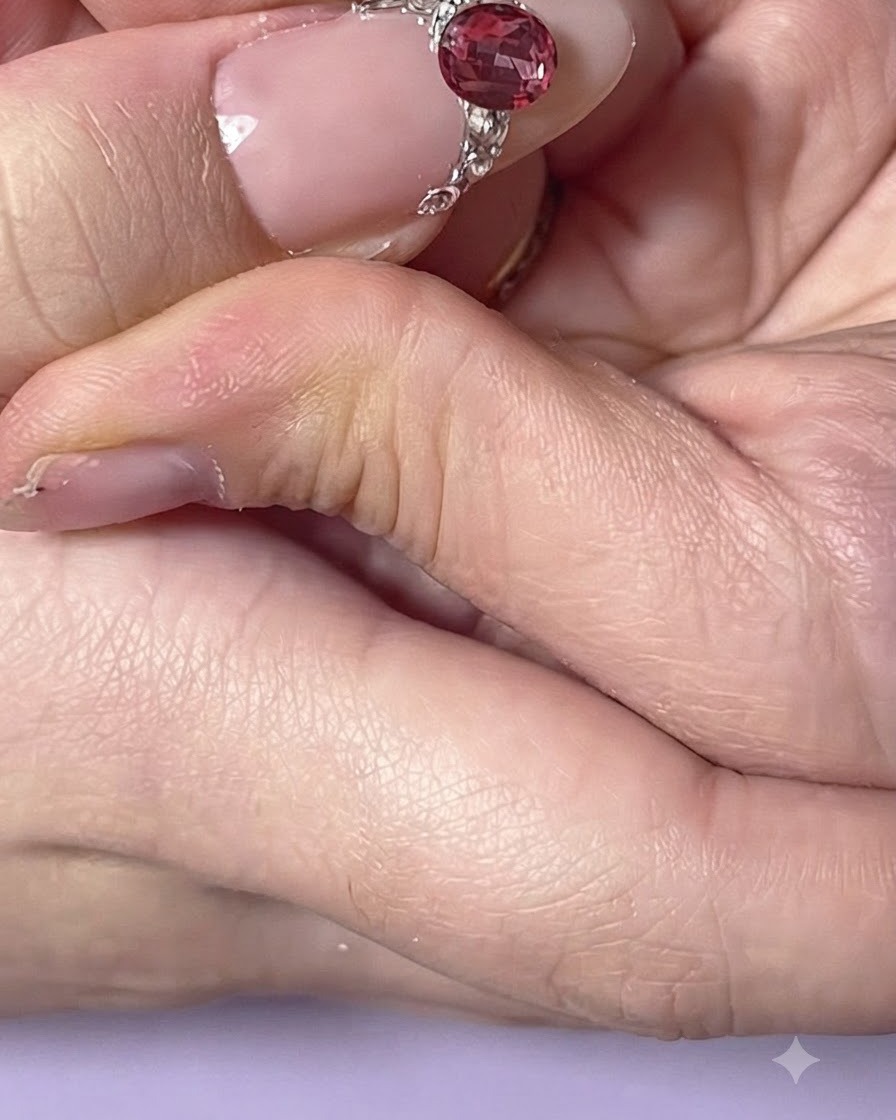
Apply a small amount of rhinestone gel or hard gel to the side of the index finger nail. Carefully place the rhinestones along the edge to create an elegant, structured accent that complements the overall design. Cure the adhesive thoroughly to ensure long-lasting wear.
Tip: Secure rhinestones with a strong gel adhesive and seal around the edges with top coat, but avoid covering the stone facets to maintain their sparkle. - 17Apply pendant charm design to thumb
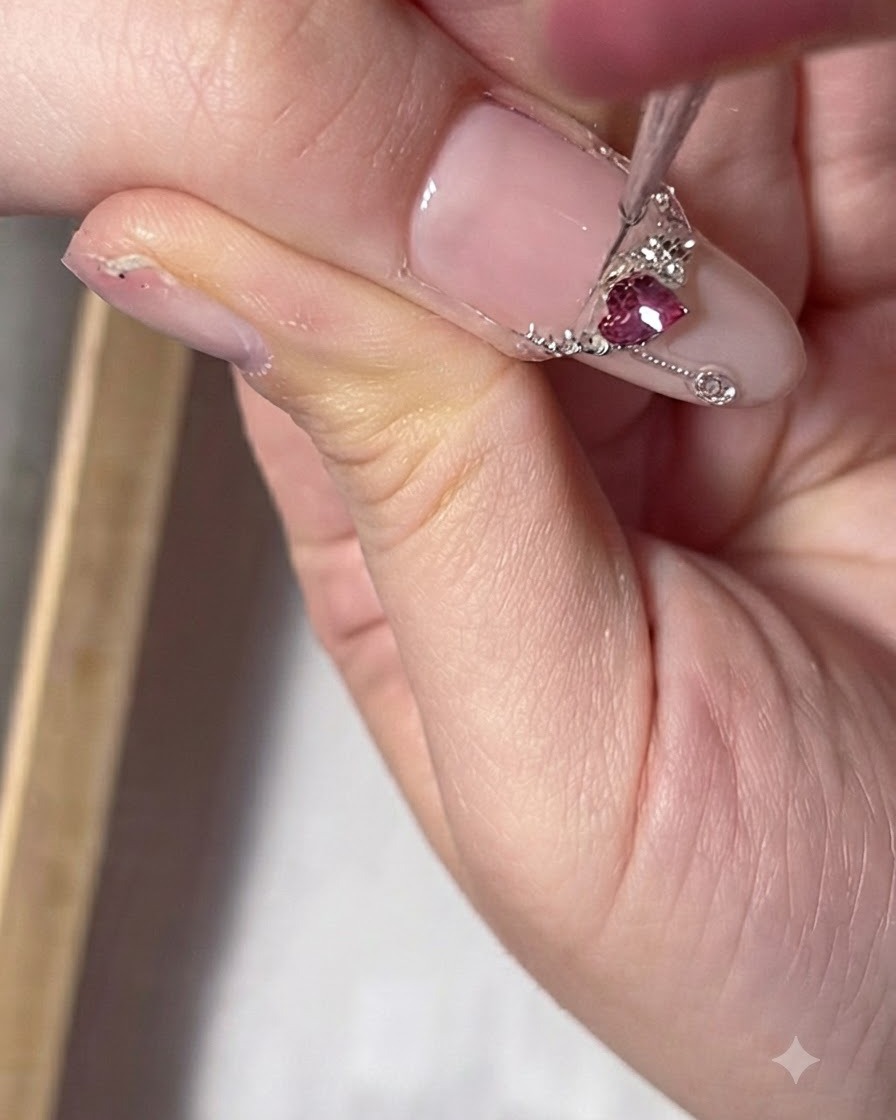
Position a small red oval charm onto the thumb nail using a fine liner brush and gel adhesive to mimic the look of a necklace pendant. Use thin lines of silver or gel to extend a chain-like effect from the charm, completing the jewelry-inspired nail art.
Tip: Anchor charms securely in building gel to prevent snagging on clothing or hair.


