Spring Ice Tea Flower Nail Art — Elegant Cat Eye
3D Floral Tutorial
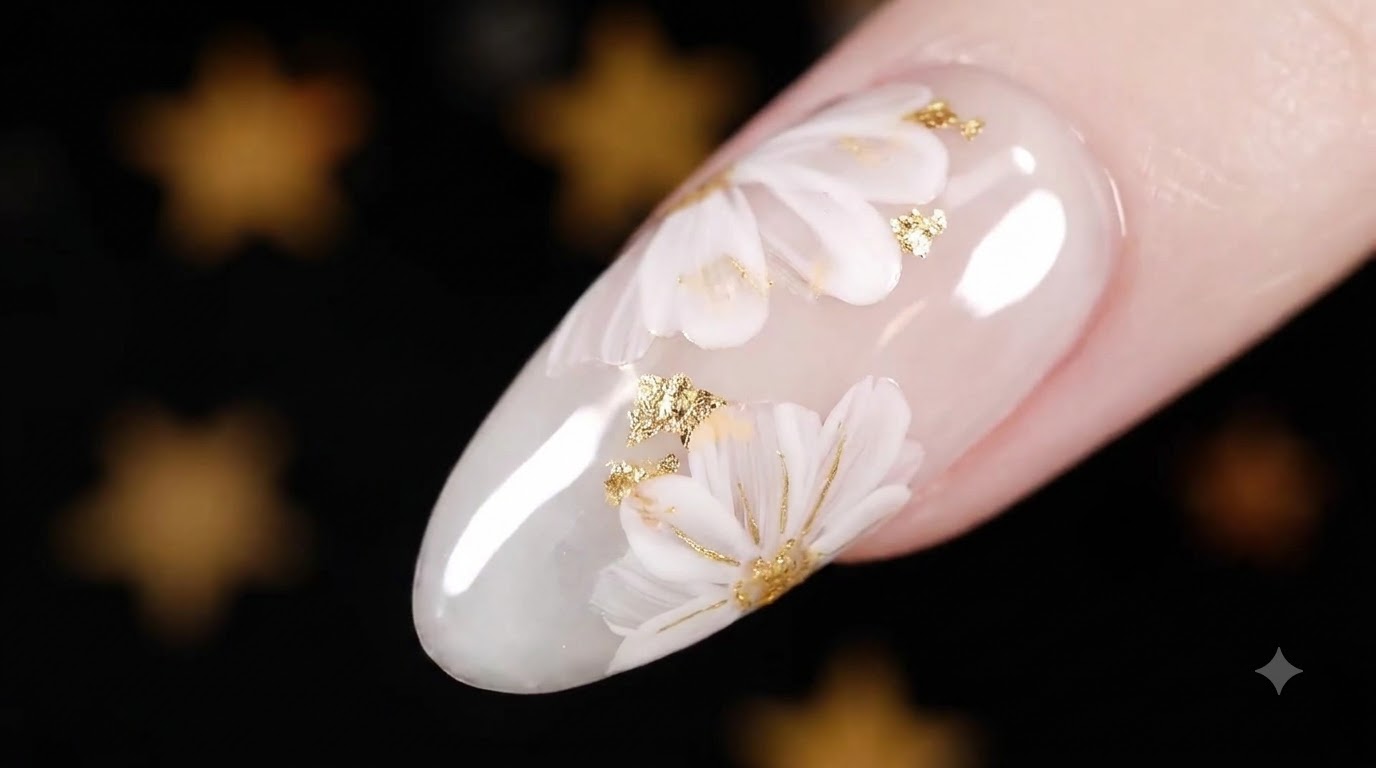
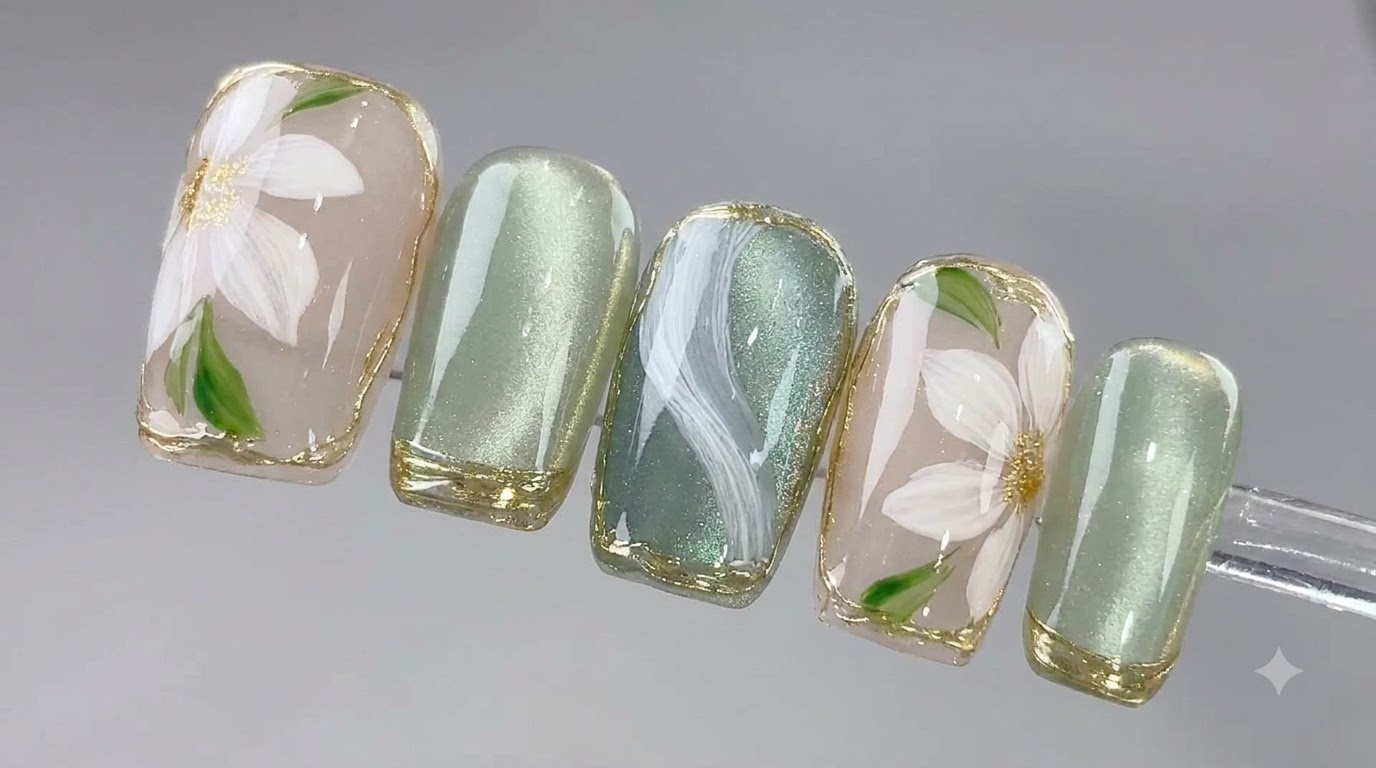
Create an exquisite spring nail set featuring hand-painted 3D white flowers, shimmering green cat eye gel, and delicate gold chrome borders.
Spring ice tea flower nail art brings together the delicate elegance of hand-painted translucent florals and the hypnotic depth of shimmering cat eye bases. Accented with raised texture borders and light gold chrome framing, this sophisticated multi-piece press-on set captures a fresh seasonal aesthetic that looks straight out of a luxury nail salon.
Steps
- 1Paint the first white petal
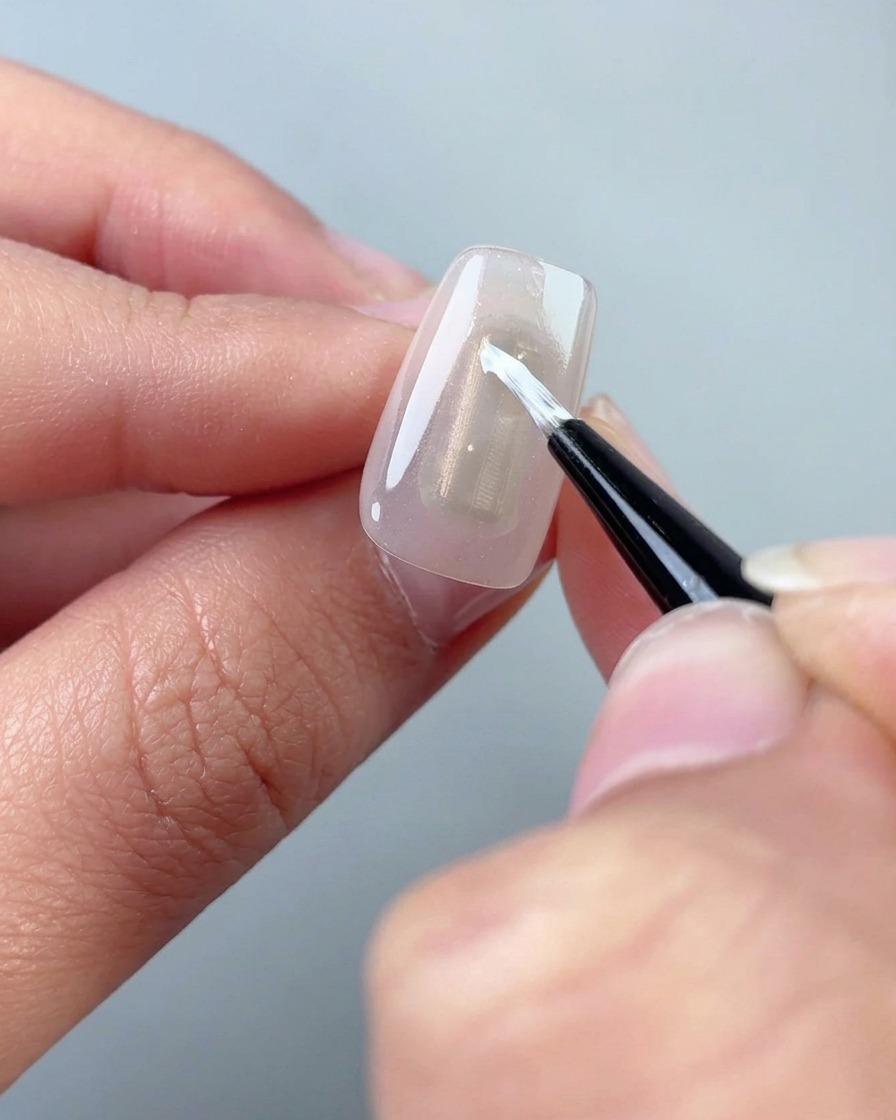
Take a fine nail art brush dipped in white painting gel. Position the brush on the nail surface, gently dot it down, and lift upward to create a tapered petal shape.
Tip: Keep a light touch and lift cleanly at the end of the stroke to form a sharp petal tip. - 2Add surrounding white petals
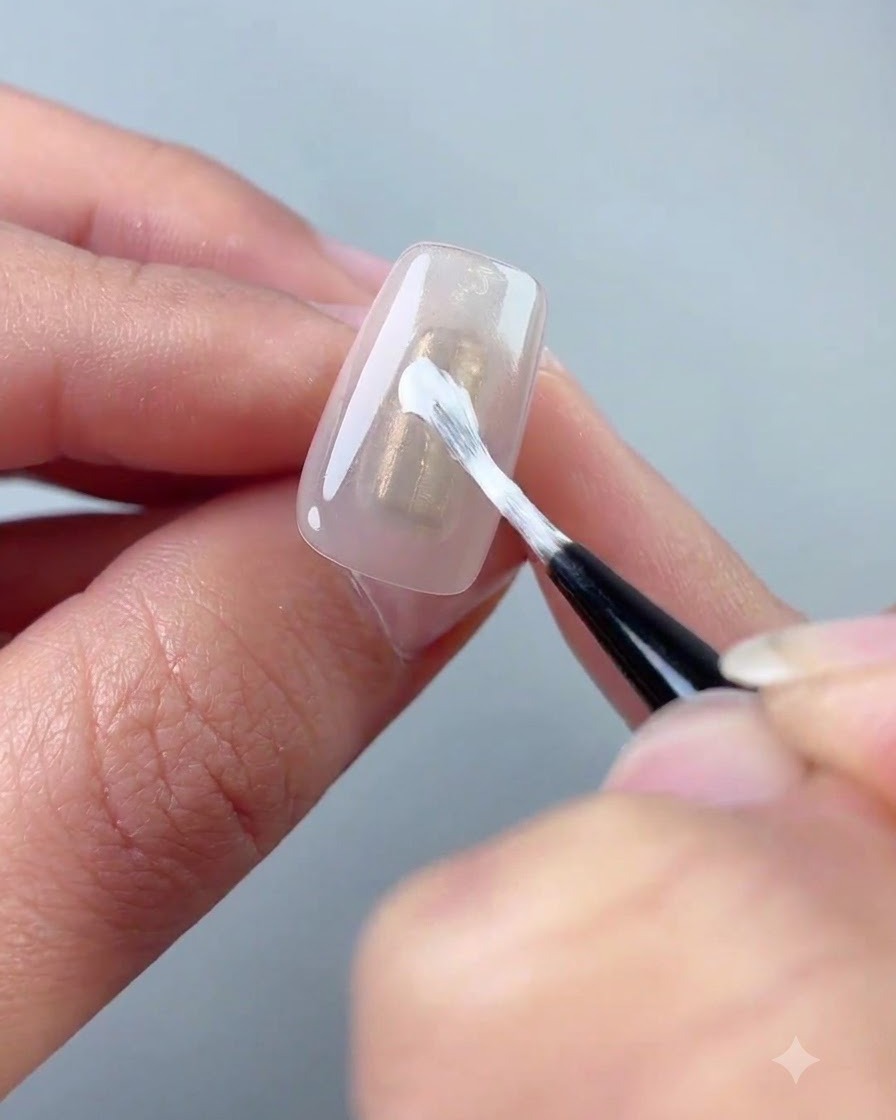
Repeat the dot and lift motion to place additional white petals around the central point, building out the structure of the flower.
Tip: Vary the placement slightly to give the flower a natural, blooming appearance. - 3Paint smaller fill petals
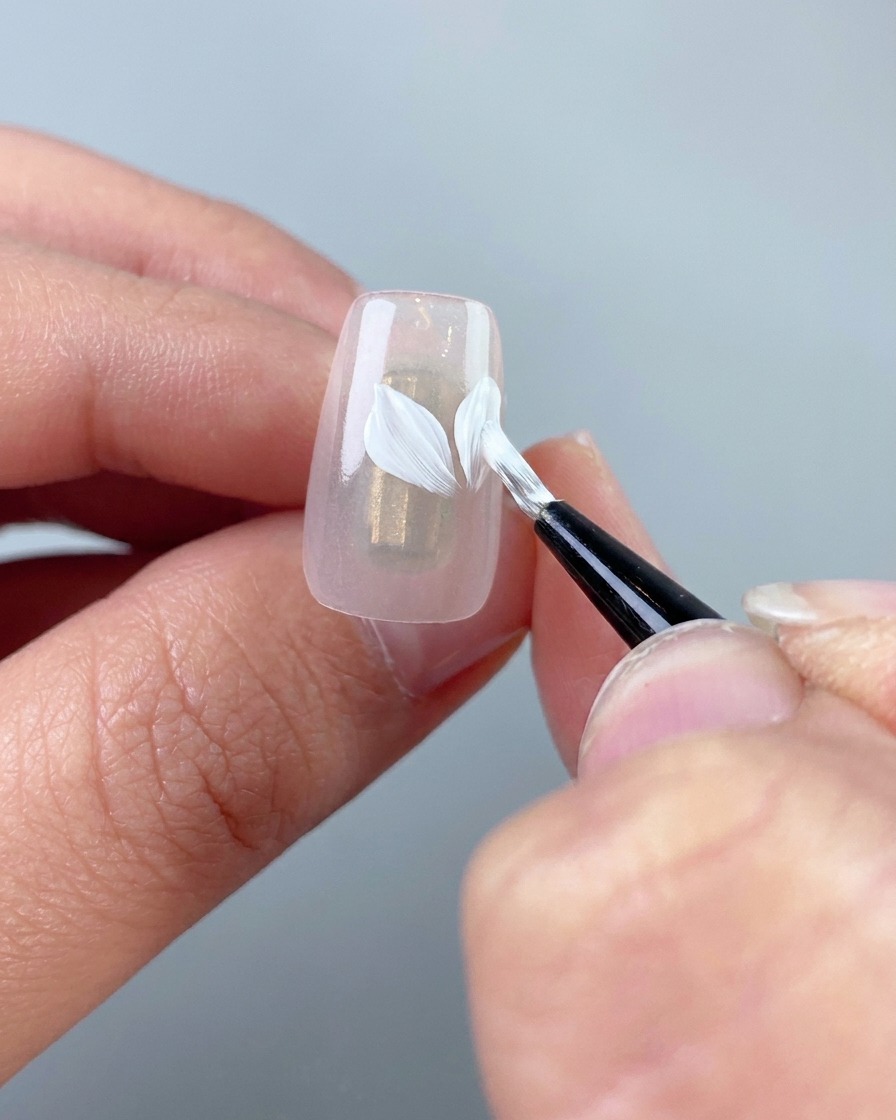
Use single quick strokes with the white painting gel to add smaller filler petals that complete the layered look of the floral design.
Tip: Shorter single strokes help fill gaps without making the flower look overcrowded. - 4Complete the five-petal flower
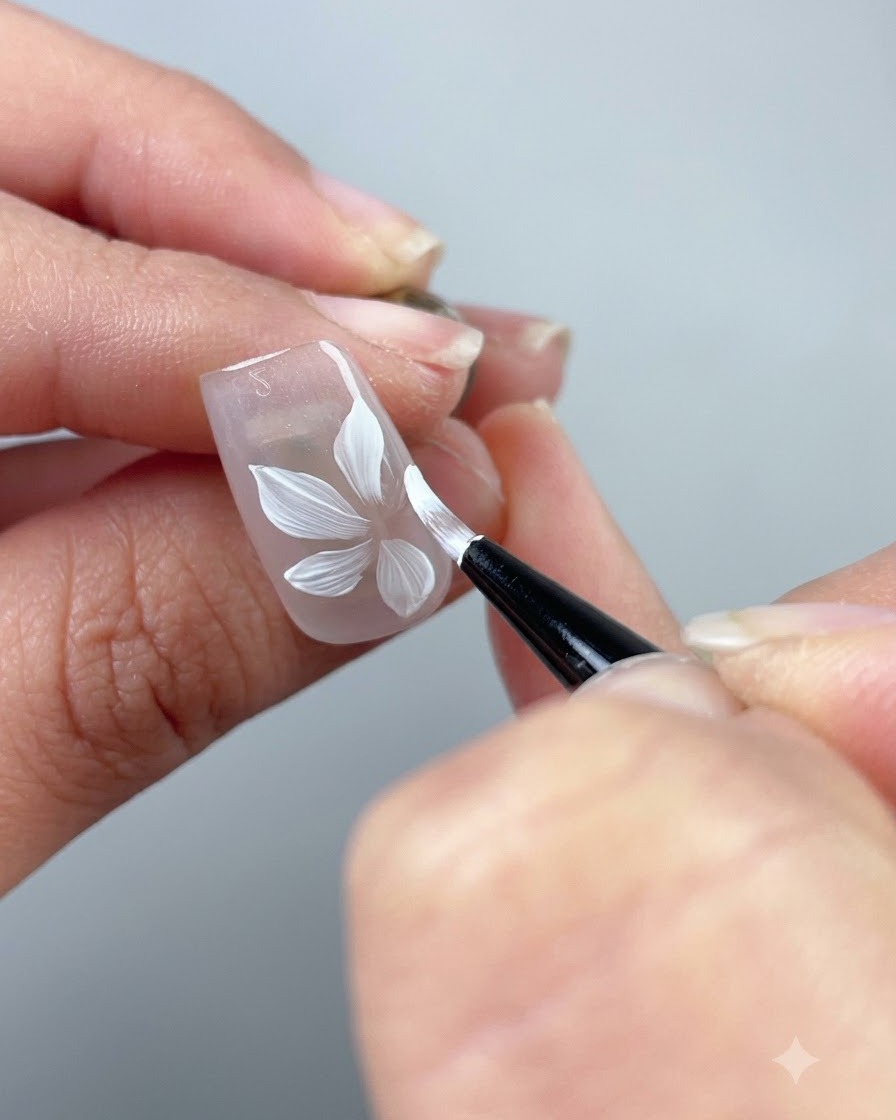
Finalize the multi-petal structure of the white flower, ensuring all petals are evenly distributed and well-shaped across the nail plate.
Tip: Check the balance of the flower before curing to ensure symmetry. - 5Paint the first green leaf
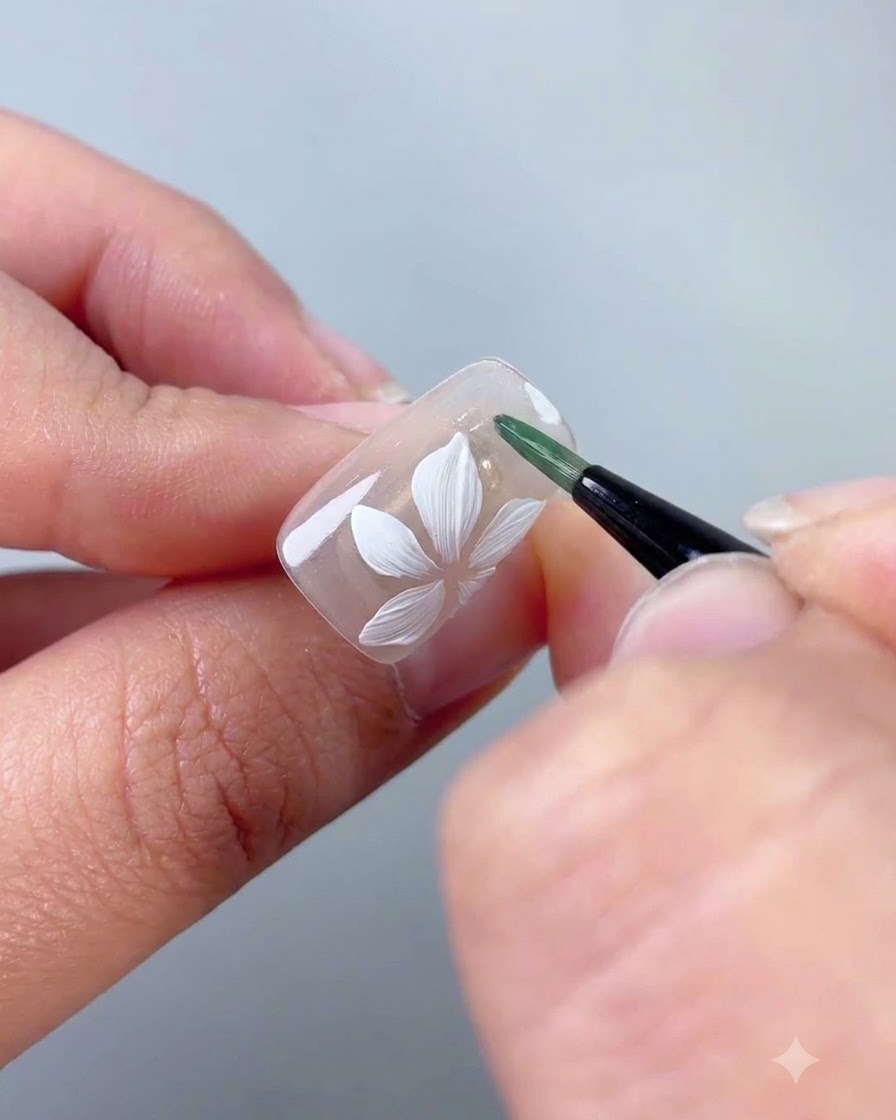
Using a liner brush with autumn sunflower green gel, delicately paint a thin leaf structure near the base or edge of the floral design.
Tip: Use a light hand so the leaf lines remain thin and elegant. - 6Paint the second green leaf
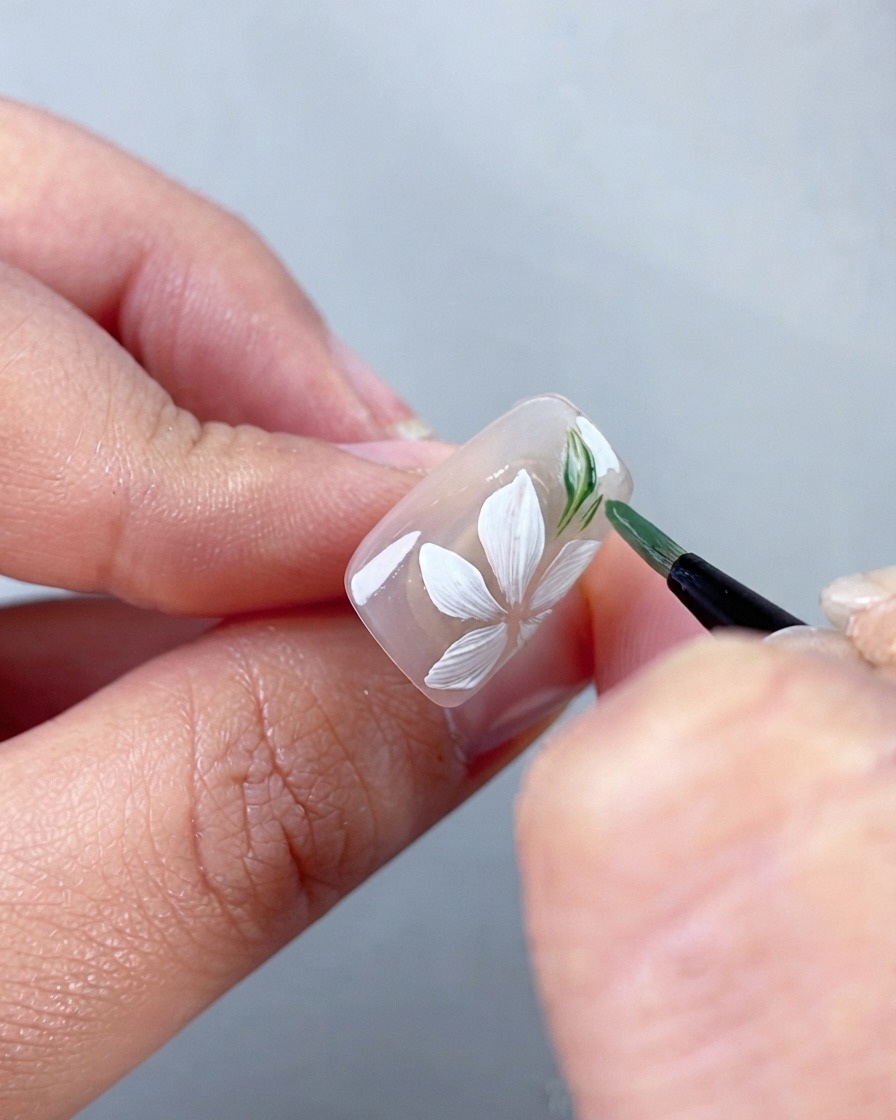
Using autumn sunflower green and a fine detail brush, paint a second leaf next to the white flower. Maintain a light touch so the leaves remain delicate and thin, and gently pull out fine tips at the head and tail of each leaf for an exquisite, refined finish.
Tip: Keep your hand light and dont press too hard on the brush to ensure the leaf edges stay sharp and graceful. - 7Apply transfer patting gel for the flower core
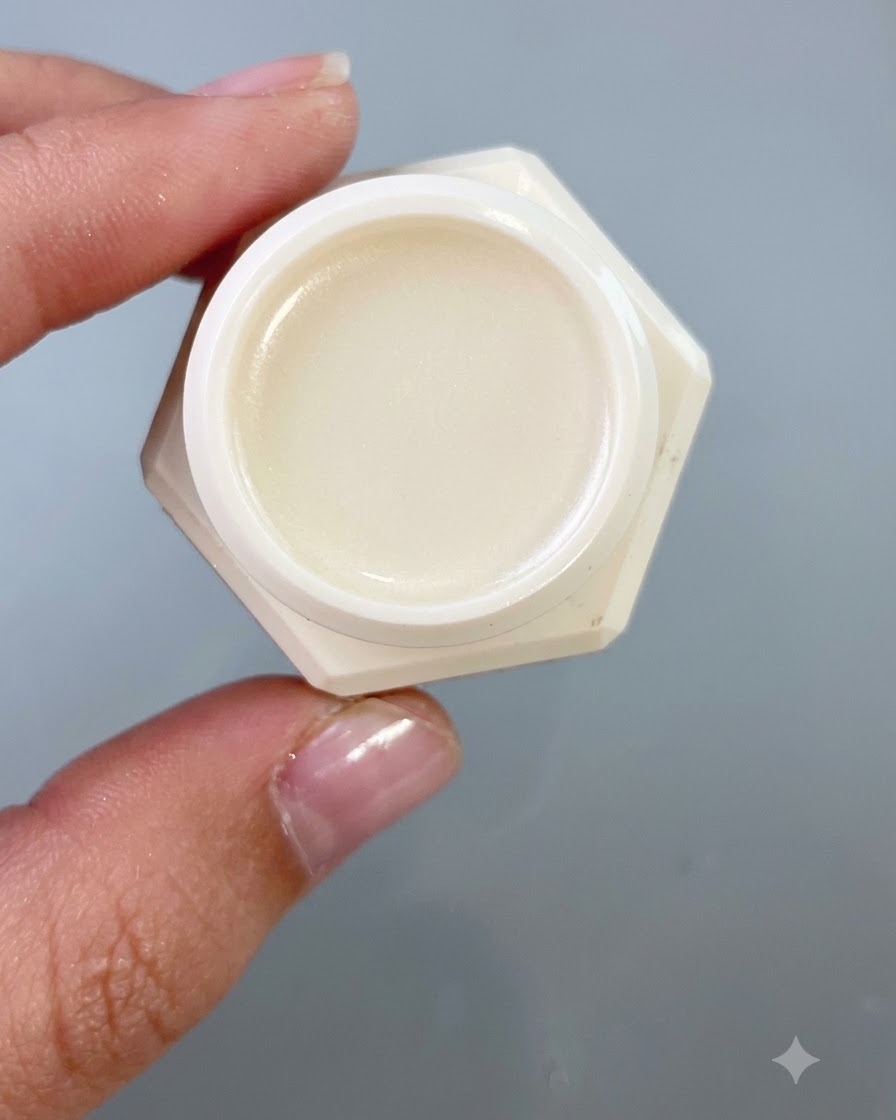
Take transfer patting gel No. 1 and dot it directly into the center of the painted white flower. Create a gentle transition to give the flower core a natural, dimensional look before moving on to the top coat sealing steps.
Tip: Dot the gel lightly to keep the center concentrated and prevent it from spilling over the surrounding petals. - 8Brush isolation powder top coat
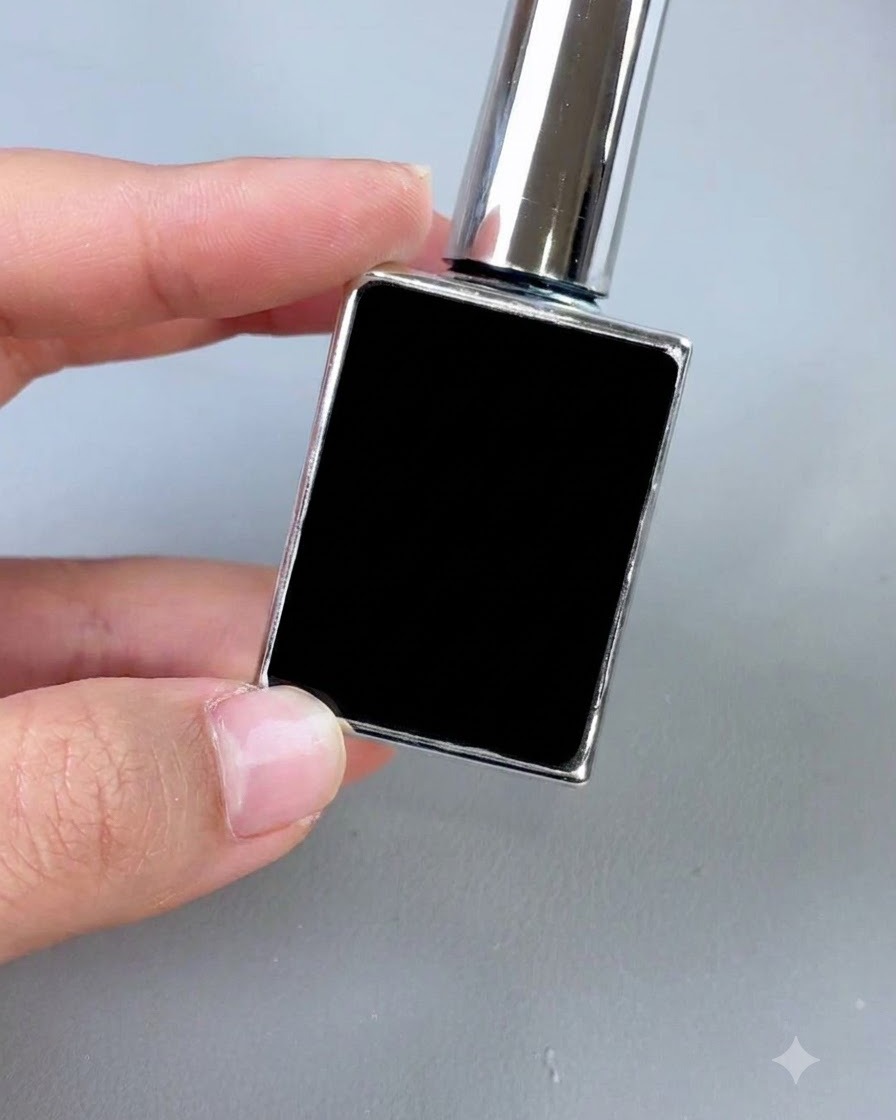
Apply an even layer of isolation powder top coat over the entire surface of the first nail to seal the design and protect the painted elements. Ensure complete coverage before proceeding with the textured edge detailing.
Tip: Brush smoothly from cuticle to free edge to avoid uneven pooling or streaks over your hand-painted design. - 9Draw a raised edge border
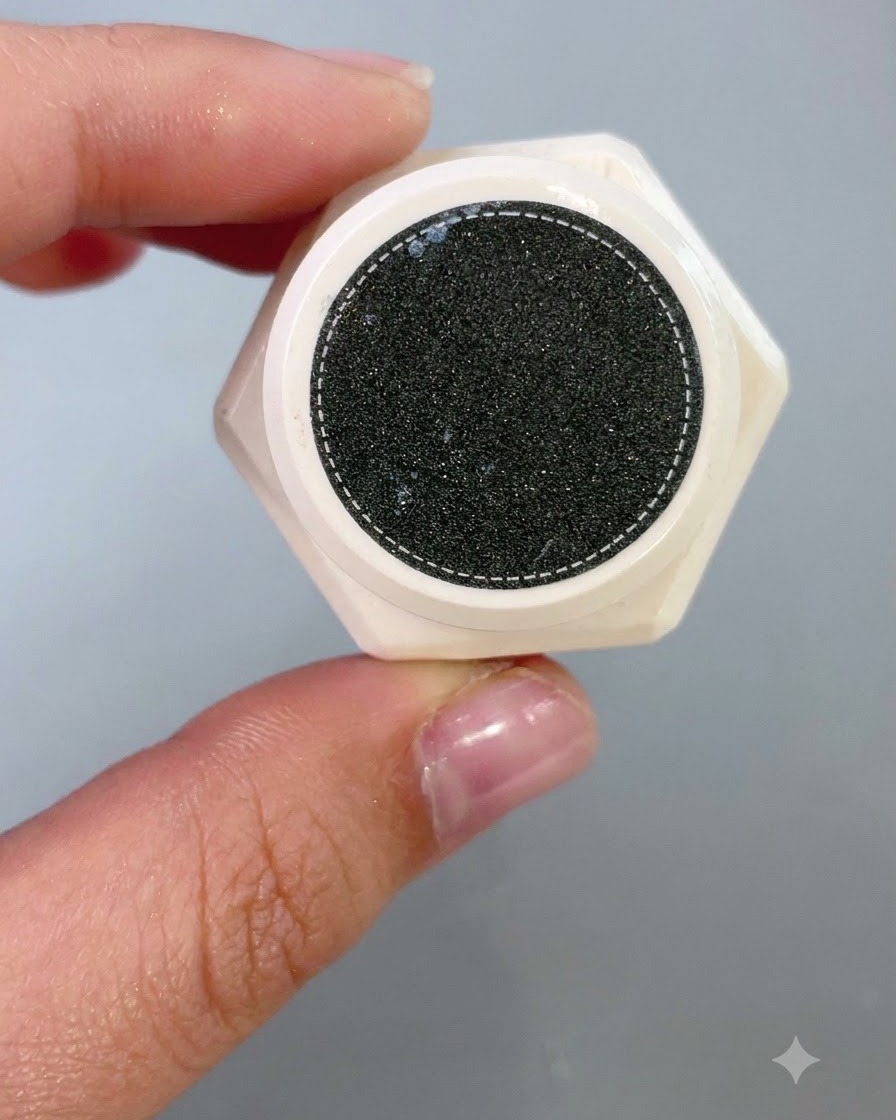
Using texture sculpting gel, carefully draw a raised border completely around the outer perimeter of the nail. This creates a structured frame that will later hold the chrome powder accent.
Tip: Keep the line consistent in thickness all the way around the edge for a clean, professional bordered finish. - 10Apply light gold powder
After curing the texture sculpting gel border, take an applicator and gently rub light gold chrome powder directly onto the raised lines. Ensure the powder adheres evenly to create a brilliant metallic golden frame.
Tip: Buff the powder gently to achieve maximum shine, then brush away any loose particles before sealing. - 11Apply powder patting top coat
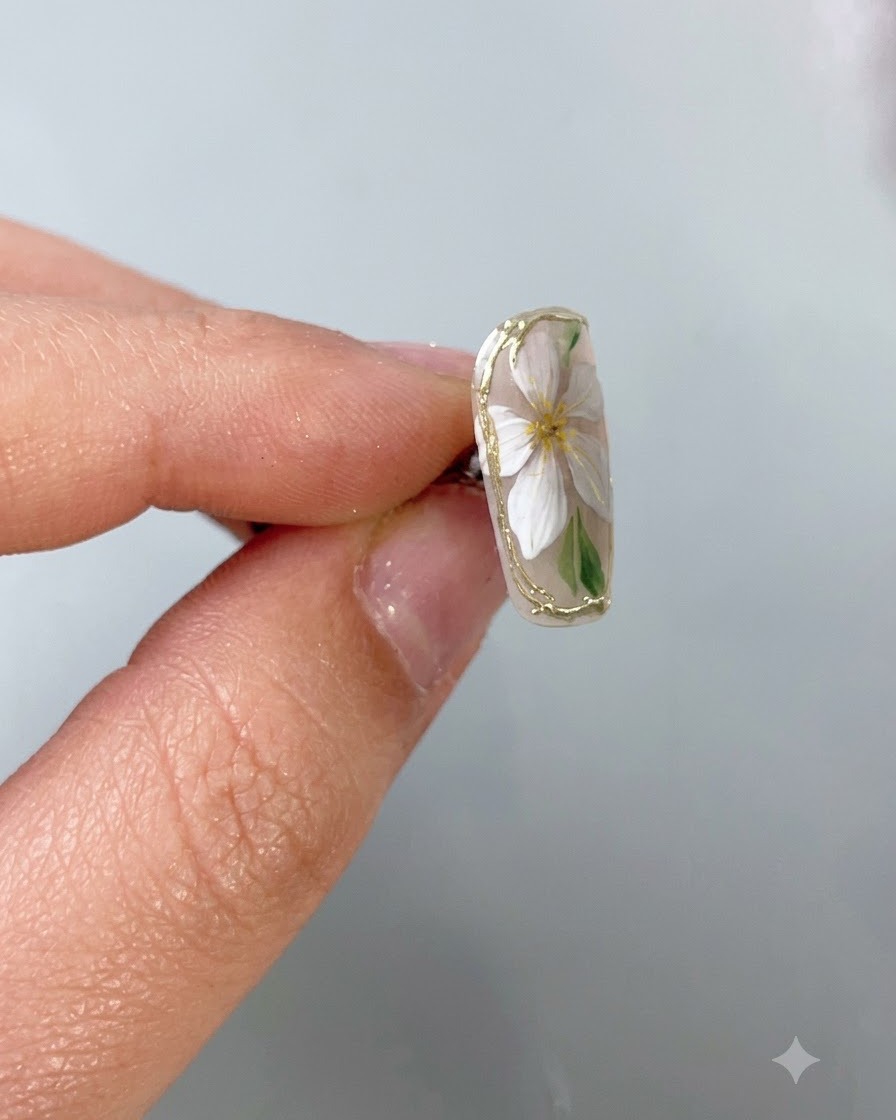
Apply powder patting top coat precisely over the gold chrome border that was previously rubbed on the nail edge. This seals the metallic powder and protects it from chipping or wearing off prematurely. Ensure careful application so it stays within the border lines.
Tip: Be precise when applying top coat over chrome borders to prevent blurring the crisp metallic finish. - 12Apply final silky top coat
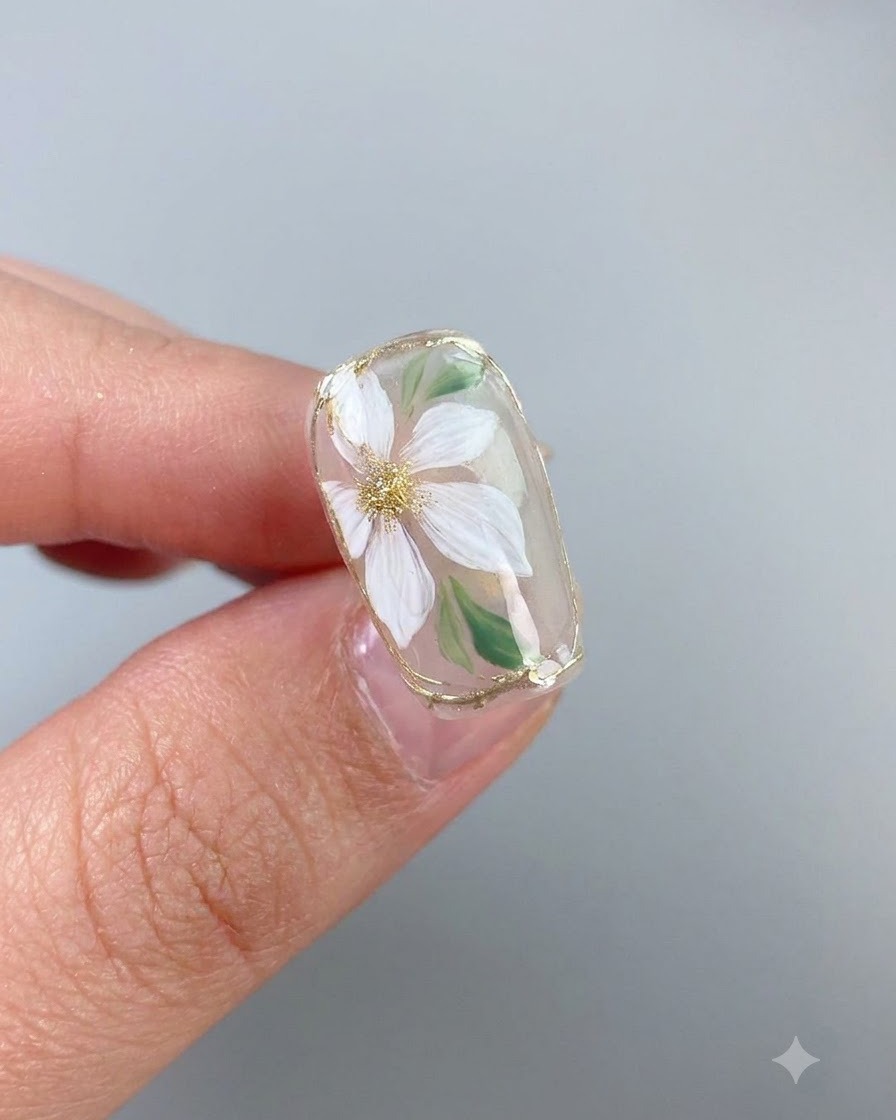
Apply a final coat of silky top coat evenly over the entire surface of the first nail. This seals all the underlying layers, including the hand-painted flower, leaves, and gold chrome border, creating a smooth and glossy finish. Cure under the lamp to complete the design.
Tip: Cap the free edge carefully with the top coat to prevent premature chipping and lift at the tip. - 13Brush cantaloupe cat eye gel
Brush cantaloupe cat eye gel evenly over the entire surface of the second nail as the base color. Ensure smooth coverage across the nail plate before activating the magnetic effect. This color provides a vibrant and translucent foundation for the cat eye sheen.
Tip: Apply an even, medium-thin layer to ensure the magnetic particles move uniformly when the magnet is applied. - 14Create a side arc light effect with a magnet
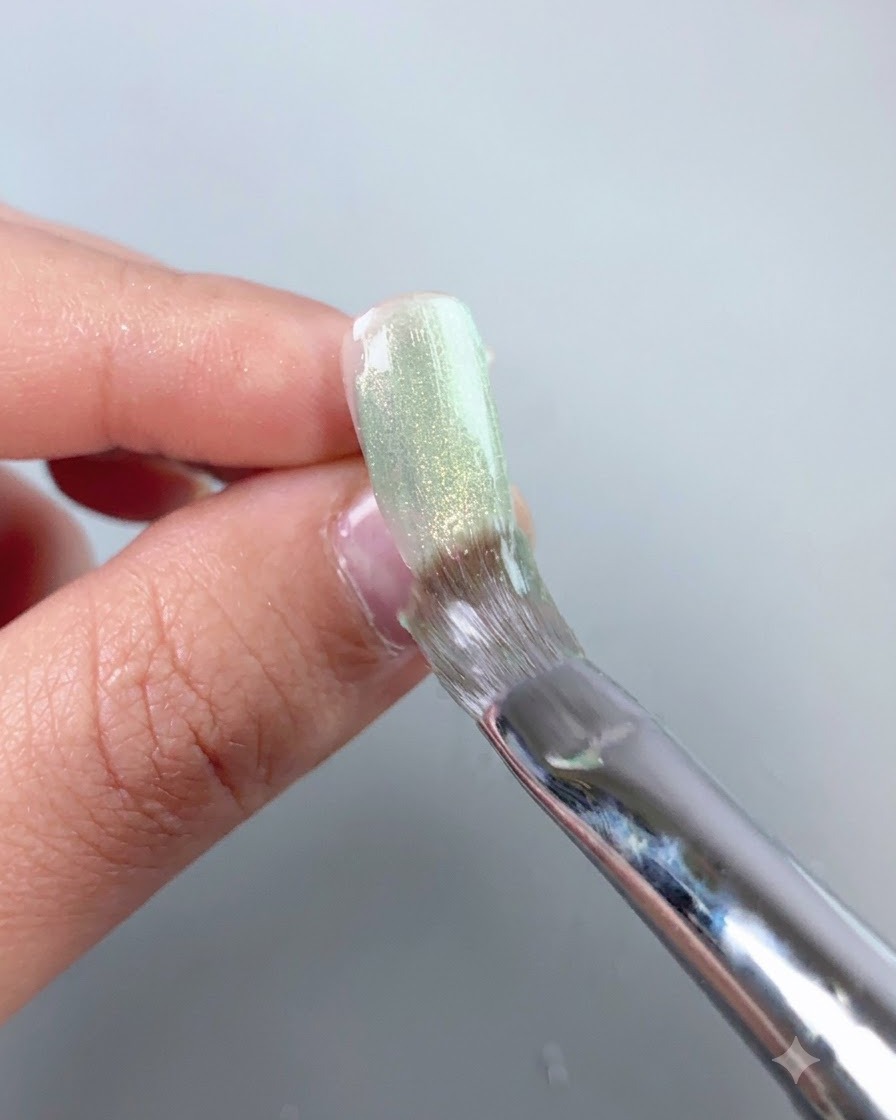
Position a cylindrical magnet closely along the right side of the uncured cat eye gel nail. Hold it steady for a few seconds to draw the magnetic particles toward the side, creating a bright, glowing vertical arc light effect. Cure immediately once the desired reflection is achieved.
Tip: Keep the magnet close to the nail surface without touching the wet gel to achieve the sharpest and brightest light reflection possible. - 15Apply isolation powder top coat
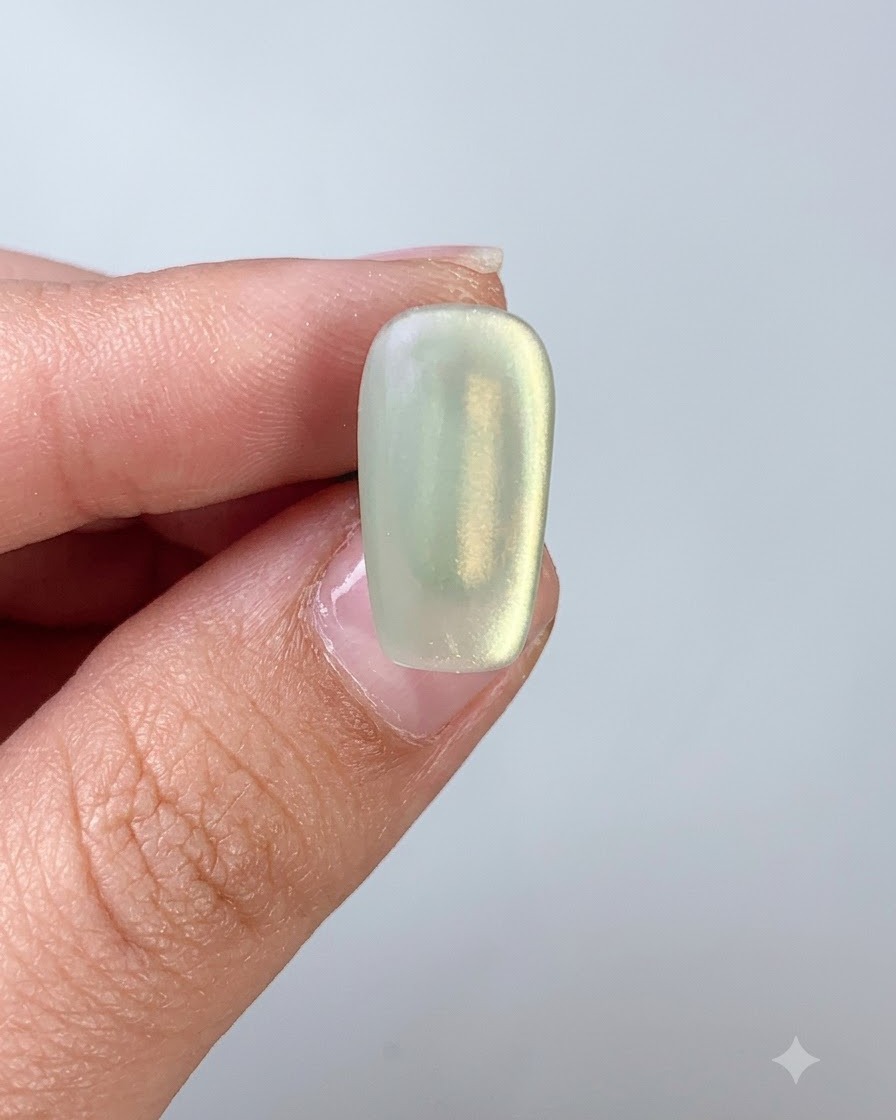
Brush a layer of isolation powder top coat evenly over the cured cat eye gel to prepare the surface for the next step.
Tip: Ensure an even application across the entire nail surface. - 16Outline the edge with texture sculpting gel
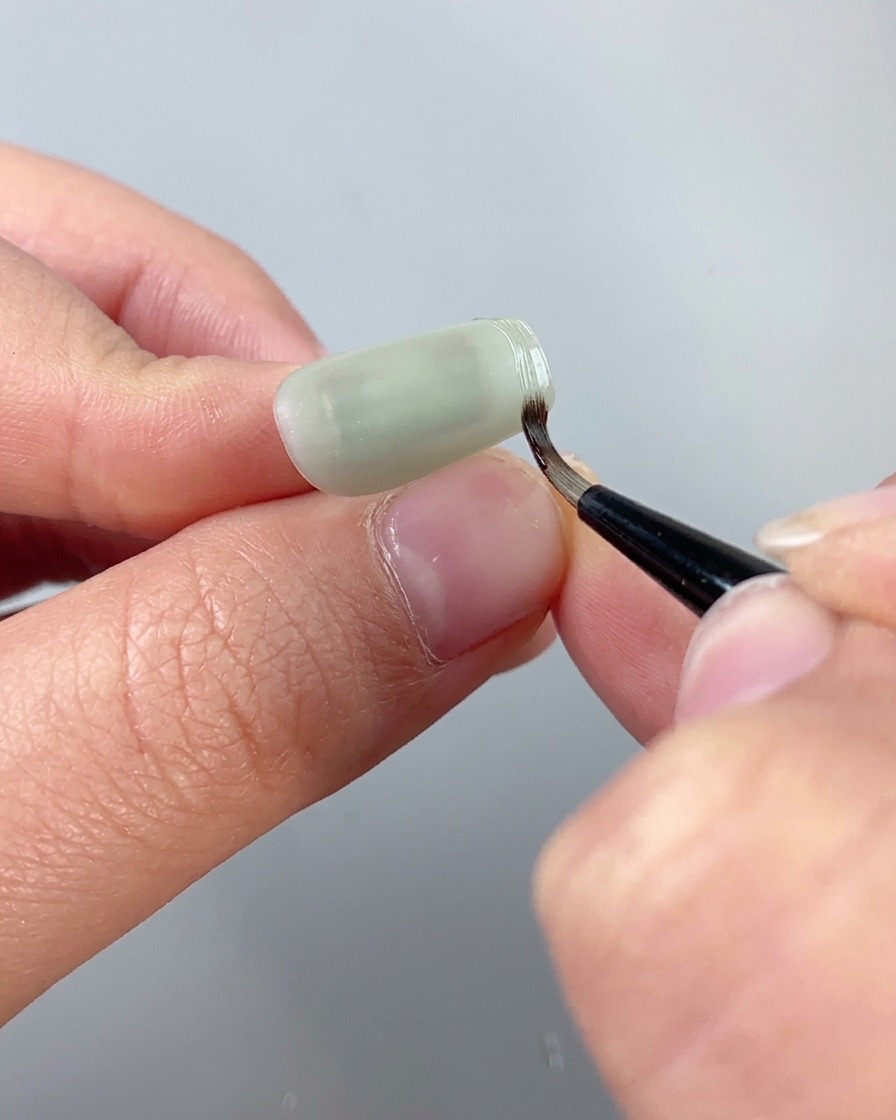
Take texture sculpting gel on a fine liner brush and carefully outline the outer edges of the second nail. This creates a raised structural border that will later hold the gold chrome powder, framing the cat eye base nicely.
Tip: Keep the line consistent and slightly raised so it catches the chrome powder effectively after curing. - 17Rub light gold chrome powder
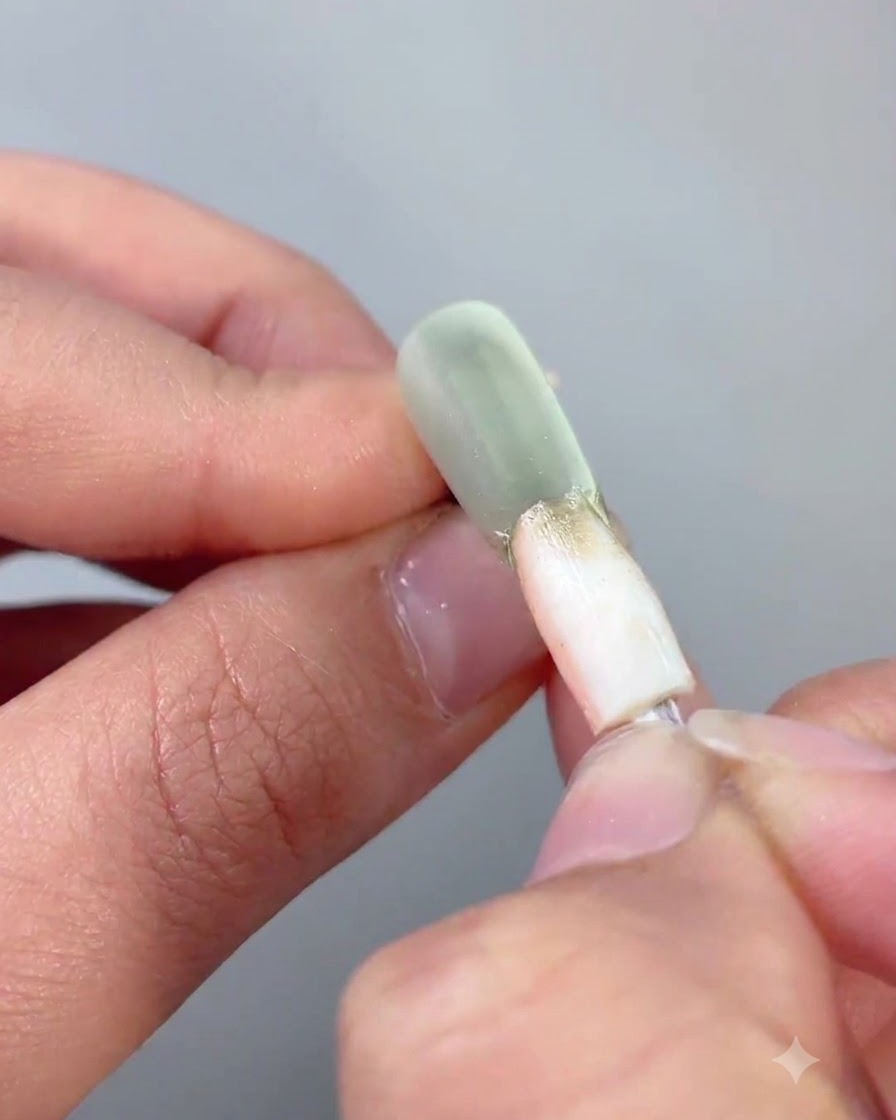
Using an applicator, gently rub light gold chrome powder directly onto the cured raised border of the second nail. The powder adheres to the tacky surface of the sculpted gel, transforming the border into a brilliant metallic gold frame.
Tip: Tap off excess powder before rubbing to keep the surrounding cat eye surface clean and free of stray glitter. - 18Seal the gold chrome edge
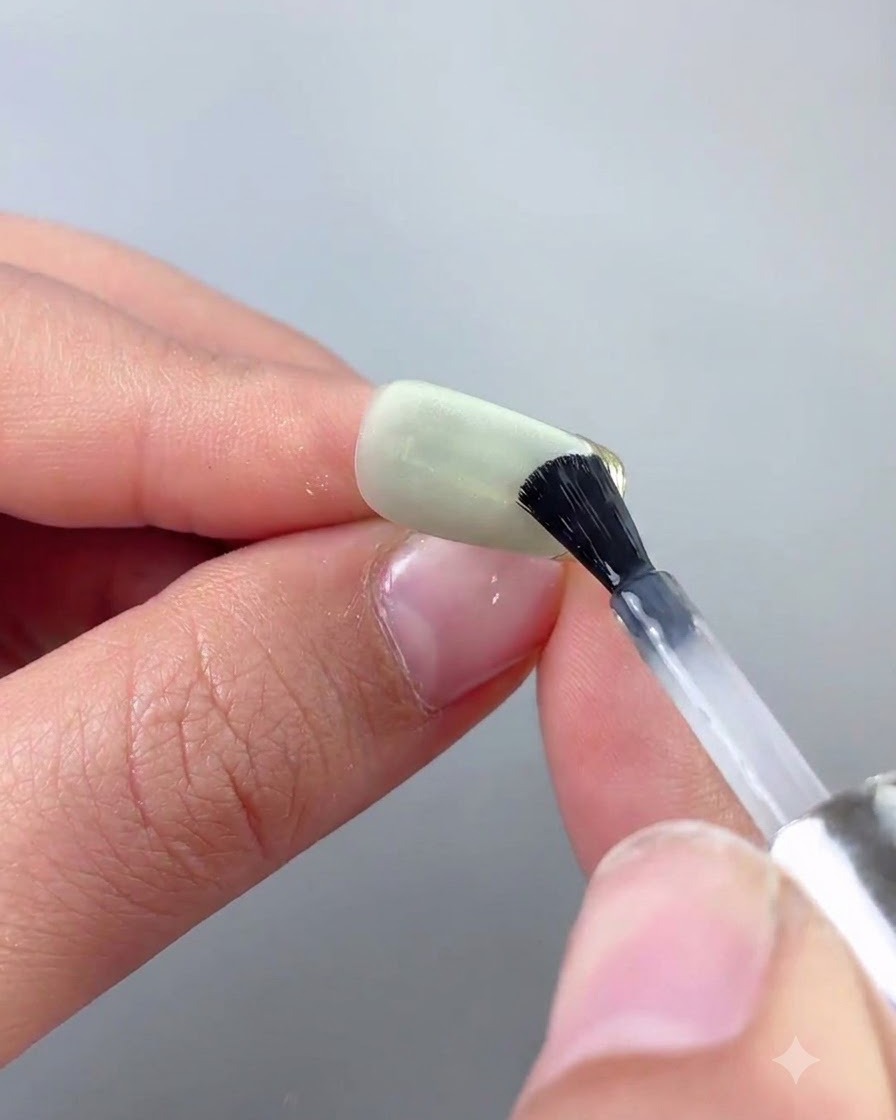
Apply a precise layer of powder patting top coat directly over the gold chrome edge to seal it in and prevent chipping. This specialized top coat locks the metallic pigment firmly in place, ensuring the border remains bright and durable before the final overall top coat application.
Tip: Be careful to only apply the powder patting top coat over the mirrored areas to maintain the intended finish separation. - 19Apply wilderness cat eye gel
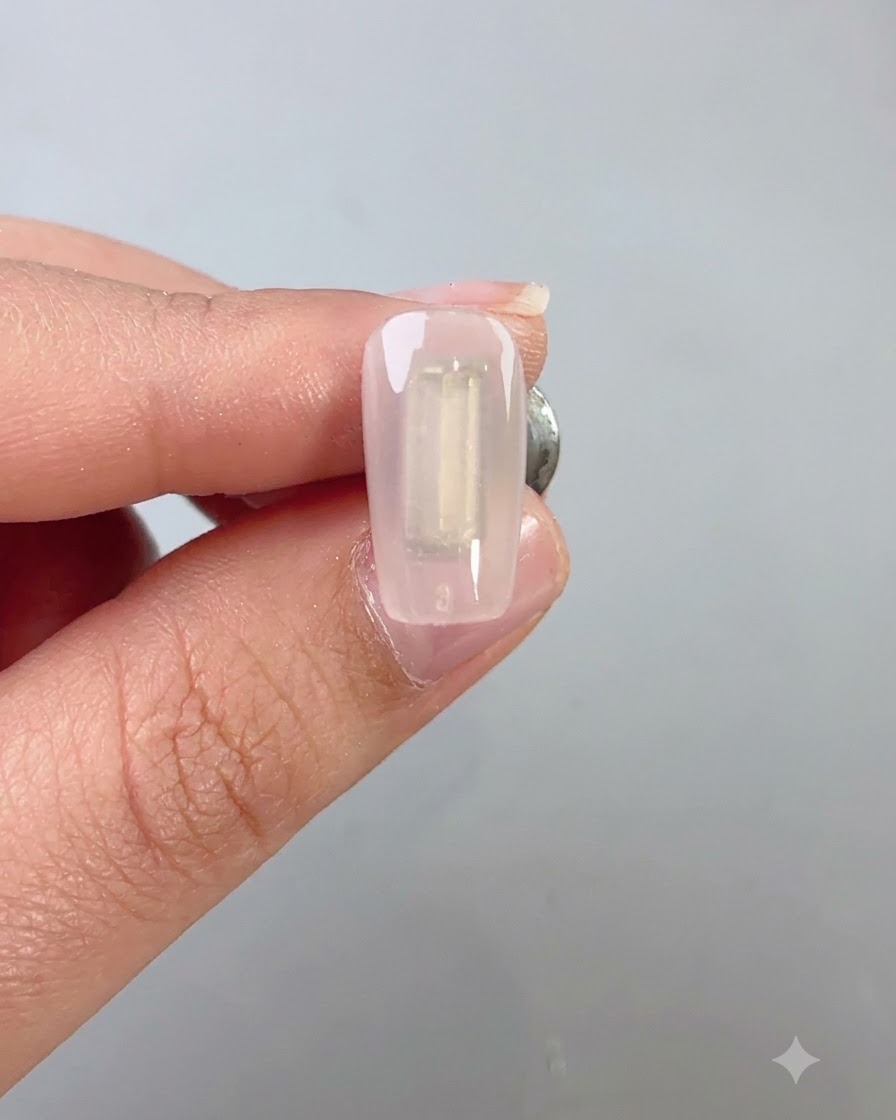
Brush a smooth, even coat of wilderness cat eye gel across the entire surface of the third nail. Ensure full and uniform coverage from the cuticle down to the free edge to provide an ideal base for the magnetic particle activation that follows.
Tip: Keep the application layer consistent in thickness to ensure the magnetic light effect disperses evenly. - 20Create a side arc light effect
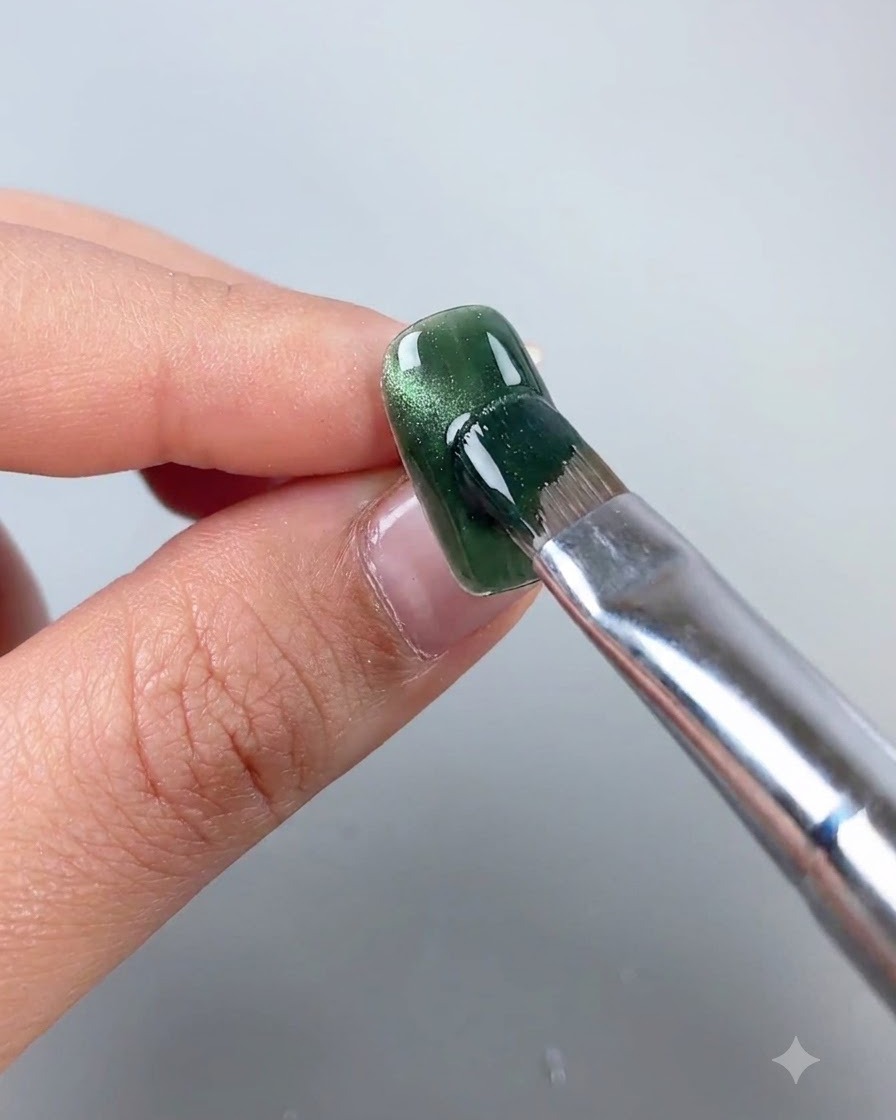
Hold a magnetic tool along the side of the uncured wilderness cat eye gel to pull the magnetic particles into a distinct side arc light. Once the desired luminous dimension and cat eye reflection are achieved, immediately cure under the lamp to set the effect.
Tip: Hold the magnet steady and close to the nail without touching the wet gel surface to keep the light streak sharp. - 21Draw diagonal cloud layer with blooming liquid
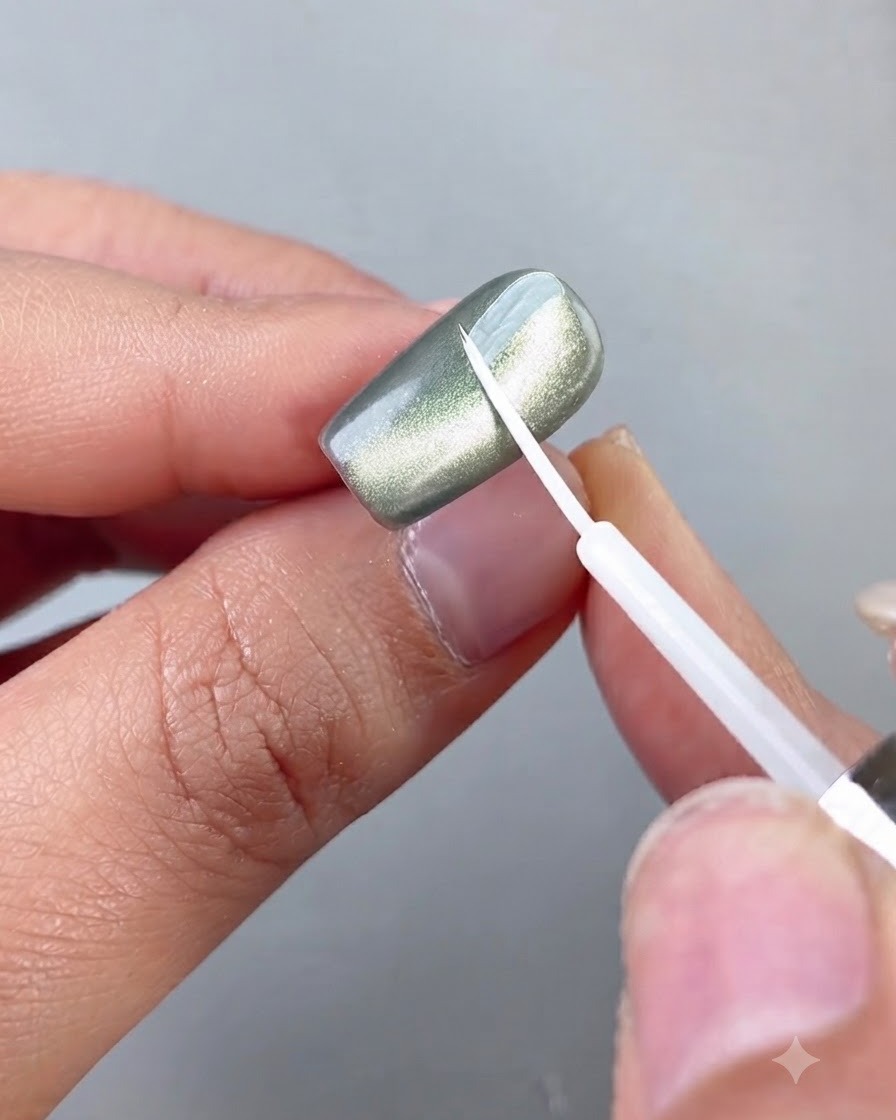
Take blooming liquid No. 2 and use its brush to draw a soft, diagonal white cloud layer effect across the cured cat eye surface. The specialized formula creates a natural gradient and organic diffusion without needing heat, drying smoothly on its own.
Tip: Shake the blooming liquid bottle well before application to ensure the pigment consistency is optimal. - 22Apply elastic base coat over design
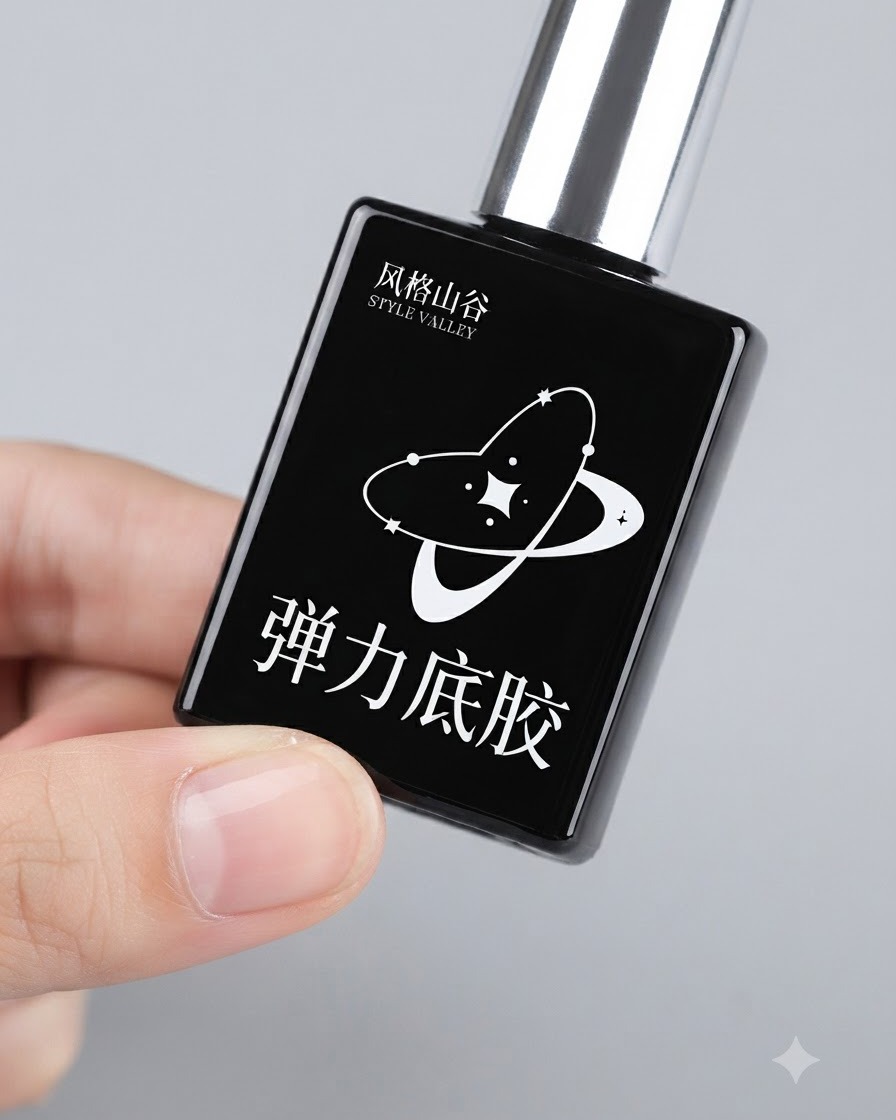
Once the blooming liquid design has air dried completely, brush a protective layer of elastic base coat evenly over the entire nail. This encapsulates the delicate cloud layer artwork, sealing it securely and providing a flexible foundation for subsequent detailing steps.
Tip: Make sure the blooming liquid is completely dry before applying any gel overcoat to prevent smudging. - 23Apply isolation powder top coat to third nail
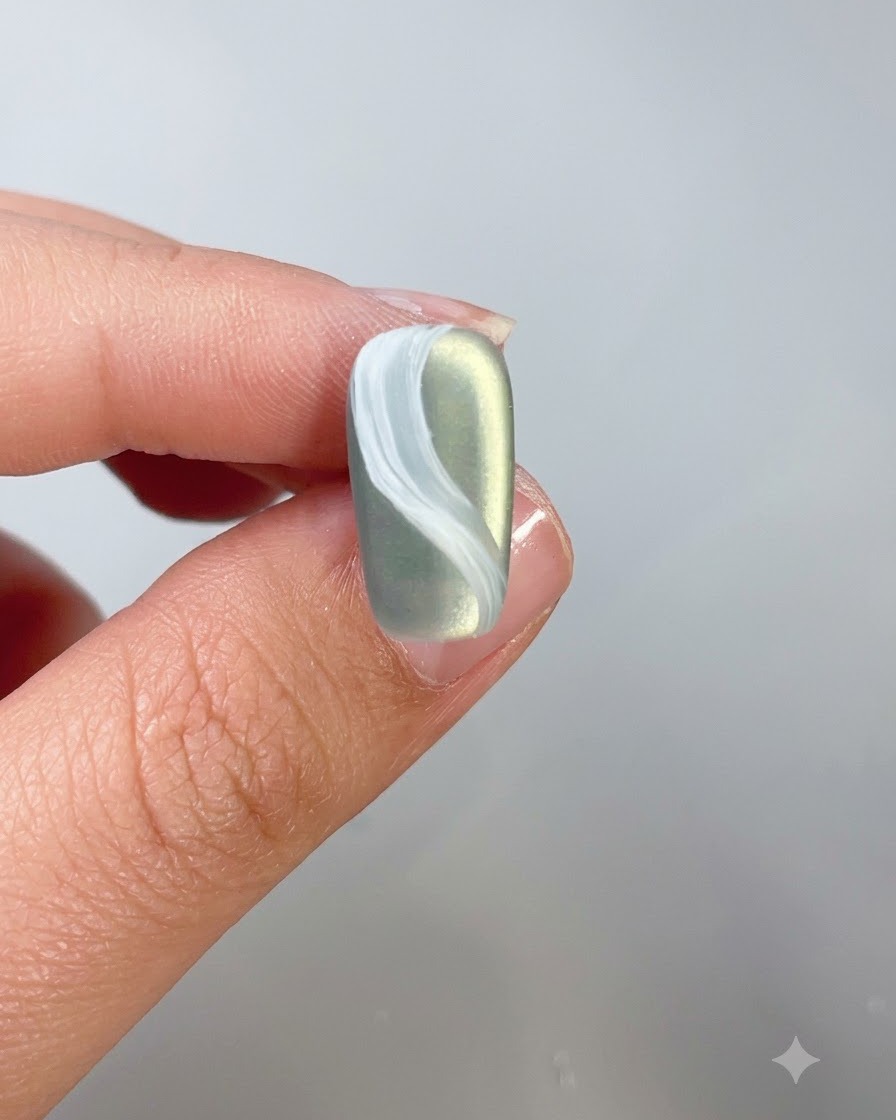
Brush a layer of isolation powder top coat on the third nail after the blooming liquid layer has been applied and wrapped with elastic base coat.
Tip: Apply smoothly to create a solid foundation for the subsequent outline. - 24Draw border outline with texture sculpting gel
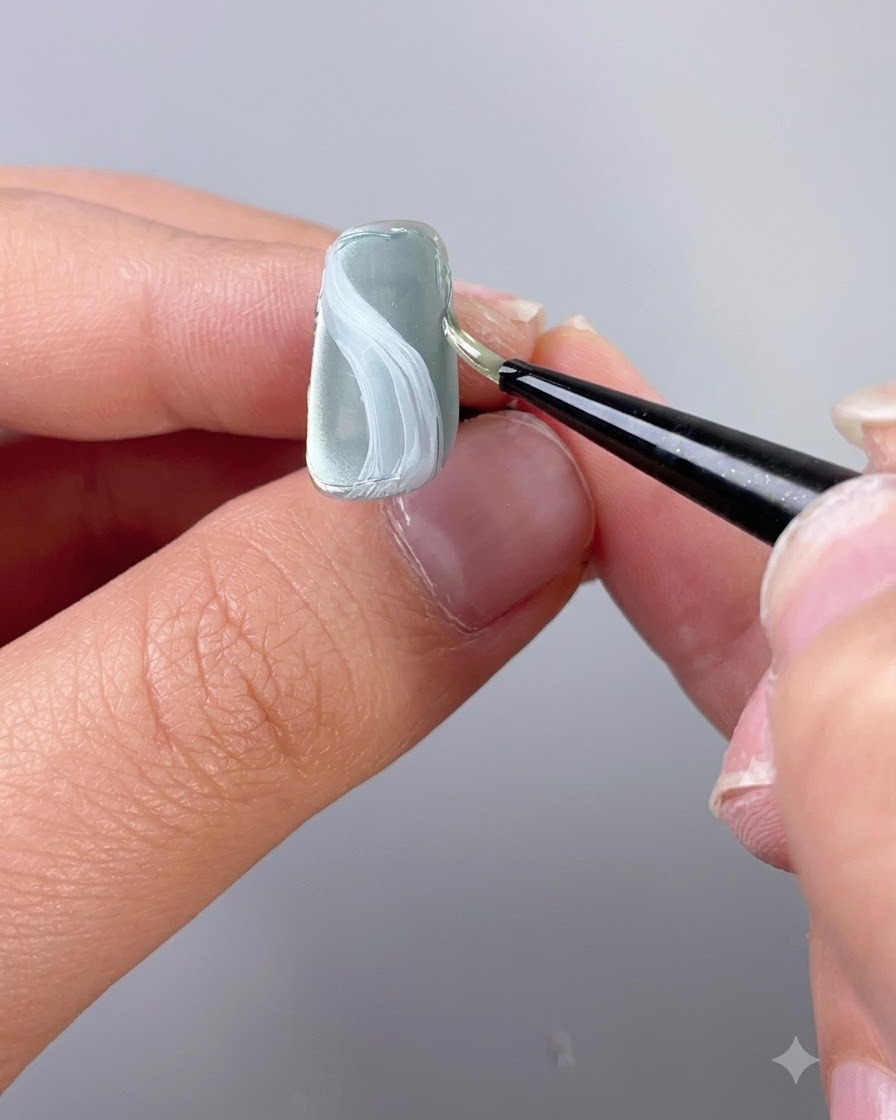
Use texture sculpting gel to carefully draw a border outline around the edge of the third nail.
Tip: Keep your hand steady to create a clean and precise edge outline. - 25Rub light gold powder and seal with top coat
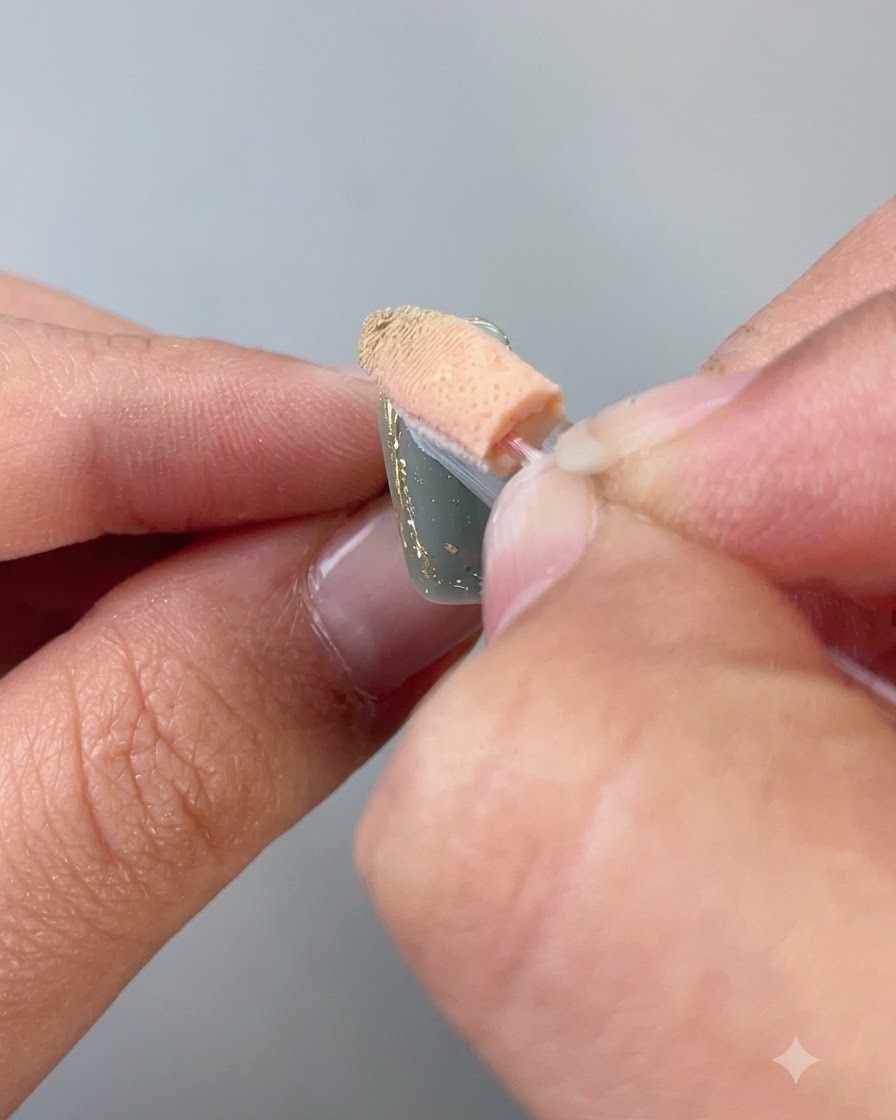
Rub light gold powder onto the cured outline, brush off the excess floating powder, wrap the powder with powder patting top coat, and then apply top coat to finish.
Tip: Apply the powder gently and ensure all floating residue is brushed away before sealing.