Layered White Floral
Gold Foil Gel Nails — Elegant Step-by-Step Tutorial
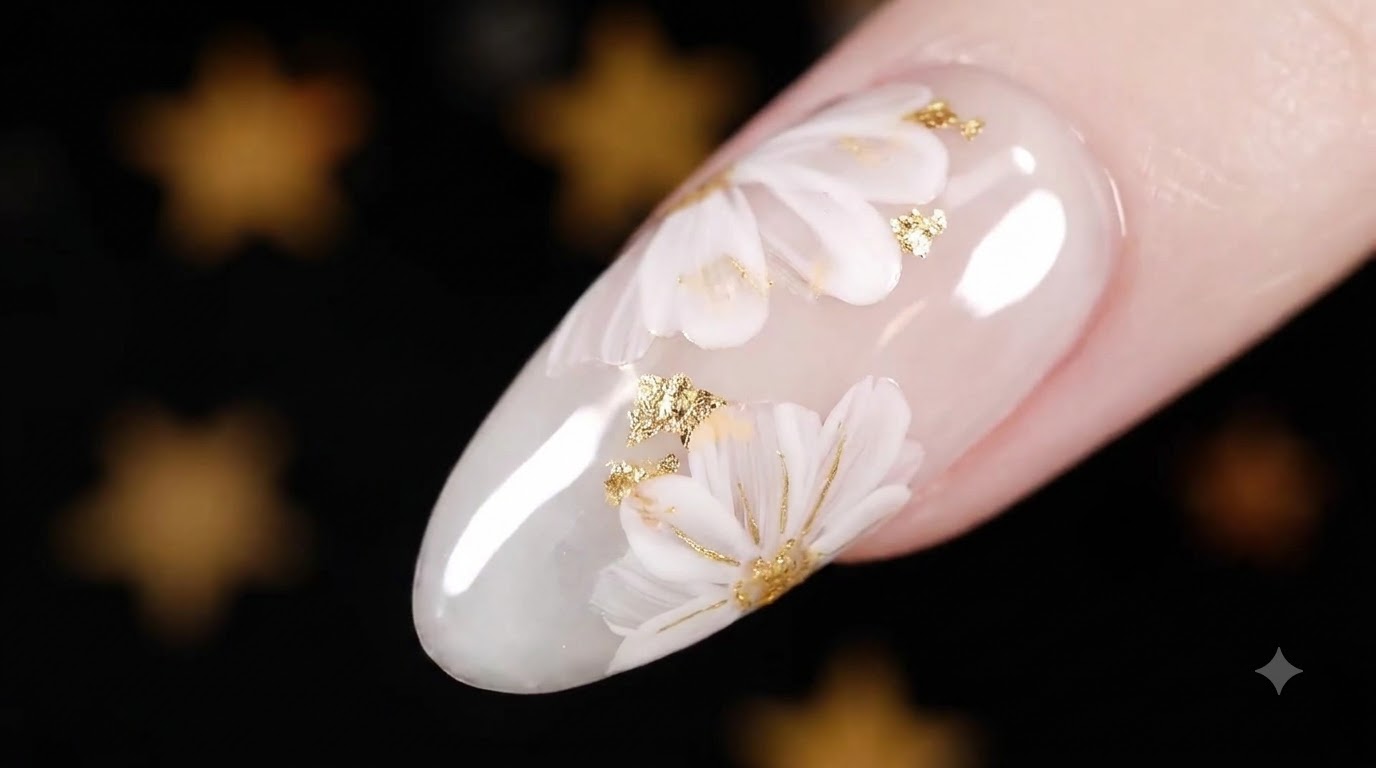
Create stunning, multi-dimensional white floral nail art accented with sparkling gold foil flakes over a milky white translucent base.
Encapsulated florals and delicate gold leaf details bring a sophisticated, high-end salon aesthetic right to your home manicure routine. By layering hand-painted white petals and embedding metallic foil, this design achieves remarkable depth and elegance on almond-shaped nails.
Steps
- 1Apply clear base gel
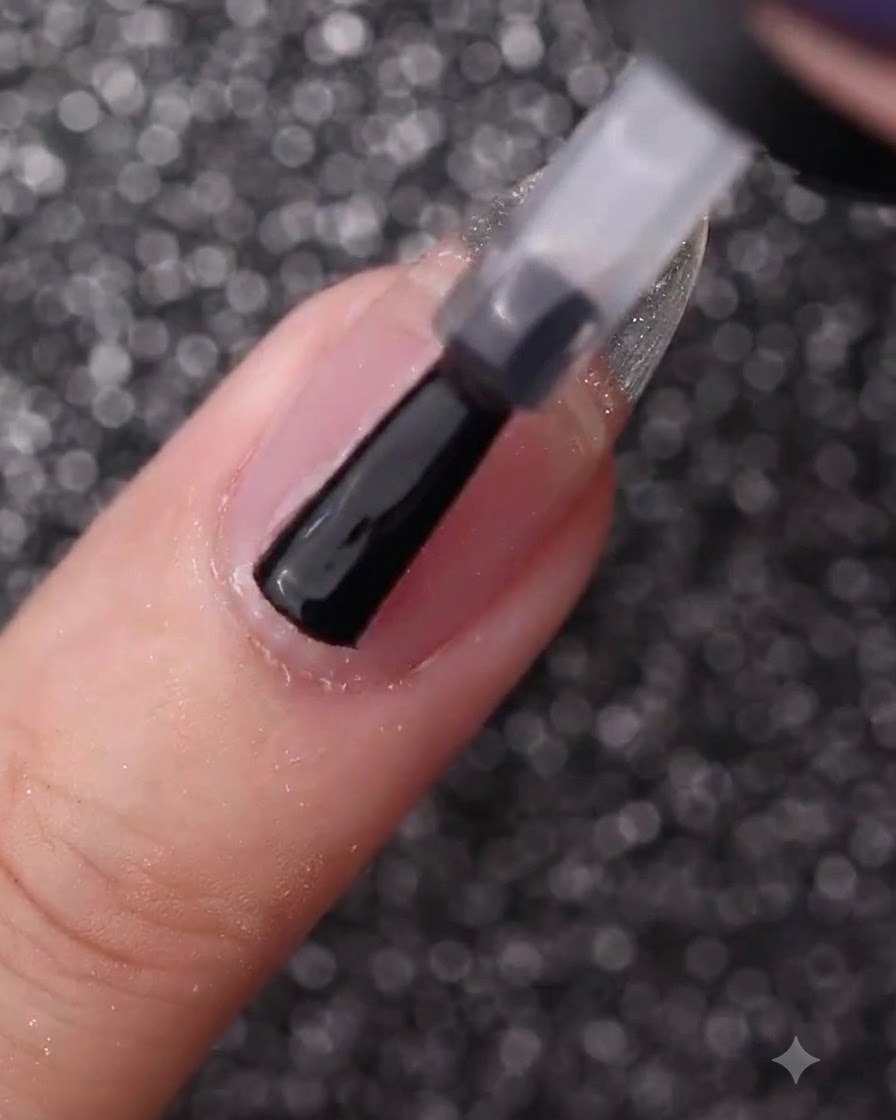
Apply a thin, uniform layer of clear base gel across the entire bare nail plate, working from the cuticle down to the free edge. Ensure full coverage without touching the surrounding skin or cuticles to prevent lifting, then cure under the nail lamp for 30 seconds.
Tip: Cap the free edge of the nail with the base gel brush to create a strong seal and extend manicure wear. - 2Apply milky white base layer
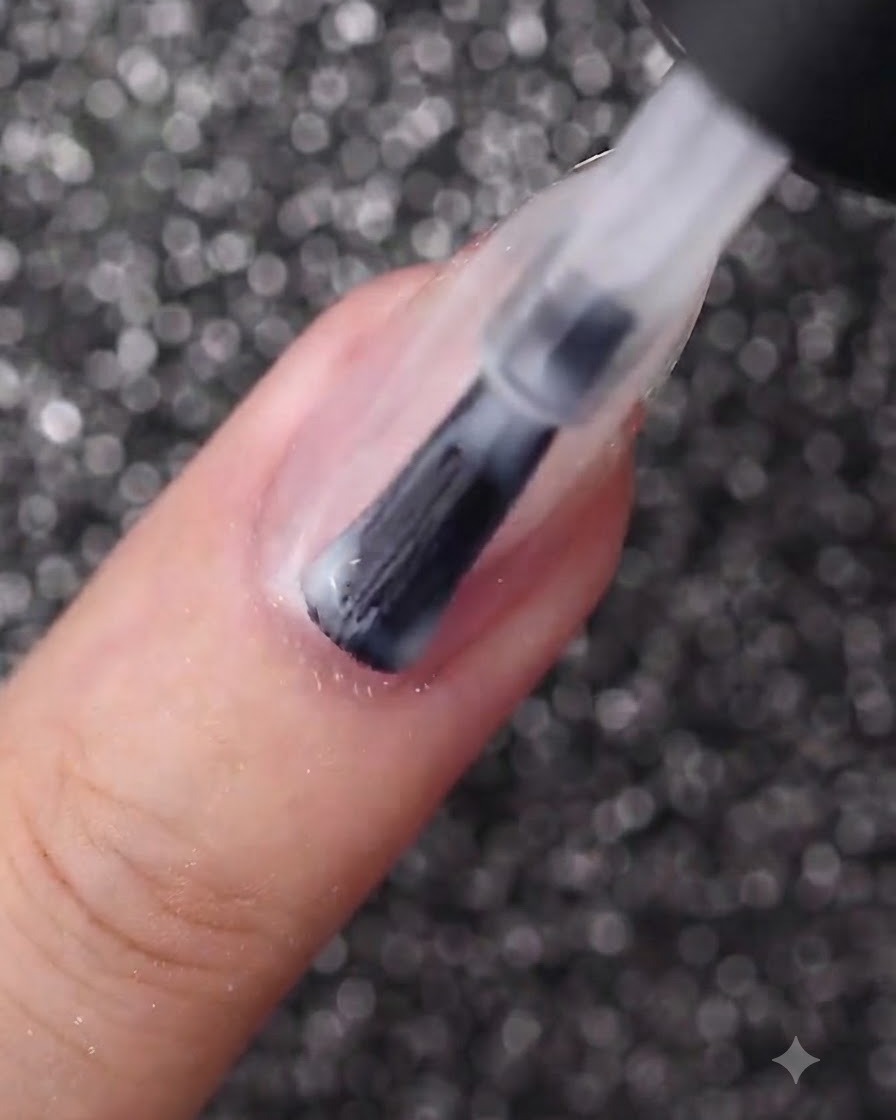
Apply a uniform layer of milky white gel polish over your cured base coat, ensuring smooth and even coverage to create a soft, translucent background for your design. Cure under your UV or LED lamp for the recommended time.
Tip: Keep this layer thin and even to maintain a delicate, translucent look without streaking. - 3Place gold foil flakes
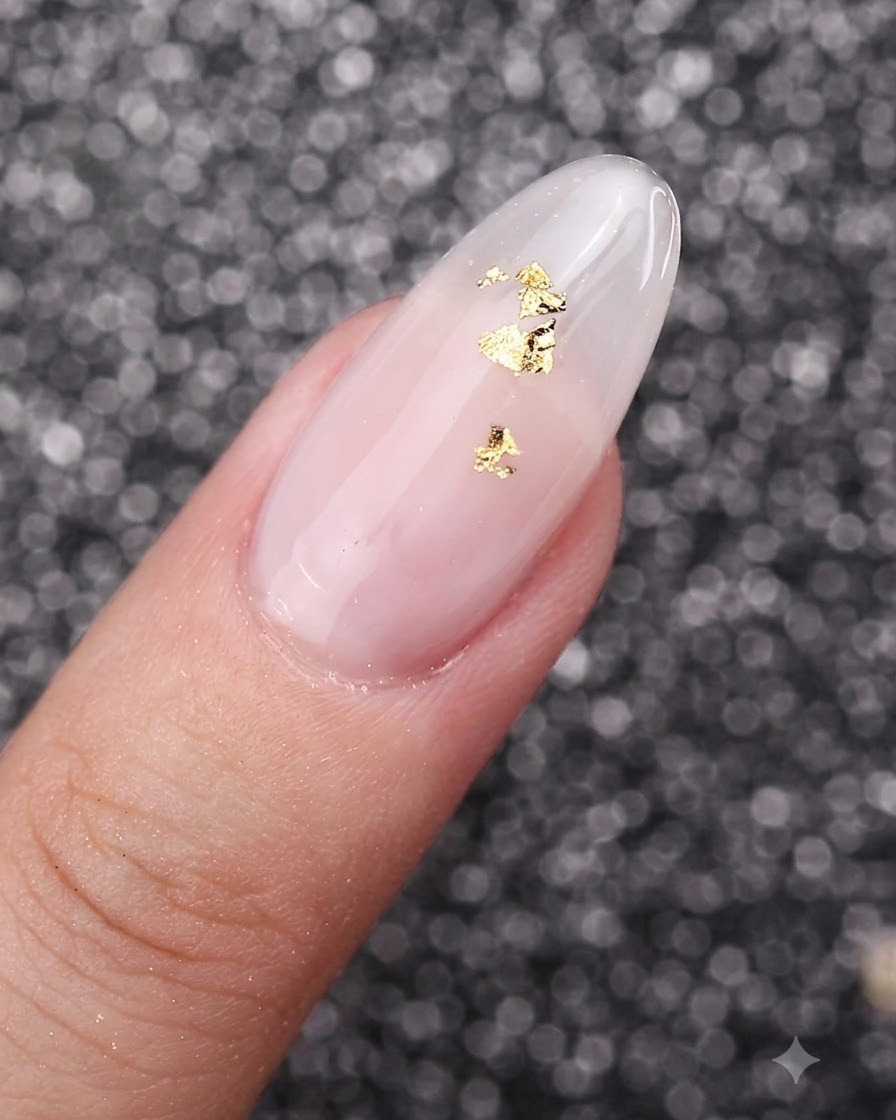
Using a fine detailing tool or tweezers, carefully pick up small, torn flakes of gold foil and place them onto the tacky inhibition layer of the cured milky white gel polish.
Tip: Position the foil flakes where you plan to place your floral clusters so they accent the centers nicely. - 4Press foil flat
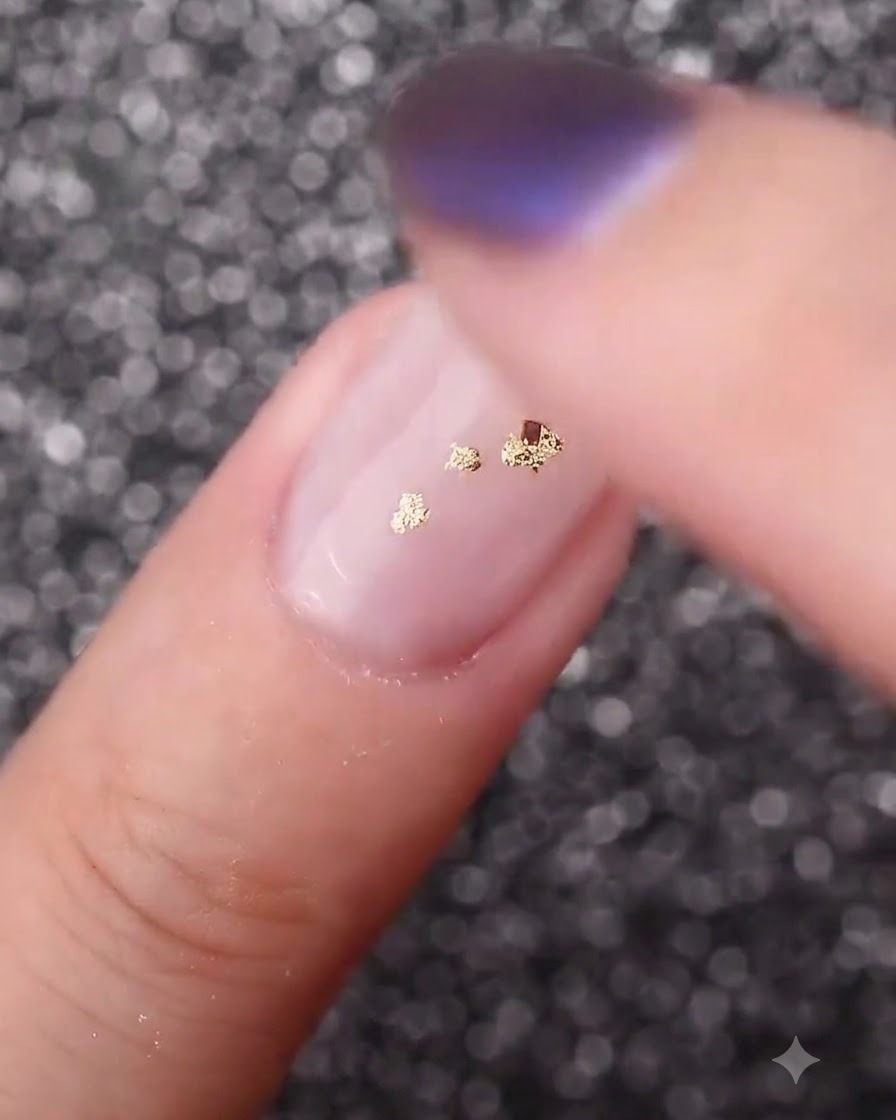
Gently press the gold foil flakes completely flat against the curve of the nail using a clean fingertip or a silicone tool to eliminate any lifted edges or wrinkles.
Tip: Ensuring the foil is completely flat prevents it from catching or disrupting the smoothness of subsequent gel layers. - 5Seal with clear gel
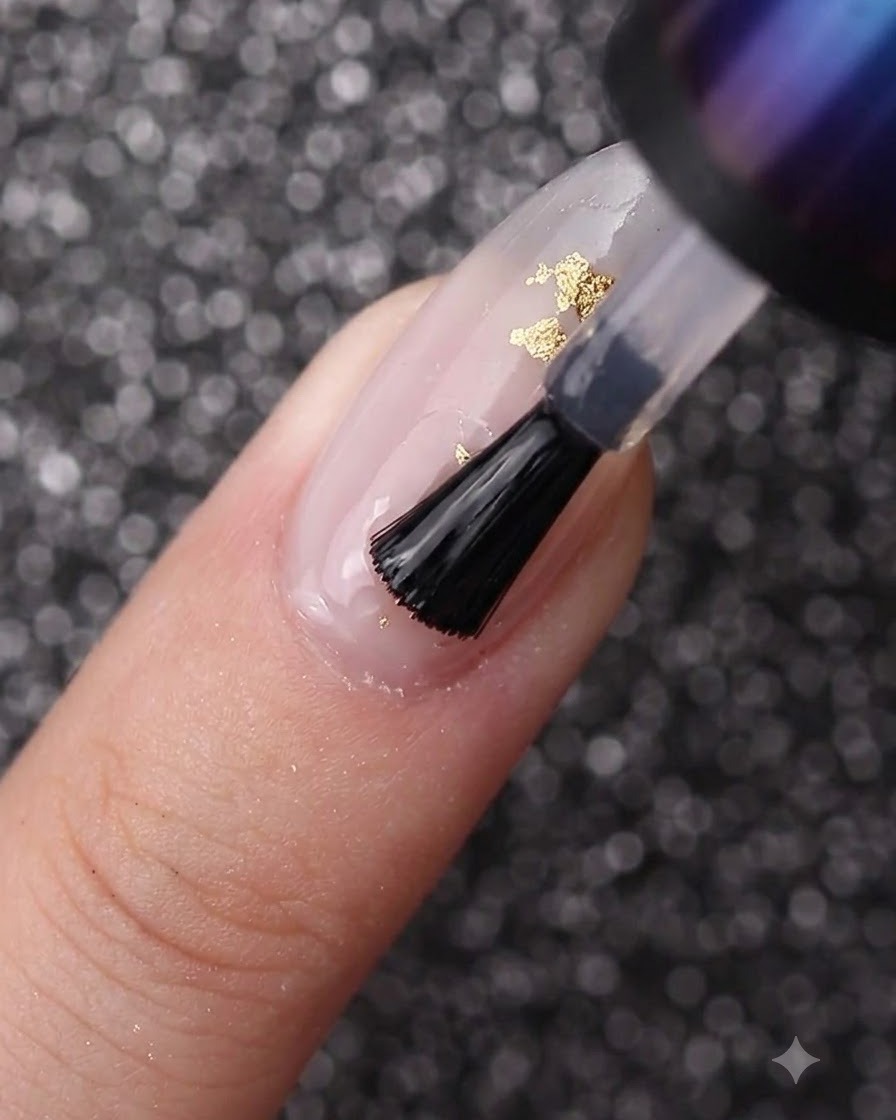
Apply a smooth layer of clear, no-wipe gel over the milky white base and embedded gold foil, sealing everything in securely before you begin your nail art painting.
Tip: Sealing the foil prevents it from tearing or shifting when you paint the flower petals over it. - 6Paint the first petal layer
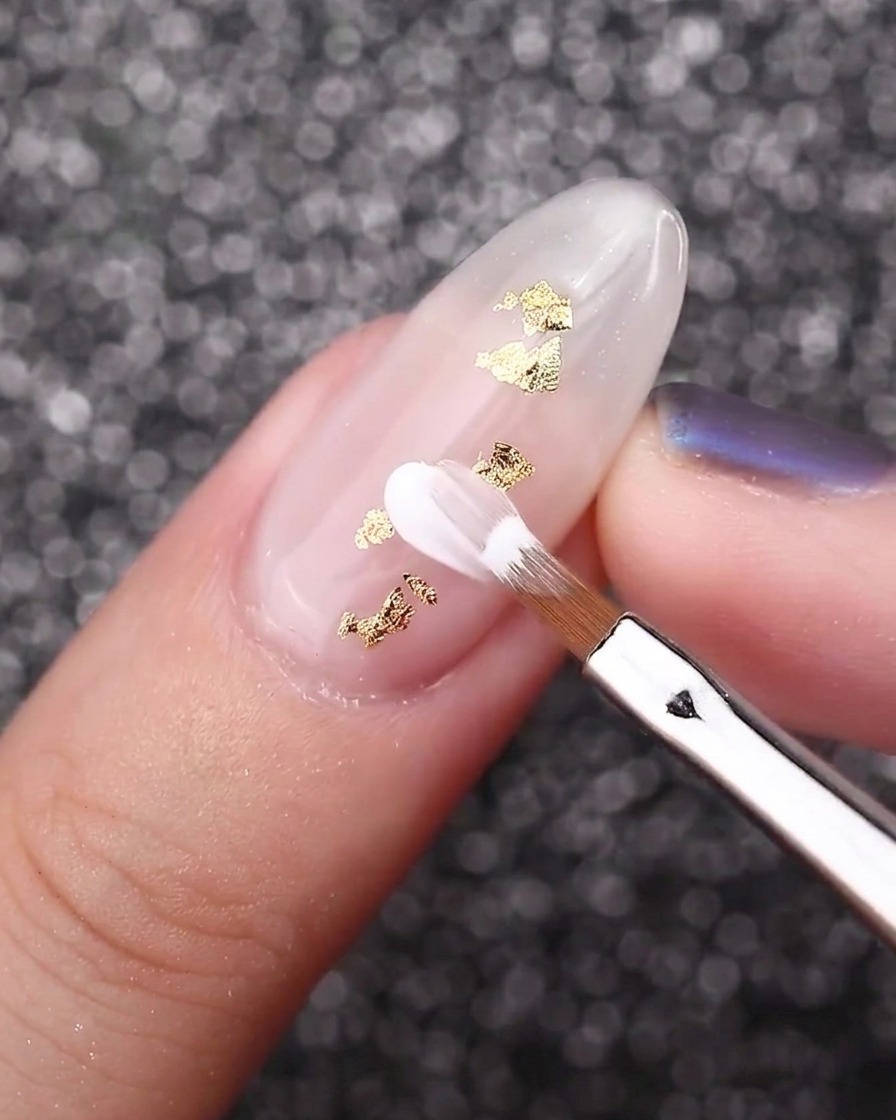
Load an angled petal brush with opaque white gel polish. Position the brush near the center of the design and apply firm pressure to flatten the bristles, then taper off pressure as you lift the brush outward to form smooth, realistic flower petals.
Tip: Clean your petal brush periodically on a lint-free wipe to keep petal edges sharp and defined. - 7Paint second petal layer
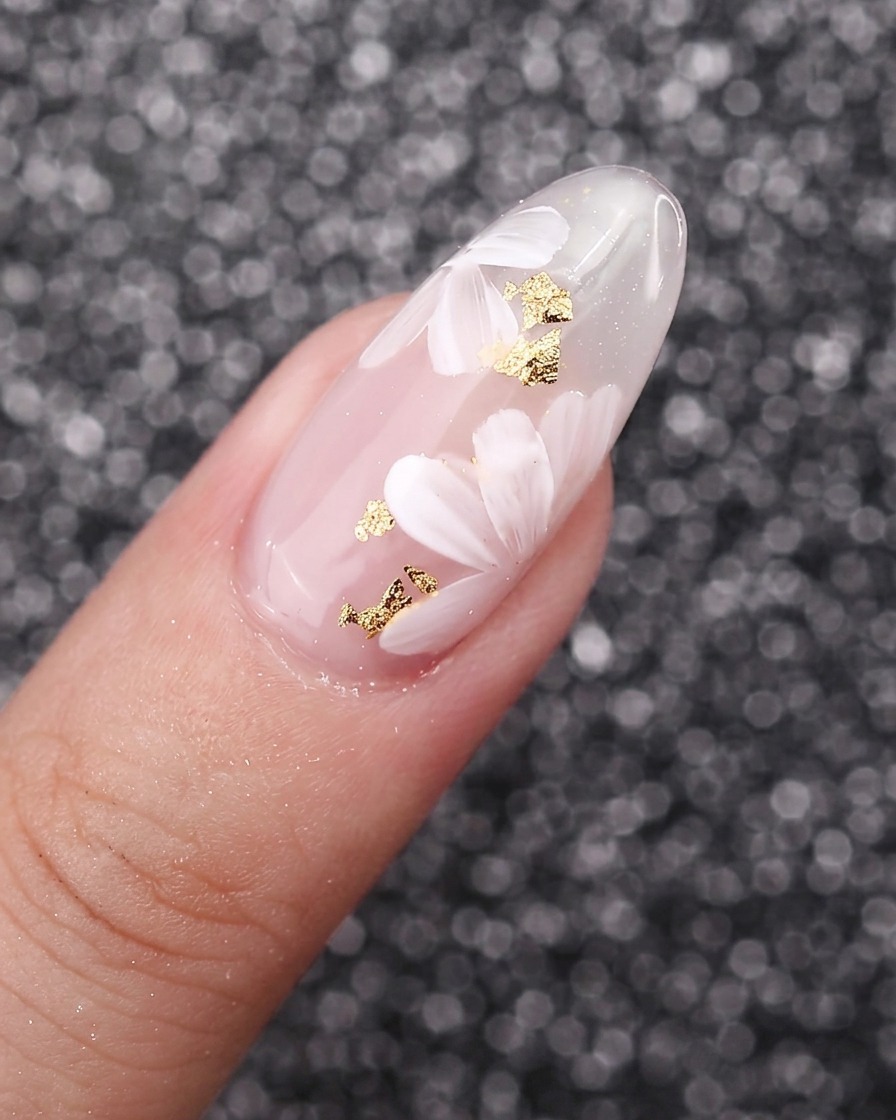
Paint a second layer of smaller white petals overlapping the first layer using a dedicated petal brush, building up rich dimension and depth for your floral design. Cure when finished.
Tip: Varying the opacity and overlap of the petals creates a realistic, multi-dimensional floral effect. - 8Draw flower stamens
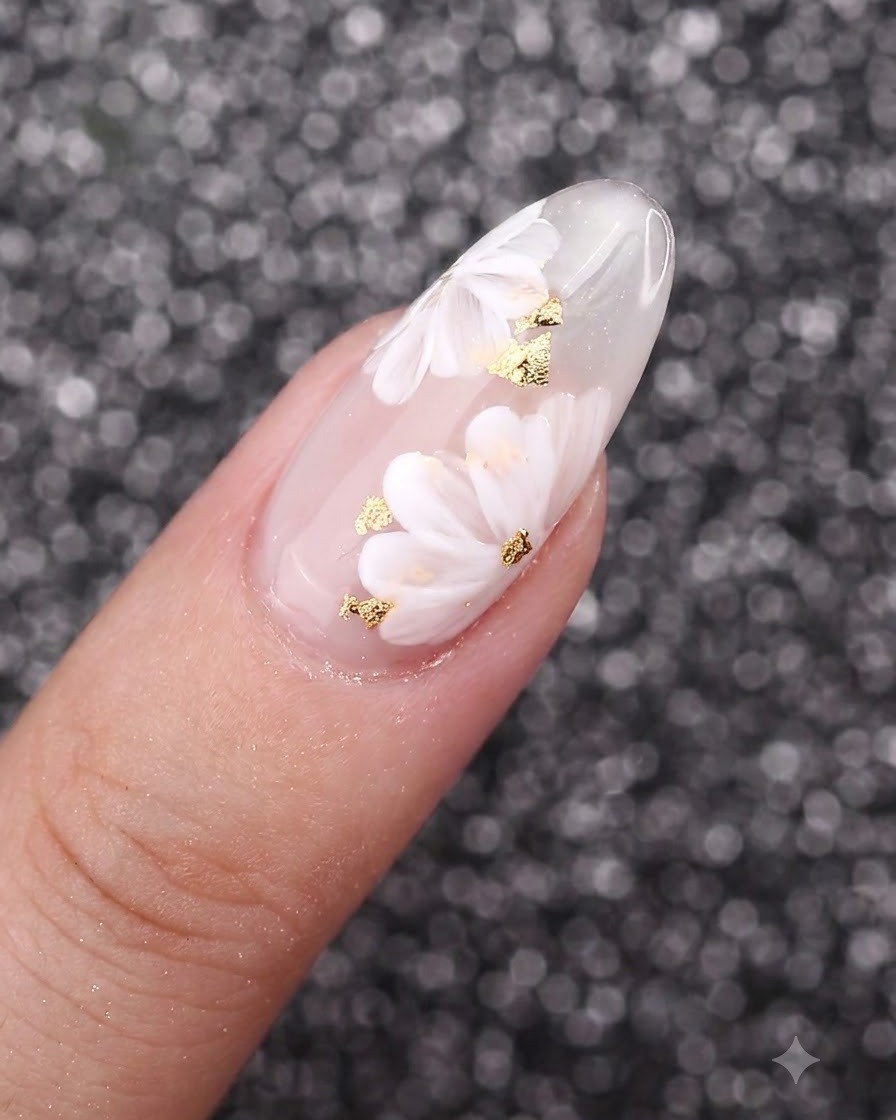
Switch to a fine liner brush loaded with metallic gold gel, and draw thin, delicate stamen lines radiating outwards from the center of each white flower. Cure under the lamp to set.
Tip: Use a light touch with the liner brush to keep the stamen lines ultra-fine and detailed. - 9Apply glossy top coat
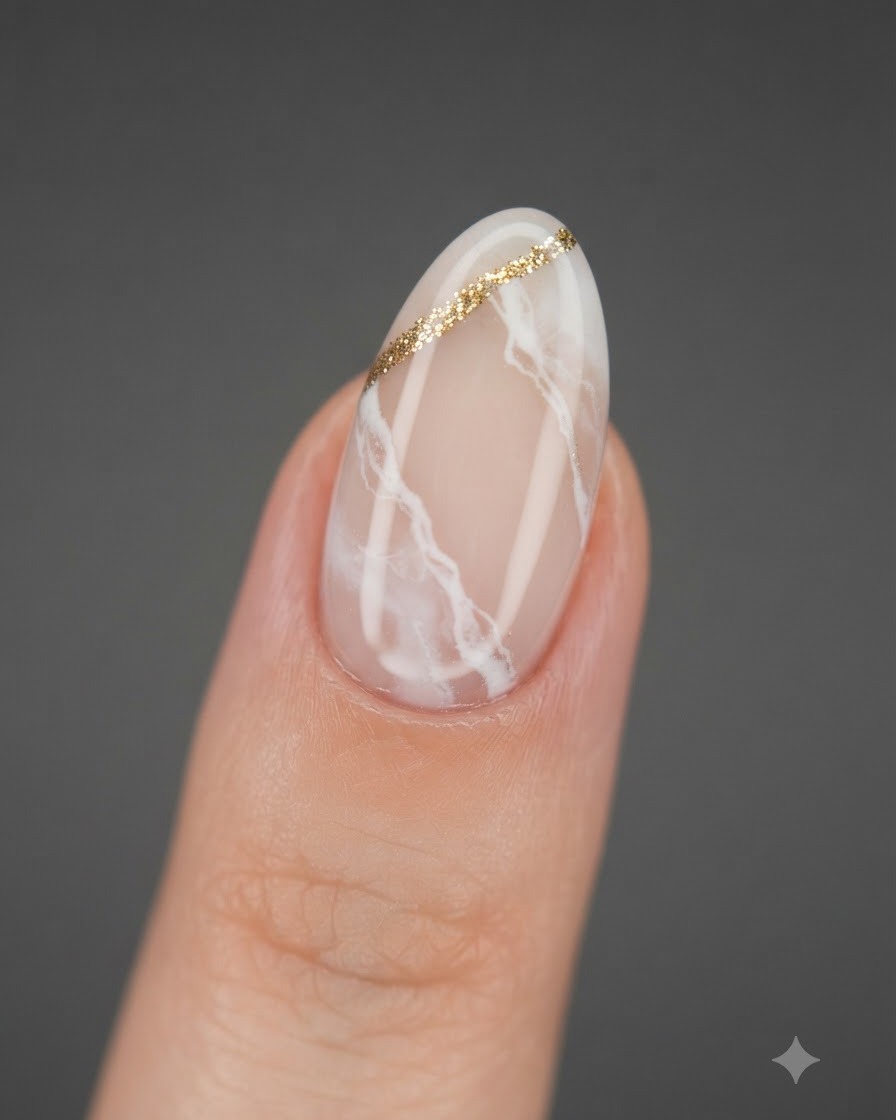
Apply a generous final layer of glossy top coat over the entire nail, ensuring the entire floral design and gold foil accents are completely covered and sealed. Carefully cap the free edge to prevent chipping, then cure under your UV or LED lamp for 60 seconds to lock in the shine and create a smooth, glass-like finish.
Tip: Make sure the top coat covers all edges of the encapsulated gold foil so it doesnt catch or lift over time.