Cherry Blossom Nail Art
Gold Accents and Pearls — Step-by-Step Tutorial
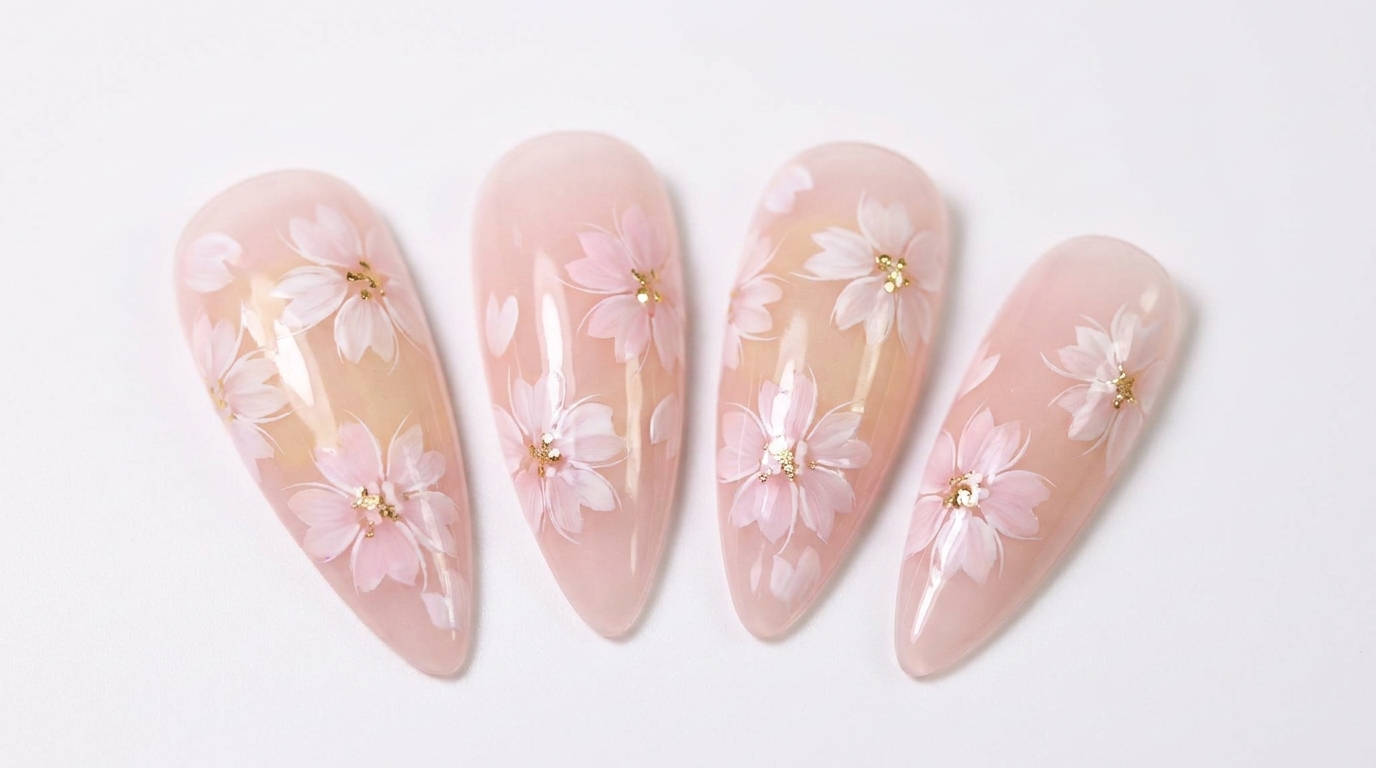
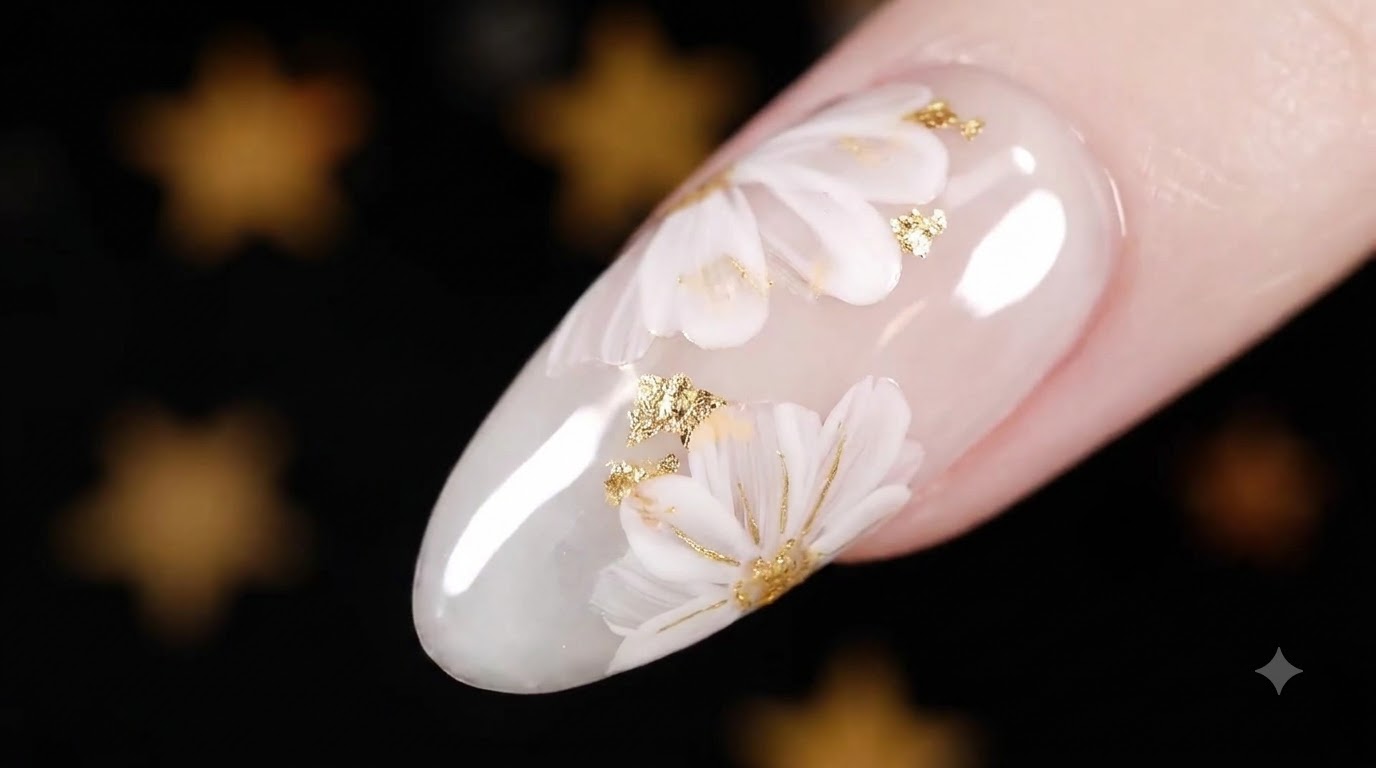
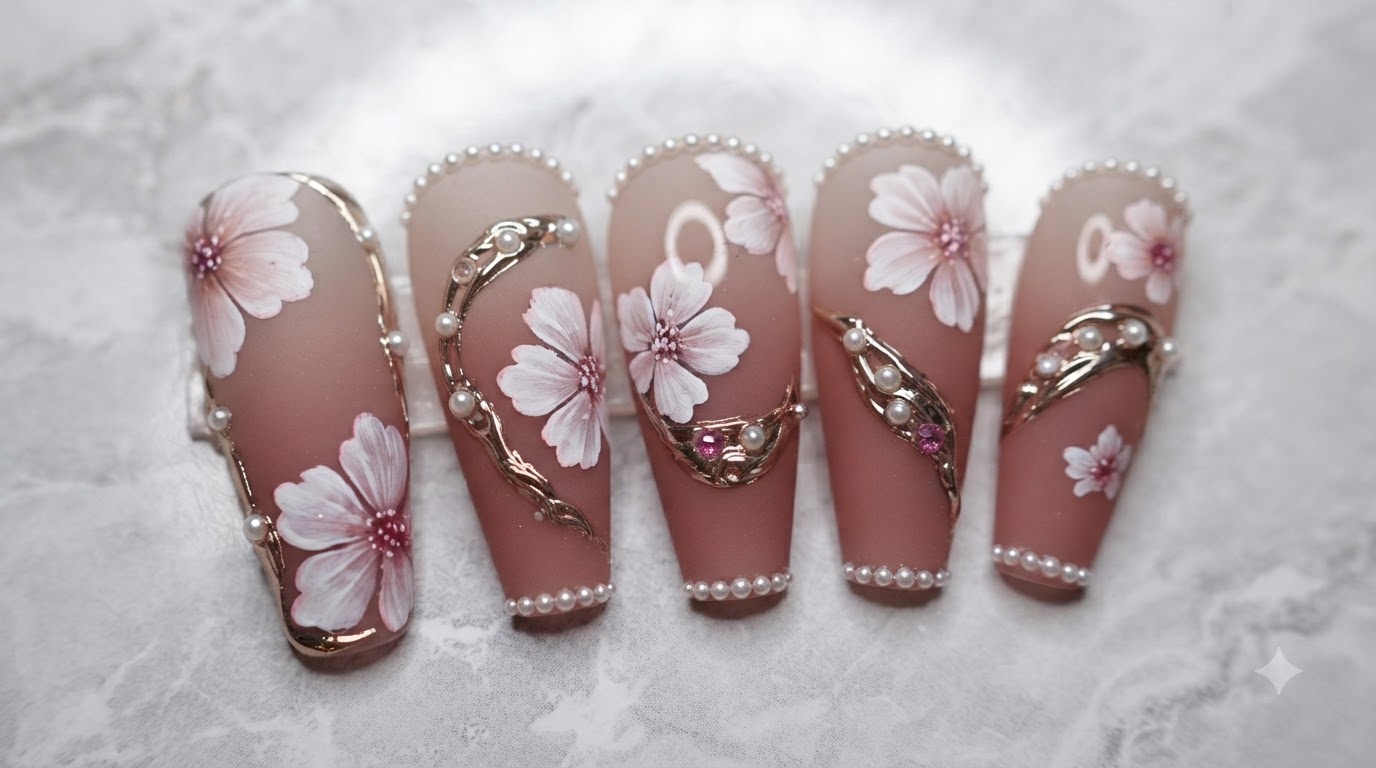
Create stunning matte pink cherry blossom nails featuring hand-painted floral details, sculpted metallic gold chrome accents, and delicate white pearls.
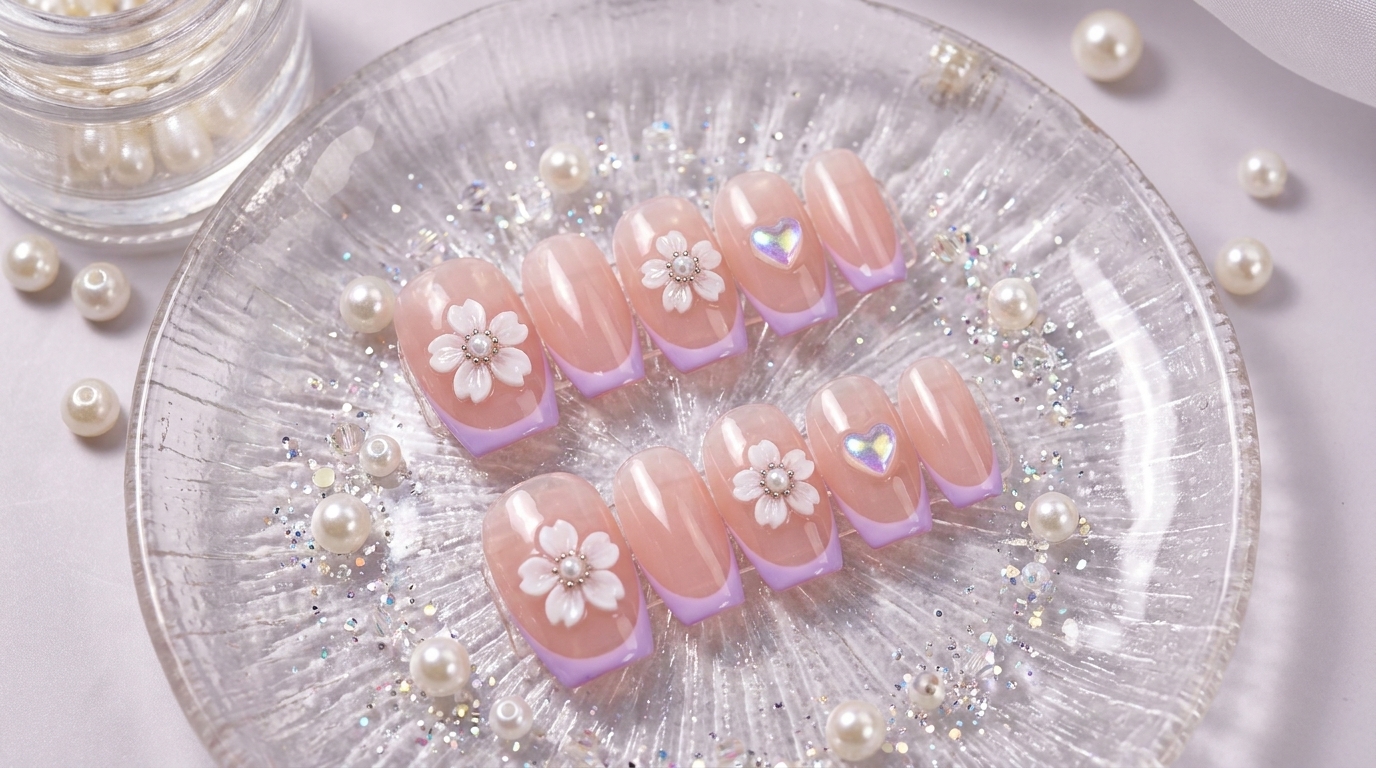
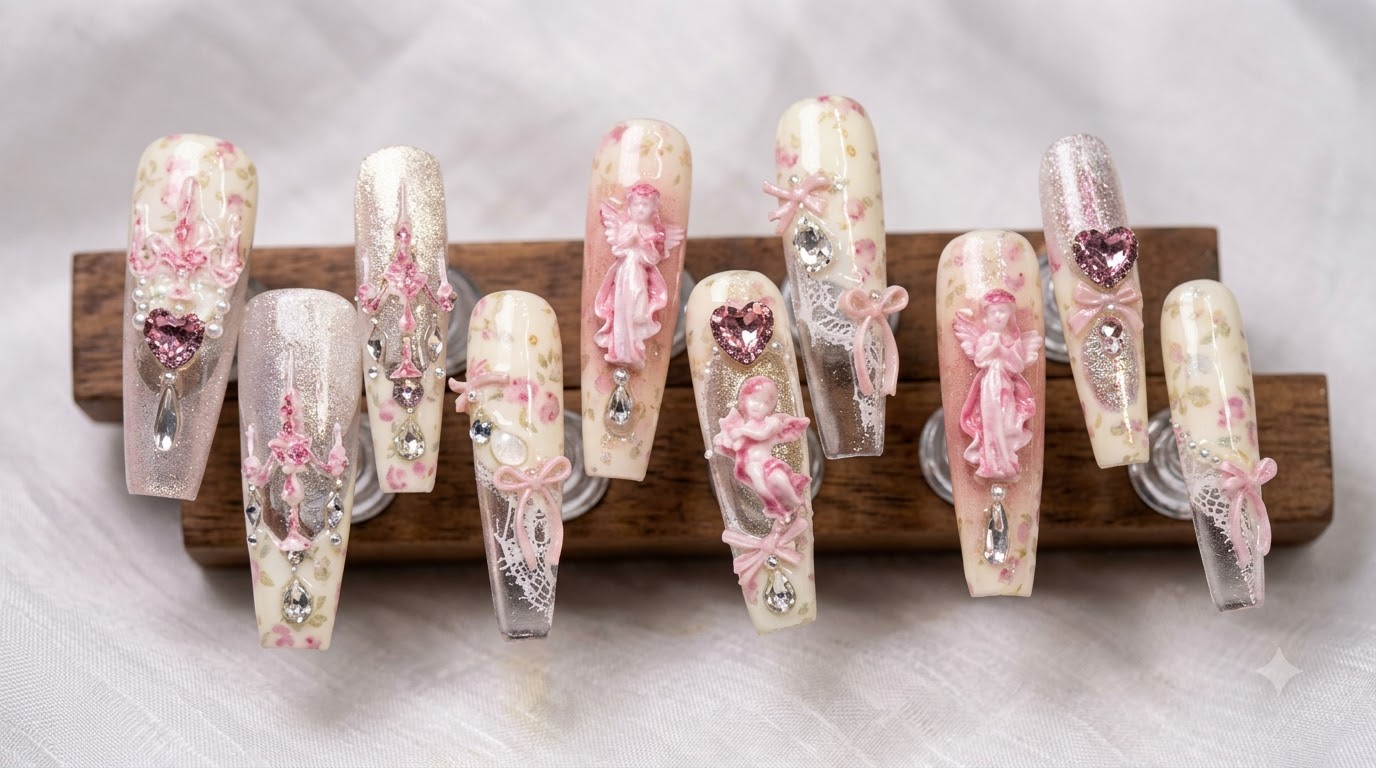
Floral nail designs are a timeless classic, but adding sculptural elements elevates the look into high-fashion territory. This tutorial combines delicate hand-painted cherry blossoms on a soft matte pink gradient base with luxurious metallic gold chrome swirls and dainty pearl embellishments for a truly exquisite finish.
Steps
- 1Apply milky pink base color
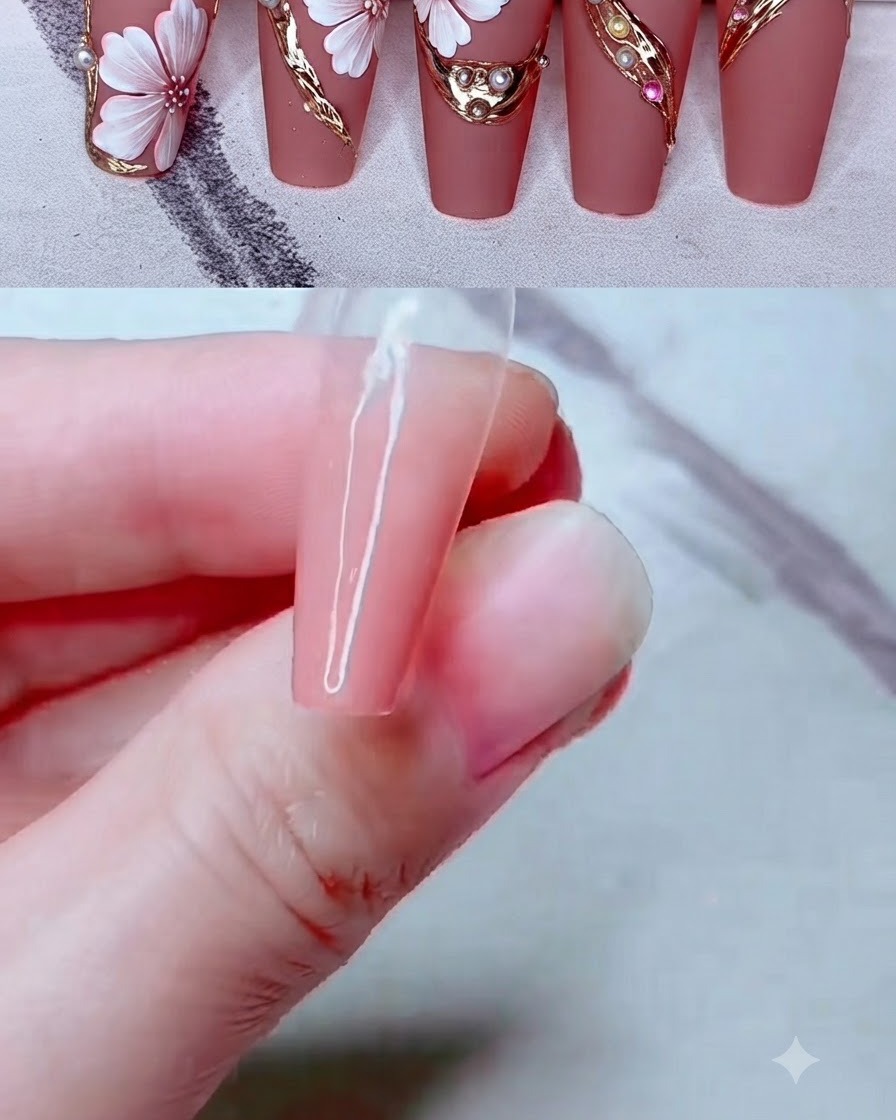
Apply a coat of milky semi-transparent pink gel color over the cured base layer to create a soft, smooth gradient foundation for your nail art.
Tip: Apply the color evenly across the nail surface to ensure a consistent, flawless gradient foundation. - 2Draw petal guidelines
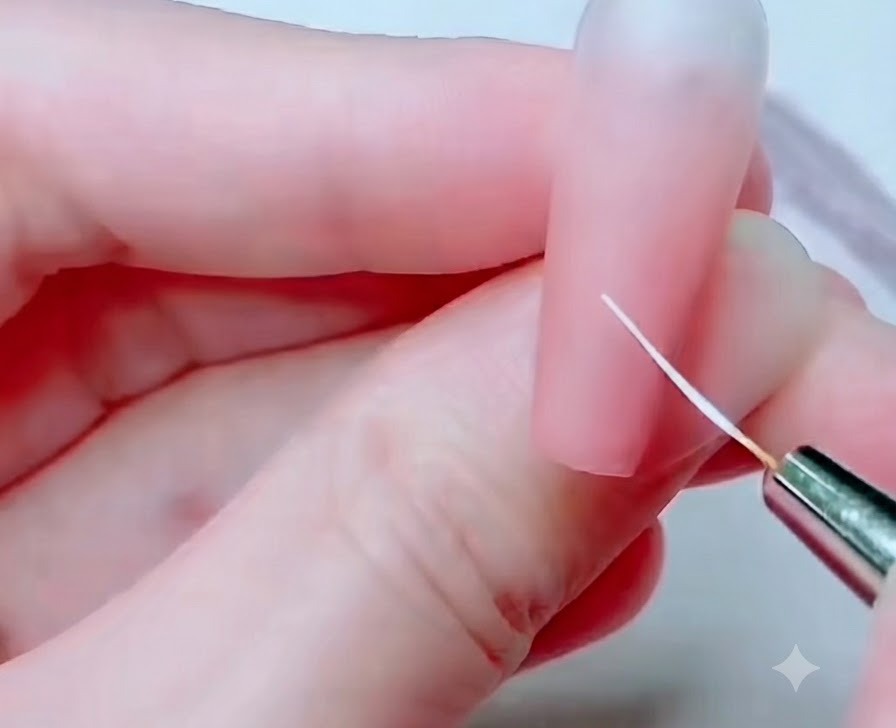
Using a fine liner brush and white gel polish, carefully map out the cherry blossom petals on the nail. Draw the center lines first to establish the placement and size of each flower, ensuring they are evenly spaced on the pink base.
Tip: Keep your hand steady and use only the very tip of the liner brush to create ultra-thin, precise lines without smudging. - 3Fill in the petals
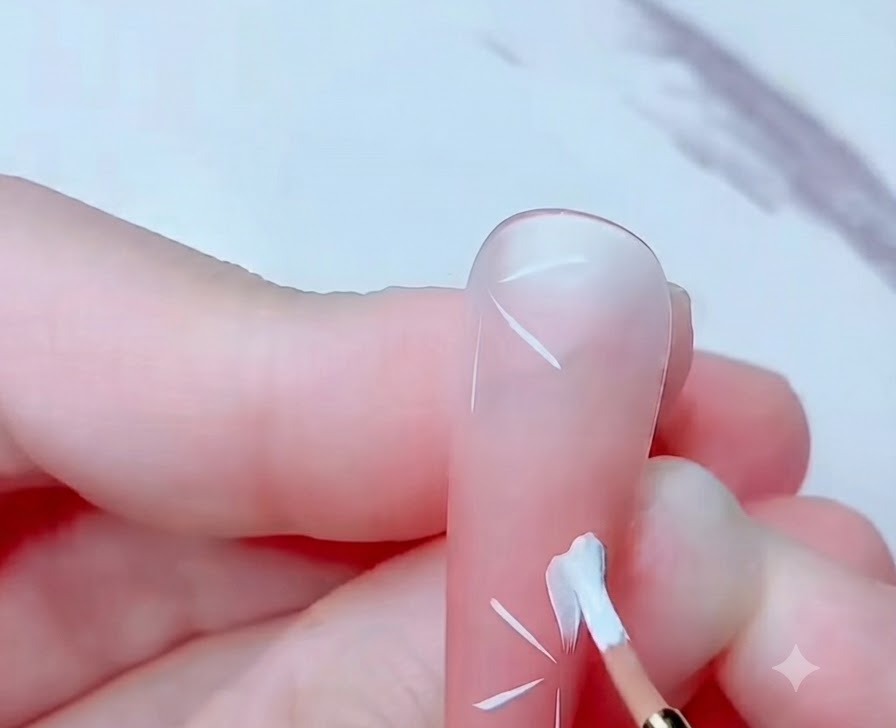
Switch to a slightly thicker detailing brush to fill in the white petals of the cherry blossoms. Apply the white gel polish gently, following the guidelines you created to form smooth, rounded petal shapes.
Tip: Apply the gel in thin, even layers to prevent it from pooling or looking bulky around the edges. - 4Add smaller flower buds
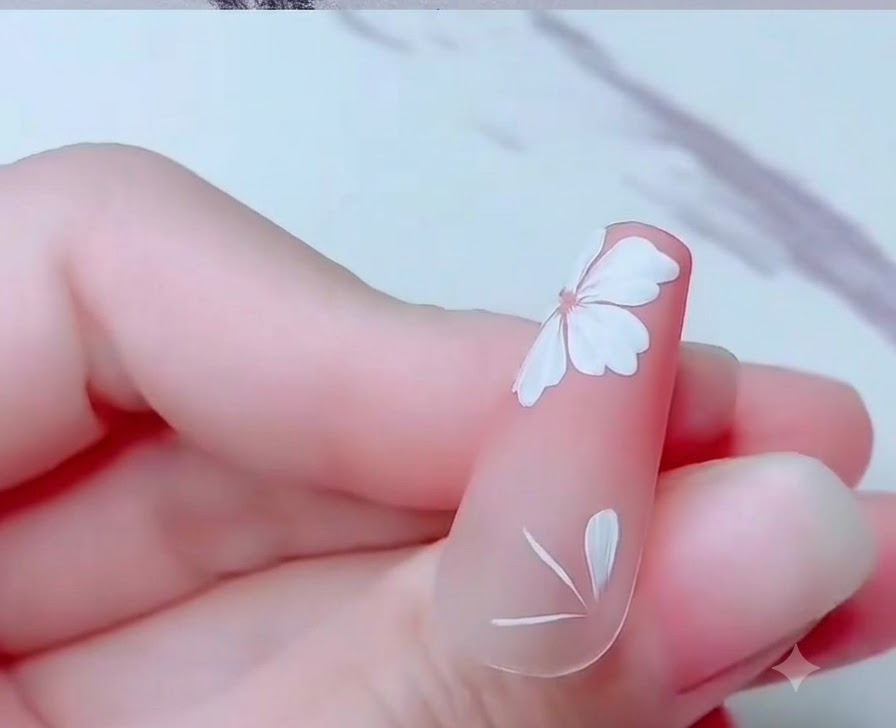
To add depth to the design, paint a few smaller cherry blossom buds and partial petals near the bottom or side edges of the nail. Use the white gel and your detailing brush to gently create these delicate accents.
Tip: Varying the size and placement of the flowers makes the overall floral design look much more organic and natural. - 5Blend pink color on petals
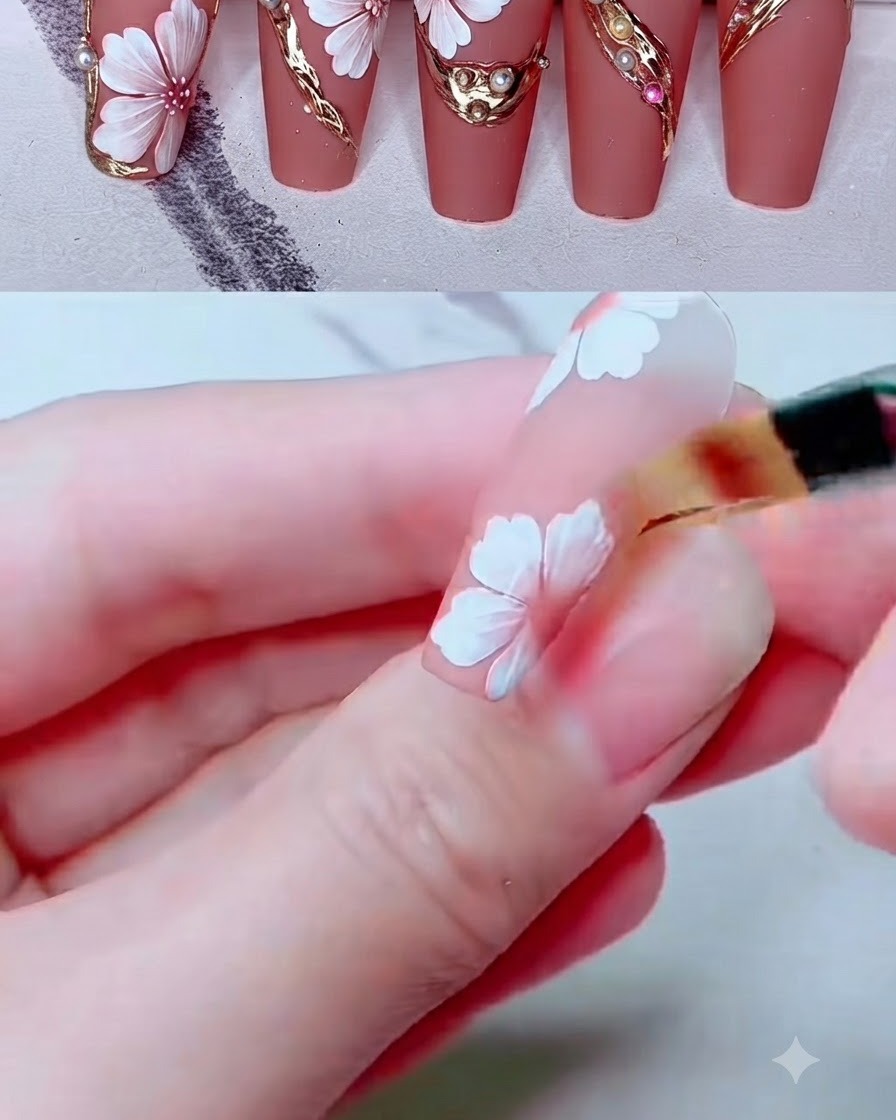
Using a small shading brush, gently soften and blend the pink color across the petals to create a smooth, dimensional gradient appearance.
Tip: Keep your brush strokes light and feathery to avoid harsh lines in the blended color. - 6Draw decorative gold lines
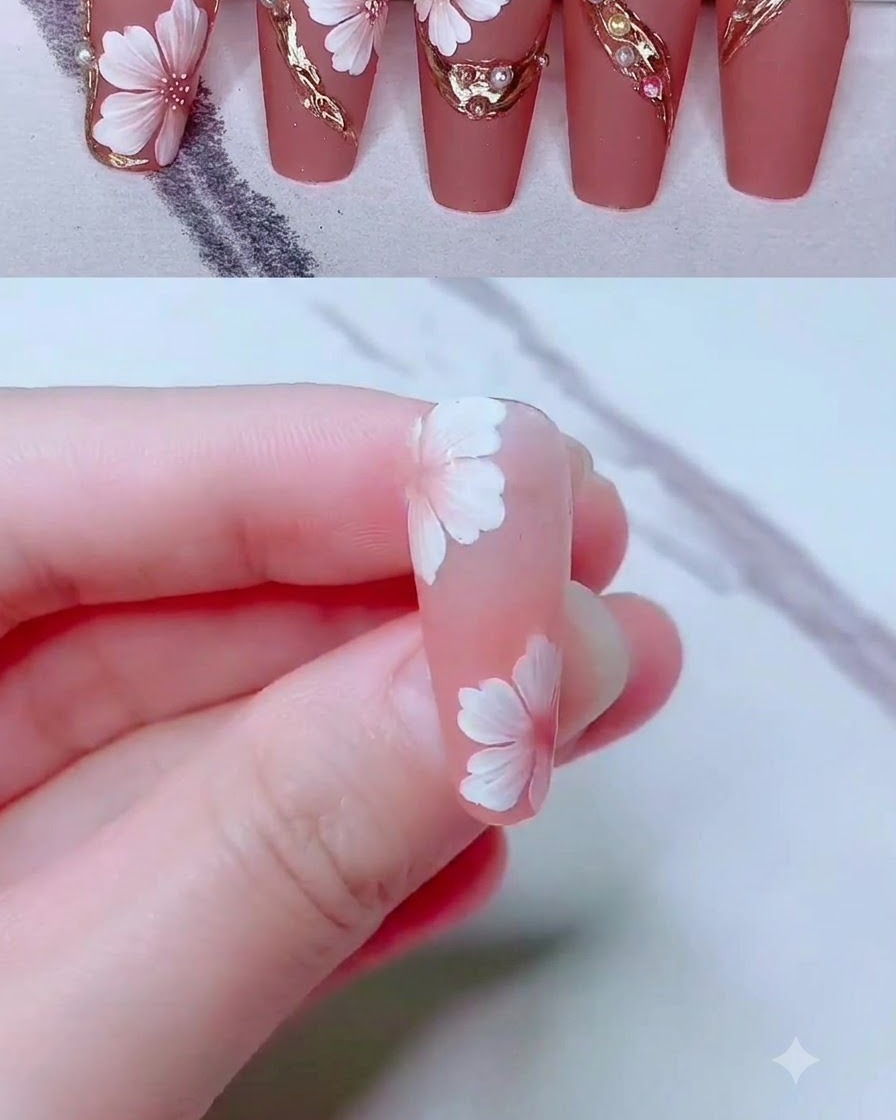
Take a fine liner brush dipped in gold gel and draw delicate decorative line details weaving around the flower arrangement.
Tip: Hold the liner brush lightly near the ferrule for maximum control over fine curves. - 7Buff metallic gold powder
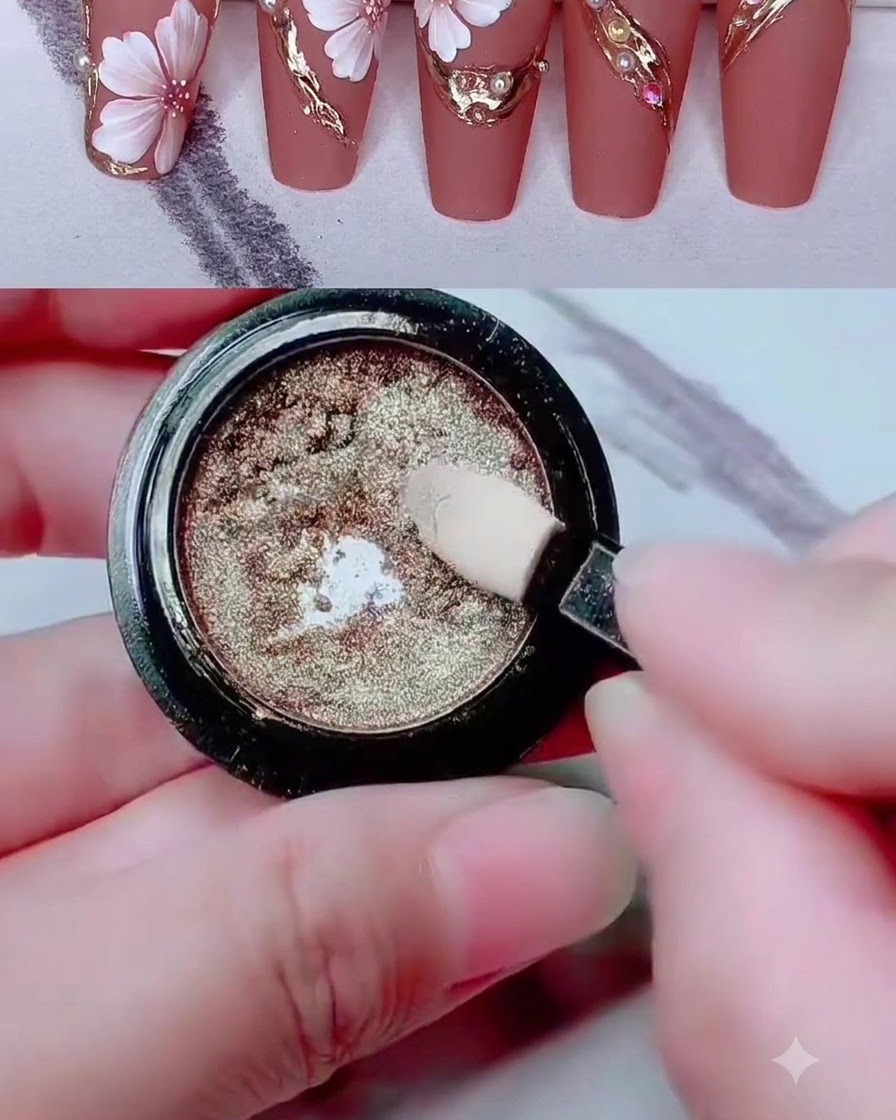
Using a sponge applicator, gently buff metallic gold powder onto the cured gel lines to achieve a bright, reflective chrome finish.
Tip: Press lightly and buff in small circular motions for even coverage over all cured lines. - 8Refine gold outlines and frames
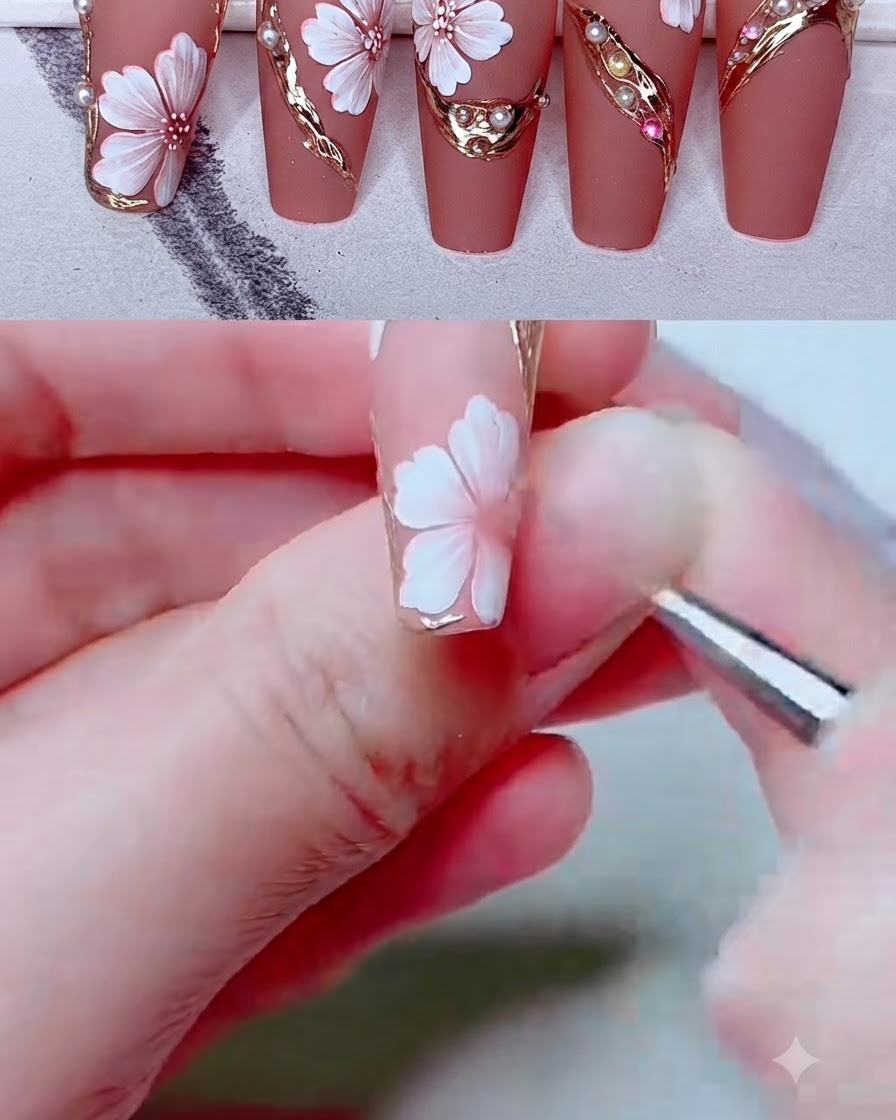
Use a fine liner brush to clean up and refine the metallic gold outlines and curved frames surrounding the floral design for a sharp finish.
Tip: Wipe your brush clean on a lint-free pad between strokes to keep lines ultra-crisp. - 9Apply gel dots for embellishments
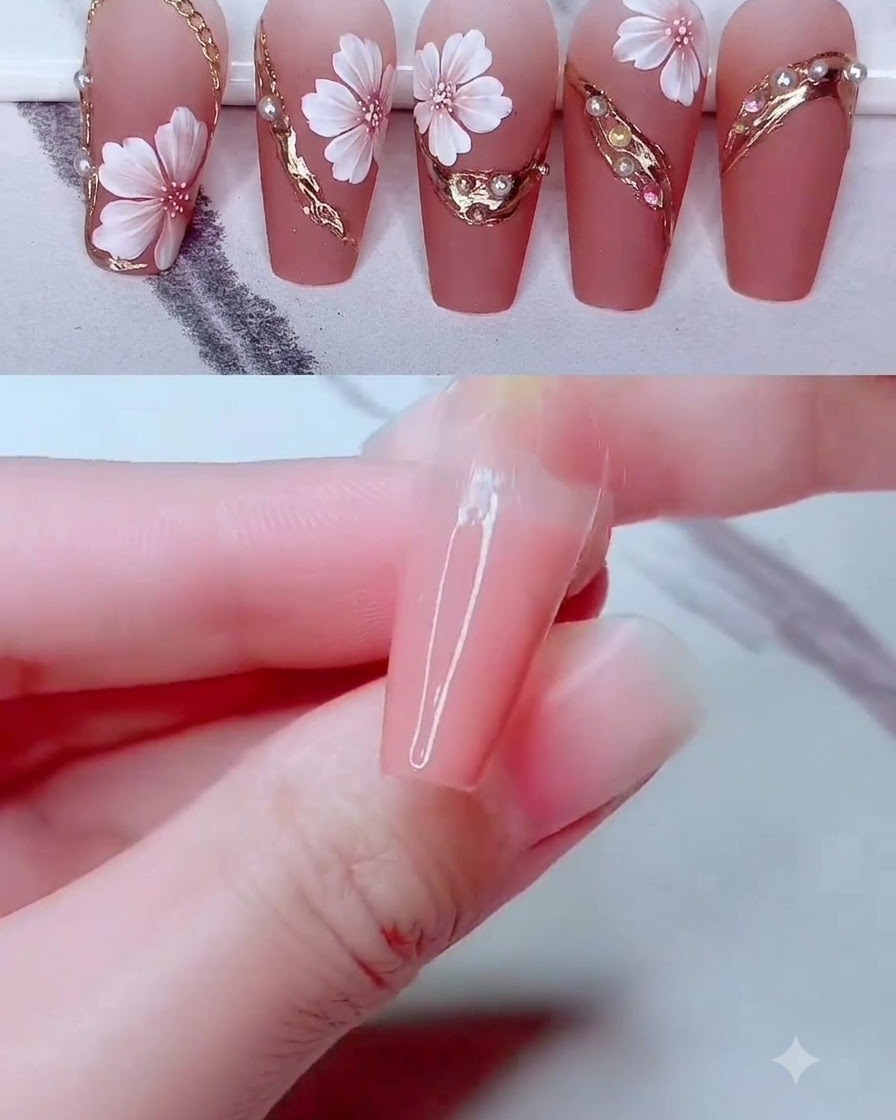
Place tiny dots of clear gel adhesive along the curved gold frame where gems or beads will be positioned.
Tip: Use a dotting tool or wax pencil to pick up and place tiny embellishments accurately onto the gel dots. - 10Place pearl bead accents
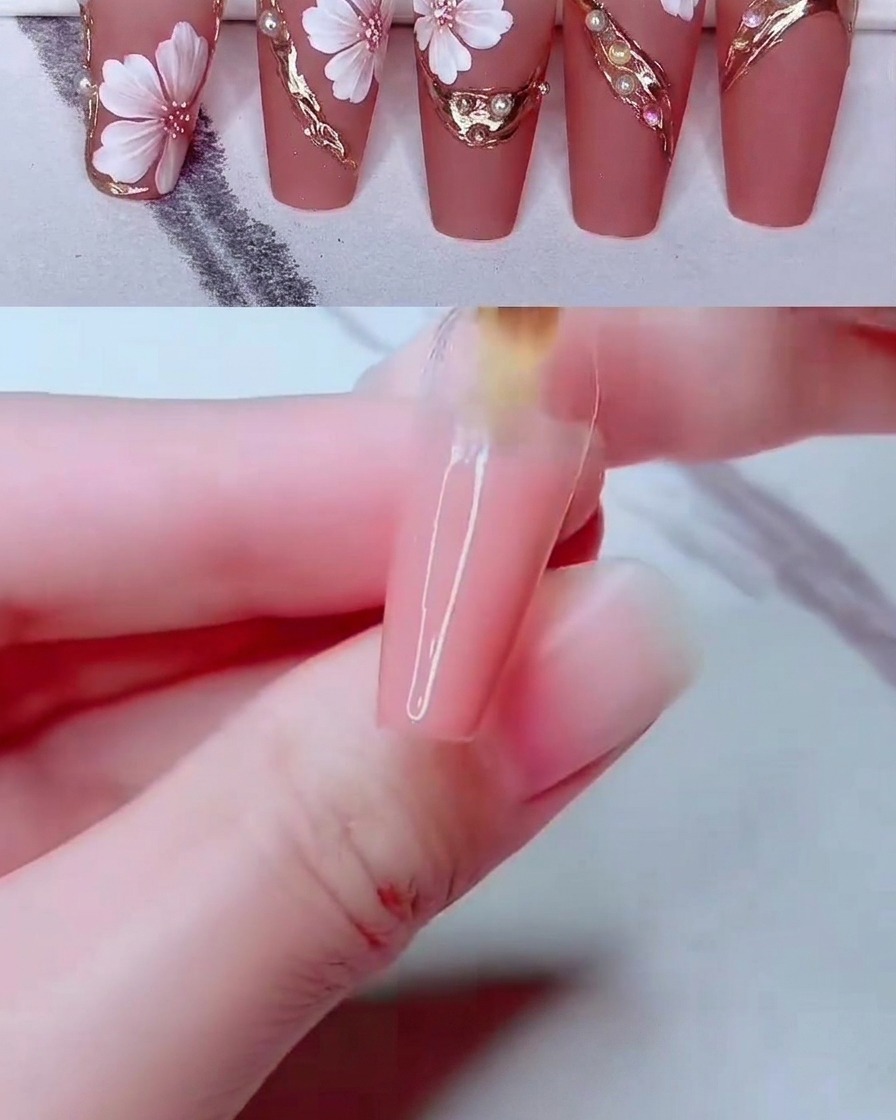
Using a fine pickup tool, carefully place tiny white pearl beads neatly along the adhesive dots previously set on the nail design.
Tip: Work quickly before the adhesive sets, and use gentle pressure to secure each bead firmly in place.