Cherry Blossom Gentle Transparent Pink Aurora Gel Nail Art — Step-by-Step Tutorial
Create dreamy transparent pink nude gel nails featuring delicate 3D cherry blossom flowers, sparkly accents, and chic lavender French tips.
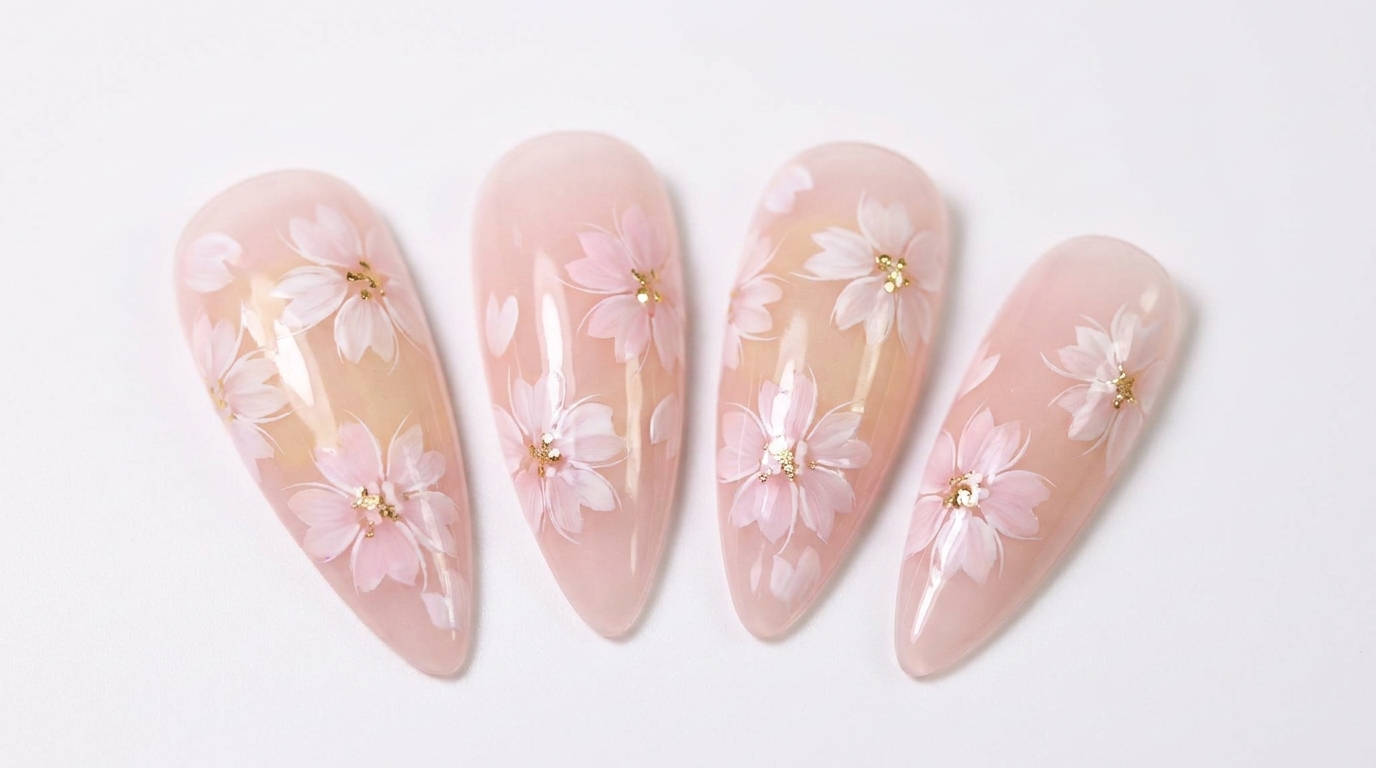
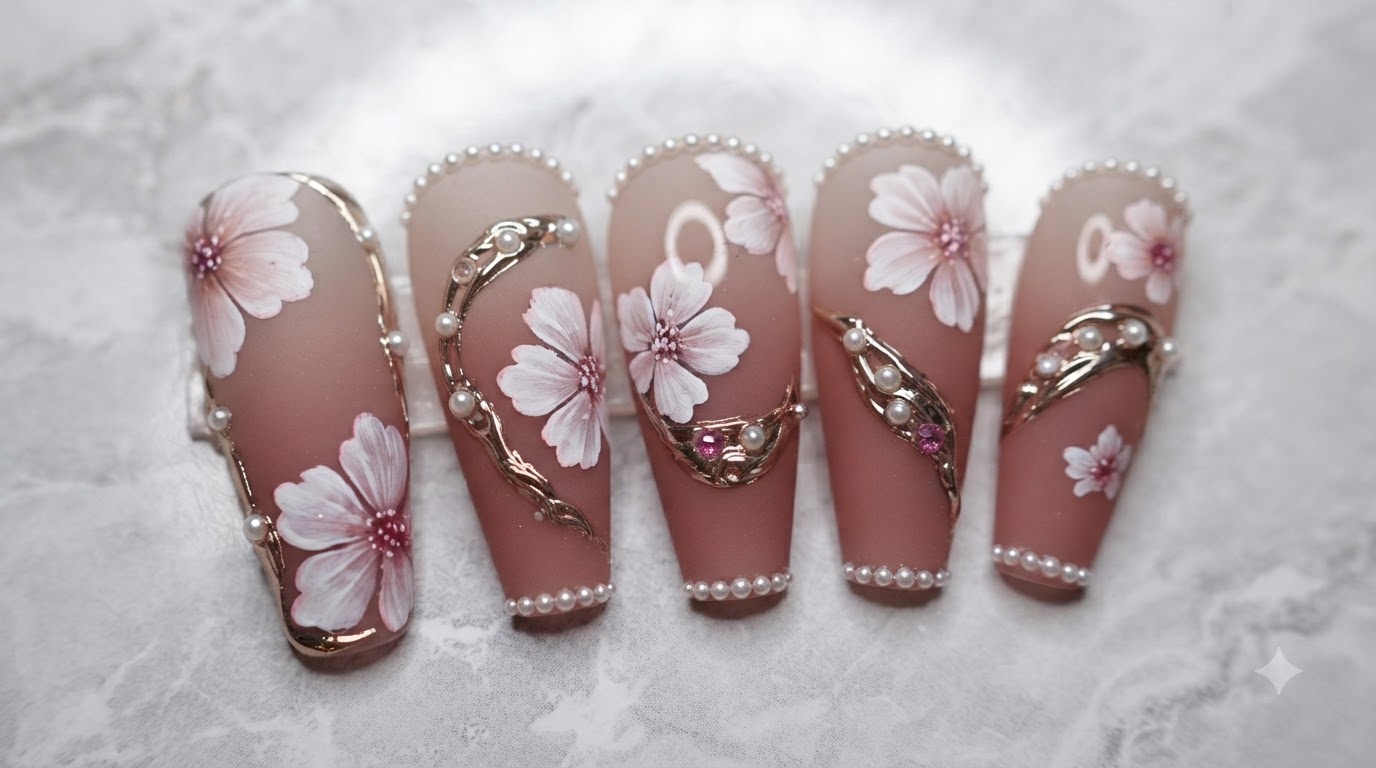
Embrace a touch of spring elegance with this charming cherry blossom nail art tutorial. Combining a translucent nude peach base with blooming blush effects, shimmering details, and sweet floral embellishments, this look brings a sophisticated yet playful vibe to any manicure collection.
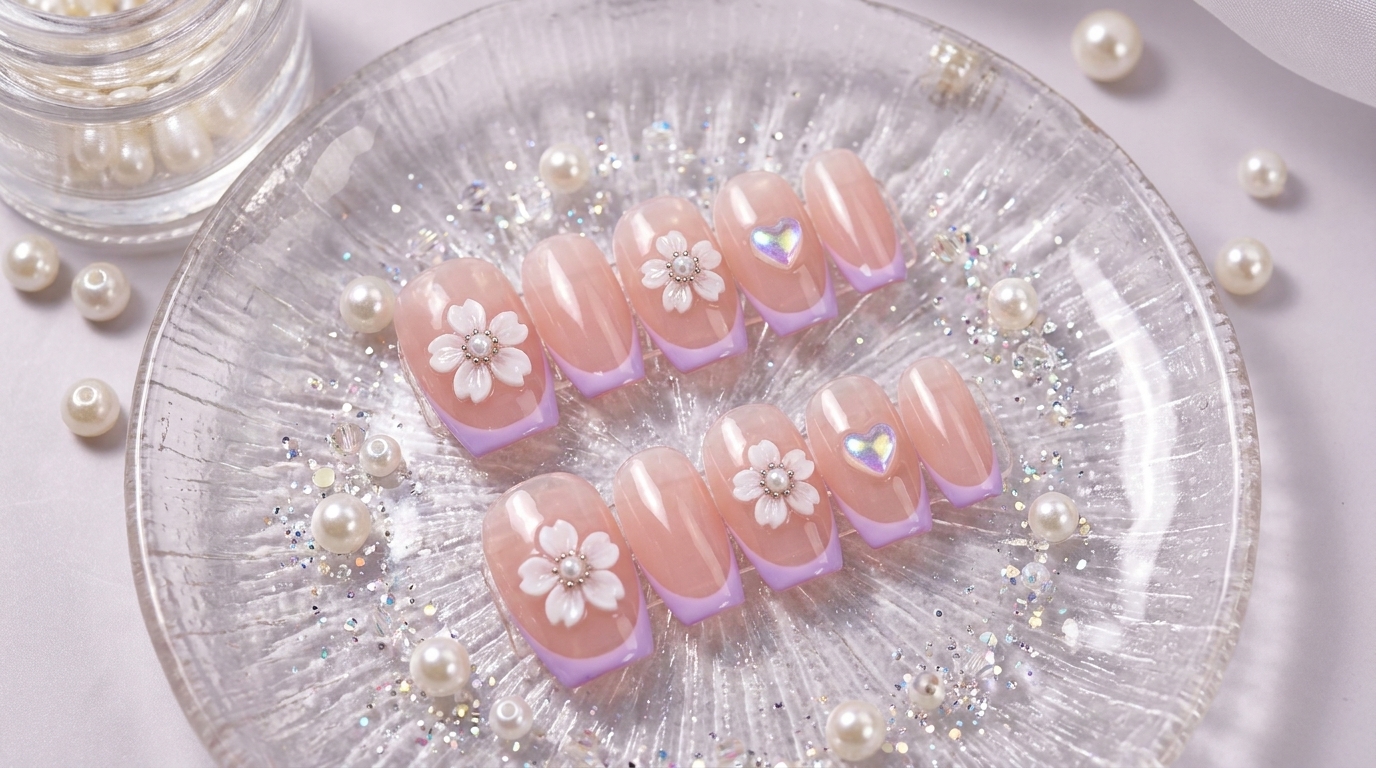
Steps
- 1Cure base coat
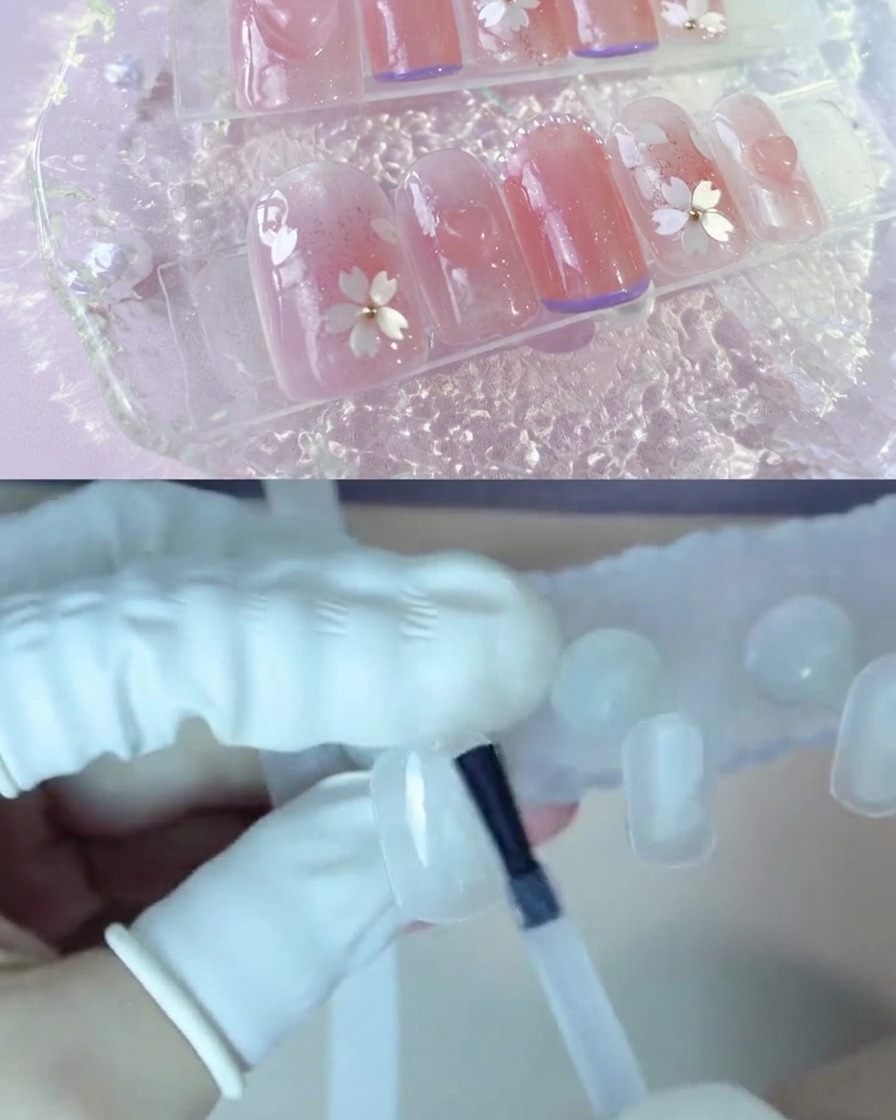
Place the nail stand under the UV/LED lamp to cure the base coat completely, ensuring a secure foundation for subsequent color applications.
Tip: Ensure your hand or the nail stand is placed centrally under the lamp for even curing. - 2Apply first coat of nude peach 02
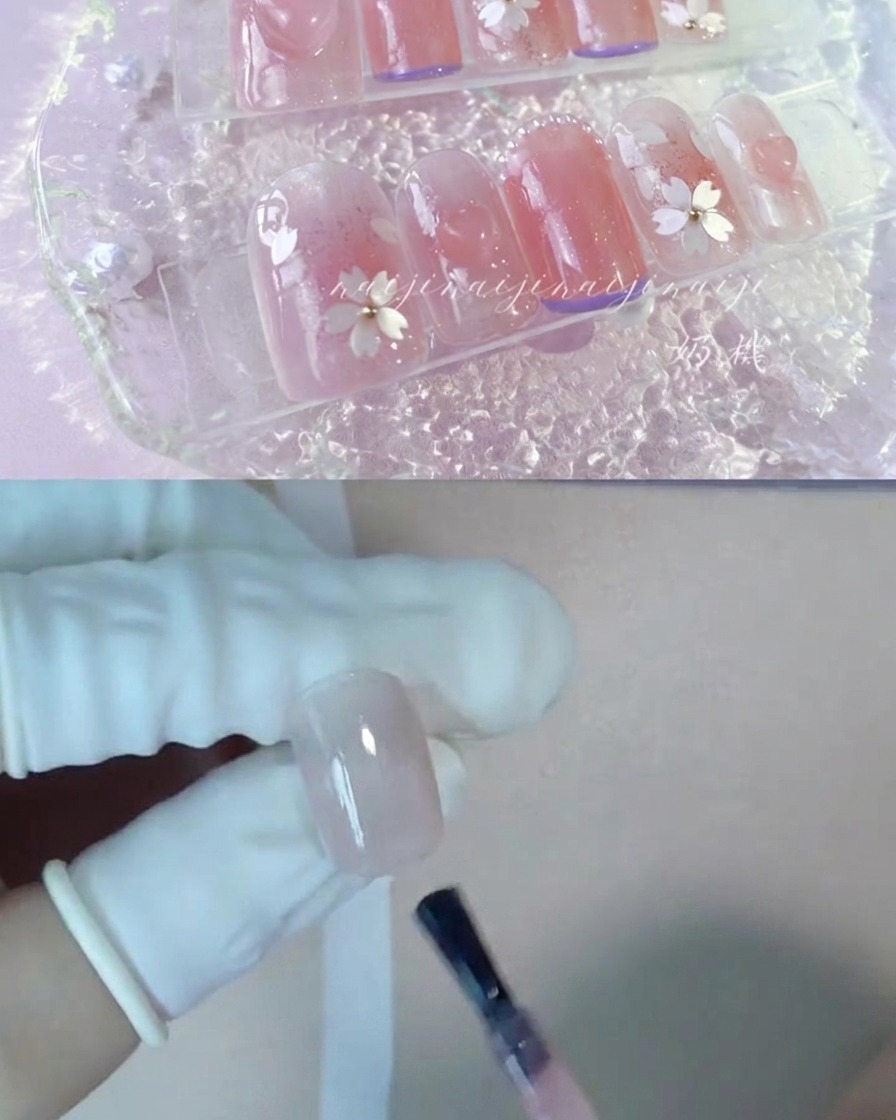
Apply a smooth first coat of nude peach 02 color gel onto the thumb nail, keeping the layer thin and even across the surface.
Tip: Apply thin strokes to avoid streaking and pooling at the cuticles. - 3Apply second coat for opacity
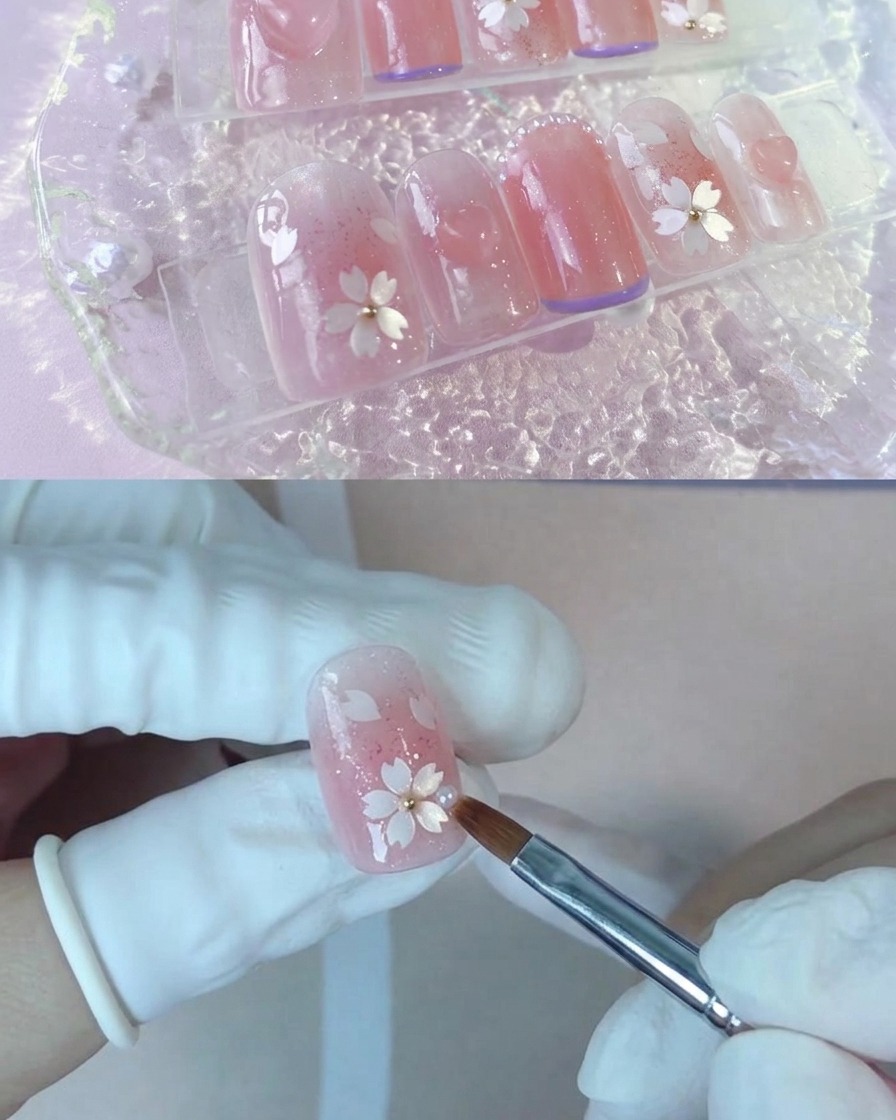
Apply a second coat of nude peach 02 color gel to achieve full opacity and rich color saturation on the nail.
Tip: Let the second coat level out for a few seconds before curing to ensure a smooth finish. - 4Apply blooming gel
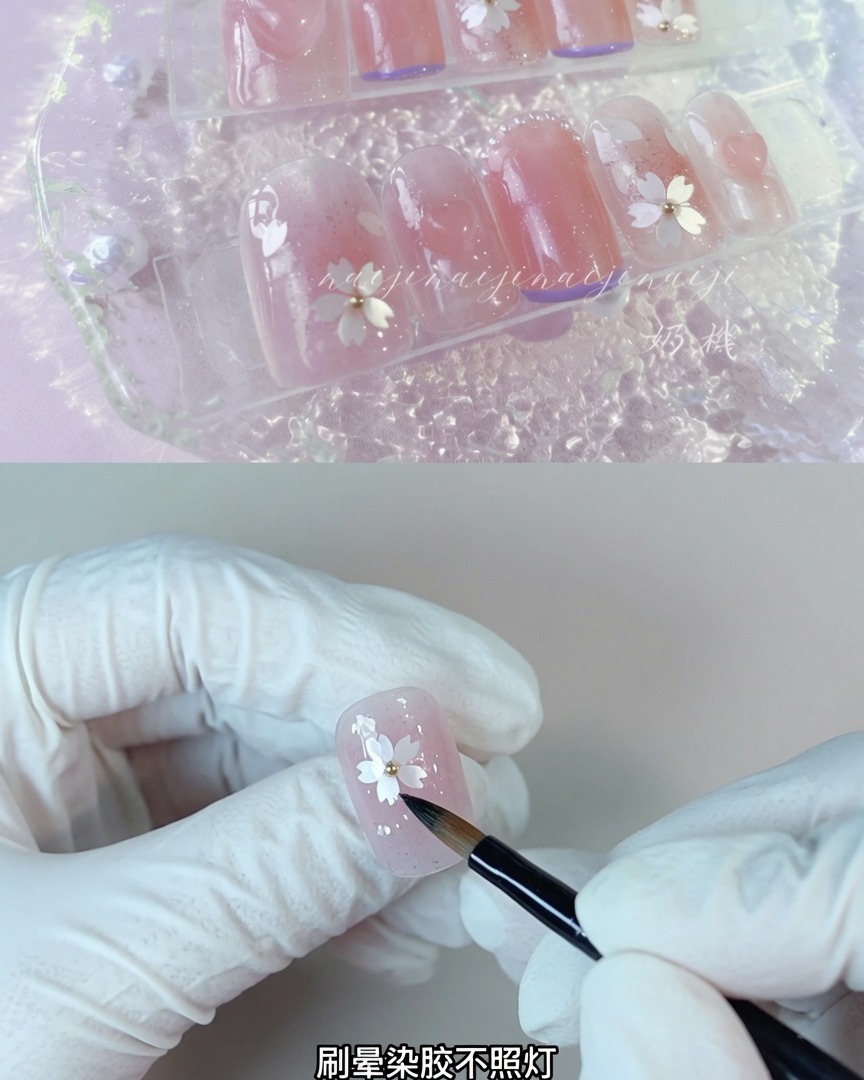
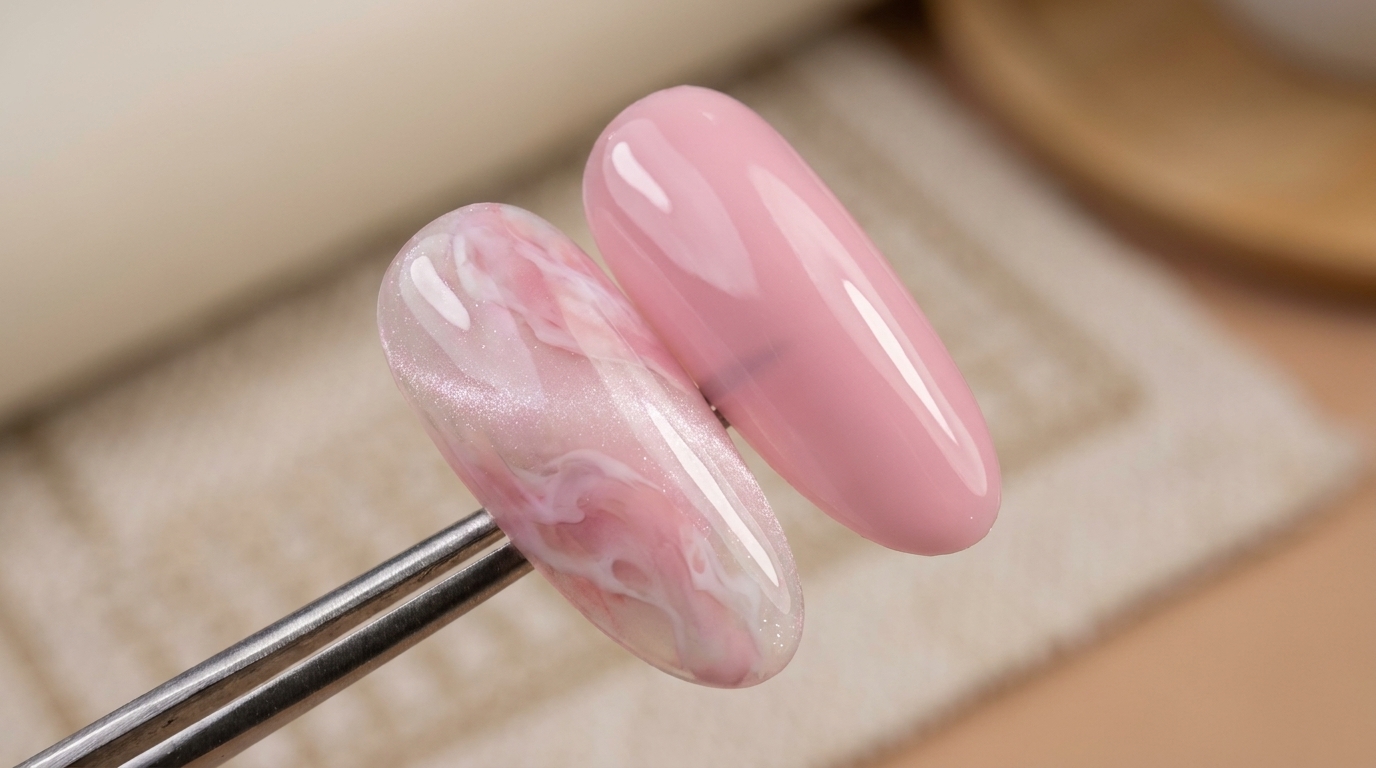
Brush a layer of clear blooming gel onto the thumb nail without curing it, creating a wet base for the upcoming design elements to spread into.
Tip: Do not cure the blooming gel, as it needs to remain wet for the colors to disperse properly. - 5Dot color for blooming effect
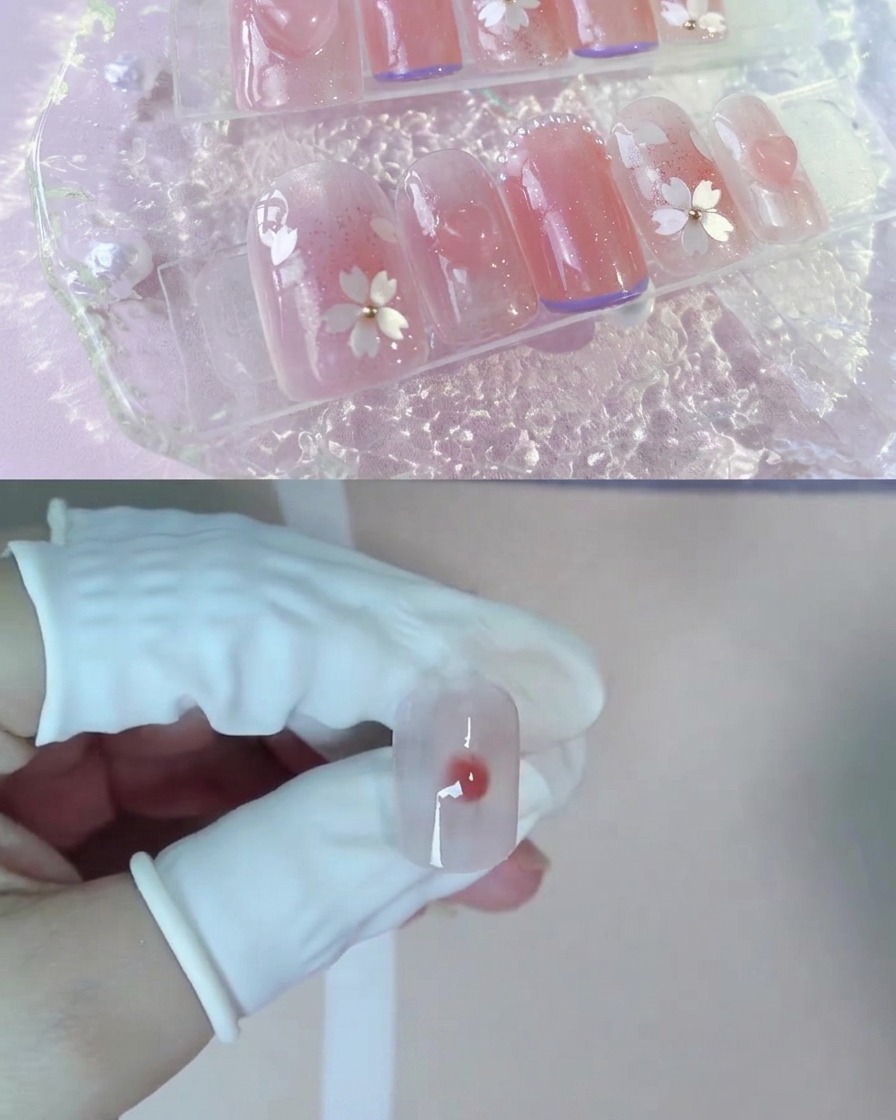
Take out nude peach 03 color gel, put a single dot right in the middle of the wet blooming gel, and quietly wait for it to bloom outward.
Tip: Placing a single centered dot allows the color to spread evenly in all directions. - 6Refine the blush effect
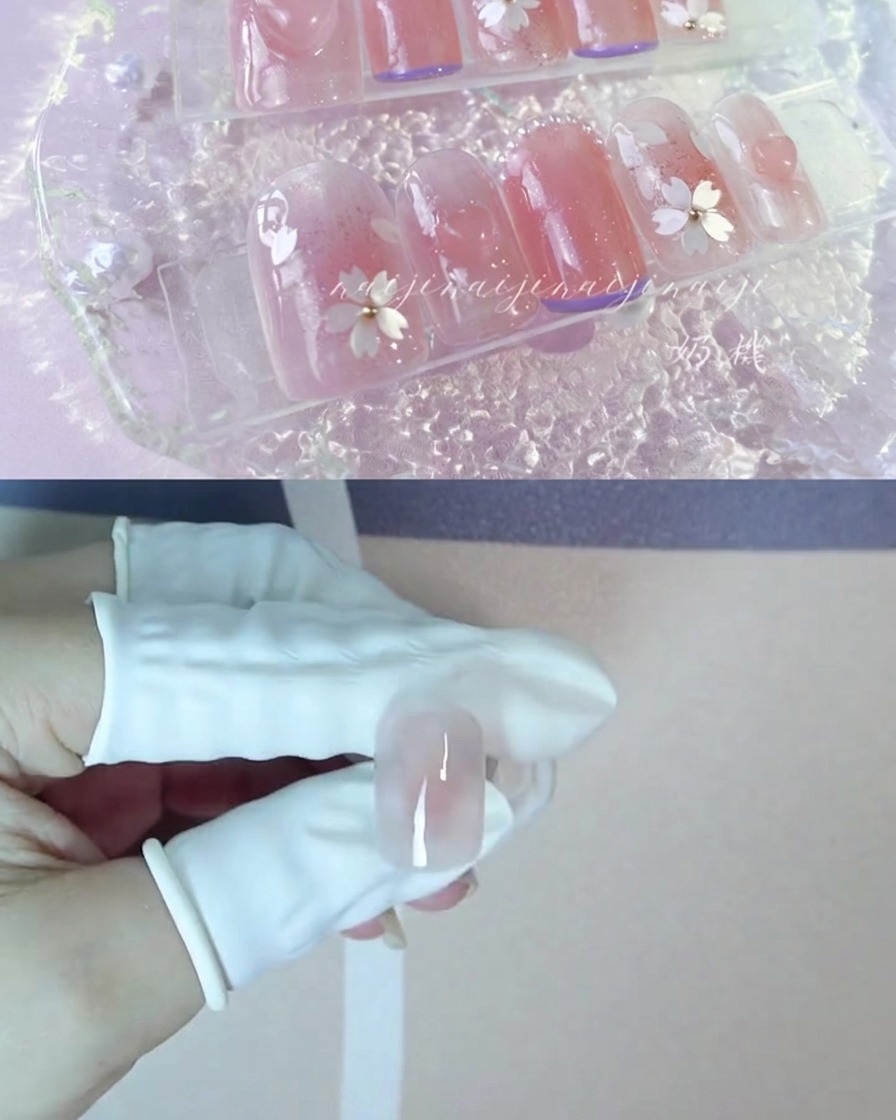
Use a blooming brush to gently macro-adjust and refine the blended blush effect if the initial dot went slightly crooked.
Tip: Light, sweeping motions with the brush help shape the blooming pigment without wiping it away. - 7Add sparkly gel to the blush center
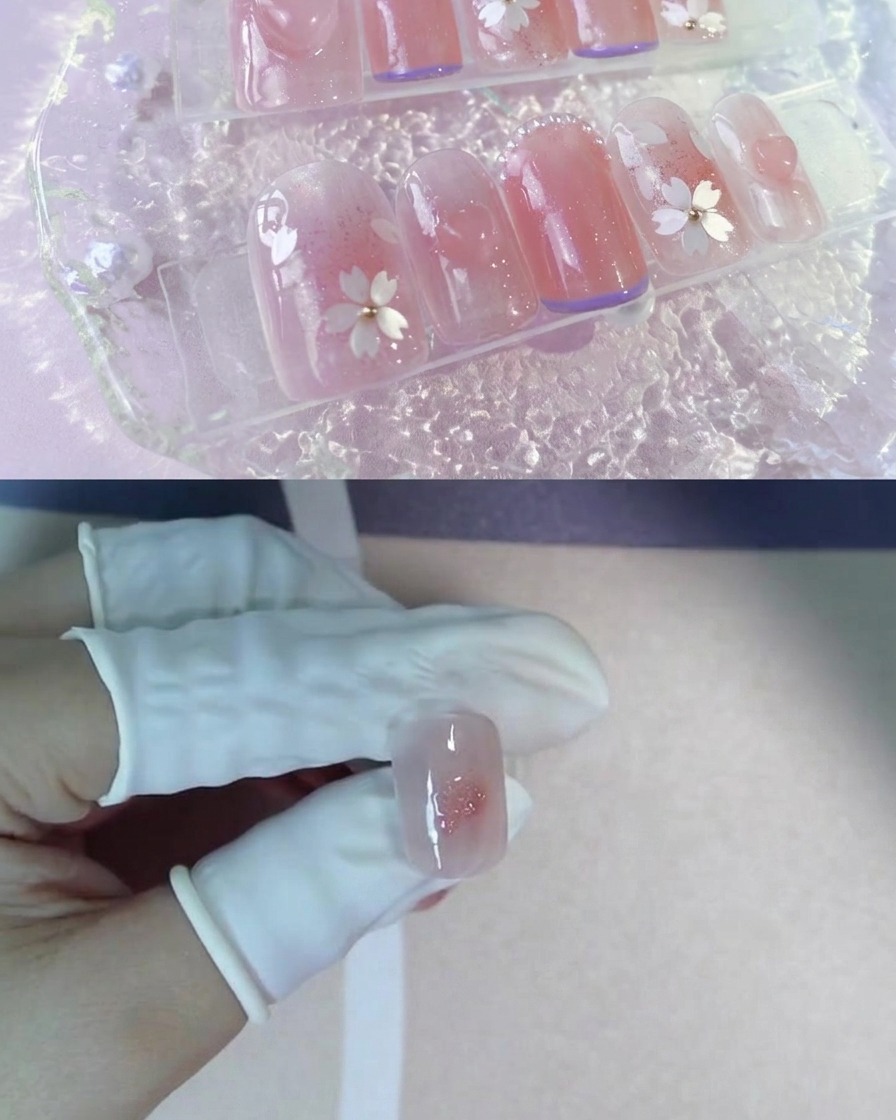
Dot a small amount of sparkly gel directly onto the center of the nude peach blush effect. This concentrated shimmer will add a beautiful dimensional sparkle to the nail. Do not cure it yet, as it will be blended out to create a seamless gradient.
Tip: Keep the sparkly gel concentrated in the center to maintain the natural fading effect of the blush. - 8Blend and diffuse the sparkle application
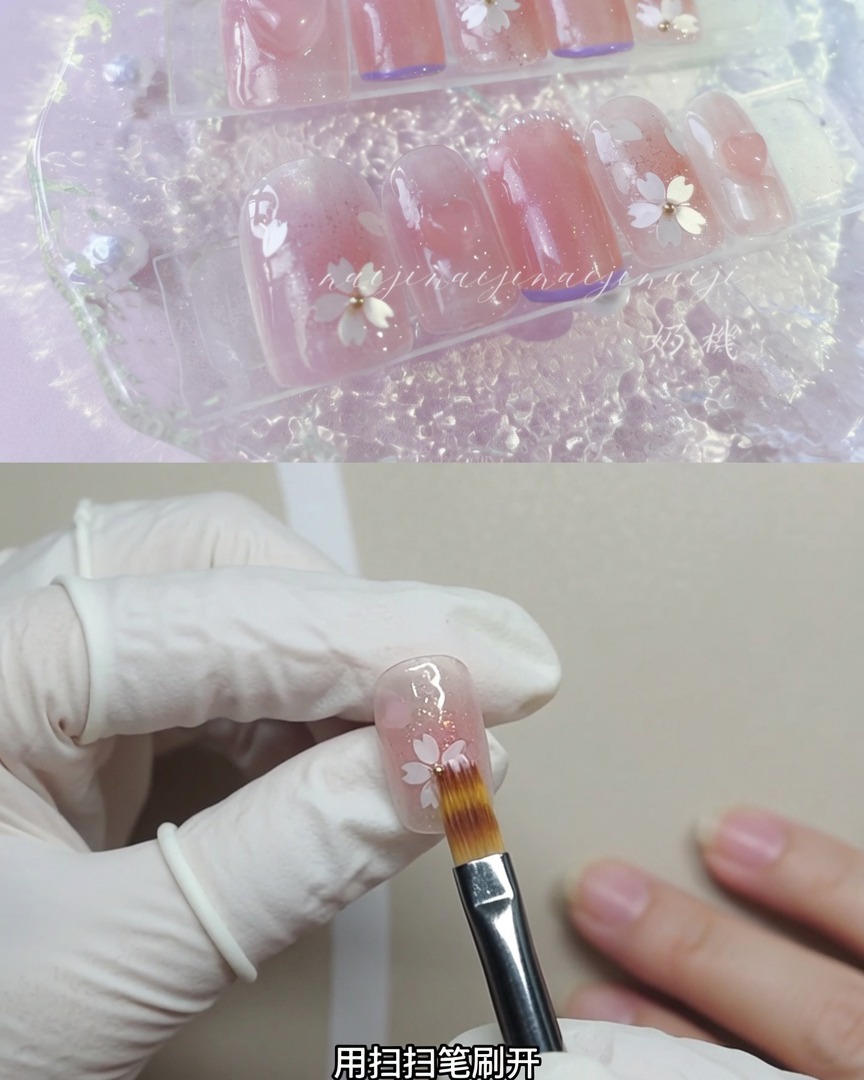
Take a soft dusting brush and gently blend out the small dots of sparkly color on the nail surface to create a diffused, soft-focus shimmer effect. This softens the edges of the sparkles so they blend harmoniously into the translucent nude peach base rather than appearing as harsh, isolated dots.
Tip: Use a light, sweeping touch with the dusting brush so you do not wipe away the underlying wet product completely. - 9Apply reinforcement gel
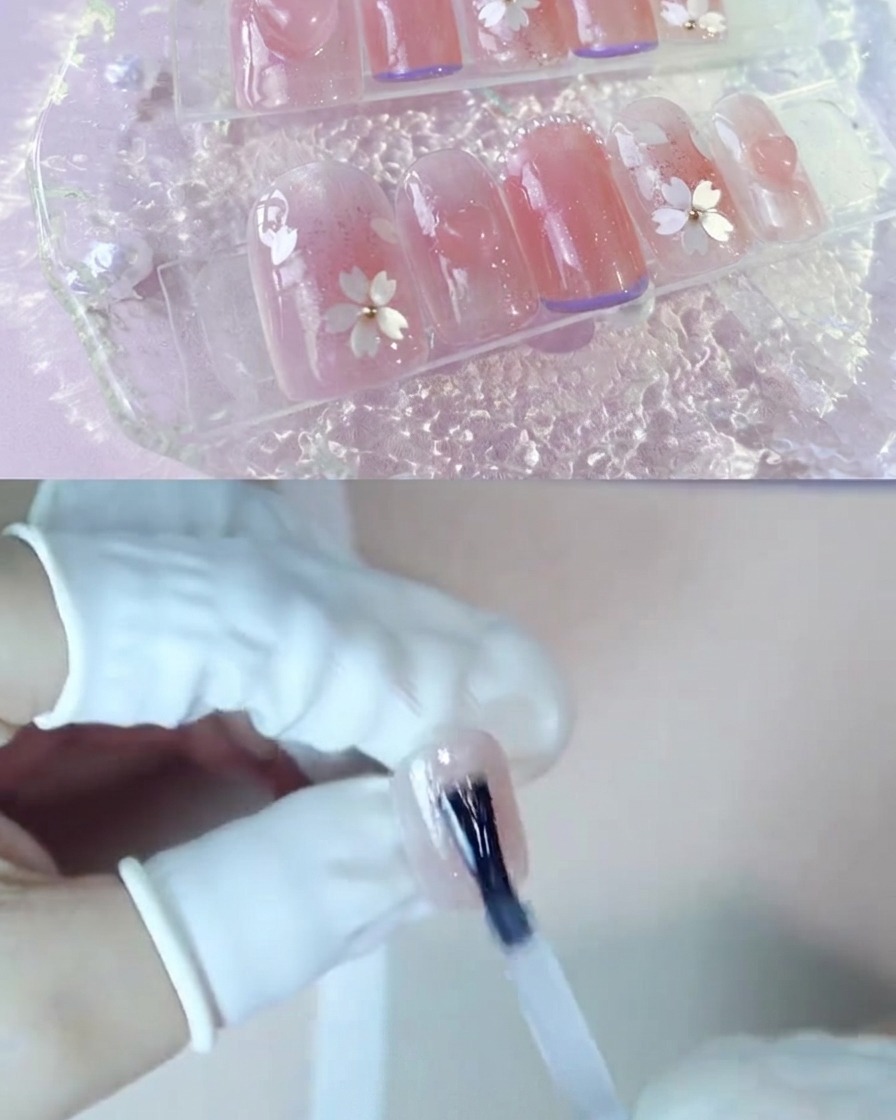
Brush a thin, even layer of clear reinforcement gel over the entire nail surface. Do not cure this layer yet, as it will serve as the wet adhesive base for your cherry blossom fragments and other nail art elements.
Tip: Applying embellishments onto a wet layer of reinforcement gel allows you to slide and adjust their placement easily before locking them in. - 10Place cherry blossom fragments
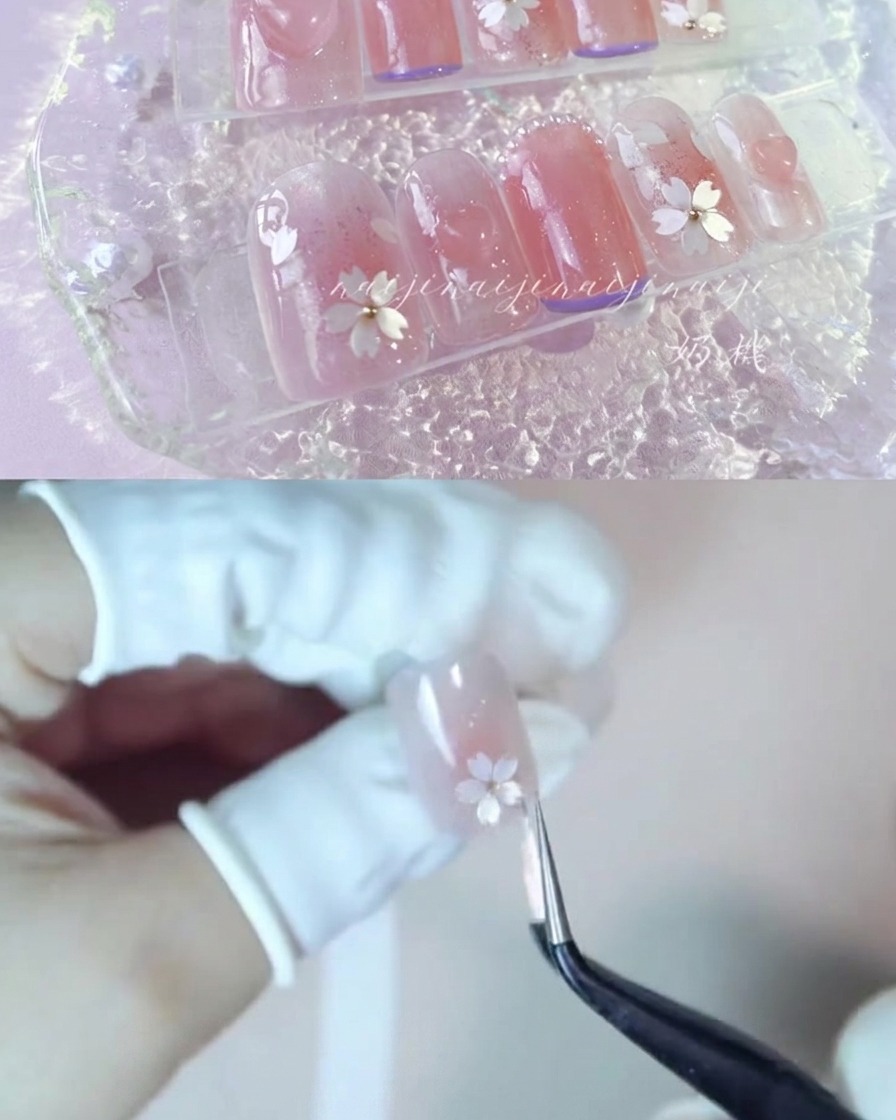
Apply a fresh layer of reinforcement gel without curing it first. Use precision tweezers to pick up individual cherry blossom petal fragments and place them onto the wet gel surface. Position them carefully to form a flower shape, then adjust their placement quickly before the gel shifts or self-levels too much.
Tip: Placing embellishments into uncured reinforcement gel allows you to slide them easily into the exact position you want. - 11Add a center steel bead to the flower
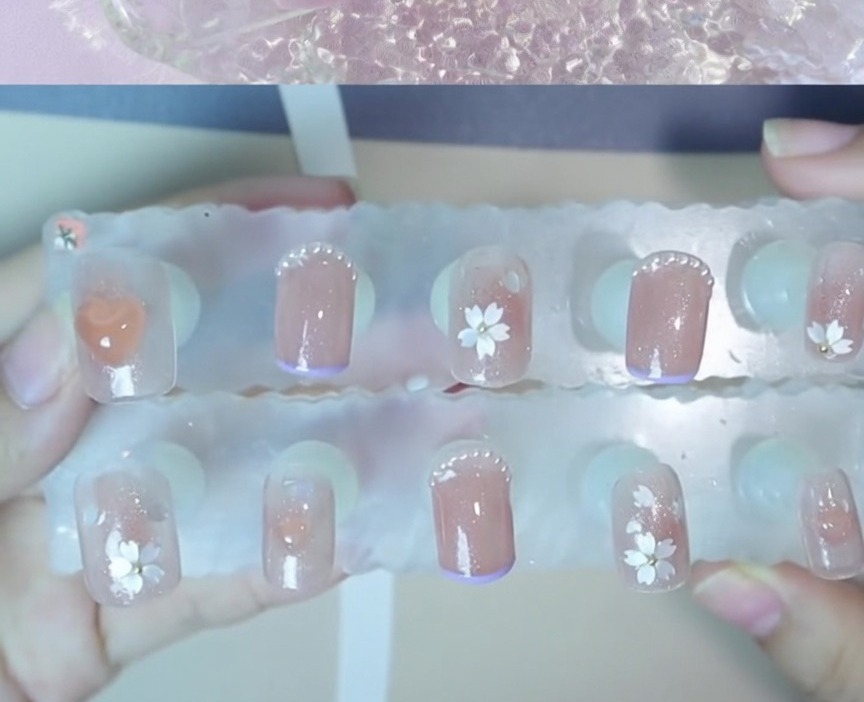
Using a dotting tool or the tip of your tool dipped slightly in gel, pick up a small metal steel bead and place it right into the center of the assembled cherry blossom flower. This anchors the petals visually and mimics the pistil of a real blossom. Seal around it securely with extension gel before final curing.
Tip: Make sure the steel bead is pressed slightly into the wet gel layer so it wont pop off easily after top coat application.