Jelly Cherry Blossom Gel Nail Art — Step-by-Step Tutorial
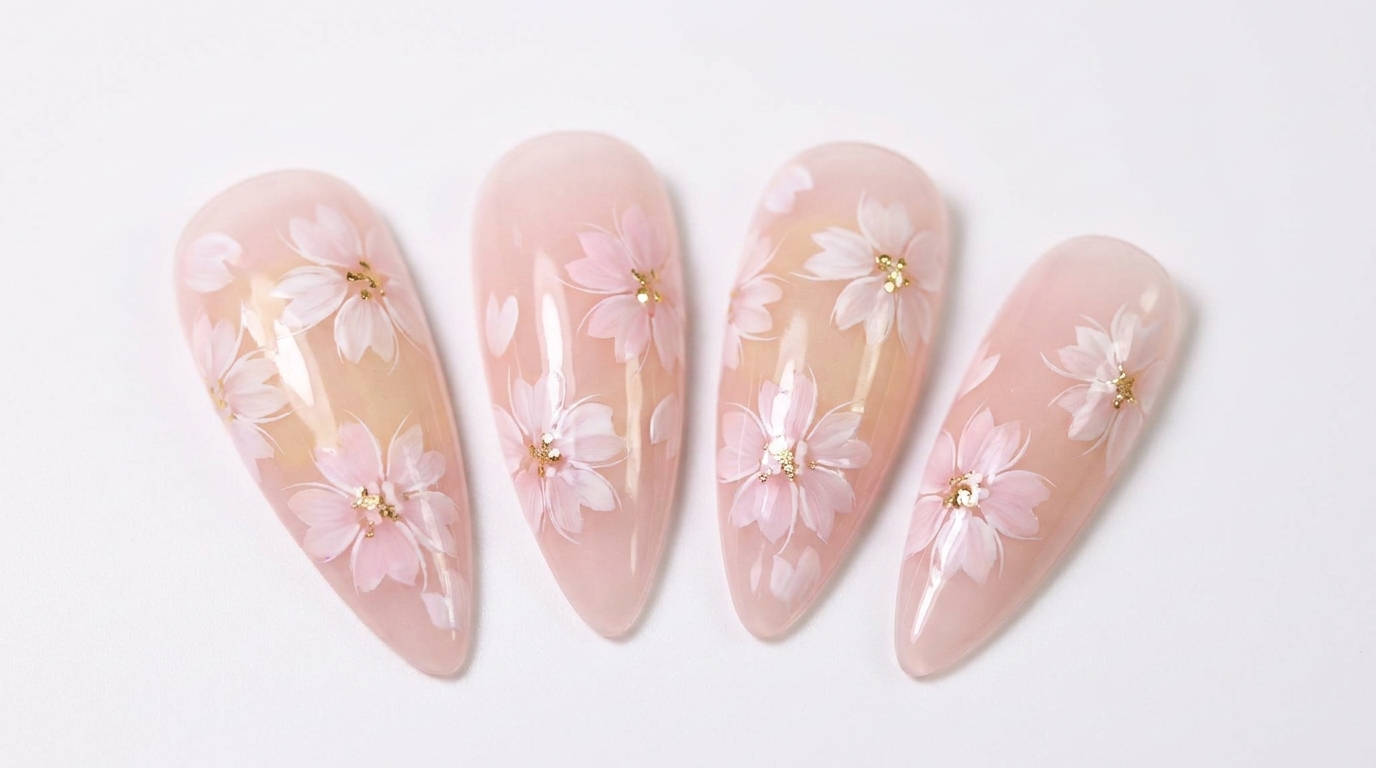
Embrace spring with this stunning jelly cherry blossom nail design. Learn how to hand-paint delicate, multi-dimensional petals over a translucent pink base.
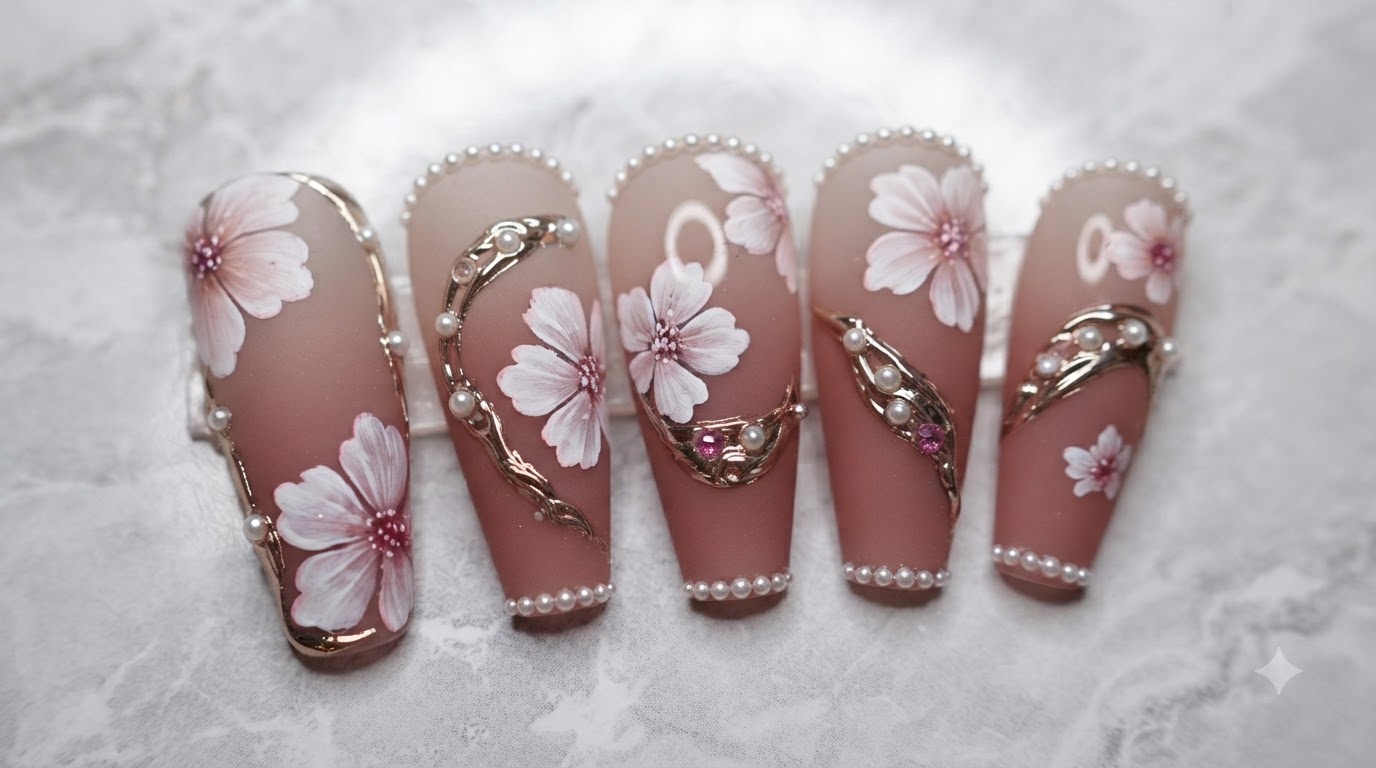
Spring is here, and this beautiful jelly cherry blossom design captures the delicate transition into warmer weather perfectly. By layering sheer white and vibrant pink tints over a translucent nude base, you can achieve incredible depth that mimics real blooming petals. This look requires some patience with a fine liner brush but yields stunning, salon-quality results.
Steps
- 1Start cherry blossom petal outlines
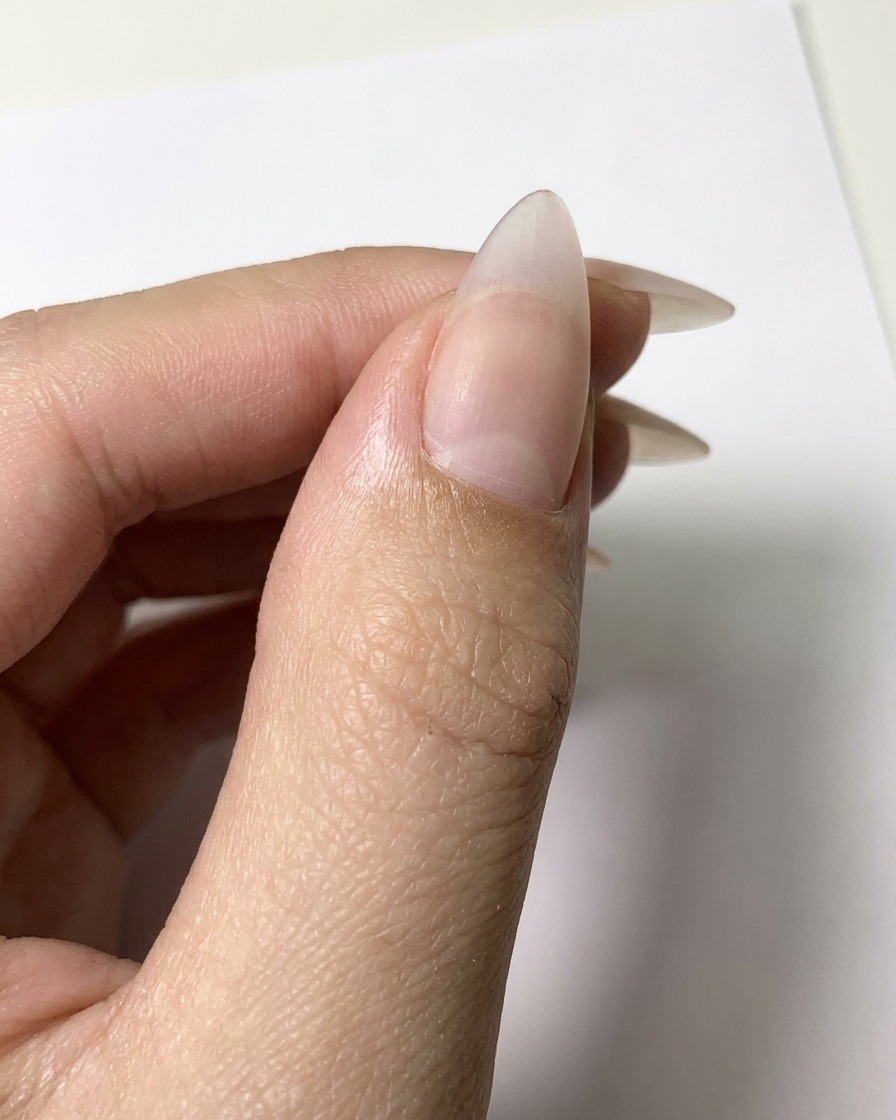
Using a fine liner brush and white gel, begin sketching the individual petal shapes directly onto the matte nude nail surface. Keep your strokes light and precise to form the outer guidelines for the flowers.
Tip: Keep the liner brush fully saturated at the tip for clean, crisp lines without skipping. - 2Paint rounded blossom petals
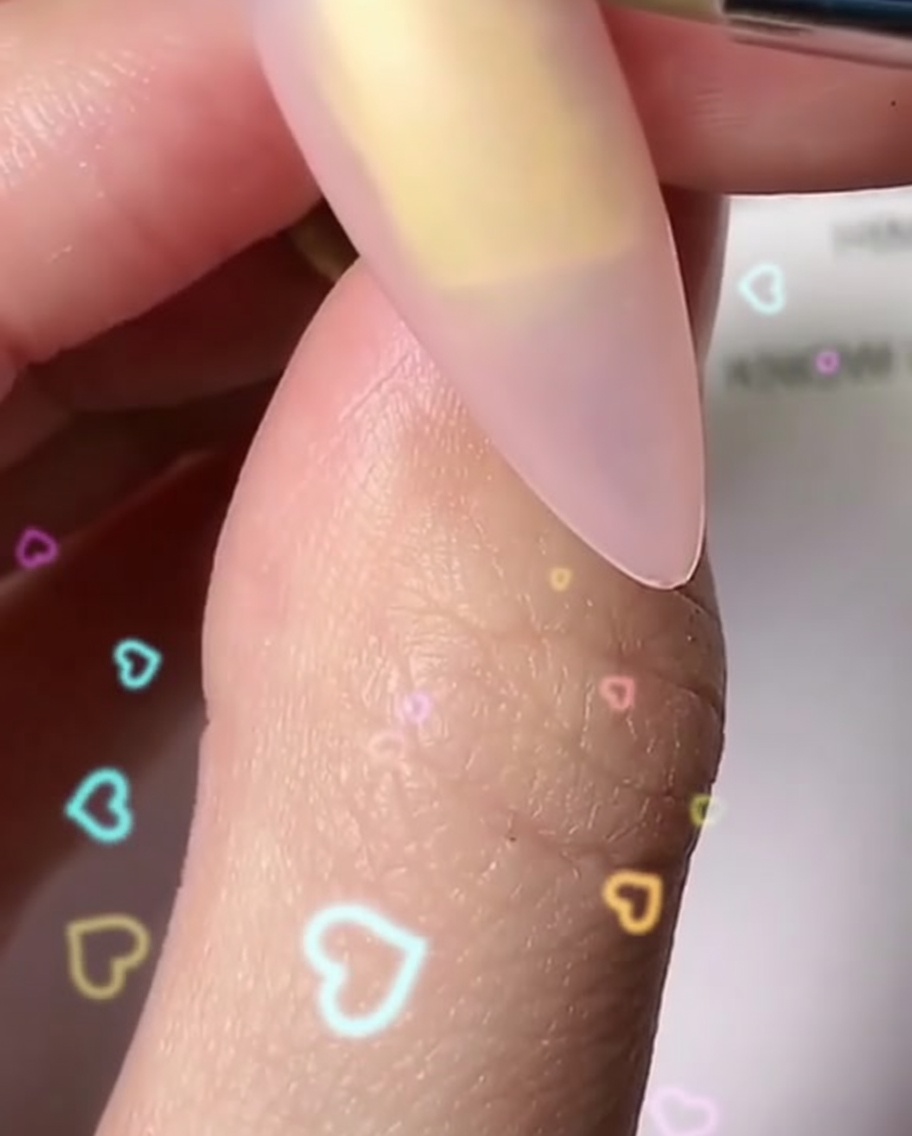
Continue painting individual rounded white petals radiating outward to create a complete blossom shape on the nail plate. Ensure the inner tips of the petals point toward a central focal point.
Tip: Vary the pressure slightly on your brush to give each petal a natural, organic taper. - 3Complete multiple flower outlines
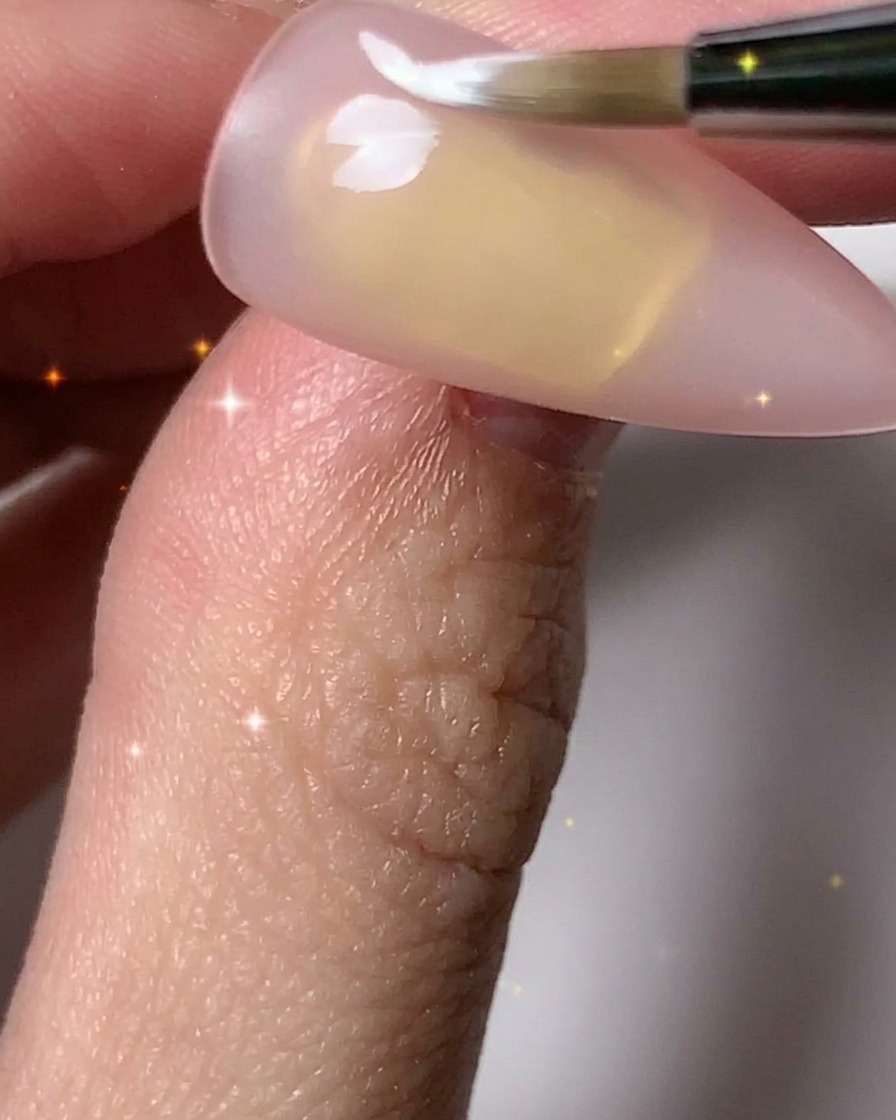
Add additional white petals across the nail plate to finish multiple flower outlines, creating a balanced and flowing floral arrangement across the surface.
Tip: Space your flowers at different angles to build a dynamic and realistic composition. - 4Refine and layer white petals
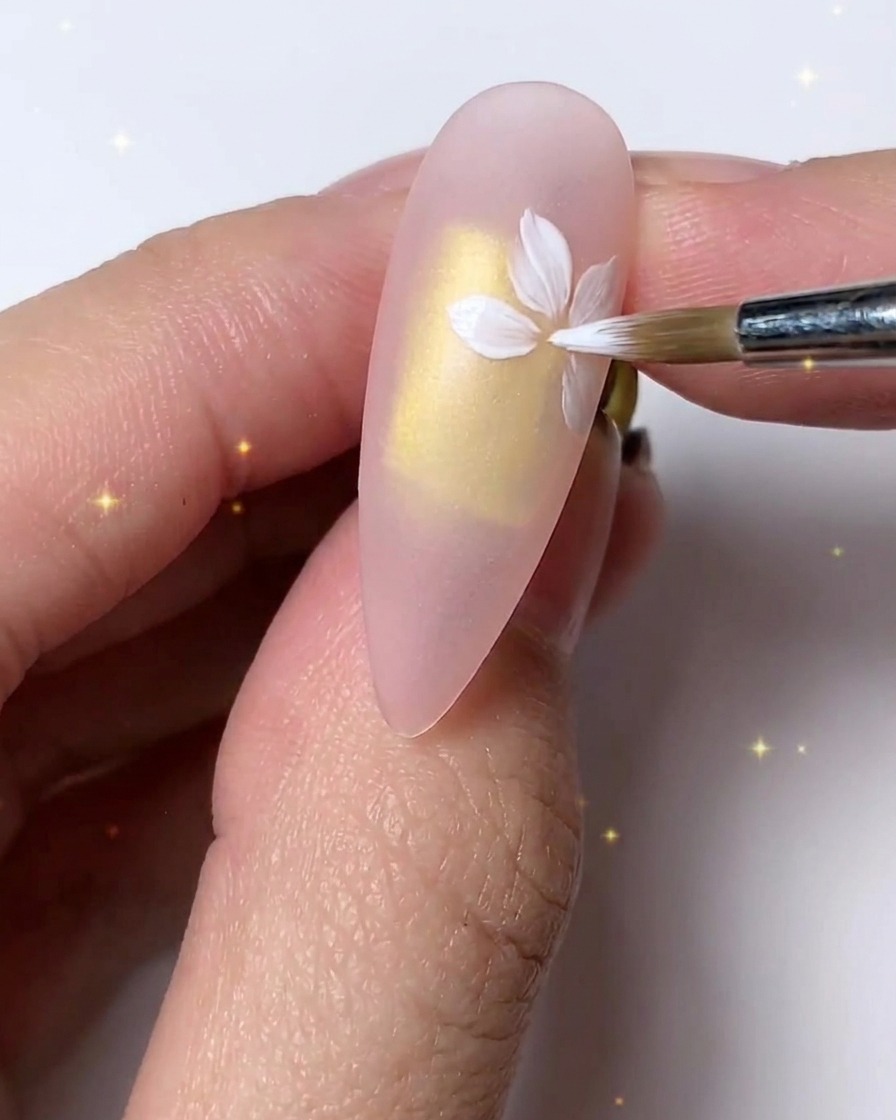
Refine the shape of the flowers by layering fine brush strokes over the white petals to achieve a delicate, dimensional look. Smooth out any uneven edges carefully.
Tip: Layering thin applications of white gel prevents bulkiness while maximizing opacity. - 5Apply light pink gel tint
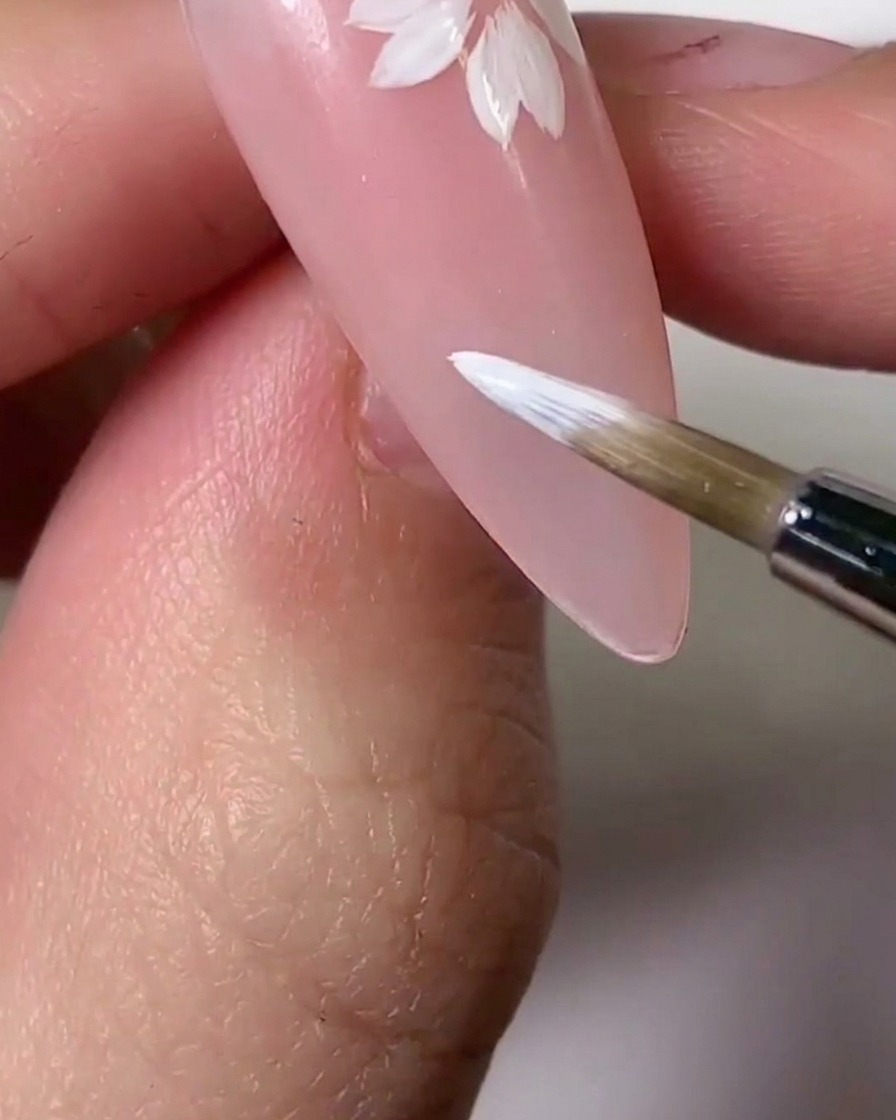
Apply a light pink gel tint selectively over sections of the white petals to introduce a soft, translucent gradient effect that mimics real cherry blossoms.
Tip: Use a minimal amount of tint so the white base remains visible underneath for depth. - 6Blend pink and white shades
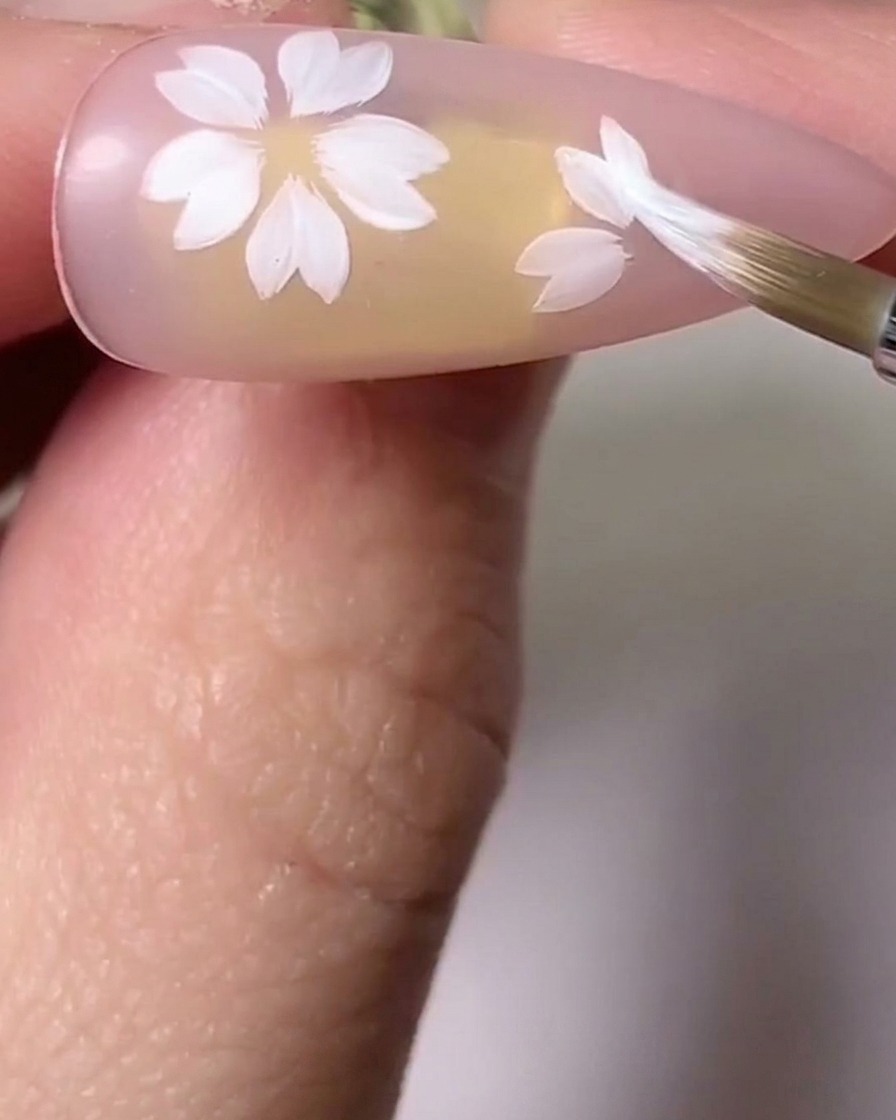
Gently blend the pink and white shades together on the cherry blossom petals to create seamless transitions and add rich dimensional depth to the design.
Tip: A clean, damp blending brush works wonders for softening hard edges between gel colors. - 7Add pink shading to petals
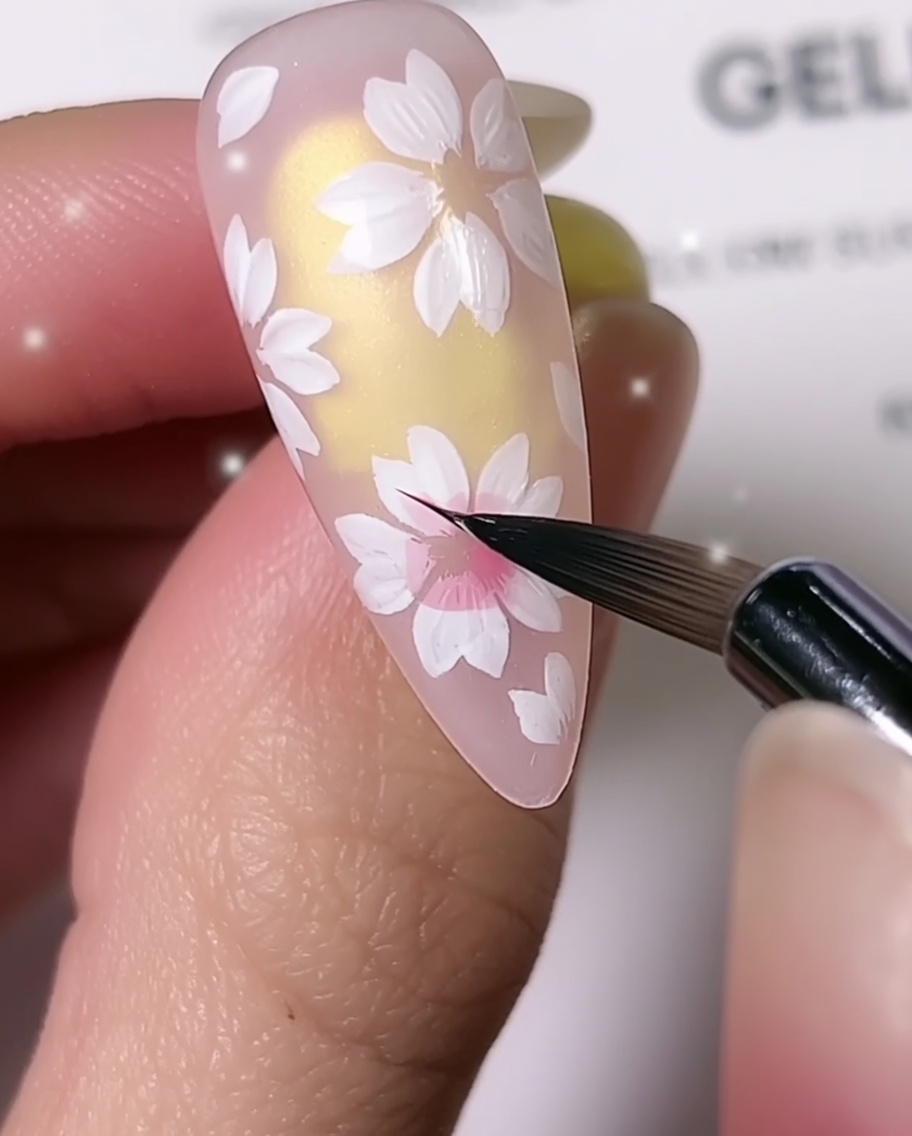
Using a fine detail brush, apply a small amount of vibrant pink gel to the center of each painted cherry blossom petal. Carefully blend the color outward toward the tips to create a soft gradient that adds depth and dimension to the delicate floral design.
Tip: Keep your touch light and use minimal product to ensure the white base of the petals remains crisp and distinct. - 8Add flower centers
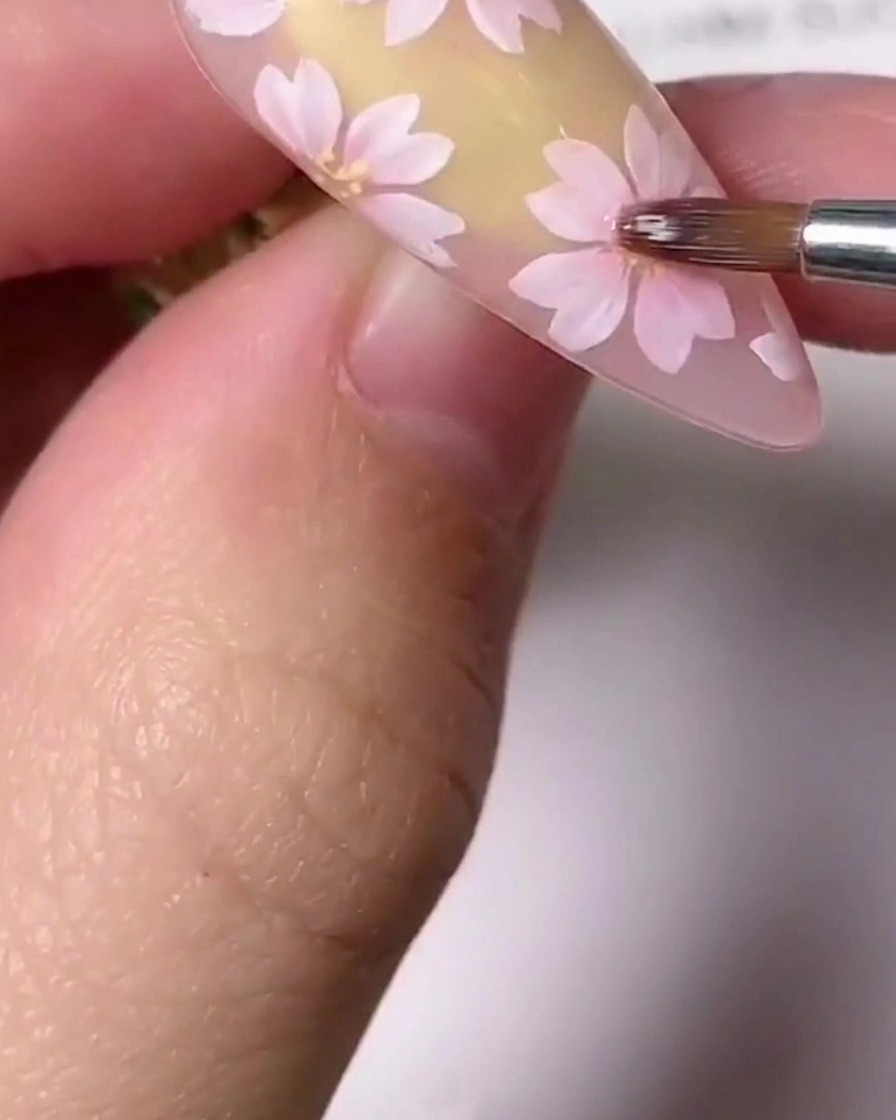
Using a fine detail brush or dotting tool, carefully apply small gold gel accents to the center of your cherry blossoms. You can also press tiny rhinestones into the wet gel for an extra dimensional sparkle. This final step brings the floral design to life, adding a beautiful contrast to the delicate pink petals.
Tip: Apply the gold gel sparingly so it doesnt bleed into the pink petals, keeping the center looking crisp and delicate.