Pink Rhinestone
Silver Glitter Long Almond Nails — Step-by-Step Showcase
Dazzle with ultra-sparkly long almond nails featuring pink ombre, silver glitter fades, and gorgeous rhinestone heart accents.
This nail look combines soft pink tones with high-shine silver glitter and striking 3D rhinestone embellishments. Perfect for making a glamorous statement, these long almond extensions catch the light from every angle with crystal clarity.
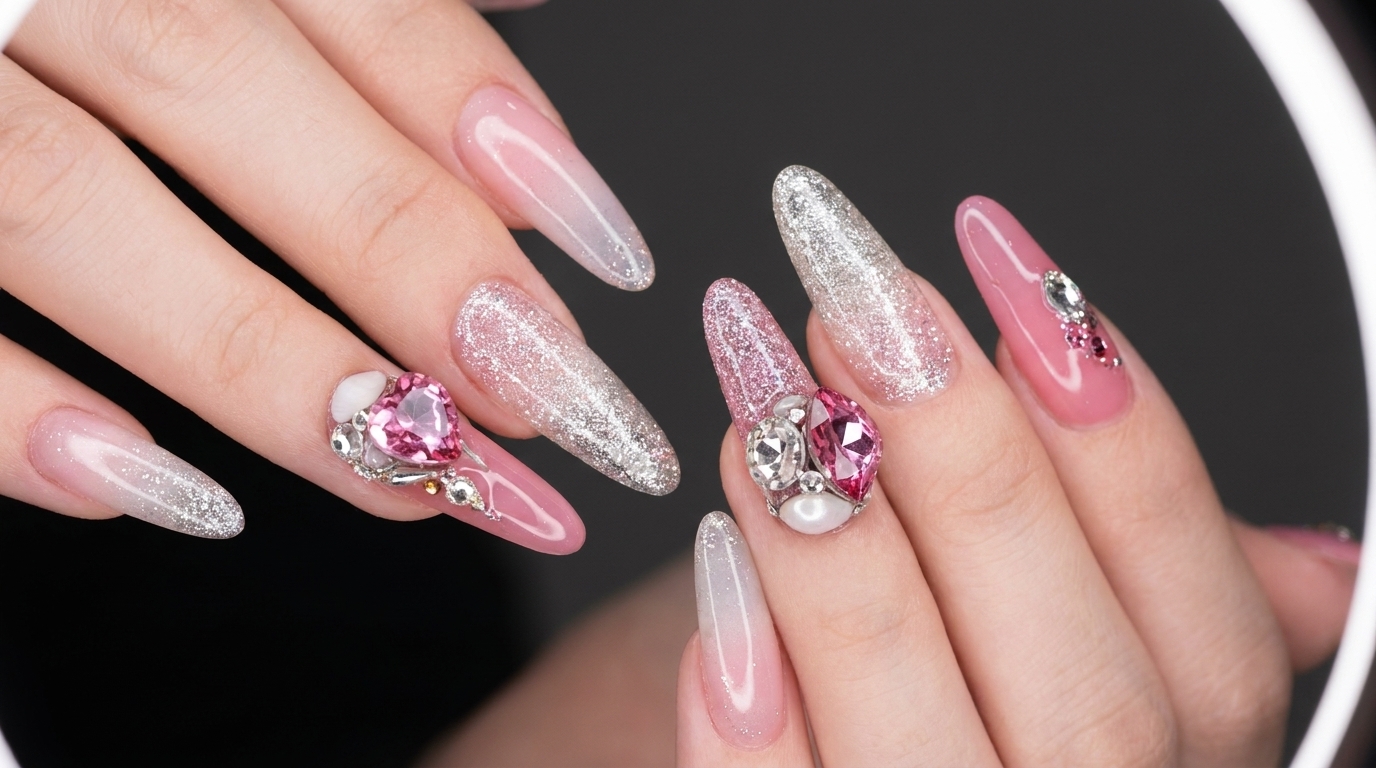
Steps
- 1Wipe clean the nail surface
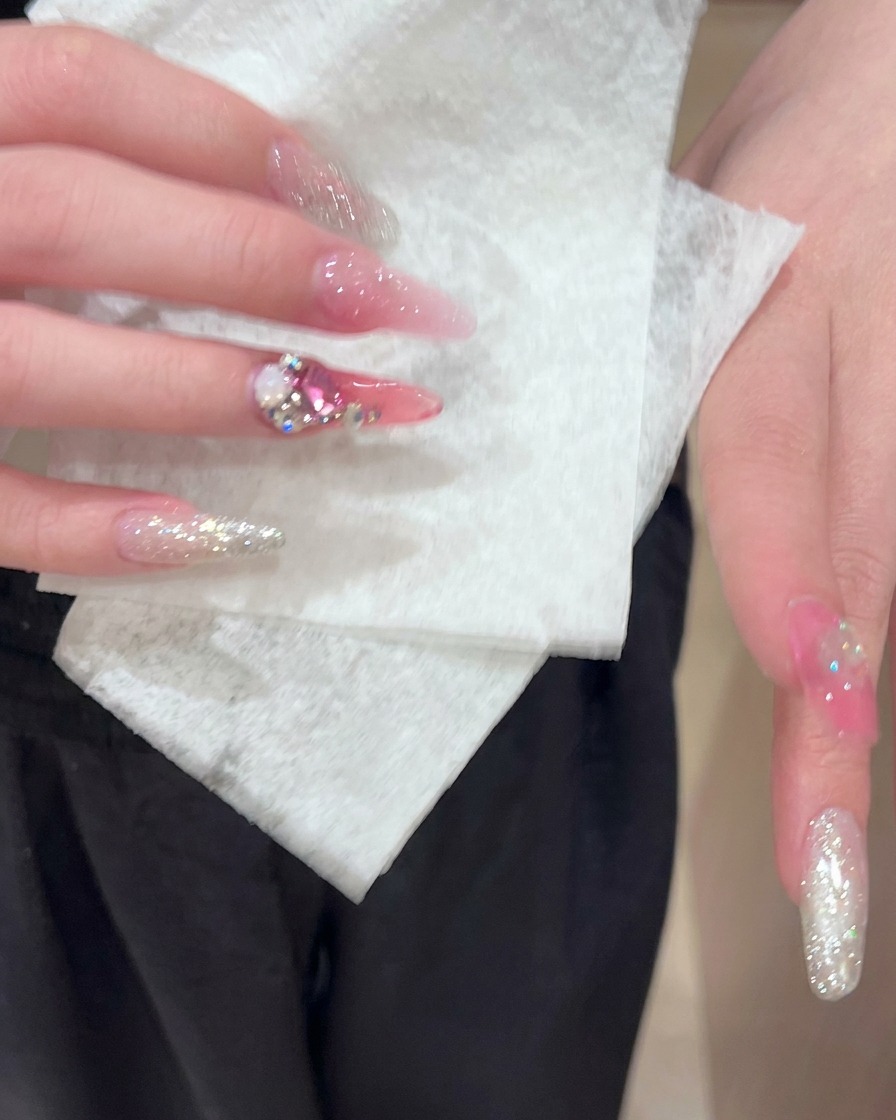
Using a paper wipe, gently clean the nail surface to remove any dust, oils, or residue before showcasing the final nail look. This ensures the presentation is spotless and highlights the clarity and sparkle of the manicure.
Tip: Make sure to use a lint-free wipe to prevent tiny fibers from sticking to the tacky layer or fresh surface. - 2Display glitter and texture details
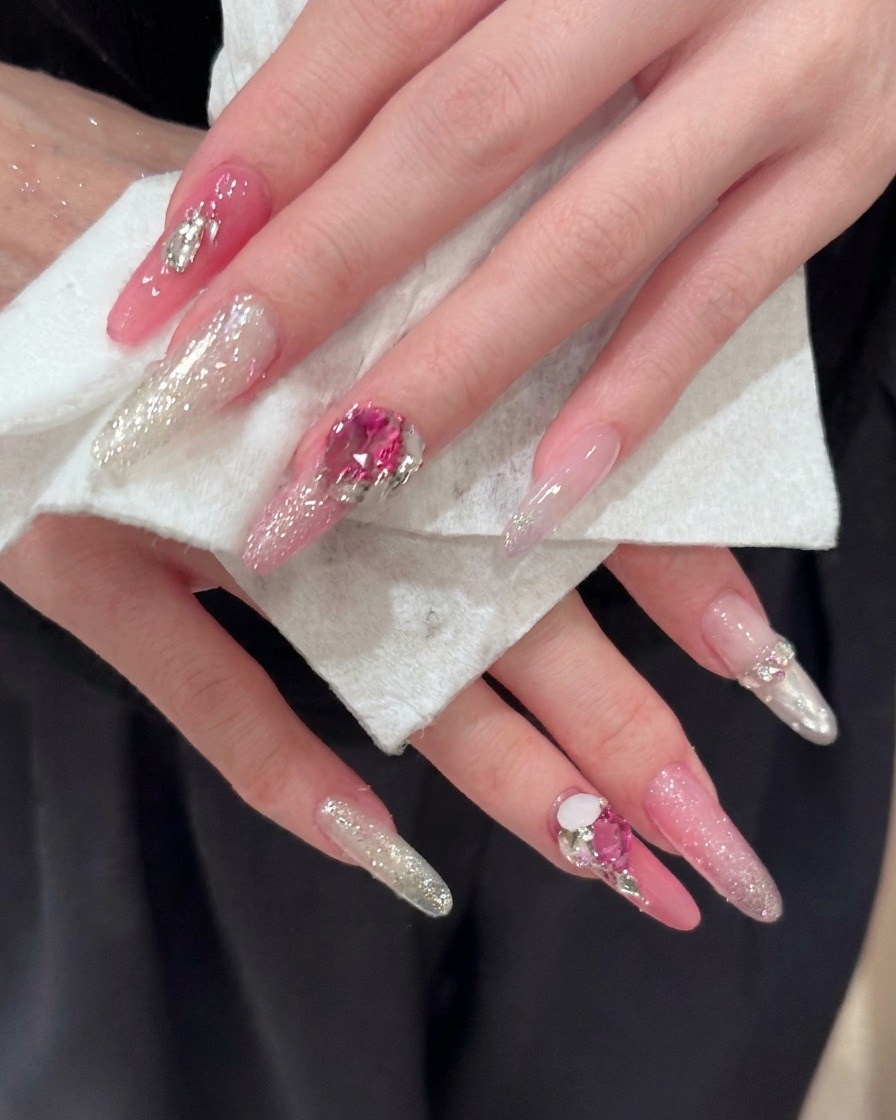
Hold the hands to clearly present the intricate details, including the sparkling silver glitter fades and the vibrant pink tones. This angle emphasizes the multi-dimensional reflection and texture of the embedded elements under the light.
Tip: Position the hands slightly angled toward the light source to maximize the sparkle effect of the glitter gradients. - 3Present side profile and length
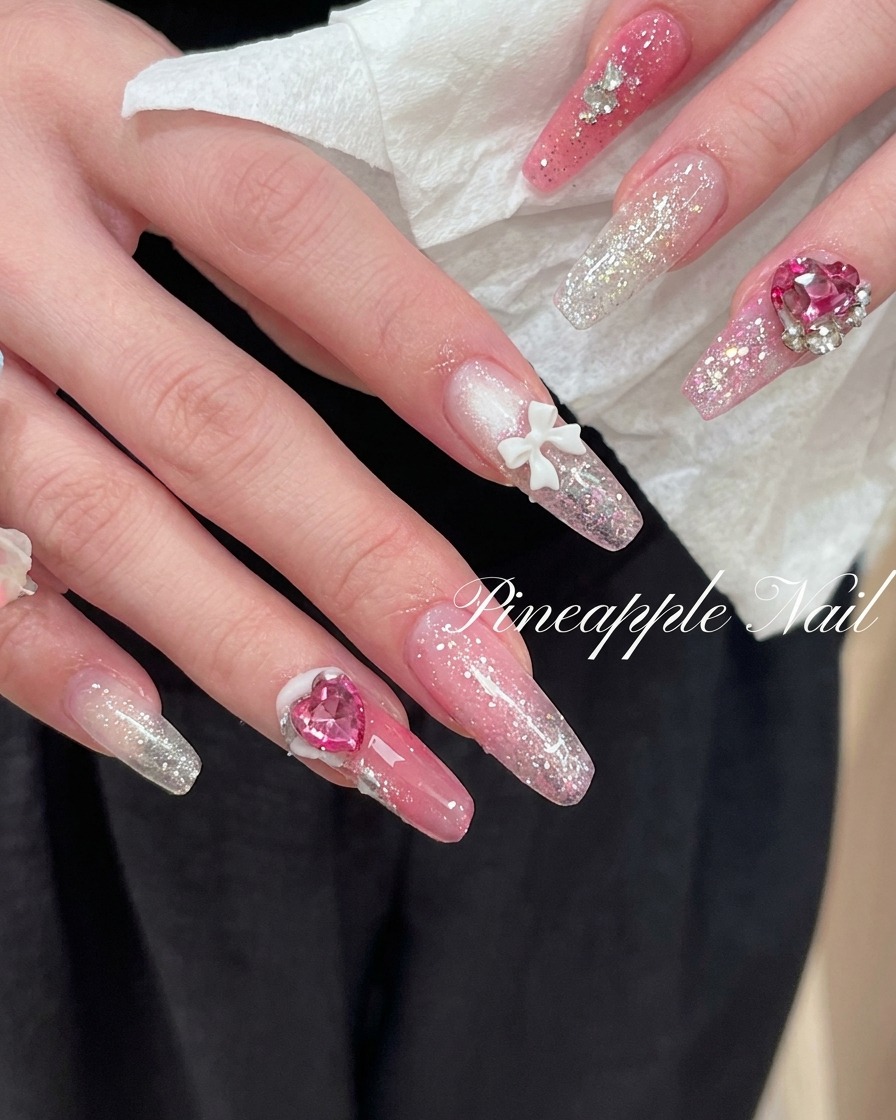
Gently tilt and adjust the hand positions to display the elegant side profile and uniform length of the almond-shaped nail extensions. This view demonstrates the clean structural arch and balanced thickness of the overlay.
Tip: Keep fingers slightly relaxed and separated to ensure the full length and shape of every extension are visible. - 4Showcase the final result
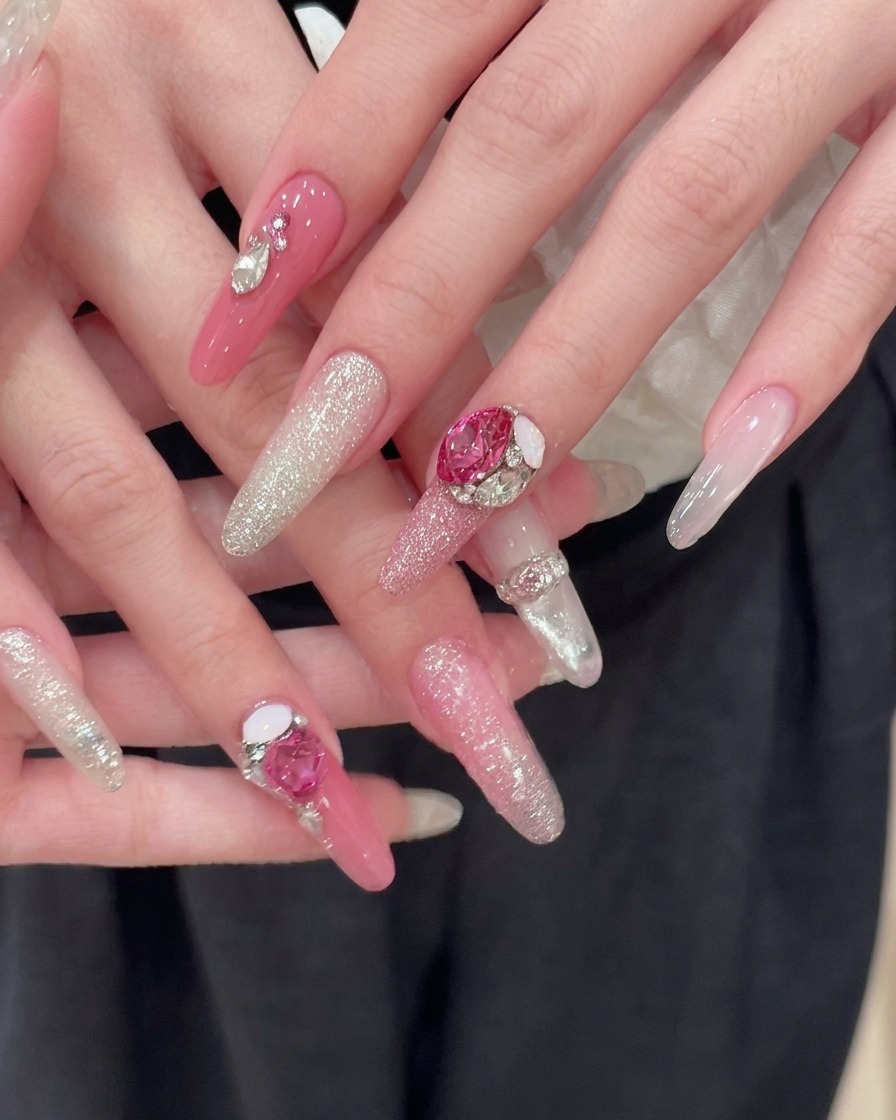
With the nail application completely finished, gently shift your hands under a light source to showcase the sparkling details. The movement allows the light to catch the silver glitter gradient and fine crystal placements, highlighting the highly reflective finish and intricate embellishments of the complete manicure.
Tip: When photographing your finished nails, position a bright, direct light source slightly angled from above to maximize the brilliant reflection of the rhinestones and glitter. - 5Review the completed nail design
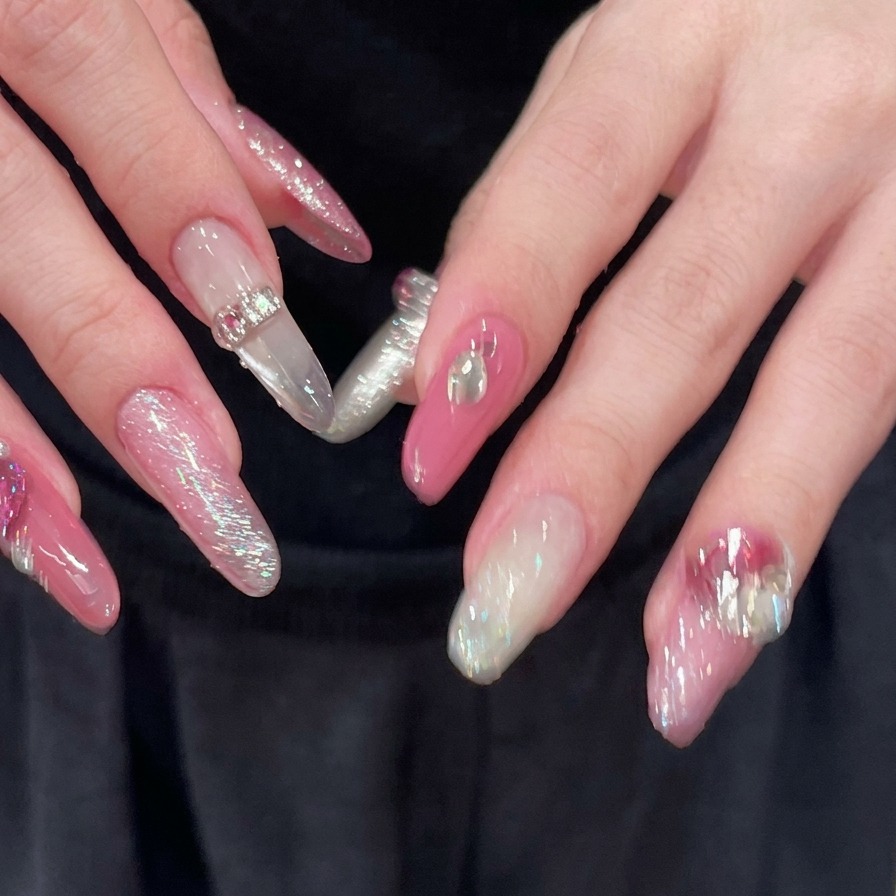
Spread your fingers apart to display the finished nail look. Ensure the pink and silver glitter reflects evenly and that all 3D embellishments, including the heart rhinestones, are securely adhered to the nail plate.
Tip: Applying a generous layer of top coat around the base of large rhinestones helps prevent them from catching on hair or clothing.