Cherry Blossom Pink Magnetic Cat-Eye Gel Nails — Step-by-Step Tutorial
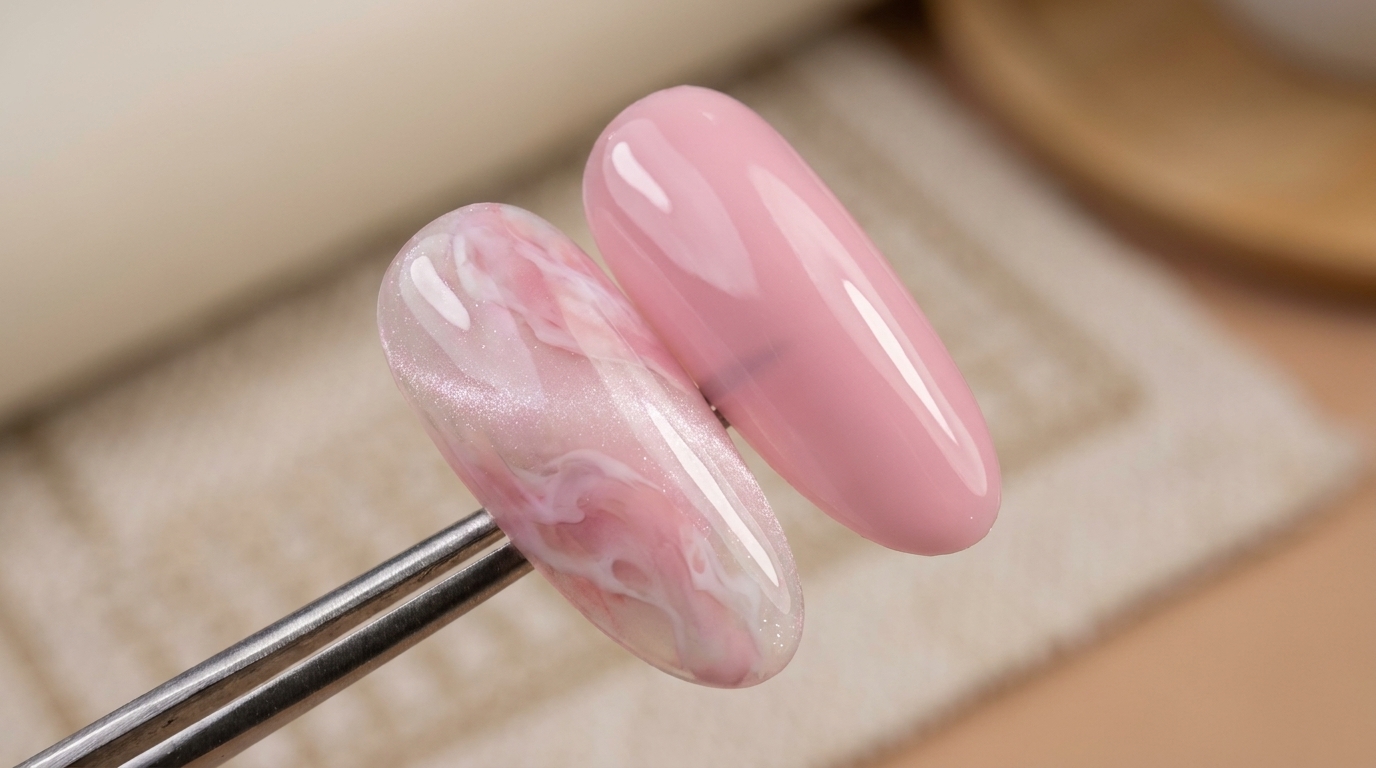
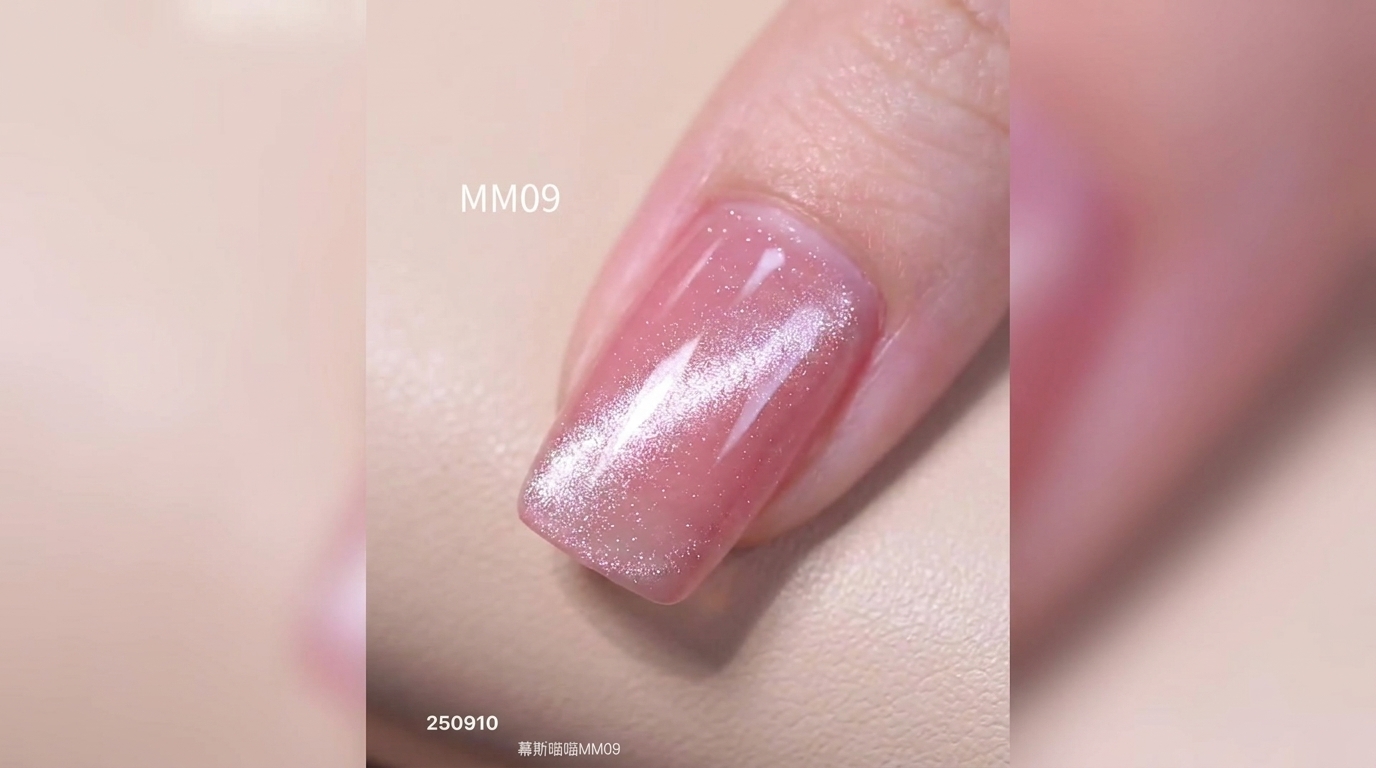
Create a mesmerizing luminous cat-eye effect with sheer cherry blossom pink magnetic gel polish and a cylindrical magnet.
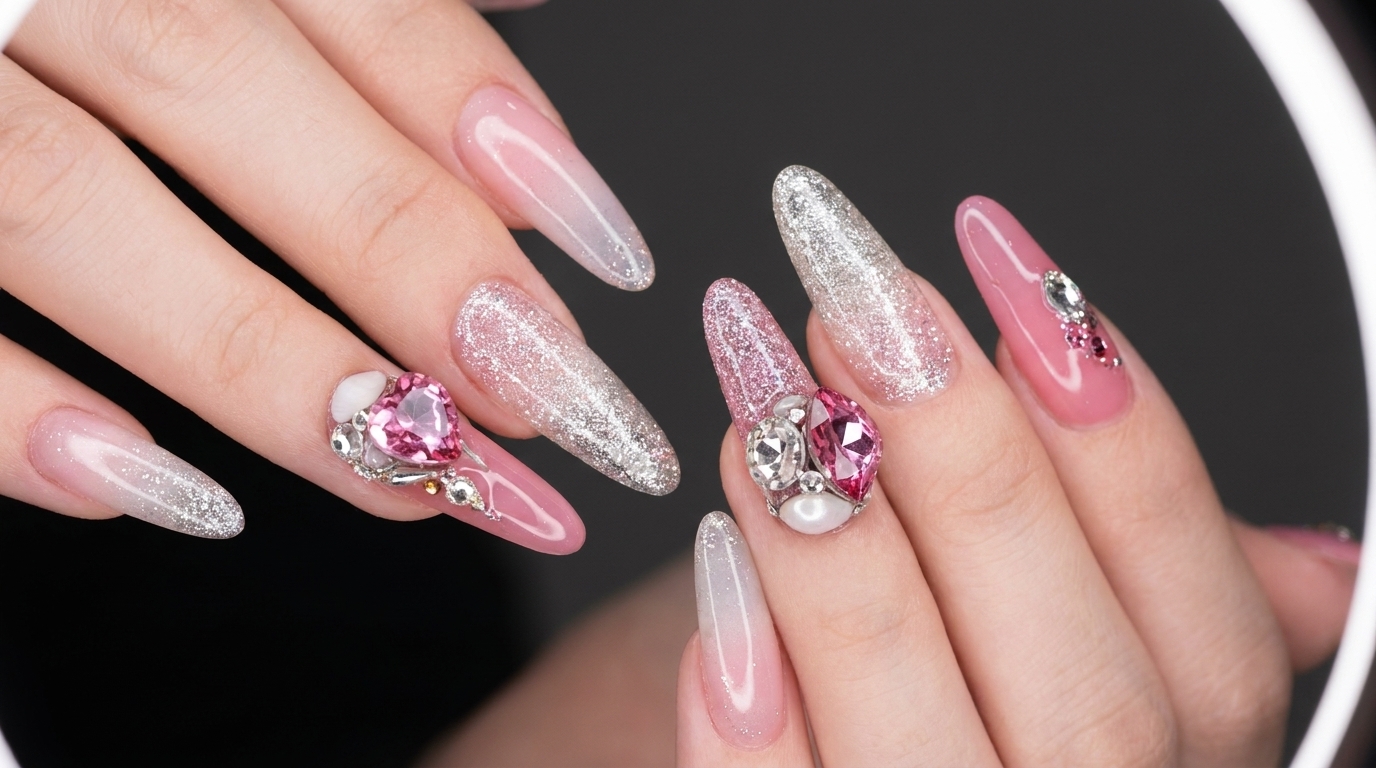
Magnetic cat-eye gels continue to captivate nail enthusiasts with their unique 3D optical illusions that glow from within. This cherry blossom pink shade combines delicate romance with a modern, futuristic shimmer band down the center. By carefully manipulating the magnetic particles from the sides and free edge, you can achieve a stunning salon-quality finish right at home.
Steps
- 1Apply sheer pink magnetic gel polish
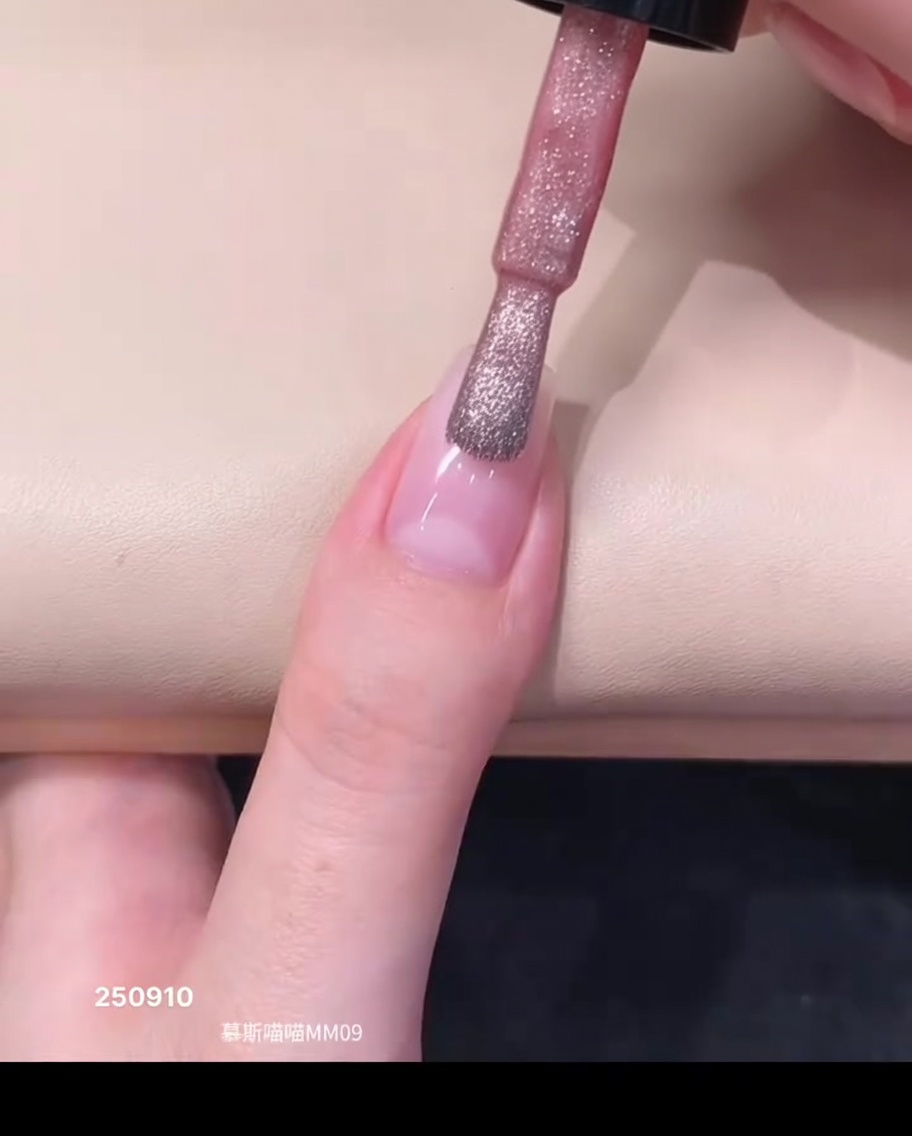
Place a small drop of sheer pink magnetic gel polish near the cuticle area using the bottle brush. Carefully guide the polish down toward the free edge to create a smooth and even foundation layer before activating the magnetic shimmer.
Tip: Keep the initial drop small to prevent flooding the cuticle and sidewalls, ensuring a clean finish. - 2Distribute down the center
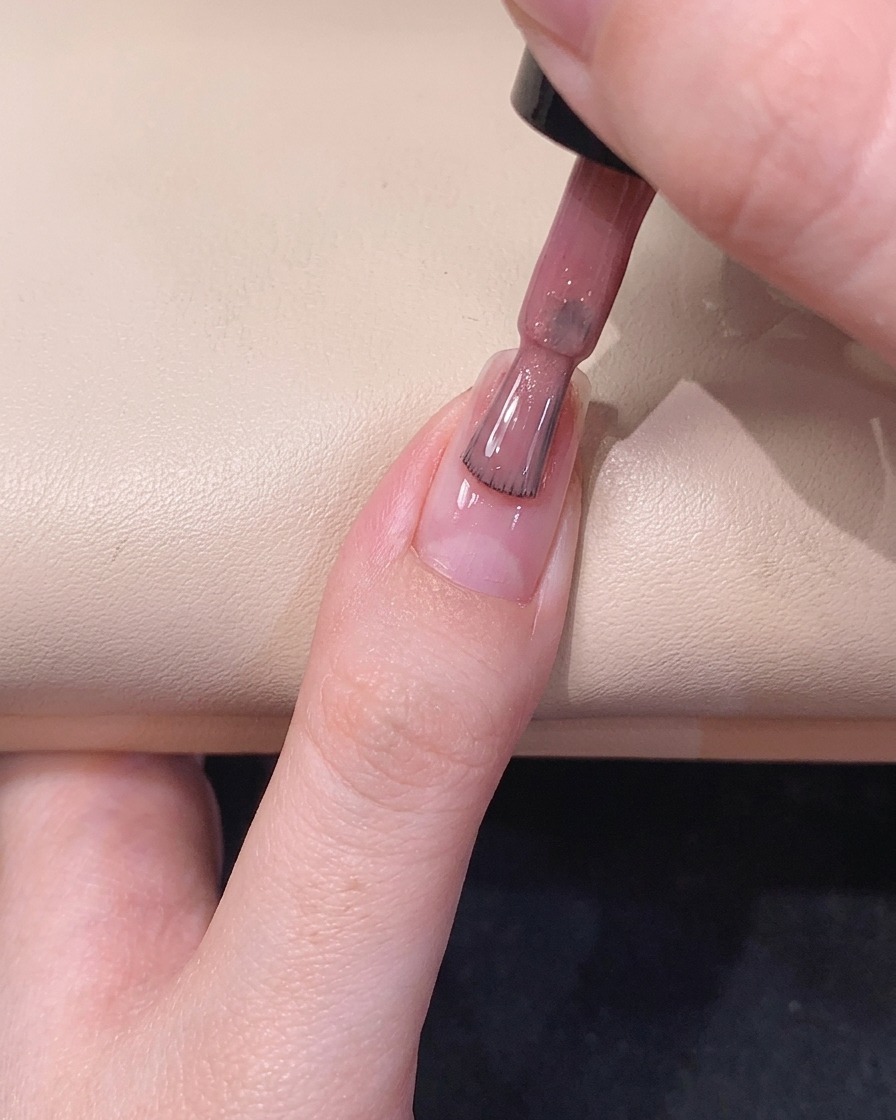
Gently pull the gel polish brush straight down the center of the nail plate. This central stroke helps evenly distribute the bulk of the pink magnetic polish from the cuticle area down toward the free edge.
Tip: Use light pressure so the bristles fan out slightly and glide over the nail without leaving streaks. - 3Cover the right side
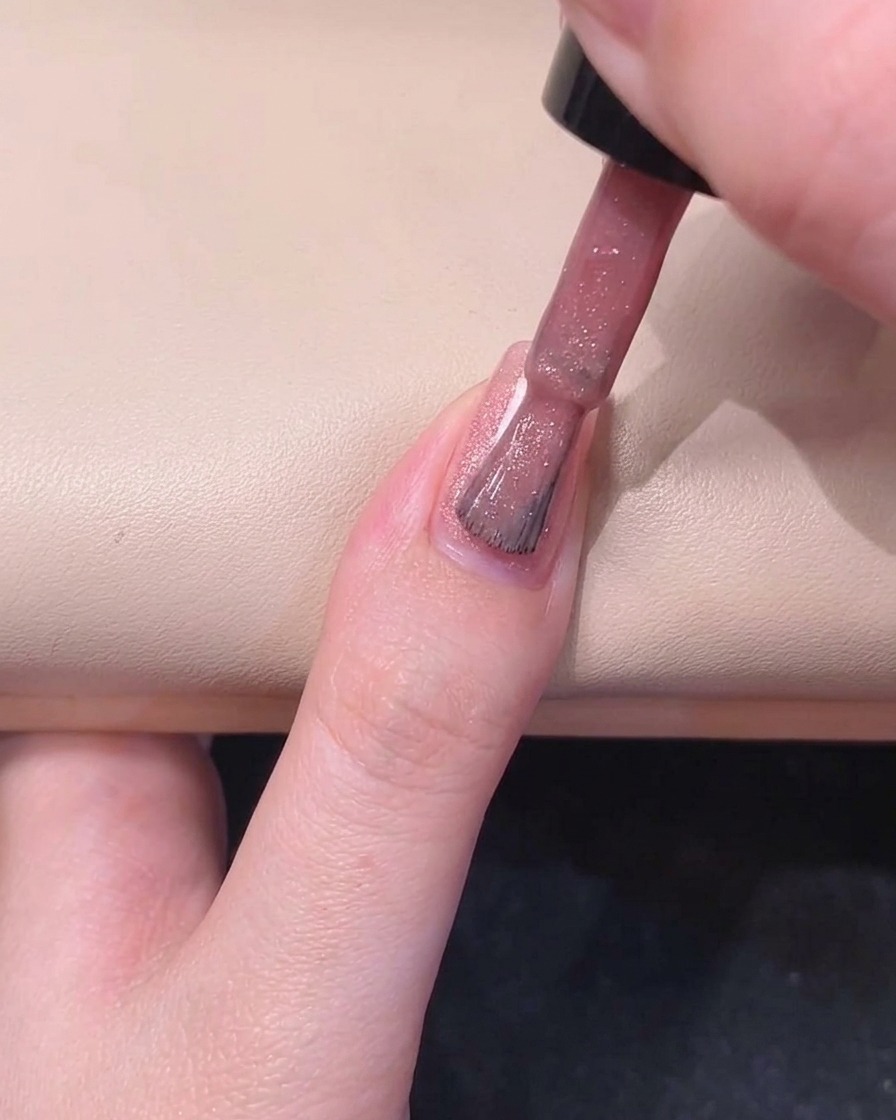
Shift your brush to the right side of the nail plate. Carefully spread the pink gel polish along the sidewall, ensuring smooth, even coverage while maintaining a tiny gap to avoid touching the skin.
Tip: Roll the finger slightly to the left to give yourself a better view and easier access to the right sidewall. - 4Spread the pink gel polish along the side
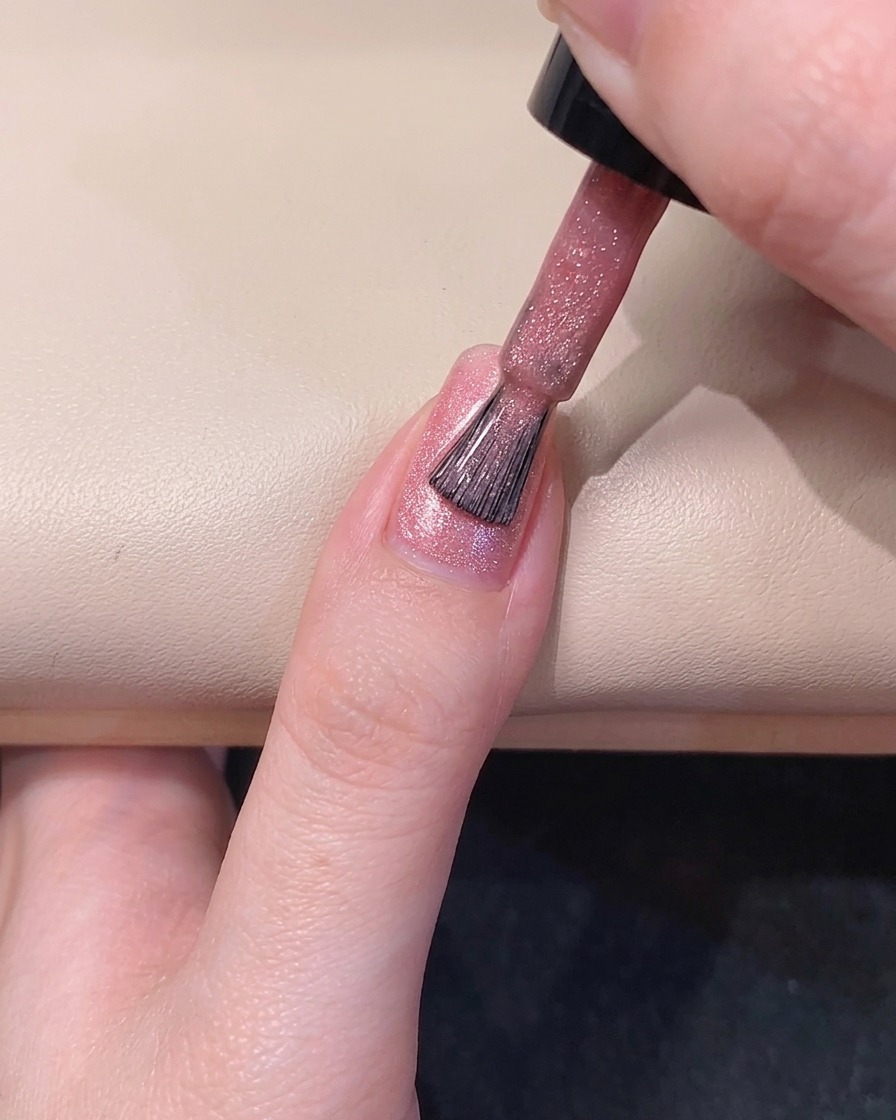
Using the application brush, gently guide and spread the pink gel polish along the left side of the nail. Make sure the product reaches the edges evenly without pooling, providing full coverage across the nail plate.
Tip: Light, even strokes help distribute the magnetic particles evenly throughout the wet gel layer. - 5Activate shimmer with magnet on the right side
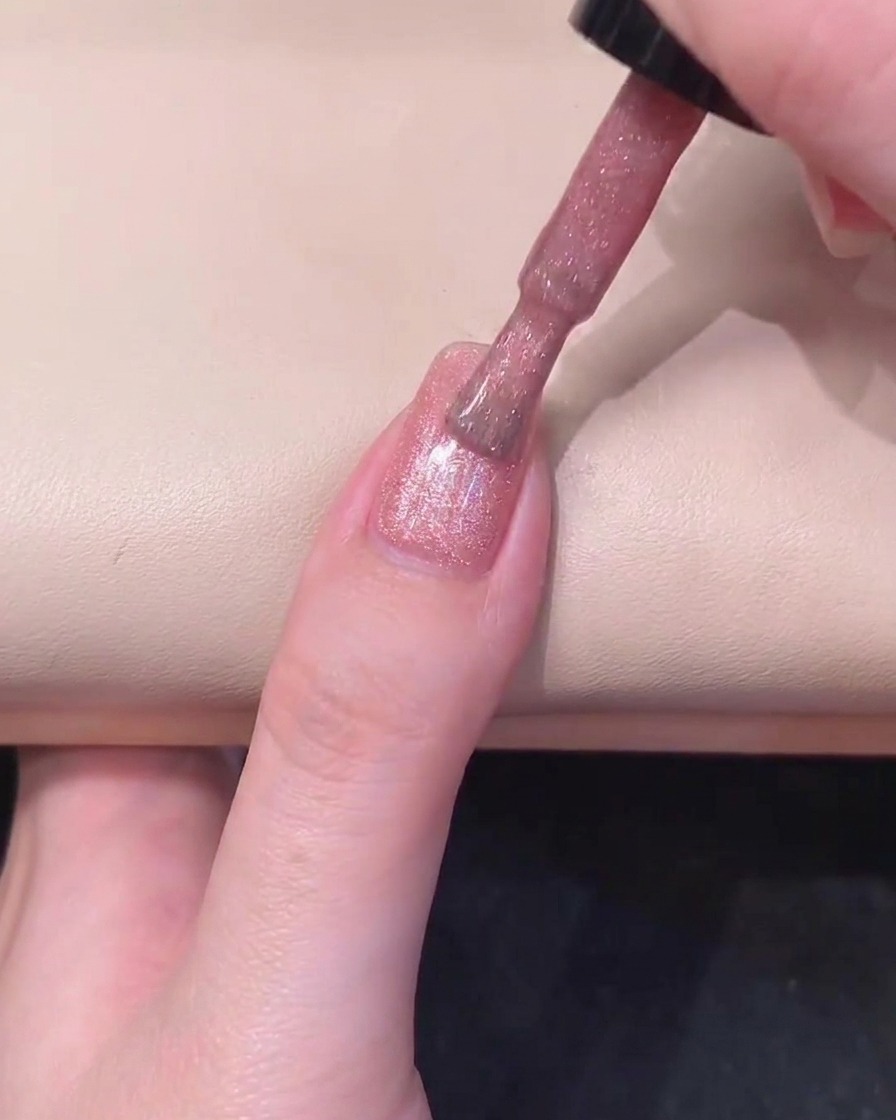
Position a black cylindrical magnet parallel to the right side of the wet gel-coated nail. Hold it steady to repel and shift the magnetic particles, starting the creation of the dimensional cat-eye effect.
Tip: Do not let the magnet touch the wet gel surface while guiding the particles. - 6Push magnetic shimmer from the left side
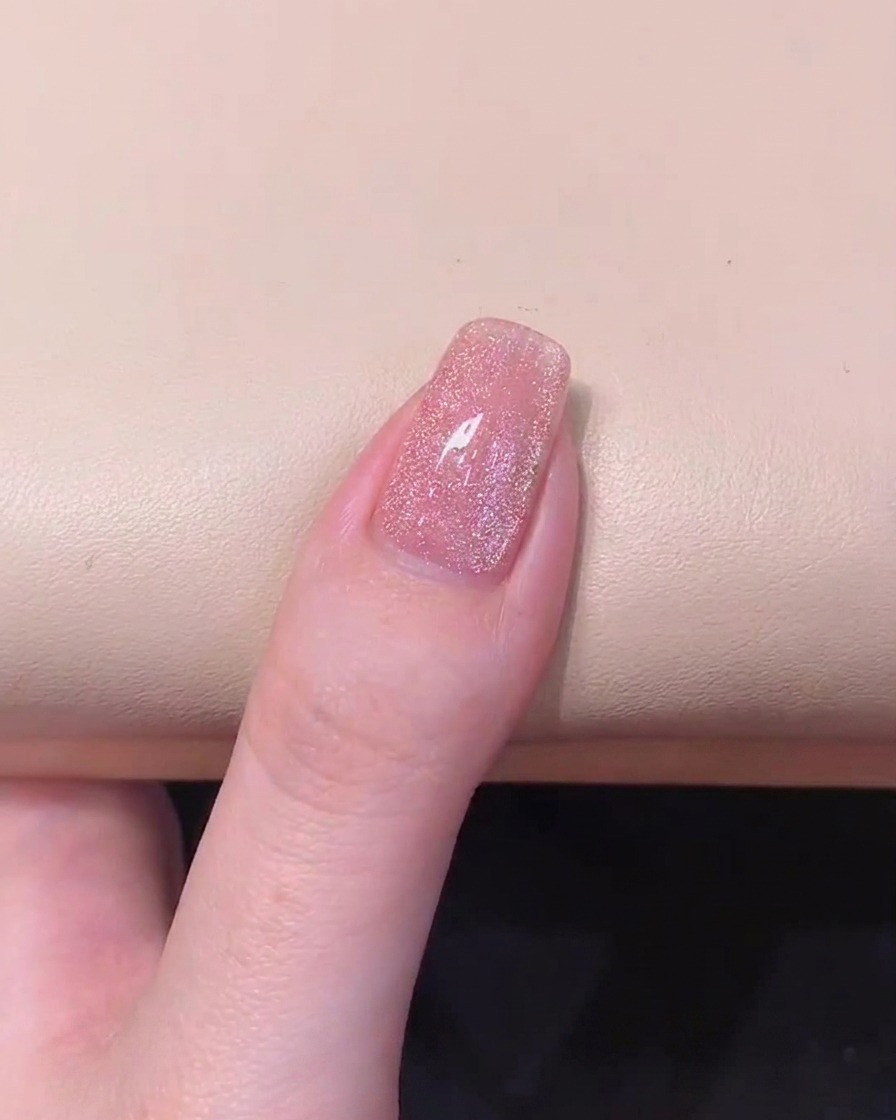
Shift the cylindrical magnet over and hold it parallel to the left side of the nail. This movement pushes the suspended magnetic shimmer inward toward the center, building depth and richness in the design.
Tip: Maintain a consistent distance from the nail surface on both sides to keep the shimmer symmetrical. - 7Concentrate shimmer into a central band
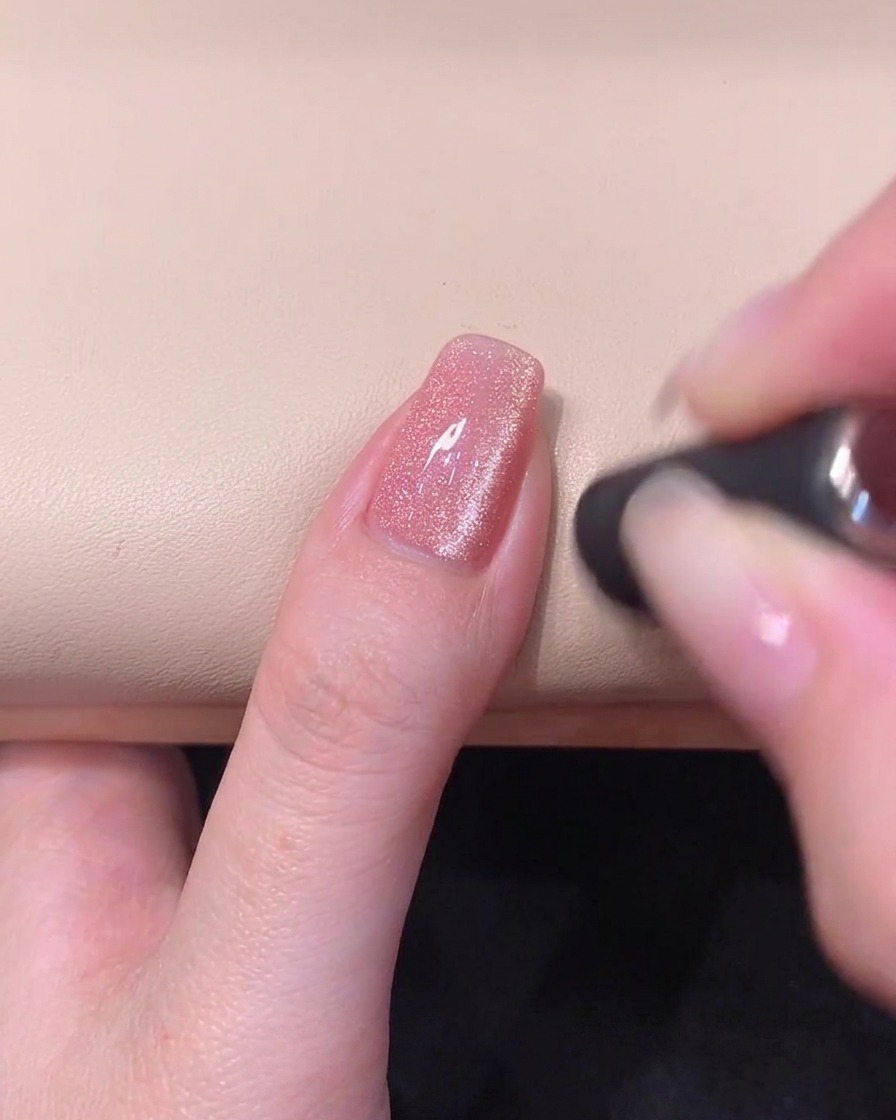
Place the magnet horizontally directly across the top free edge of the nail. This final positioning concentrates the dispersed magnetic shimmer into a sharp, glowing central band characteristic of the cat-eye look.
Tip: Keep your hand completely steady while holding the magnet across the tip to lock the sharp line into place. - 8Reveal the cat-eye effect
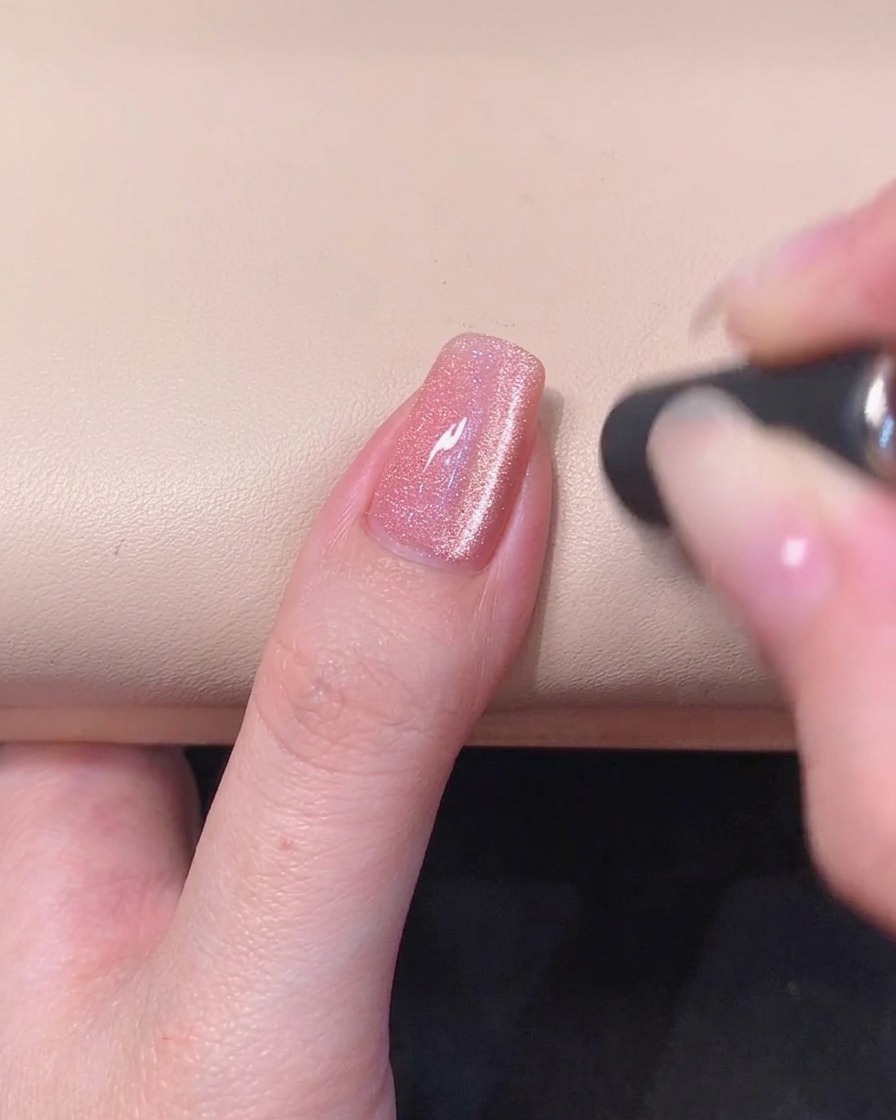
Lift and remove the magnet away from the nail to unveil the completed cat-eye pattern. The shimmering particles remain suspended in the wet gel, forming a bright luminous streak down the center.
Tip: Check the alignment of the cat-eye band immediately after removing the magnet, and cure promptly under a UV or LED lamp if it looks correct.