Pastel Macaron Summer Nails: Sugar Stars
Pearl Chrome Tutorial
Create the ultimate summer nail look combining a sheer nude base with textured pastel sugar powder stars and a flawless pearl chrome finish.
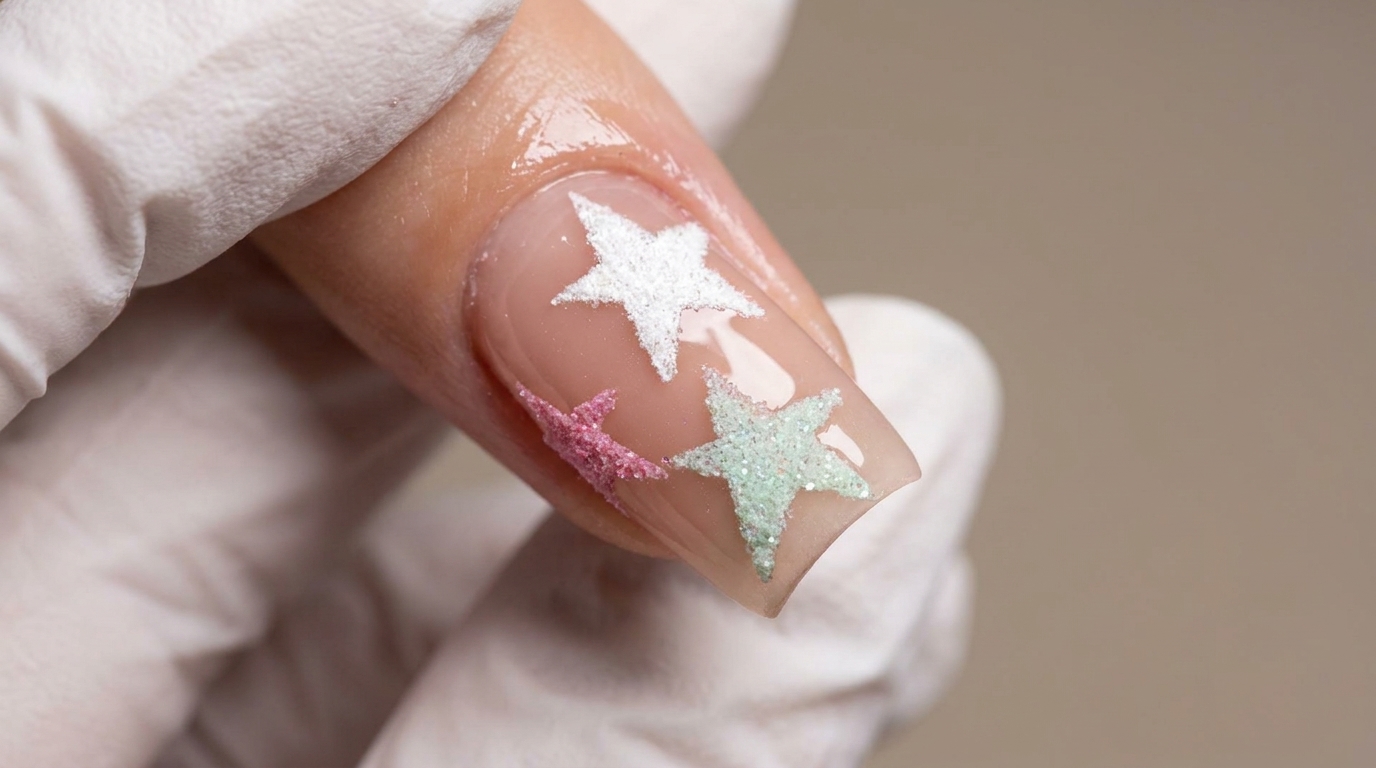
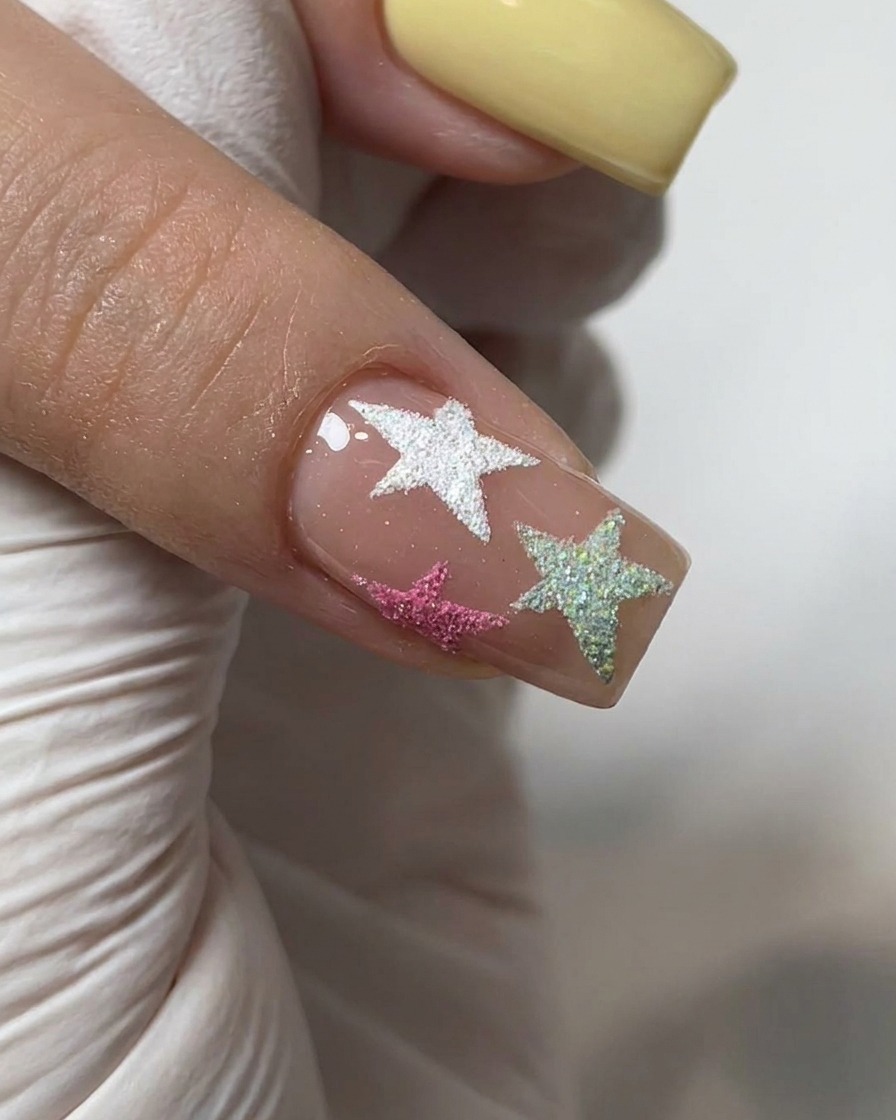
Textured nail art is dominating the season, and the sugar powder effect is the perfect way to add dimension to your manicure. This macaron-inspired look beautifully balances a high-shine pearl aurora chrome base on the solid nails with matte, raised sugar stars in soft white, pink, and mint on a sheer nude background. Mixing these finishes creates a playful, sophisticated 3D effect that feels fresh and fun.
Steps
- 1Push back cuticles with e-file
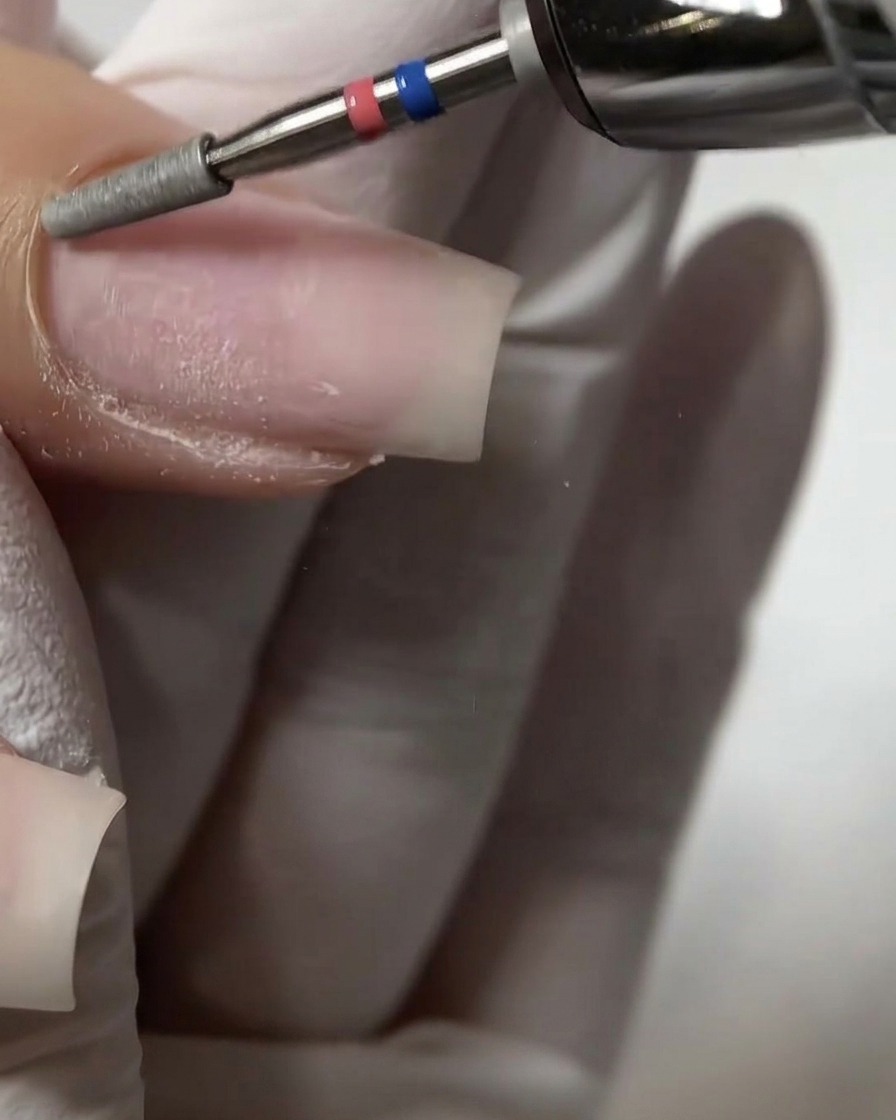
Using a flat cylinder or flame e-file bit on a low speed, gently work around the proximal cuticle wall to push the skin up. Guide the bit carefully along the natural nail plate to exfoliate and lift dead skin. This step is crucial for opening the cuticle pocket securely.
Tip: Keep the e-file moving continuously to avoid heat spikes and minimize pressure on the natural nail plate. - 2Trim dead skin with nippers
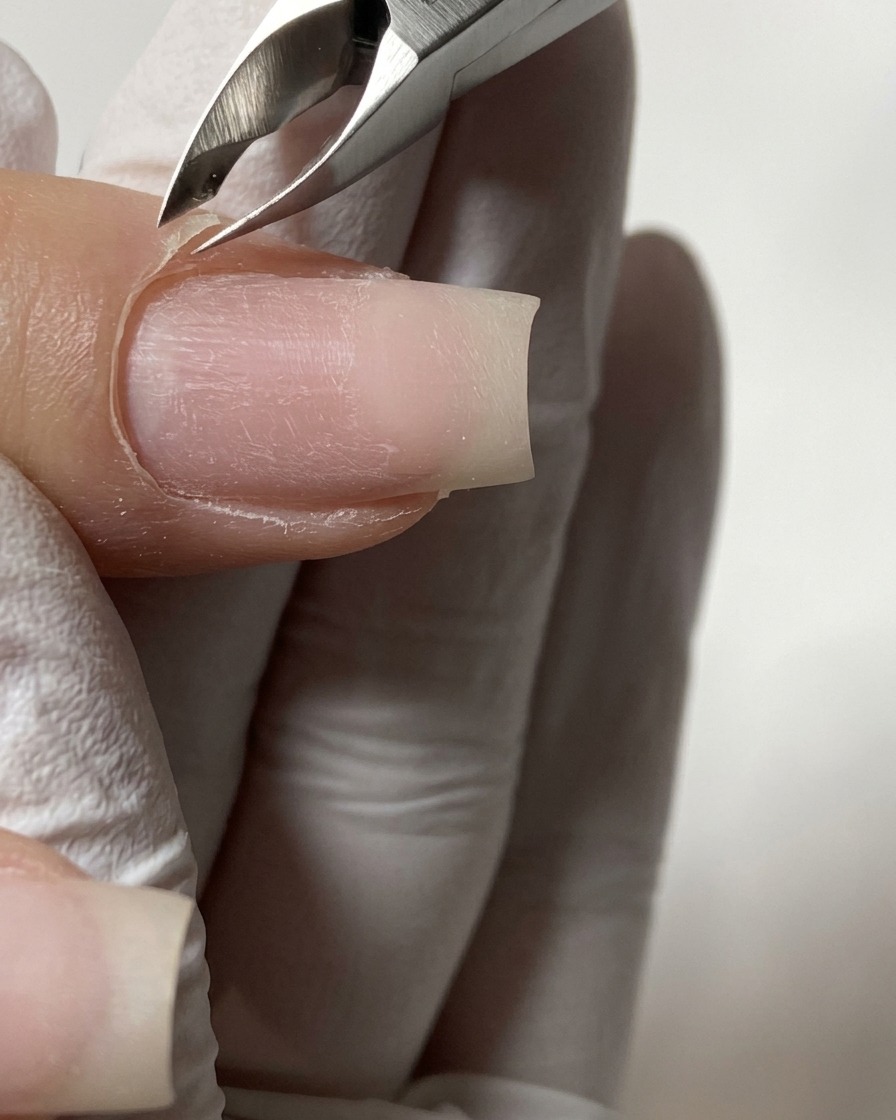
Carefully trim away the lifted dead skin around the proximal nail fold using a pair of sharp cuticle nippers. Only remove the white, non-living tissue that has been safely pushed back, making sure not to cut any live skin.
Tip: Always make precise, clean cuts instead of pulling or tearing the skin, which can cause hangnails and irritation. - 3Refine lateral nail folds
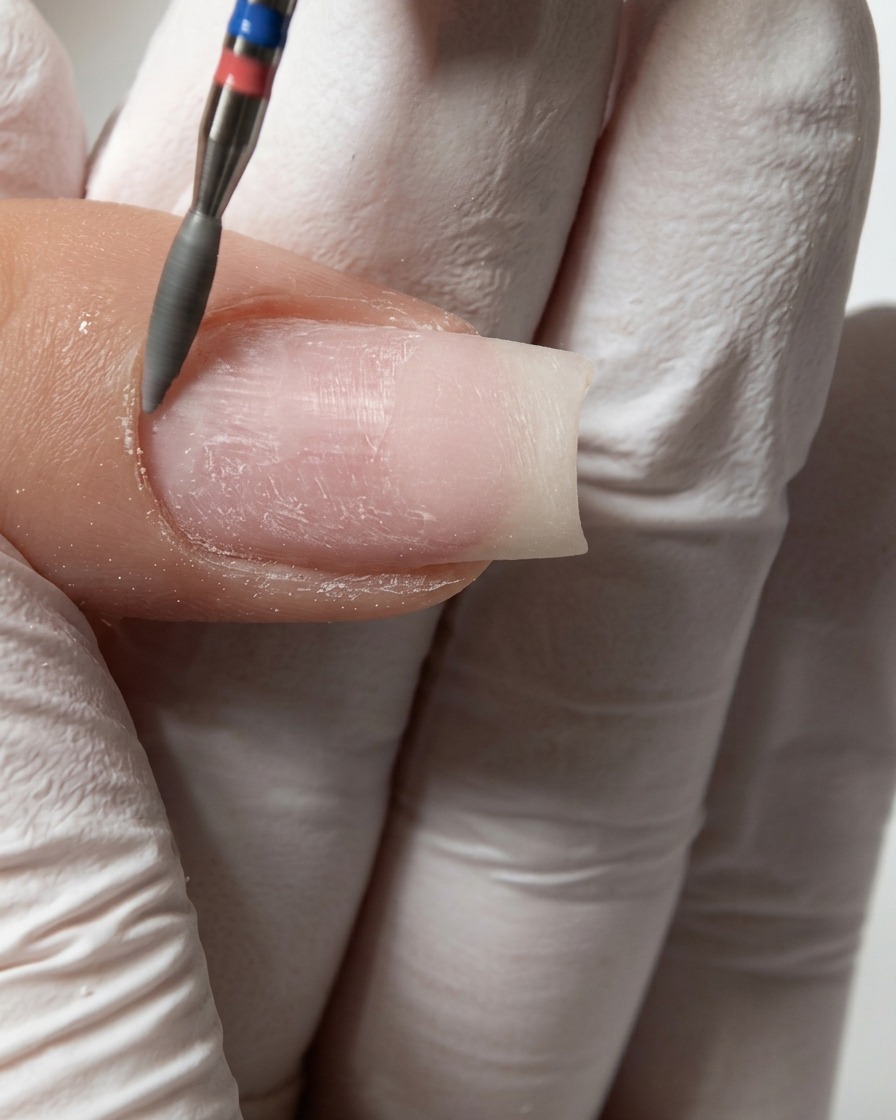
Use a fine e-file bit to gently clean and refine the lateral nail folds along the sides of the nail. This detailed prep work ensures all remaining debris is removed, creating a perfectly smooth and clean canvas for product application.
Tip: Hold the e-file parallel to the nail surface to ensure you only exfoliate the skin without filing into the nail plate. - 4Apply clear base coat
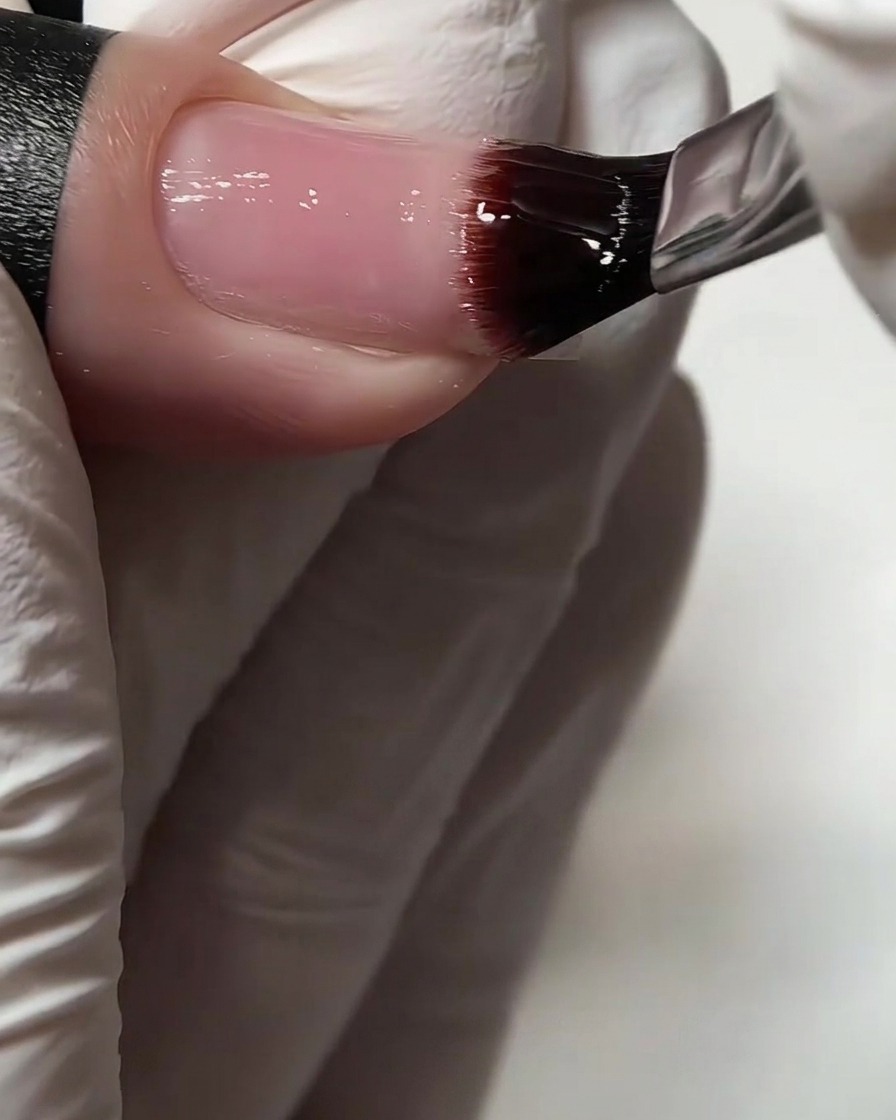
Using a gel brush, apply an even layer of clear base coat to the prepped natural nail plate. Start near the cuticle and gently pull the product down toward the free edge, ensuring smooth and uniform coverage across the entire surface.
Tip: Keep the base coat application thin to prevent the product from flooding the cuticles, which can cause premature lifting. - 5Flash cure under handheld lamp
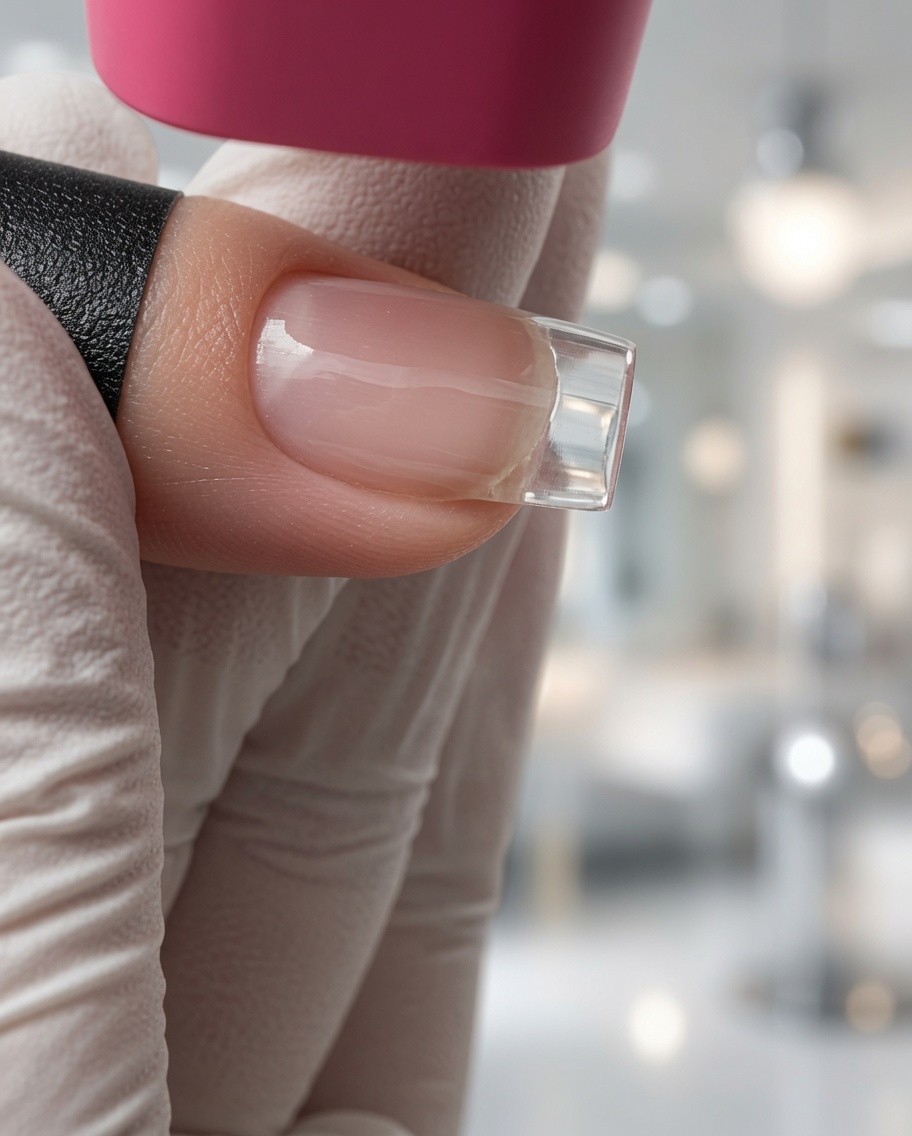
Place the prepared nail under a handheld UV/LED lamp to flash cure the clear base coat. Hold the light steady over the nail for a few seconds to lock the gel in place and prevent it from shifting or flooding the cuticle area.
Tip: A quick flash cure freezes the gel in place, but you should always follow up with a full cure in a standard lamp. - 6Apply builder gel
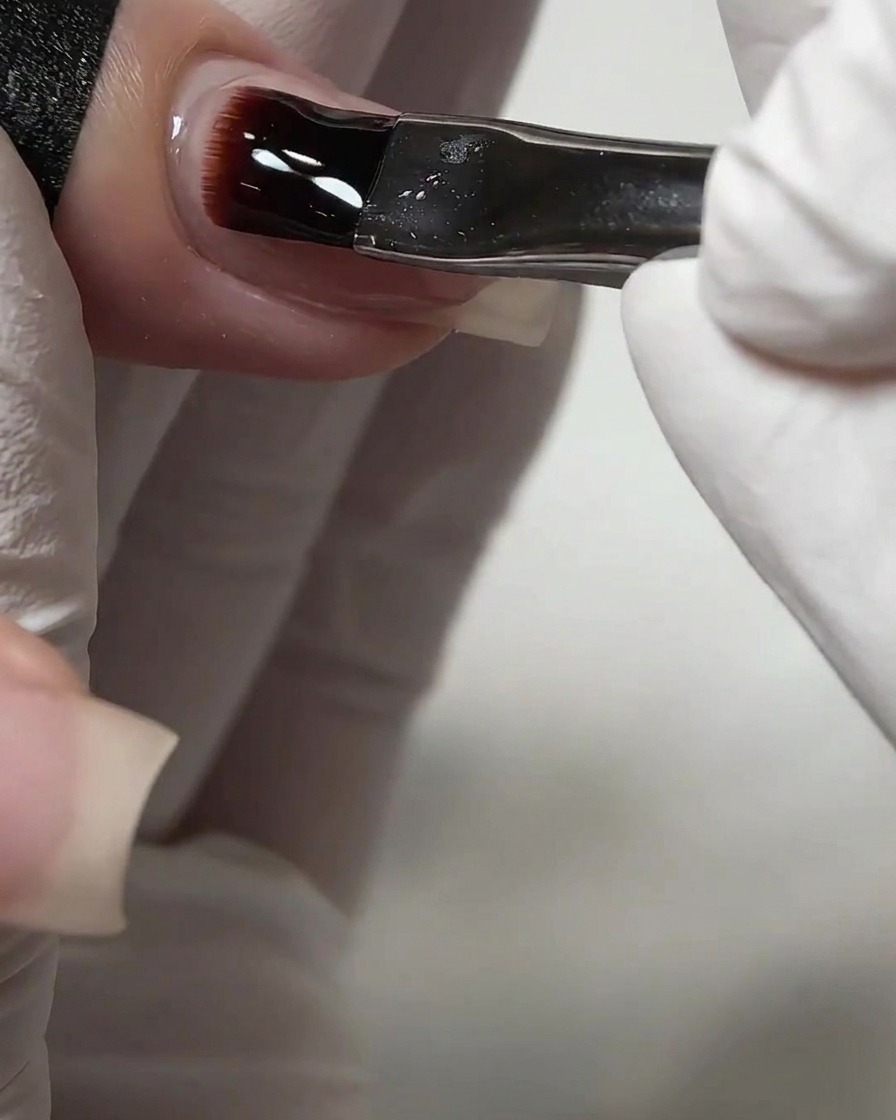
Apply a thicker layer of self-leveling builder gel over the entire nail to create a smooth, even structure. Use a gentle floating motion with your brush to guide the gel into place, ensuring you build a natural apex and cover all areas evenly.
Tip: Turn the finger upside down for a few seconds before curing to allow gravity to help the gel self-level into a perfect apex. - 7Apply first coat of pastel yellow
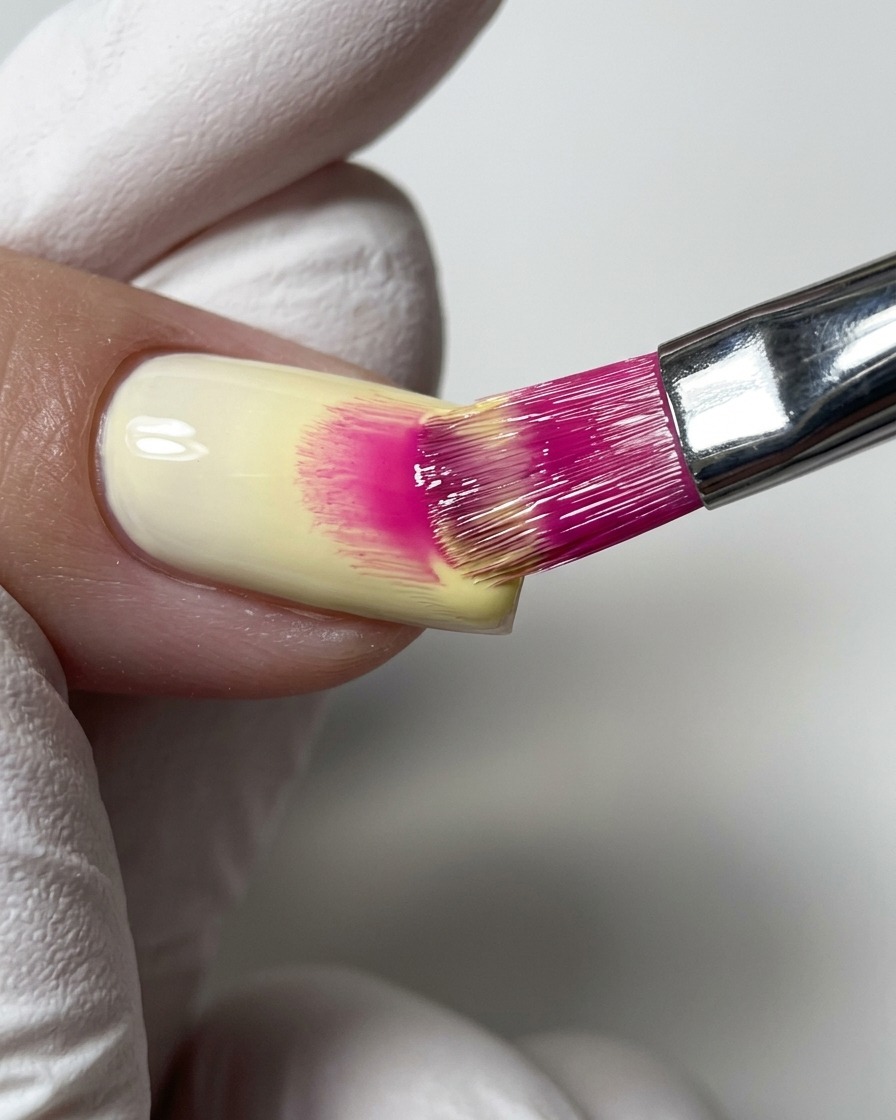
Pick up a small amount of pastel yellow gel polish on your brush and apply a thin, even layer over the nail surface. Work carefully around the cuticle area and sidewalls to maintain a crisp, clean application line.
Tip: Pastel colors can sometimes appear streaky on the first coat. Keep the layer thin and rely on the second coat to build full opacity. - 8Cure the yellow gel polish
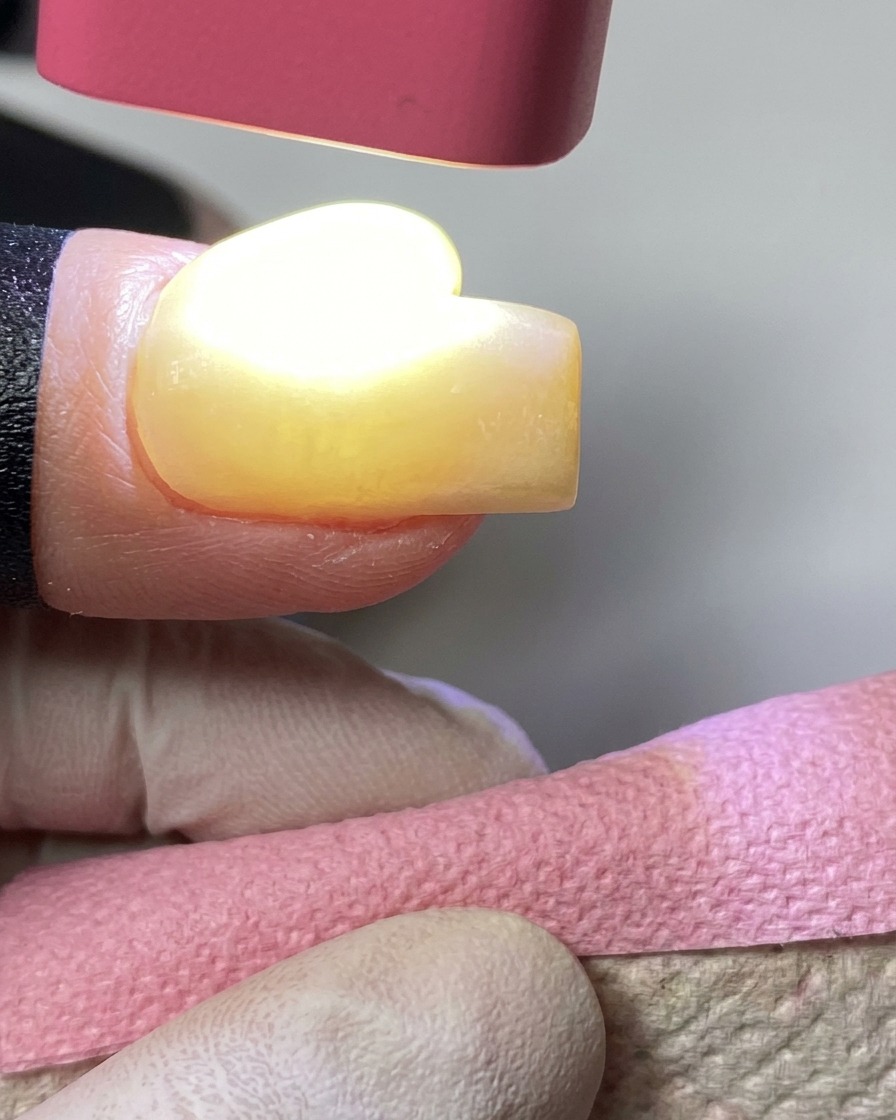
Place the nail under a handheld UV/LED lamp to cure the first coat of yellow gel polish. Ensure the light covers the entire surface evenly so the gel sets properly without wrinkling or shrinking.
Tip: Hold the handheld lamp steady and close to the nail to ensure a complete cure of pigmented pastel gels. - 9Apply second coat for full opacity
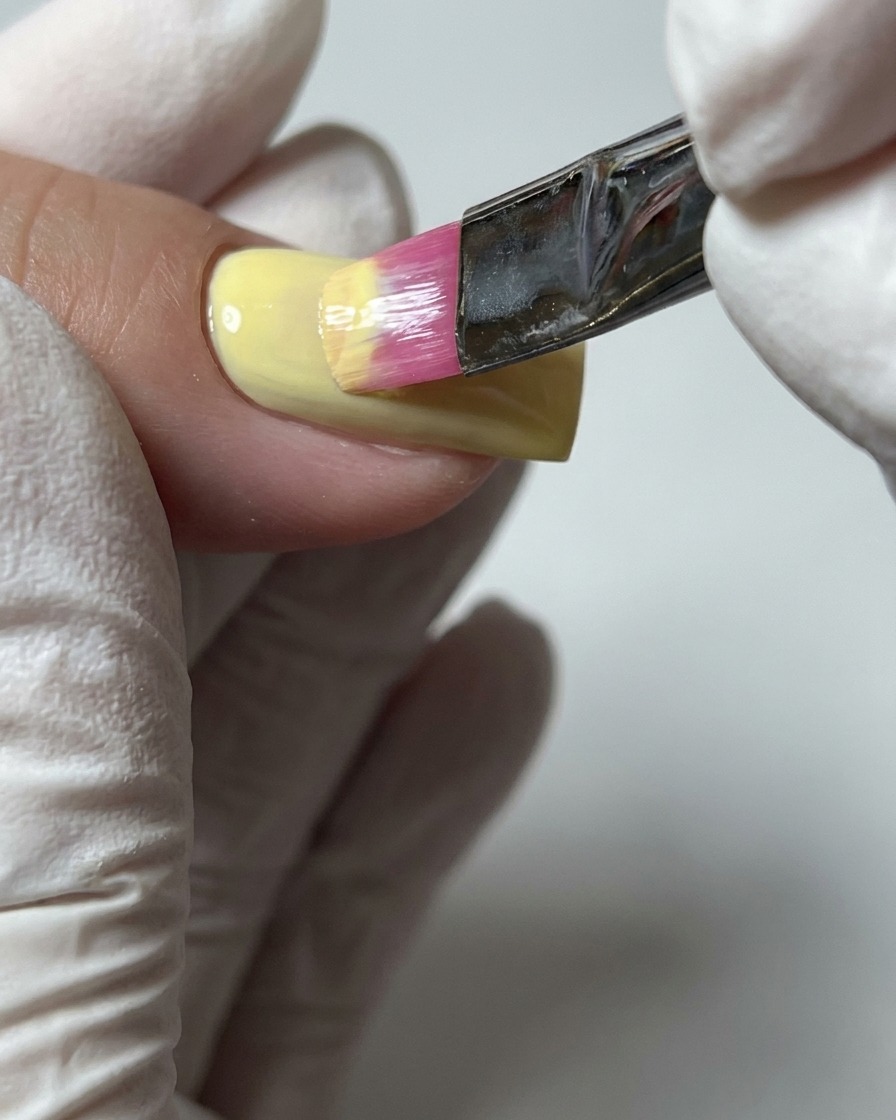
Apply a second thin coat of the pastel yellow gel polish over the entire nail. This layer will cover any remaining streaks from the first application and build the color to a fully opaque, vibrant finish.
Tip: Float the brush gently over the surface rather than pressing down firmly to avoid dragging the polish and creating brush strokes. - 10Apply sheer nude base
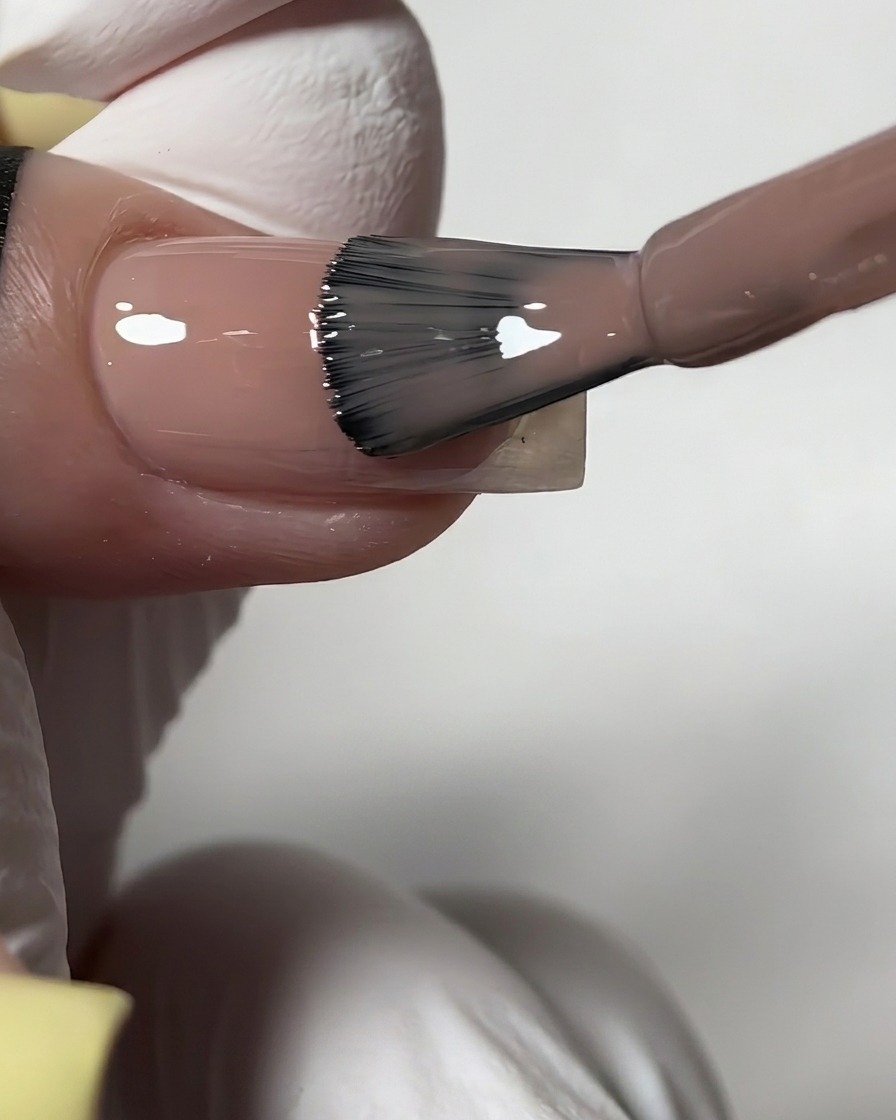
Moving to the next nail, use the polish bottle brush to apply an even layer of sheer nude gel color. This soft, neutral background will provide the perfect subtle canvas for the upcoming star nail art details.
Tip: A sheer neutral base creates negative space that allows intricate nail art to stand out without looking cluttered. - 11Apply clear top coat for nail art
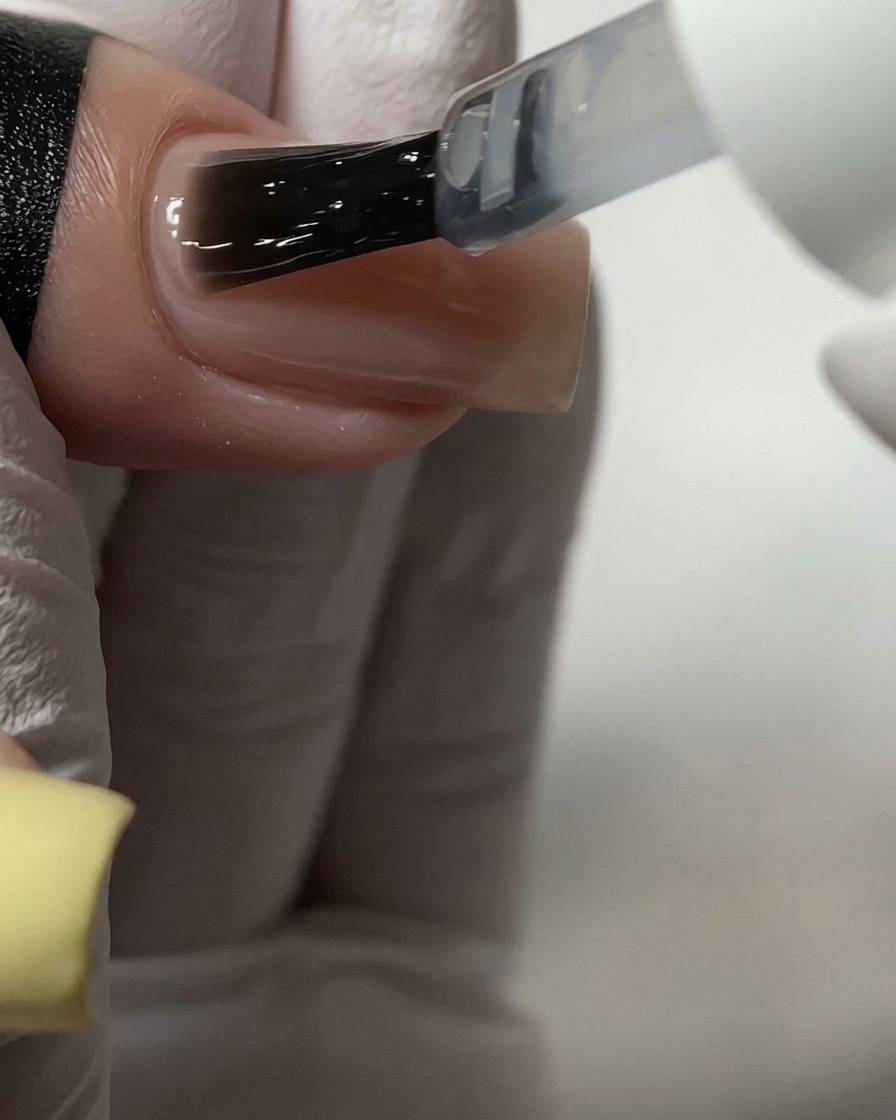
Apply a smooth layer of clear top coat over the cured nude base color, and cure it fully. This creates an even surface and ensures the sugar powder will only adhere to your drawn stars later, not the entire background.
Tip: Wipe the cured top coat with alcohol to remove any sticky inhibition layer if you arent using a non-wipe formula. This prevents rogue glitter from sticking to the negative space. - 12Draw a star shape with white gel
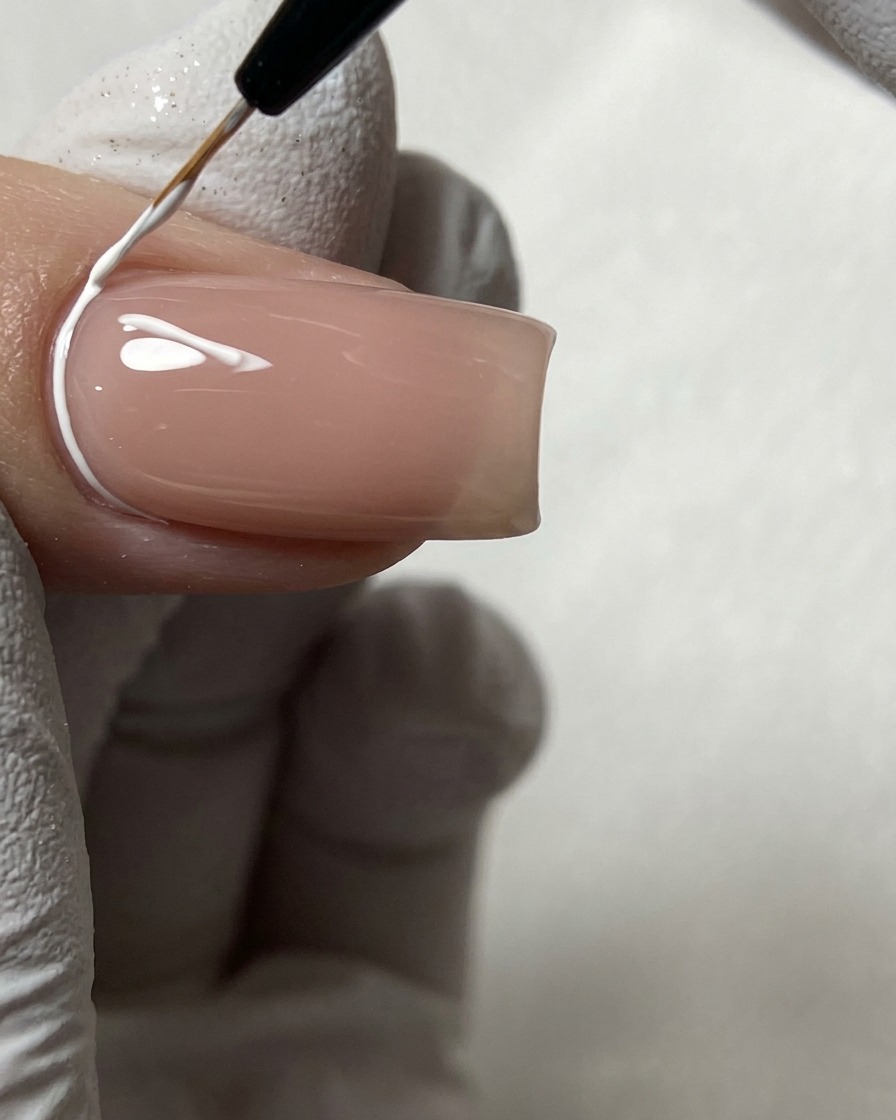
Dip a fine liner brush into white gel polish and carefully outline and fill in a star shape near the cuticle area. Take your time to keep the lines crisp and sharp for a clean geometric look.
Tip: Wipe your liner brush clean frequently and use a very light touch to achieve fine, precise points on the star. - 13Apply sugar glitter powder
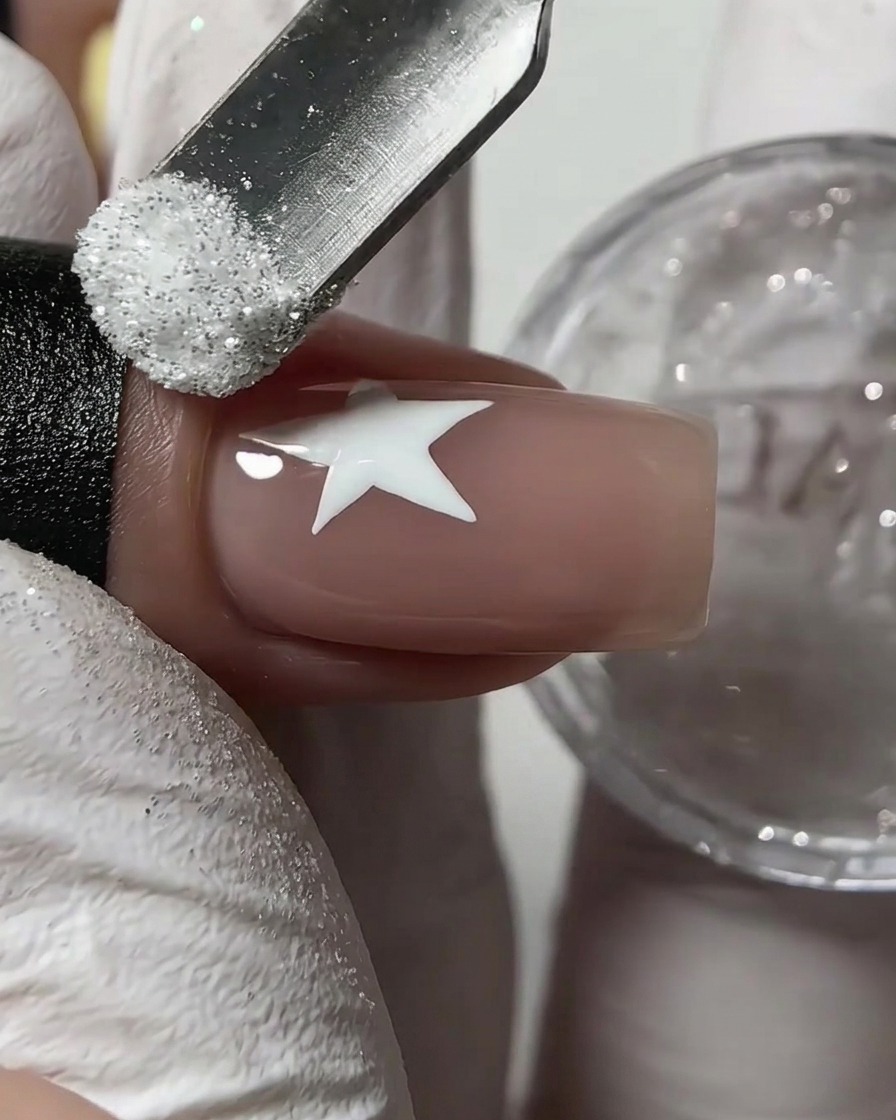
Using a cuticle pusher or a small scoop, generously sprinkle white sugar glitter powder over the wet white star design. Make sure the entire star is evenly coated so the glitter adheres properly to the uncured gel.
Tip: Do not tap the finger too forcefully before curing, as you want to ensure a thick layer of glitter remains stuck to the gel. - 14Cure the star design
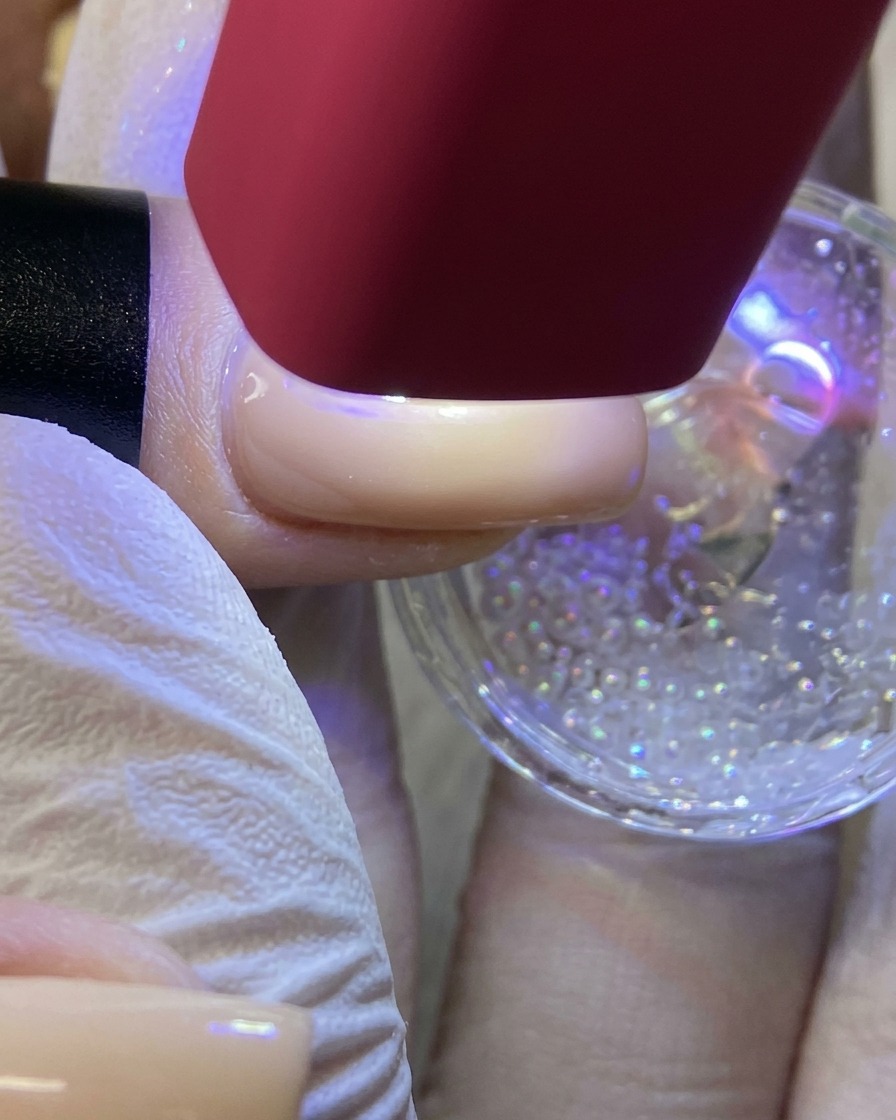
Place the nail under a handheld UV or LED lamp to flash cure the powder-coated white star design. This locks the sugar glitter securely into the gel, preventing it from shifting or smudging during subsequent steps.
Tip: A handheld lamp is ideal for quickly flash curing nail art before doing a final full cure in a standard nail lamp. - 15Brush off excess powder
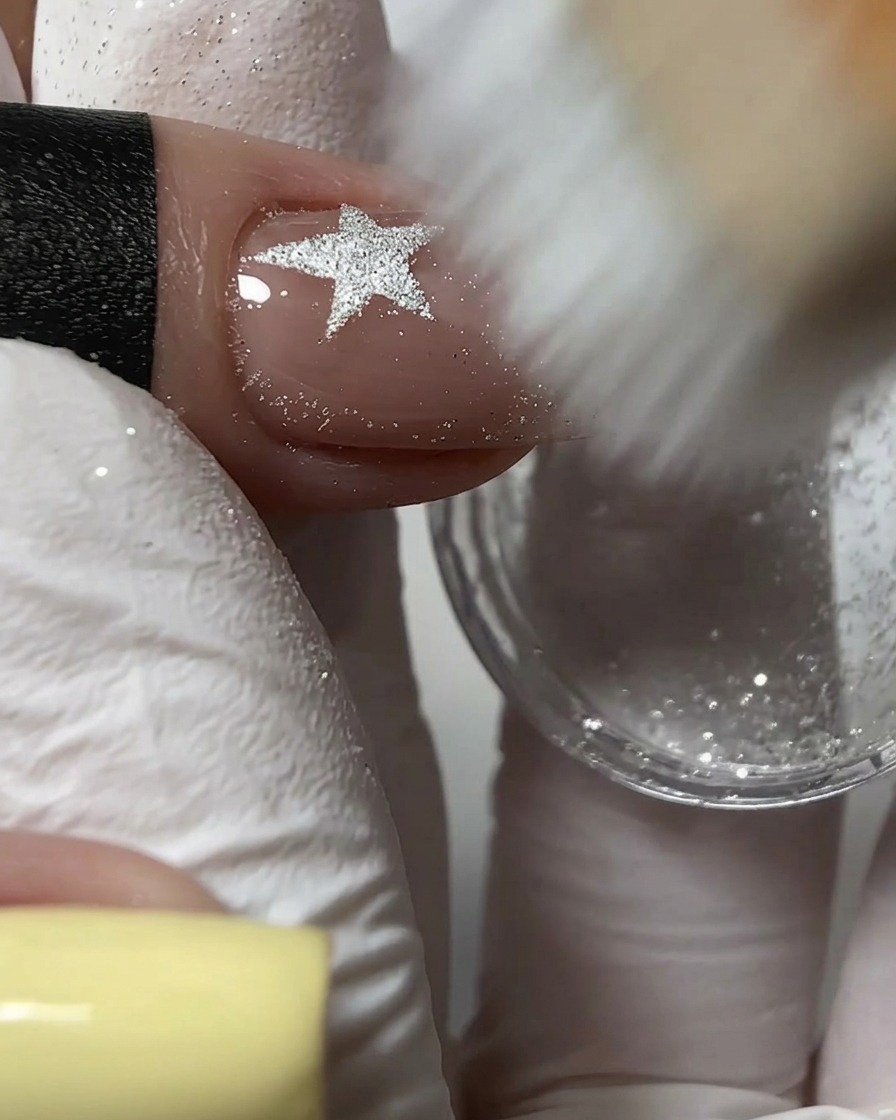
Using a stiff dusting brush, sweep away all the loose, unbonded glitter and sugar powder from the nail surface. This reveals the textured star design clearly while keeping the surrounding nail clean.
Tip: Brush in a downward motion away from the cuticle to avoid smudging any uncured gel or trapping stray particles. - 16Draw a second star with pink gel
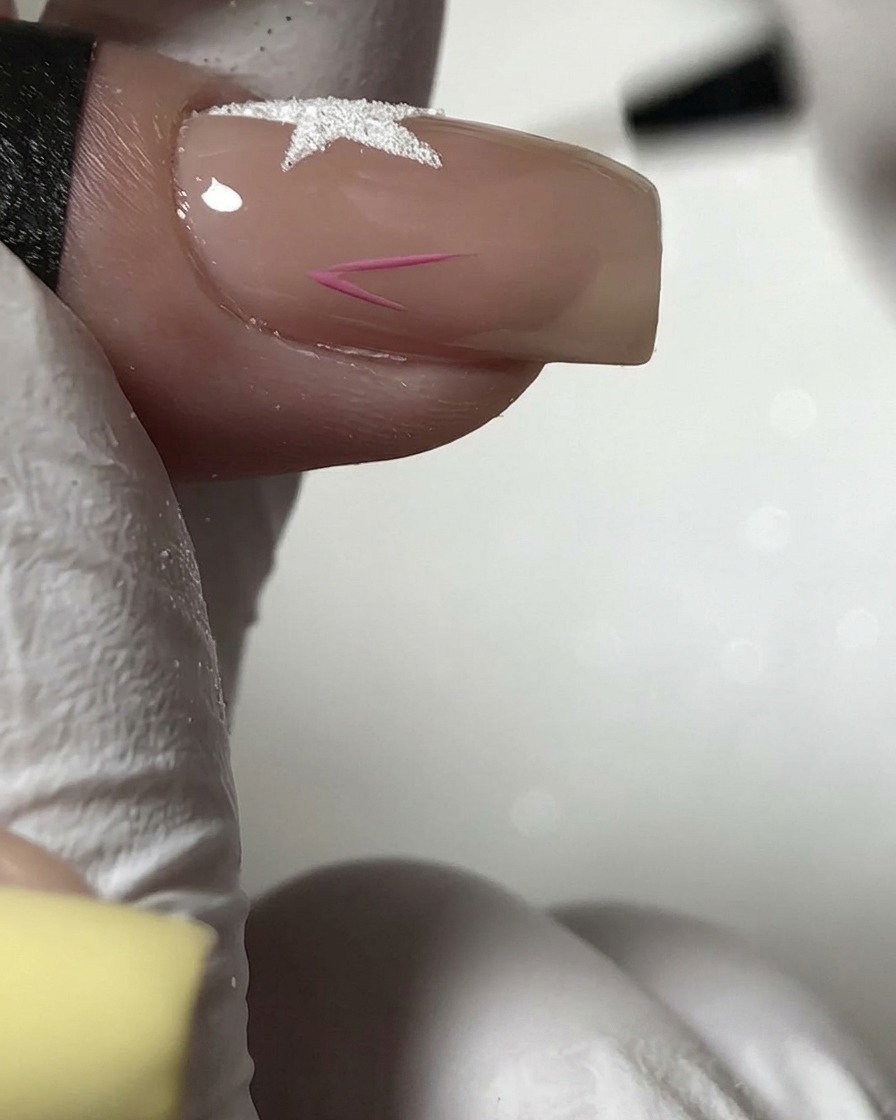
Take a fine liner brush loaded with pink gel and paint a second, smaller star shape lower down on the nail body. Position it artistically relative to the first white star to create a balanced composition.
Tip: Keep the gel application thin so the raised lines hold their shape nicely before adding any powder elements. - 17Apply pink diamond sugar powder
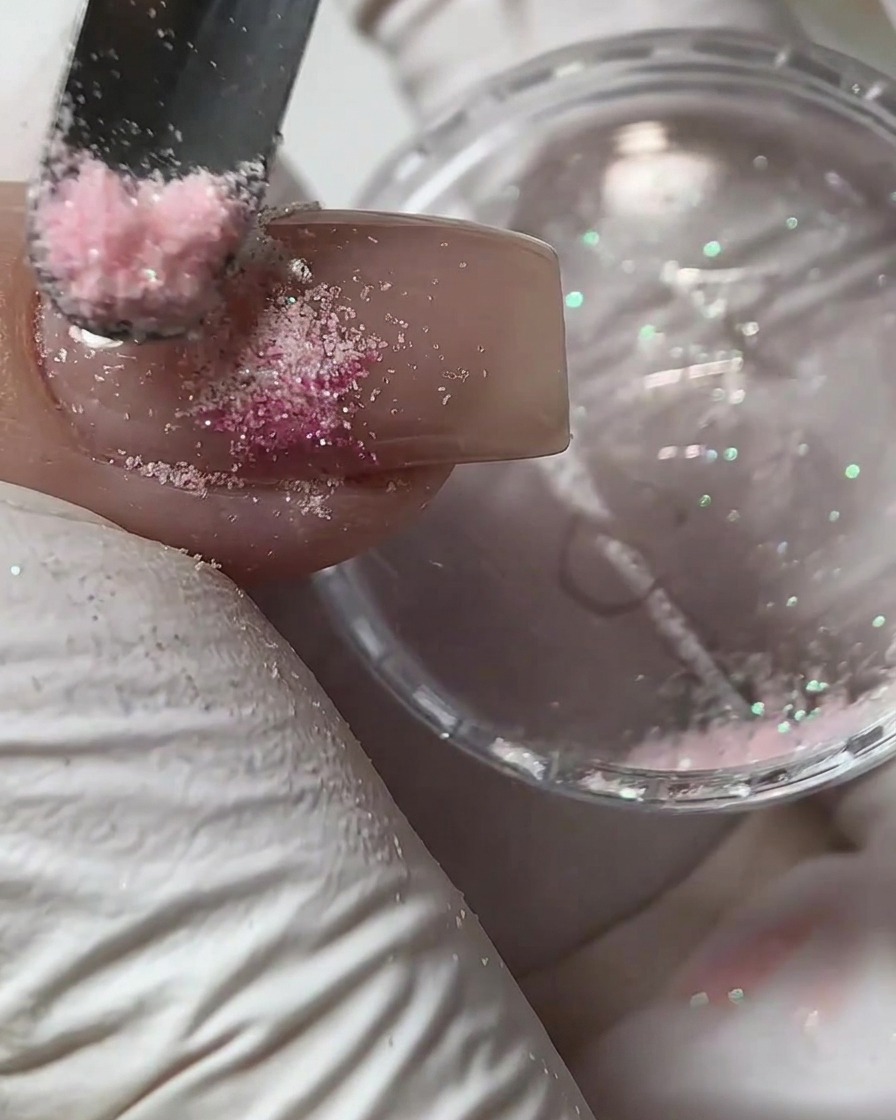
Using a small tool or spoon, gently sprinkle pink diamond sugar powder over the freshly painted, wet pink star design. Ensure the powder coats all areas of the wet gel completely to create a textured, sparkly sugar finish.
Tip: Press the powder down very lightly if needed, then cure under the lamp to lock the sugar texture into place before brushing off the excess. - 18Cure star and brush excess powder
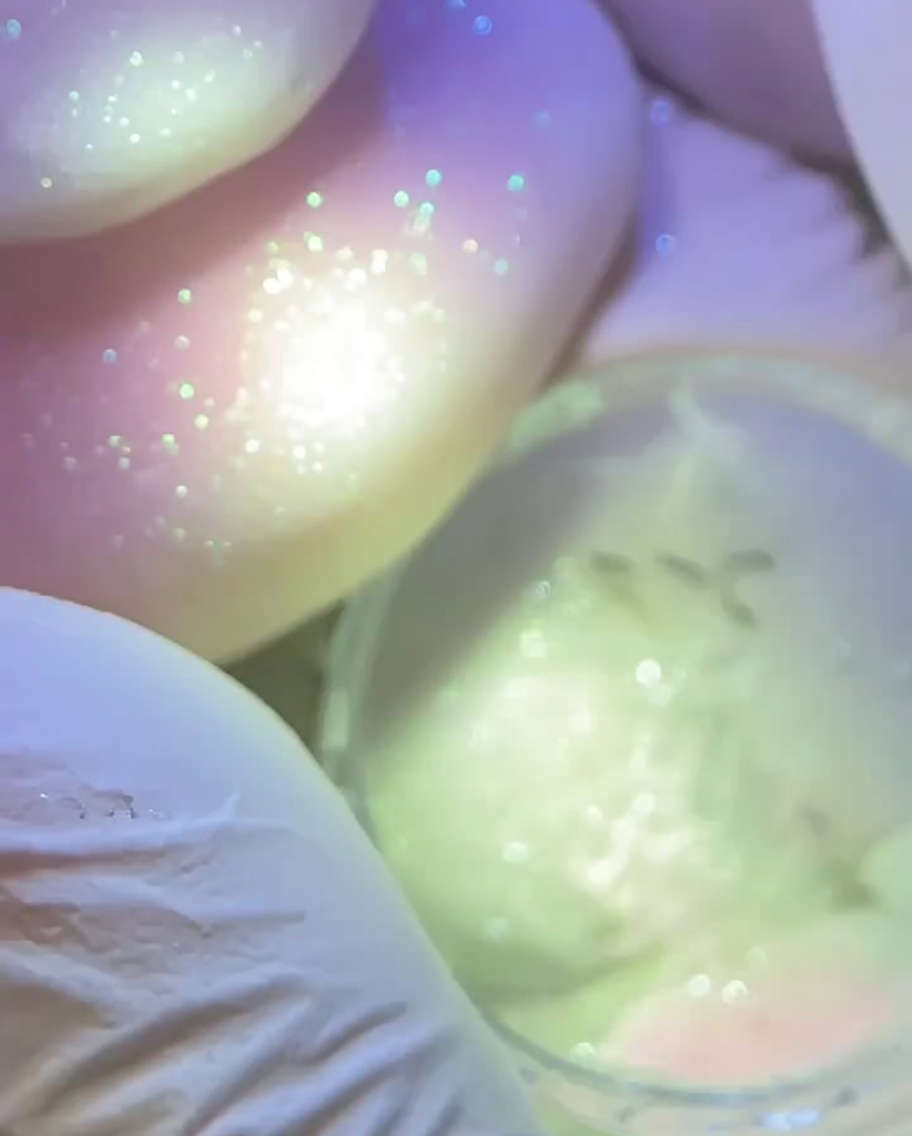
Place the nail under the UV or LED lamp to fully cure the pink star design. Once cured, use a soft dusting brush to gently remove any loose, unbonded sugar powder from the nail surface, revealing the textured star detail clearly.
Tip: Ensure the powder is fully set under the lamp before brushing to avoid smudging the crisp edges of the star art. - 19Paint a mint green star
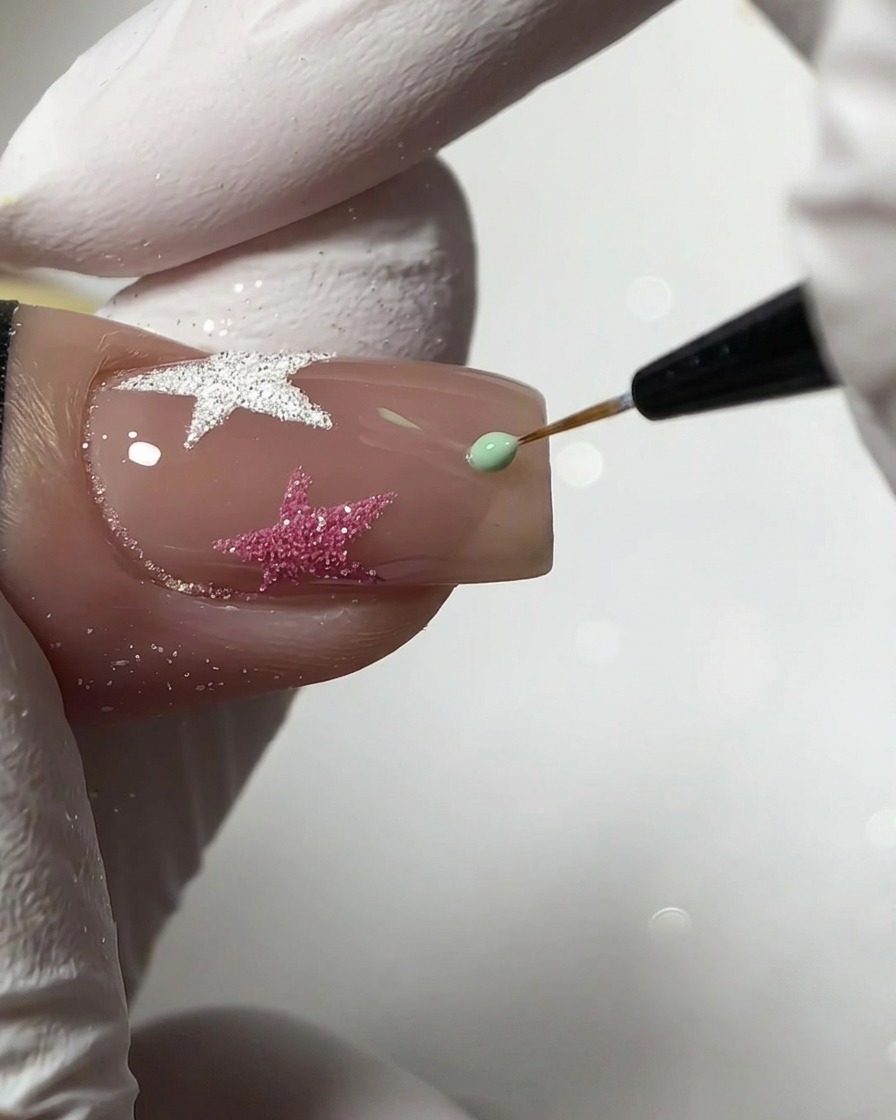
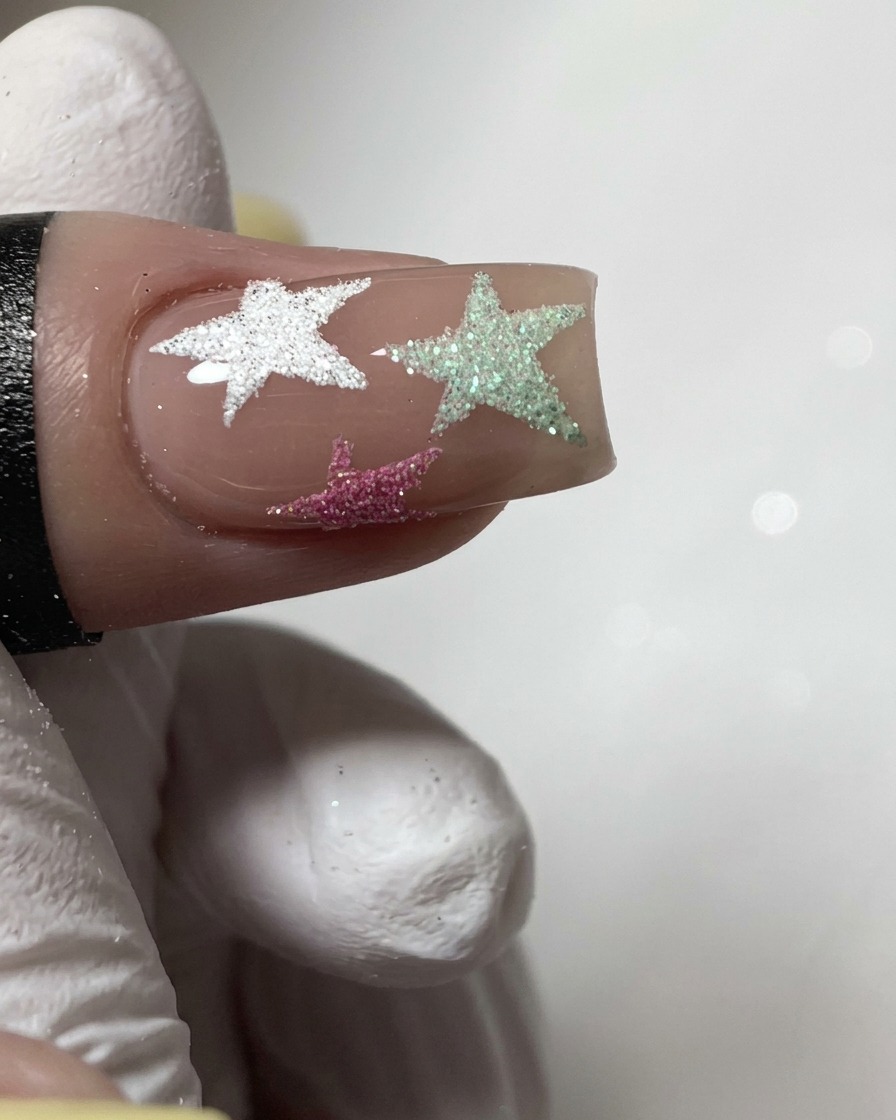
Dip a fine nail art liner brush into mint green gel polish and carefully paint a third star shape onto the nail surface. Position it neatly alongside the previously completed stars to maintain a balanced, spaced-out celestial pattern.
Tip: Use light pressure with the tip of the fine liner brush to achieve sharp, clean points on each star. - 20Apply iridescent powder and cure
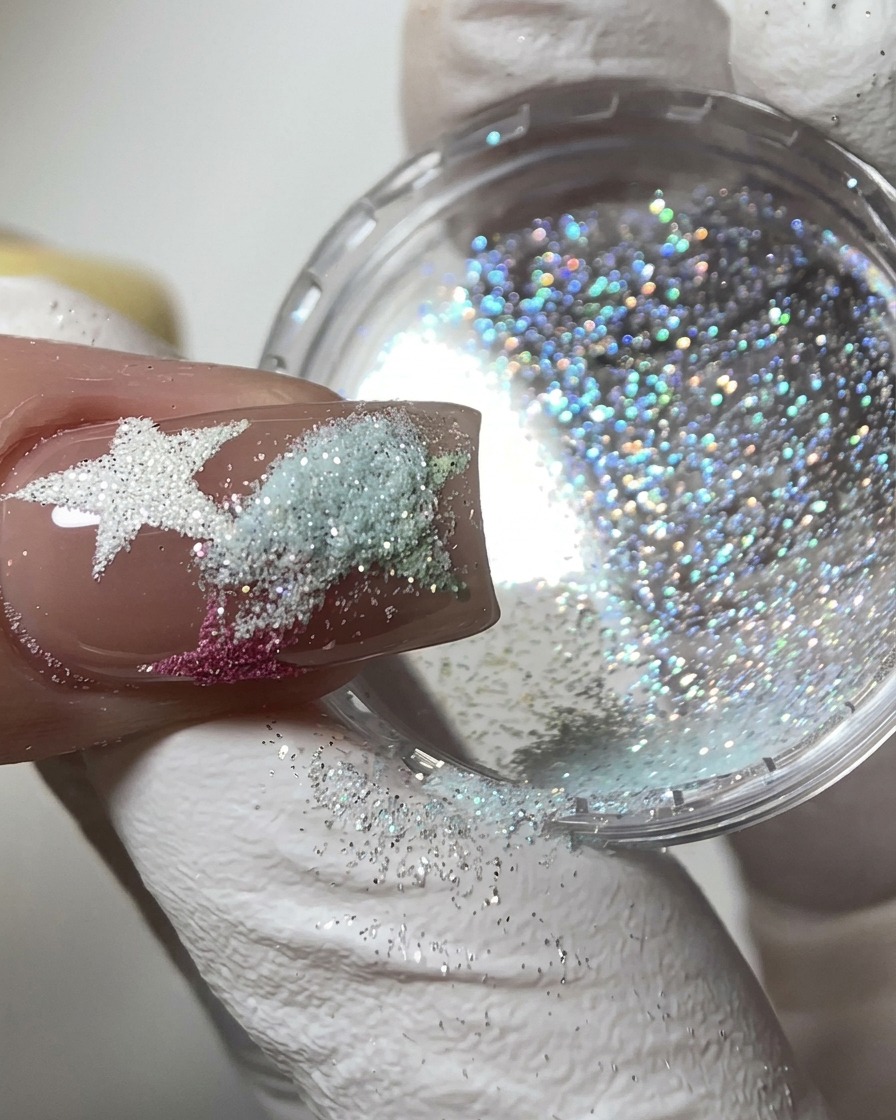
While the mint green star gel is still wet and uncured, generously sprinkle iridescent silver-green powder directly over it. Tap the finger gently to shake off loose particles, then place the nail under the UV or LED lamp to cure the entire layer.
Tip: Applying the powder onto wet gel creates a textured, sugar-effect finish that sparkles under the light. - 21Apply non-wipe top coat for chrome
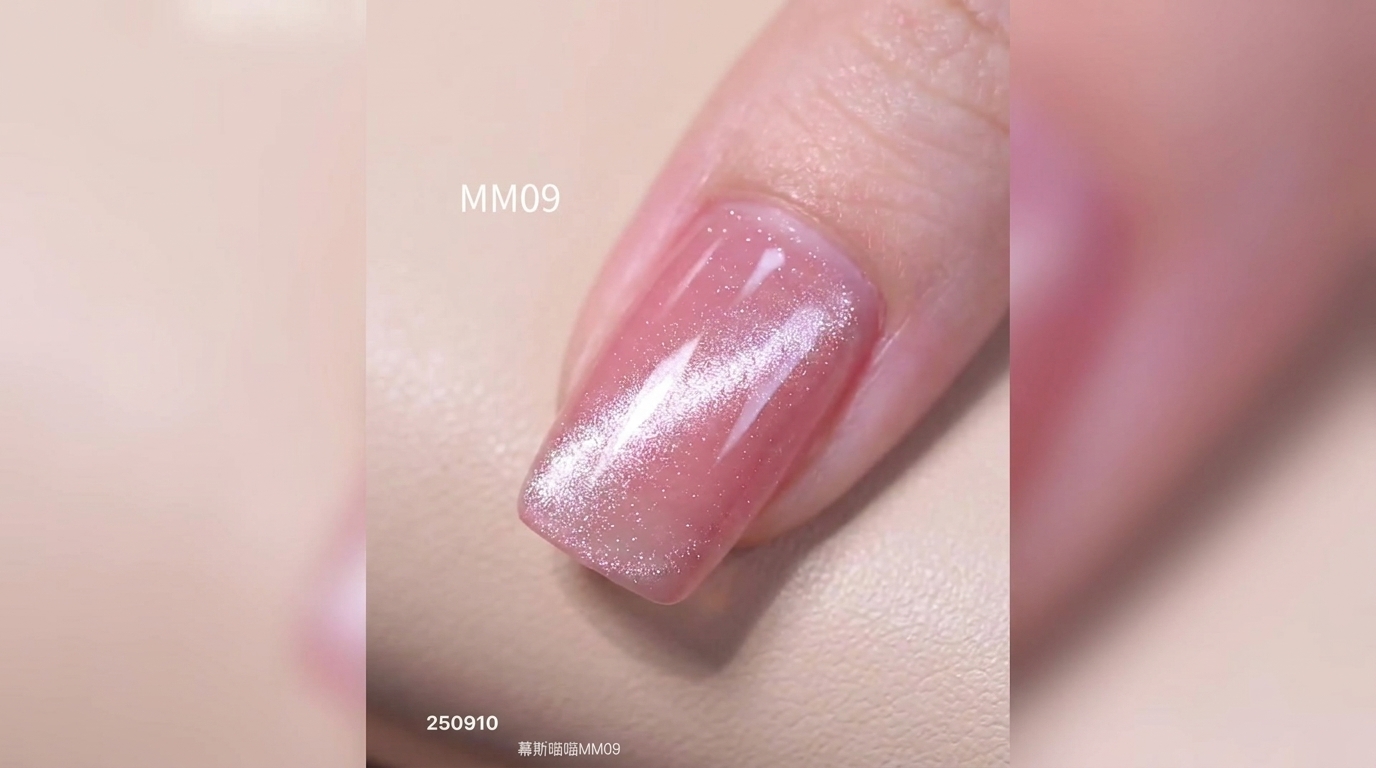
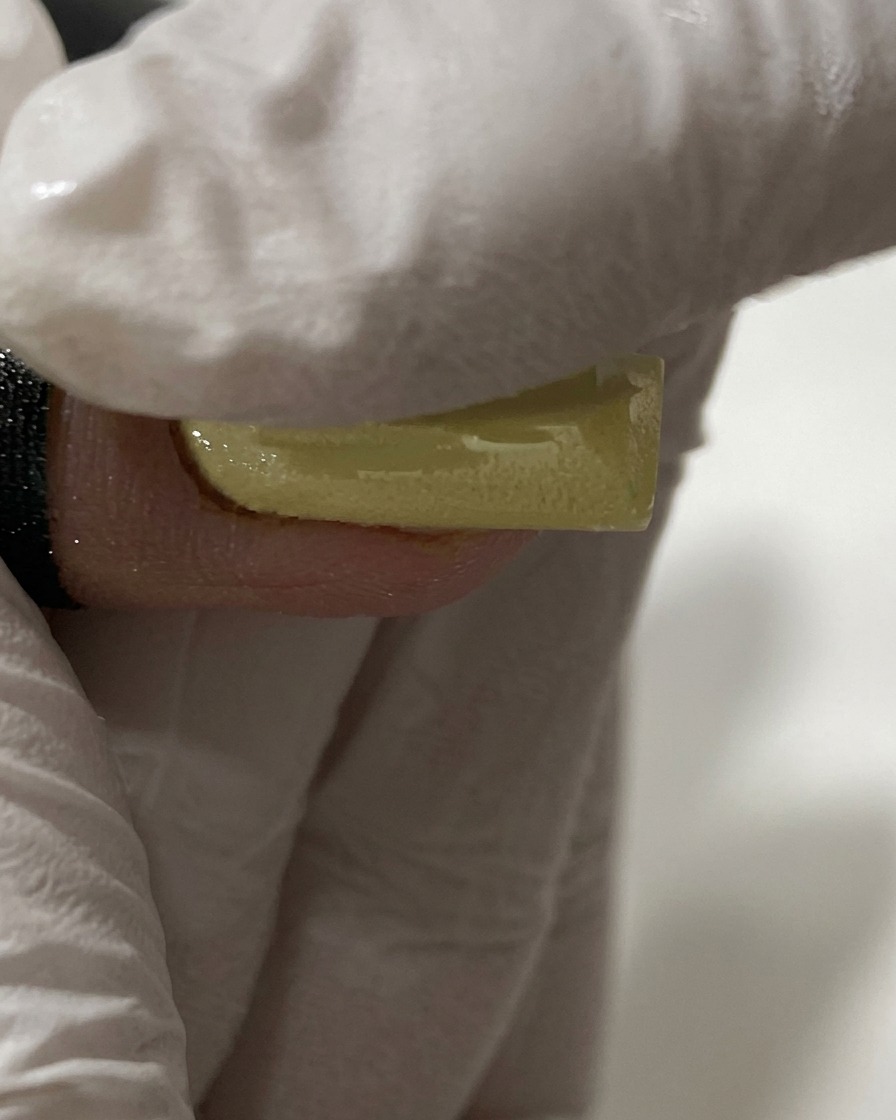
Apply a smooth layer of non-wipe top coat over the fully cured pastel yellow nail color. This specific top coat layer is essential because chrome powder requires a smooth, tack-free surface to achieve a mirror-like finish.
Tip: Cap the free edge carefully to seal the gel polish and prevent premature peeling. - 22Rub pearl aurora chrome powder
Using a gloved finger, gently buff pearl aurora chrome powder directly onto the cured surface of the yellow nail until a smooth, iridescent metallic sheen appears.
Tip: Apply chrome powder when the top coat is non-wipe and cured just right so the powder adheres smoothly without clumping. - 23File and refine the square shape
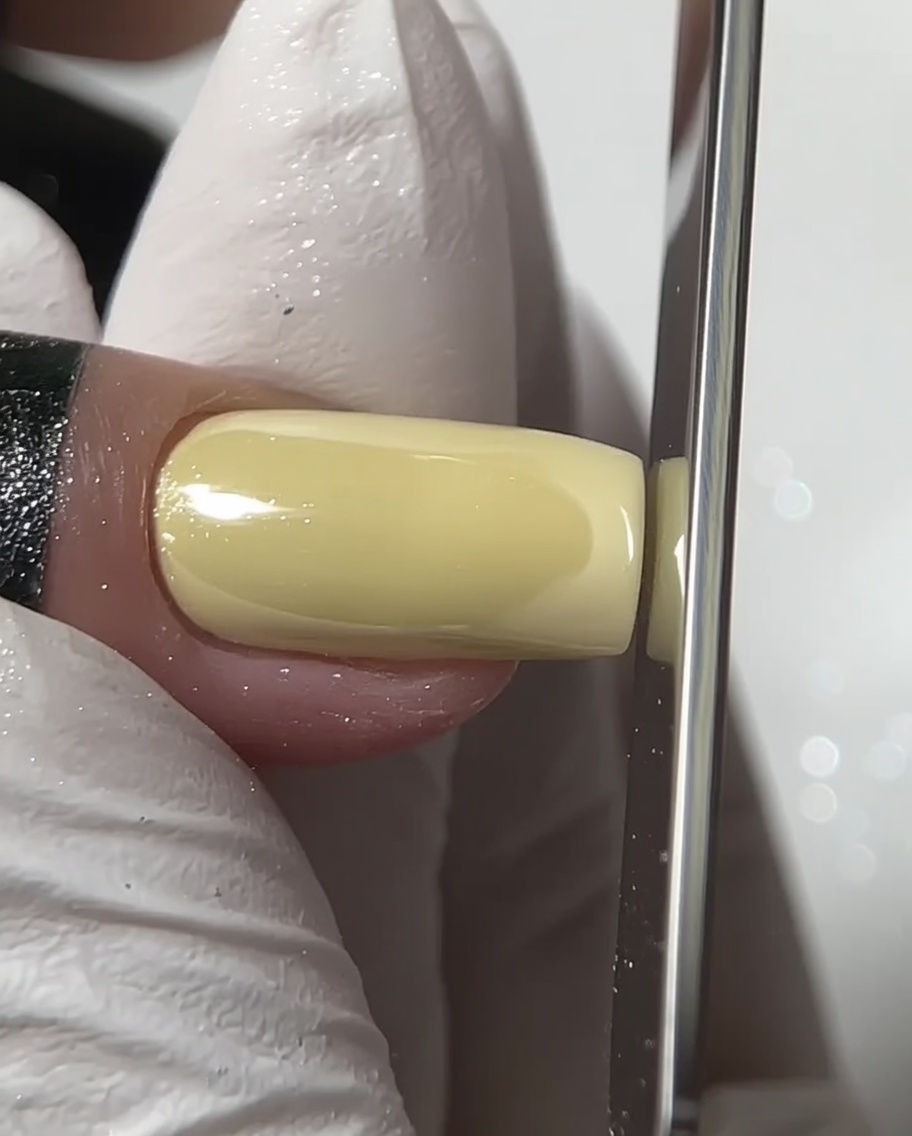
Using a straight nail file, gently file the free edge of the chrome-coated nail to clean up any excess product and sharpen the crisp square corners.
Tip: Keep the file perpendicular to the nail edge to maintain a sharp, clean square line. - 24Apply Final Glossy Top Coat
Seal the pearl chrome effect by applying a smooth layer of final glossy top coat over the entire yellow nail surface, ensuring the free edge is fully capped. Cure thoroughly under your UV or LED lamp to lock in the high-shine metallic finish.
Tip: Do not apply top coat over the textured sugar stars on your accent nails, as this will ruin the raised, matte sugar effect you just created.