Sweet Ice Powder Plaid Nail Art — Winter Snowflake Tutorial
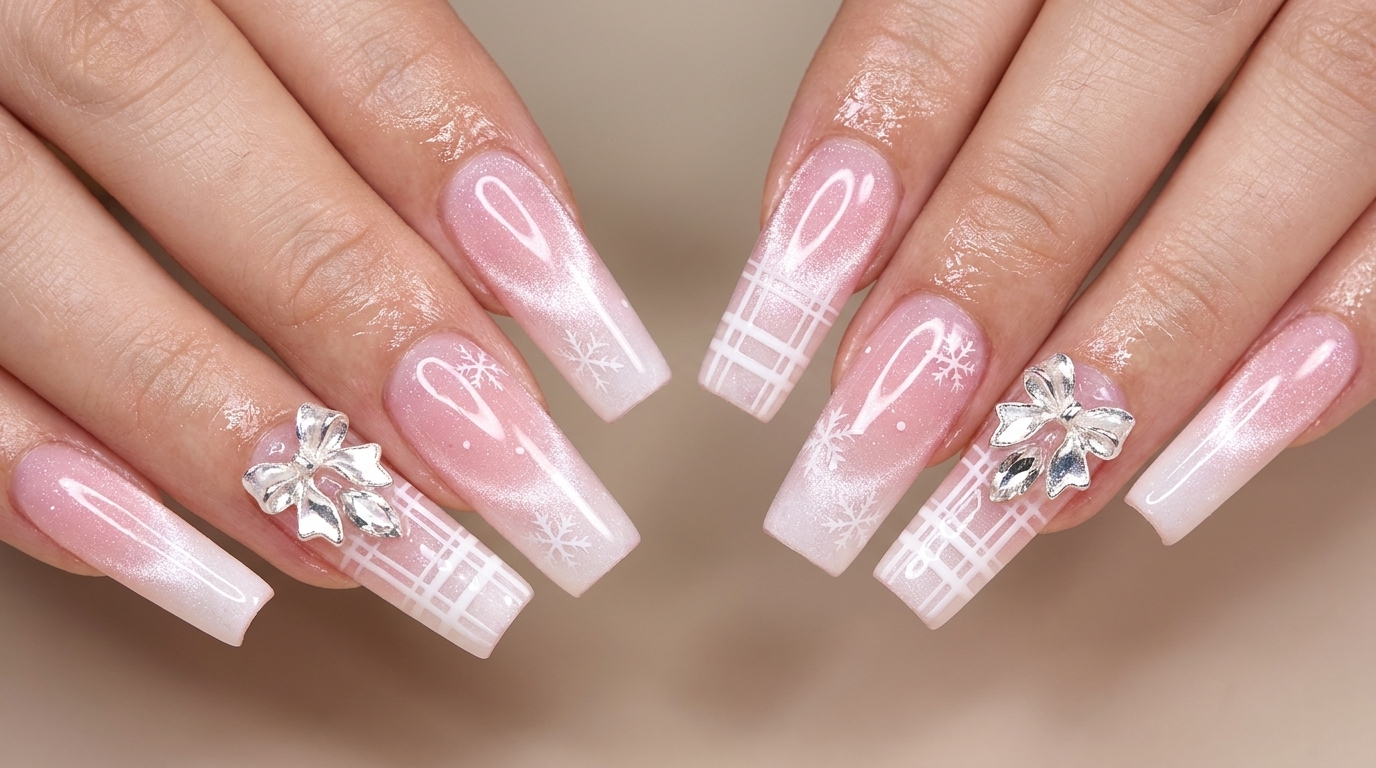
Create enchanting winter nail art featuring embedded glass ice cubes, shimmering cat-eye gradients, delicate snowflakes, and 3D crystal bow charms.
Winter manicures call for a blend of cozy textures and sparkling details that catch the light with every movement. This sweet ice powder plaid look combines a multi-dimensional shattered glass effect with romantic white snowflakes and elegant bow charms. Whether you are prepping for a special occasion or simply want to elevate your seasonal style, this step-by-step guide walks you through every intricate technique.
Steps
- 1Trim the old long pointy nail extensions
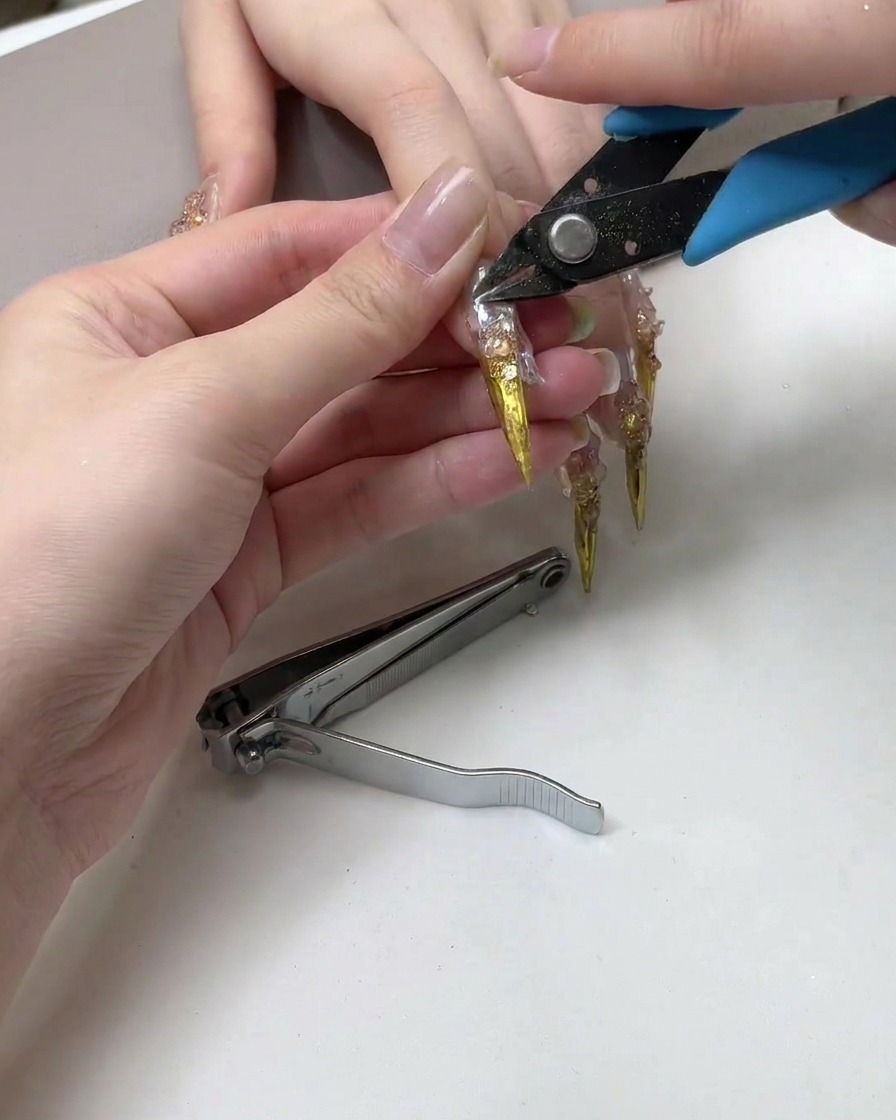
Using nail clippers, carefully trim down the sharp tips of the previous long pointy metallic nail extensions. This reduces the length and eliminates the hazardous sharp points before starting the removal and prep process for the new manicure.
Tip: Trimming down excessive length first makes filing and e-filing much faster and prevents accidental bending or breaking of the natural nail underneath. - 2Refine and smooth the nail surface with an e-file
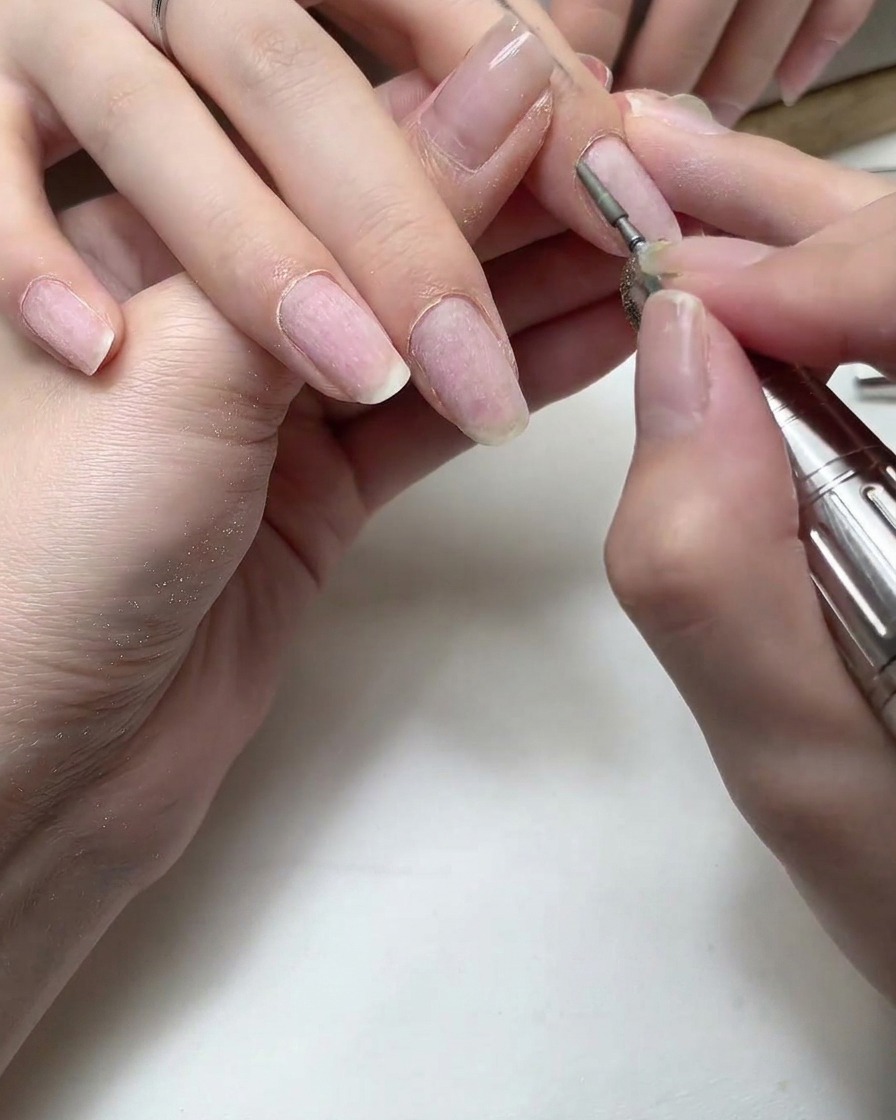
Using an electric nail drill equipped with a ceramic or carbide bit, gently refine and smooth the nail surface after removing the old nail extensions. Buff away any remaining product residue, level out bumps, and prepare a uniform base for the upcoming steps.
Tip: Keep the e-file moving constantly and use a light touch to avoid generating excess heat or thinning out the natural nail plate. - 3Apply and flash cure extension forms
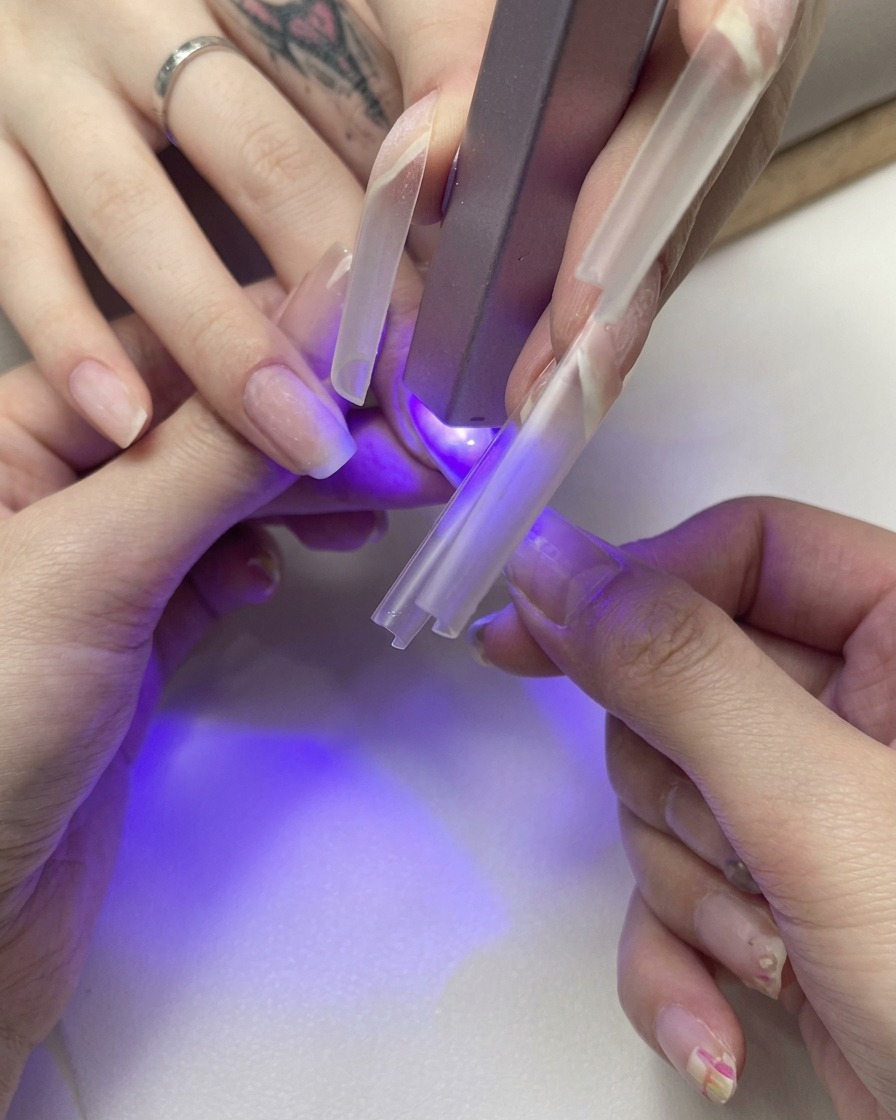
Apply the clear extension forms to the prepped natural nails. Hold the extension securely in place to ensure there are no air bubbles, and flash cure it under a handheld UV/LED lamp to lock it into position.
Tip: A mini handheld lamp is perfect for flash curing extensions one by one without them shifting or lifting. - 4Build the nail structure
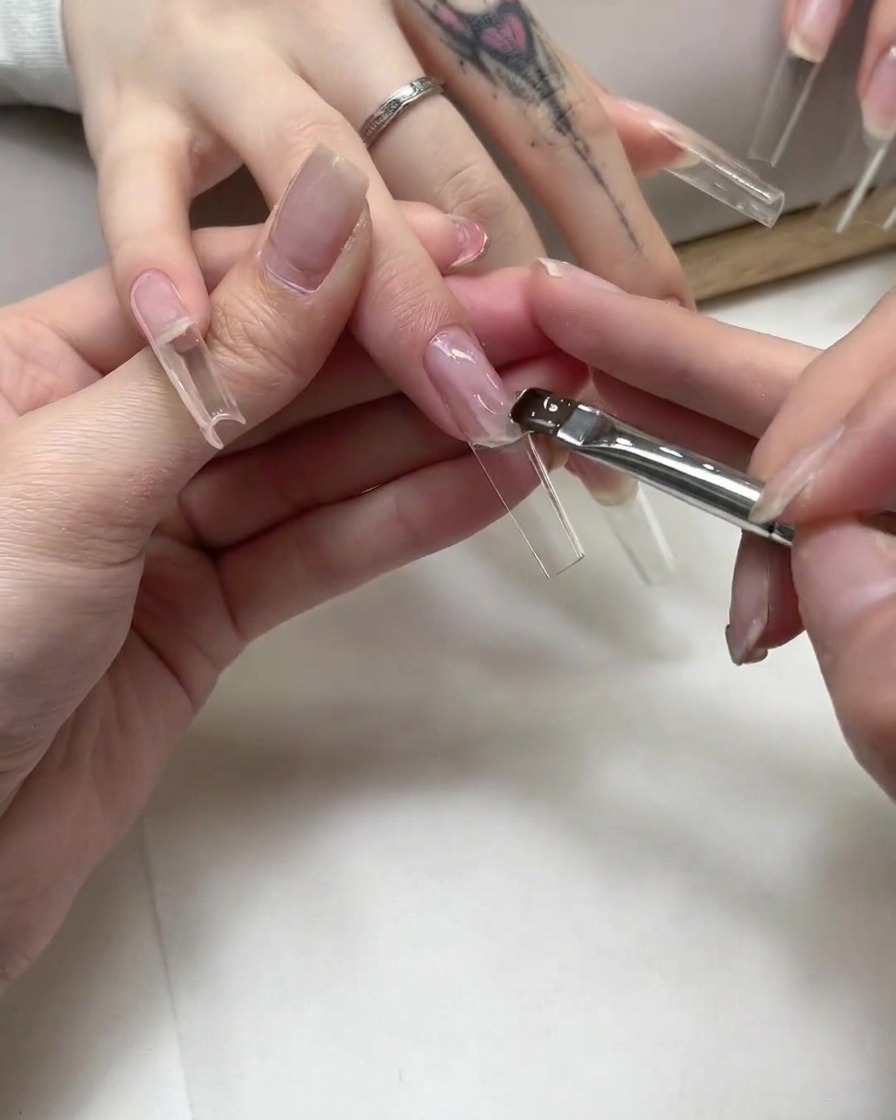
Using a gel brush, apply a layer of clear extension gel over the forms to build the nail length and reinforce the structure. Blend the gel smoothly around the cuticle area to seamlessly merge the extension with the natural nail.
Tip: Float the gel gently with your brush keeping it parallel to the nail to avoid introducing air bubbles into the clear structure. - 5Apply gel for embedded glass effect
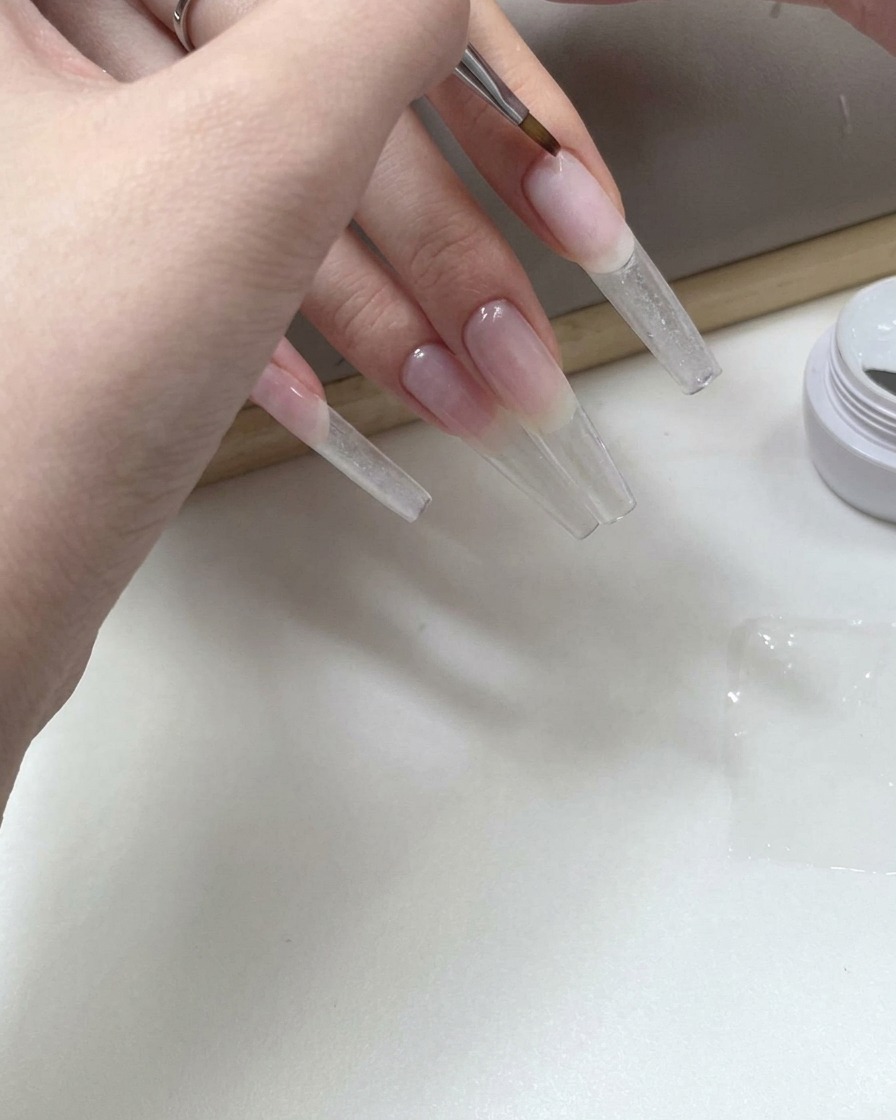
Using a fine brush, apply a layer of clear no-wipe hard gel to the underside of the clear nail extension. This forms the base for the embedded glass ice cube effect. Ensure the gel is spread evenly before applying the plastic wrap to create the textured wrinkles.
Tip: Keep the gel layer thin enough so it does not leak out the sides when you press the plastic wrap onto it. - 6Create the ice cube texture
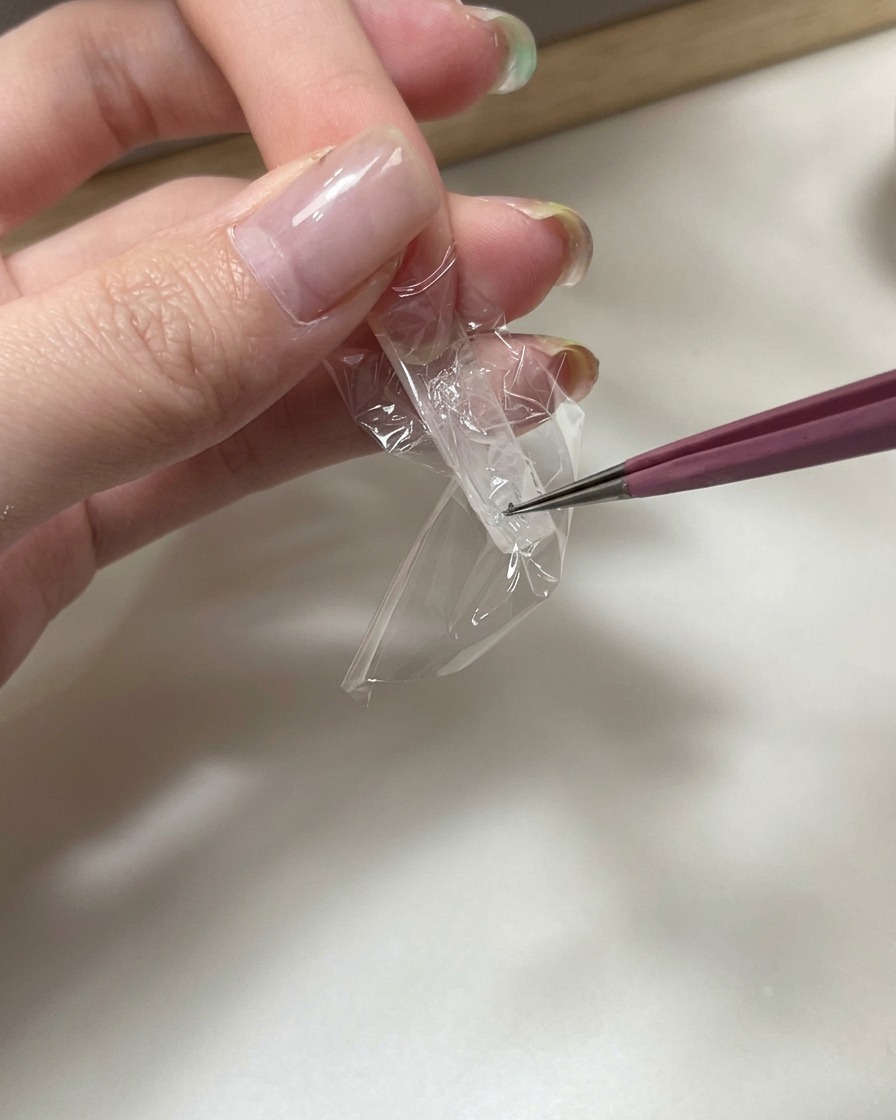
Apply a layer of no-wipe hard gel to the inner side of the clear nail extension. Using a pair of tweezers, press a small piece of clear plastic wrap into the wet gel to form crinkles and wrinkles, then cure it under the UV lamp.
Tip: Do not smooth the plastic wrap out completely; leaving distinct wrinkles and folds is essential for achieving that shattered, reflective ice cube look. - 7Apply French tip guide stickers
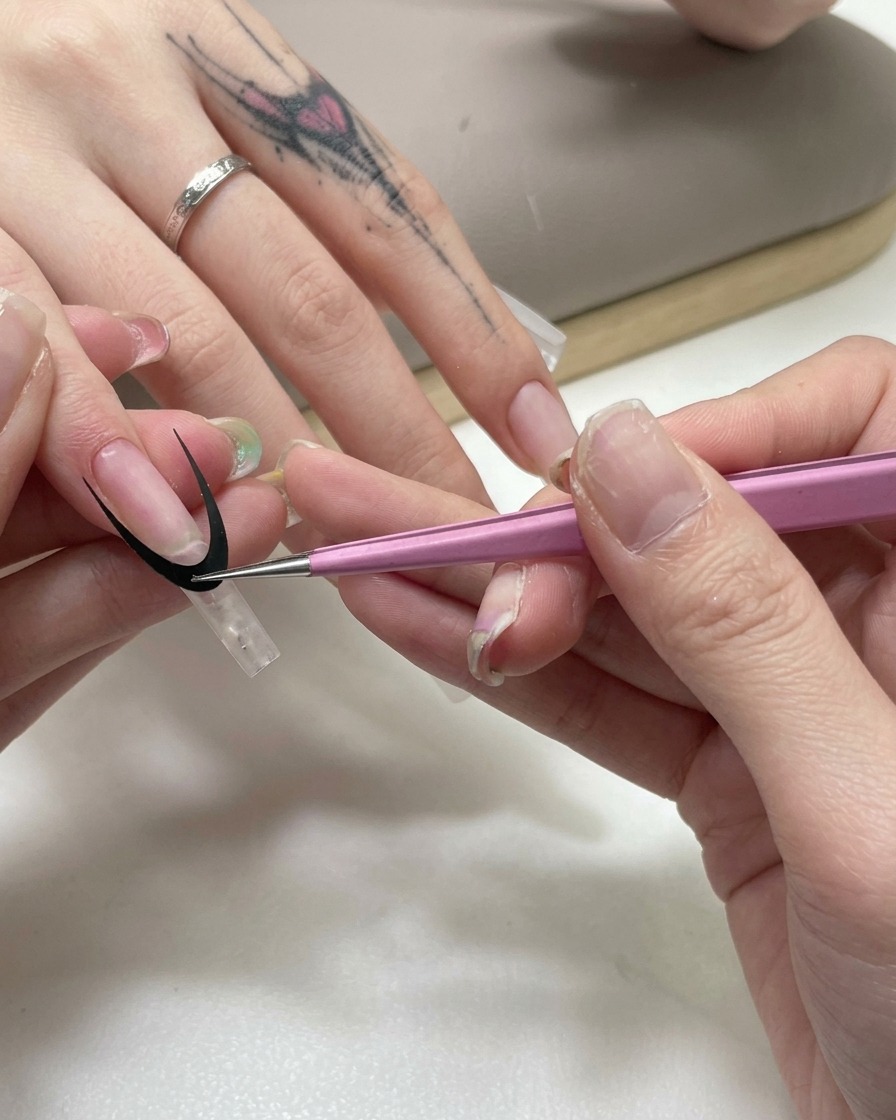
Use tweezers to carefully place curved sticker tapes across the nail extensions. These guides will help map out the area for your gradient French tip design and ensure a clean, crisp smile line. Press the edges down firmly so no product seeps underneath.
Tip: Ensure the base surface is completely smooth and free of dust or oils before applying the sticker so it adheres firmly. - 8Sponge on white gradient
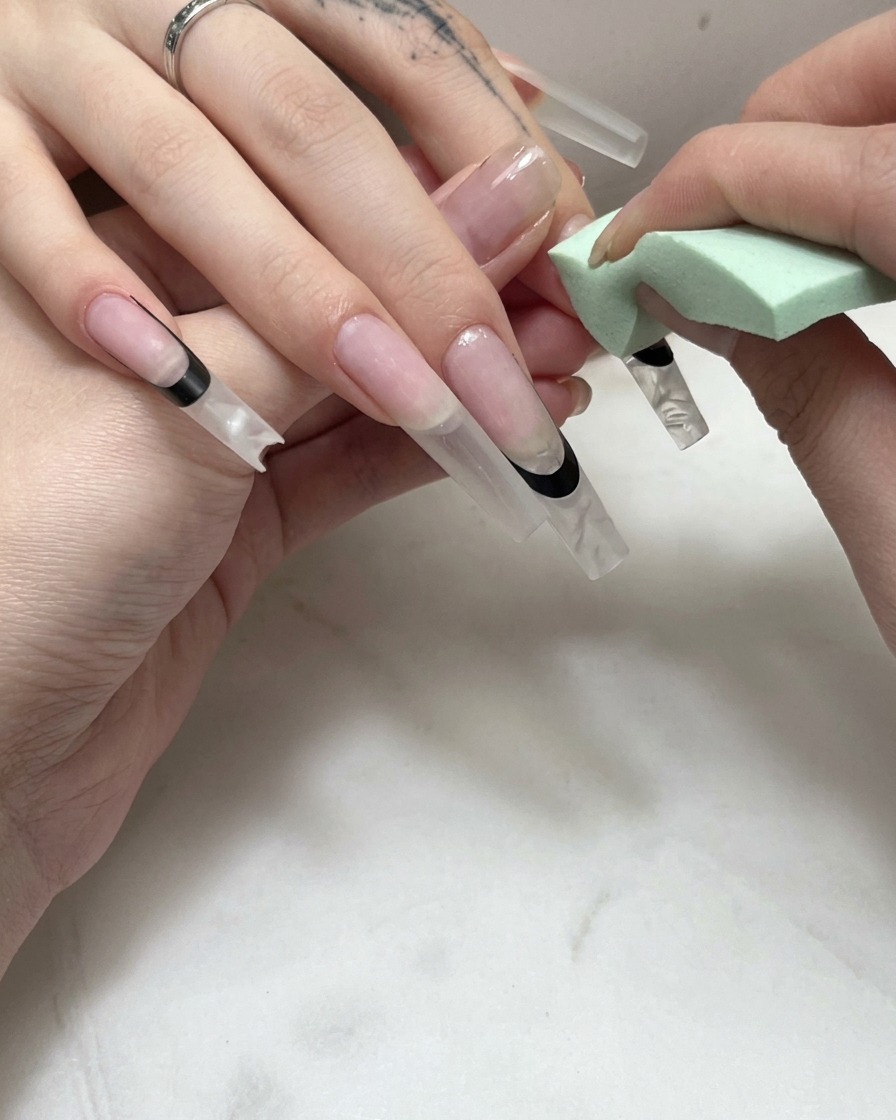
Take a makeup sponge applicator with a small amount of Y01 white gel and gently dab it onto the exposed tip of the nail above the sticker guide. Build the opacity gradually at the very tip and let it softly fade downwards to create a smooth, seamless gradient French effect.
Tip: Dab off any excess gel from the sponge onto a palette first to avoid applying too much product at once, which can cause pooling and bubbling. - 9Paint hollow snowflake design on the fingertip
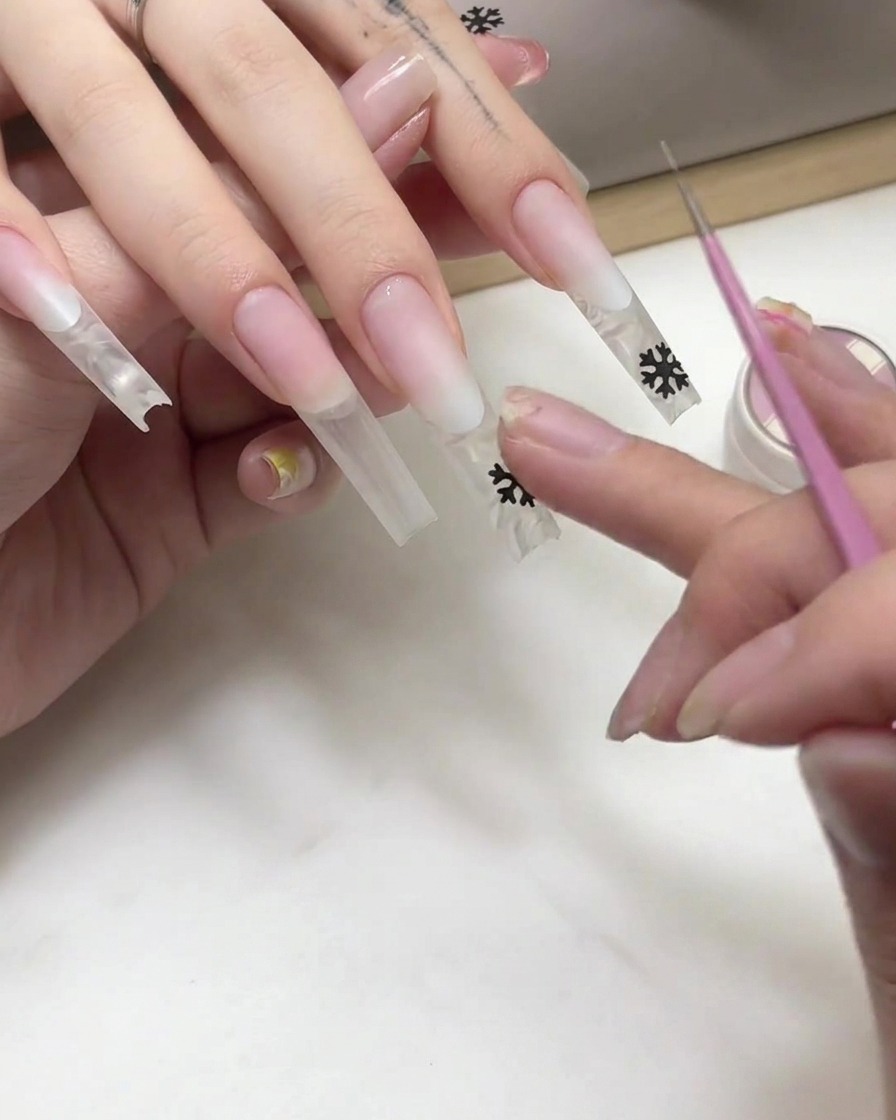
Using a fine detail brush and white gel, carefully tap and draw a hollow snowflake design onto the fingertip area. Take your time to ensure clean, crisp lines that complement the sweet ice powder plaid aesthetic of the nail look.
Tip: Stabilize your hand by resting your pinky finger against the clients hand for better control when painting intricate patterns like snowflakes. - 10Apply cat-eye gel to the French tip section
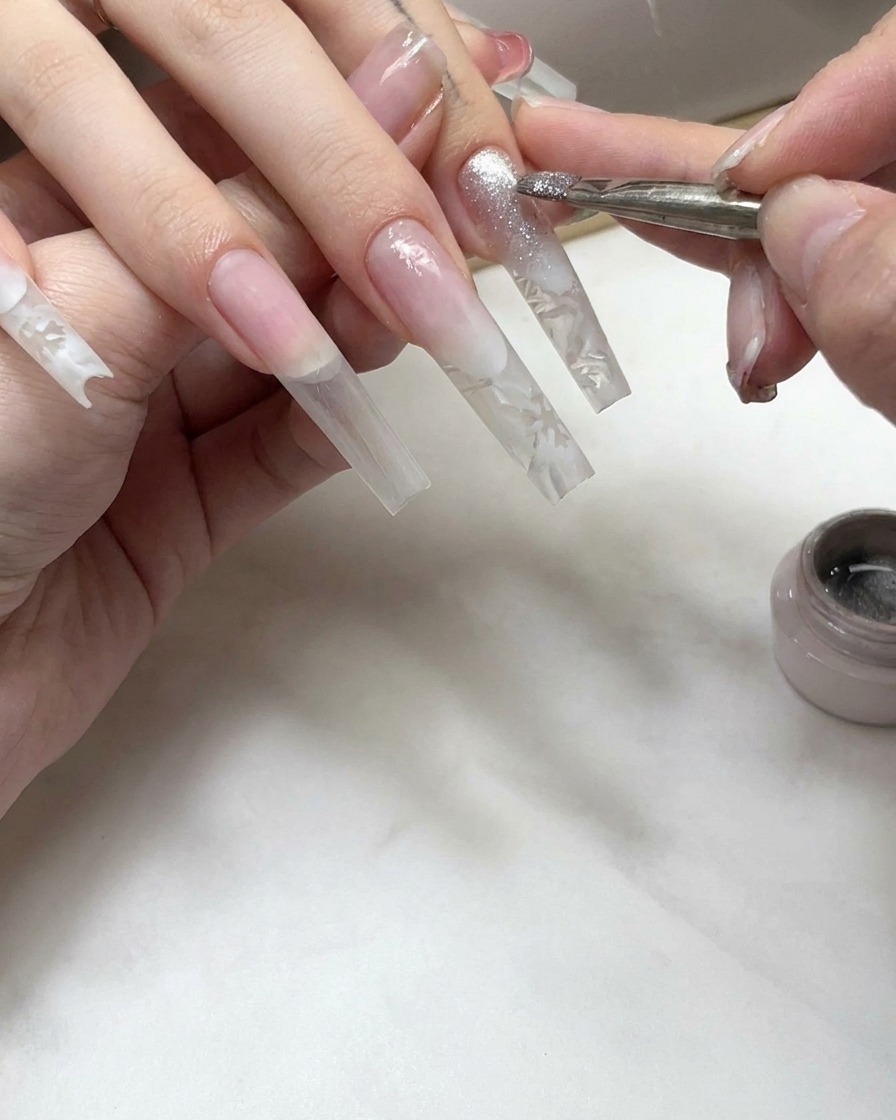
Apply a coat of reflective cat-eye gel specifically onto the French tip section of the nail. Ensure an even distribution across the tip area so the magnetic particles can be manipulated effectively in the next step.
Tip: Apply a thin layer of cat-eye gel to prevent pooling or running down the edges before you get a chance to use the magnet. - 11Create a glowing light stripe with a magnet
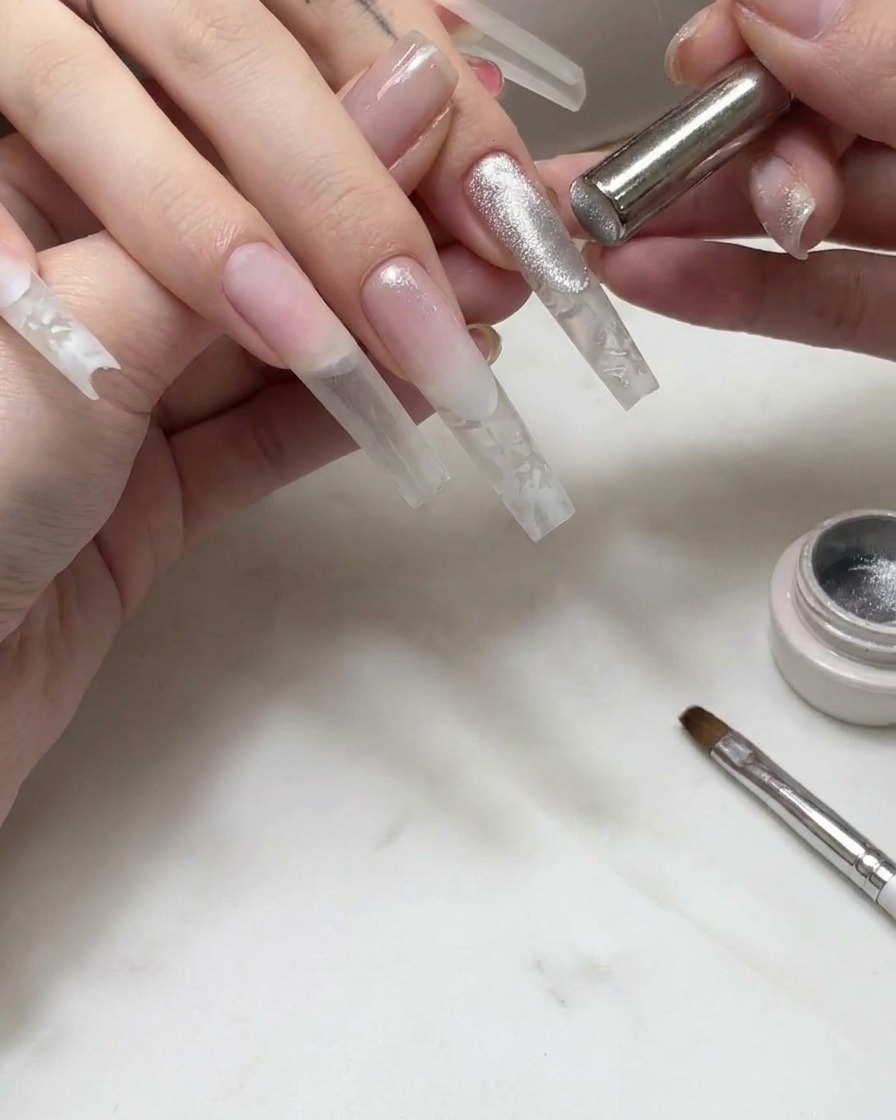
Hold a magnet close to two sides of the French tip coated with cat-eye gel to draw and concentrate the magnetic particles into a sharp, glowing light stripe. Once the desired luminous effect is achieved, immediately cure under the lamp to lock it in place.
Tip: Hold the magnet steady for a few seconds without touching the wet gel surface to get the sharpest and brightest cat-eye reflection line. - 12Encapsulate the nail design with base gel
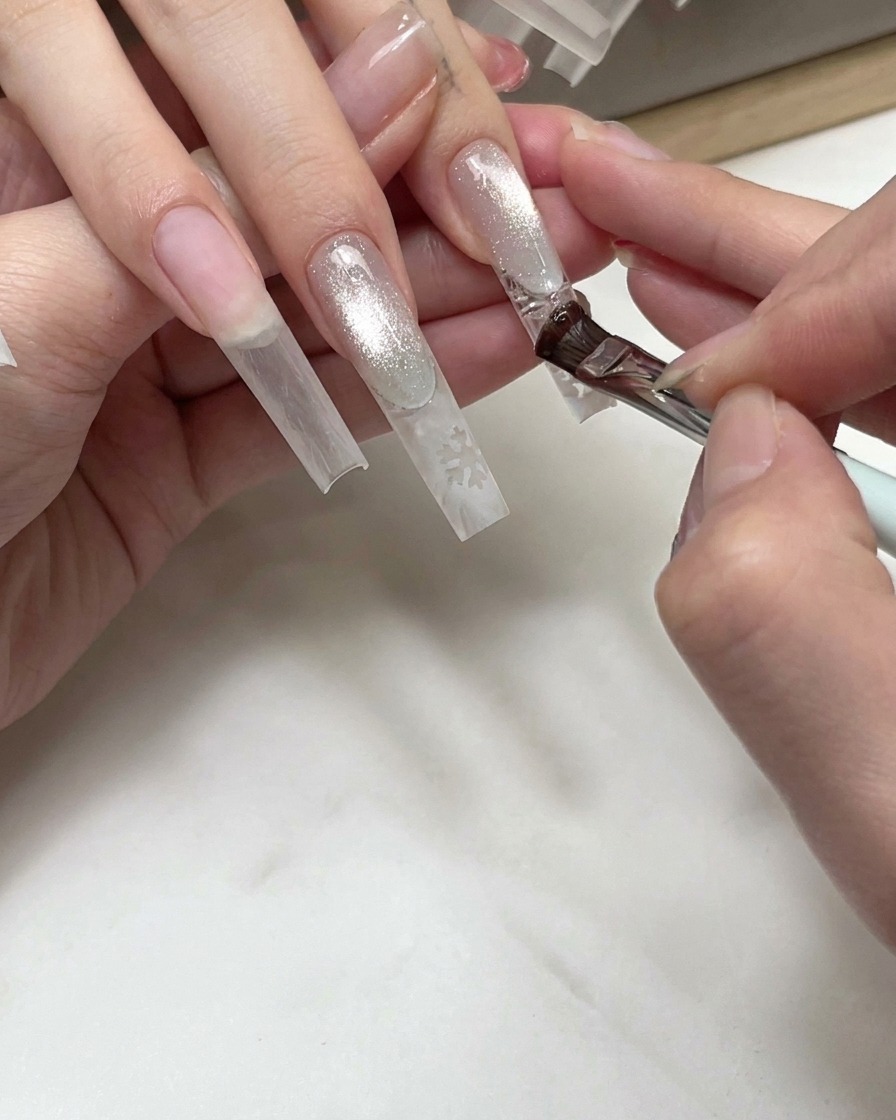
Apply a layer of base gel over the completed nail art elements to encapsulate and seal them securely. This step smooths out any minor texture differences from the design elements and creates a protective barrier before applying the final top coat layer.
Tip: Make sure to cap the free edge with the base gel during encapsulation to prevent peeling or lifting of embedded nail art pieces. - 13Paint detailed white snowflakes
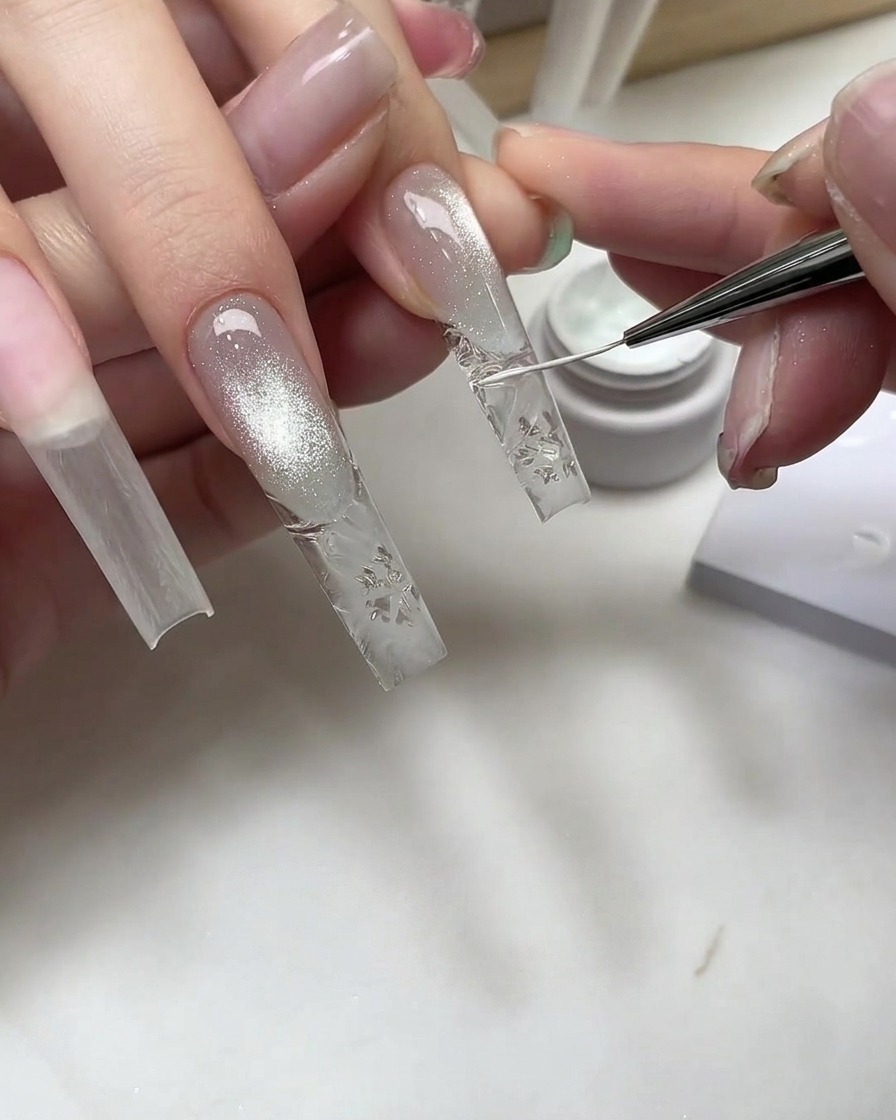
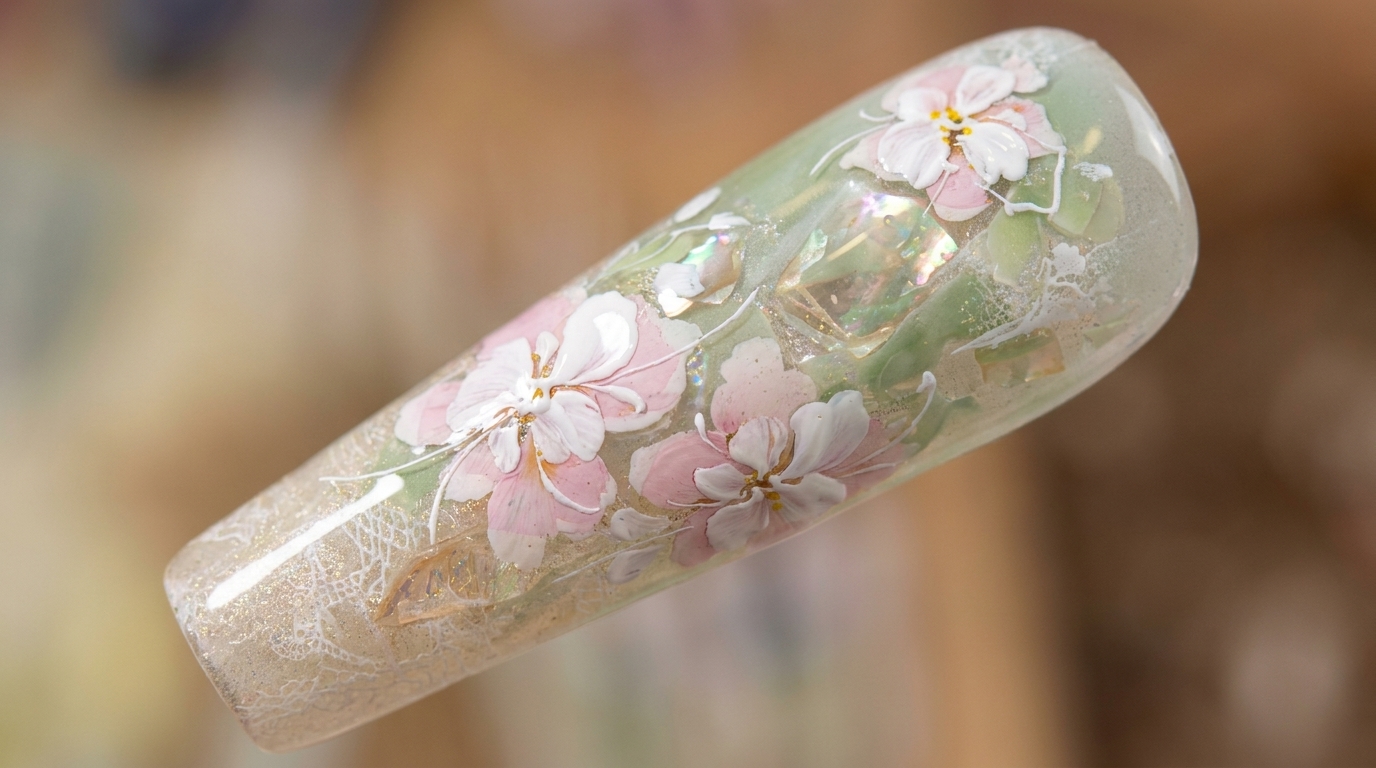
Using a fine liner brush and non-wipe white painting gel (Y87), carefully draw intricate snowflake patterns onto the embedded glass ice cube texture. Take your time to keep the lines crisp and delicate for a realistic winter effect.
Tip: Keep your hand steady and use only the tip of the brush to achieve fine, delicate snowflake lines. - 14Sprinkle diamond powder for frosted texture
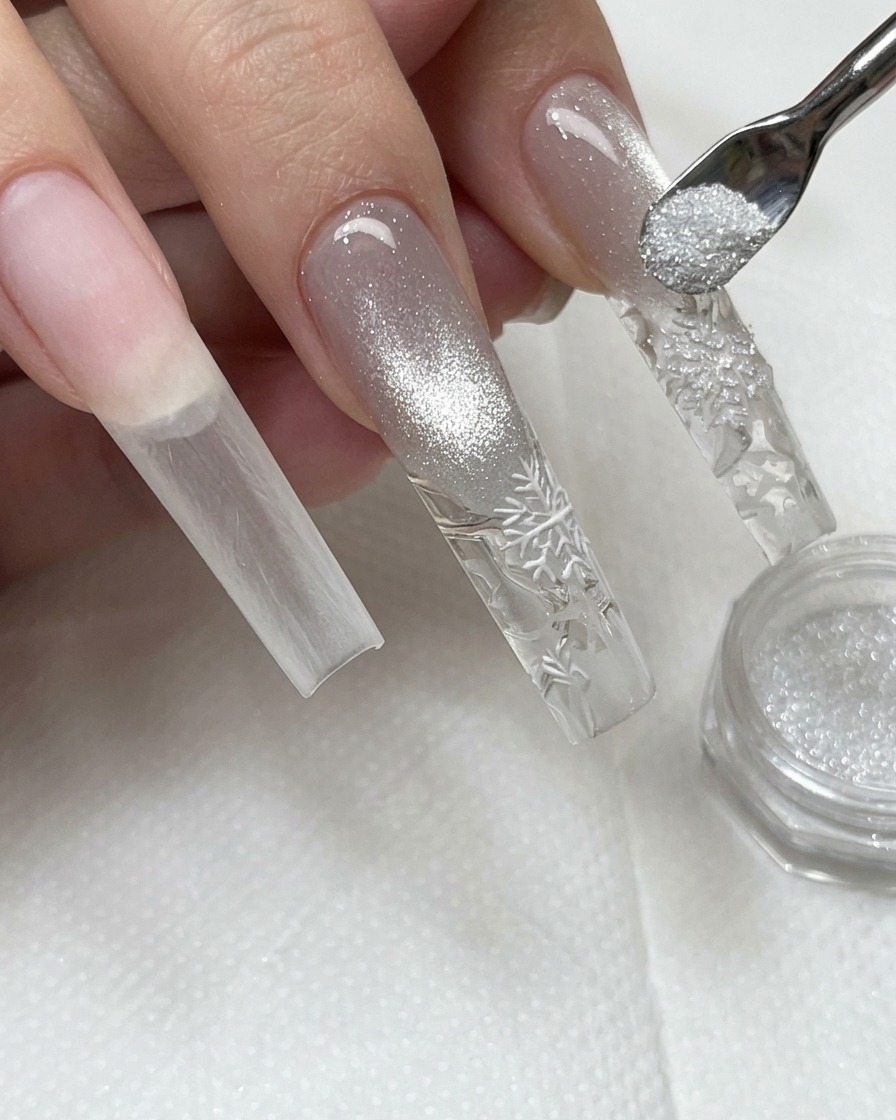
While the painted snowflake gel is still uncured and wet, use a small tool or spoon to gently sprinkle diamond powder generously over the design. This coats the wet gel to create a sparkling, frosted winter texture.
Tip: Sprinkle the powder evenly over the entire painted design before curing to ensure complete coverage. - 15Cure and brush off excess powder
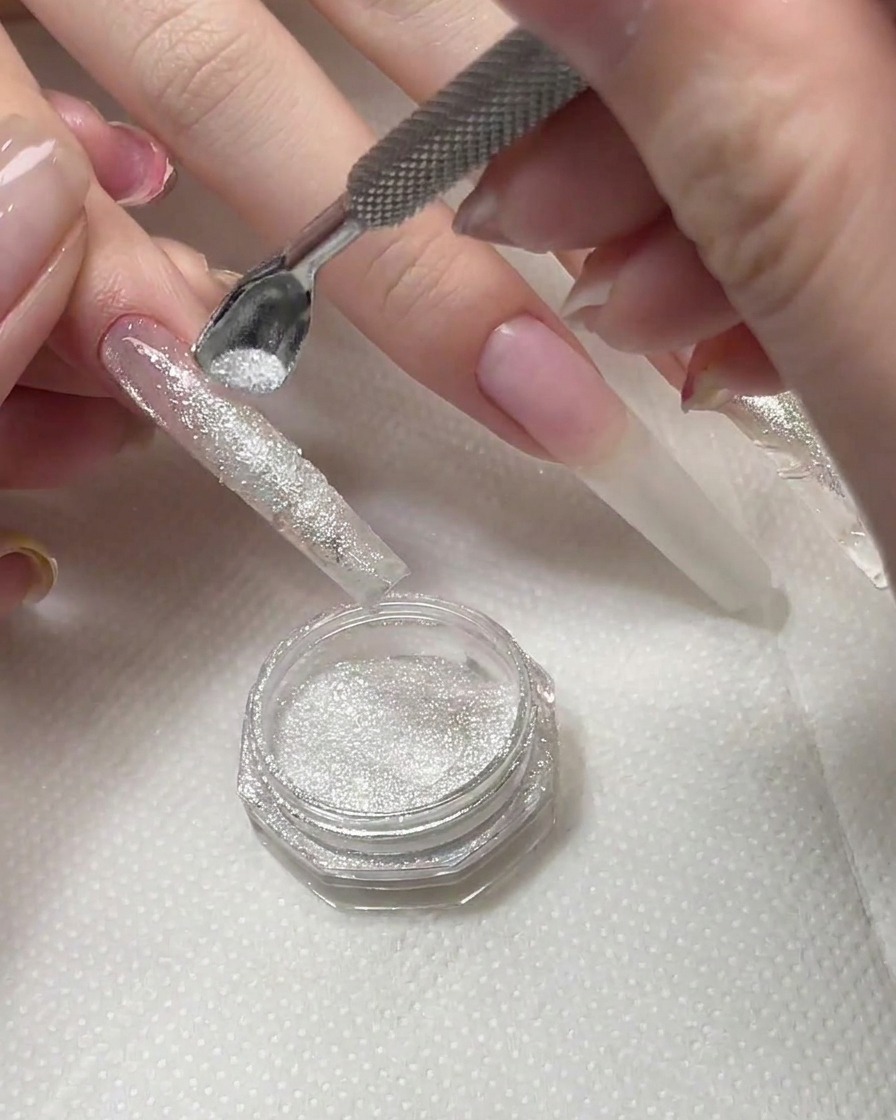
Place the hand under the UV or LED lamp to fully cure the gel and lock the diamond powder in place. Once cured, use a clean dust brush to gently sweep away any loose, excess powder from the nail surface.
Tip: Ensure the gel is completely cured before brushing away excess powder so the frosted texture stays intact. - 16Apply nude gel to outline smile lines
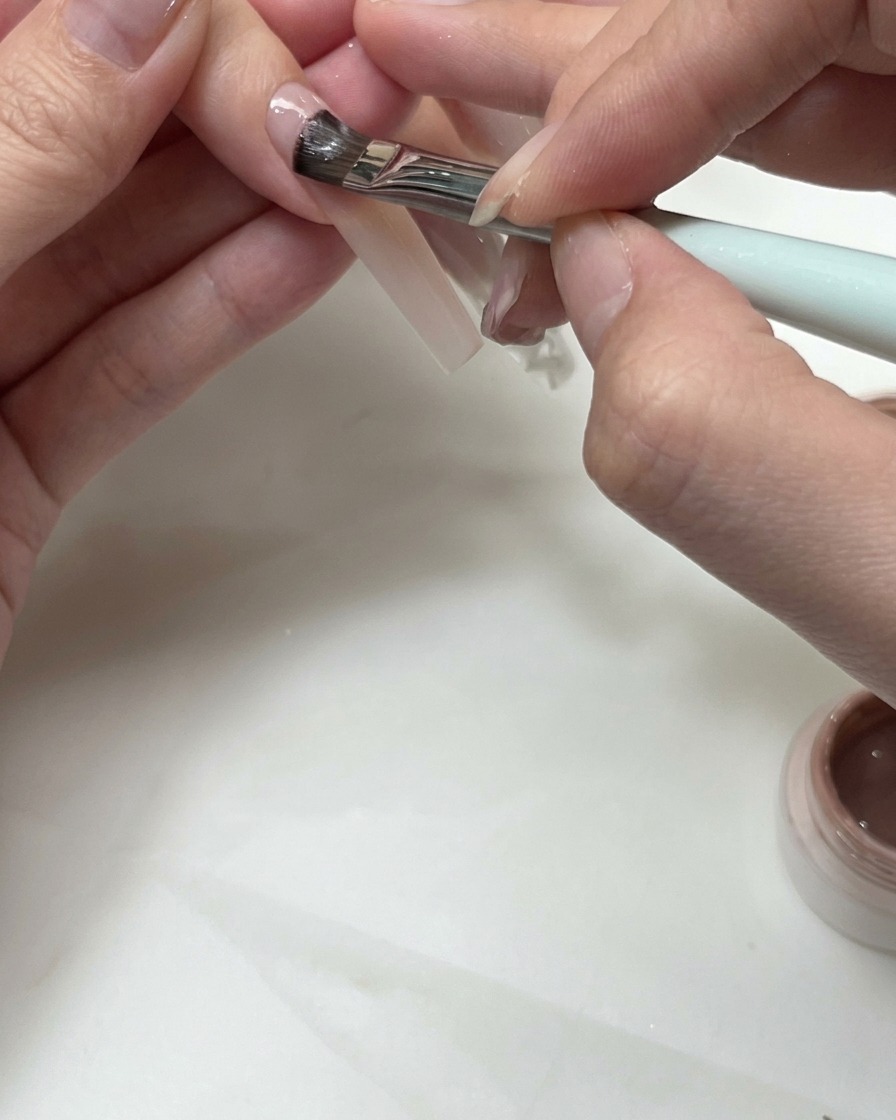
Using a flat nail brush, apply nude gel shades in18 and p17 to outline clean French smile lines on the ring finger and thumb. This creates a natural base for the upcoming plaid and charm designs.
Tip: Work with thin strokes to build up the nude shade smoothly along the smile line curves. - 17Apply striping tape for grid pattern
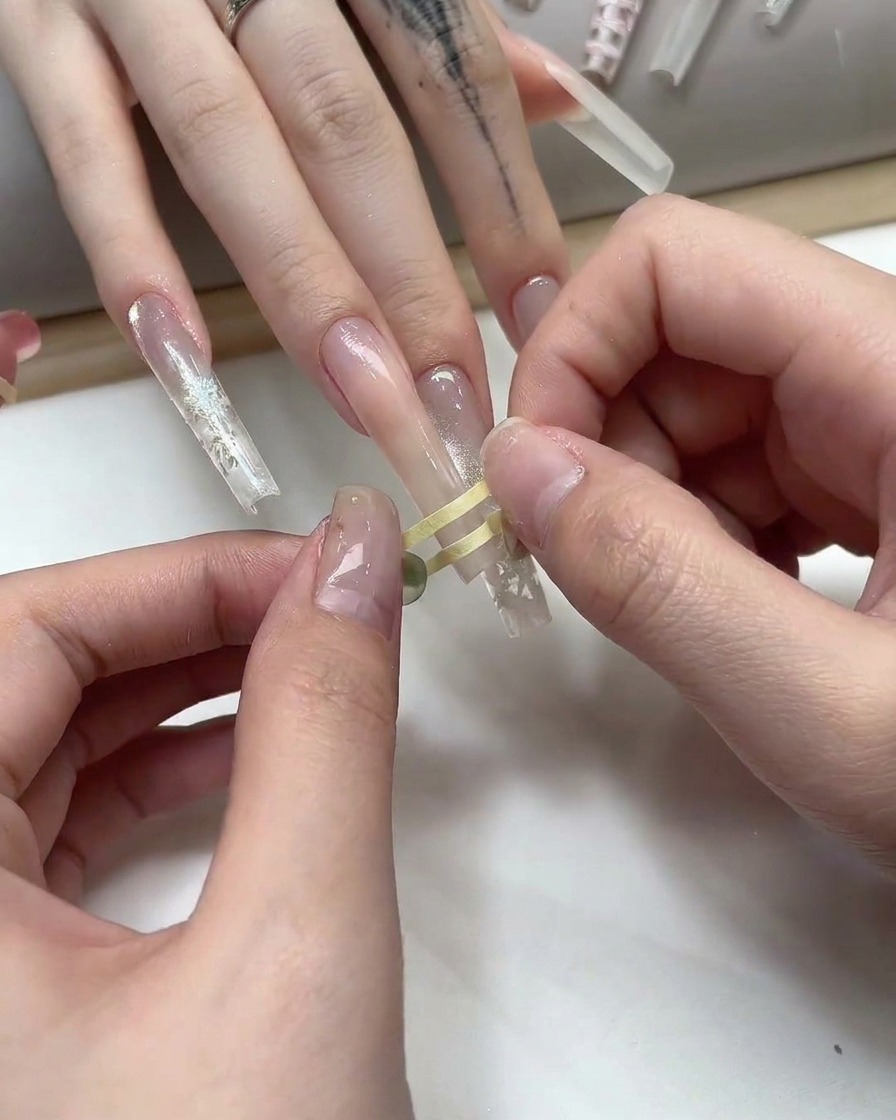
Once the nude base is prepared, take fine striping tape and apply it horizontally and vertically across the nail surface to form a precise grid pattern for the plaid design.
Tip: Press down firmly along all tape edges to prevent colored gel from bleeding underneath. - 18Dab white gel over the grid pattern
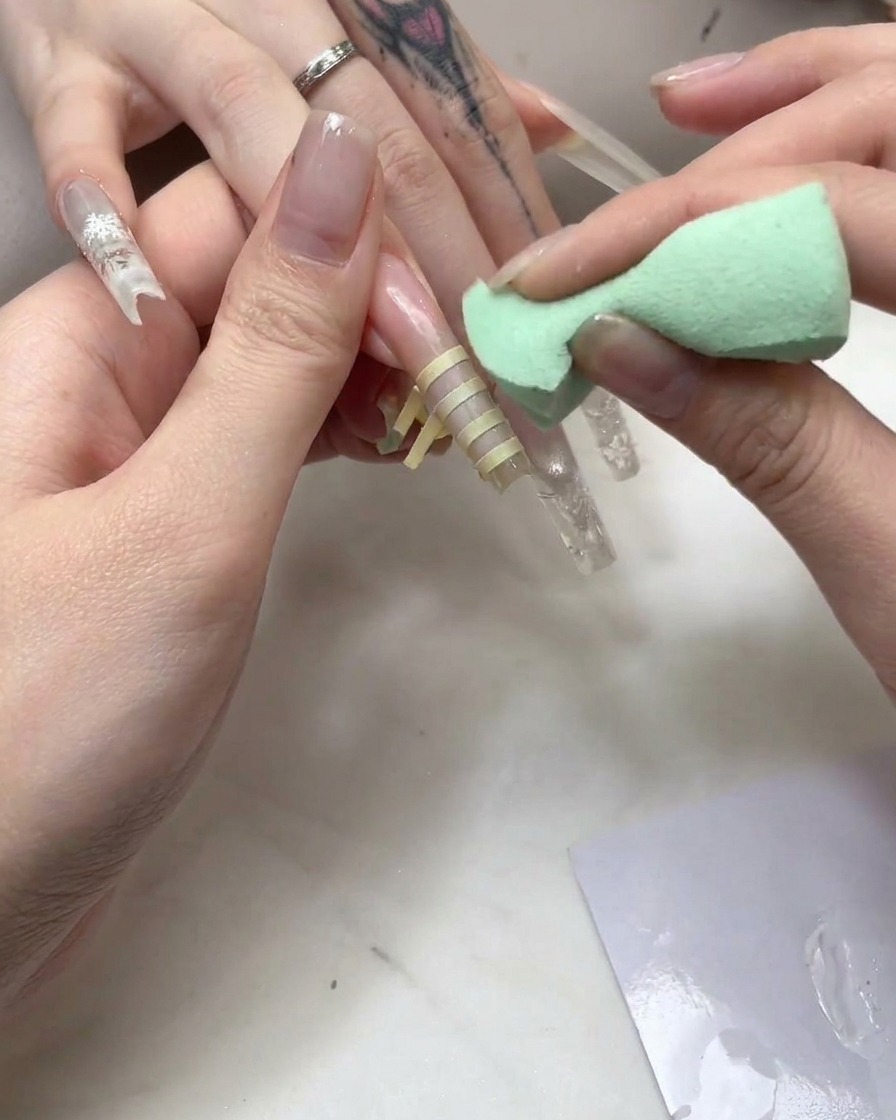
Take a small makeup sponge, load it with white gel, and gently dab it over the taped grid pattern on the nail. This deposits color evenly around the tape lines to start forming the plaid effect.
Tip: Use a light dabbing motion with the sponge to avoid shifting or peeling up the striping tape. - 19Remove striping tape for clean plaid lines
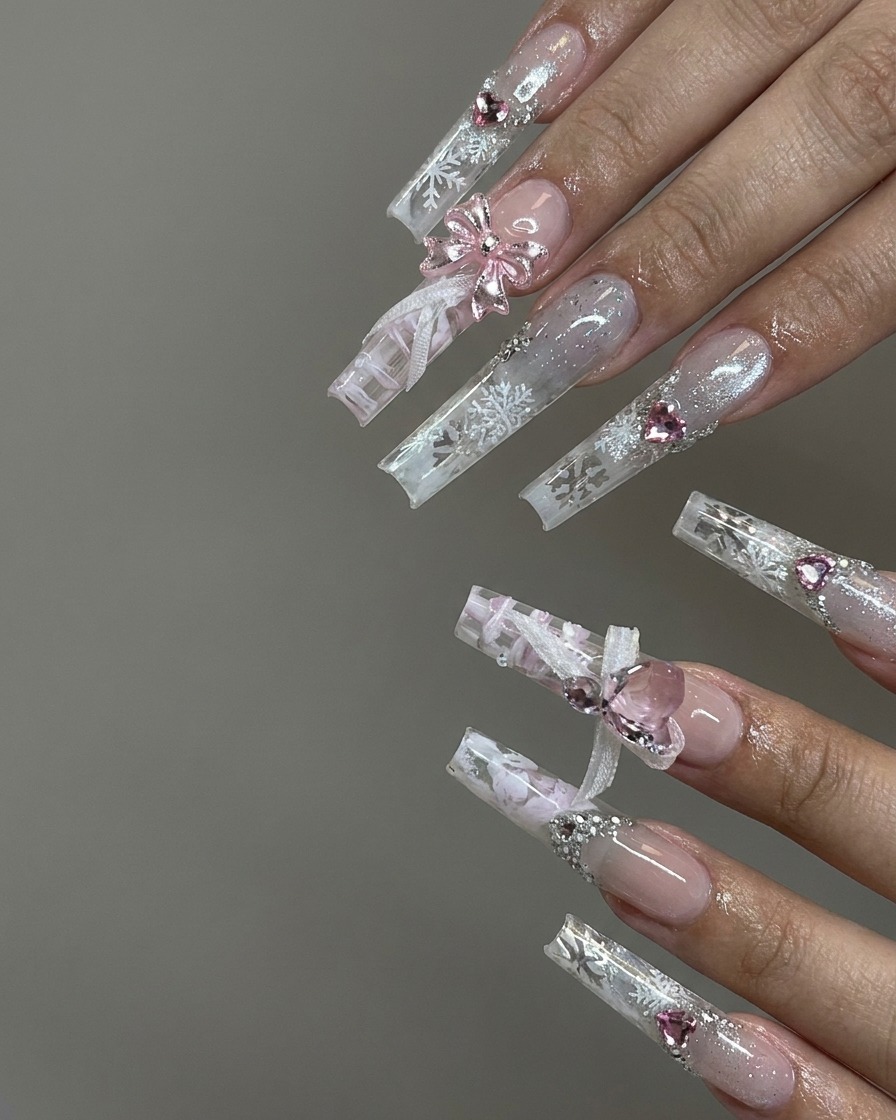
Carefully peel away the striping tape from the nail surface to reveal the crisp, clean white grid lines underneath. Take your time pulling the tape at a low angle to avoid smudging the surrounding gel or pulling up the underlying polish. This step exposes the geometric pattern created for the sweet ice powder plaid look.
Tip: Pull the tape slowly and steadily while the gel is fully cured to ensure sharp, clean grid borders. - 20Apply top coat and fill grid boxes
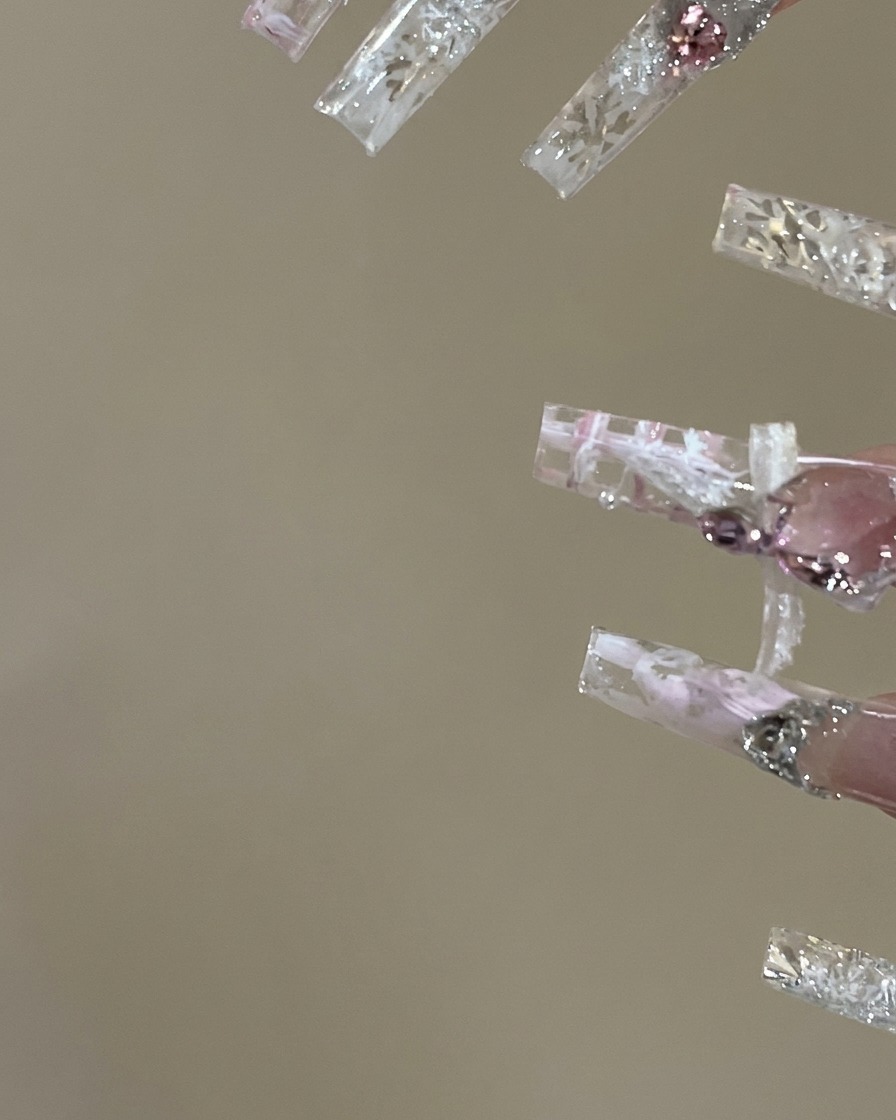
Apply a layer of glossy top coat over the entire nail structure, then use a fine detailing brush to apply pigmented colored gel selectively into the grid boxes. This technique adds depth and color variation to the plaid pattern, enhancing the sweet ice powder aesthetic before the final curing step.
Tip: Work in small sections when filling the grid boxes to keep the colored gel from spilling over the white lines.