Fairy Butterfly Milky White Gradient Nails — Step-by-Step Tutorial
Create enchanting milky white gradient nails featuring shimmering silver glitter and delicate holographic butterfly sequins with this step-by-step tutorial.
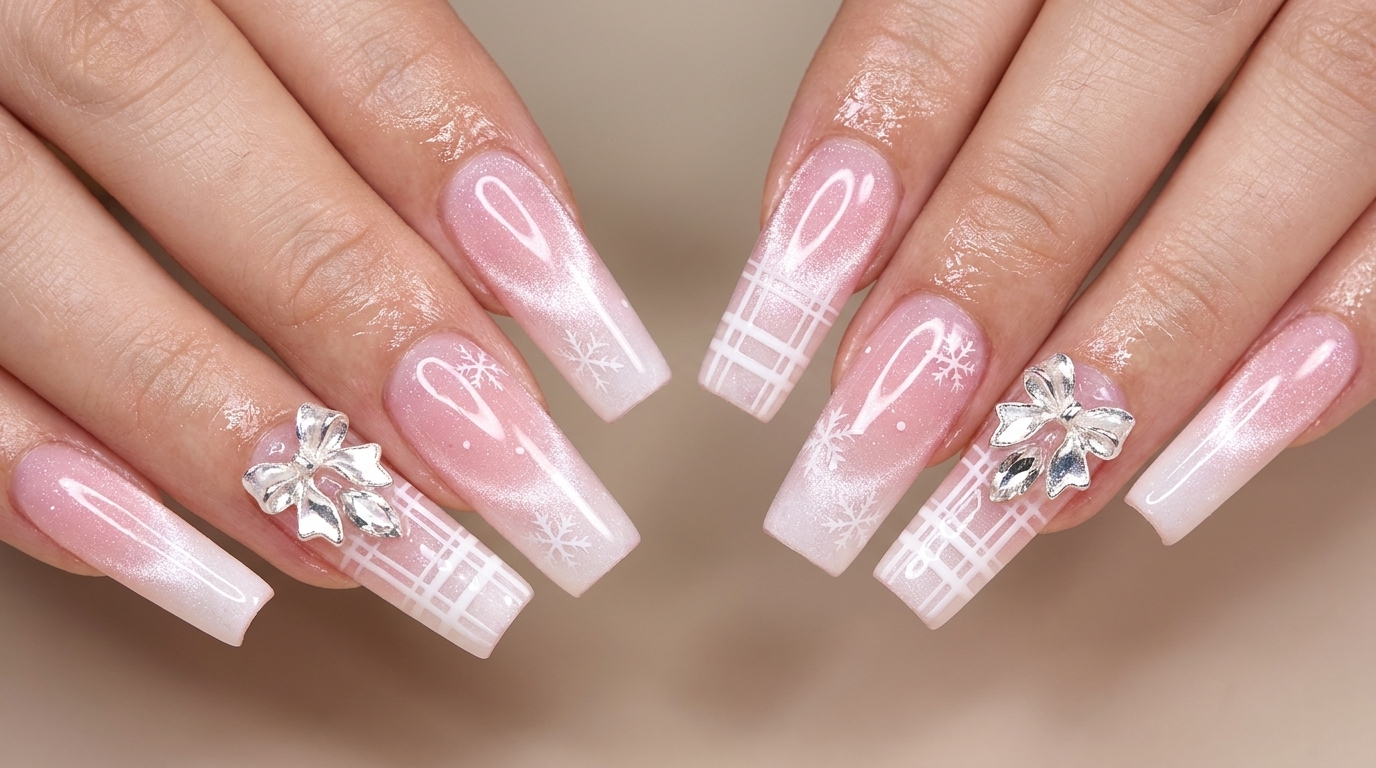
Milky white gradient nails paired with whimsical holographic butterflies and sparkling silver glitter create a truly magical aesthetic. This look balances a soft, milky ombre transition with playful dimensional details, making it a standout choice for anyone looking to elevate their everyday gel manicure into something special.
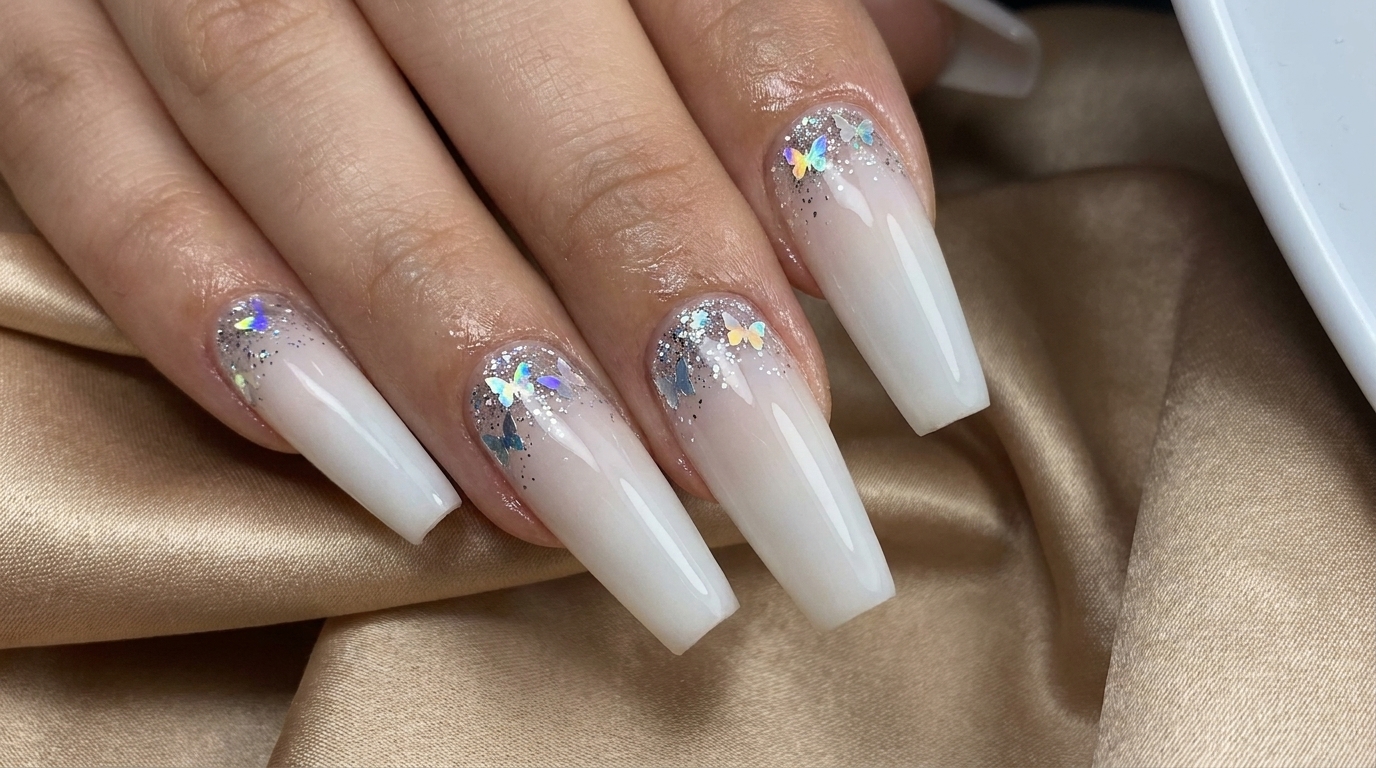
Steps
- 1Pick up glitter gel
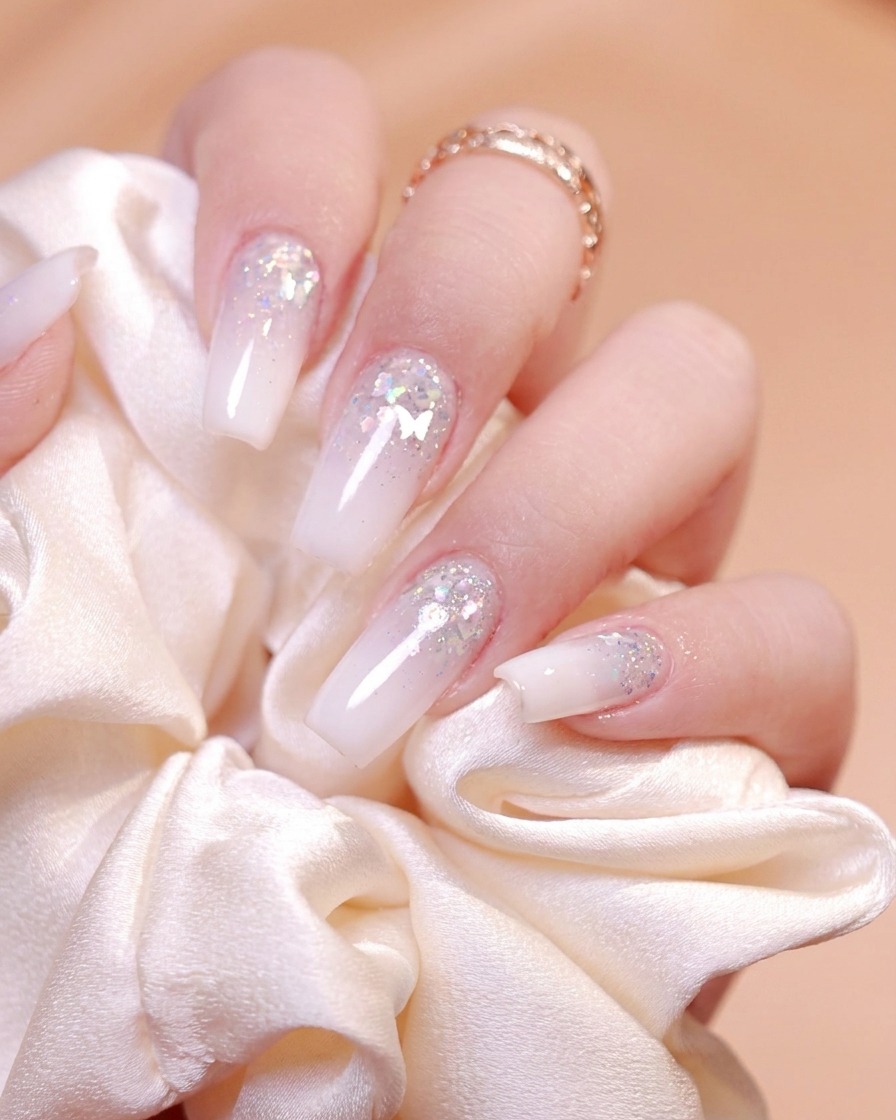
Using a fine brush, pick up a small amount of glitter gel directly from the container to prepare for application along the nail base.
Tip: Take a small amount of product at a time to prevent clumping and ensure an even distribution. - 2Apply glitter gel to nail base
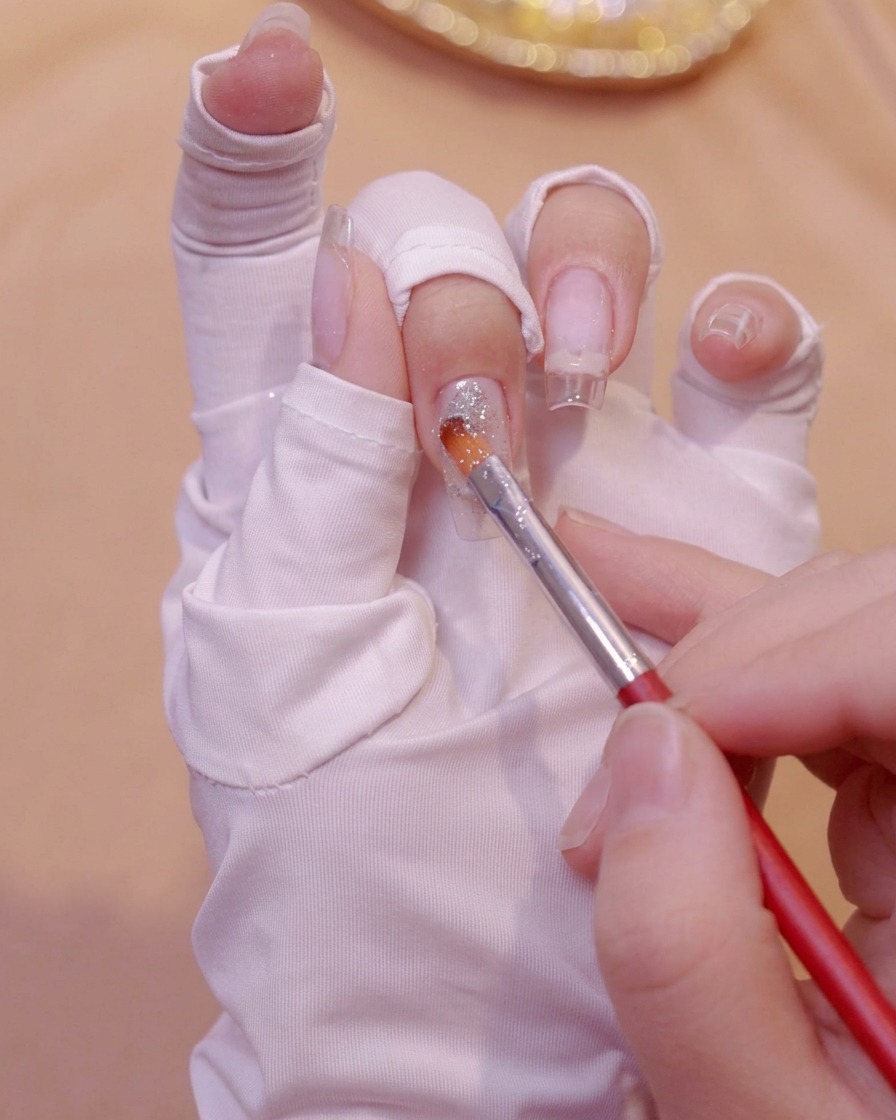
Pick up a small amount of glitter gel using a fine brush and apply it carefully along the nail base area of the clear nail extension. Gently sweep and pat the glitter to distribute the sparkle evenly near the cuticle line.
Tip: Keep the glitter concentrated near the base to set up the gradient effect. - 3Blend glitter into an ombre gradient
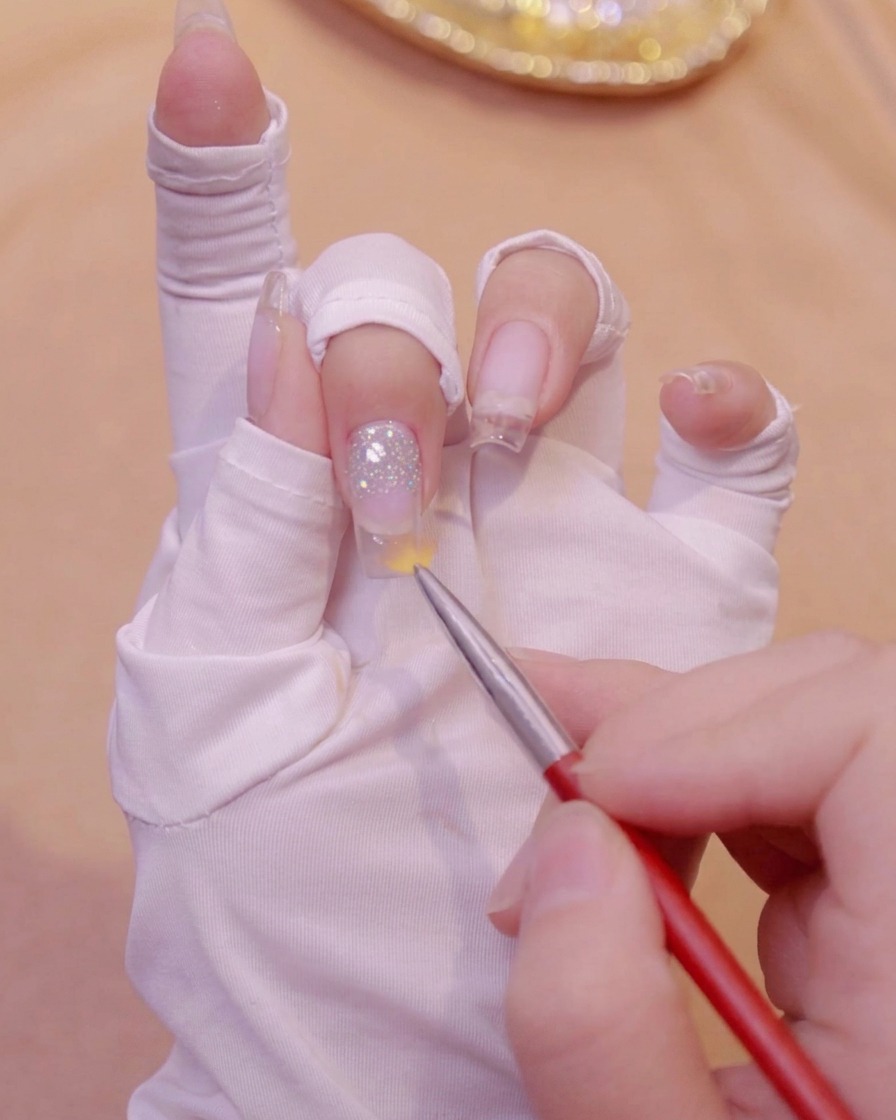
Take a gradient brush and gently sweep downwards from the nail base towards the free edge. This fades out the glitter density, creating a smooth and seamless ombre transition.
Tip: Use light, feathery strokes so the glitter disperses naturally without clumping. - 4Place butterfly glitter pieces
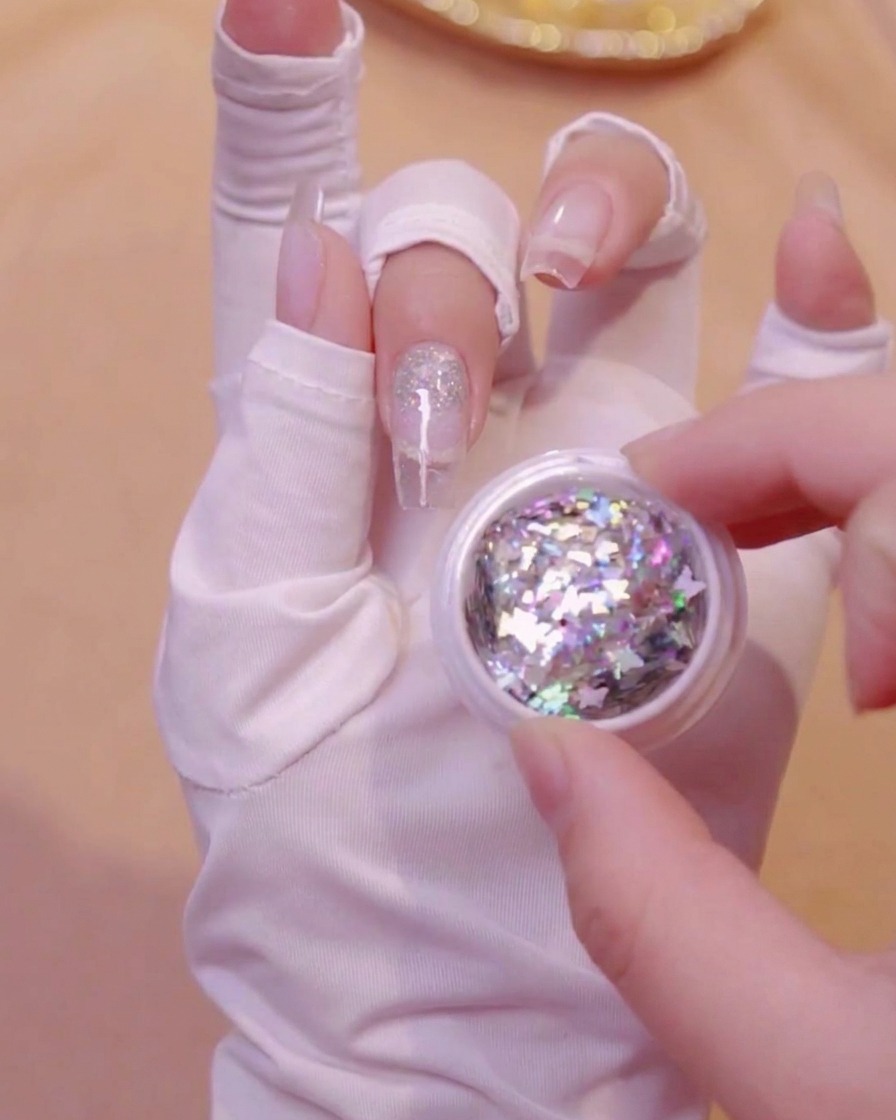
Pick up two holographic butterfly glitter sequins using your brush and place them directly into the center of the gradient glitter area on the nail.
Tip: Position the butterflies facing outwards or slightly angled for a playful, decorative layout. - 5Press butterfly sequins flat
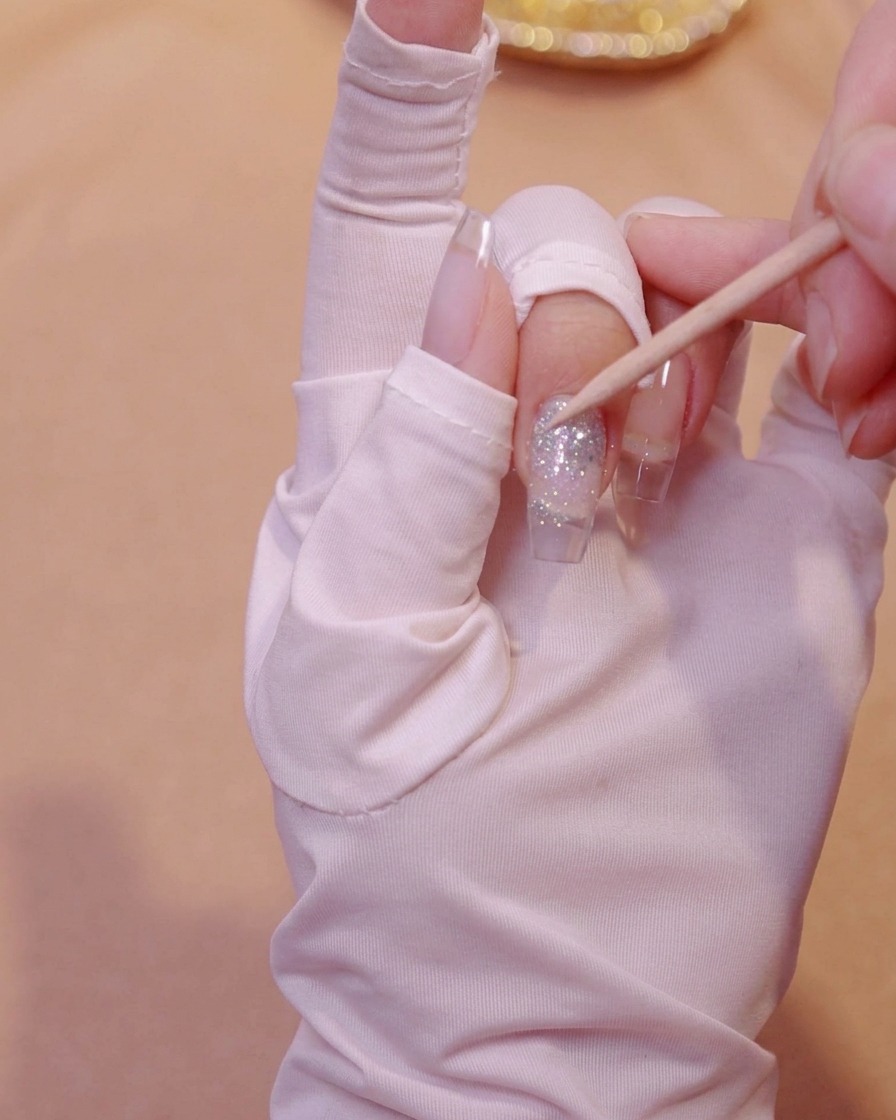
Using an orangewood stick, gently press down on each butterfly sequin to ensure they lie completely flat against the uncured gel surface and wont lift.
Tip: Pressing them flat prevents sharp edges from sticking up through subsequent gel layers. - 6Cure glitter and butterfly placement
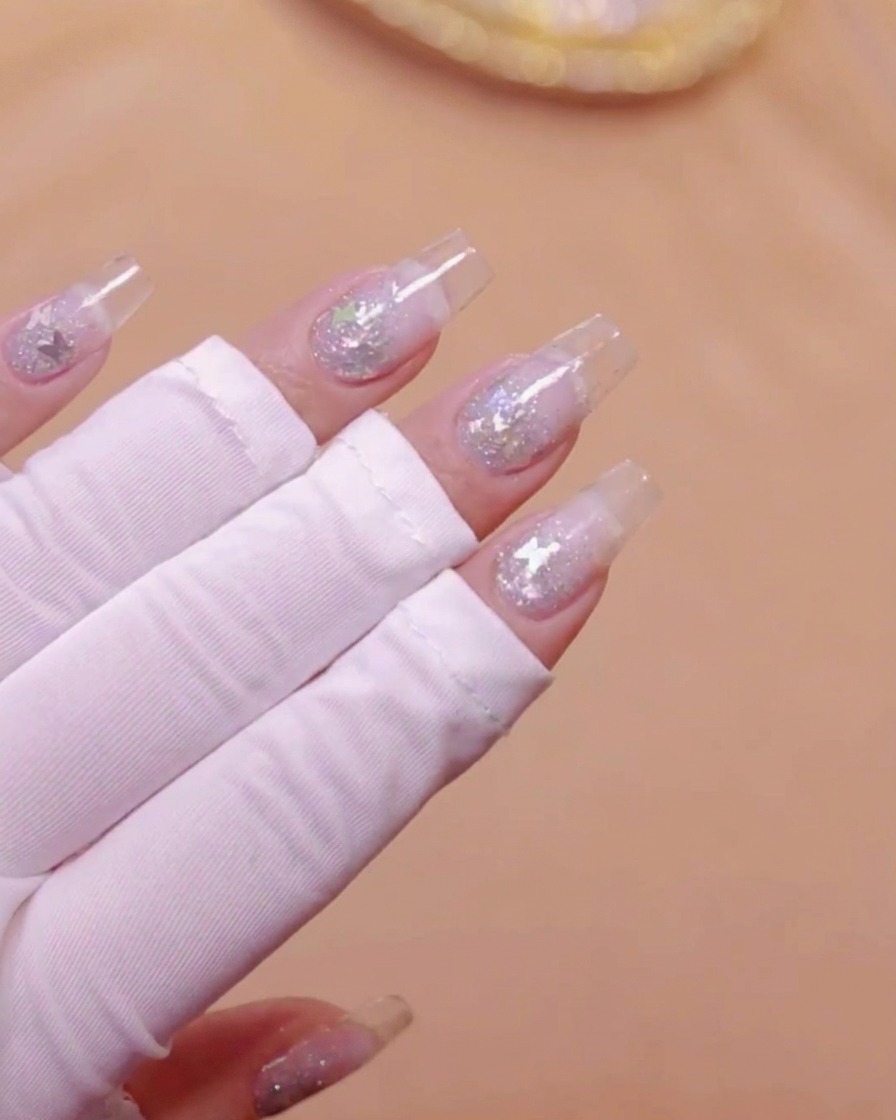
Place your hand under the UV or LED lamp to fully cure the glitter gel and secure the butterfly sequins in place before moving on to the next step.
Tip: Ensure a complete cure cycle so the decorative elements remain firmly locked in position. - 7Apply milky white gel polish
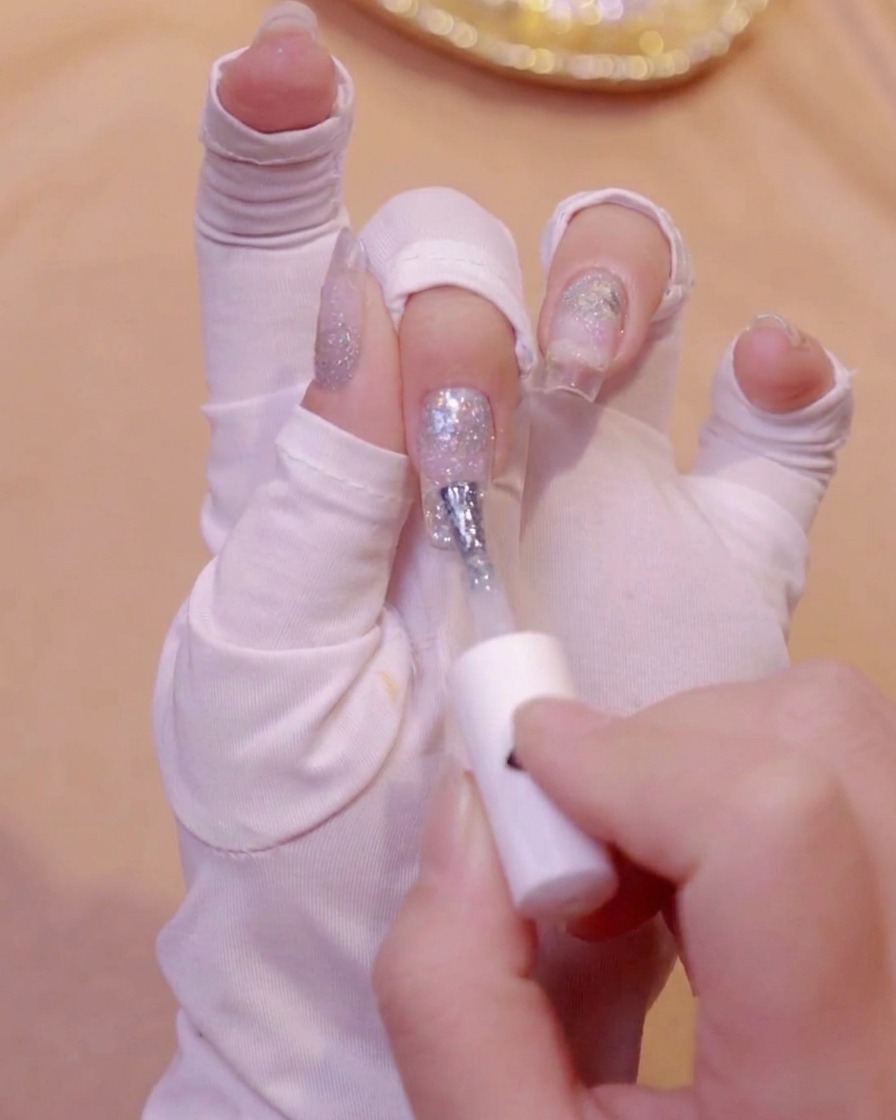
Apply milky white nail polish directly to the nail tips using the brush applicator. This forms the base of the gradient French or ombre design, setting up the transition zone before blending.
Tip: Keep the initial application line relatively even across the tips to make blending smoother. - 8Create white gradient effect
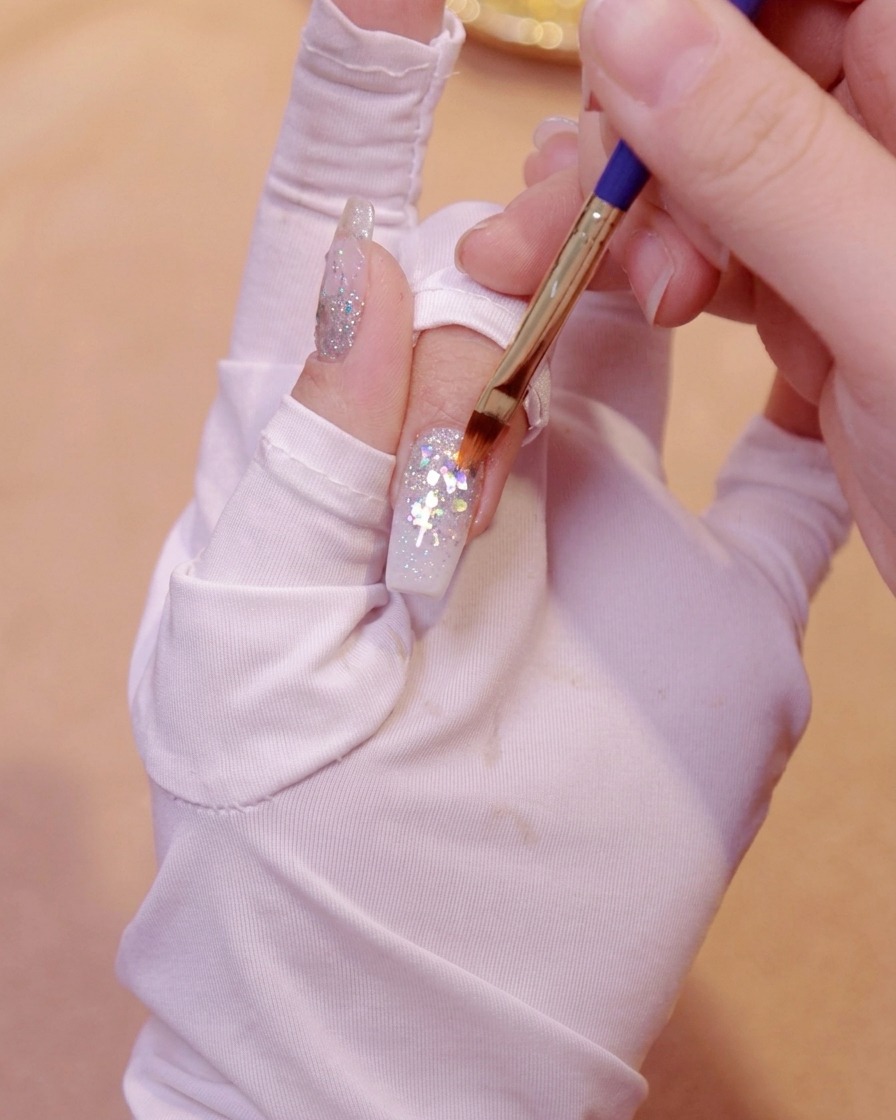
Using a gradient brush, sweep upwards and lightly feather the milky white gel to create a smooth, seamless gradient fading toward the cuticle.
Tip: Keep your touch light to blend the edges smoothly without creating harsh lines. - 9Clean around butterfly glitter
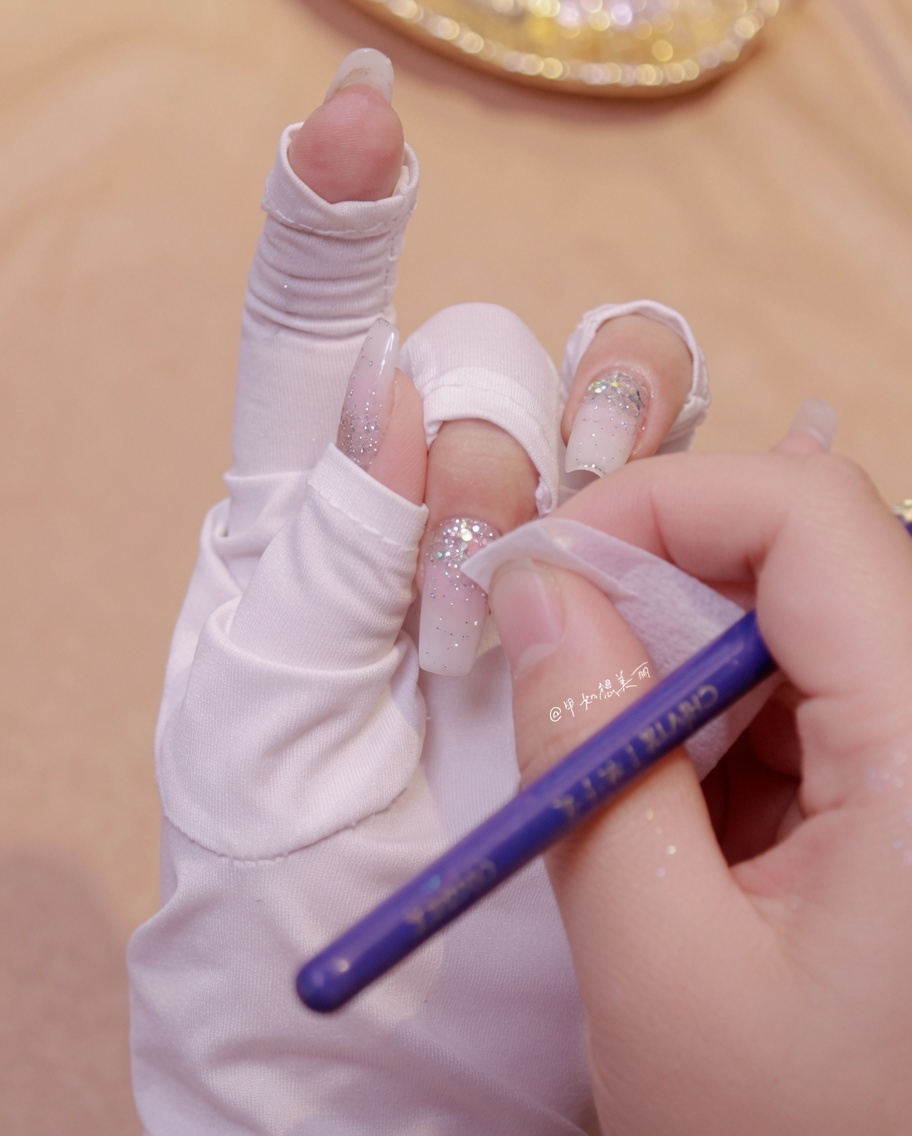
Use a lint-free wipe dampened with cleanser to gently clean around the embedded butterfly glitter pieces, ensuring no stray gel or debris obstructs their shape before curing.
Tip: Be careful not to shift or displace the glitter pieces while wiping. - 10Cure first layer of gradient
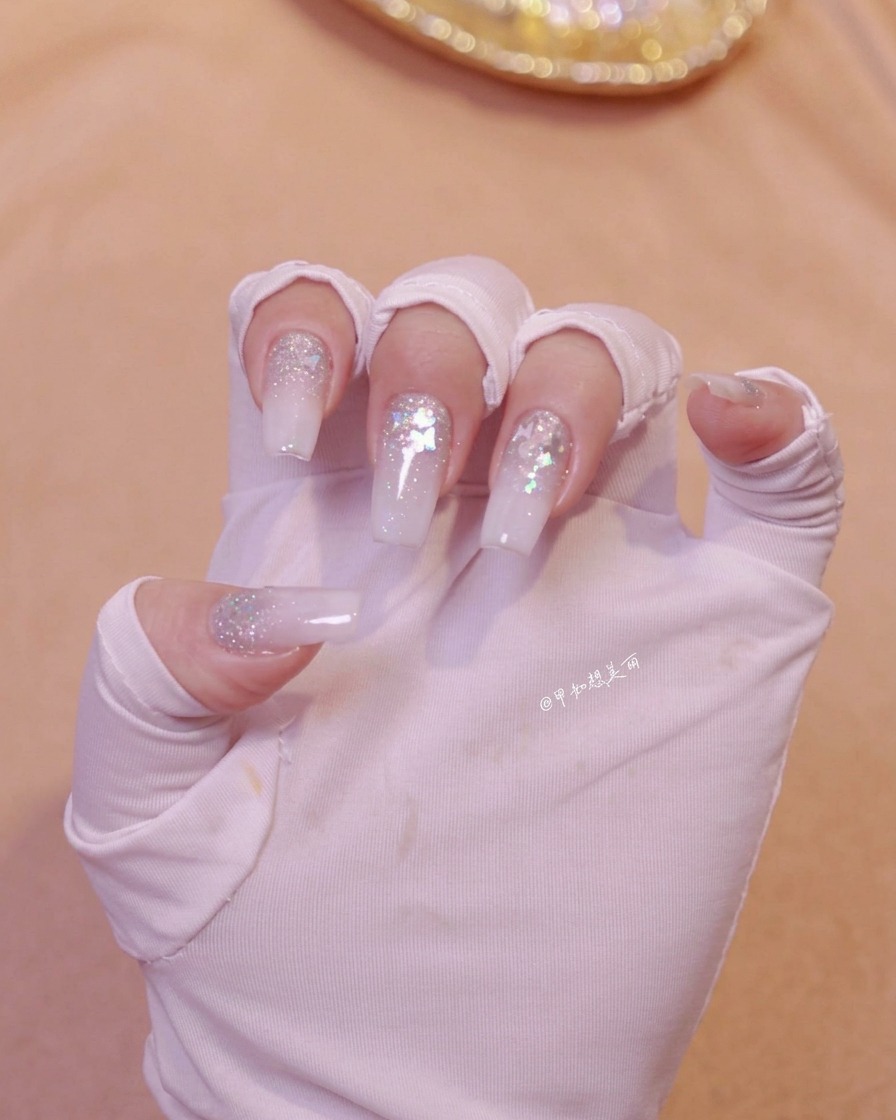
Place your hand under the UV or LED lamp to cure the first layer of the milky white gradient and set the design in place.
Tip: Ensure all fingers are evenly exposed to the light source for complete curing. - 11Apply second layer of milky white gel
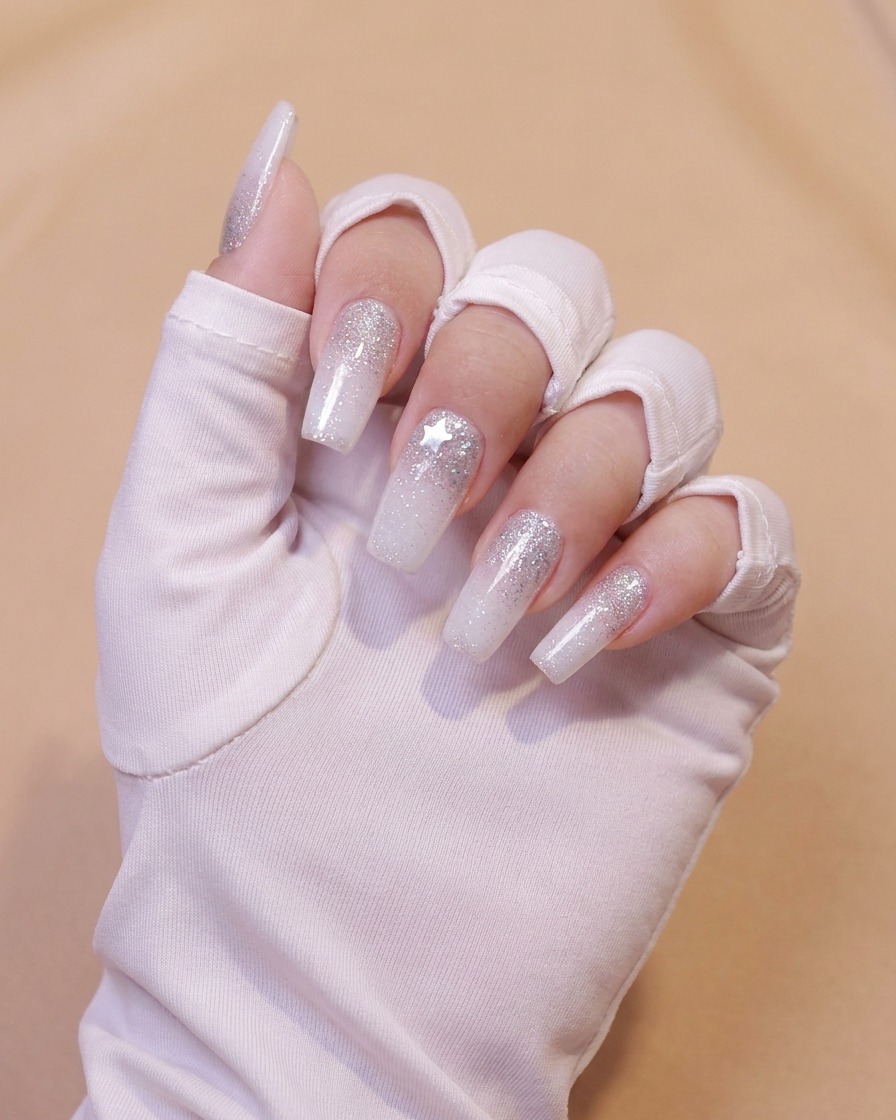
Apply a second layer of milky white gel polish to the nail tips to achieve a richer, more opaque, and fuller look, then blend upwards.
Tip: Building the color in thin layers prevents wrinkling and ensures proper curing. - 12Apply second gradient layer
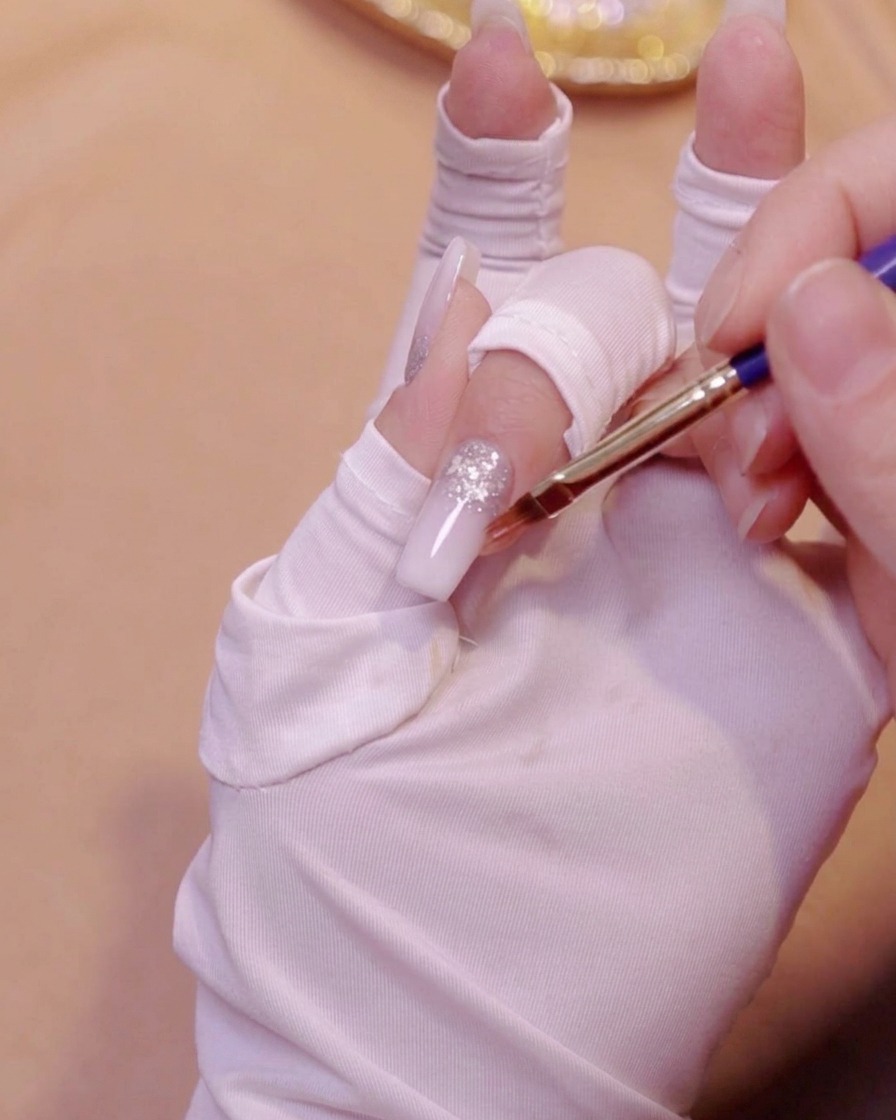
Apply a second layer of milky white gel to the nail tips and use the gradient brush to sweep upwards again for a fuller and richer color transition.
Tip: Ensure the second layer overlaps the first smoothly to maintain a flawless ombre transition. - 13Cure second milky white layer
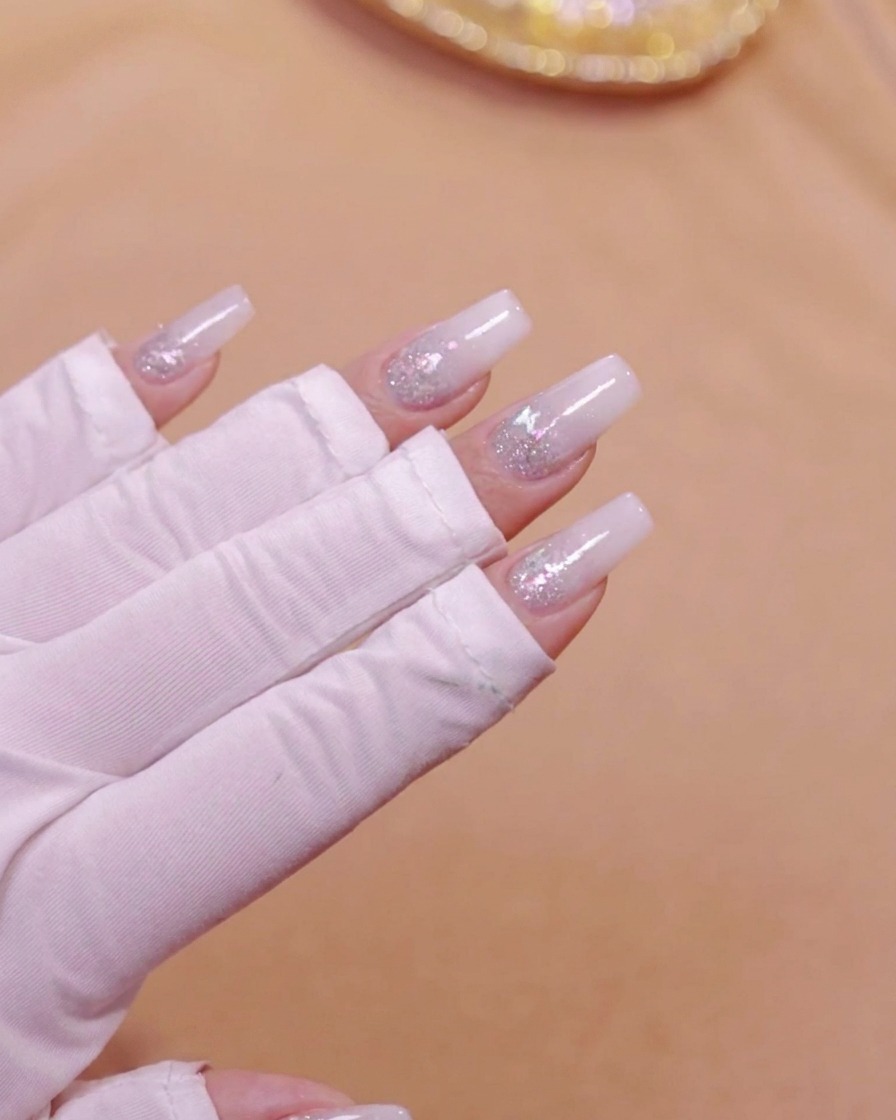
Place your hand back under the UV/LED lamp to fully cure the second layer of milky white nail polish. Ensure the hand is positioned correctly inside the lamp so all fingers receive adequate UV light exposure.
Tip: Do not rush the curing time; proper curing ensures the gradient layers remain intact and prevents bubbling. - 14Apply leveling gel for structure
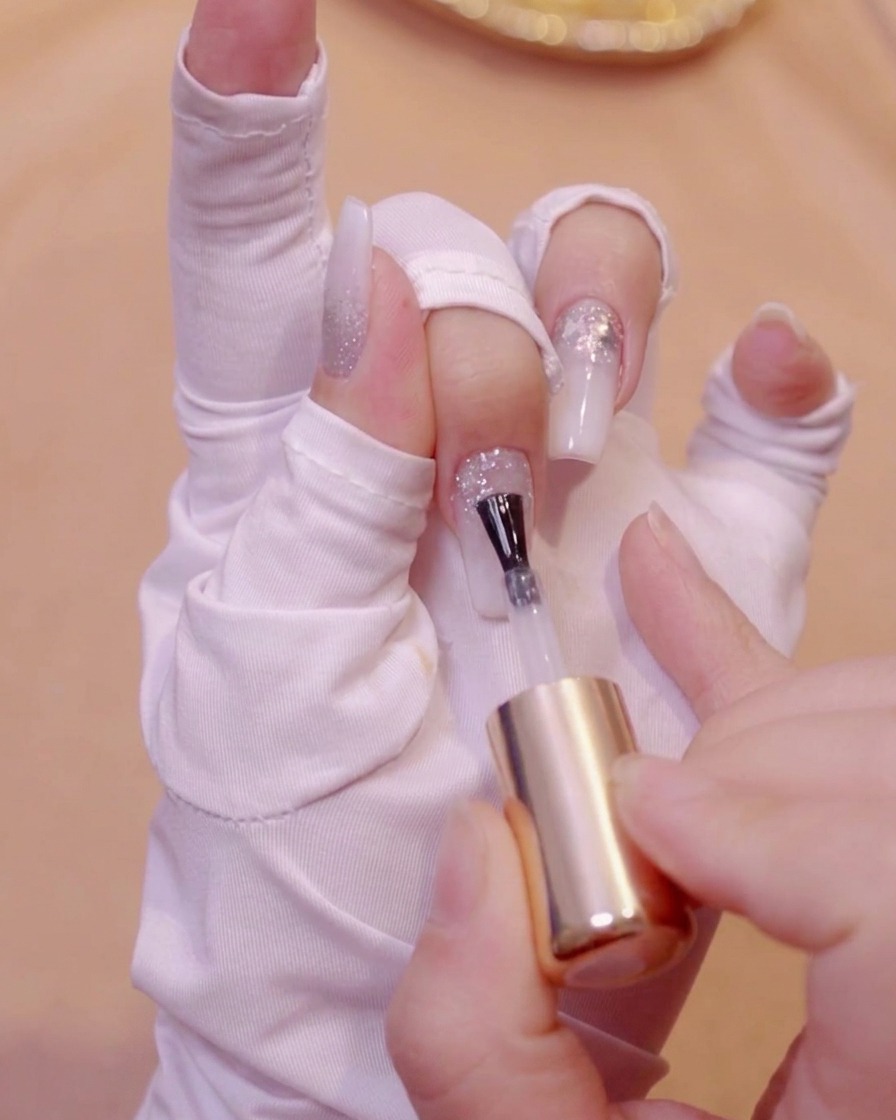
Apply a coat of leveling gel over the uneven glitter surface to build proper structure and create a strong, even nail apex.
Tip: Leveling gel helps smooth out textured glitters and provides structural strength for long extensions. - 15Check side profile and apex
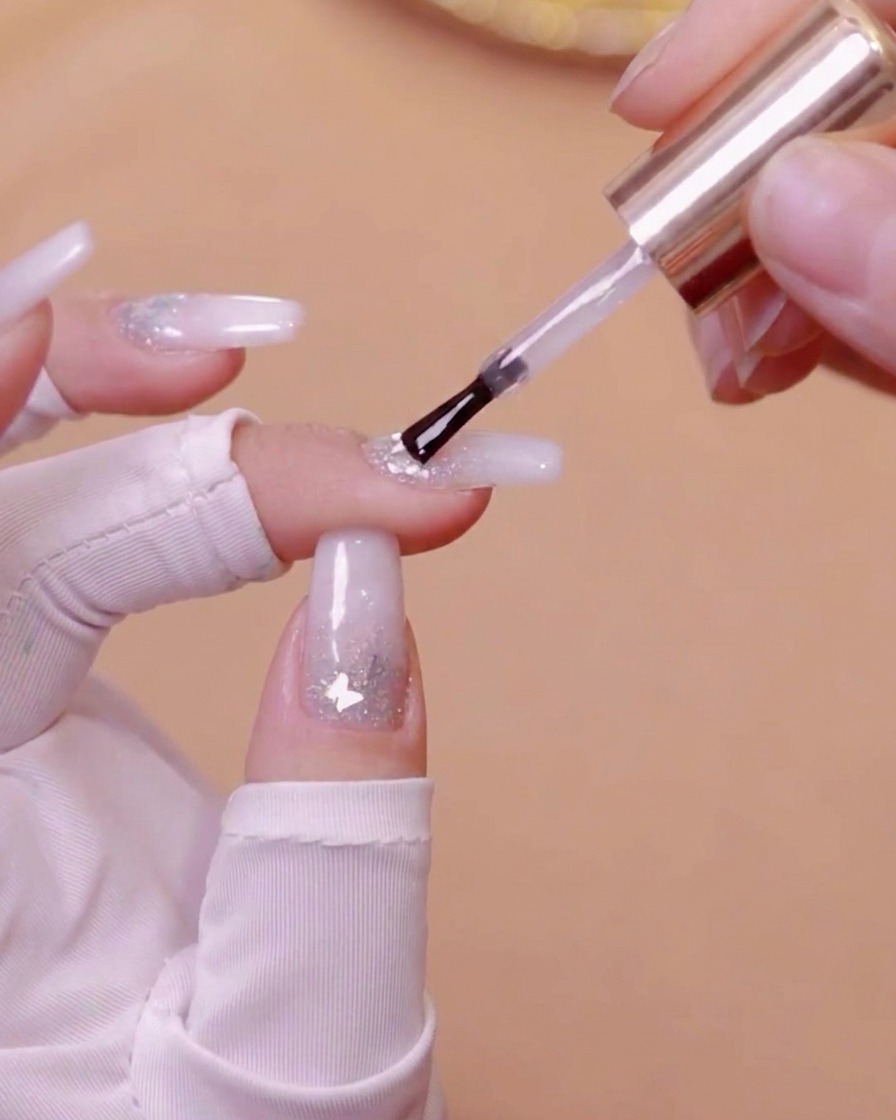
Observe the nail from a side angle to inspect the apex placement and ensure the overall structural arch is balanced and natural.
Tip: Checking from the side helps you spot any low spots or excessive thickness before curing. - 16Cure the leveling gel
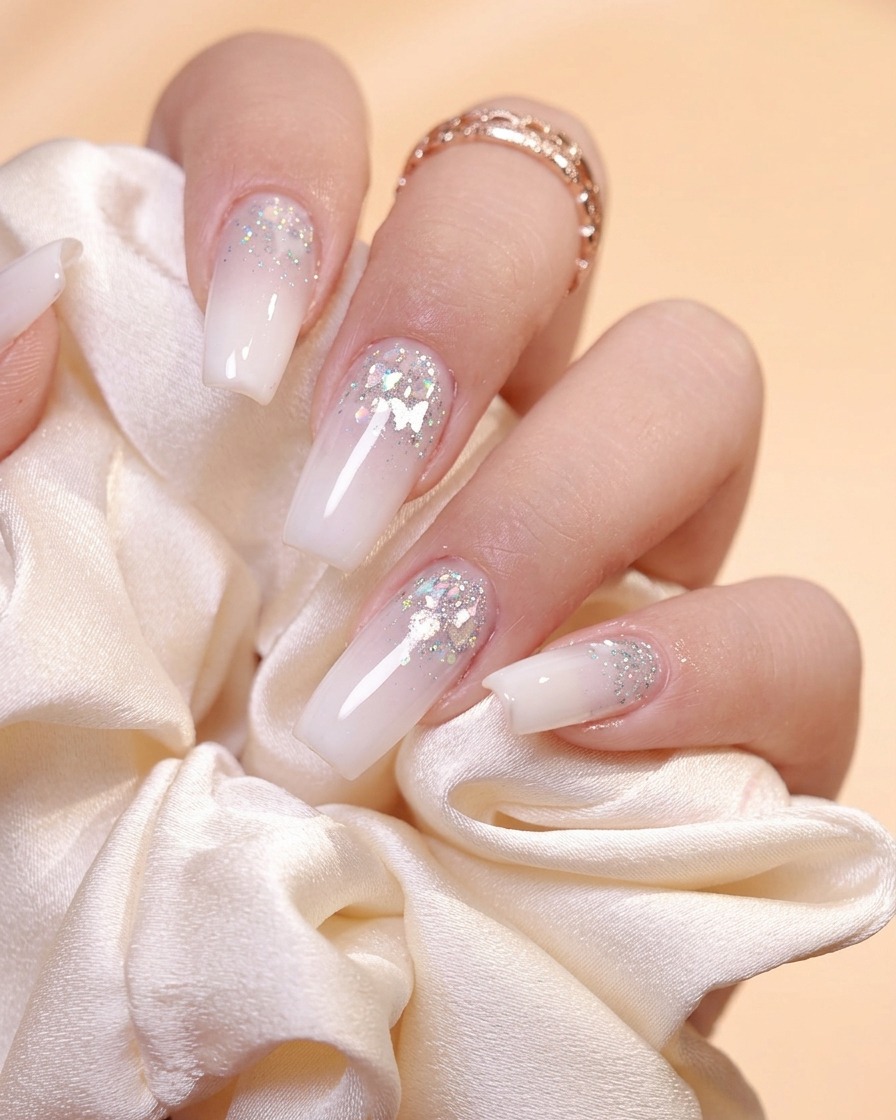
Place your hand inside the UV/LED lamp to cure the newly applied leveling gel. Keep your hand steady and flat to prevent the self-leveling gel from shifting before it hardens.
Tip: Check that the lamp timer is set correctly for builder or leveling gels, which often require a slightly longer cure time. - 17Clean the sticky inhibition layer
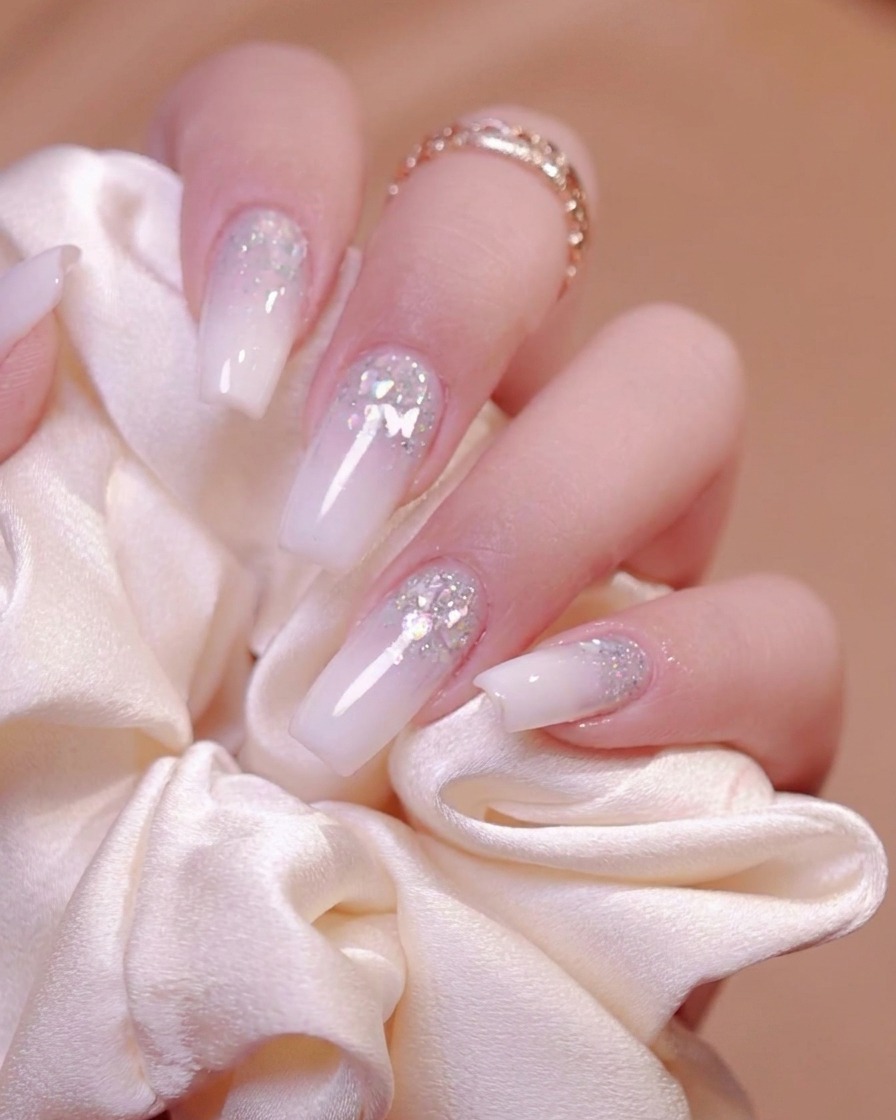
Take a lint-free wipe saturated with cleanser and thoroughly rub the surface of each nail to remove the sticky inhibition layer left behind after curing. This leaves a clean, non-tacky surface ready for filing.
Tip: Use a fresh section of the wipe for different fingers to avoid smearing the residue back onto the nails. - 18File and buff the nail surface
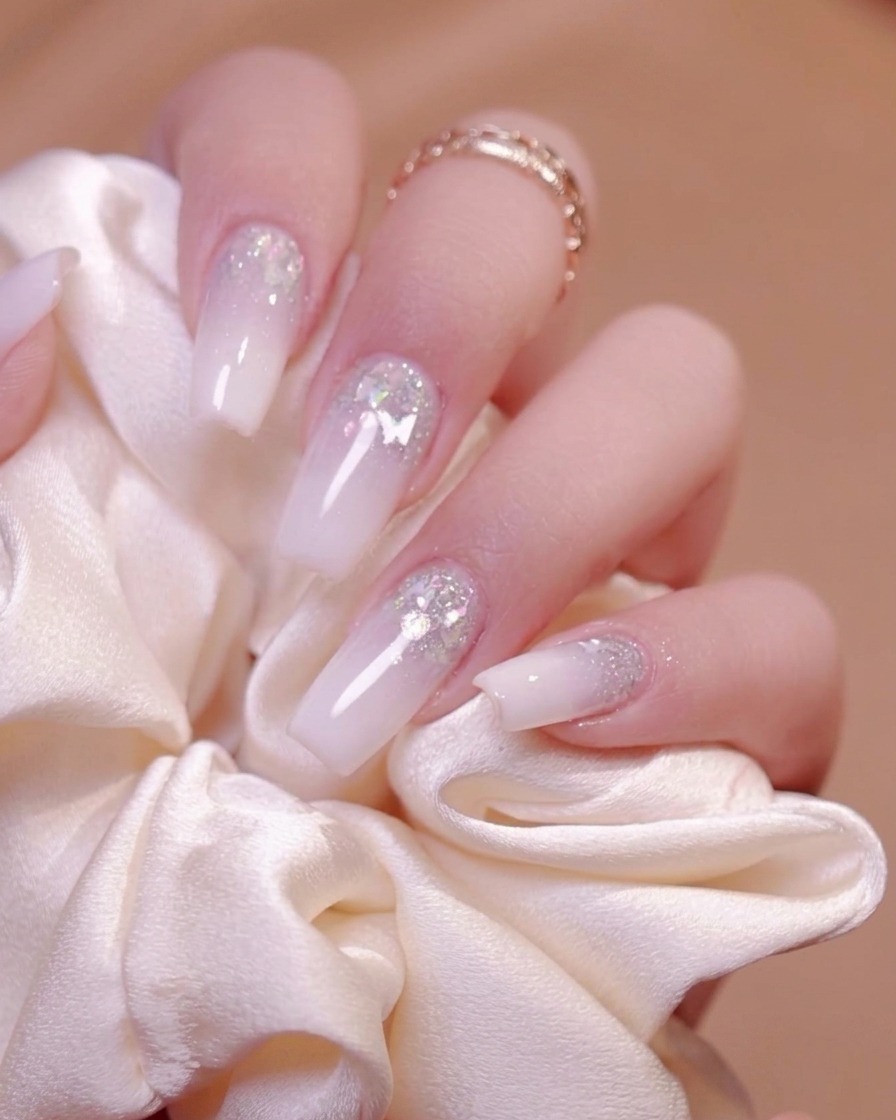
Turn on your electric nail filing machine and gently glide the bit over the nail surface to smooth out any uneven areas. This refines the shape and prepares the structure for a seamless finish.
Tip: Keep the electric file moving constantly to avoid generating too much friction heat on the nail plate. - 19Refine edges and natural arc
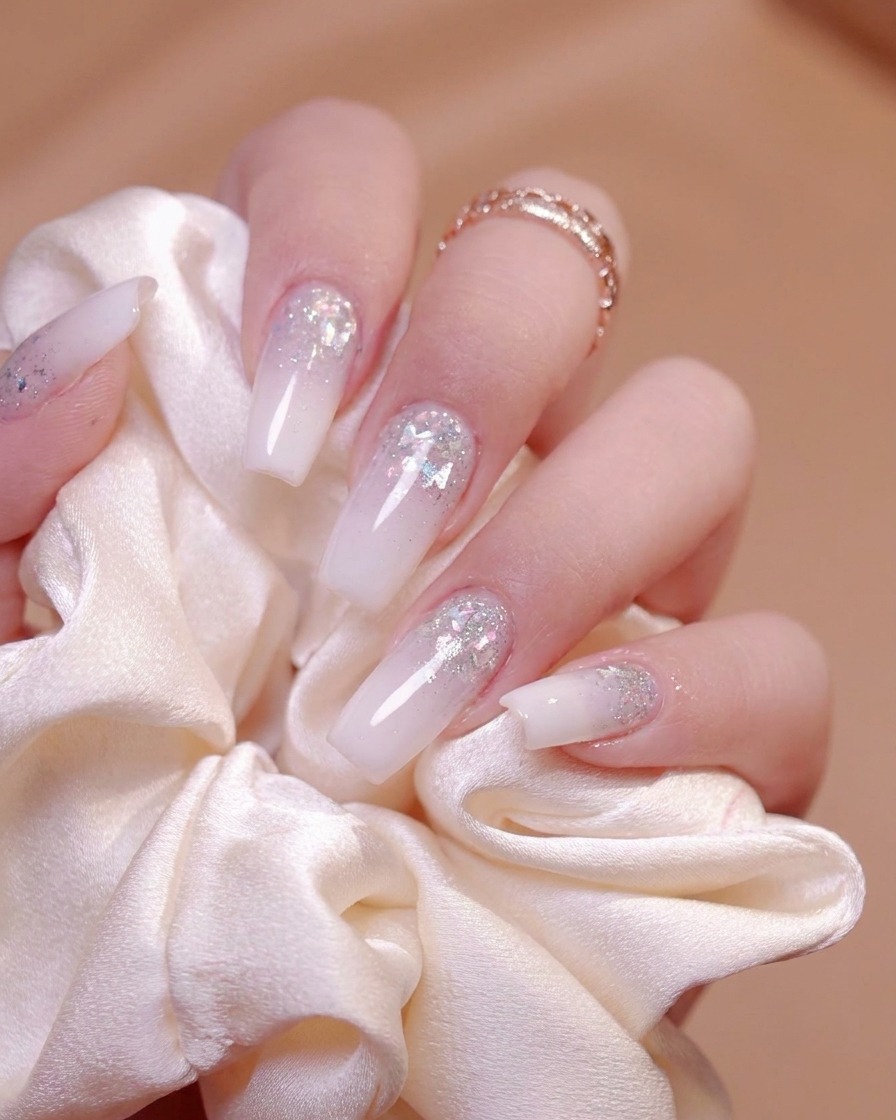
Carefully refine the filing around the perimeter and edges of the nail to create a smooth, natural-looking arc. Check the profile from multiple angles to ensure balanced thickness and clean sidewalls.
Tip: Gentle, precise movements around the cuticles and sidewalls prevent accidental cuts and over-filing. - 20Brush away filing dust
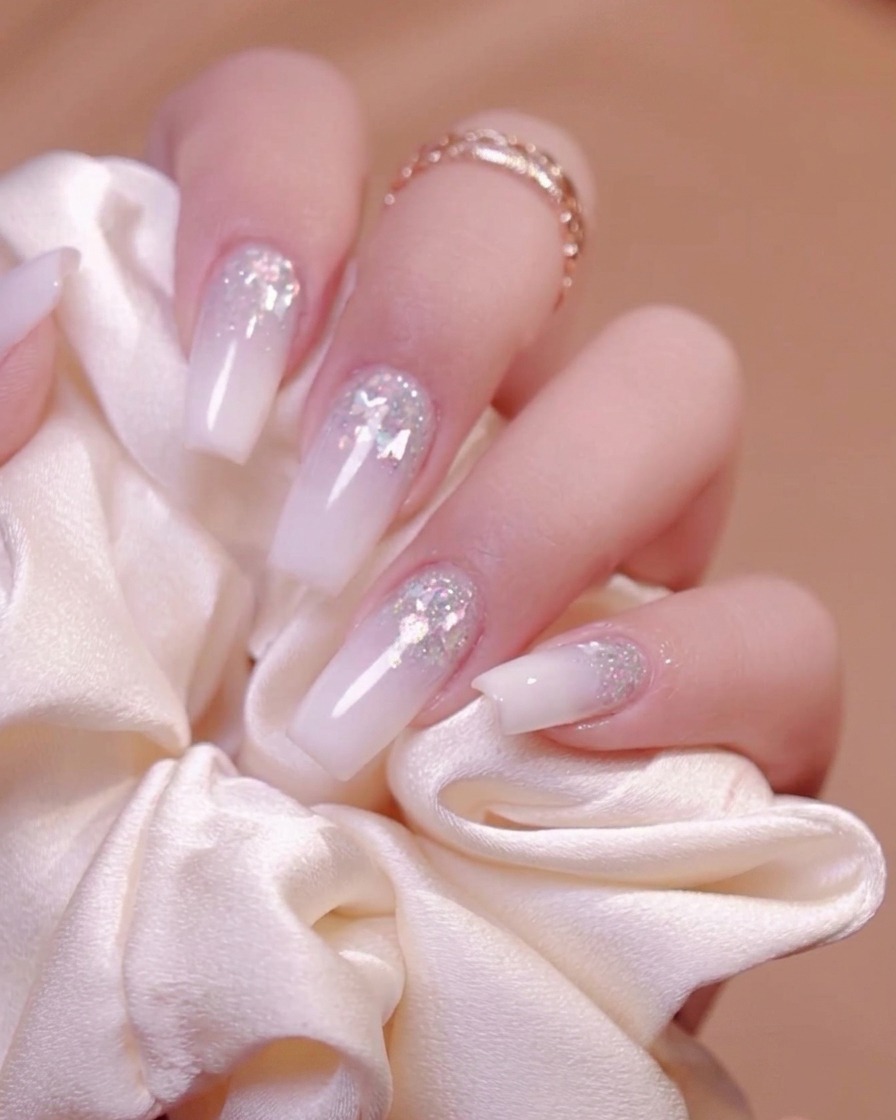
Take a clean hard-bristled brush and firmly sweep away all residual dust settled inside the nail grooves and across the surface. A clean surface is essential before applying the final top coat.
Tip: Ensure all hidden dust particles in the sidewalls are cleared out so they do not get trapped under the top coat layer. - 21Cleanse the nail surface
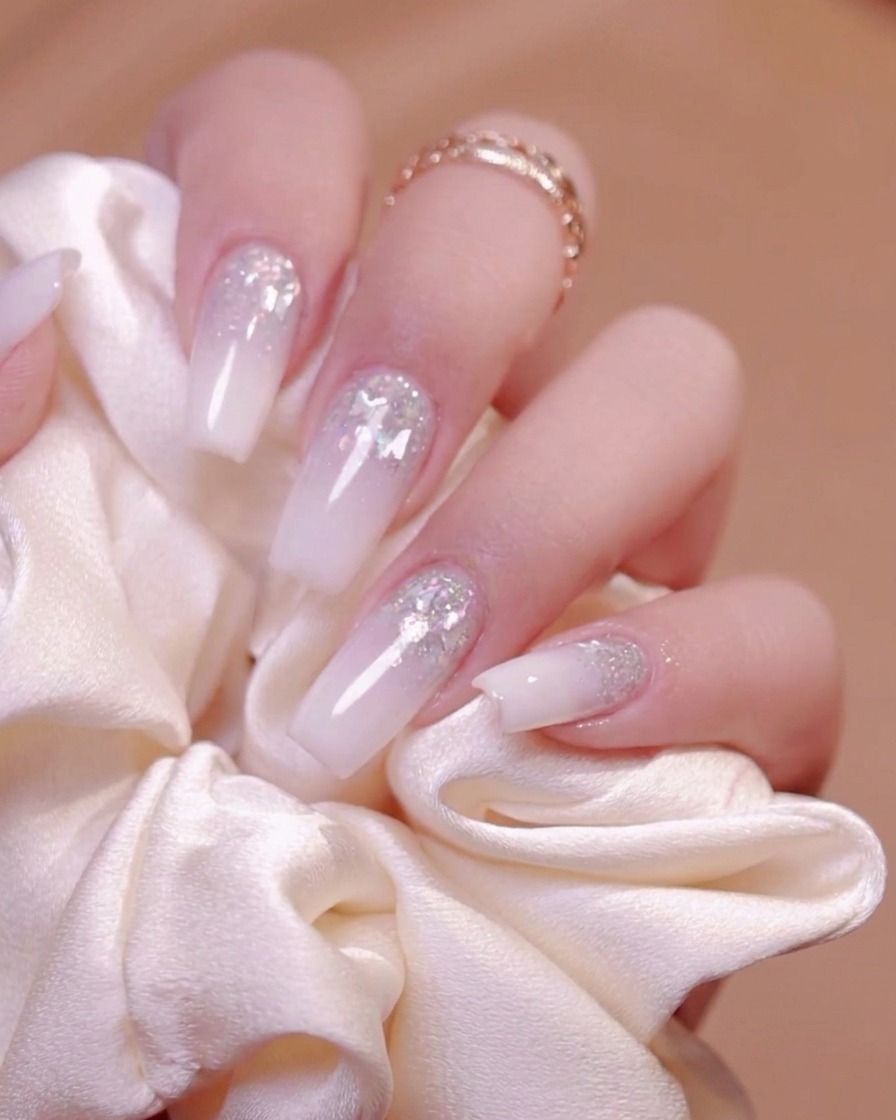
Take a cleansing wipe and thoroughly clean and wipe down the nail surface to remove any remaining dust or debris from previous filing and shaping steps.
Tip: Ensure the nail surface is completely clean and dry before moving on to the top coat application. - 22Apply wipe-free top coat
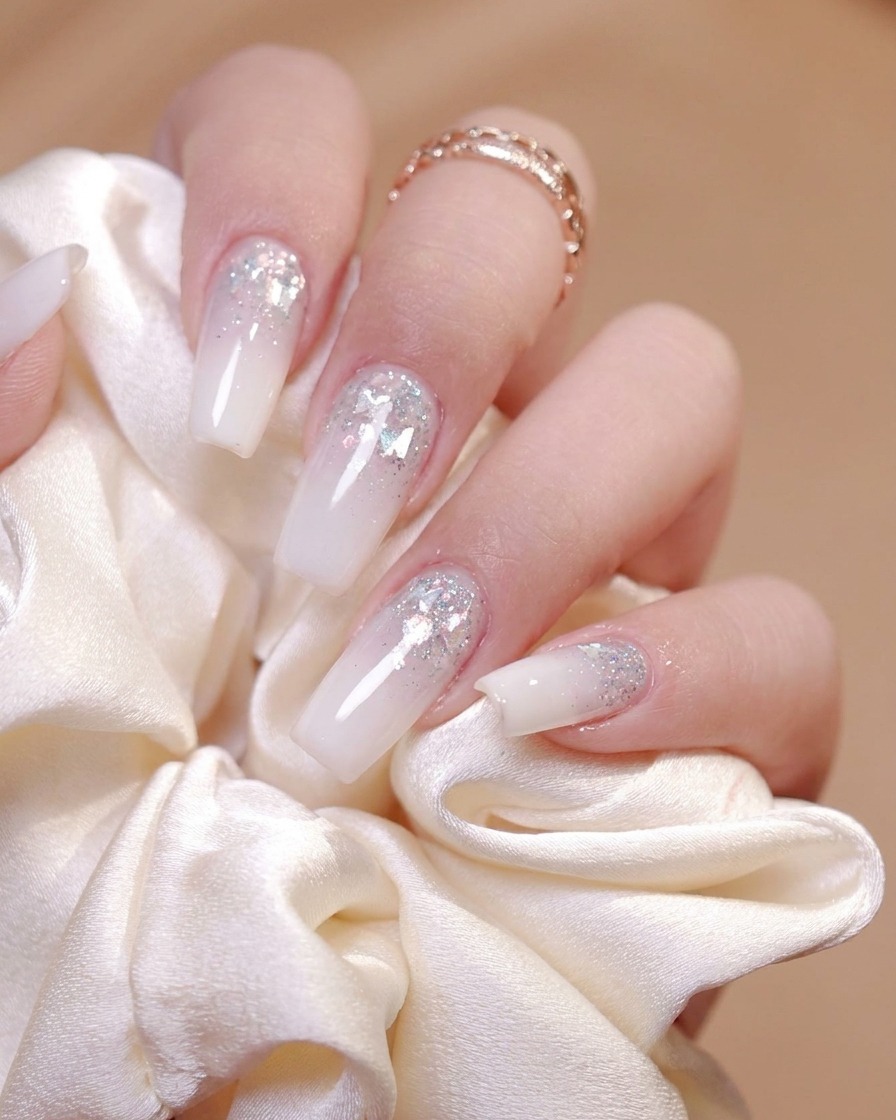
Apply a wipe-free top coat evenly across the nail surface of all fingers to seal in the design and provide a glossy, protective finish.
Tip: Make sure to cap the free edge with top coat to prevent chipping and peeling over time. - 23Final cure under UV or LED lamp
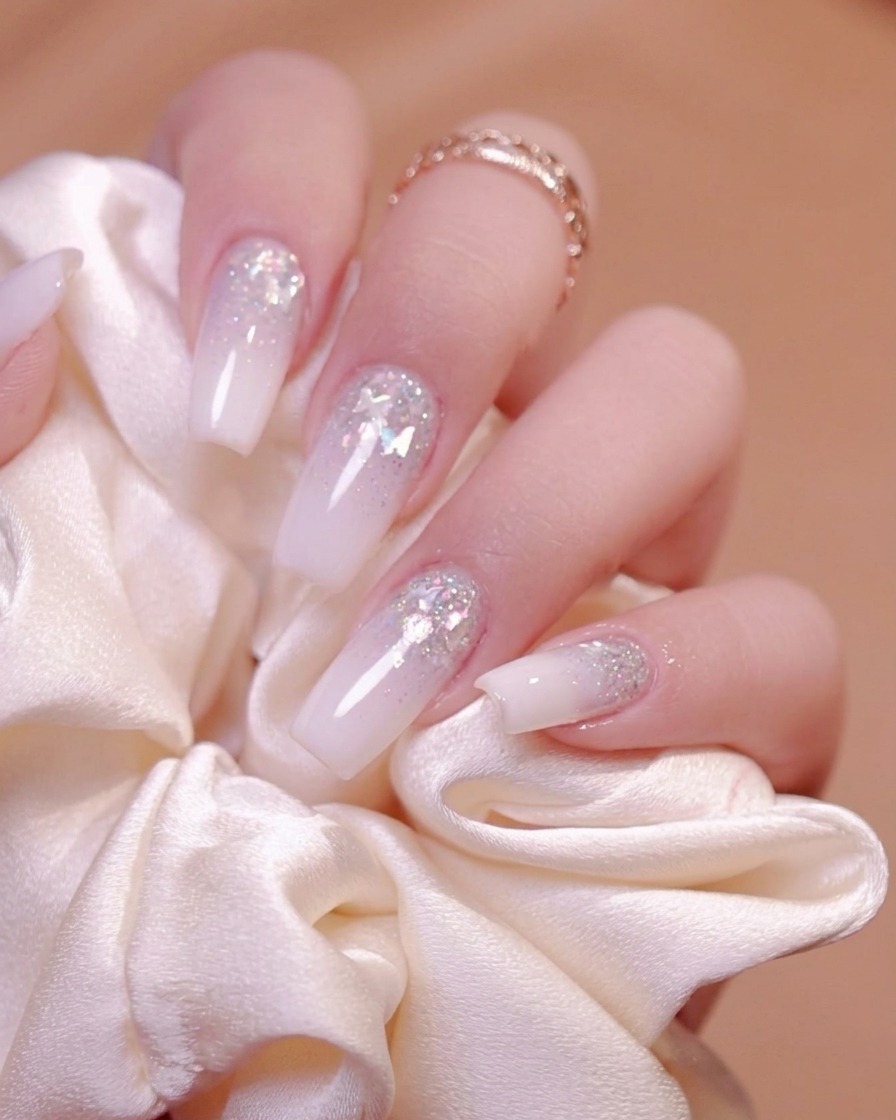
Place your hand under the UV or LED lamp for the final curing of the top coat. Ensure every finger is properly exposed to the light to fully set the finish.
Tip: Do not remove your hand early to ensure the top coat achieves its maximum hardness and high-gloss shine.