Ripe Cherry French Gradient Nail Art Tutorial
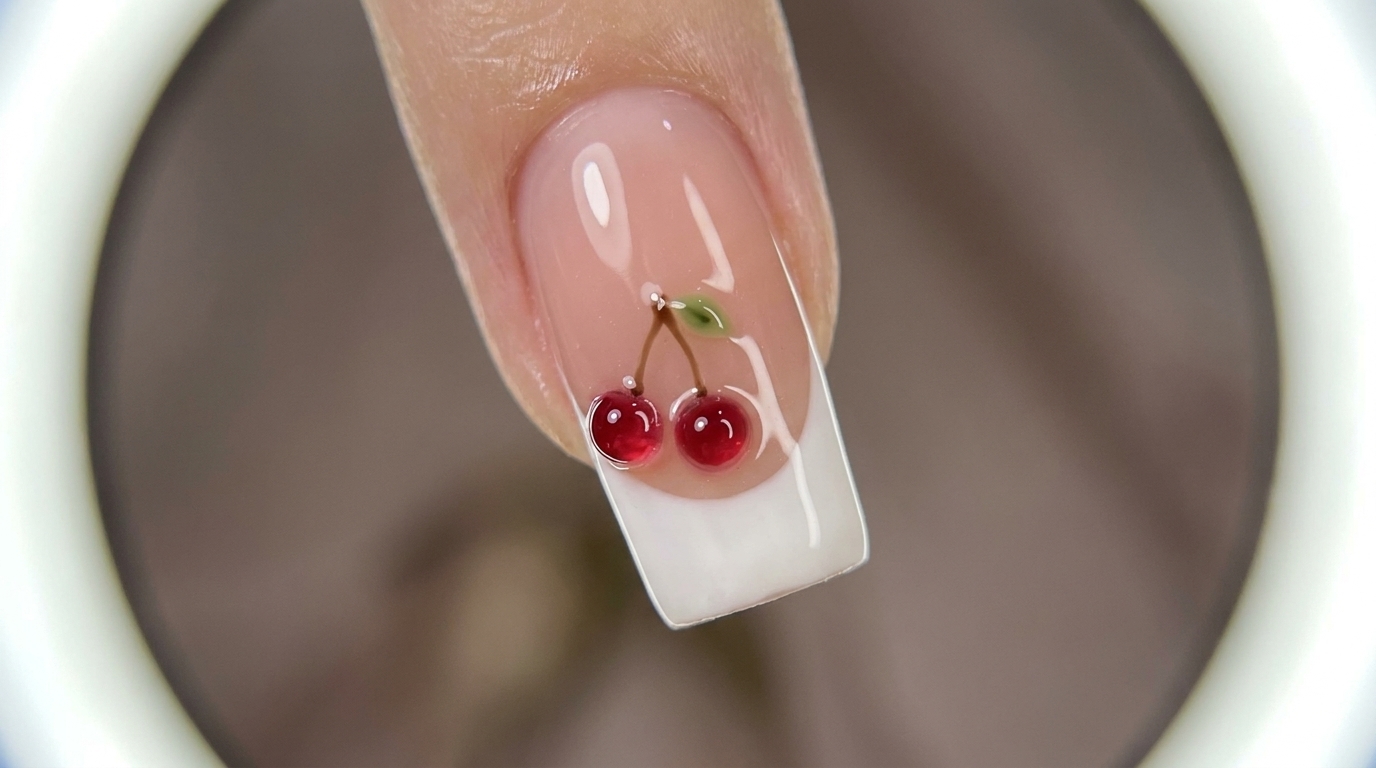
Create a stunning ripe cherry French gradient manicure with this step-by-step guide[cite: 1]. Master the translucent pink base, crisp white French tip, and delicate 3D cherry nail art[cite: 1].
This ripe cherry French gradient look combines classic elegance with playful 3D fruit detailscite: 1. By layering translucent pink gel and patting out a soft gradient with a sponge, you build a beautiful, dimensional basecite: 1. The addition of a crisp micro French tip and sculpted 3D cherry elements makes this design perfect for a fresh, vibrant aestheticcite: 1.
Steps
- 1Apply translucent pink base coat
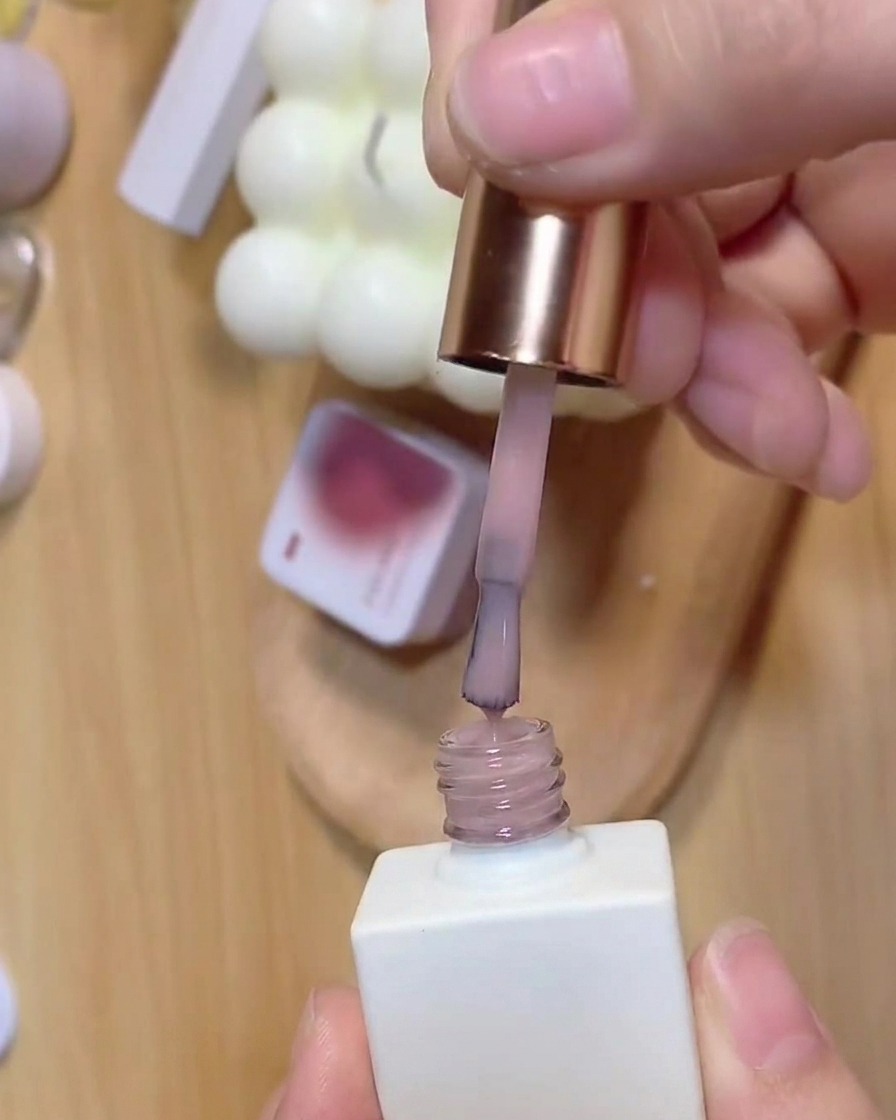
Take the bottle of translucent pink base coat and carefully brush an even layer across the surface of the nail plate. Ensure the product covers the entire nail smoothly while avoiding the surrounding skin and cuticles.
Tip: Apply in thin, controlled strokes to prevent pooling around the edges and ensure an even foundation. - 2Cure the base coat
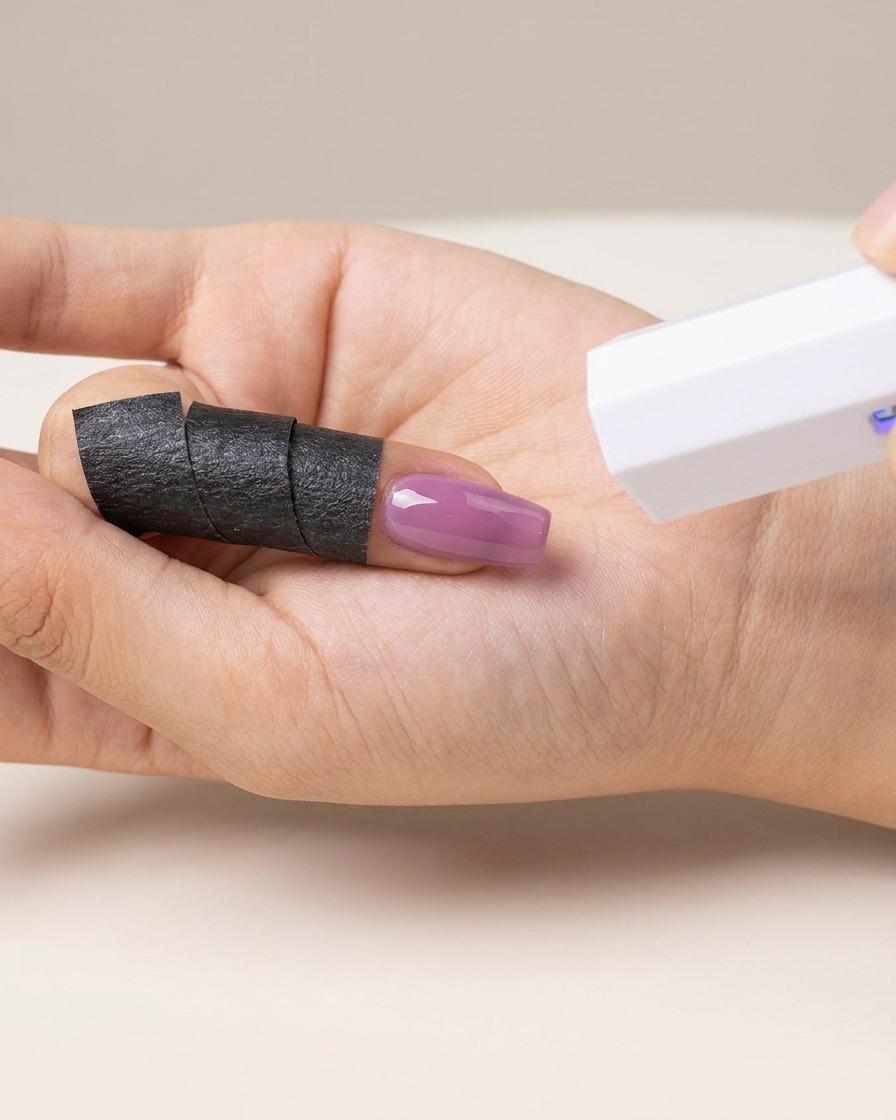
Position your finger underneath the portable UV/LED lamp to cure the freshly applied translucent pink base coat. Keep your hand steady until the curing cycle is fully complete to ensure proper hardening.
Tip: Make sure your finger is centered under the light source for an even and thorough cure. - 3Apply second coat of color
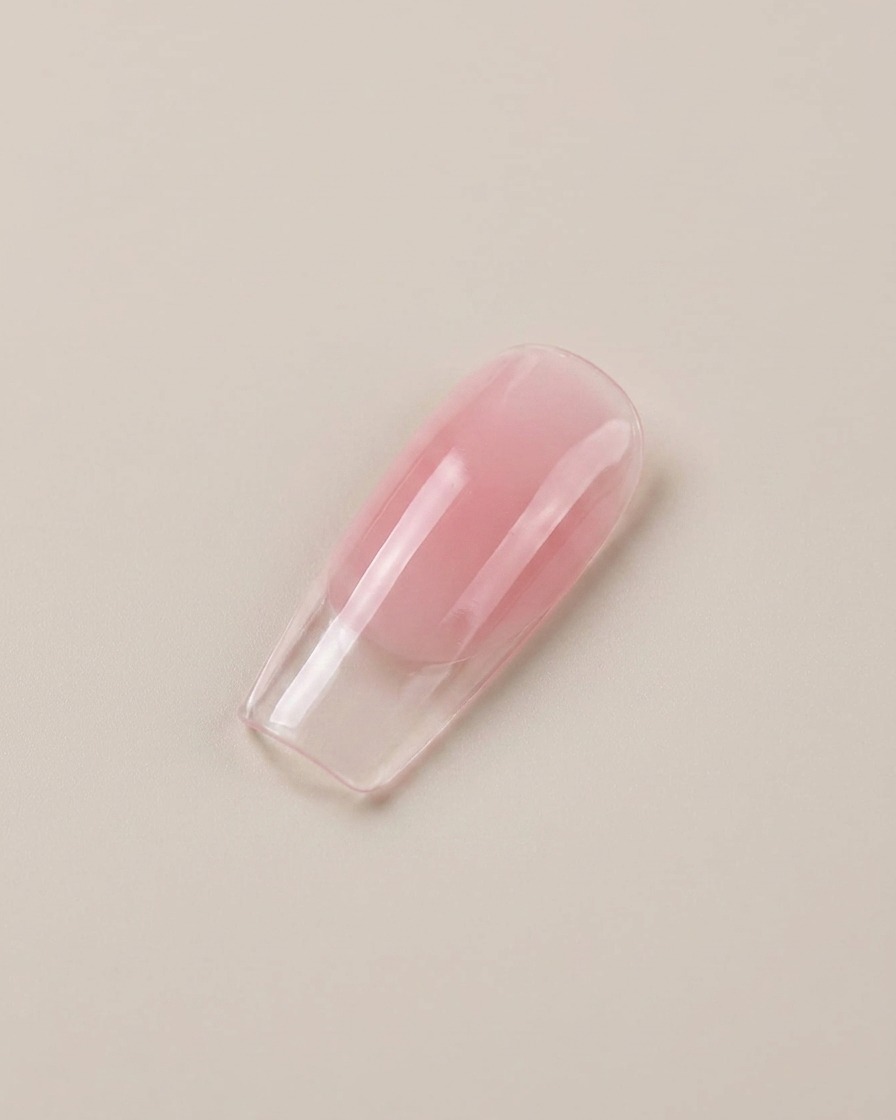
Apply a second layer of translucent pink gel color over the nail to enhance the depth and vibrancy of the shade. Keep the application smooth and uniform to maintain the translucent look.
Tip: A second thin layer prevents patchiness and ensures a rich, even tone across the entire nail surface. - 4Cure the second color coat
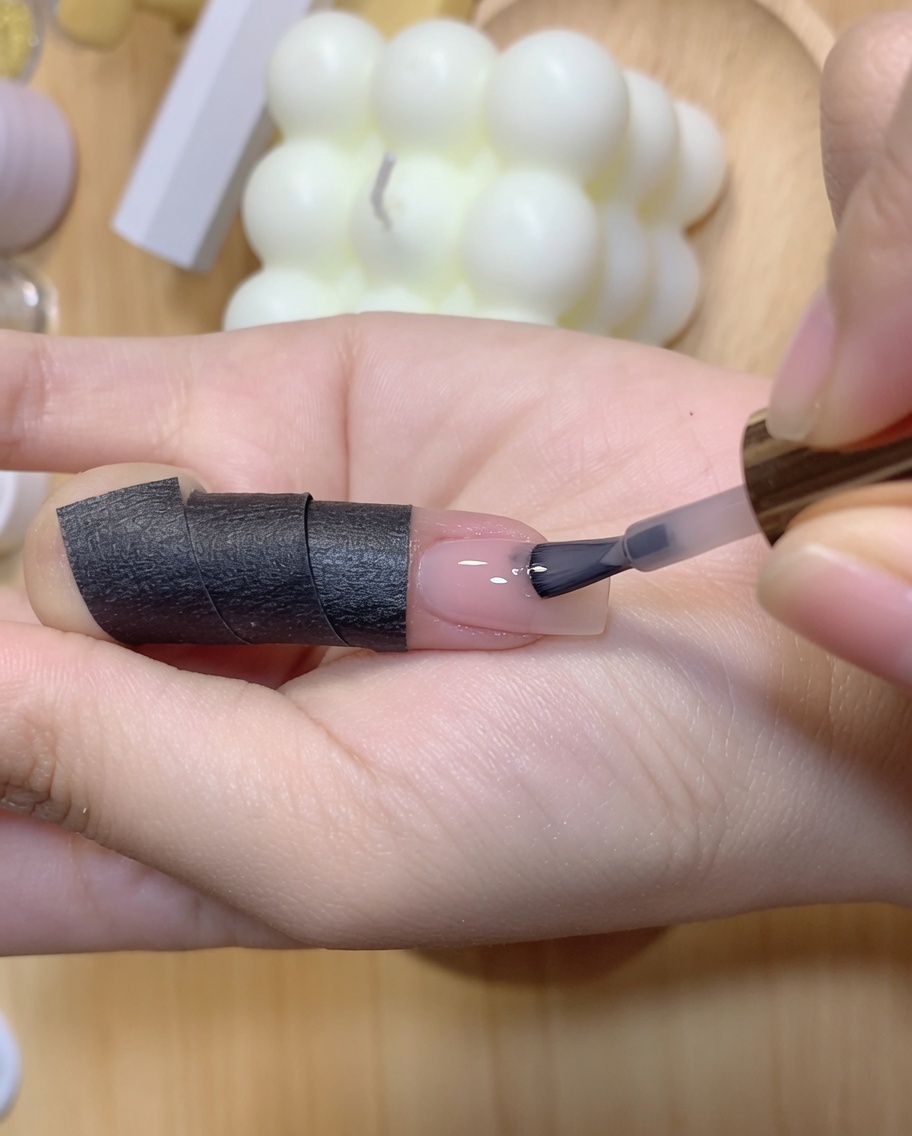
Place the finger back under the UV/LED lamp to cure the second coat of color thoroughly. Allow the light to set the gel completely before moving on to the next step of the manicure.
Tip: Double-check that the gel is fully hardened to avoid smudging or shifting during the upcoming gradient phase. - 5Wipe away inhibition layer
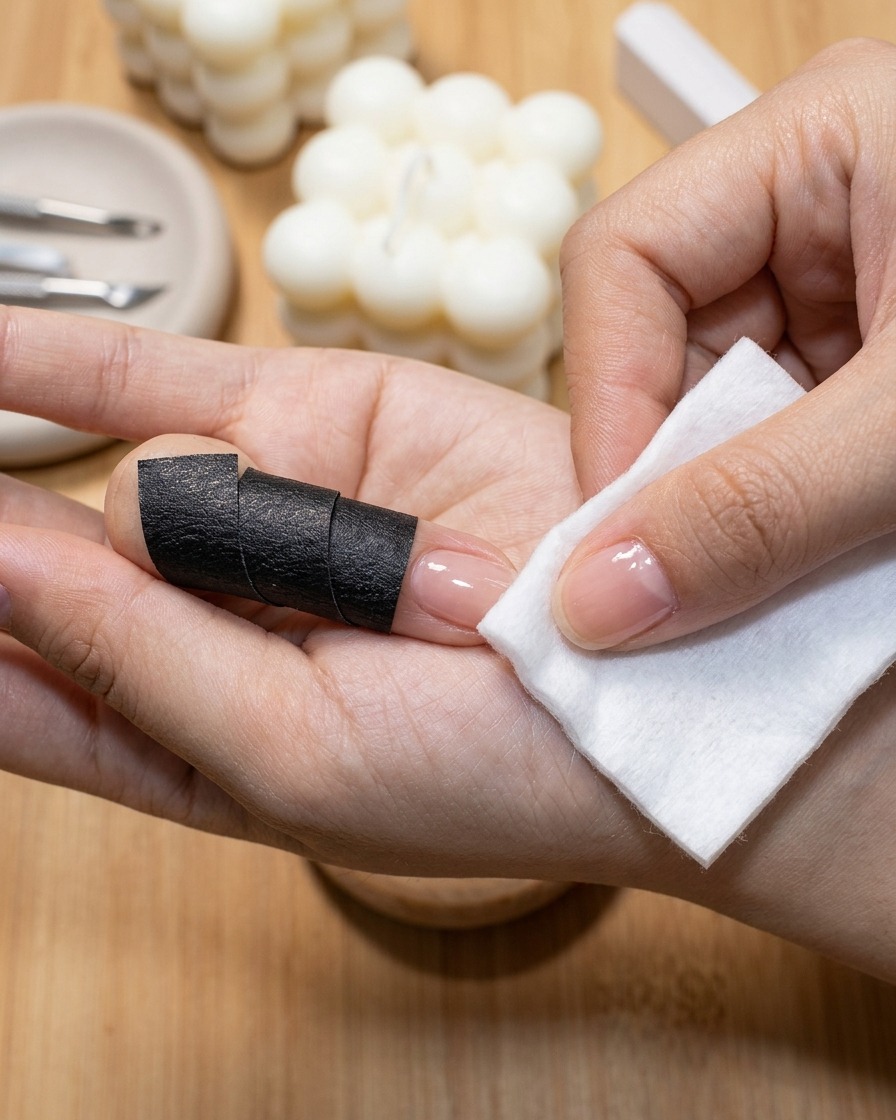
Take an alcohol cotton pad and gently wipe the surface of the cured nail to remove any sticky inhibition residue. This creates a clean, dry surface that is optimized for sponge blending.
Tip: Use a lint-free wipe or a clean cotton pad soaked in rubbing alcohol to prevent fibers from sticking to the tacky layer. - 6Create gradient effect with sponge
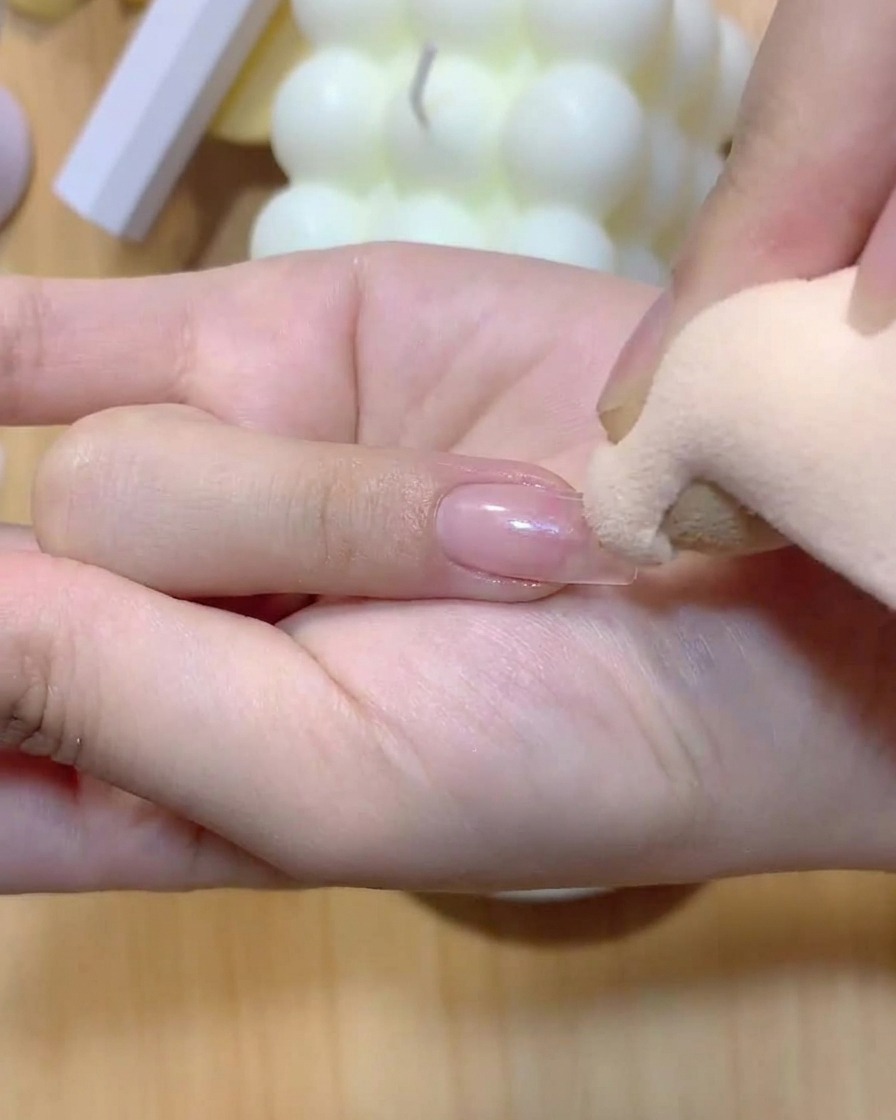
Lightly pat a darker pink color onto the nail using a makeup sponge to build a seamless gradient effect. Gently dab from the tip down toward the center to achieve a soft, smoky transition.
Tip: Use light, quick tapping motions with the sponge to avoid harsh lines and ensure a smooth ombre blend. - 7Cure the first gradient layer
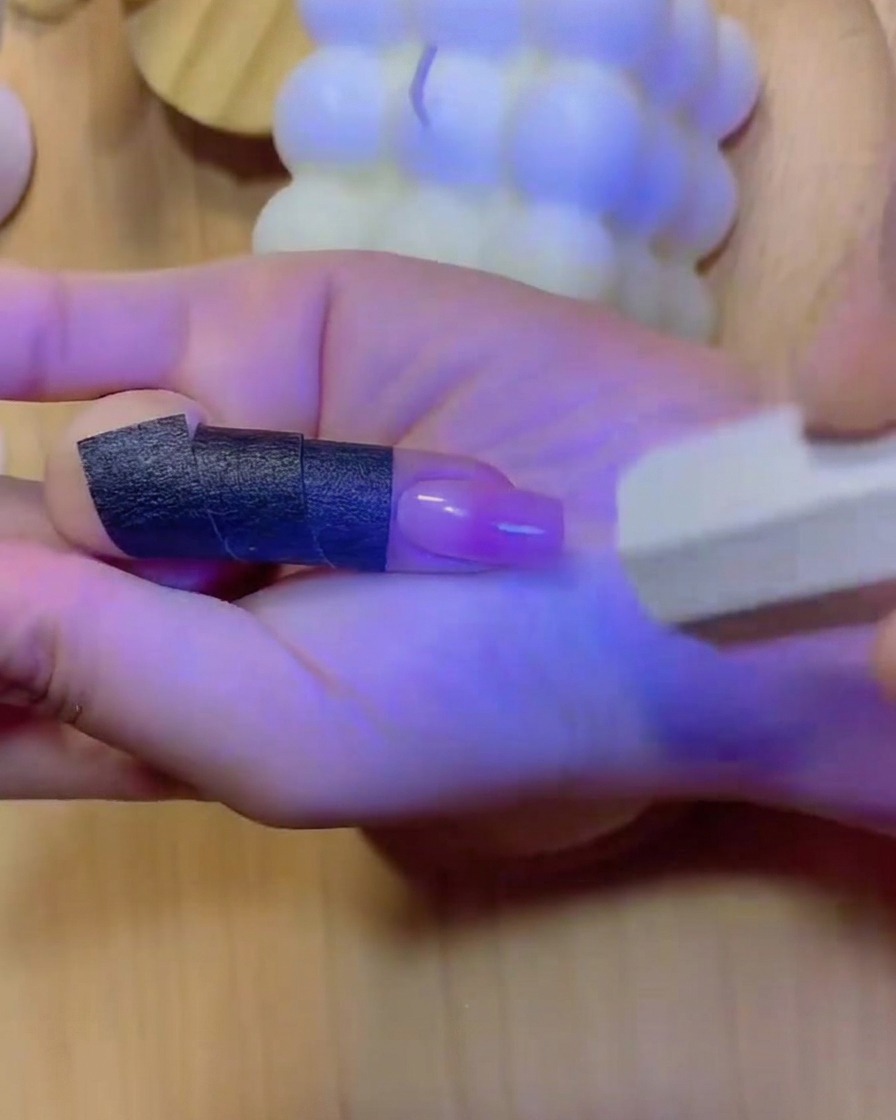
Place your hand under the UV or LED lamp to cure the freshly applied gradient layer. Curing ensures the gel sets properly and locks the blended ombre pigments in place before adding further dimension or layers. Follow the manufacturers guidelines for the appropriate curing duration.
Tip: Ensure your hand is placed flat inside the lamp so all fingers receive even UV exposure, preventing uncured spots. - 8Deepen the gradient effect
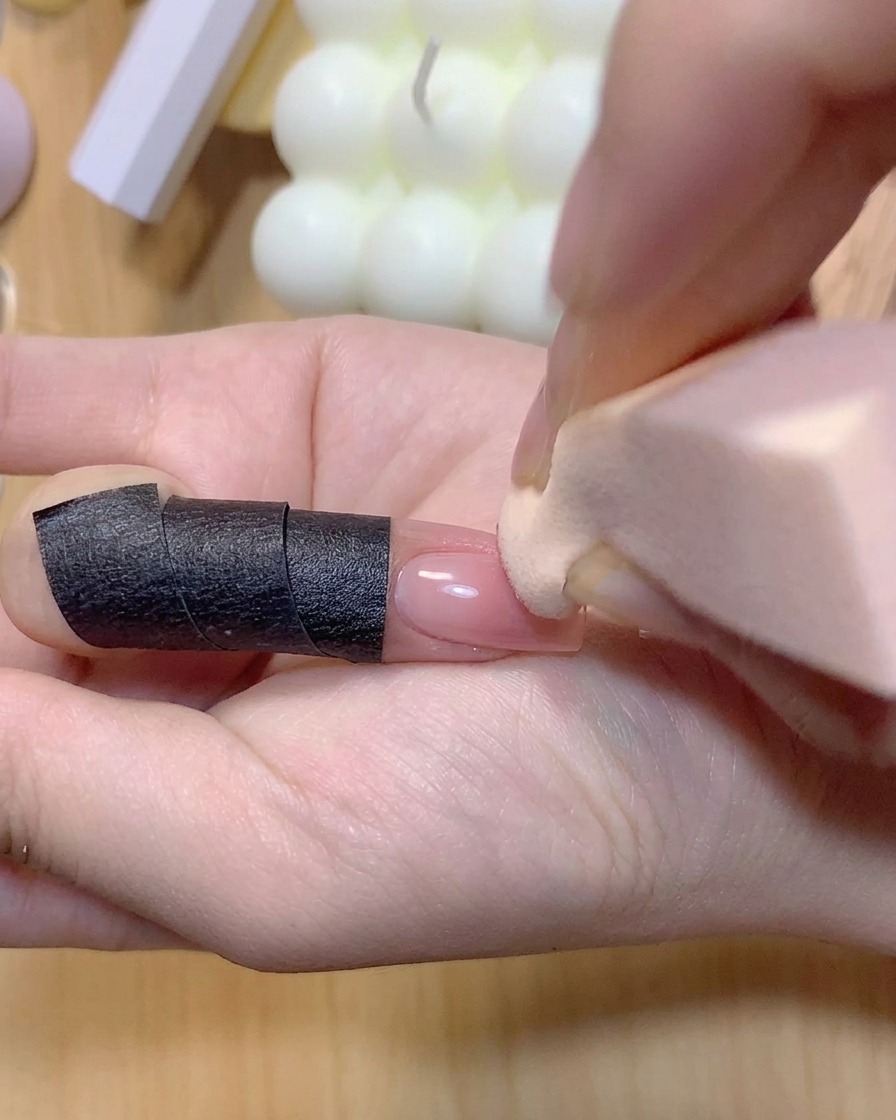
Take your sponge with additional color and gently dab it onto the nail to build up saturation. This second application intensifies the gradient transition, creating a richer and more vibrant look. Lightly tap rather than press hard to maintain a smooth blend.
Tip: Keep the dabbing motions light and airy to avoid creating harsh lines or texture patches on the nail. - 9Cure the deepened gradient
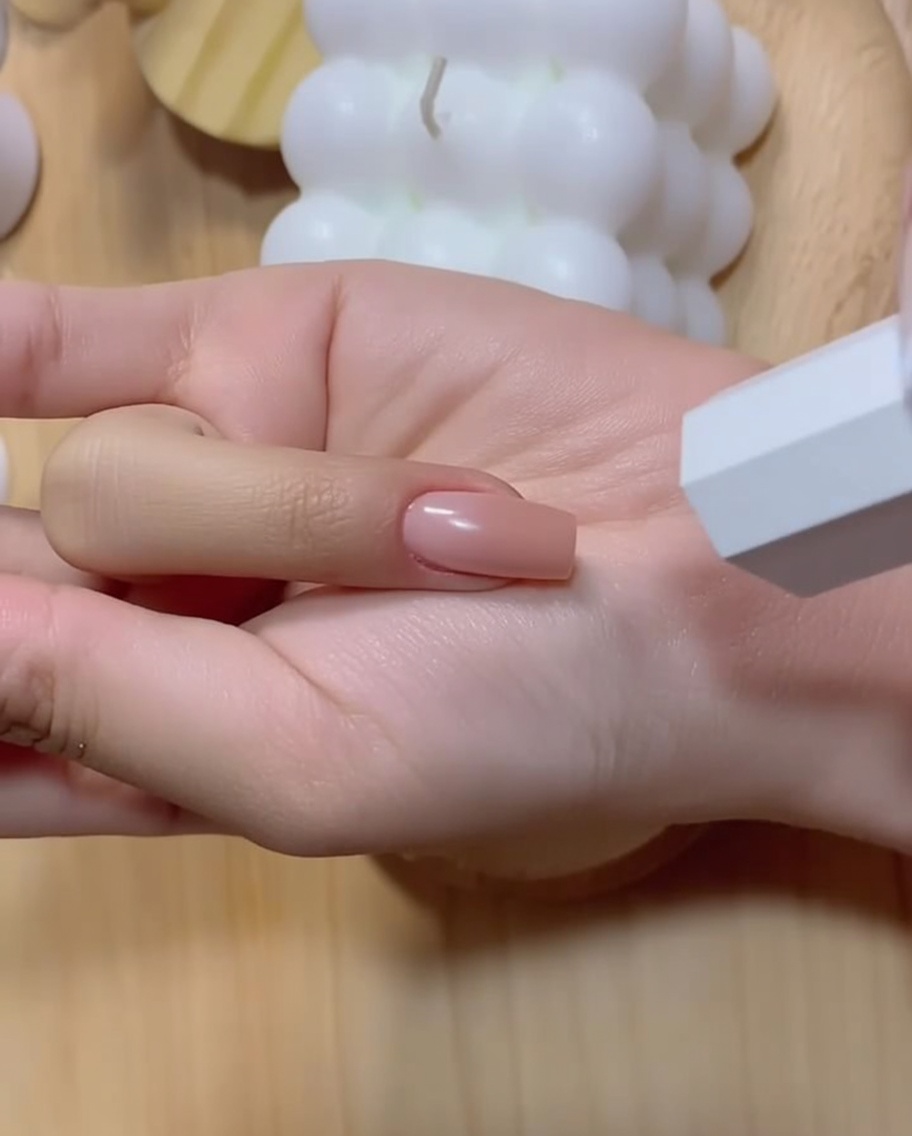
Place the nail back under the UV/LED lamp to fully cure the intensified gradient layer. This locks in the color saturation and prepares the surface for the next structural application. Keep your hand steady until the curing cycle completes.
Tip: Ensure the entire nail surface is exposed to the light source to prevent uncured spots. - 10Apply structural reinforcement gel
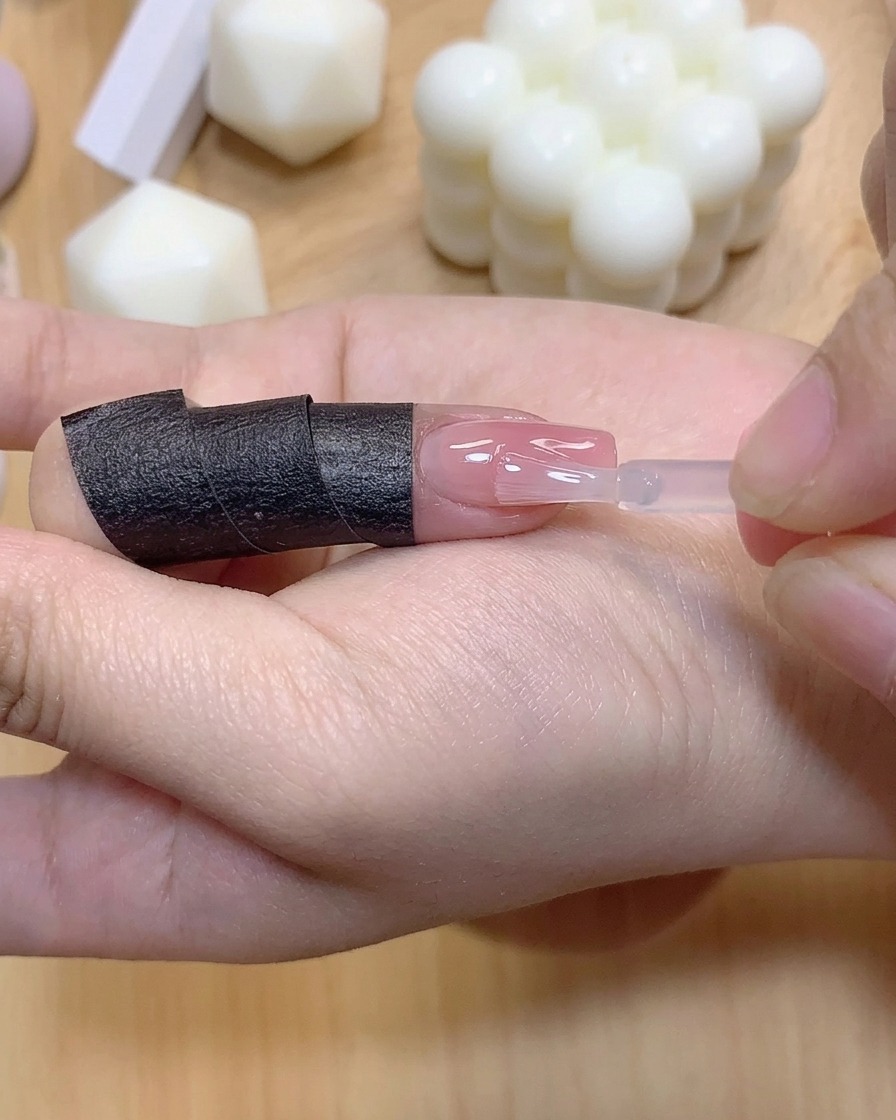
Apply a clear layer of structural reinforcement gel evenly over the cured gradient surface. This step adds thickness, strength, and durability to the nail, protecting the underlying design from chipping or wearing down. Smooth out any uneven areas before curing.
Tip: Builder or reinforcement gel helps level out the nail surface and gives a professional, plump appearance. - 11Cure the reinforcement gel
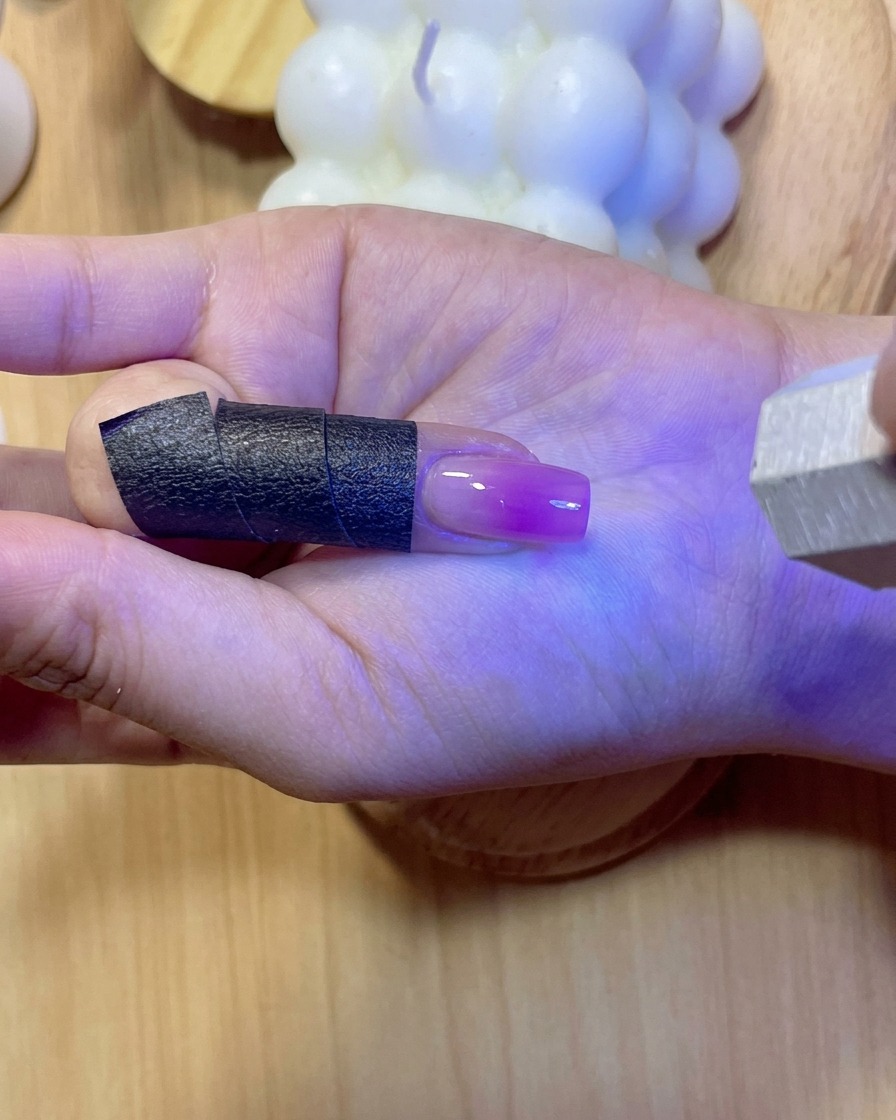
Cure the layer of structural reinforcement gel under the UV/LED lamp. The clear gel will harden completely under the light, encapsulating the color design and providing a strong protective shield. Allow the full cycle to finish before moving on.
Tip: Make sure the gel is fully set to avoid a sticky or soft structure underneath your upcoming nail art. - 12Draw the micro French tip outline
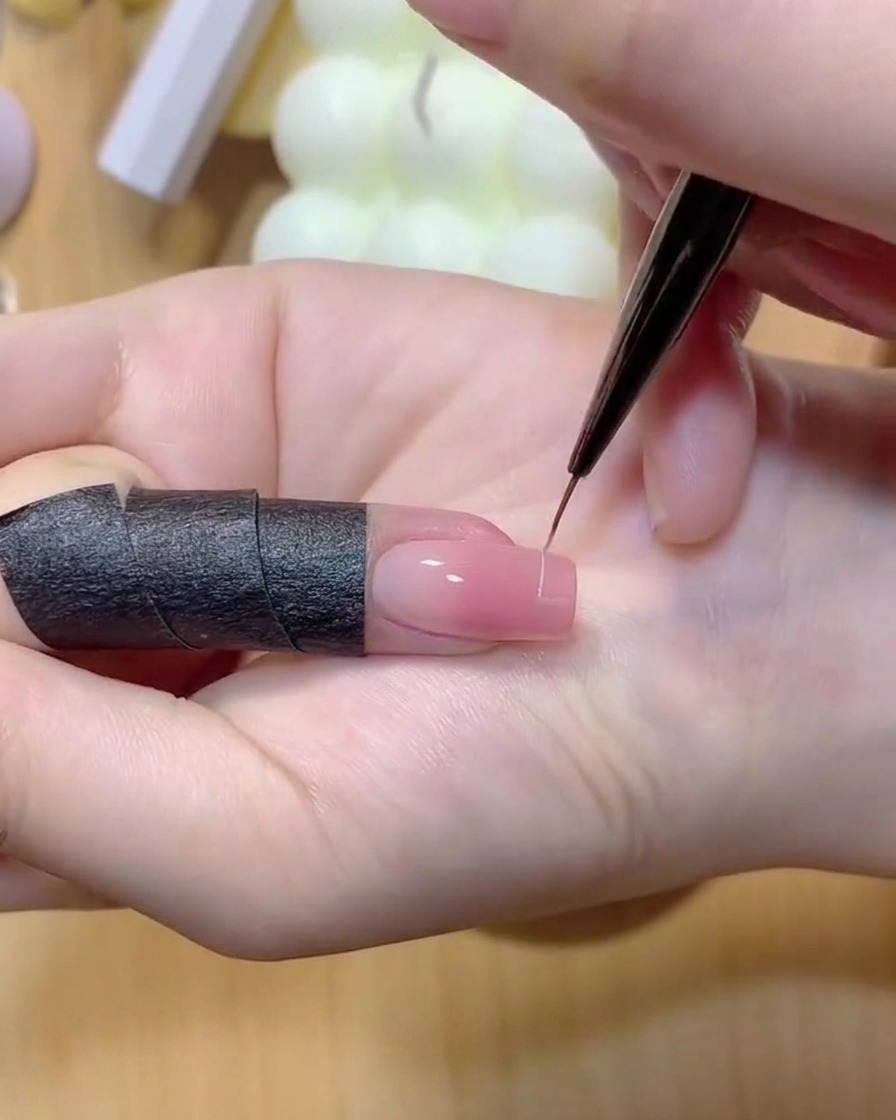
Dip a fine liner brush into white gel polish and carefully trace a delicate, thin outline across the free edge of the nail to map out the micro French tip. Take your time to keep the line steady and symmetrical from corner to corner, establishing a clean boundary before filling it in completely.
Tip: Keep a light touch with the tip of the fine brush and anchor your pinky finger for stability to prevent shaky lines. - 13Cure the initial French tip outline
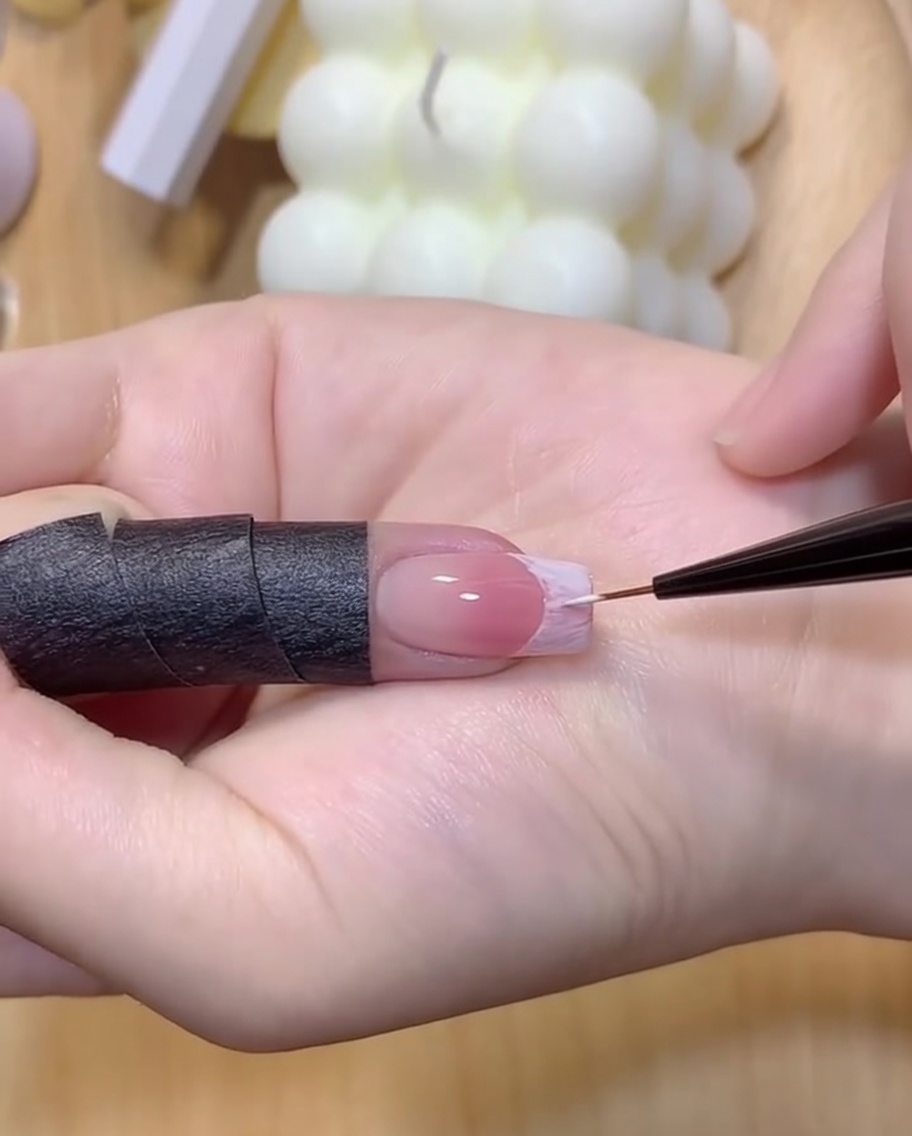
Place the nail under the UV/LED lamp to flash-cure the initial white French tip outline. Curing this thin guideline right away prevents the fine lines from bleeding or shifting out of shape while you prepare to fill in the rest of the tip.
Tip: A quick 15 to 30-second flash cure is usually sufficient to lock delicate detailing in place before final color application. - 14Fill in the French tip
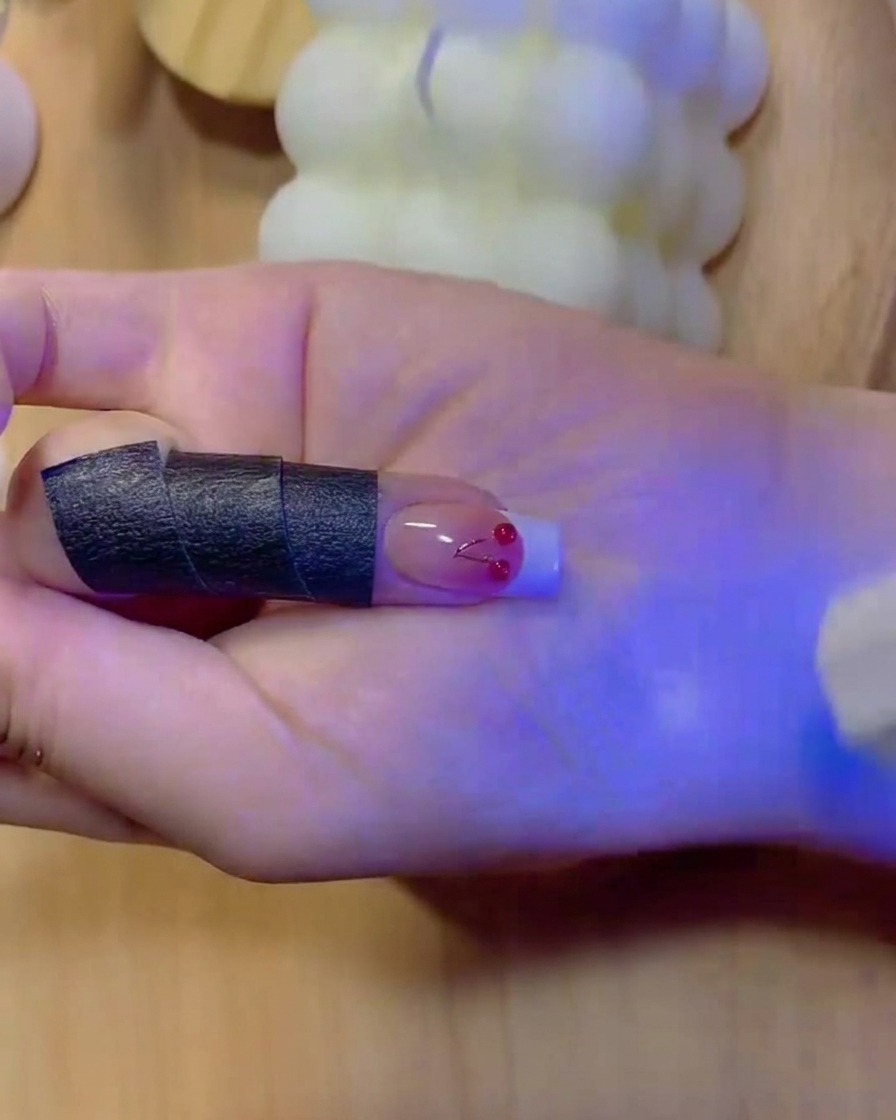
Using your brush, carefully fill in the space within the outlined boundary to complete the second coat of the solid white French tip. Ensure the color is opaque, even, and neat along the smile line for a crisp and professional finish.
Tip: Apply the fill color in thin strokes to avoid building up excess bulk at the free edge of the nail. - 15Cure the filled French tip
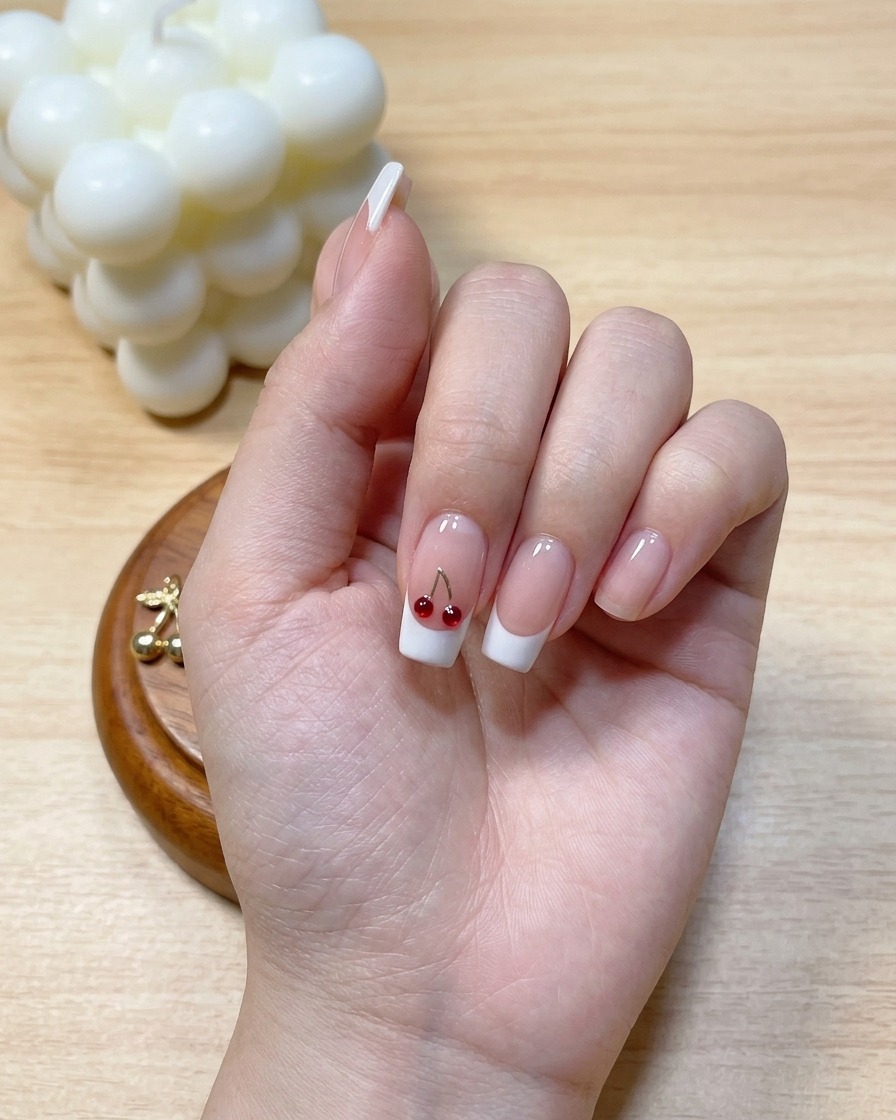
Place your hand back into the UV/LED lamp to fully cure the filled white French tip layer. This ensures the thicker layer of pigment hardens completely from top to bottom, preventing any wrinkling or smudging during subsequent steps.
Tip: Do not rush the curing time for pigmented white gel, as it requires a full cycle to polymerize properly beneath the surface. - 16Prepare gel glue spheres
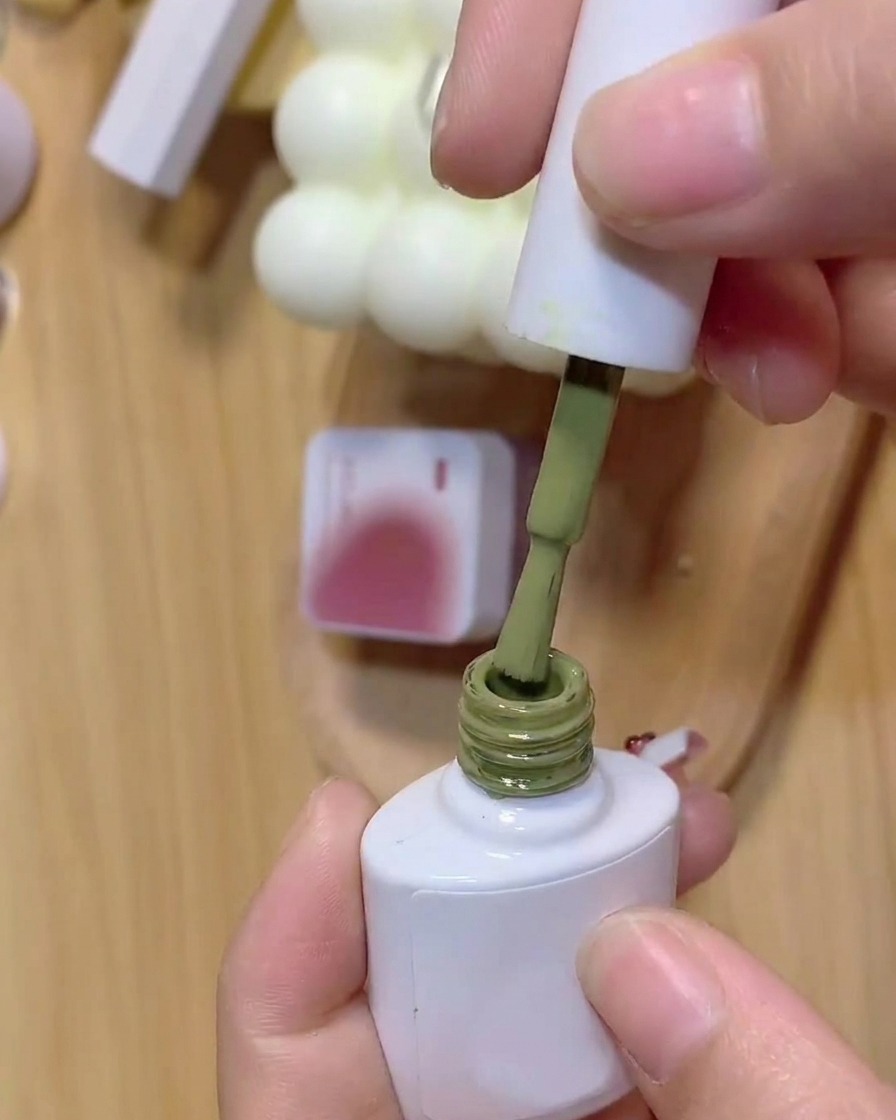
Take a small amount of solid gel nail glue and work it between your fingers or tools to shape two small, round, clear balls. These will serve as the three-dimensional base structure for the cherry nail art embellishments.
Tip: Keep your fingers slightly moistened or use a non-stick tool so the solid gel glue does not stick to your skin while rolling. - 17Place the 3D clear gel balls
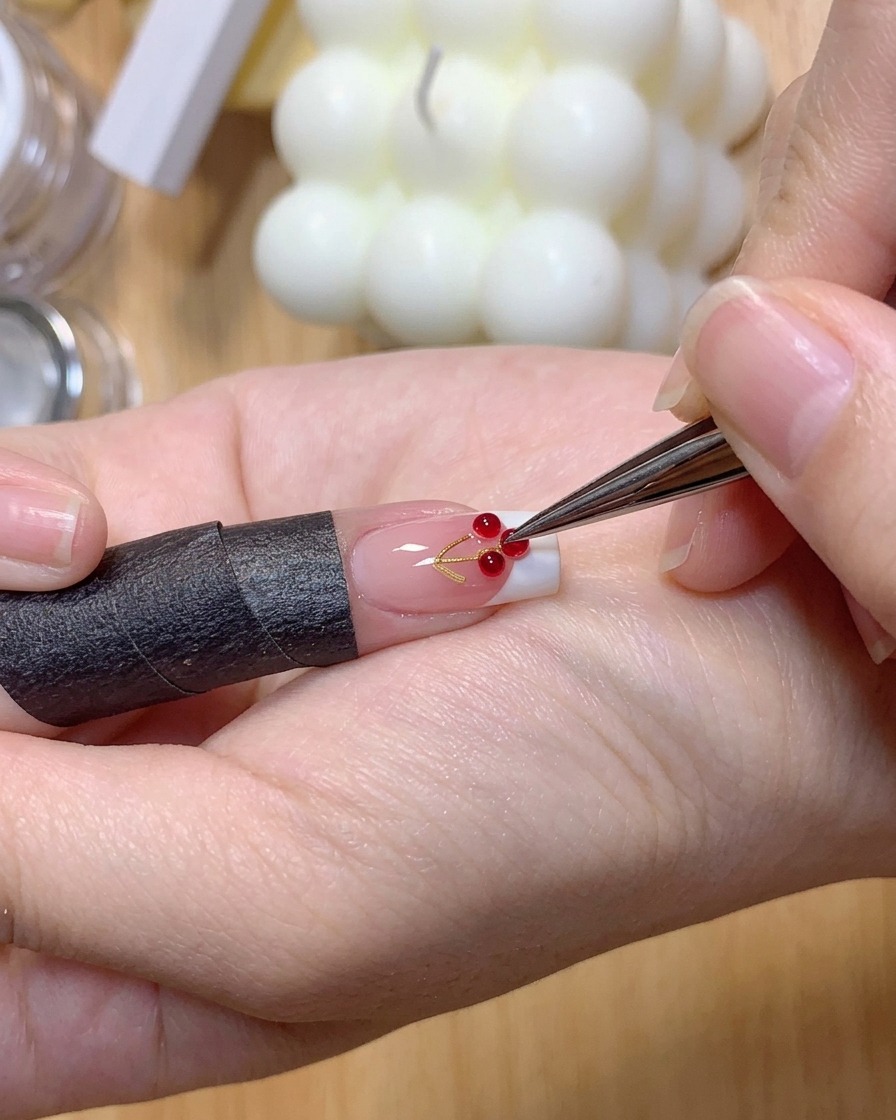
Using tweezers, pick up two small round balls made from solid gel nail glue and place them carefully onto the nail surface in the desired positions to form the bases for the cherries.
Tip: Position the balls slightly above the white French tip line so the cherry stems have enough space to connect neatly. - 18Secure and flatten the gel balls
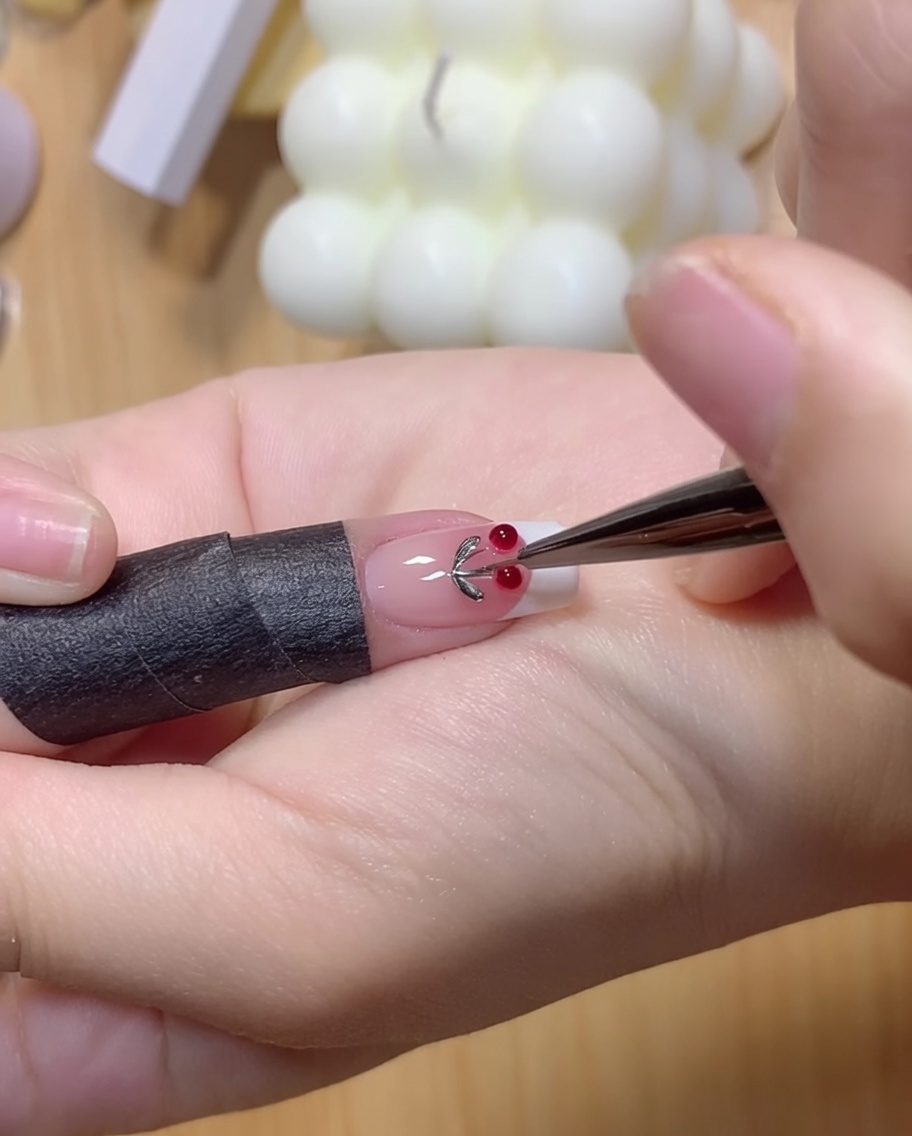
Dip your finger in clean water to prevent sticking, then gently press down on the two clear gel balls to secure them firmly onto the nail surface and slightly flatten their bases.
Tip: Using clean water prevents the solid gel glue from sticking to your skin while you press it into place. - 19Draw the cherry stems
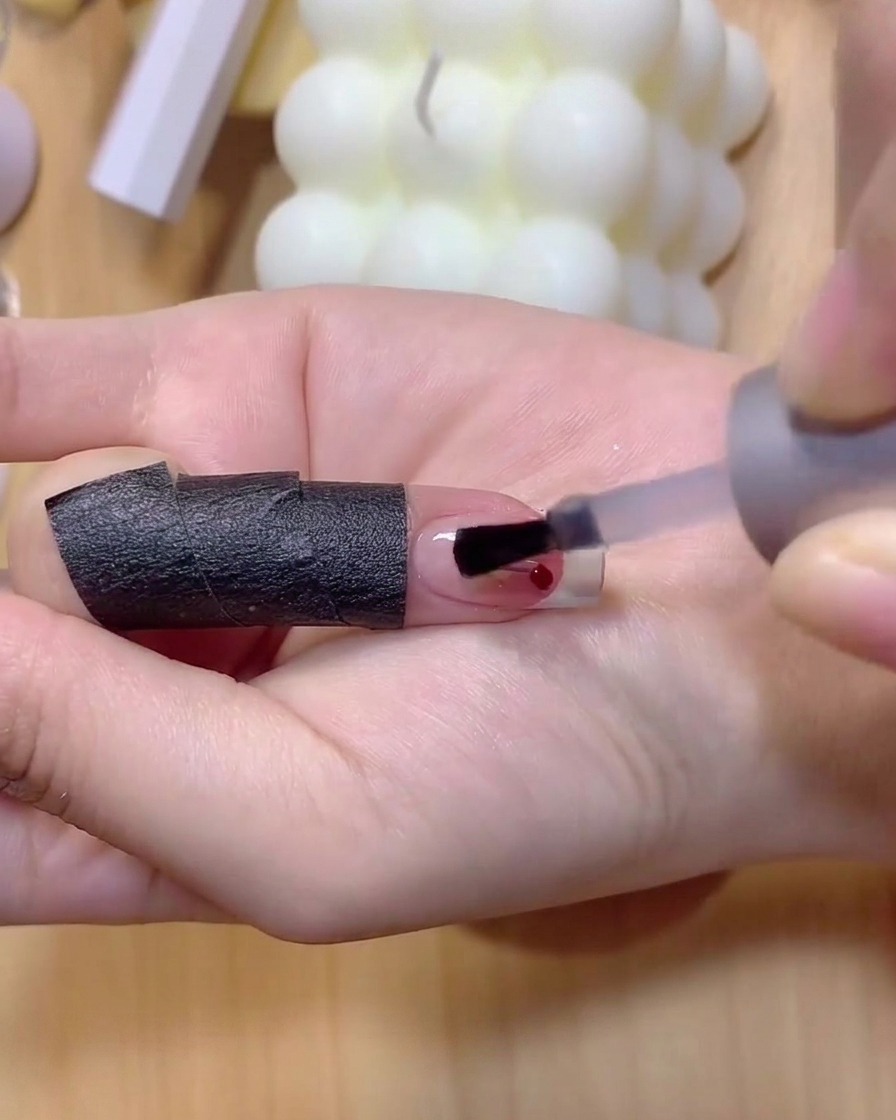
Using a fine detail brush and light brown gel polish, draw delicate stems connecting from the base of the nail down to the two 3D cherry spheres.
Tip: Keep your hand steady and use only the very tip of the fine brush for clean, thin lines. - 20Cure the cherry stems
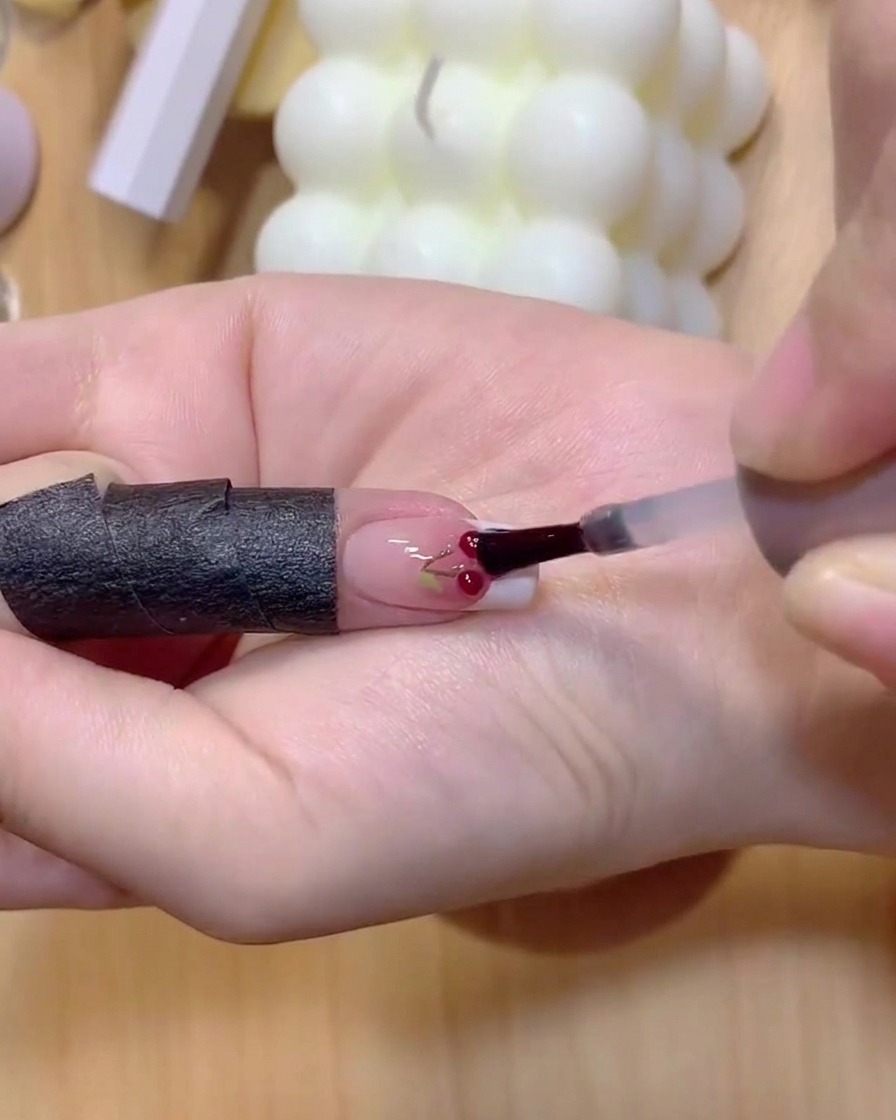
Place your hand under the UV or LED lamp to cure the freshly painted brown cherry stems and lock the lines in place.
Tip: Ensure the gel is fully cured so it does not smudge when applying the translucent red color over the cherries next. - 21Color the cherry fruits
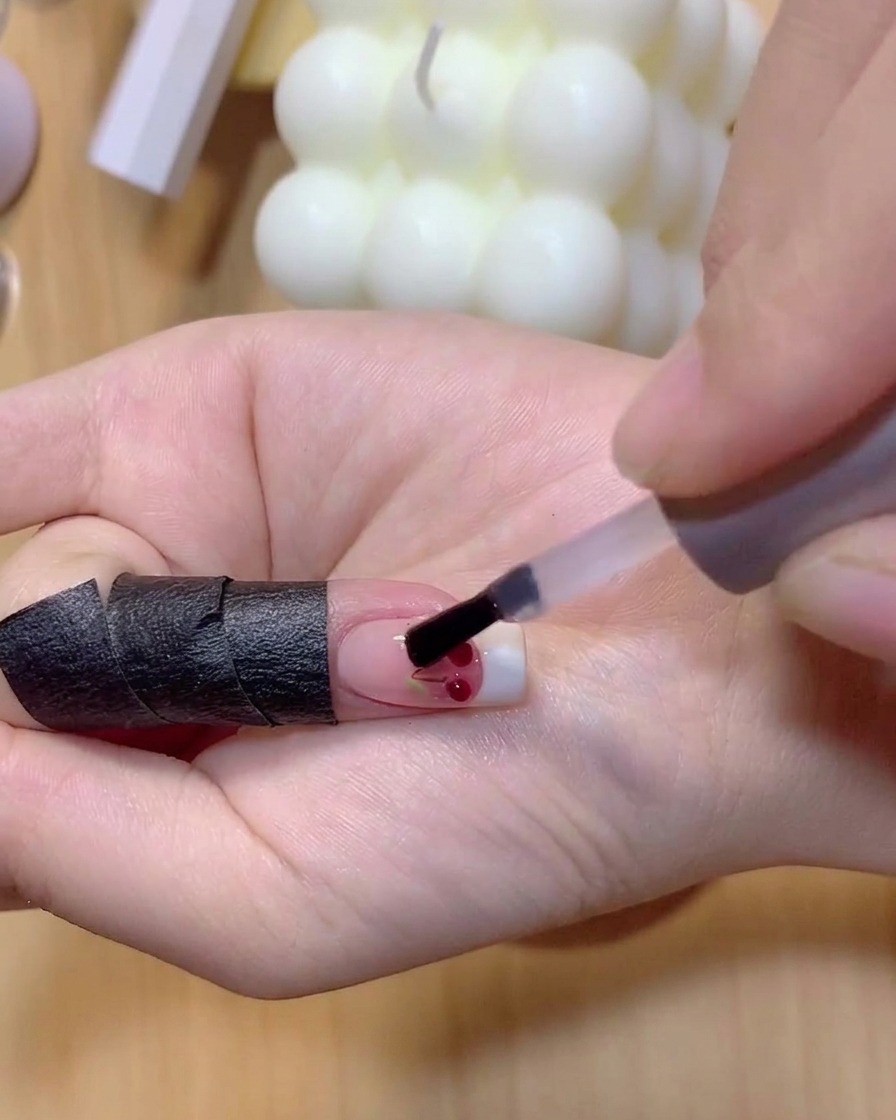
Apply translucent red gel polish over the two 3D clear gel balls to transform them into glossy, vibrant cherry fruitscite: 1. Layer the translucent red color a second time to deepen the shade and ensure they look exactly like fully ripe cherriescite: 1.
Tip: Use a translucent red formula so the 3D dimension and highlights underneath shine through brilliantly.