Super Gentle Hollow French Gradient Nails
Rhinestones — Step-by-Step Tutorial
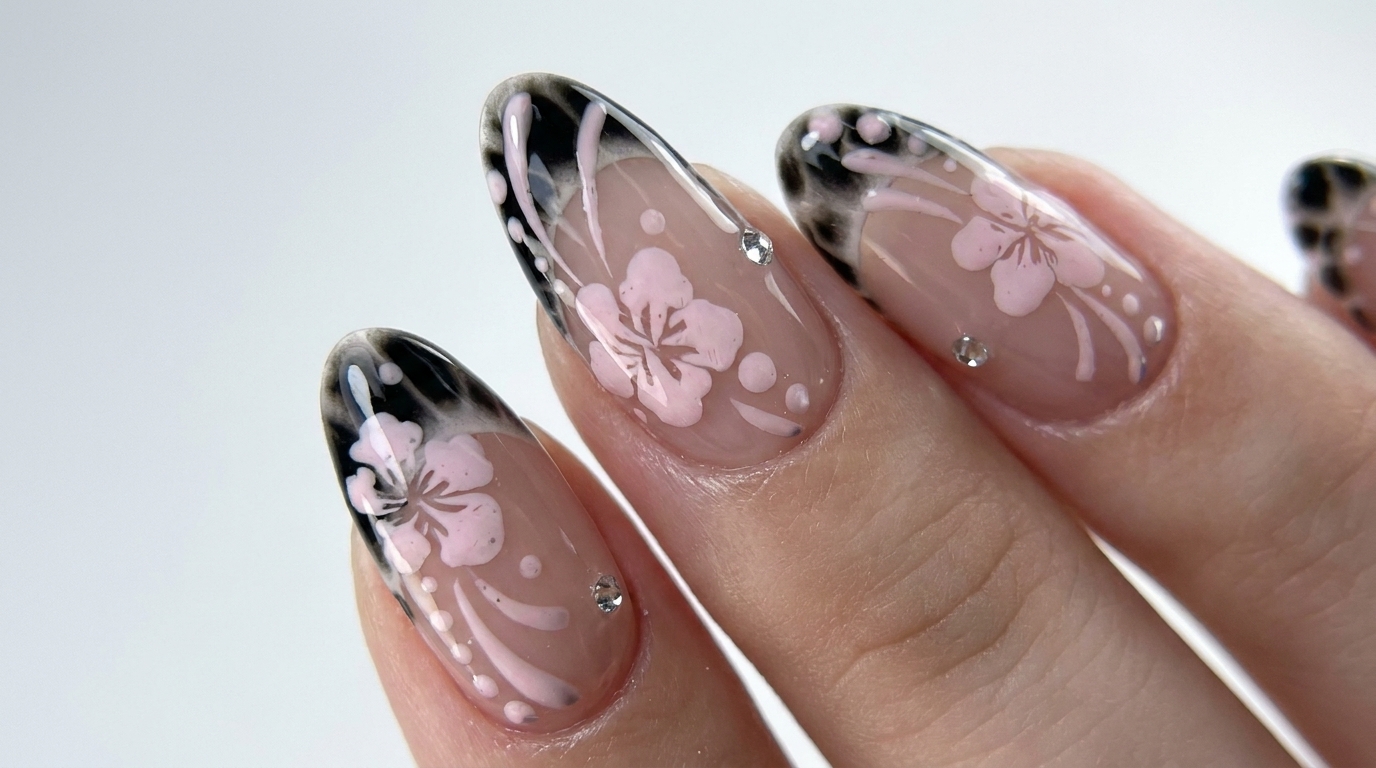
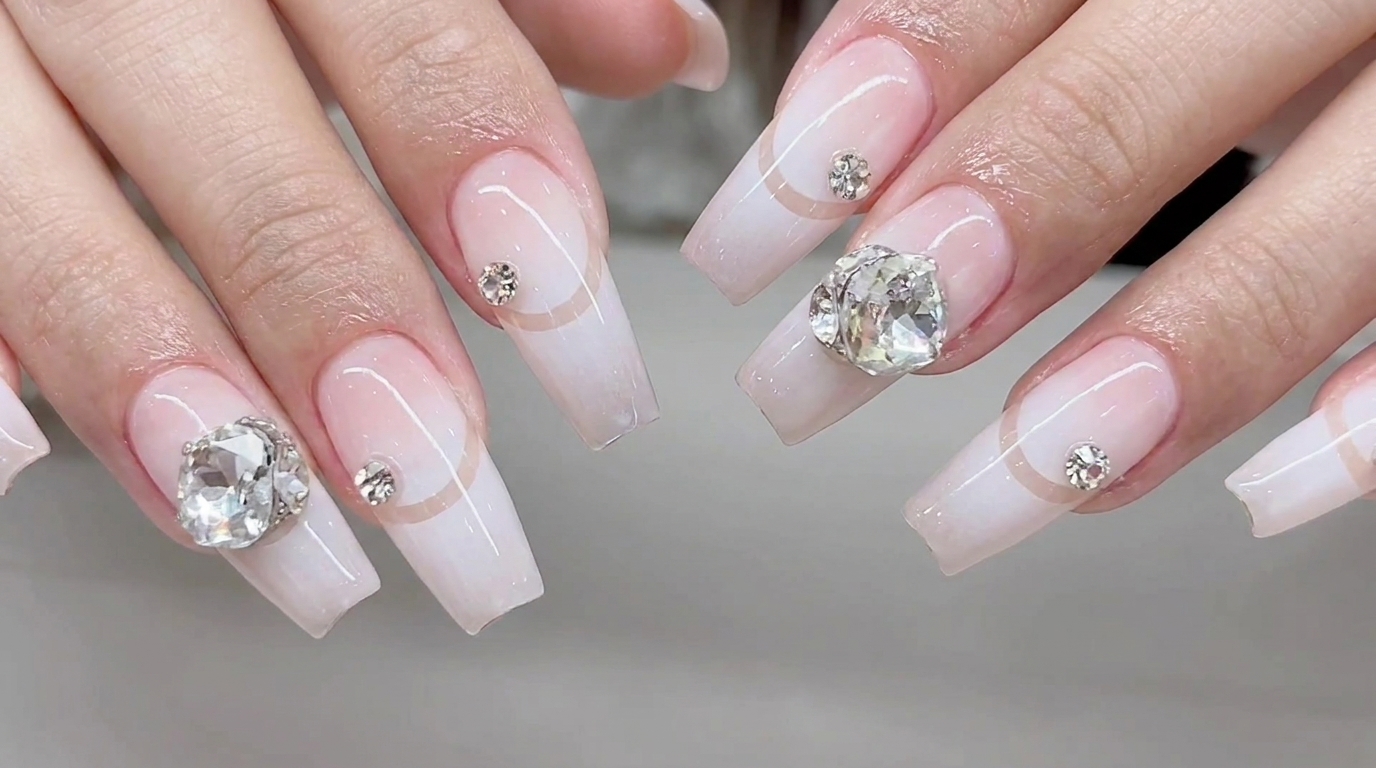
Create an elegant hollow French gradient look featuring delicate negative-space lines and sparkling rhinestone embellishments.
Combining a soft gradient fade with a sharp, unpainted hollow French smile line creates an exquisite dimensional effect. This technique uses a silicone tool and stencil stickers to keep boundaries clean before accenting with premium rhinestones for a touch of luxury.
Steps
- 1Flash-cure the extension tip
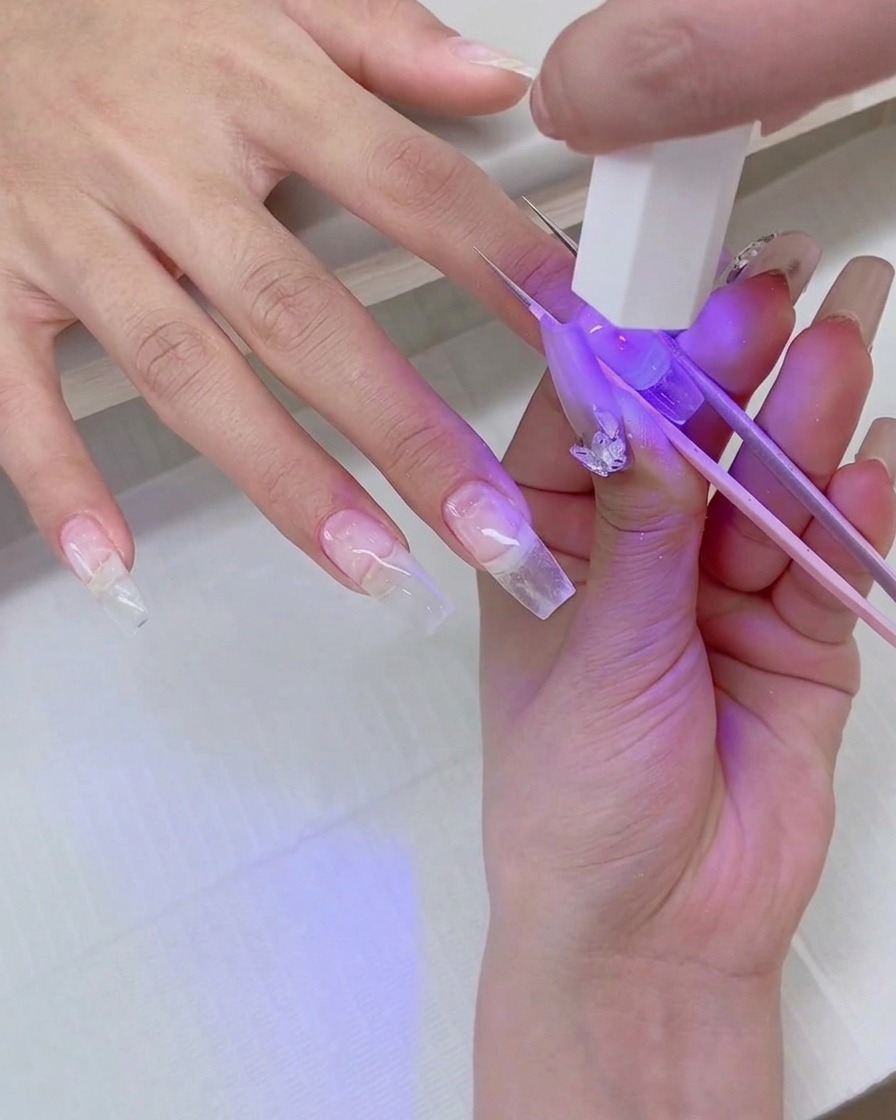
Hold the clear extension tip securely in place on the prepped nail using tweezers to prevent shifting. Position a mini UV flash-cure lamp over the nail to cure the adhesive gel instantly, locking the tip securely onto the finger.
Tip: Keep the tweezers steady until the flash-cure is complete to avoid air bubbles or a crooked tip placement. - 2Apply sheer nude pink base gel
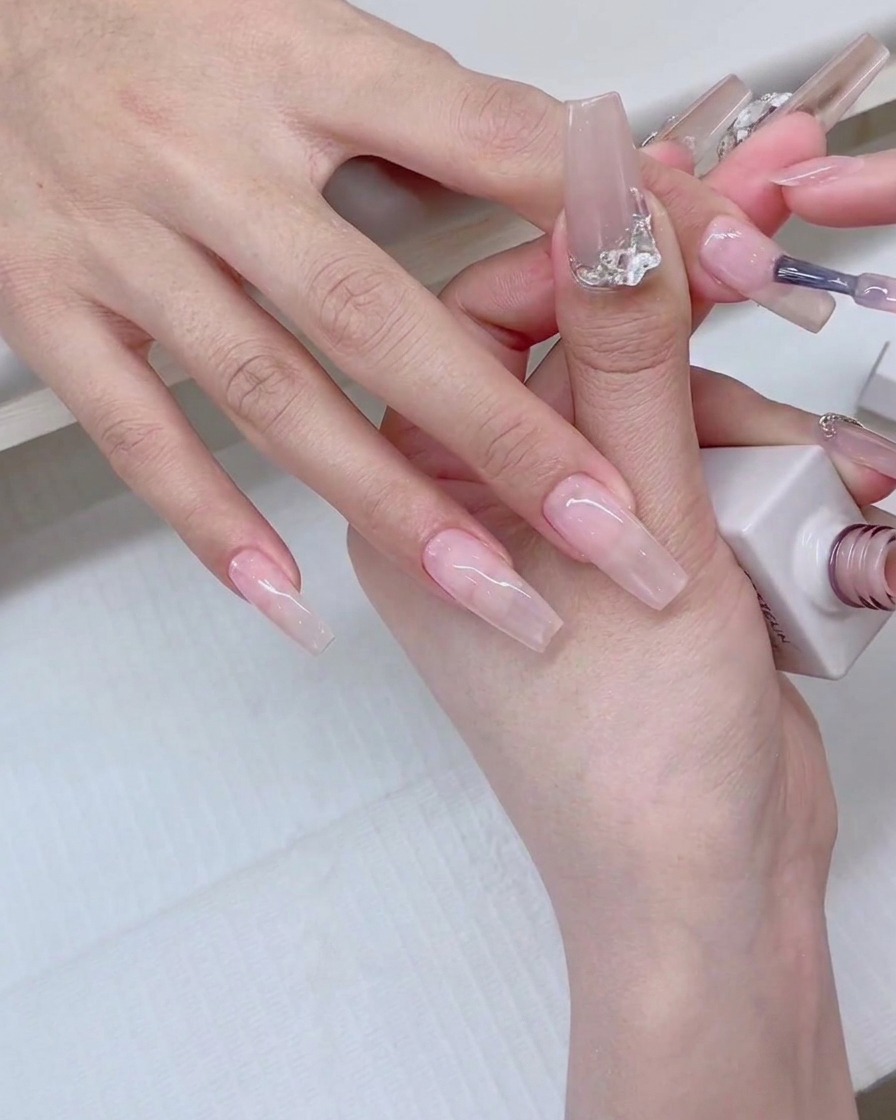
Brush a smooth, even layer of sheer nude pink base gel polish across the entire surface of each nail plate. Ensure complete coverage from the cuticle down to the free edge to create a natural, healthy-looking foundation for the upcoming gradient design.
Tip: Apply in thin strokes to avoid pooling around the cuticles and ensure an even color distribution. - 3Apply French smile line stencil sticker
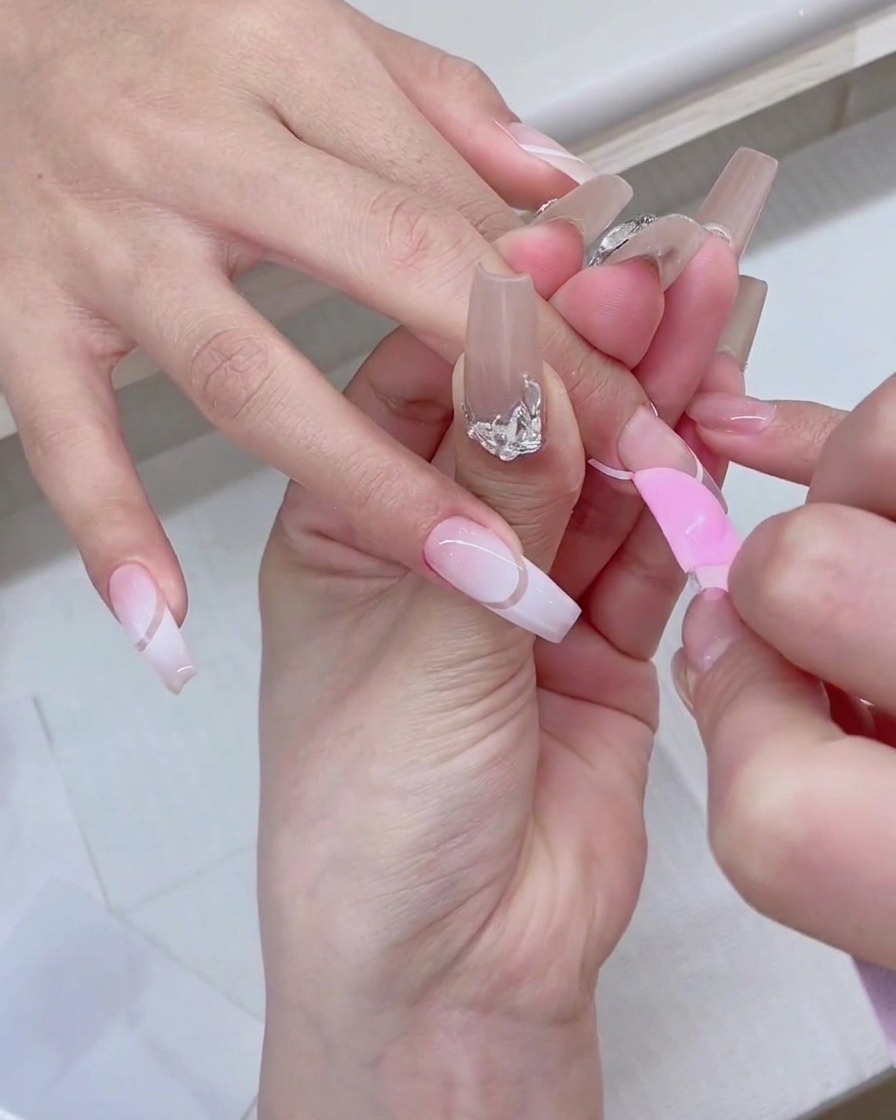
Position a curved French smile line stencil sticker onto the middle of the nail to map out the gradient zone. Use a blue silicone-tipped tool to press the sticker completely flat and flush against the nail surface, preventing any gel from bleeding underneath during application.
Tip: Ensure the edges of the sticker are firmly pressed down, as loose areas will allow gel seepage and ruin the clean curve. - 4Dab the first white gradient layer with a sponge
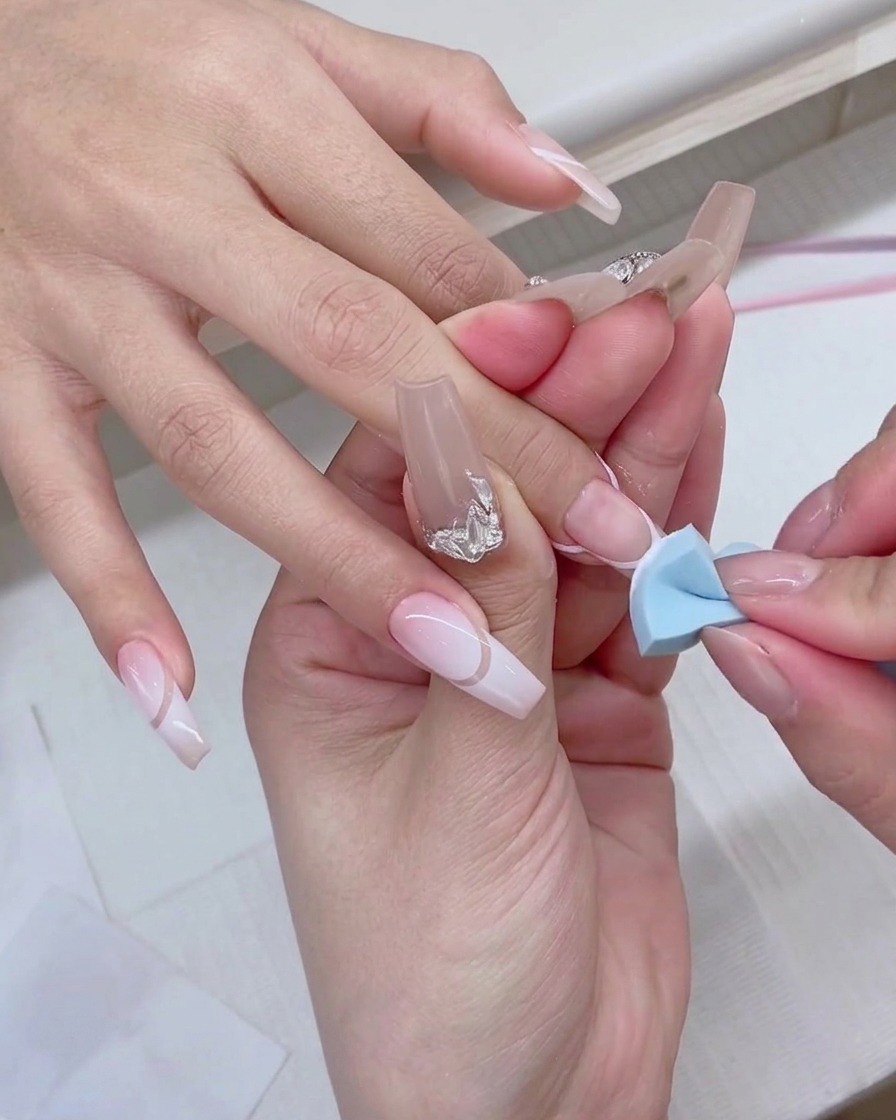
Load a blue makeup sponge with a small amount of white gel and pat it repeatedly over the nail tip above the stencil. This deposits a light, sheer layer of white color to begin building the smooth ombre gradient effect.
Tip: Use a light, dabbing motion rather than heavy pressing to create a fine and smooth texture without harsh lines. - 5Apply fresh white gel to the sponge edge
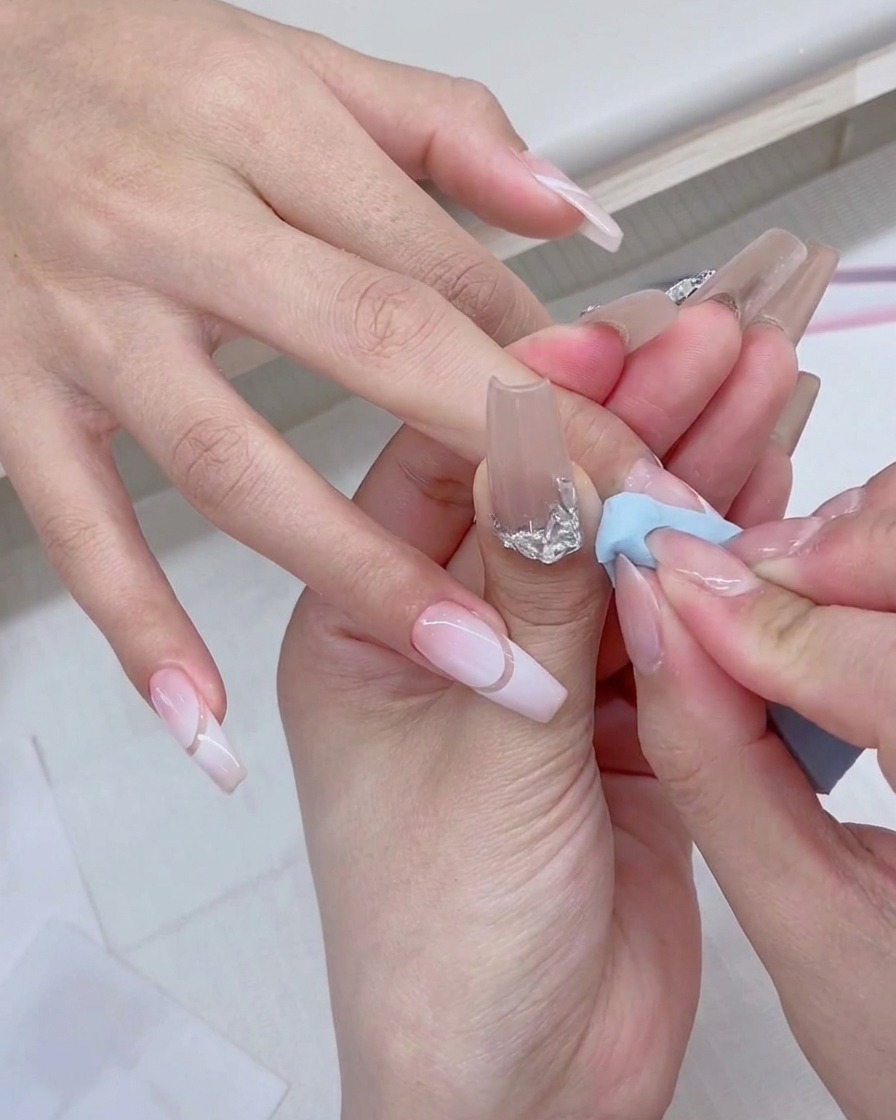
Take the polish bottle brush and apply fresh white gel polish directly onto the front edge of the blue sponge. This technique charges the sponge with enough pigment to build up deep and shallow gradient layers efficiently.
Tip: Apply the gel only to the very front tip of the sponge to keep the ombre transition controlled and precise. - 6Intensify the ombre tip with the sponge
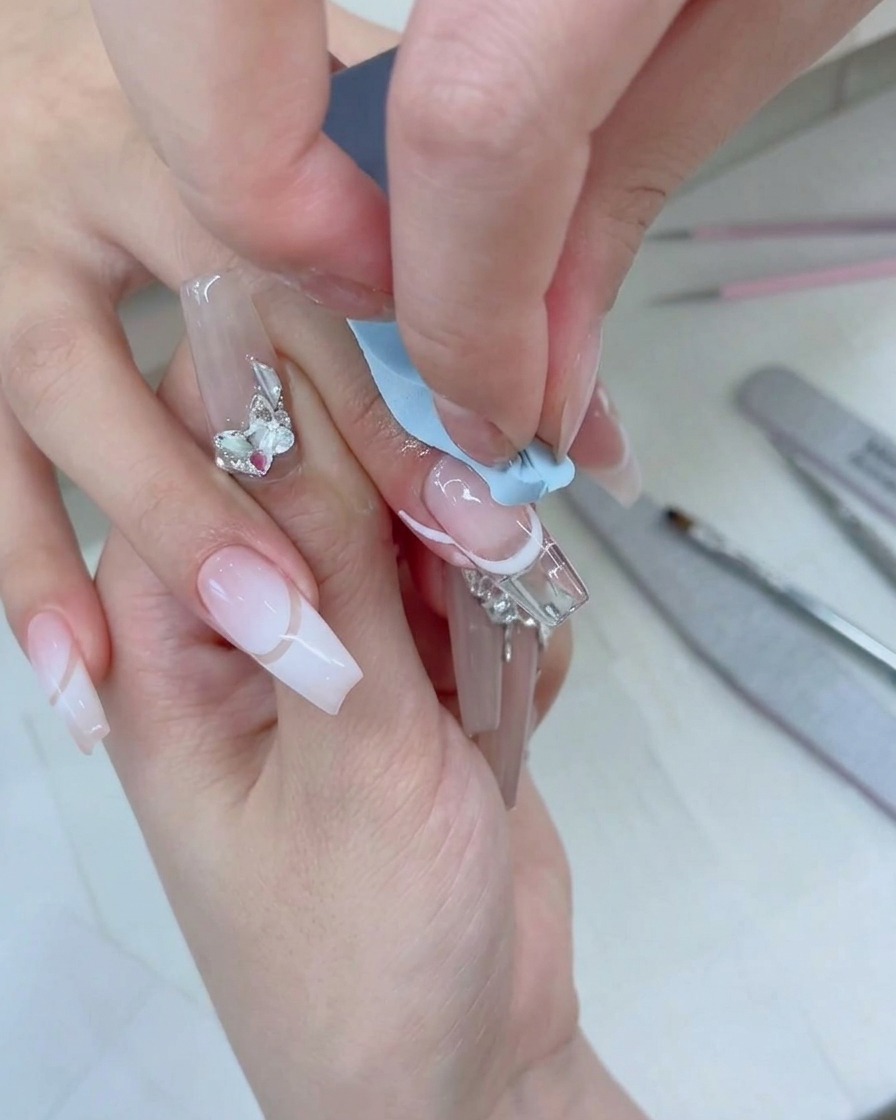
Gently tap the freshly loaded sponge onto the very tip of the nail to deposit more pigment. This intensifies the white color concentration at the edge, deepening the ombre gradient effect for a striking contrast against the nude base.
Tip: Build the color gradually with multiple light dabbing motions instead of one heavy press to keep the gradient smooth. - 7Peel away the stencil sticker
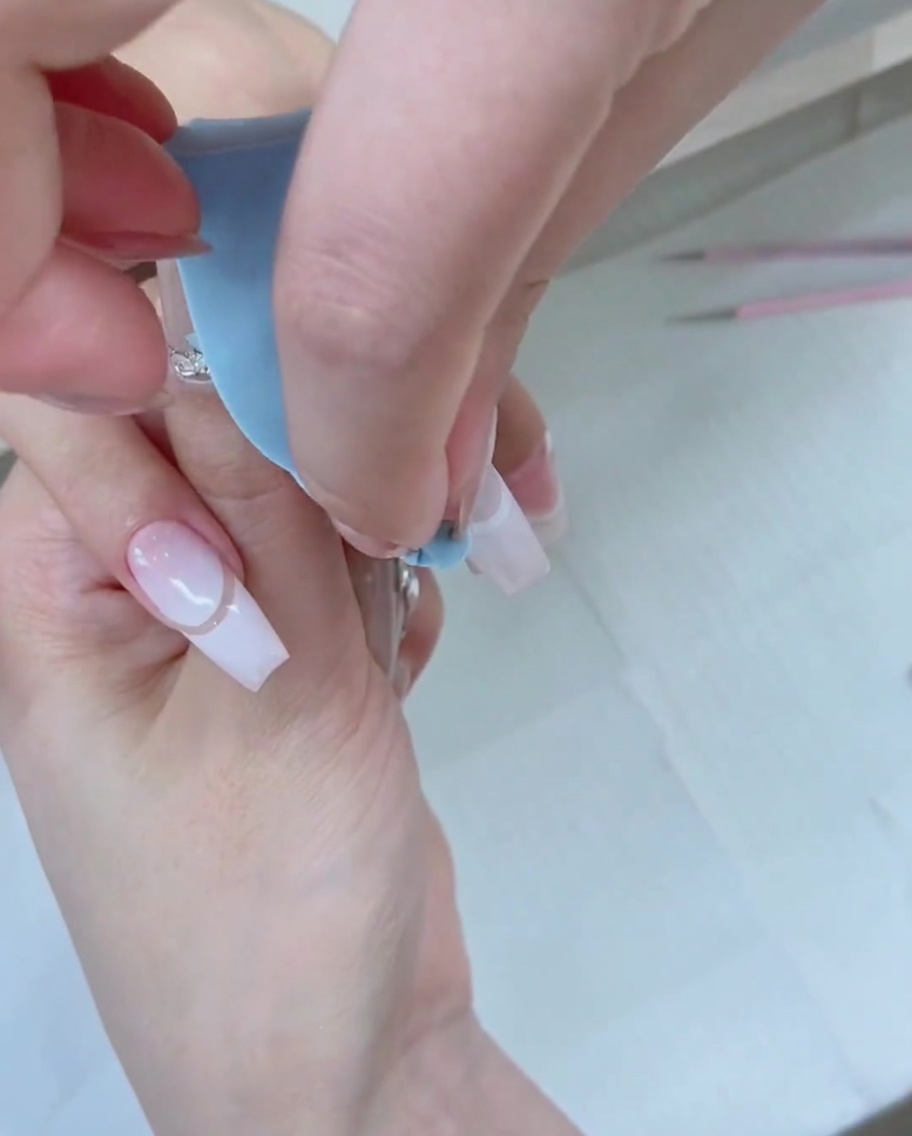
Carefully peel away the curved stencil sticker using tweezers to reveal the crisp, negative-space hollow line beneath. Take your time during this removal process to avoid disturbing the semi-cured gel or smudging the sharp edges of the french curve design.
Tip: Peel the sticker slowly and at a low angle relative to the nail surface to ensure the line stays clean and sharp. - 8Clean up gel seepage
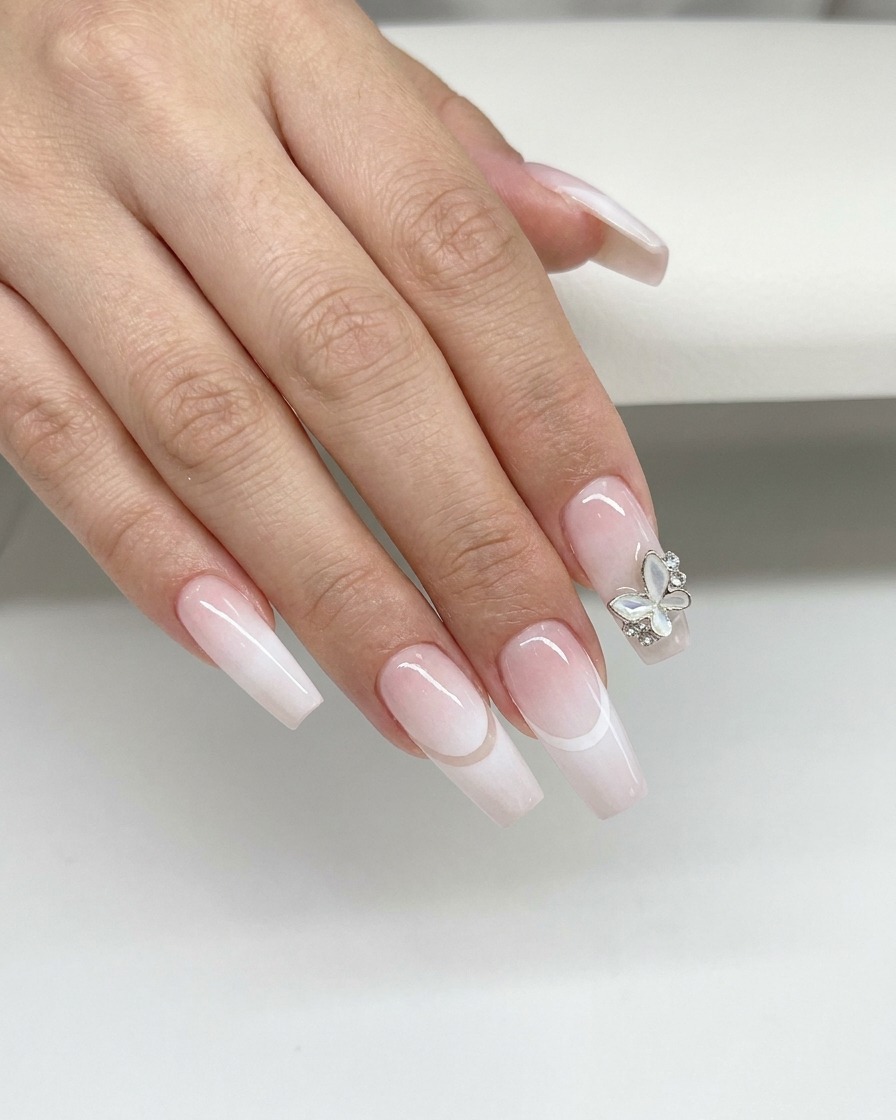
Use the blue silicone tool to gently wipe and clean up any minor white gel seepage along the crisp smile line. Ensuring these boundaries are spotless before final curing guarantees a professional, high-definition finish with clean separation between the gradient and the negative space.
Tip: Keep your silicone tool wiped clean on a lint-free pad dampened with alcohol between swipes to avoid smearing excess product. - 9Cure the gel under lamp
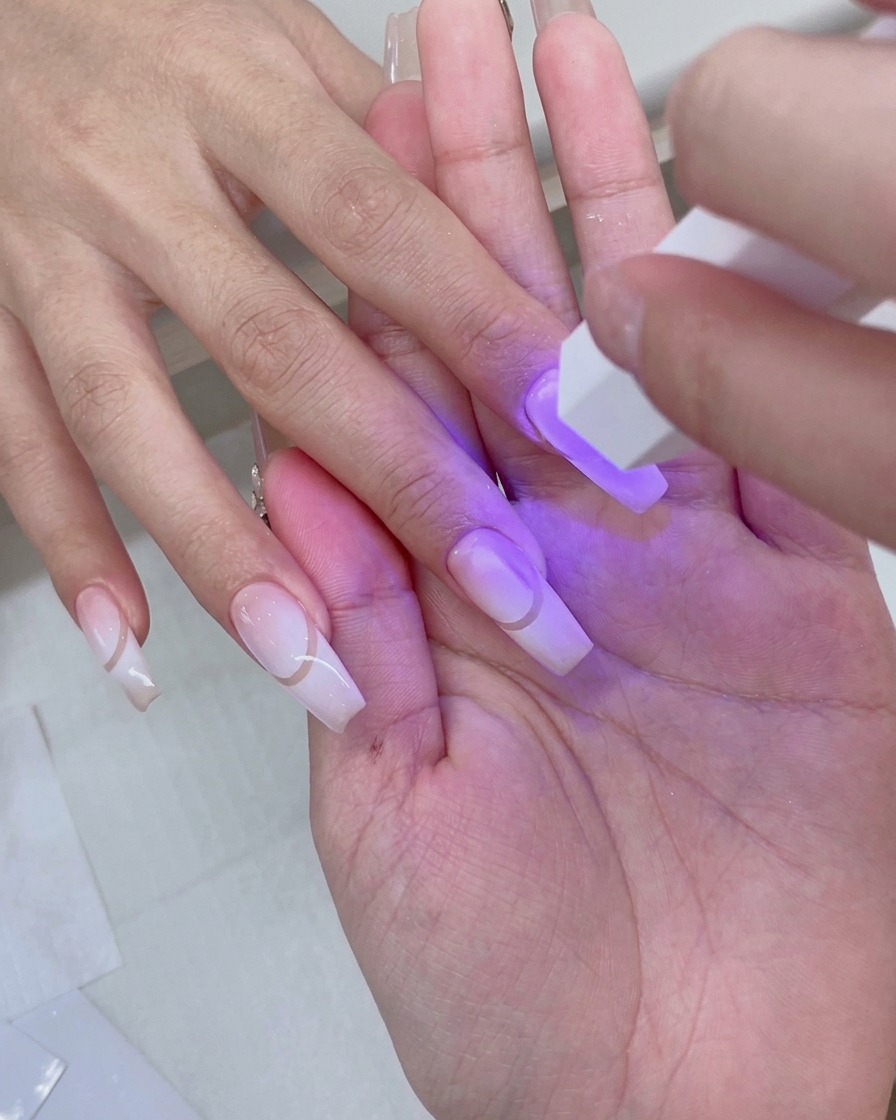
Place the hand completely inside a large UV/LED lamp to fully cure the white gradient gel and lock in the intricate design work. Ensure all fingers are positioned correctly under the light source to prevent uneven curing or shifting of the product layers.
Tip: Follow the gel manufacturers exact curing time recommendations to ensure complete polymerization and prevent lifting. - 10Apply glossy top coat
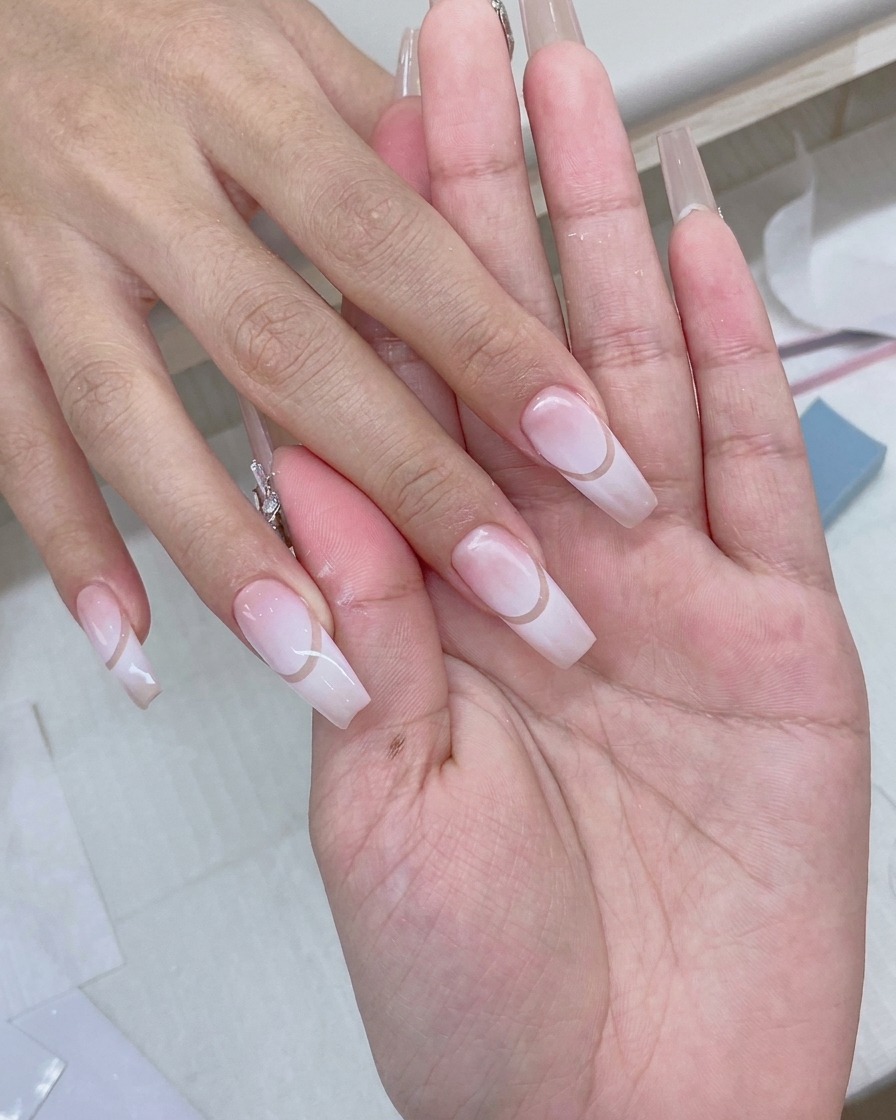
Brush a layer of glossy no-wipe top coat over the entire nail to seal the design and provide a durable, mirror-shine finish. Cap the free edge carefully with the brush to prevent chipping and protect the delicate nail art layers underneath from daily wear.
Tip: Apply a smooth, even layer without pooling near the cuticles to maintain a natural curvature and prevent premature peeling. - 11Apply decorative rhinestones
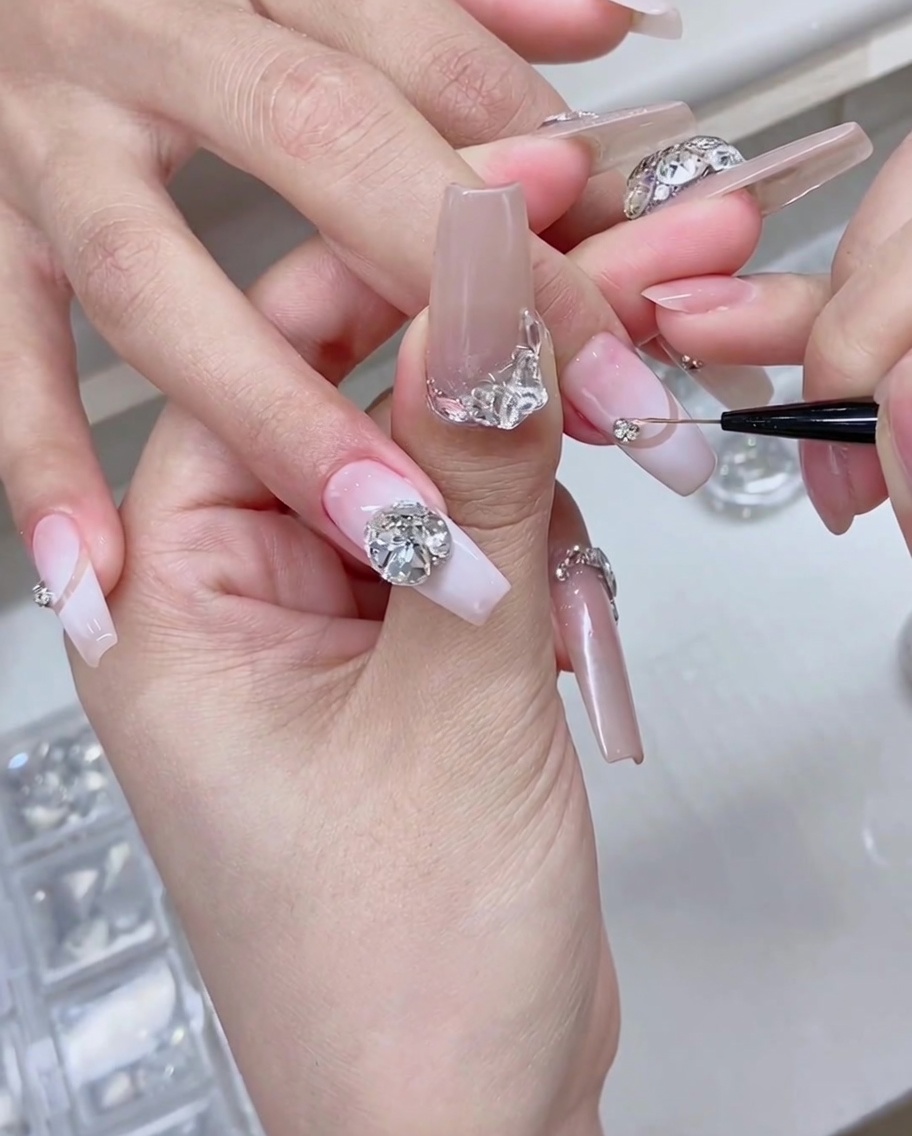
Place and adjust large decorative rhinestones onto the nail using tweezers and a fine detail brush dipped in rhinestone glue. Position them strategically near the cuticle bed or along the nail architecture to add an elegant, high-end sparkling accent to the manicure.
Tip: Secure around the base of the rhinestones with a thin liner brush dipped in top coat to lock them in place without dulling their facets.