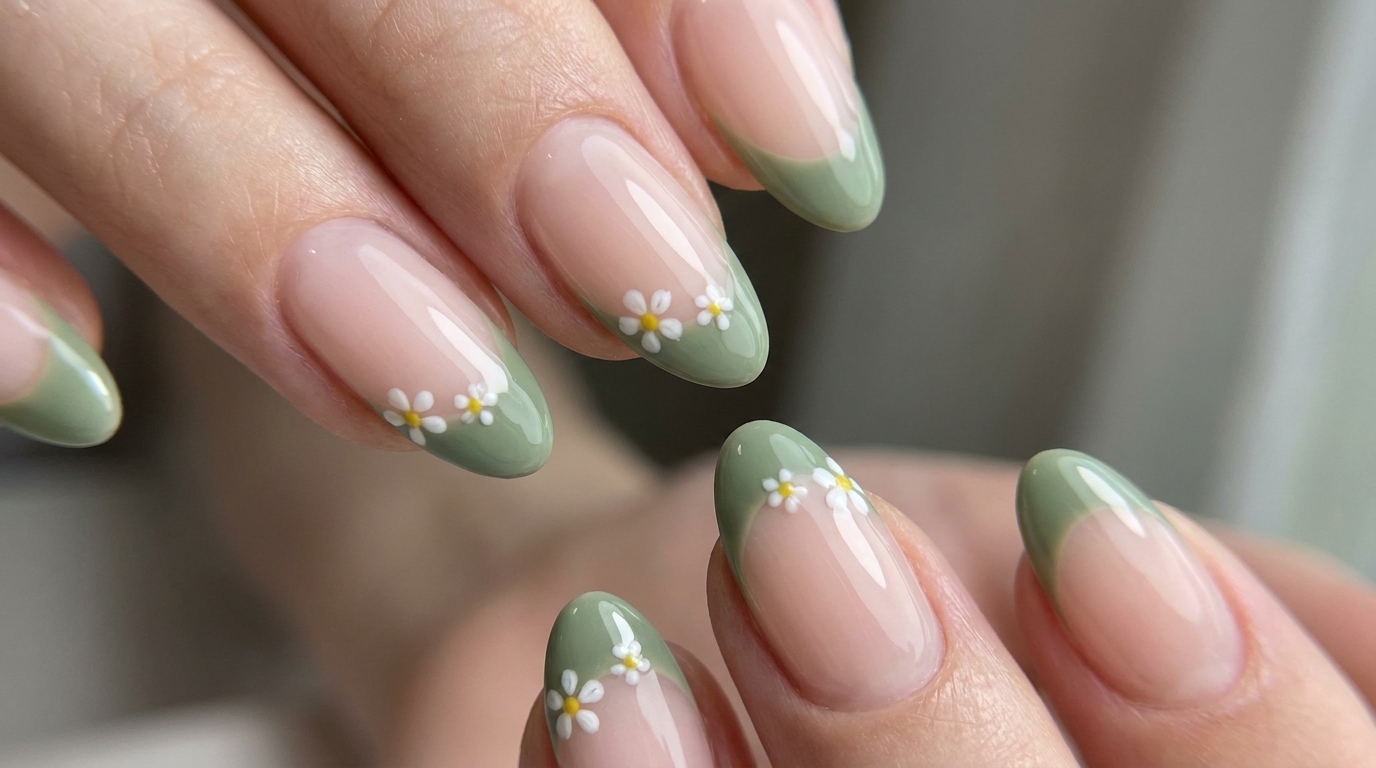
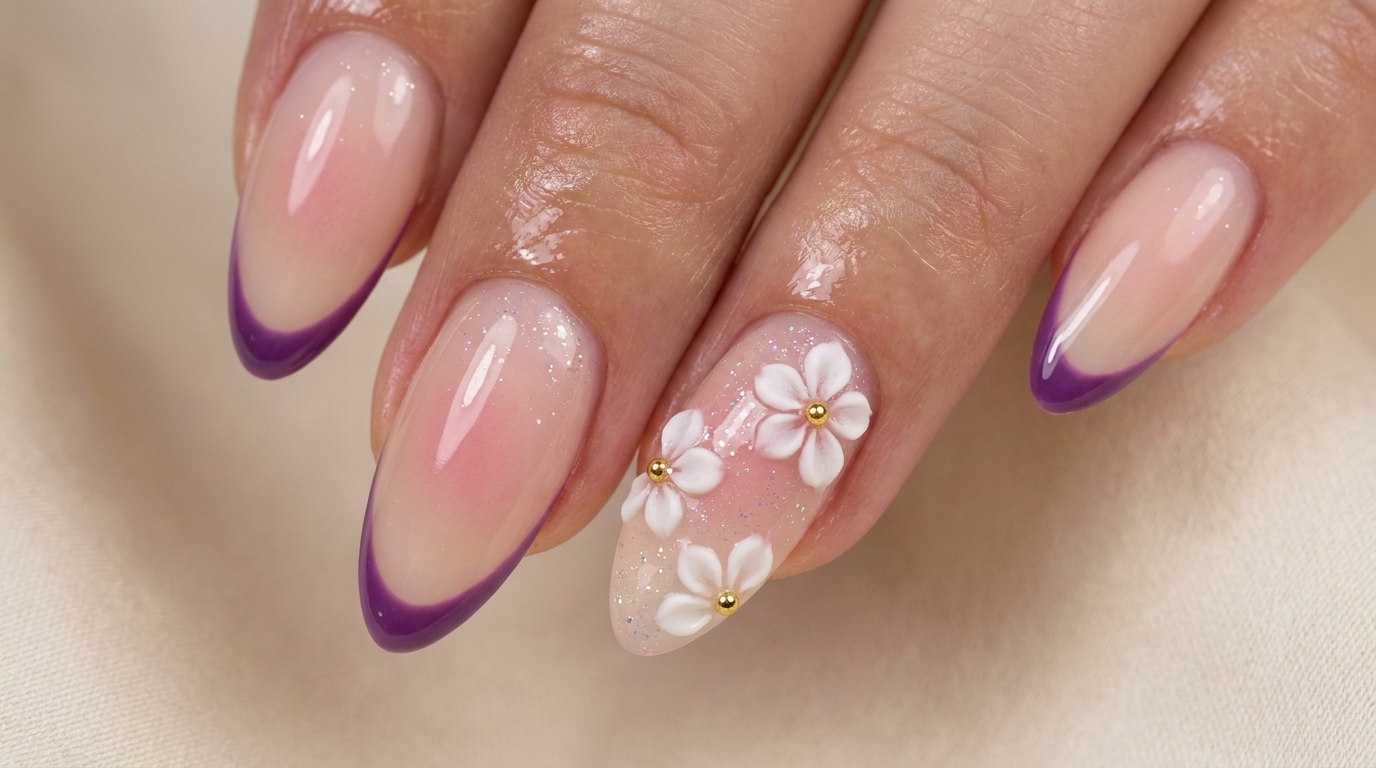
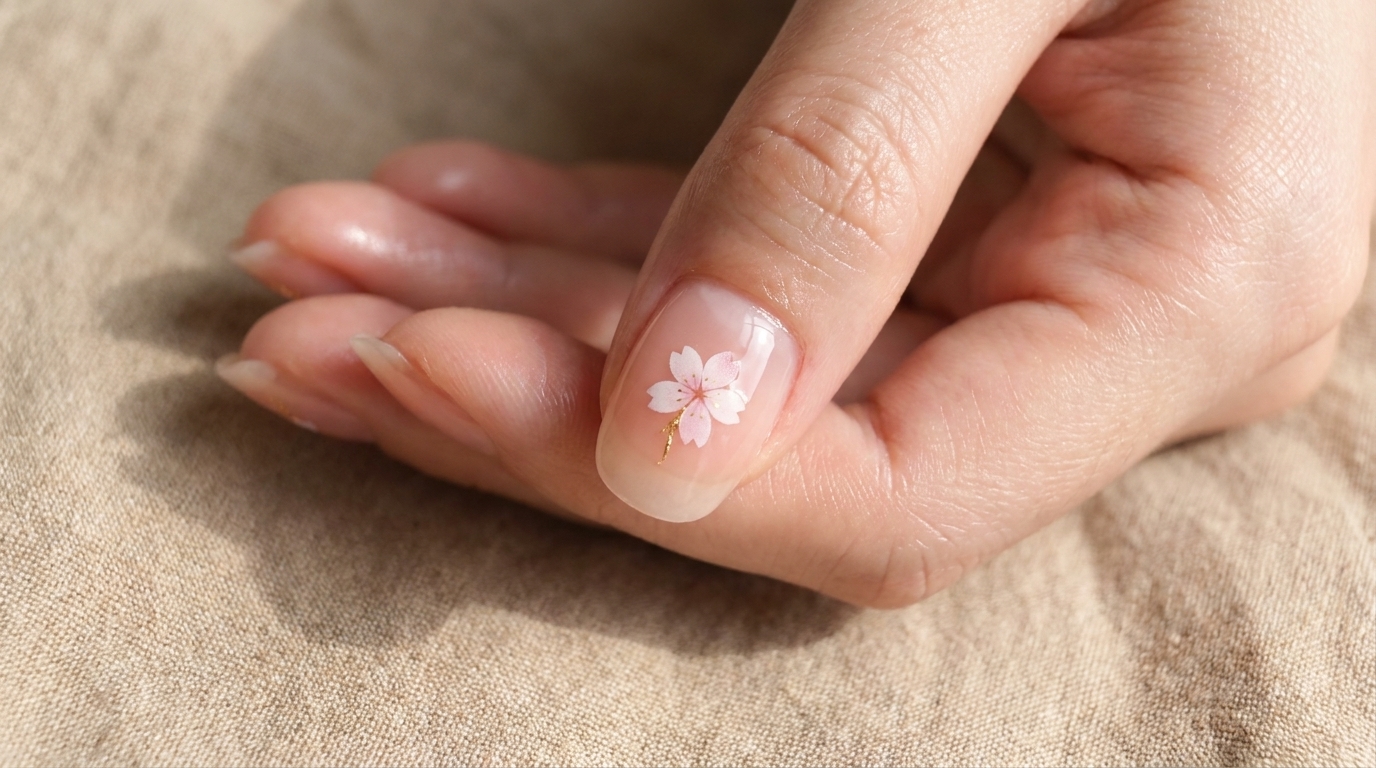
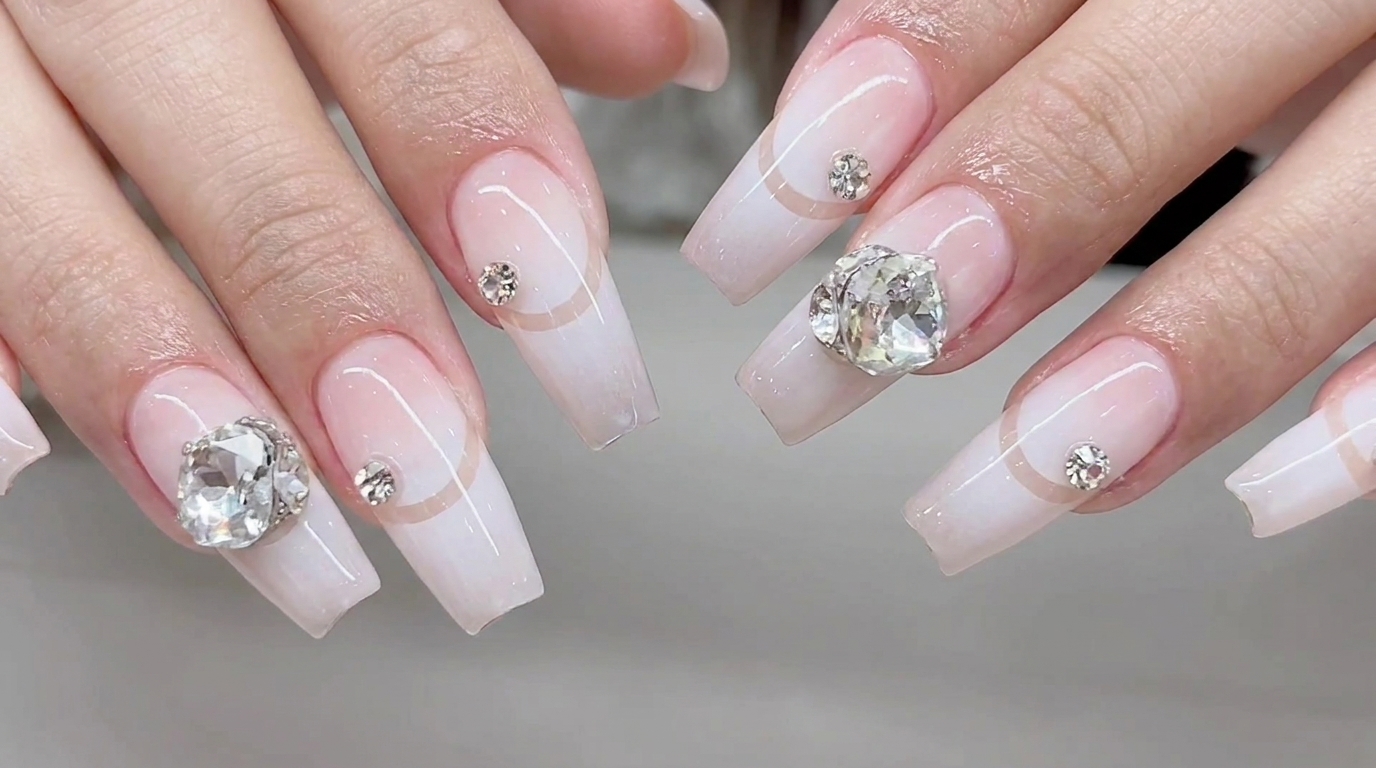
Retro Y2K Cherry Blossom French Tip Nails — Step-by-Step Tutorial
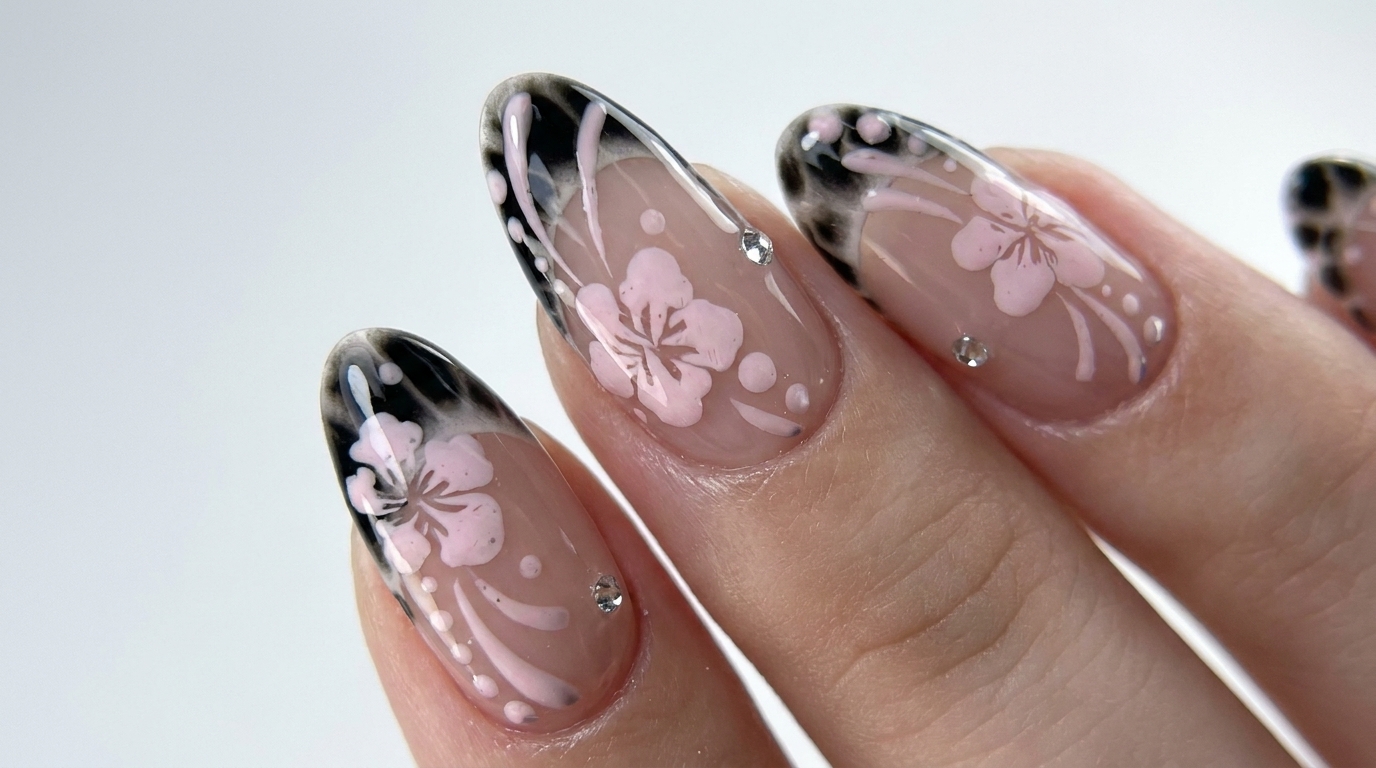
Create this nostalgic Y2K-inspired look with a moody black blooming gel French tip and delicate hand-painted cherry blossoms.
Capture the perfect blend of nostalgic Y2K edge and delicate elegance with this blooming floral manicure. This style pairs a diffused black gradient French tip with soft, hand-drawn cherry blossoms, creating a look that is both sophisticated and fun. Perfect for anyone looking to add a unique, artistic touch to their nail routine while mastering the art of blooming gel.
Steps
- 1Apply base nude color
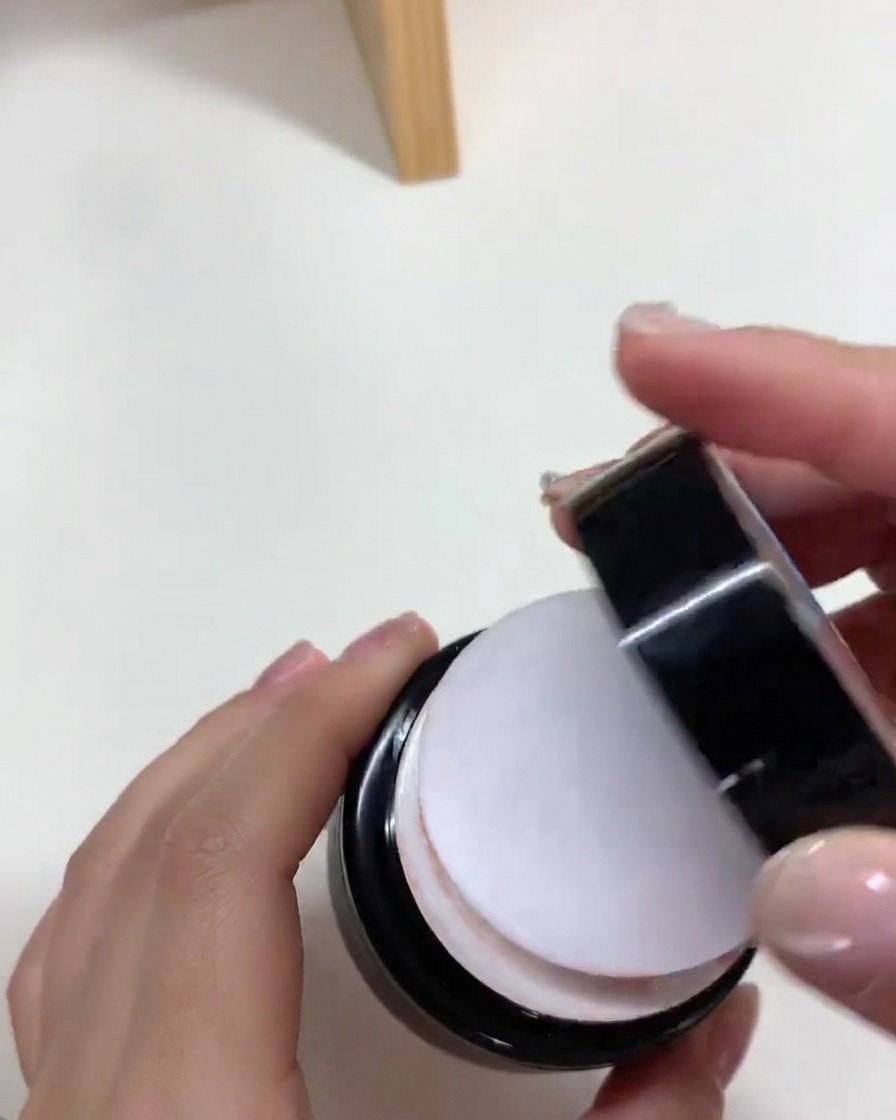
Apply a thin, even layer of nude-toned gel polish onto the nail extension. Ensure you cover the surface smoothly and avoid pooling near the cuticles. Cure the layer under your UV/LED lamp as directed by the product instructions.
Tip: Apply the gel in thin, controlled layers to prevent bubbling or uneven curing. - 2Cure the nude base color
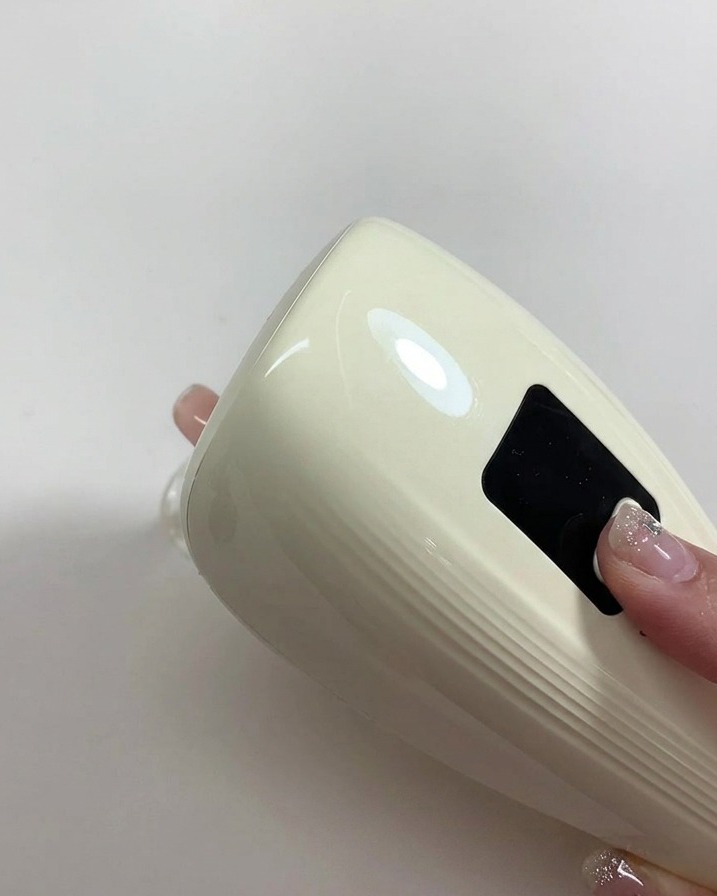
Position the nail under a mini handheld UV or LED curing lamp to set the nude base color. Hold the lamp steady and close enough to the nail for effective curing, following the recommended time for your specific gel polish to ensure a solid foundation.
Tip: A mini lamp is perfect for flash curing individual fingers to prevent the gel from shifting or pooling into the cuticles before a final full cure. - 3Outline the French tip
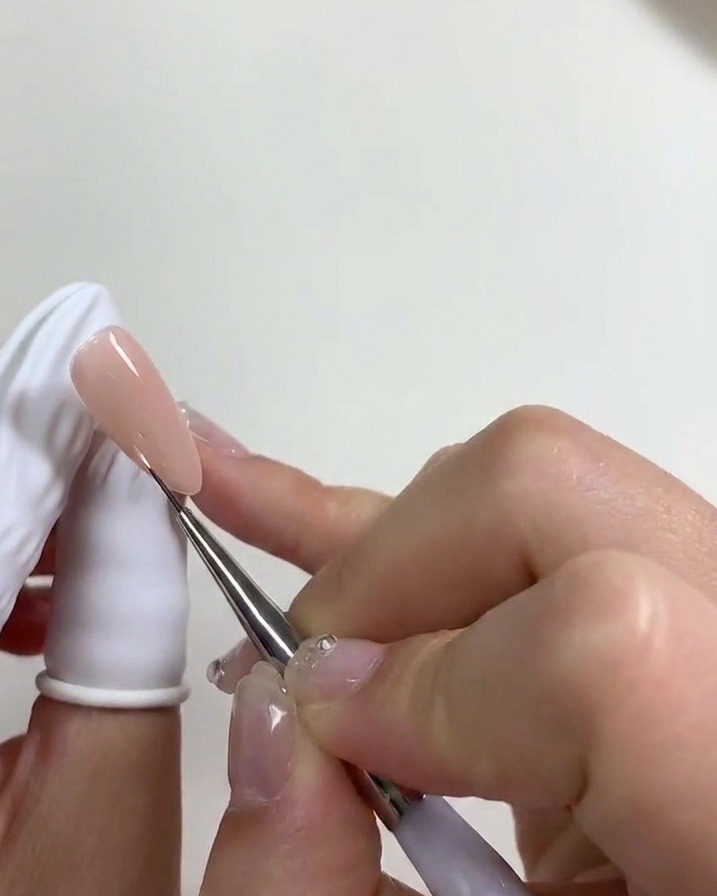
Dip a fine liner brush into your gel color and carefully trace a smile line across the nail to map out your French tip. Establishing the depth and curve of the tip first creates a clean boundary for the different sections of the nail design.
Tip: Wipe off excess gel from your liner brush before drawing to ensure your line stays perfectly crisp and thin. - 4Apply milky white layer
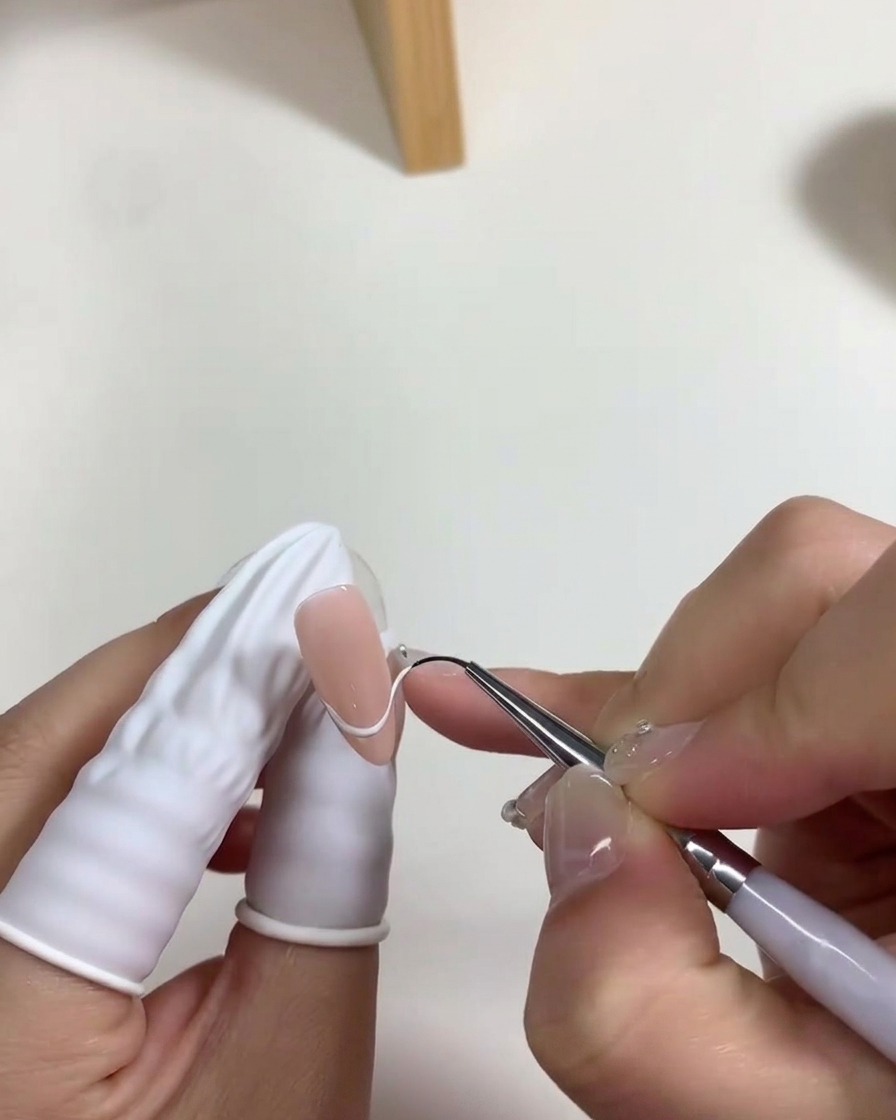
Apply a coat of milky white gel over the nail bed area to soften the base color. Use gentle strokes to keep the application even, then cure under the lamp to set the layer.
Tip: This milky layer helps create the soft, translucent foundation for the cherry blossom design. - 5Apply blooming gel
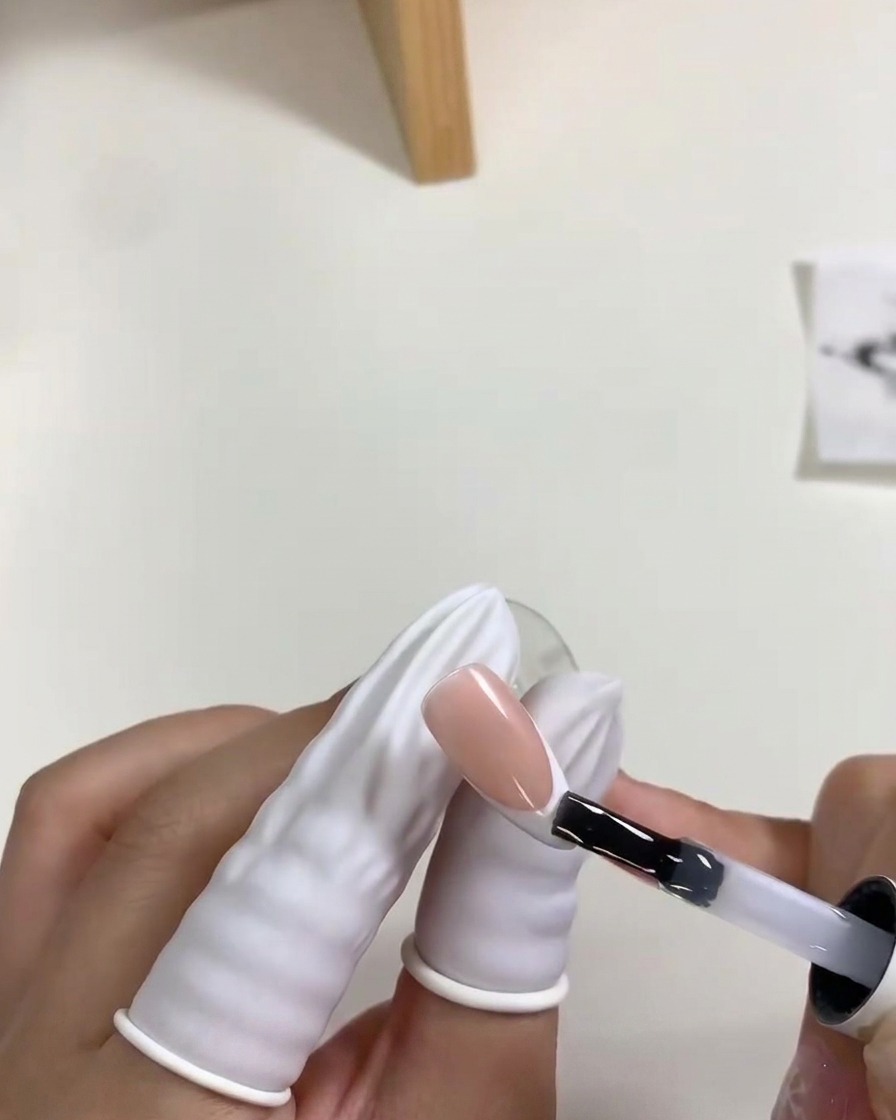
Apply a layer of clear blooming gel specifically over the French tip area where the black dots will be placed. Do not cure this layer yet, as it needs to remain wet to allow the gel to bloom.
Tip: Blooming gel is designed to spread color applied on top of it, so apply it smoothly and evenly to ensure consistent patterns. - 6Add black dots to the blooming gel
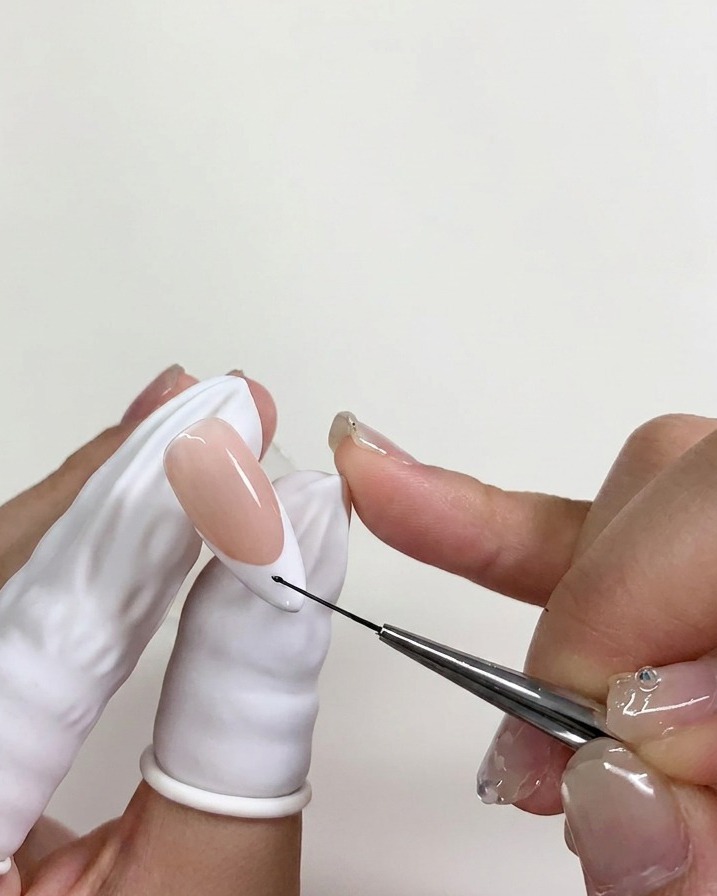
While the blooming gel over the French tip area is still wet, use a fine brush or a dotting tool to gently place small dots of black gel polish. Allow the black gel to sit for a moment so it can naturally disperse and bloom outward, creating a diffused effect before curing under the lamp.
Tip: Do not cure immediately after placing the dots; giving the blooming gel a few extra seconds allows it to work its magic and properly spread the black polish. - 7Allow dots to bloom
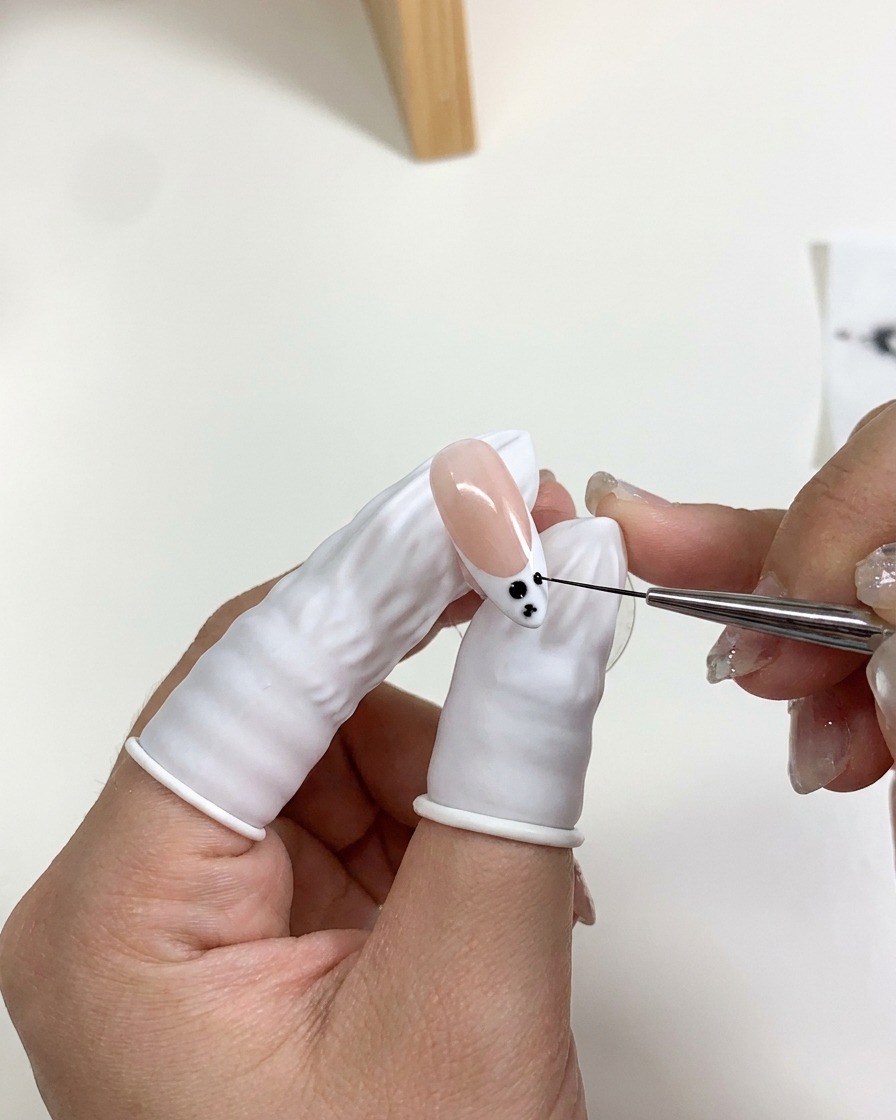
Place small dots of black gel onto the wet blooming gel on the French tip. Wait a few seconds for the black dots to naturally spread and soften into a fuzzy, blurred gradient effect before curing.
Tip: Watch the dots closely; you can adjust the intensity of the bloom by how long you let it sit before curing. - 8Place pink dots for blossoms
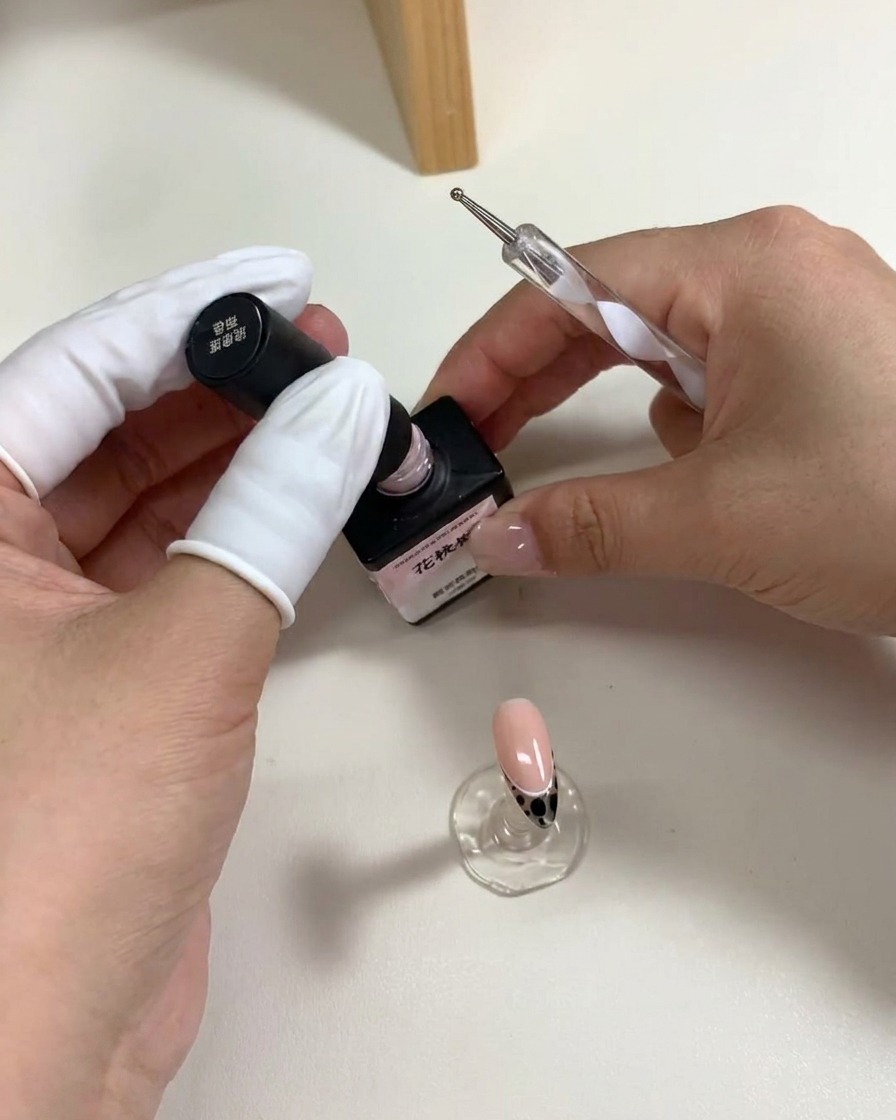
Using a dotting tool, place five small, circular dots of pink gel on the nail bed to form the foundation of a cherry blossom flower. These dots will serve as the base for the petals.
Tip: Keep the dots evenly spaced around a central point to make the flower look symmetrical. - 9Shape cherry blossom petals
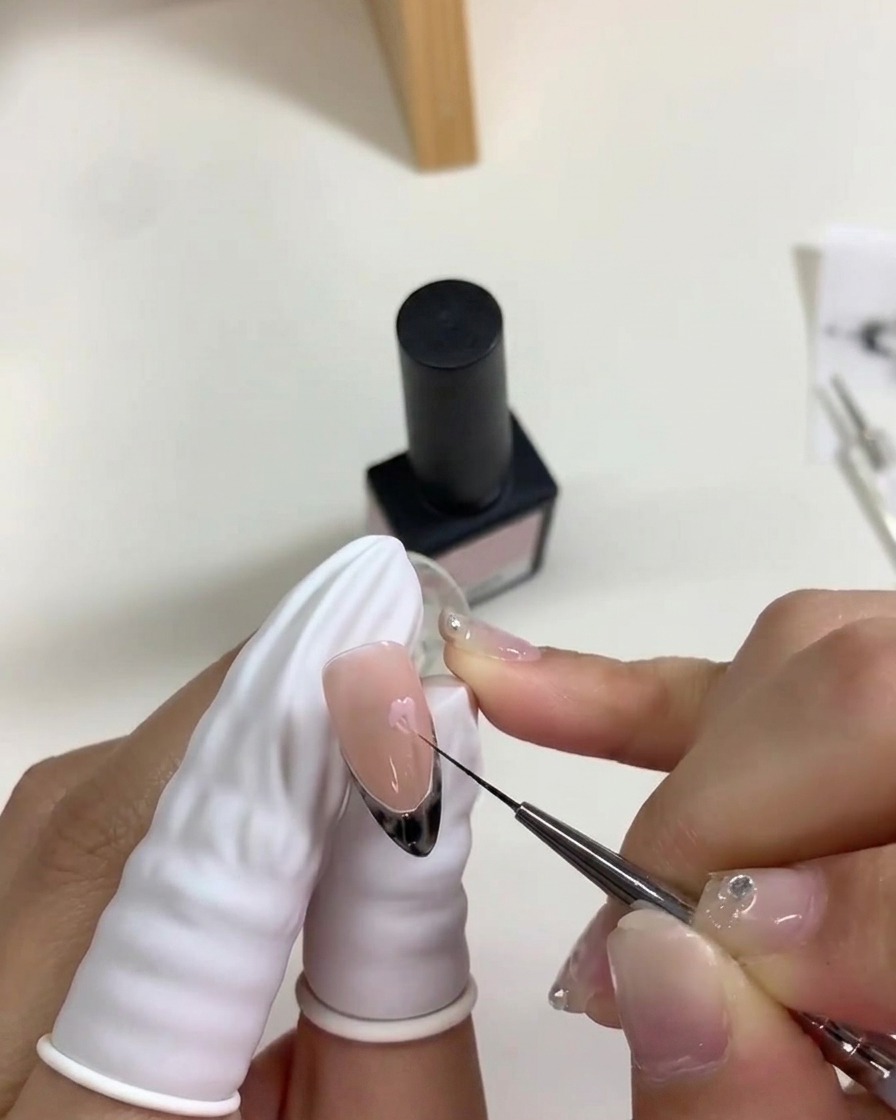
While the pink dots are still wet, use a fine liner brush to pull the outer edge of each dot toward the center. This technique creates the characteristic pointed shape of cherry blossom petals.
Tip: Work lightly with the brush to maintain the integrity of the flower shape. - 10Create additional cherry blossoms
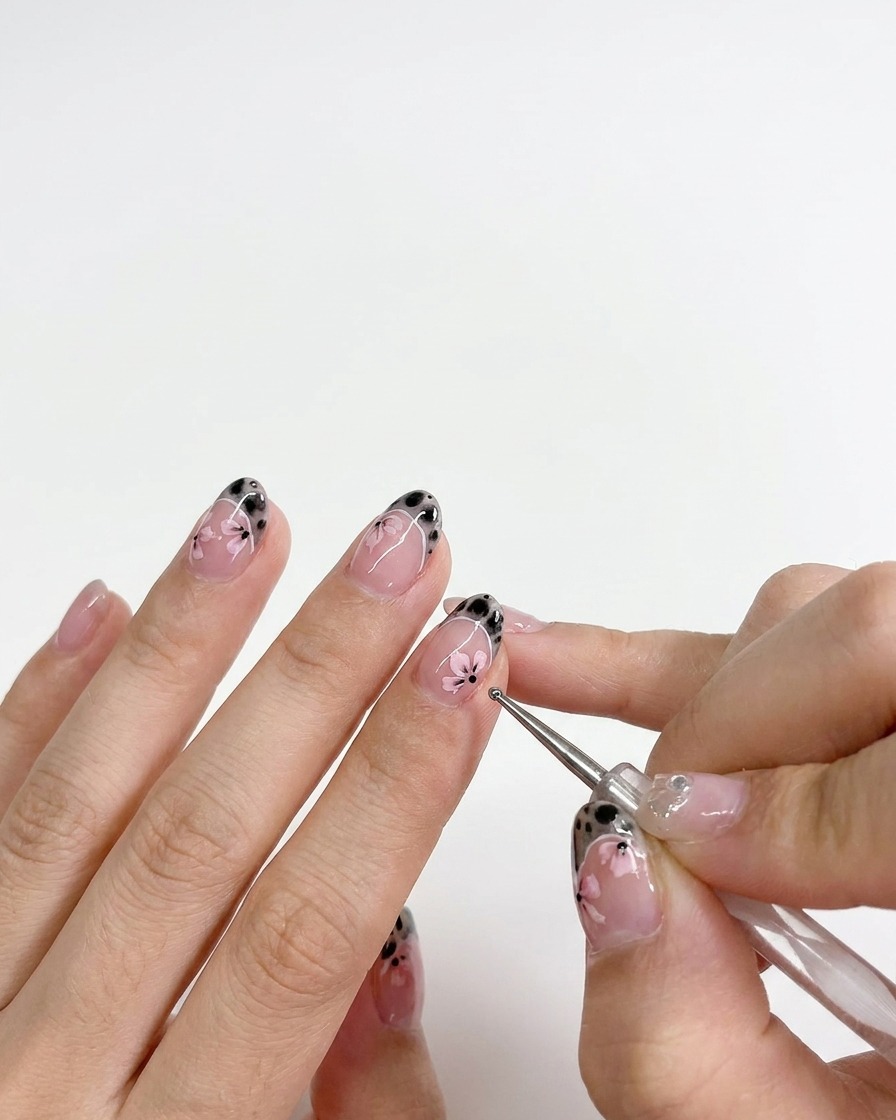
Using a dotting tool and a fine brush, carefully draw a second, smaller cherry blossom below your initial design. This adds depth and completes the floral arrangement on the nail surface. Ensure the petals are distinct and follow the same style as the first flower for a cohesive look.
Tip: Keep your movements light and steady to ensure the smaller petals maintain the delicate appearance of the larger blossoms. - 11Cure the floral design
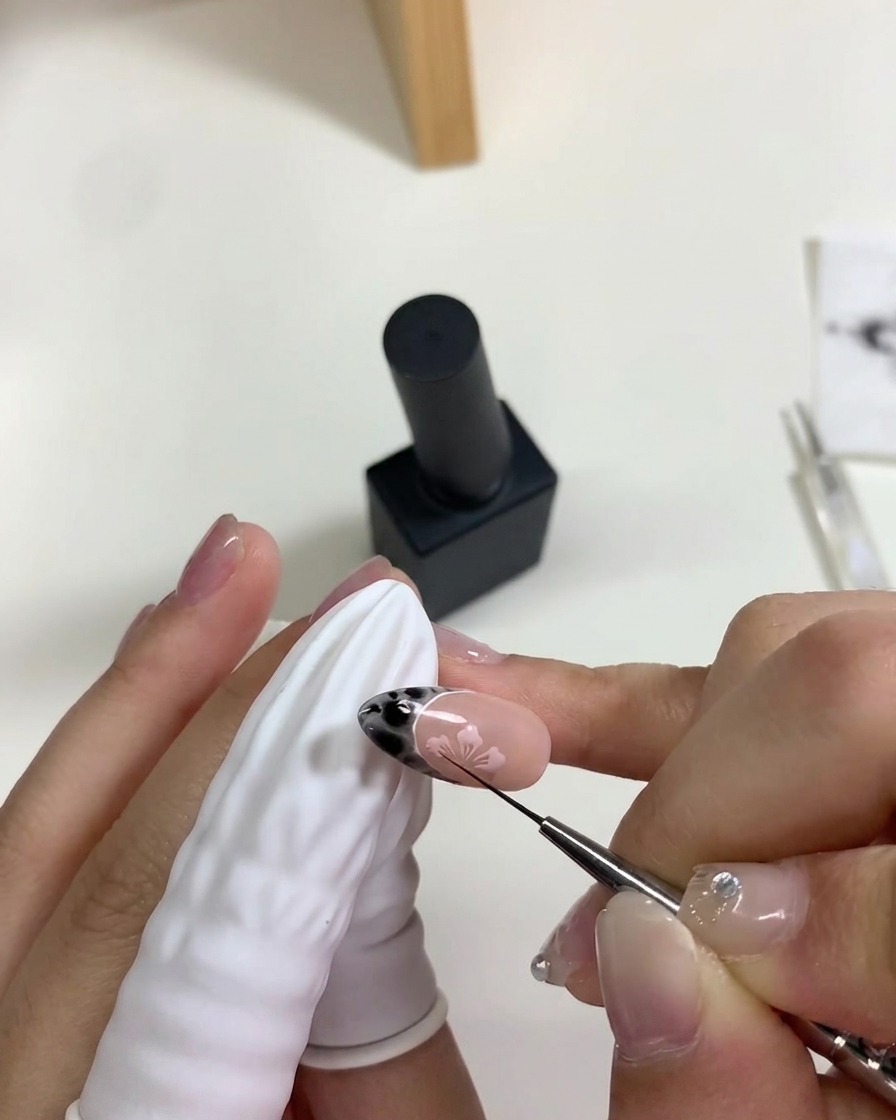
Place your nails under the mini UV/LED lamp to cure the freshly painted pink cherry blossoms. Ensure the hand is positioned correctly so all parts of the design receive even light exposure, curing for the time recommended by your gel polish manufacturer.
Tip: Do not rush the curing process; a full cure ensures the delicate petal details remain sharp and smudge-free. - 12Add petal details
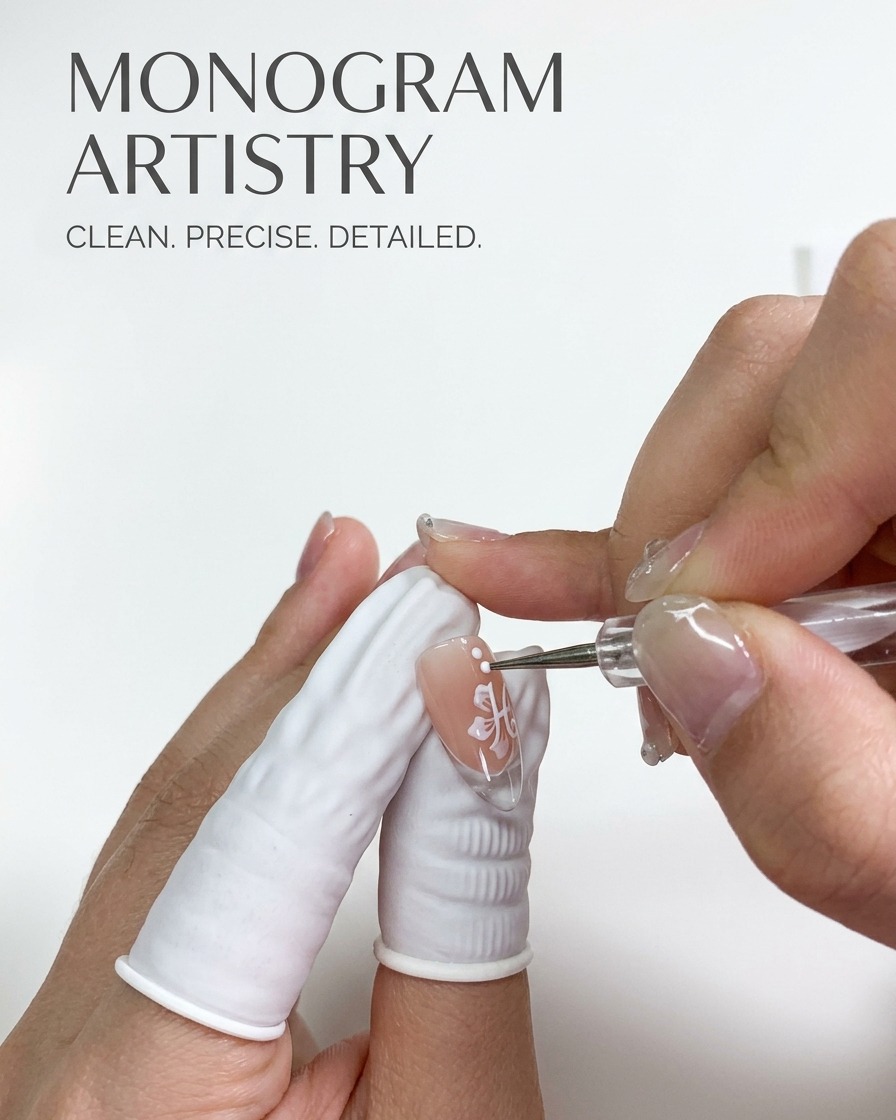
Using a fine liner brush and white gel, draw delicate, thin lines inside each pink petal of the cherry blossoms. These highlights add dimension and texture, making the flowers look more realistic and intricate against the base.
Tip: Use a very light touch with the liner brush to keep the white lines thin and precise. - 13Add accent dots
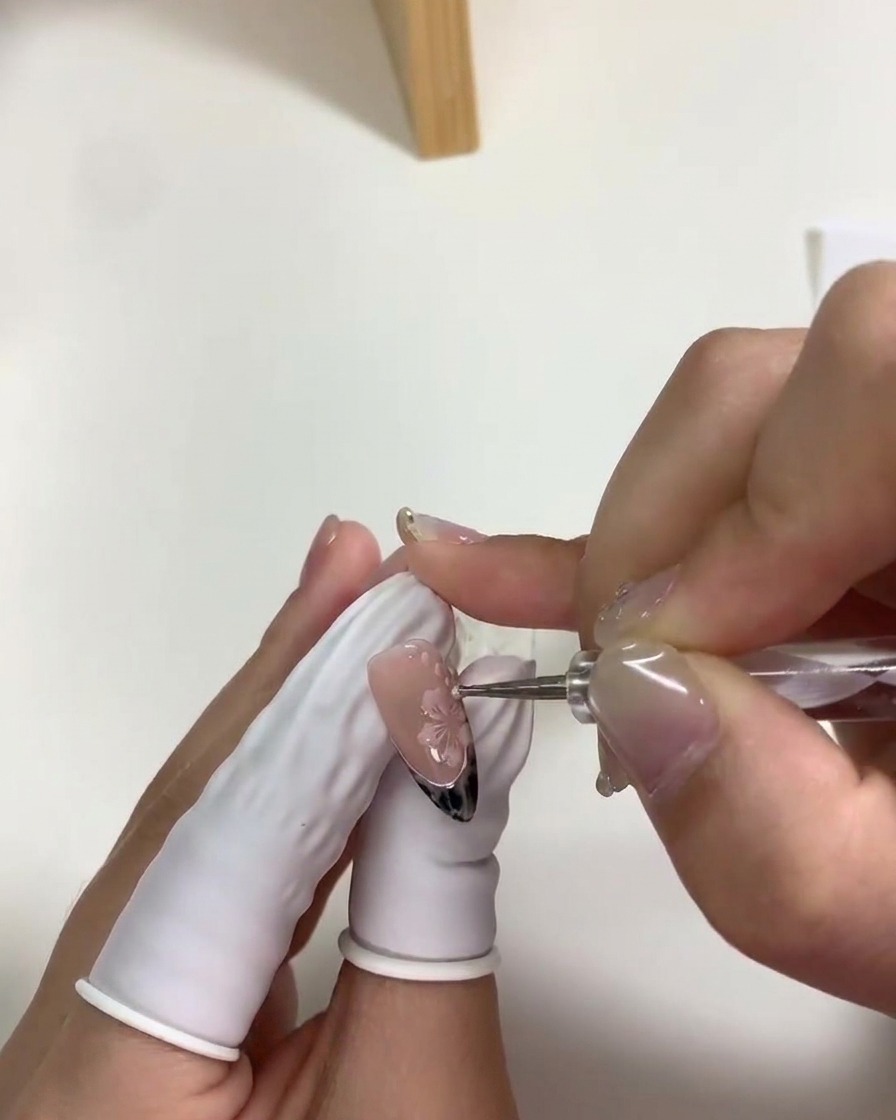
Using a dotting tool, carefully place small white dots around the cherry blossoms. These accents create a floating, ethereal effect that complements the floral theme and enhances the overall nail art design.
Tip: Vary the size and placement of the dots slightly to give the design a more natural, hand-painted look. - 14Draw accent vines
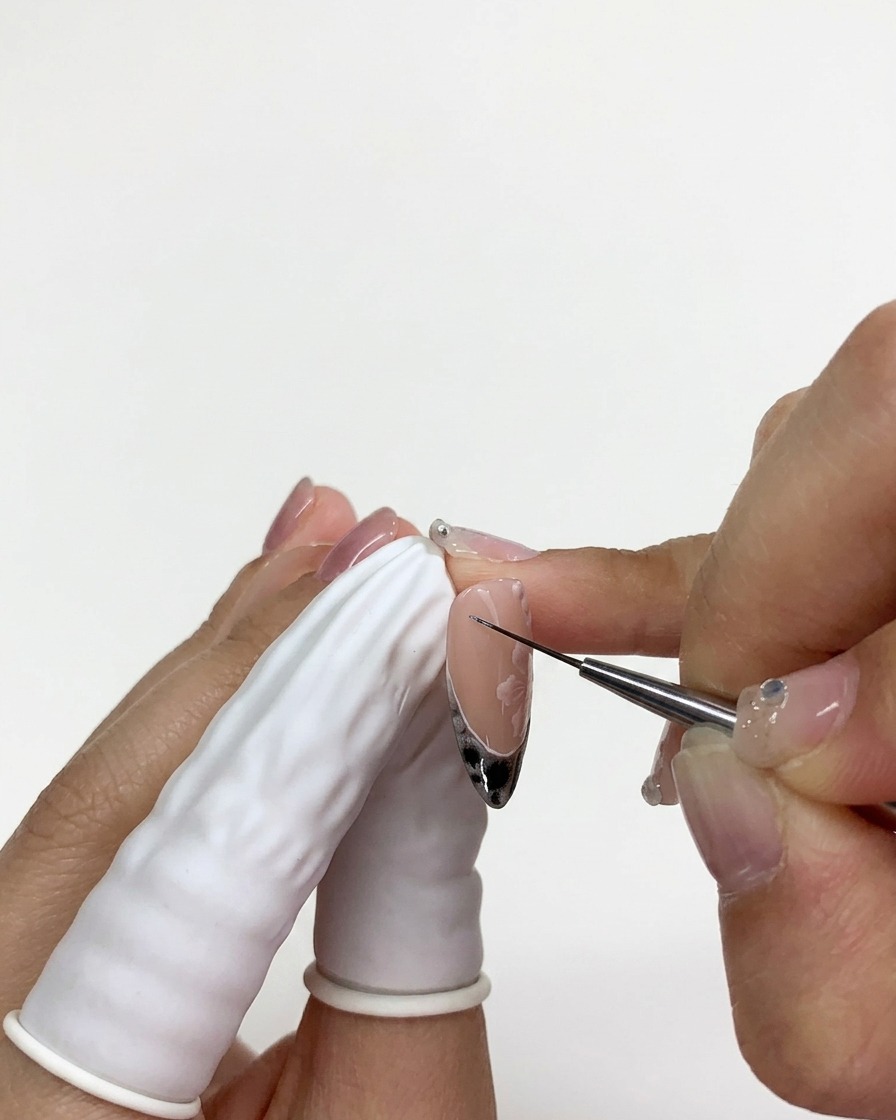
With a fine liner brush, draw delicate, curved white lines around and between the cherry blossoms to mimic vines. These sweeping strokes connect the elements of your design and add a graceful, flowing aesthetic to the manicure.
Tip: Keep the vines thin and varied in curvature to ensure they frame the flowers without overwhelming the design. - 15Apply rhinestone accents
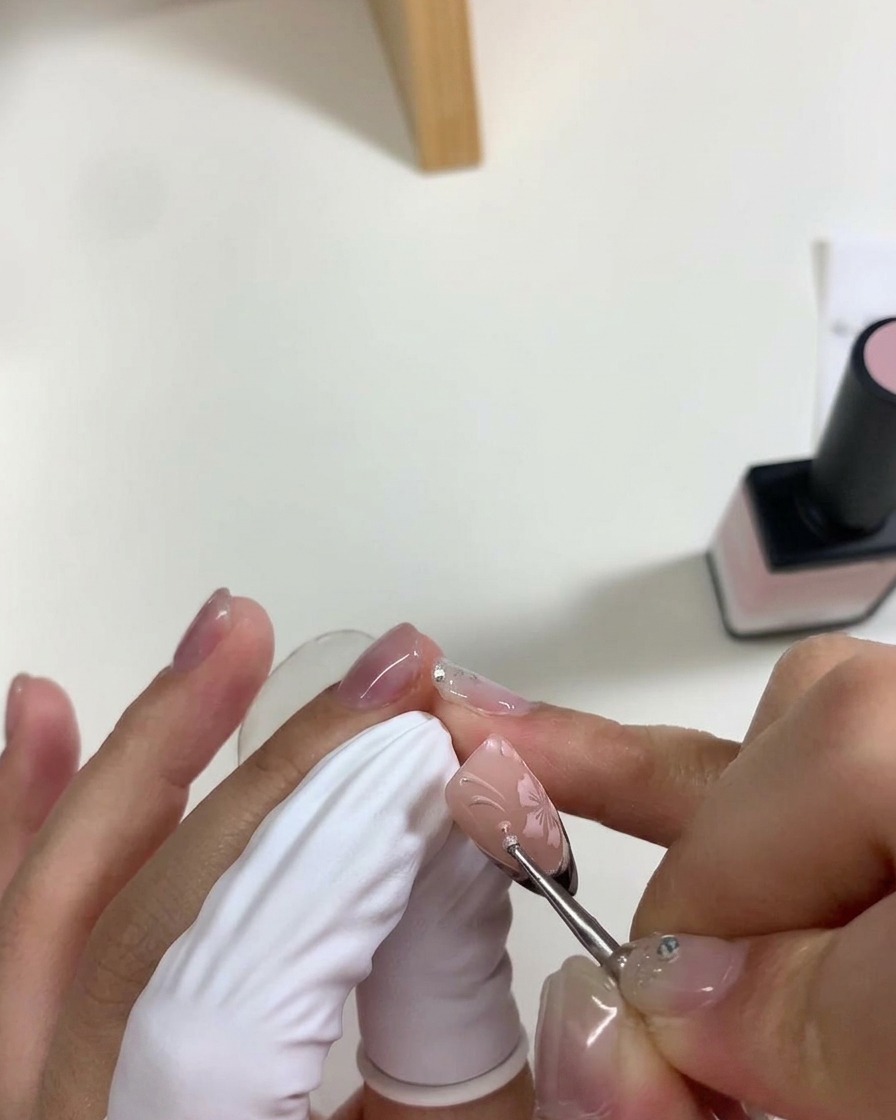
Using a wax pen, pick up and place small rhinestones into the center of each cherry blossom and strategically along the design. These gems add a touch of sparkle and elegance to the floral manicure.
Tip: Apply a tiny amount of clear builder gel or rhinestone glue as a base before placing the stones to ensure they stay firmly in place. - 16Apply glossy top coat
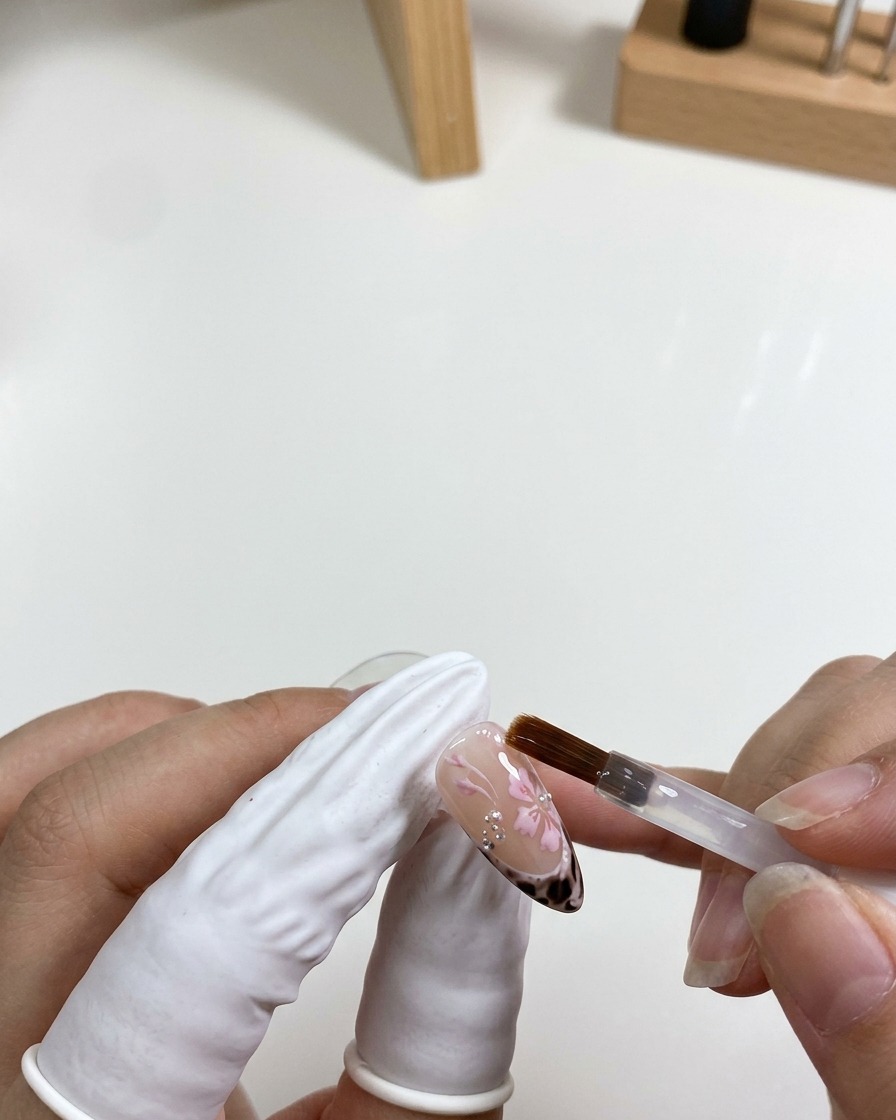
Using a clear gel top coat, gently brush a smooth, even layer over the entire nail to seal in the blooming French tip and cherry blossom design. Ensure you cover all the painted details and cap the free edge for maximum longevity.
Tip: When applying top coat around rhinestones, use a fine detail brush to carefully seal the edges of the gems rather than painting completely over them to preserve their shine. - 17Cure the final top coat
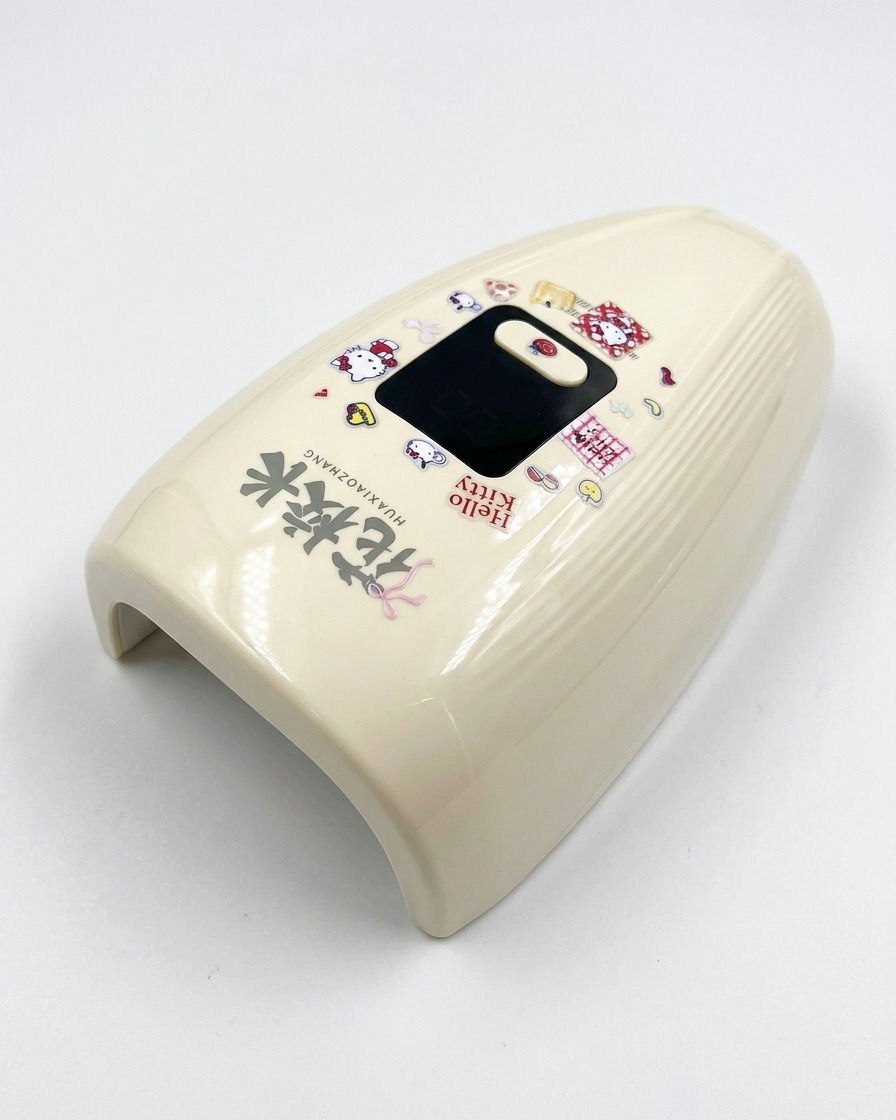
Place your nails under a mini UV or LED lamp to fully cure the final top coat. Leave them under the light for the manufacturers recommended time, usually about 60 seconds, to ensure the gel is completely set and hardened.
Tip: Allow the lamp to run its full cycle without interruption. Letting the gel cure completely ensures a durable, high-gloss finish that will not easily scratch or peel.