Pink Cherry Blossom
Glitter French Manicure Tutorial
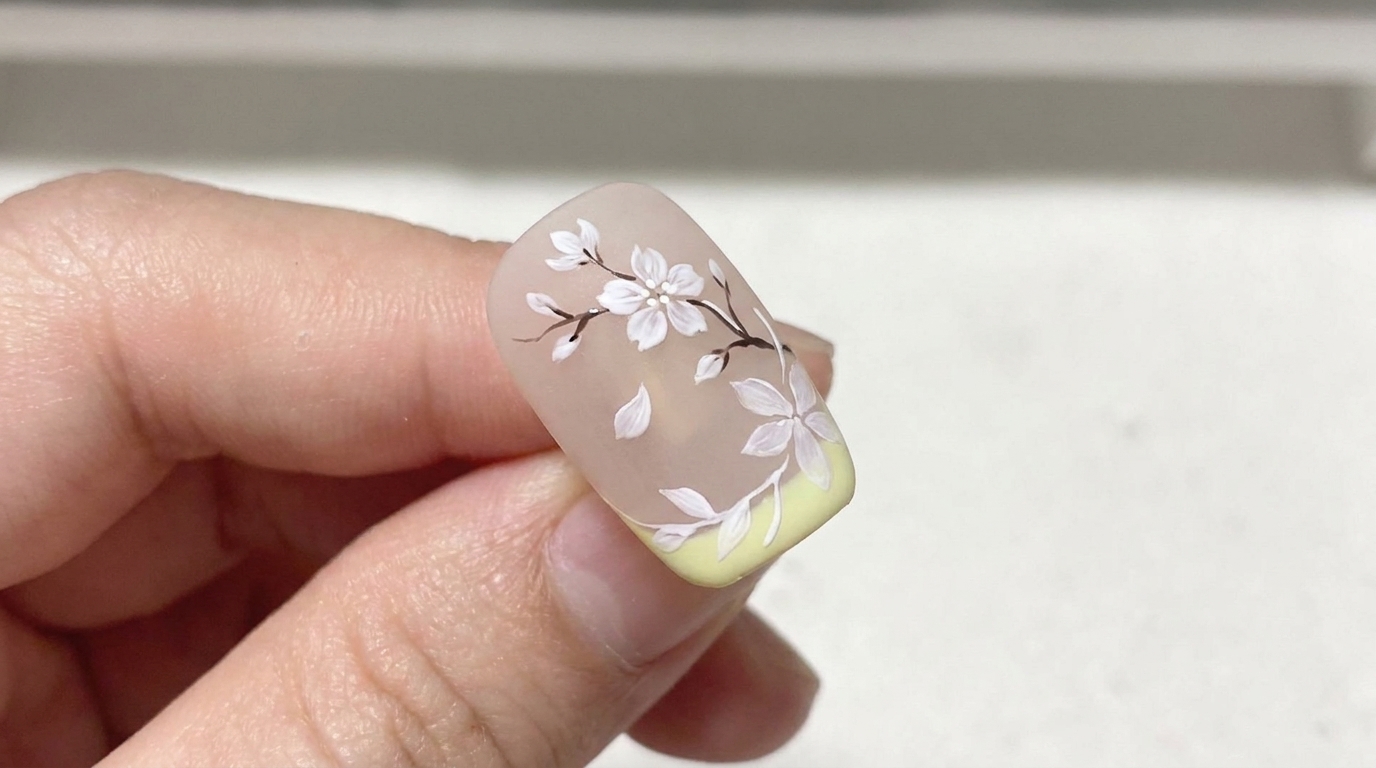
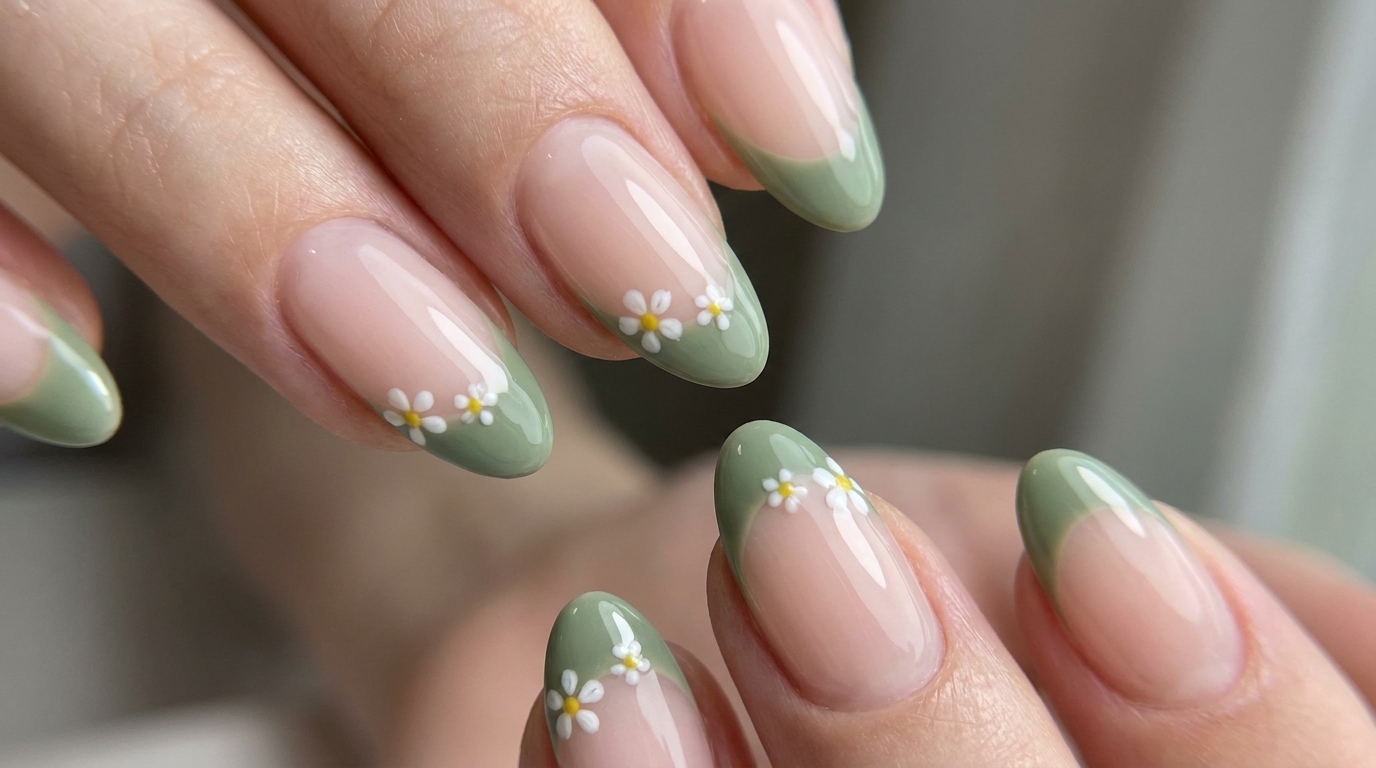
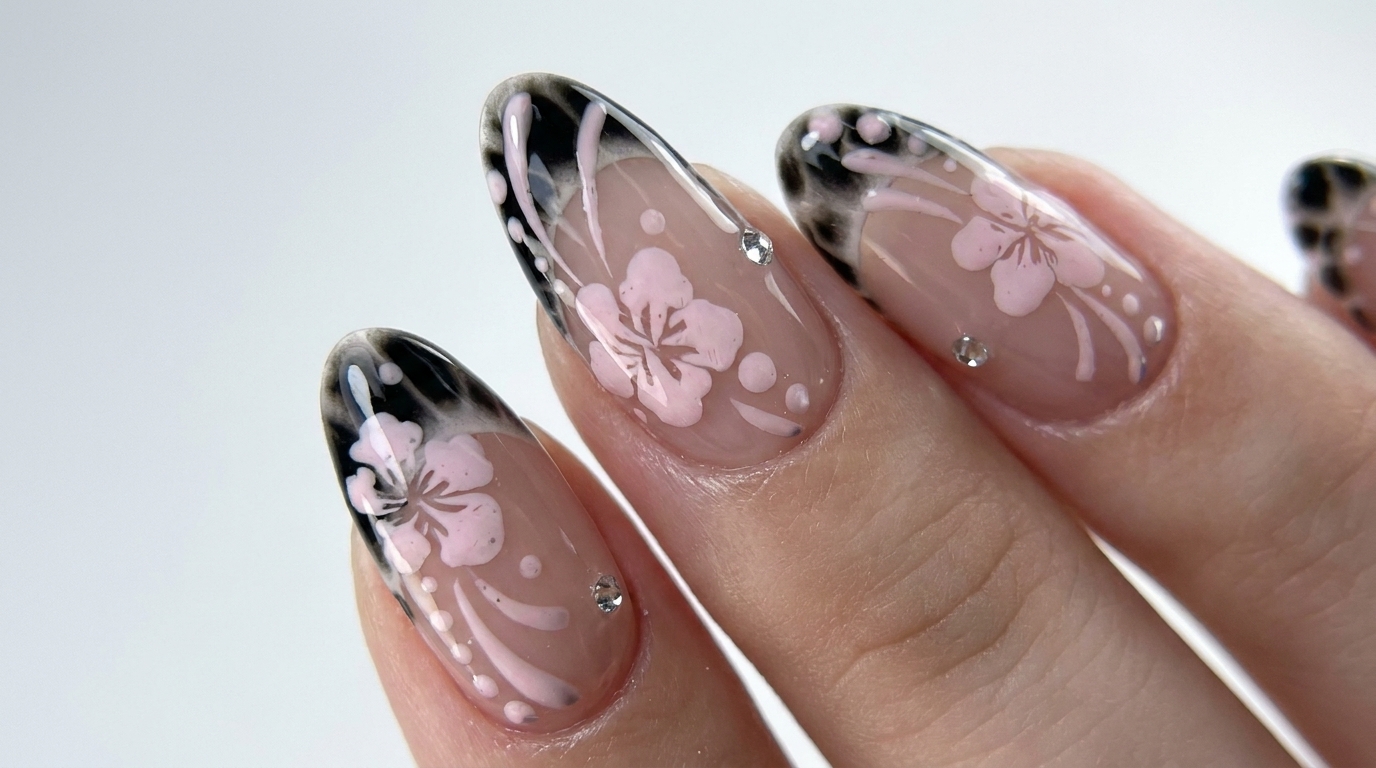
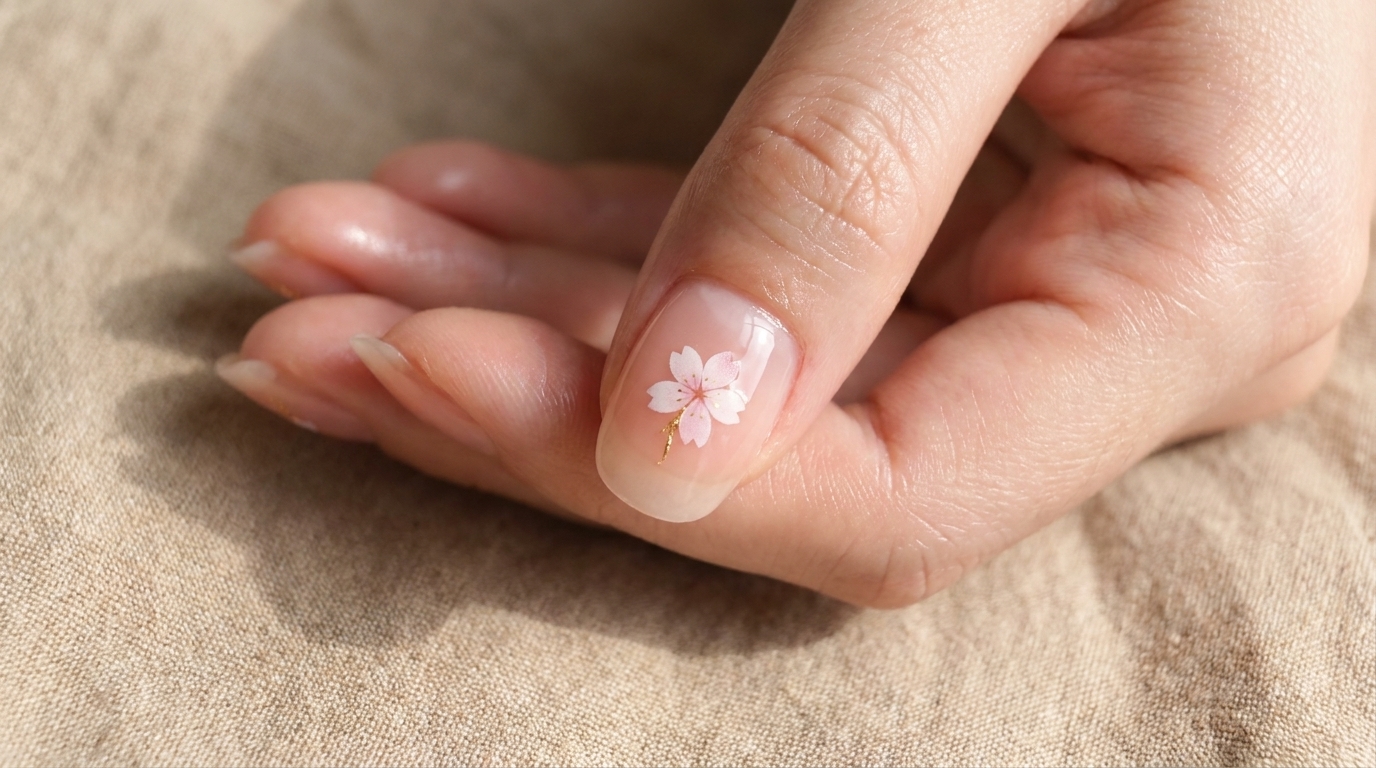
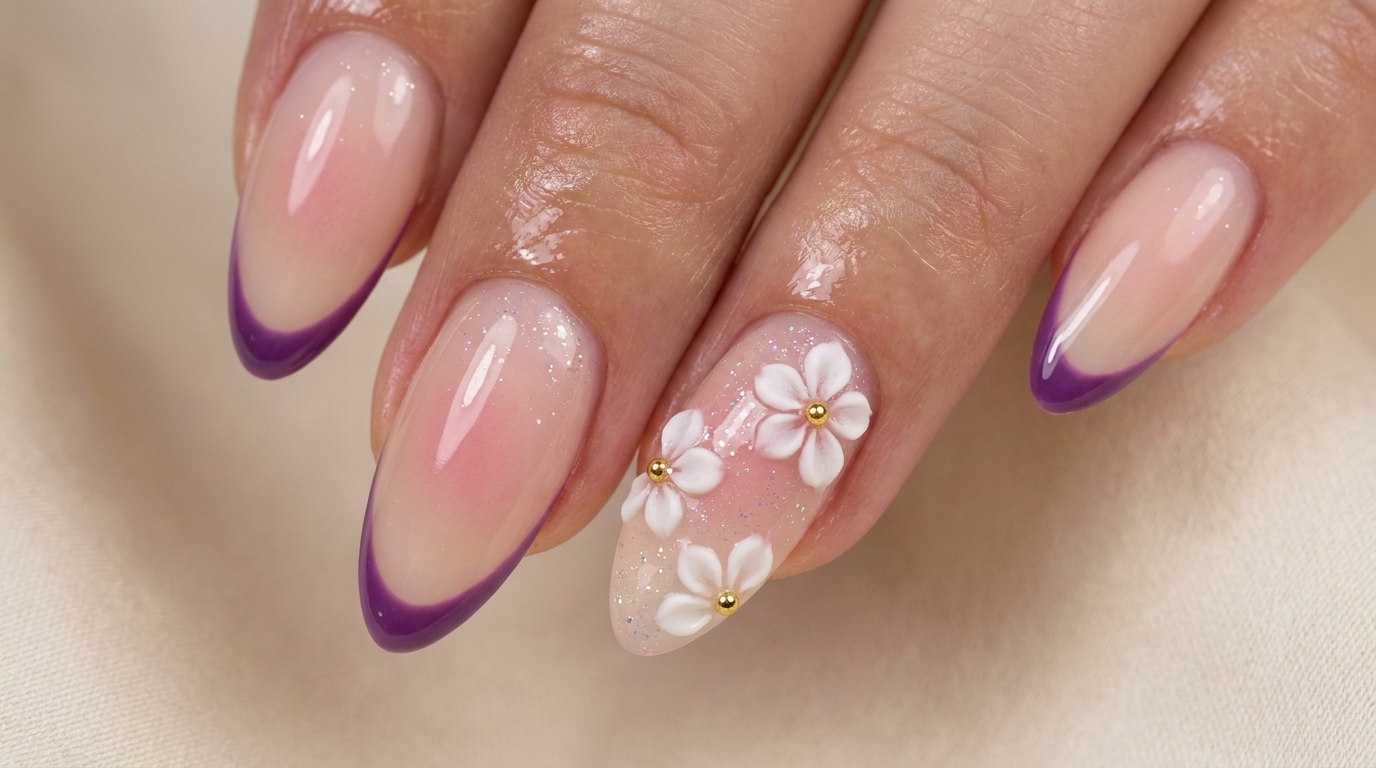
Create an elegant spring-inspired look with this delicate cherry blossom sequin nail art featuring a blush gradient and a crisp purple French tip.
This sophisticated nail look perfectly captures the essence of spring with delicate, 3D floral accents and a modern twist on the classic French manicure. By combining a milky nude base with soft red blush gradients and light-catching sequin details, this design offers a polished yet whimsical aesthetic. It is a fantastic way to elevate your everyday manicure with professional-looking floral embellishments that are easier to achieve than they appear.
Steps
- 1Apply the first nude base coat
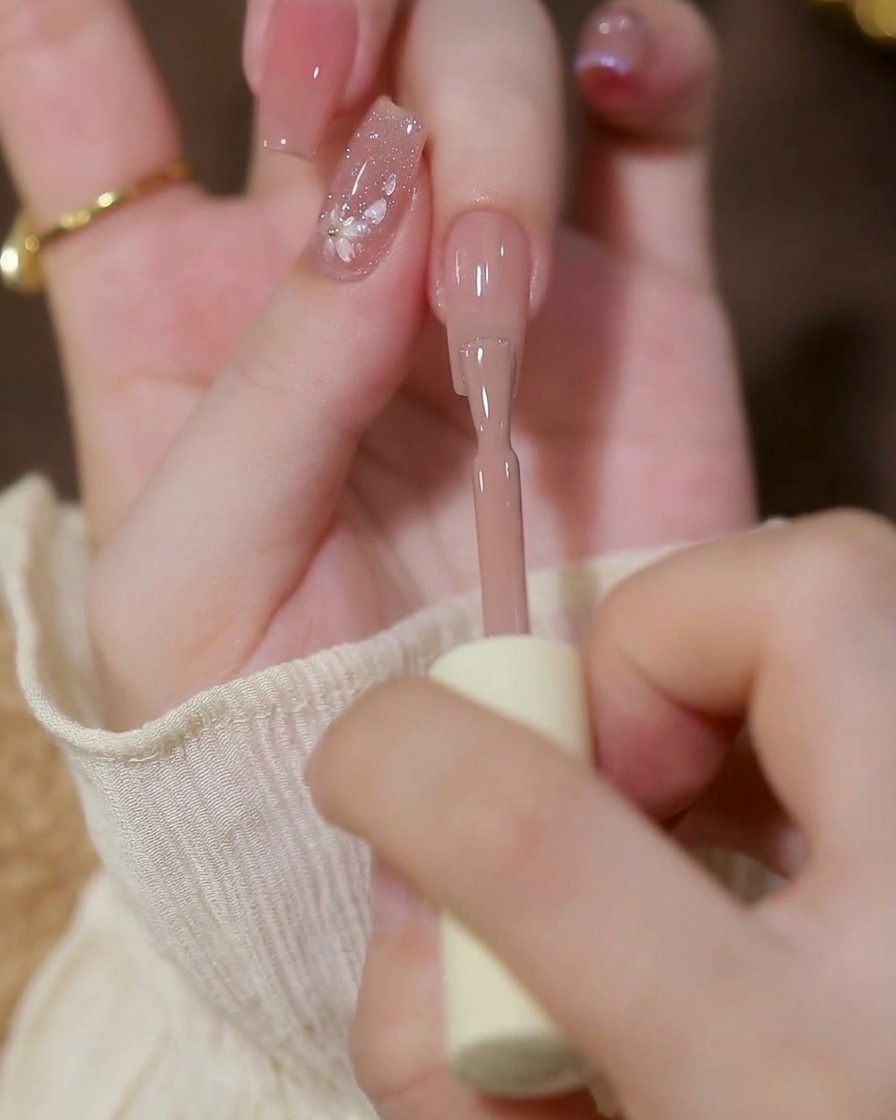
Begin by applying a thin, even layer of milky nude gel polish to the ring finger. Keep the application sheer and smooth, avoiding the cuticle area to prevent lifting. Cure the nail completely under your lamp before moving on.
Tip: Wiping one side of the brush on the bottle neck helps control the amount of gel and prevents flooding. - 2Add a second coat for opacity
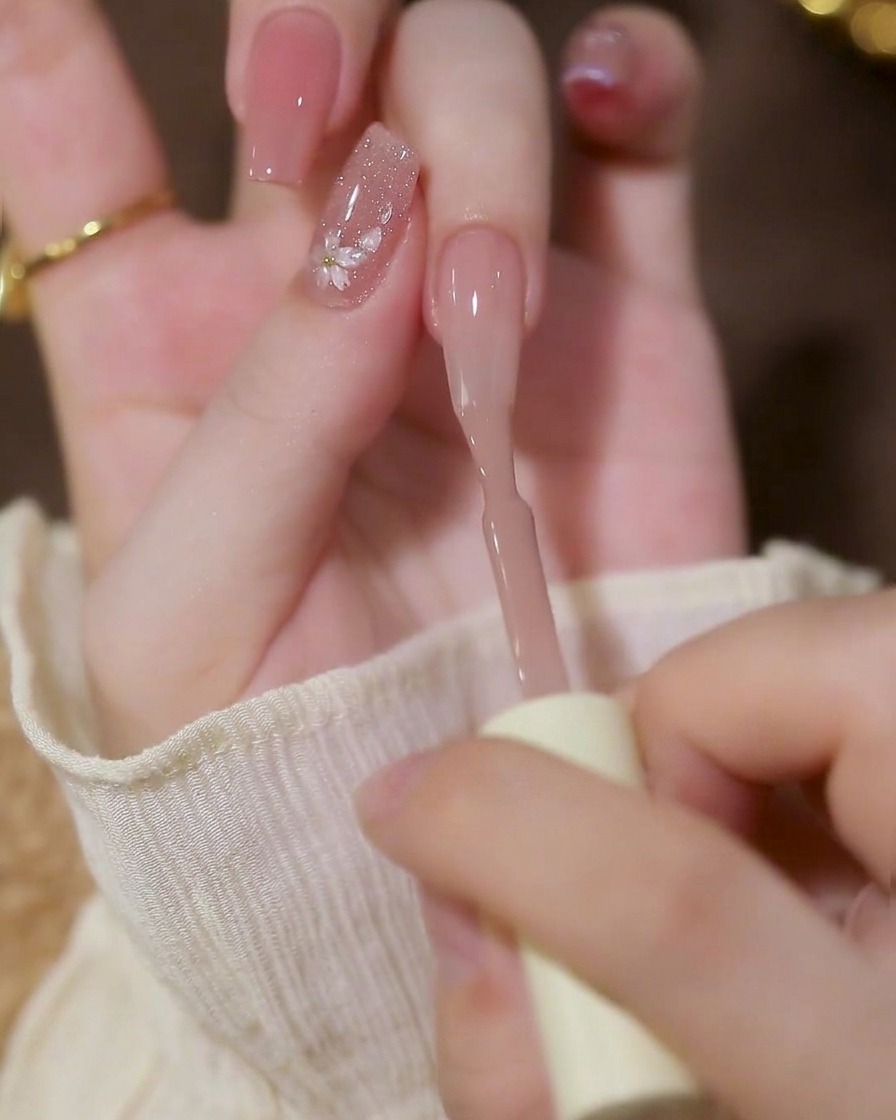
Apply a second thin coat of the same milky nude gel to build up the color and opacity. Use smooth strokes down the center and sides, ensuring complete coverage without adding bulk. Cure this layer fully.
Tip: Applying two thin layers always yields a more even cure and longer-lasting manicure than one thick heavy layer. - 3Apply a layer of blooming gel
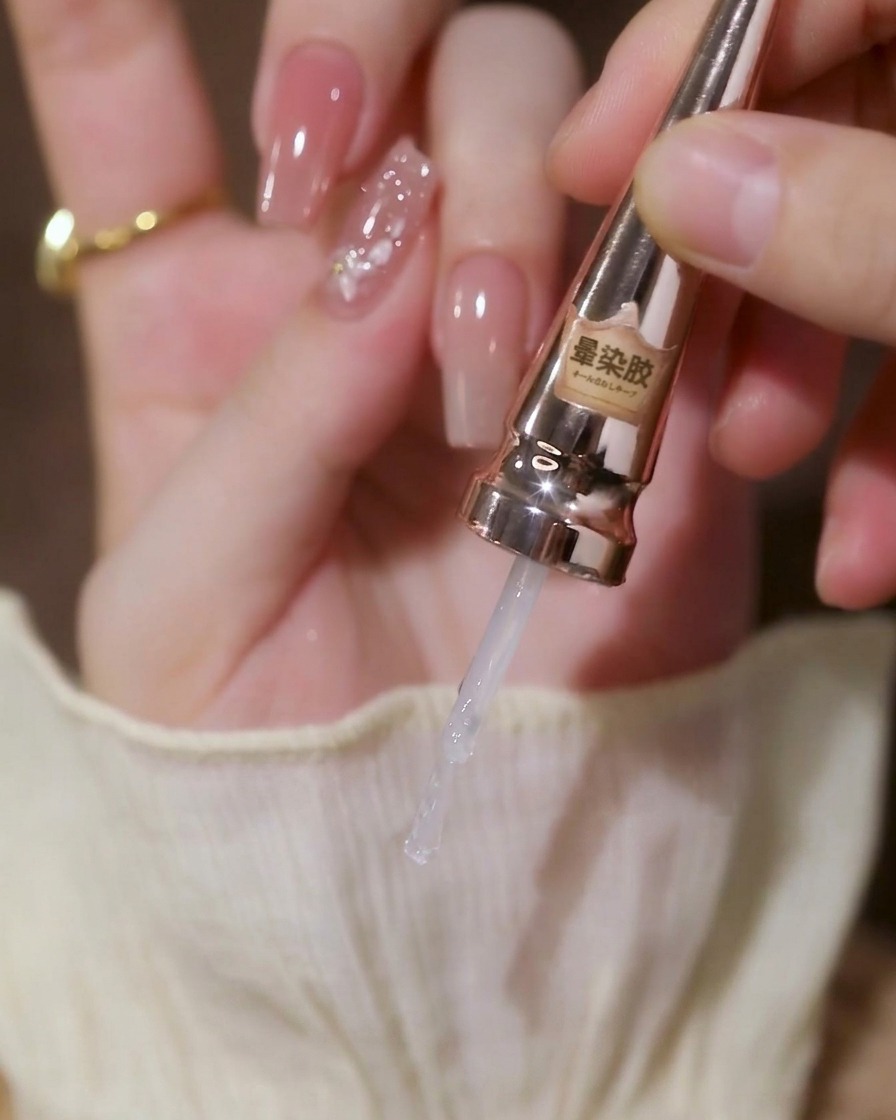
Coat the entire nail with a thin, even layer of clear blooming gel. This specialized formula allows colors placed on top to gently spread and diffuse. Do not cure this layer yet, as the wet surface is necessary for the next step.
Tip: Ensure the blooming gel covers the nail evenly from edge to edge, as the colors will only spread where the wet gel is present. - 4Create a blush center
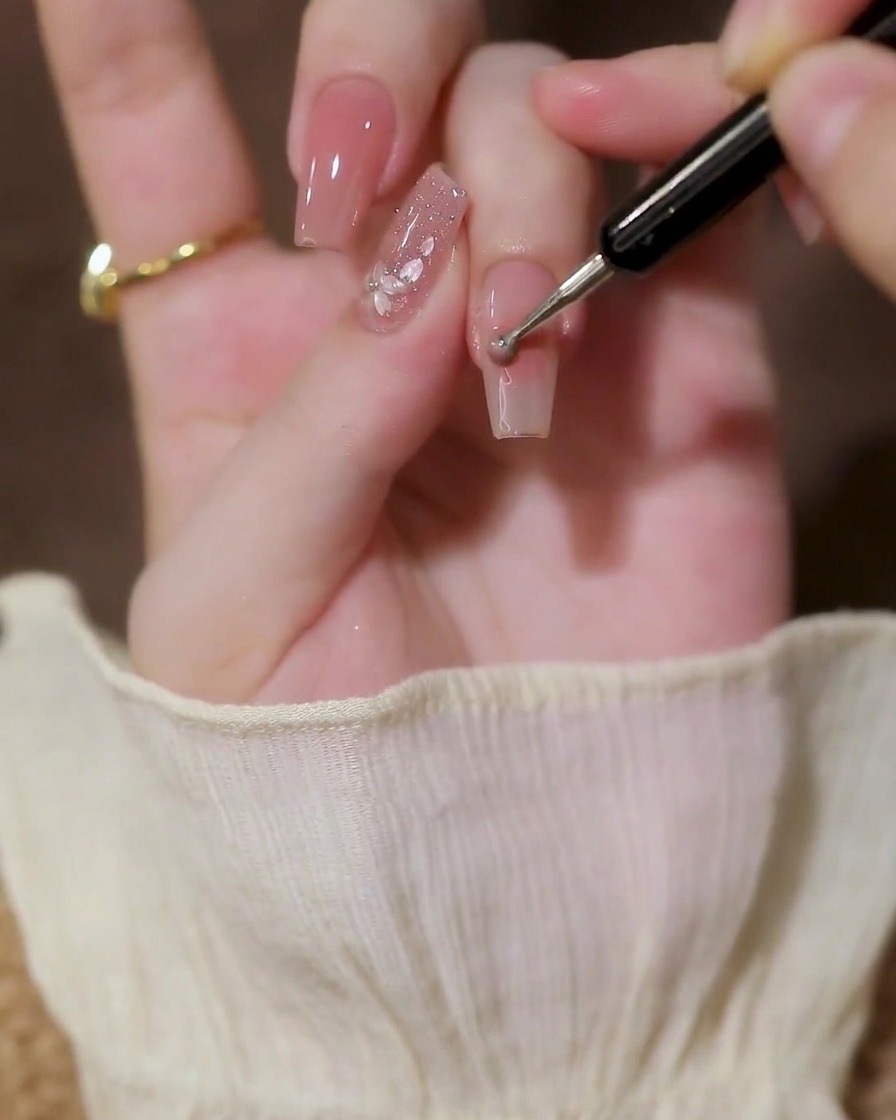
While the blooming gel is still wet, use a detailing brush or dotting tool to place a small amount of red gel in the center of the nail. Allow the color to softly spread outward to create a delicate blush-like gradient. Once the desired diffusion is reached, cure the nail.
Tip: If the color doesnt spread as much as you want, use a very fine liner brush to gently feather the edges outward. - 5Apply light-catching sequin gel
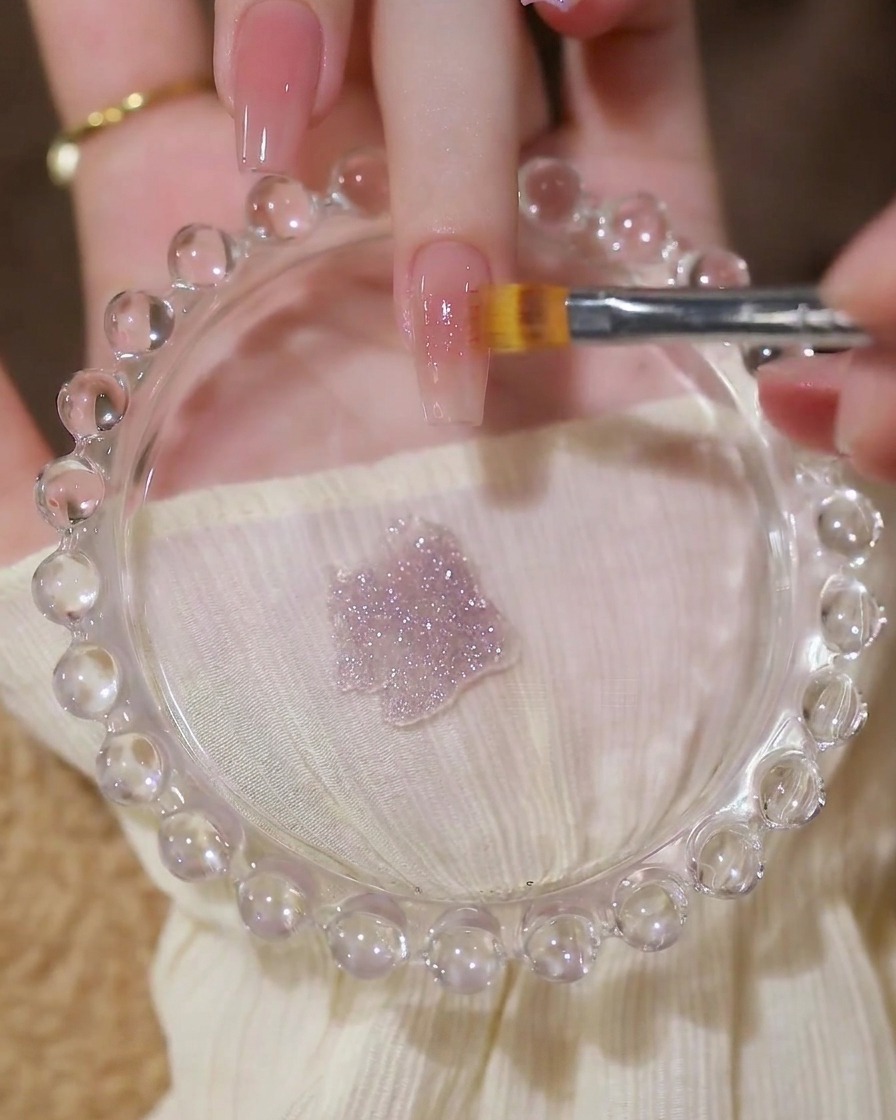
Take the light-catching sequin gel and apply a thin, even layer over the cured base color. Ensure the sequins are distributed smoothly across the nail surface to create a uniform, reflective finish. Cure under your UV or LED lamp as per the product instructions to set the glitter in place.
Tip: If the sequins clump in one spot, use your brush to gently spread them out while the gel is still wet before curing. - 6Apply a slip layer of builder gel
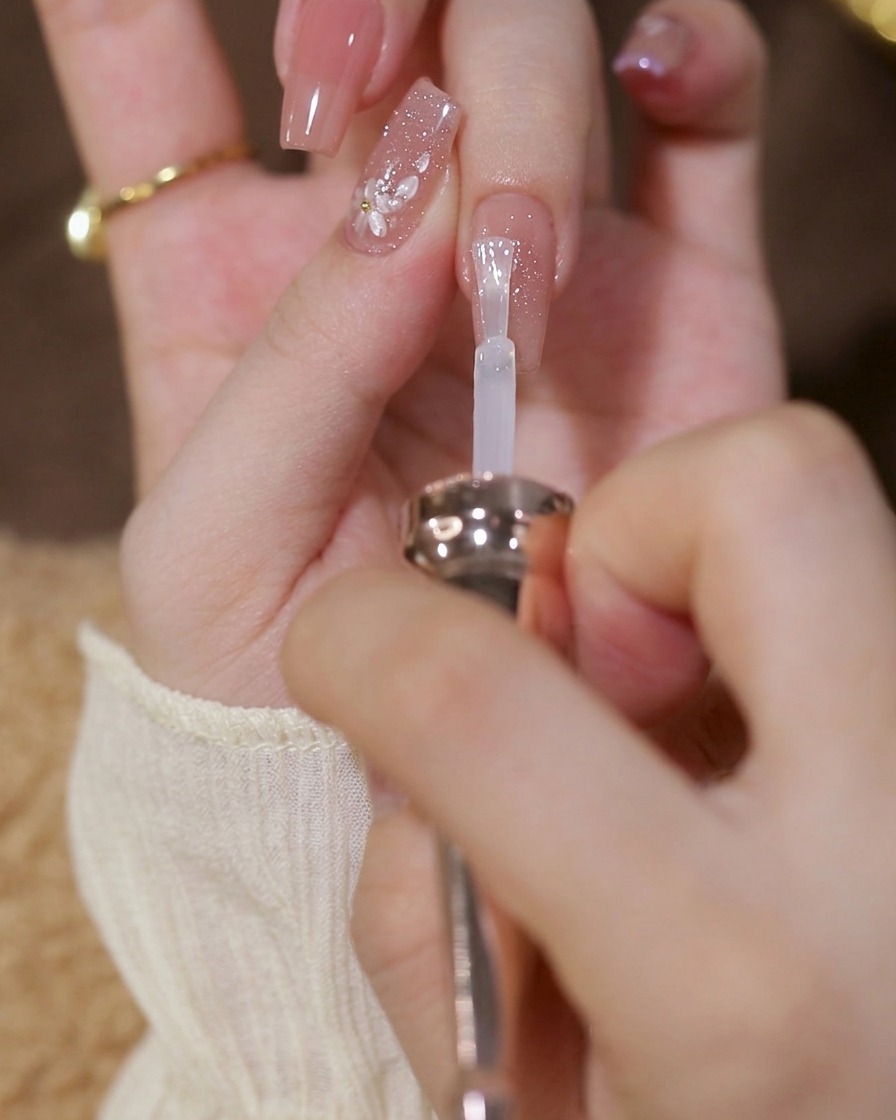
Brush on a thin, even coat of clear builder gel over the entire nail. This acts as an adhesive layer for placing the floral embellishments. Do not cure this layer yet, as the wet gel will grip the sequins in place.
Tip: Keep this builder gel layer thin so your sequins and beads do not slide around or sink too deeply into the wet product. - 7Form cherry blossom design
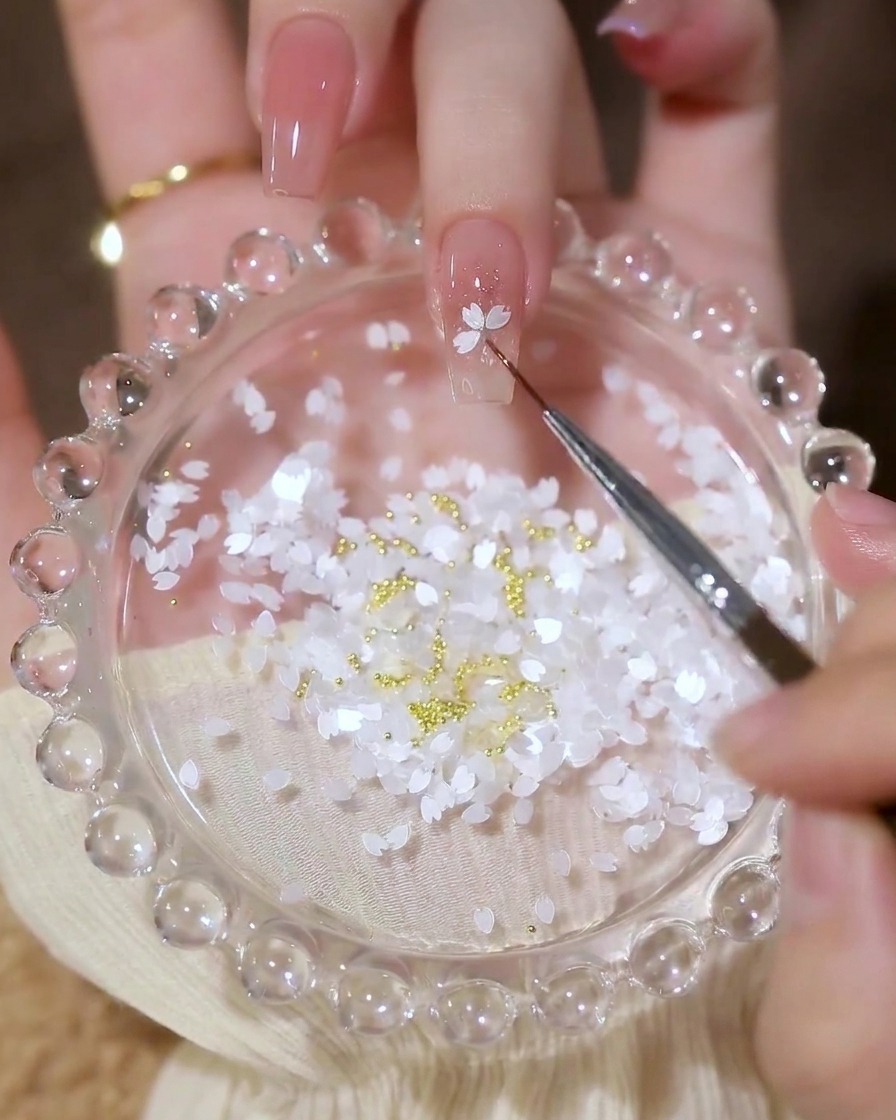
After applying a layer of uncured builder gel, use the tip of a detailing brush to pick up individual cherry blossom sequins. Carefully place and arrange them in a circular pattern on the wet builder gel to form the shape of a flower. Do not cure yet, as you will be adding more elements.
Tip: Working on a wet builder gel base allows you to adjust the placement of the sequins easily before you commit to the design with a cure. - 8Add final flower details
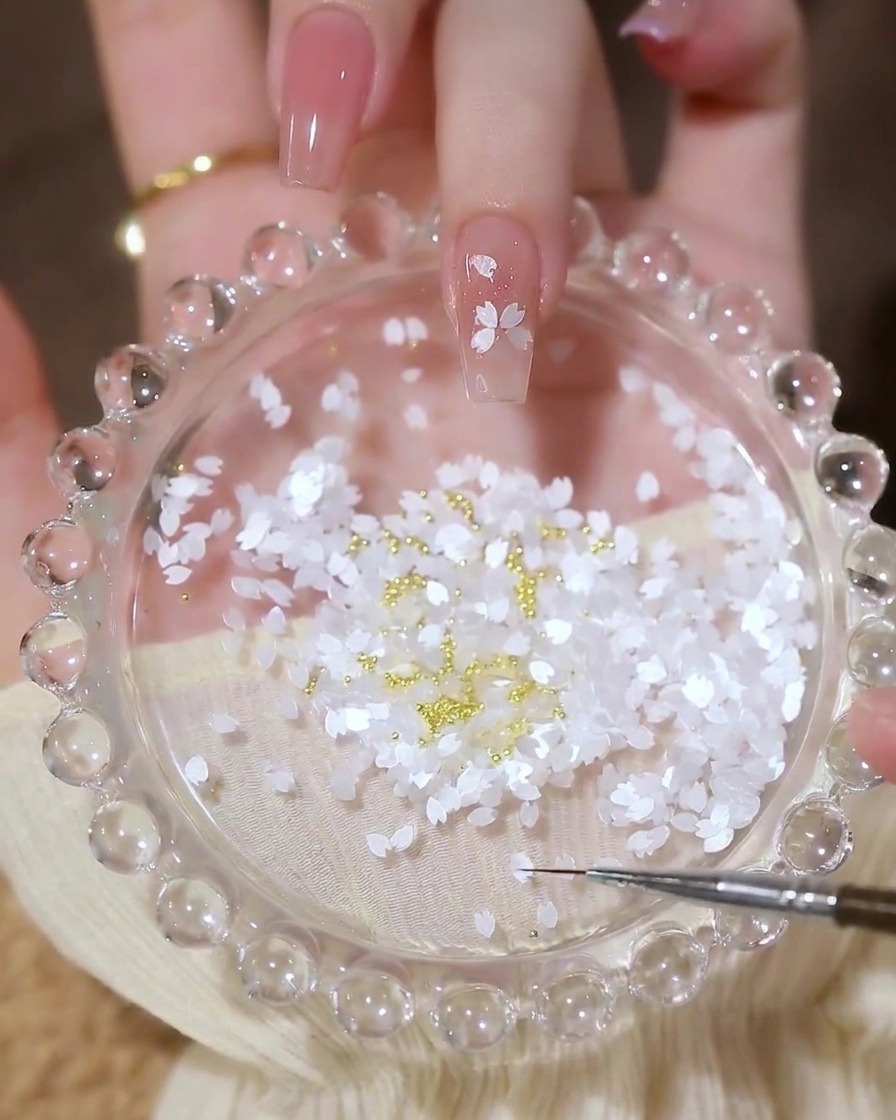
With the circular cherry blossom design in place, pick up a few additional loose petals and scatter them around the base of the flower for a natural look. Finally, place a small gold bead in the center of the flower design to act as the stamen. Once everything is perfectly positioned, cure the nail.
Tip: Use a slightly tacky brush or a wax-tipped tool to pick up the tiny gold bead precisely. - 9Apply base color to middle finger
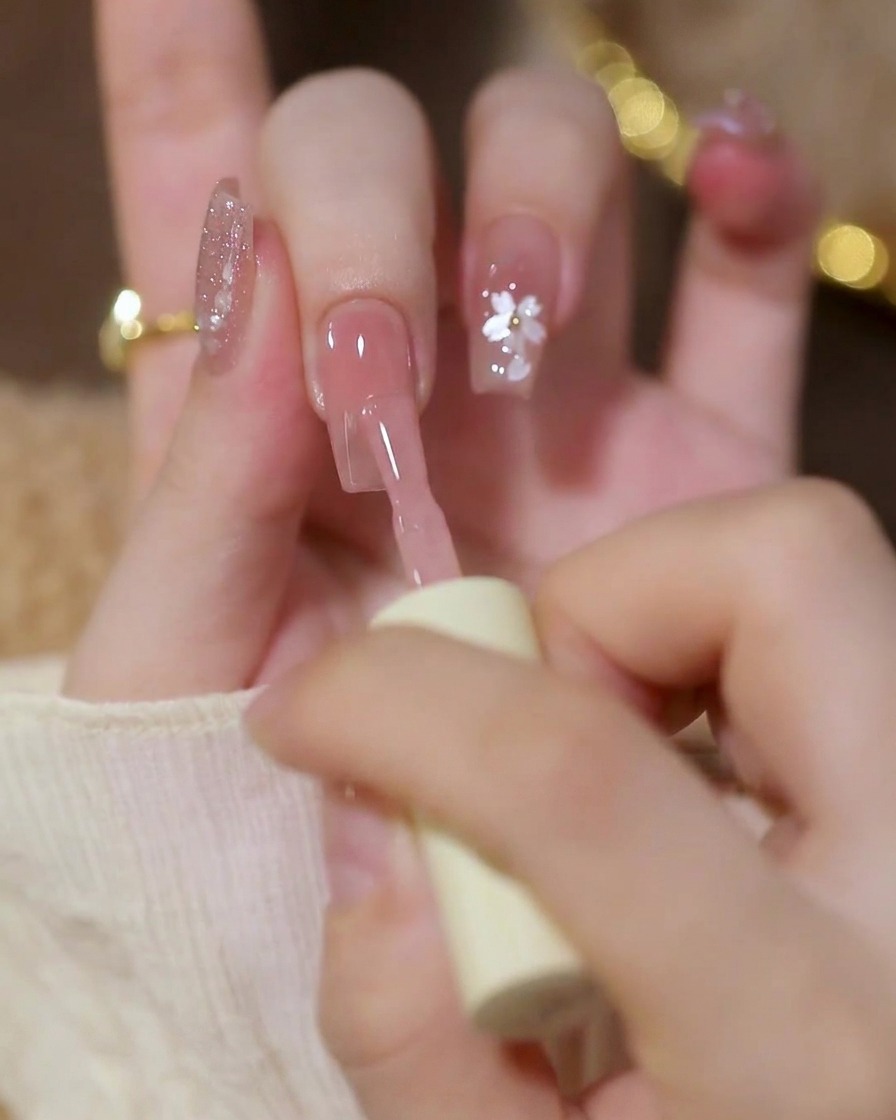
Apply a thin coat of milky nude gel to the middle finger nail, ensuring full coverage while avoiding the cuticles. Cure, then repeat with a second thin coat to build up opacity, curing again. This creates a clean, neutral canvas for the subsequent nail art.
Tip: Applying two thin coats is better than one thick coat, as it prevents the gel from pooling at the sides and ensures a smoother finish. - 10Overlay with sequin gel
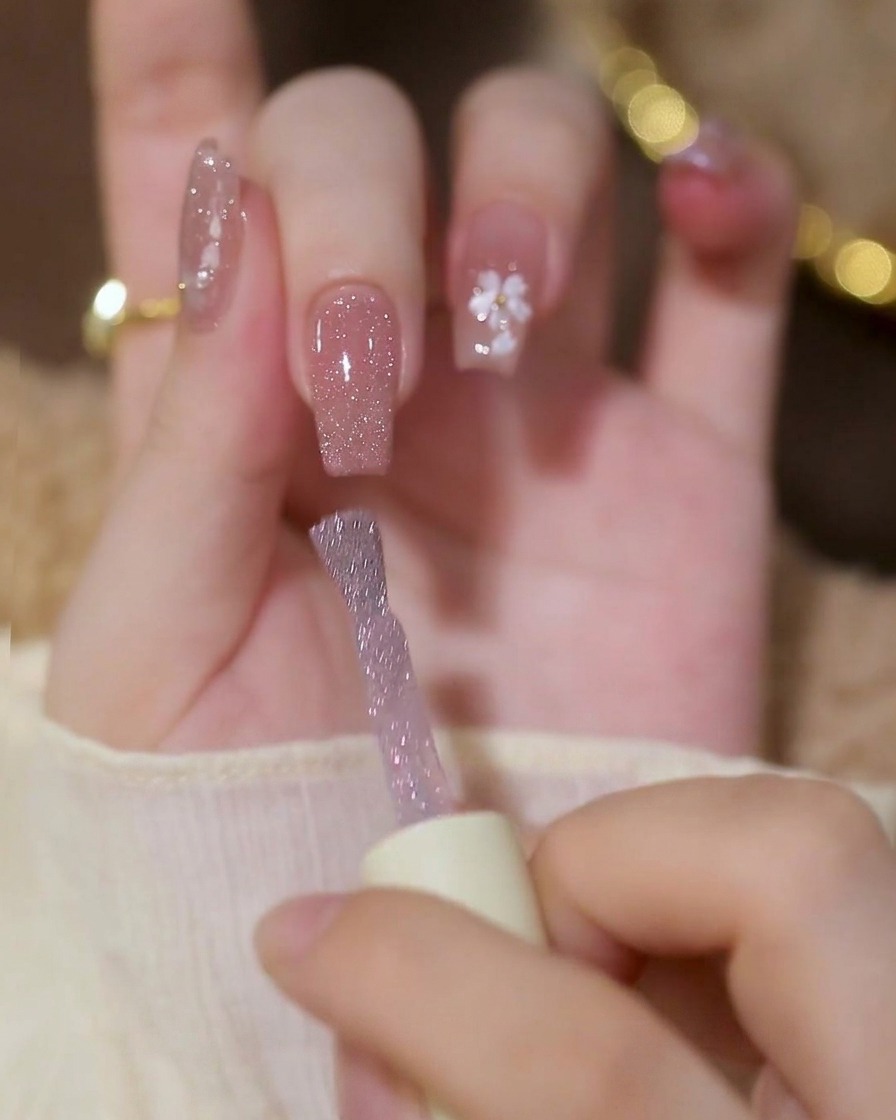
Once the milky nude base color on the middle finger is cured, apply a thin, even layer of the light-catching sequin gel over the entire nail. This adds a subtle, shimmering effect over the base color. Cure the layer completely.
Tip: Ensure the sequin gel is applied thinly to maintain the soft, elegant look of the nude base underneath. - 11Adhere pearl accents
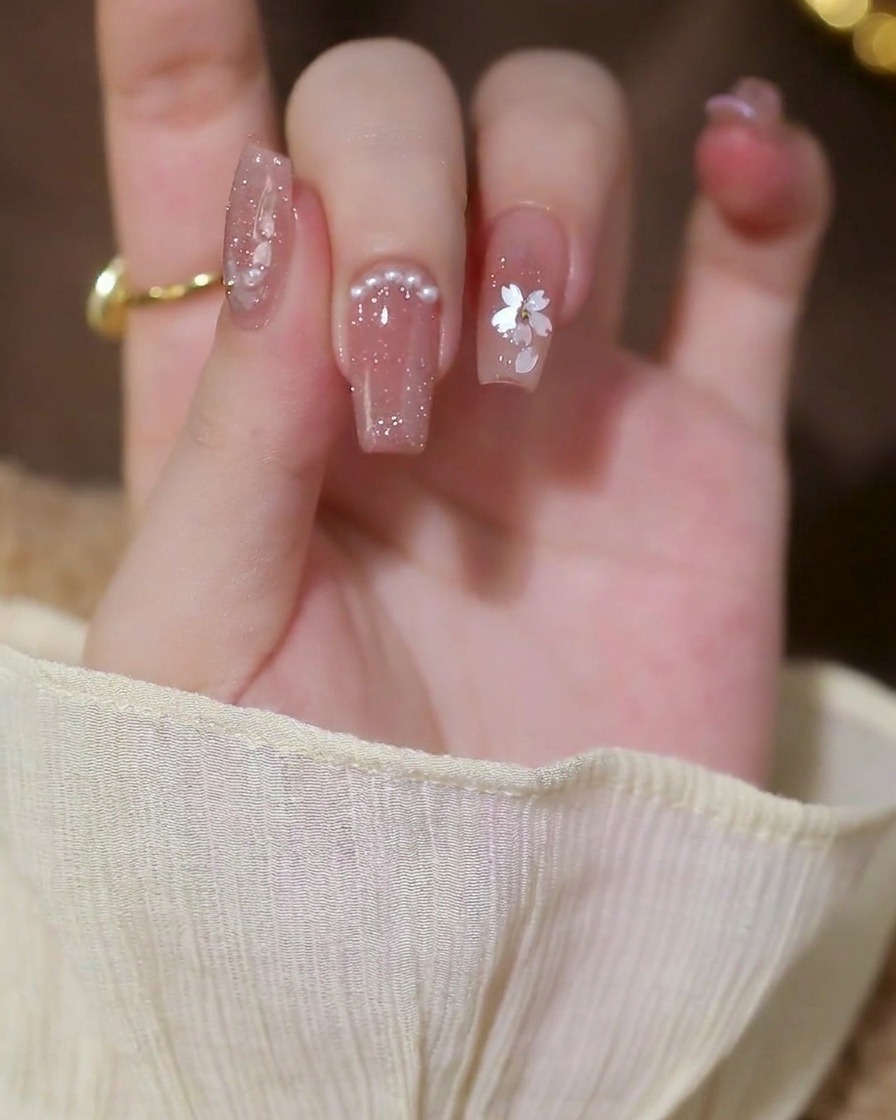
Apply a small amount of clear builder gel or rhinestone glue to the cuticle area of the middle finger nail. Carefully place small half-pearls in a row along the back edge of the nail. Press them gently to ensure they are set securely in the glue, then cure the nail to lock them in place.
Tip: Use a pair of tweezers or a wax pencil to place the pearls precisely without moving the wet glue. - 12Apply base and heart charm
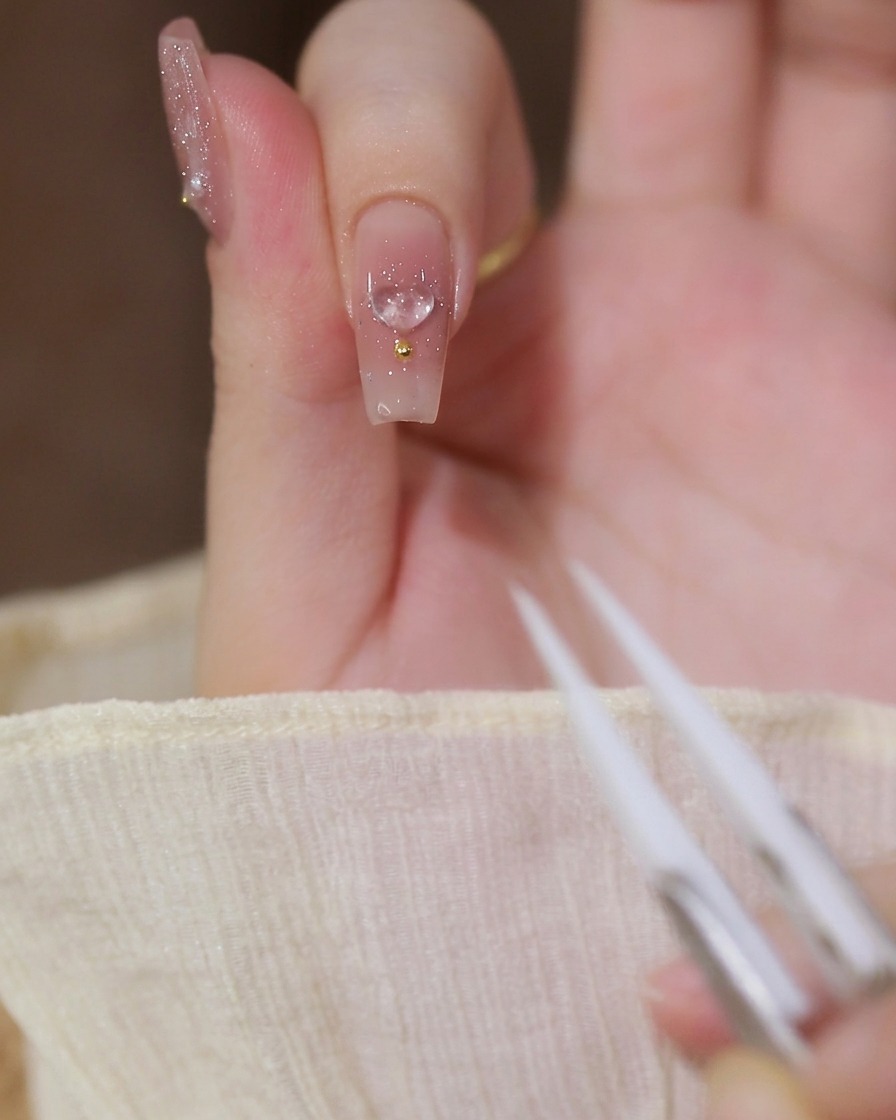
For the index finger, repeat the milky nude gel base application used on the ring finger. Once cured, apply a small amount of charm glue or builder gel and carefully place the clear heart charm near the center of the nail, accenting it with a tiny gold bead. Use tweezers to adjust the placement before curing completely.
Tip: When applying 3D charms, pressing them gently into a bead of thick builder gel ensures they wont slide around before you can get them under the lamp. - 13Draw the purple French tip
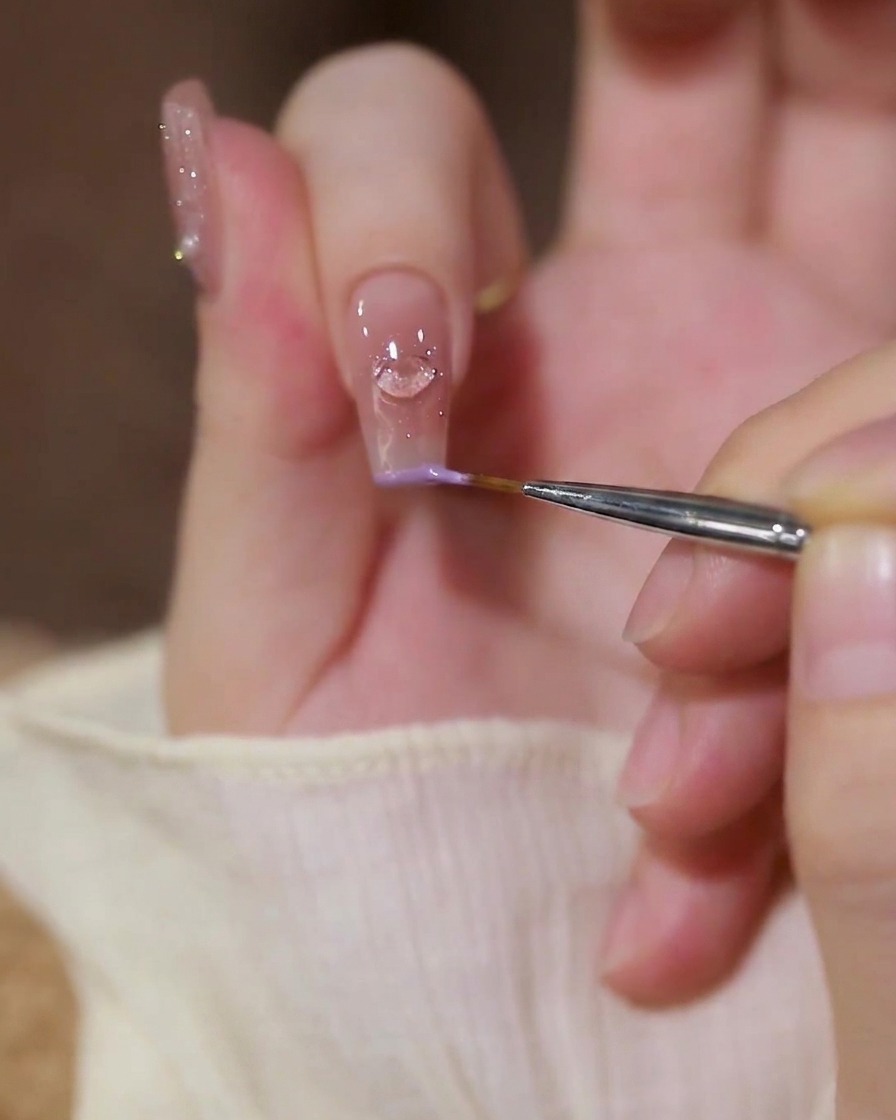
Using a fine detailing liner brush, pick up a small amount of pastel purple gel polish. Carefully draw a crisp, thin French tip along the free edge of the index finger. Keep your hand steady to ensure the line is even across the tip, complementing the heart charm design.
Tip: Anchor your pinky finger against your other hand while painting fine lines to stabilize your movements and prevent shaky strokes. - 14Seal with tempered top coat
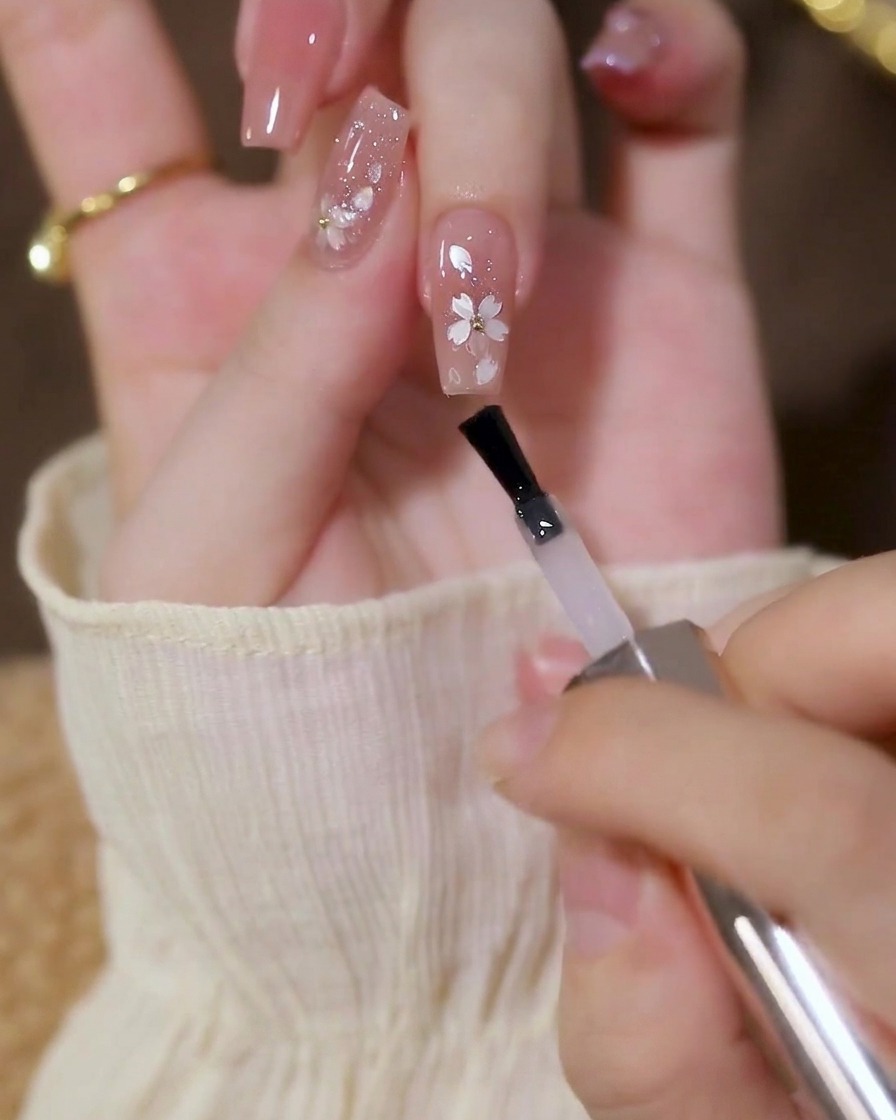
To finish the manicure, apply an even layer of tempered top coat over all the nails. When working around the 3D elements like the heart charm and pearls, use the tip of the brush to carefully float the top coat around their bases to secure them without losing their faceted shapes. Give the nails a final, full cure.
Tip: Avoid painting directly over the top of rhinestones or faceted charms, as the top coat will dull their shine and smooth out their texture.