French Sakura Nail Art — Delicate Floral Gel Tutorial
Master the art of elegant French Sakura nails. This guide uses blooming gel and fine-line techniques to create a sophisticated, botanical-inspired finish.
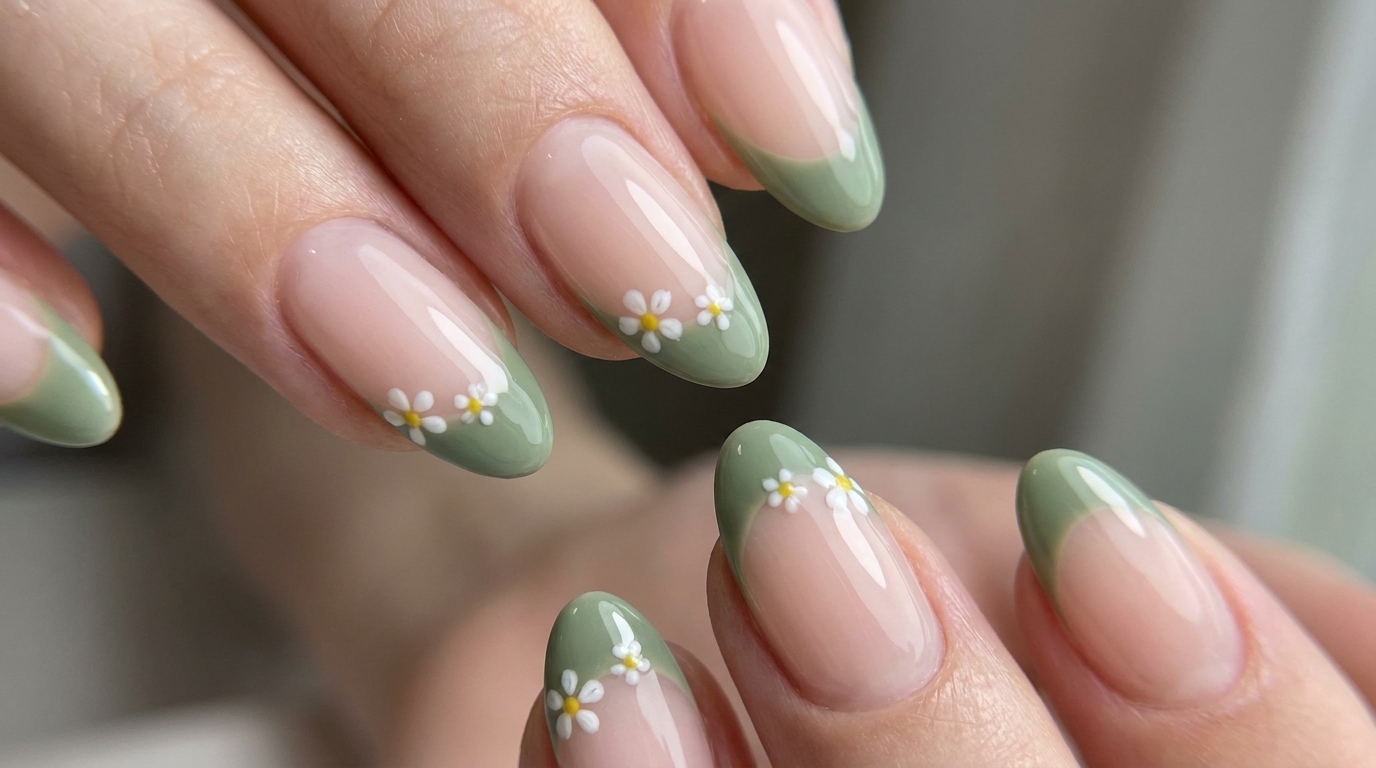
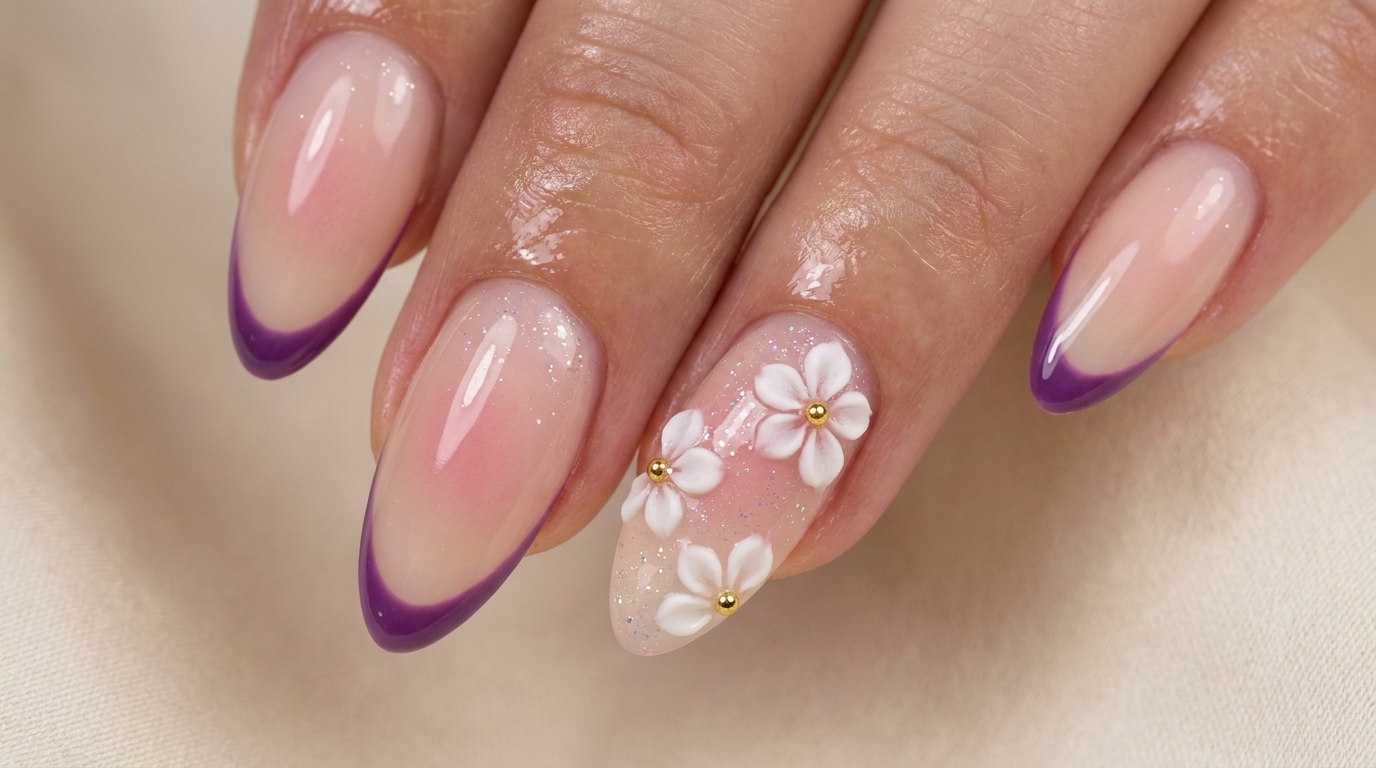
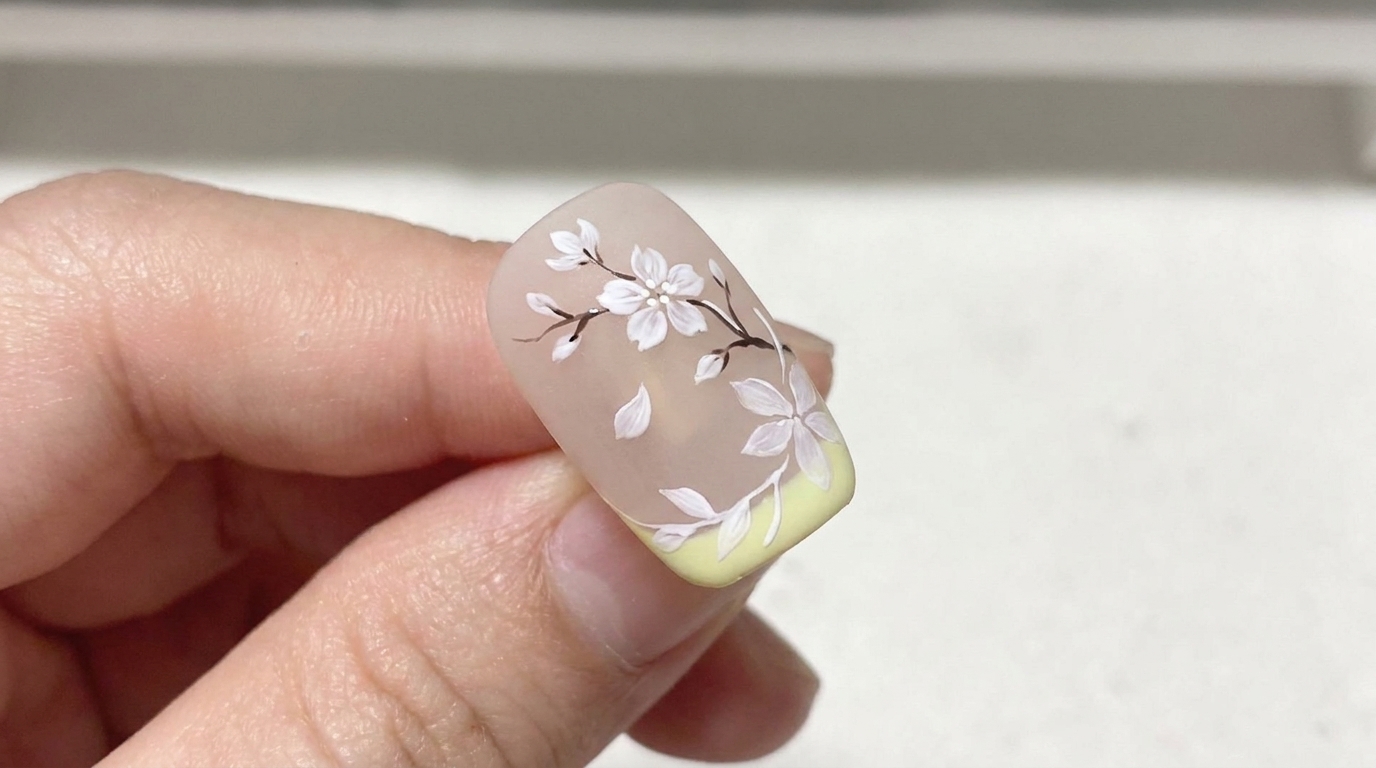
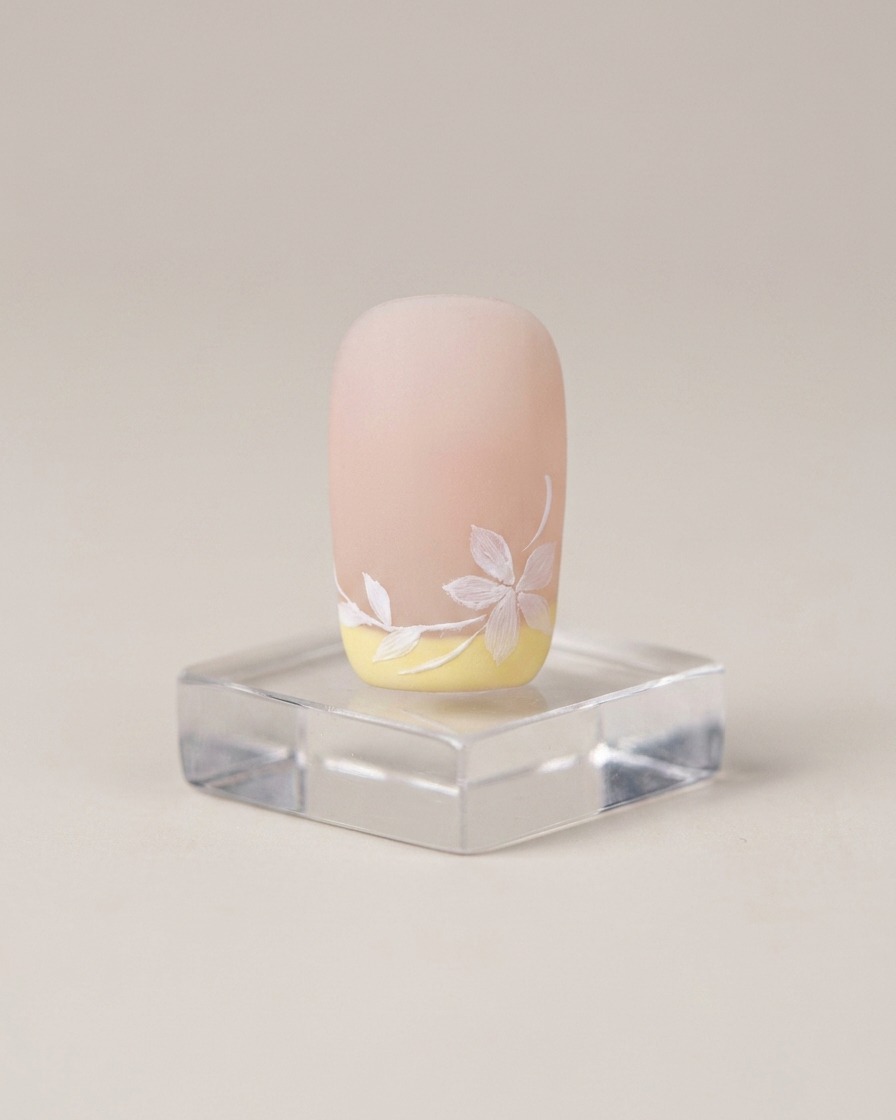
The French Sakura look combines the timeless appeal of a French manicure with the delicate beauty of cherry blossoms. This design creates a serene, artistic atmosphere on your nails, perfect for those who appreciate detailed, nature-inspired nail art. By utilizing blooming gel for the petals and precise liner work for the branches, you can achieve a professional and airy aesthetic that feels both fresh and sophisticated.
Steps
- 1Apply nude base coat
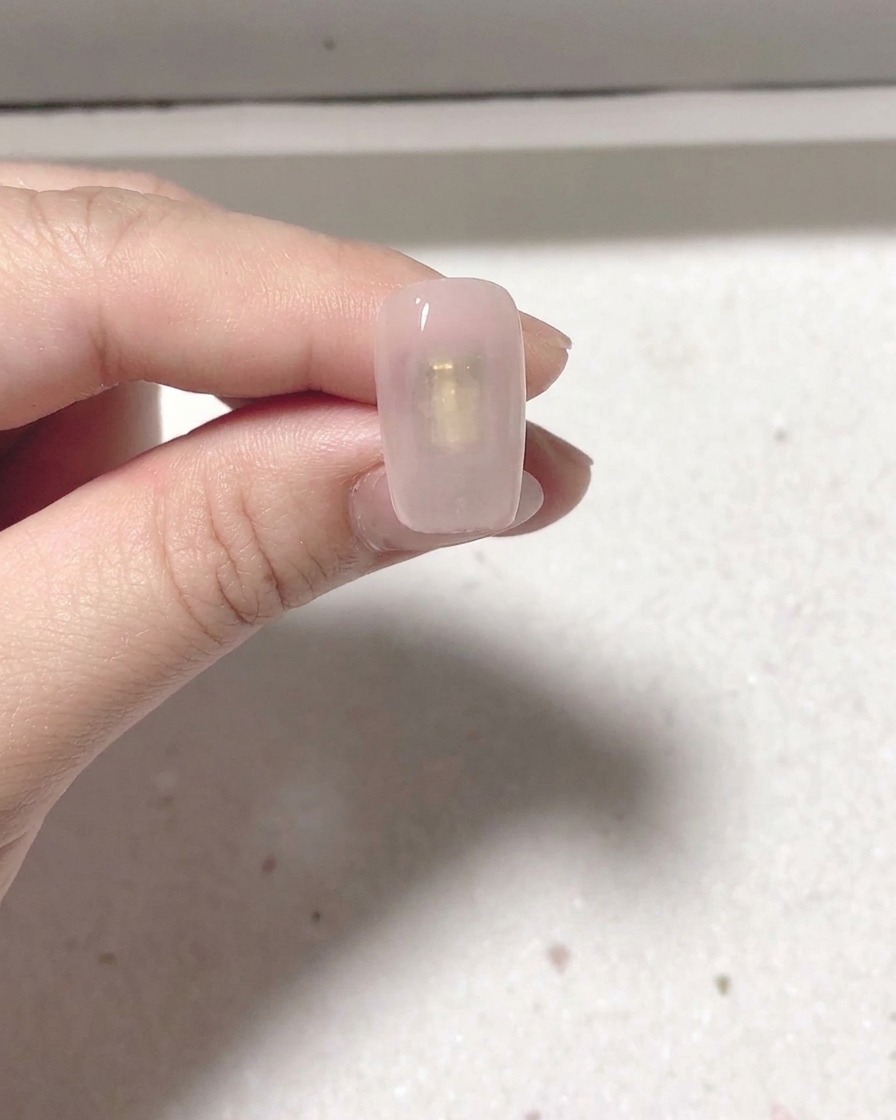
Apply a thin, even layer of the nude base coat from the 07 series onto the nail plate. Ensure the product covers the nail surface smoothly without touching the cuticles, then cure it under the nail lamp as directed.
Tip: Applying thin layers helps prevent the base coat from pooling at the sides of the nail. - 2Cure the base coat
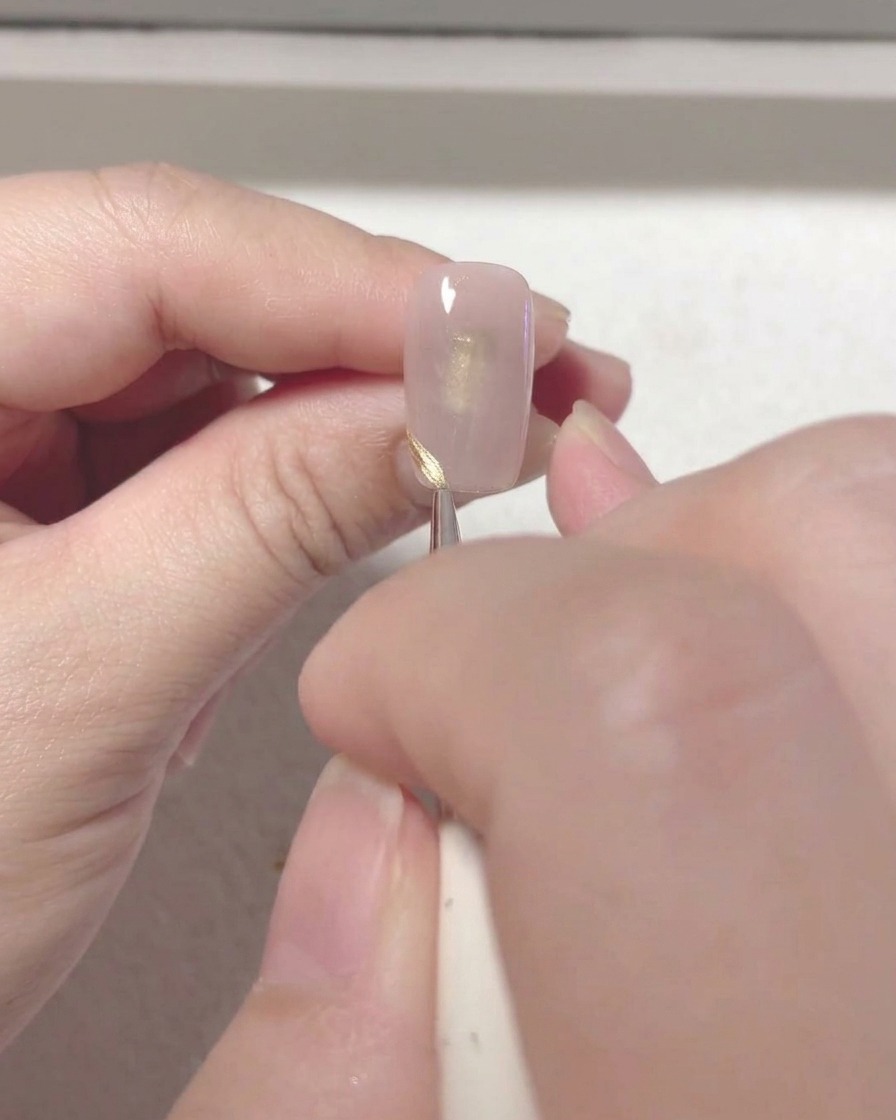
Place the nail under the UV/LED lamp to cure the base coat. This step ensures the layer is properly set and creates a durable foundation for the subsequent French tip design.
Tip: Make sure the entire nail is positioned directly under the light source for an even cure. - 3Draw the French tip line
Using the 57 red polish and a thin detail brush, carefully draw a precise French tip line across the free edge of the nail. Take your time to ensure the curve is even on both sides.
Tip: If you struggle with freehand lines, you can use French tip guide stickers to help achieve a clean look. - 4Fill in the French tip
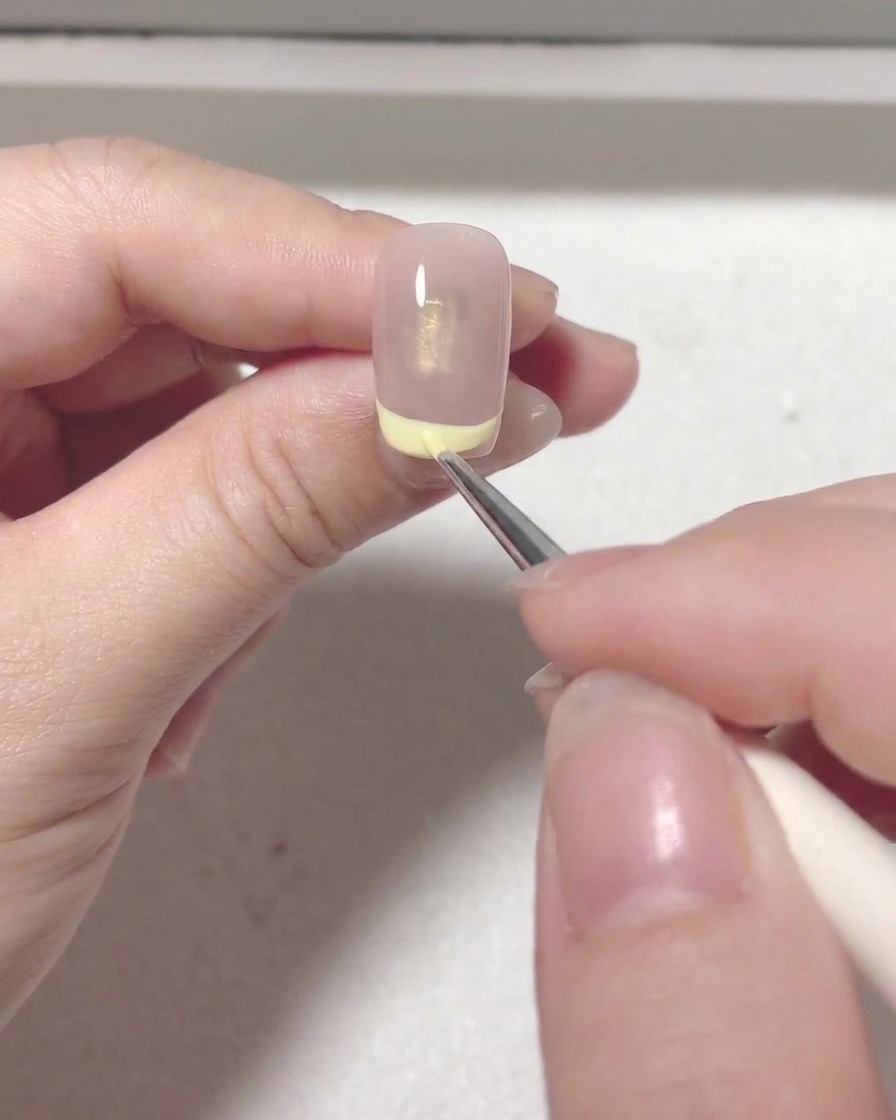
Once the outline of the French tip is drawn, carefully fill in the remaining space on the tip using the 57 red polish. Ensure the color is opaque and applied evenly, then cure under the lamp.
Tip: Use light, sweeping strokes to avoid streaks and ensure the color fills the area solidly. - 5Apply matte top coat
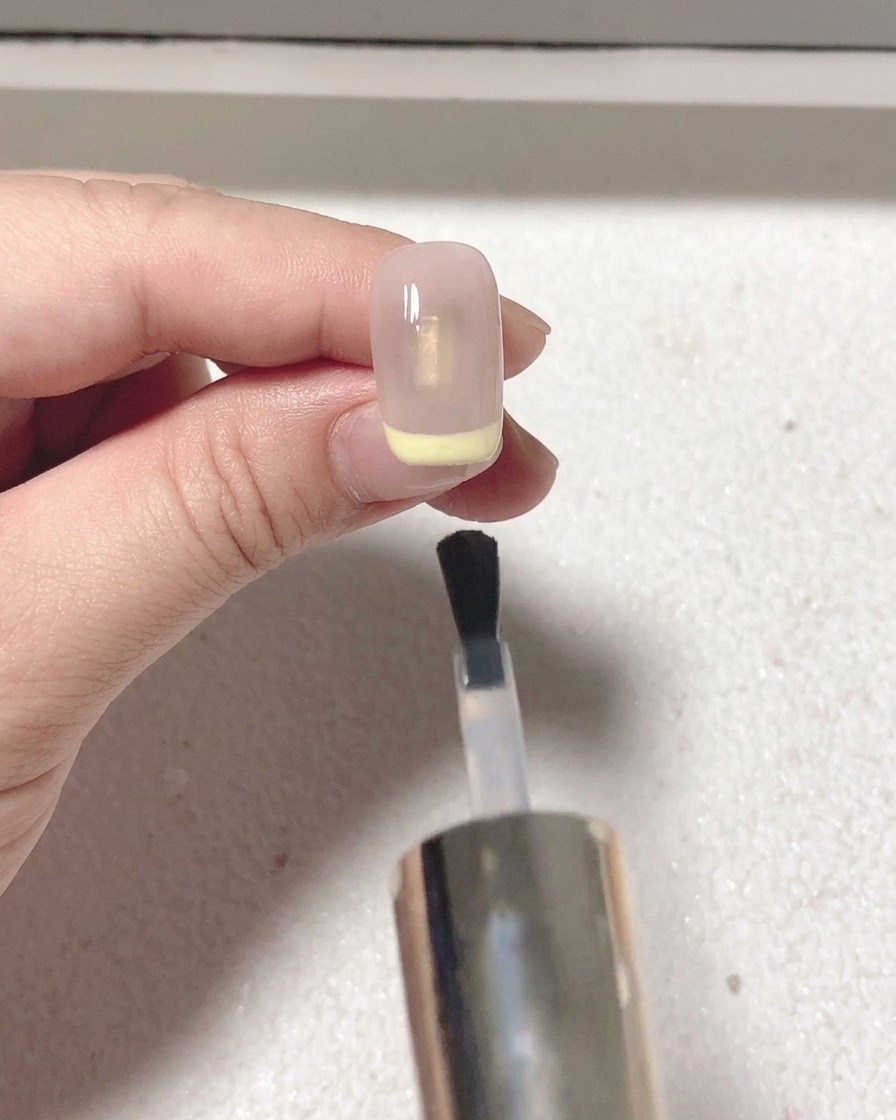
After the red color is fully cured, apply a layer of matte top coat over the entire nail. This will provide a smooth, non-shiny finish that serves as the perfect canvas for the sakura nail art.
Tip: Applying a matte top coat before painting designs helps the subsequent gel art sit more stably without spreading. - 6Cure the matte top coat
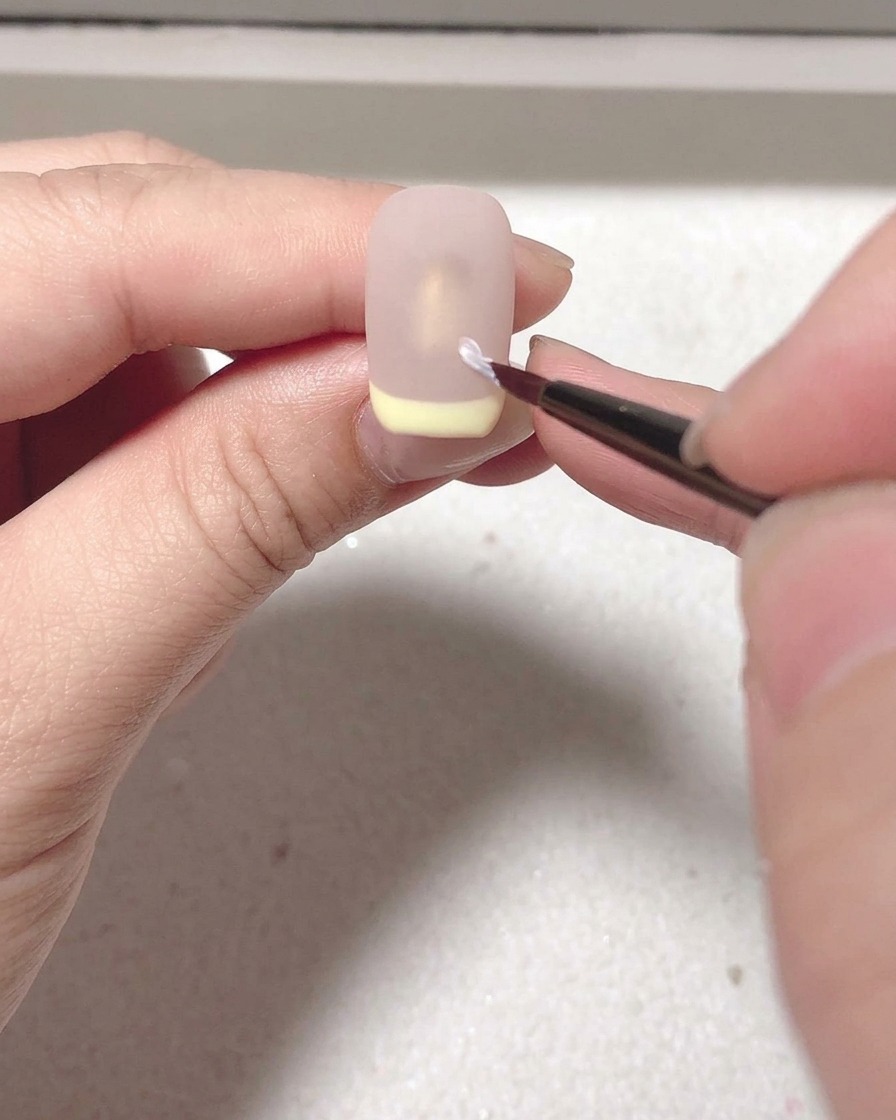
Place the nail back into the lamp to cure the matte top coat. Ensure it is completely dry before proceeding to the decorative painting step.
Tip: Full curing is essential for the matte finish to look its best. - 7Paint Sakura Petals
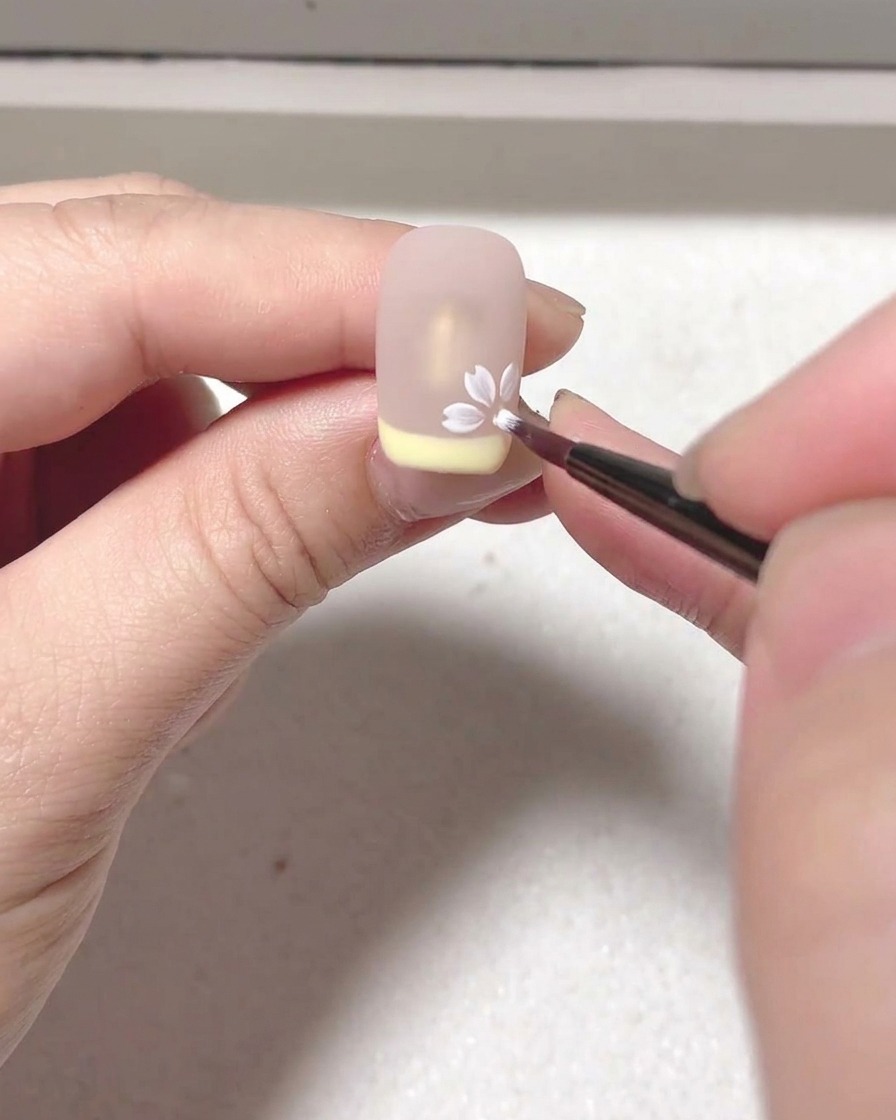
Using a fine brush, pick up a small amount of white blooming gel and paint delicate sakura petals on the nail. The blooming effect will help the petals spread naturally and create a soft, ethereal appearance. Cure the design under your lamp once you are satisfied with the flower shape.
Tip: Apply the blooming gel sparingly to maintain control over the petal size and shape. - 8Paint Branches and Leaves
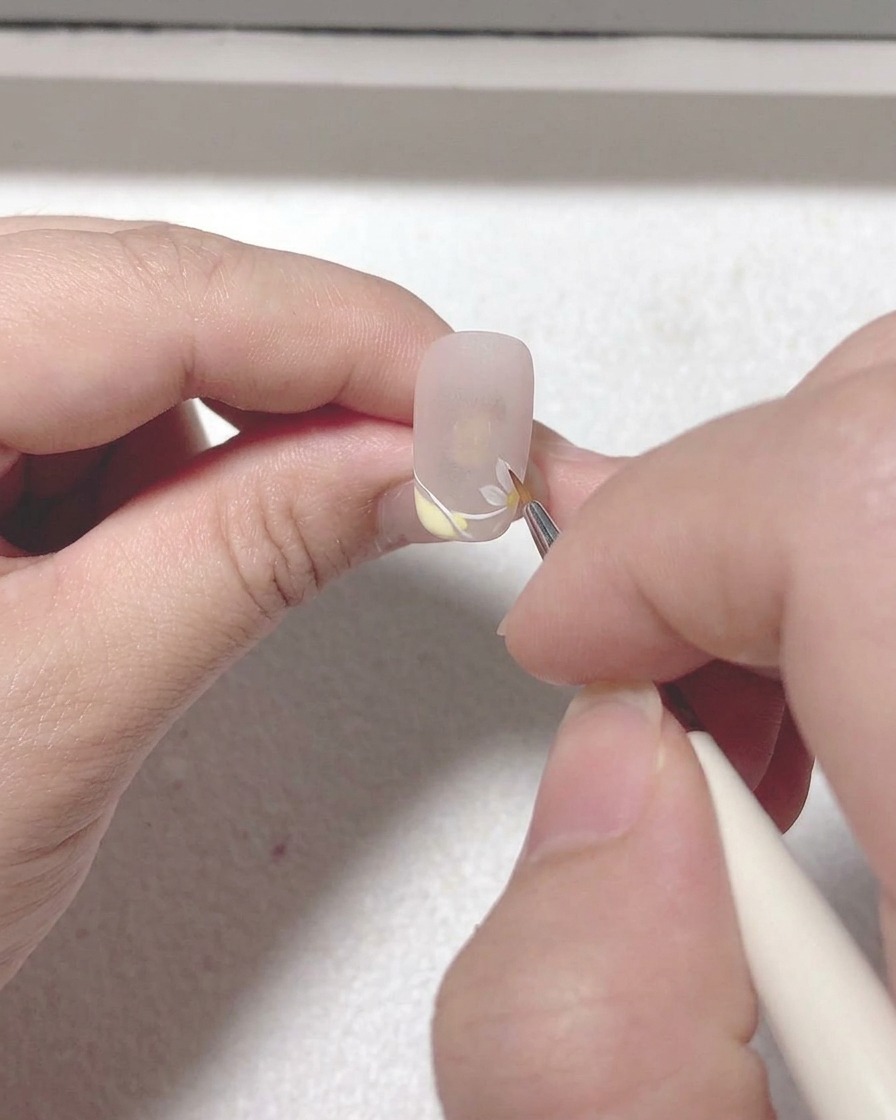
With a fine liner brush and gel color, carefully draw thin, flowing branches extending from the sakura petals. Add small, leaf-like strokes along the branches to complete the botanical design. Keep your hand steady for precise, thin lines that add elegance to the overall composition.
Tip: Use light pressure on the brush to ensure the branches look thin and delicate rather than thick or blocky. - 9Refine Details
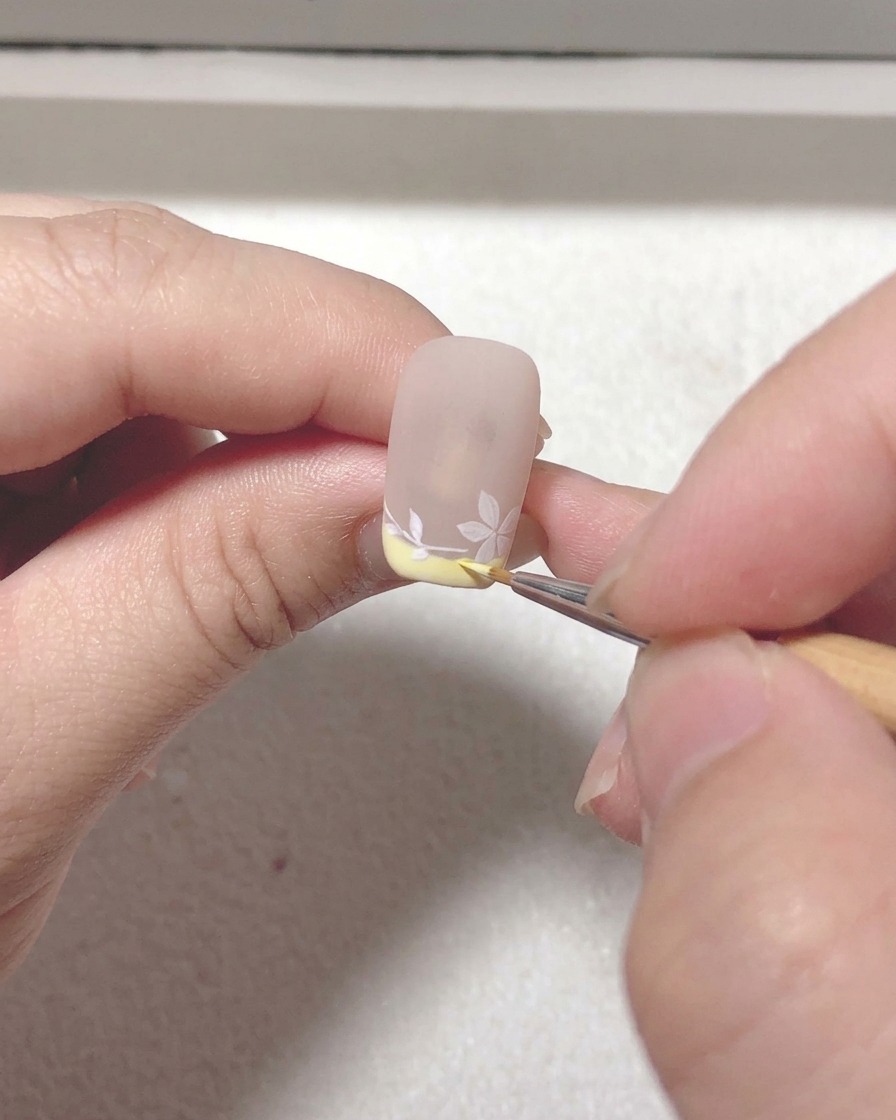
Using a fine liner brush, go over the branches and petals to refine the lines and add final decorative touches that enhance the overall atmosphere of the design. This stage focuses on cleanup and adding small highlights or deepening shadows to give the art more depth and professional polish.
Tip: Focus on the connection points between the branches and flowers to ensure a seamless and natural look. - 10Add Additional Sakura Petals
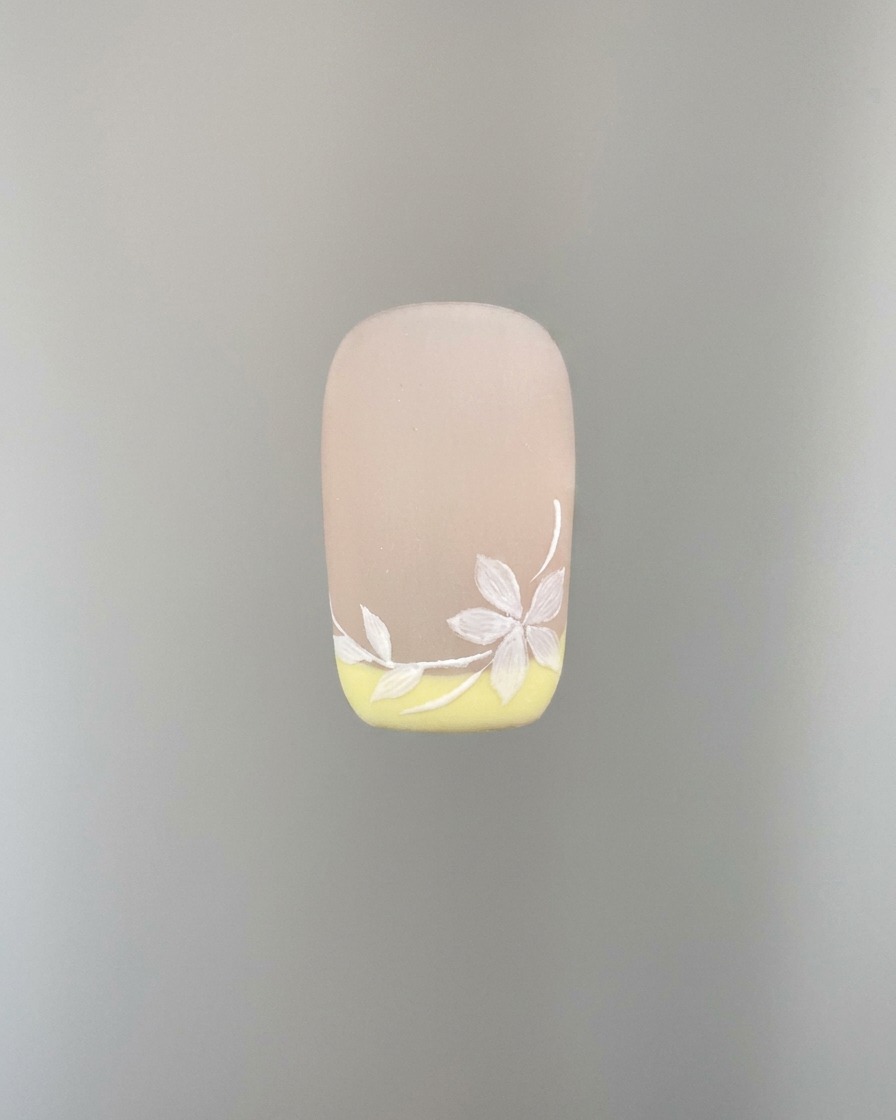
Continue to add more detailed white sakura petals to the nail design to build density and visual interest. Carefully place the petals around the existing branches to create a balanced look, ensuring each petal is distinct and well-defined before curing to lock in the progress.
Tip: Vary the size of the petals slightly to make the sakura cluster appear more realistic and dynamic.