Floral Glazed Nail Art — Encapsulated Dry Flower Tutorial
Master the ethereal 'glazed' look with this step-by-step tutorial on embedding colorful dry flowers and delicate gold foil into a clear gel manicure.
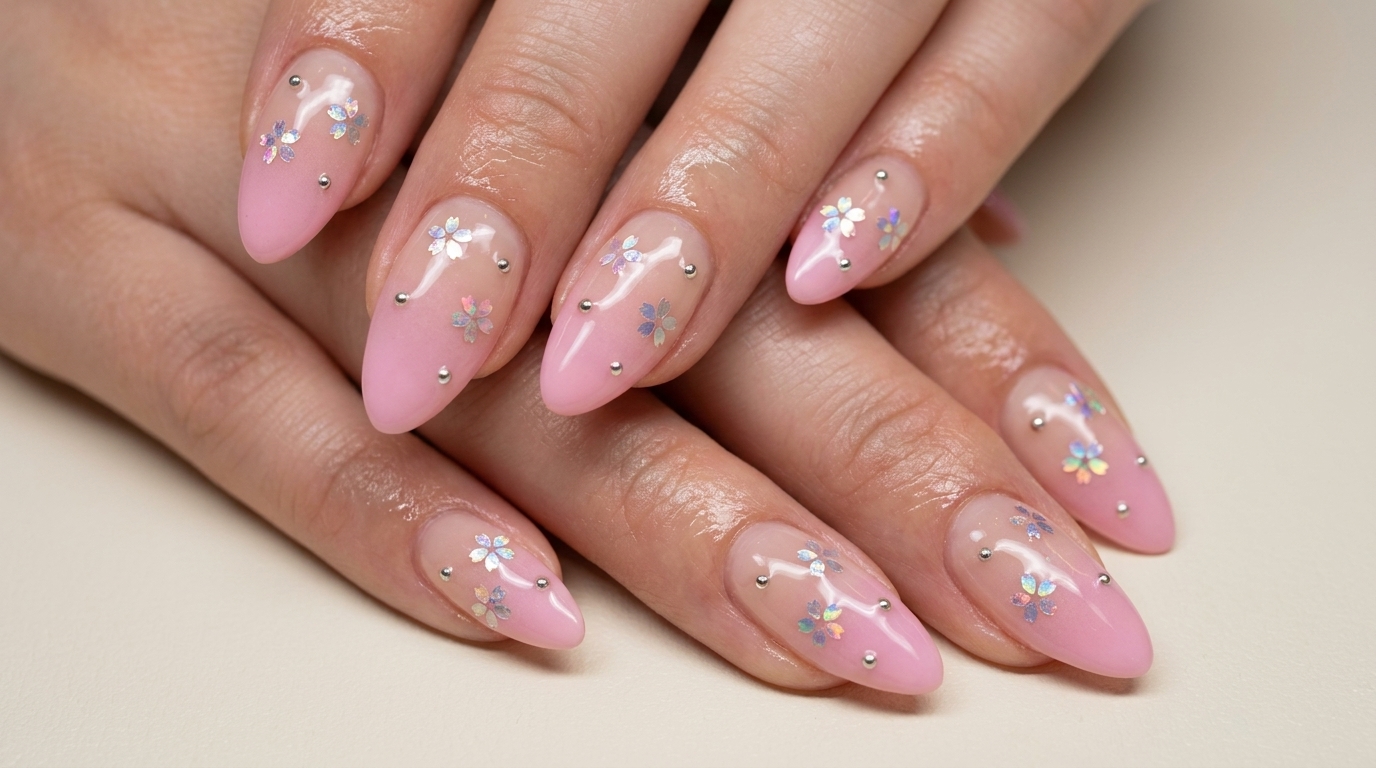
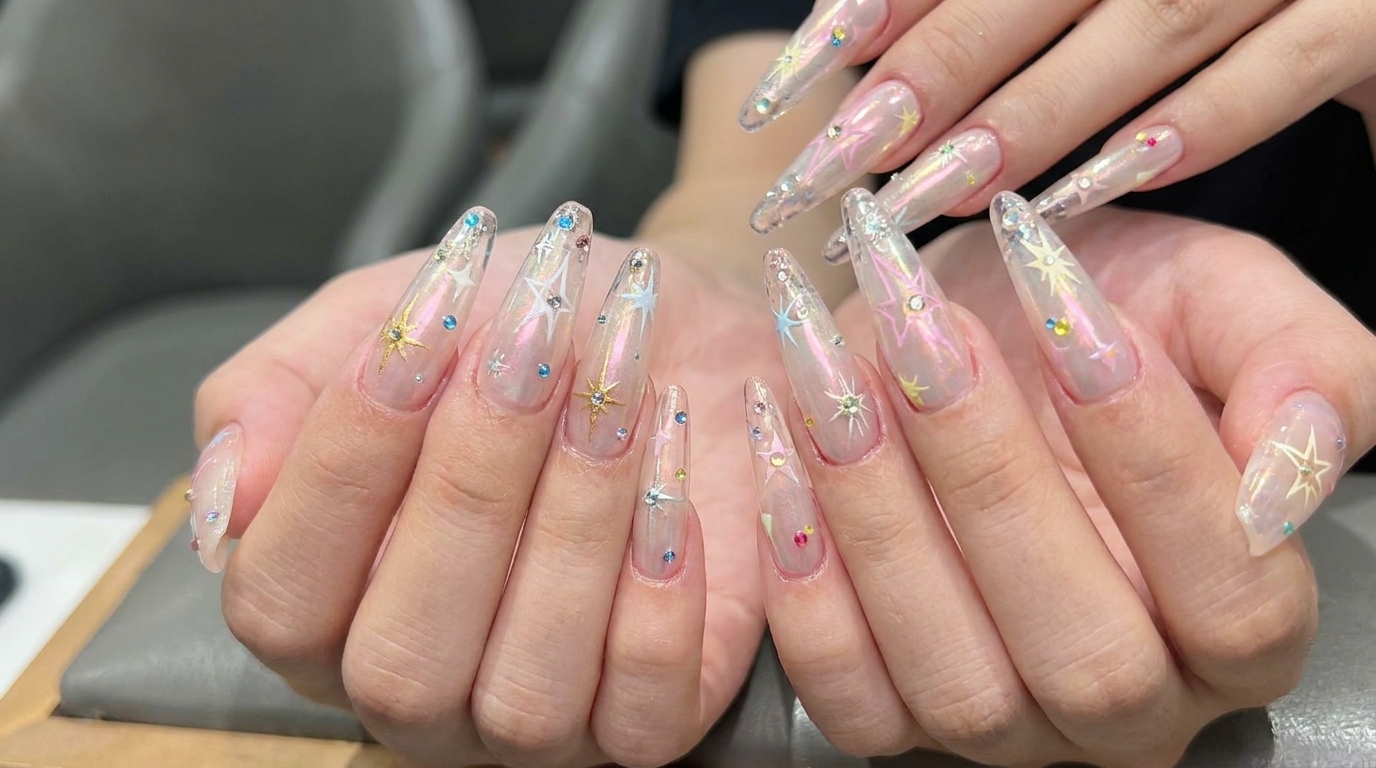
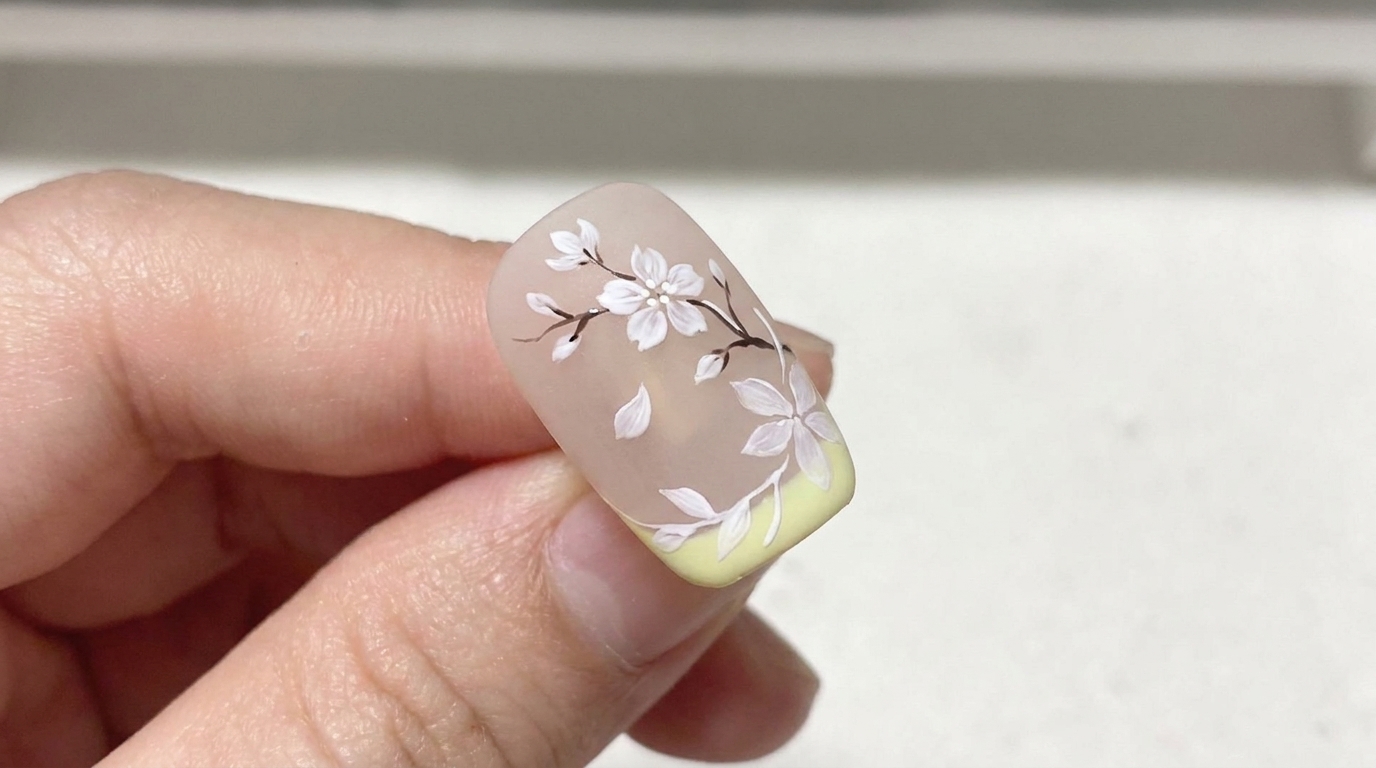
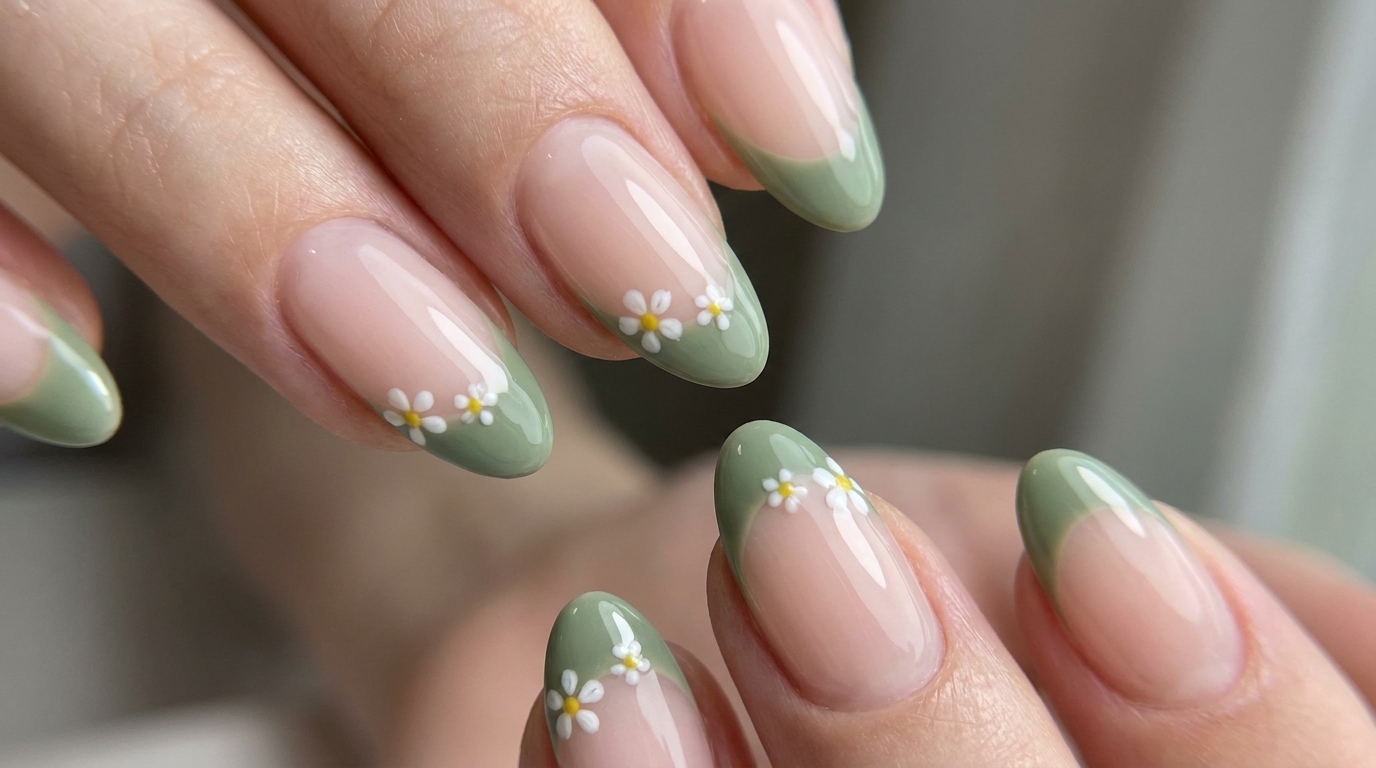
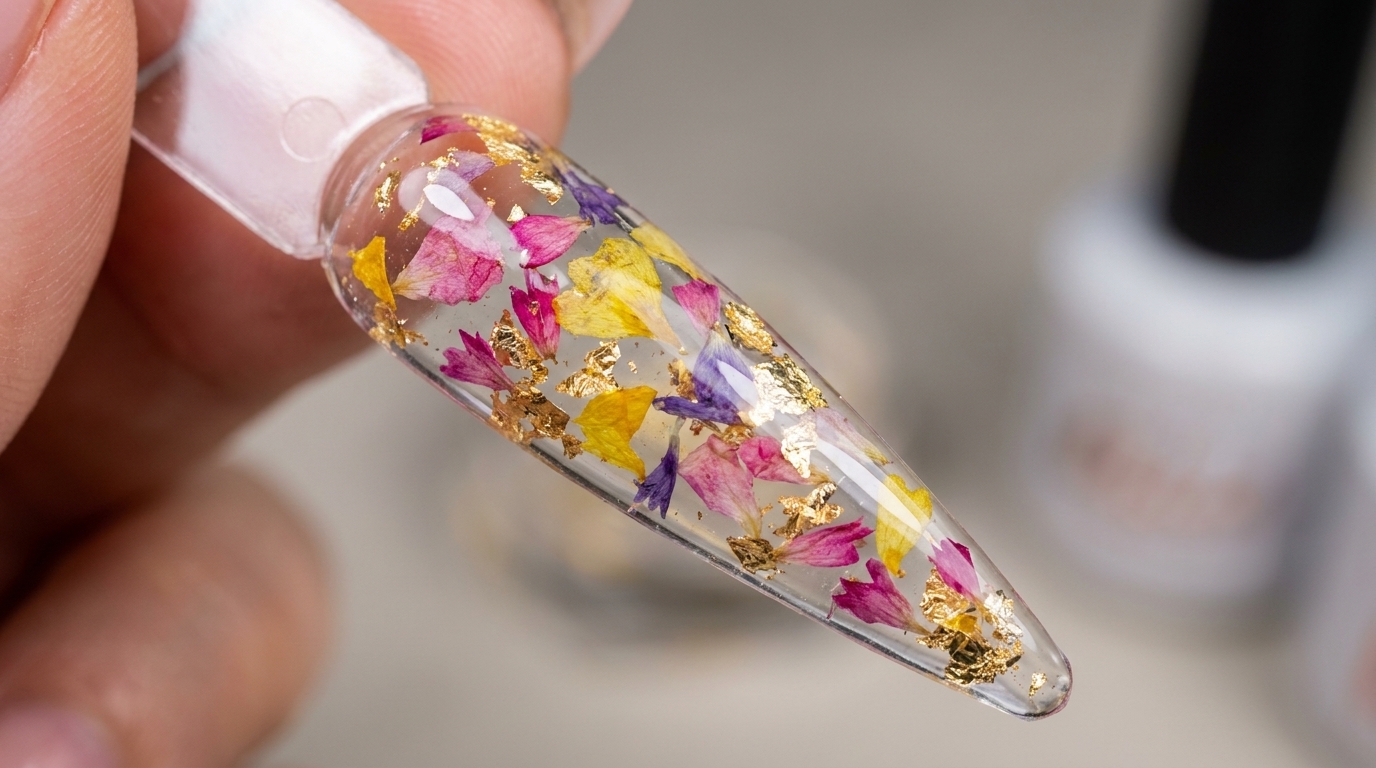
The floral glazed nail look perfectly captures a delicate, icy aesthetic that brings nature to your fingertips. By combining the translucency of clear hard gel with the vibrant textures of dried flower petals and gold foil, you create a dimensional, museum-quality design. This technique is easier than it looks and offers a stunning, sophisticated finish for any occasion.
Steps
- 1Apply base coat
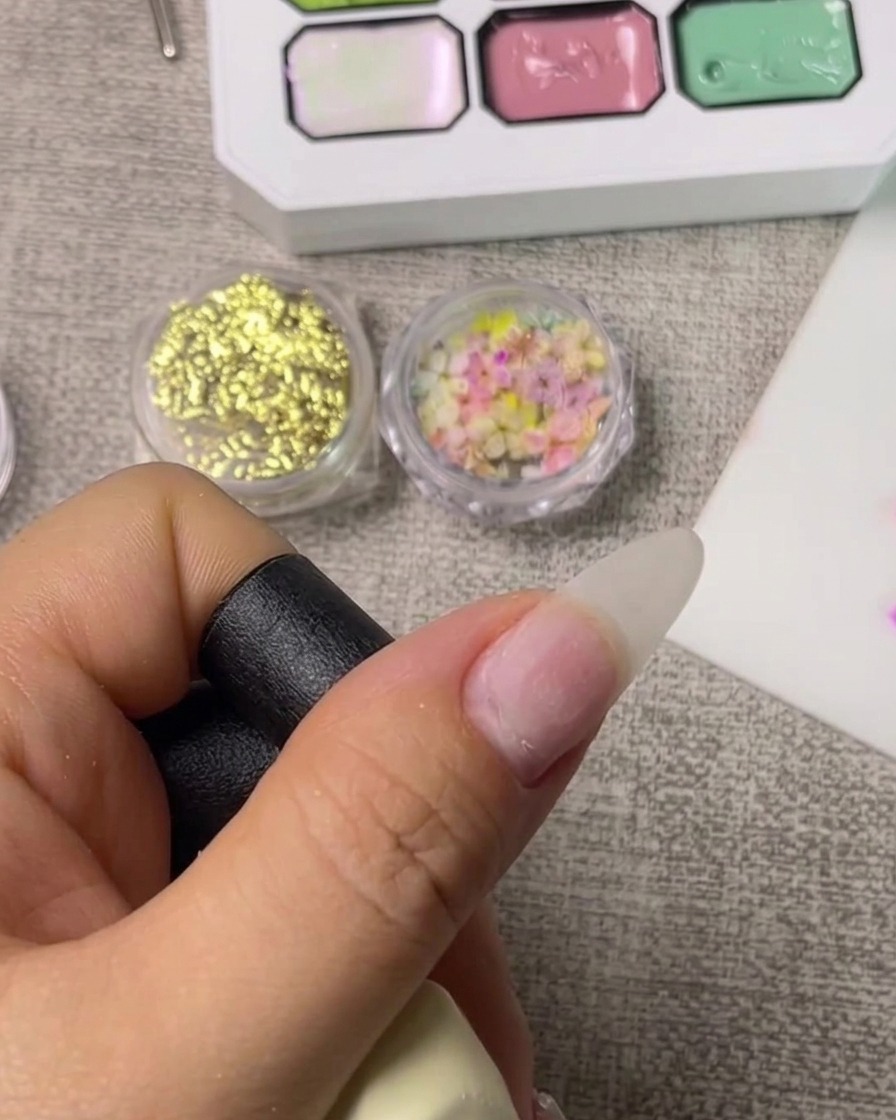
Apply a thin, even layer of base coat over the clean, prepped natural nail. Ensure you cover the surface thoroughly while avoiding the cuticle area to ensure clean application. This layer acts as a foundation for the subsequent nail art.
Tip: Apply a thin layer to prevent pooling at the cuticles and ensure a smooth, long-lasting base. - 2Cure base coat
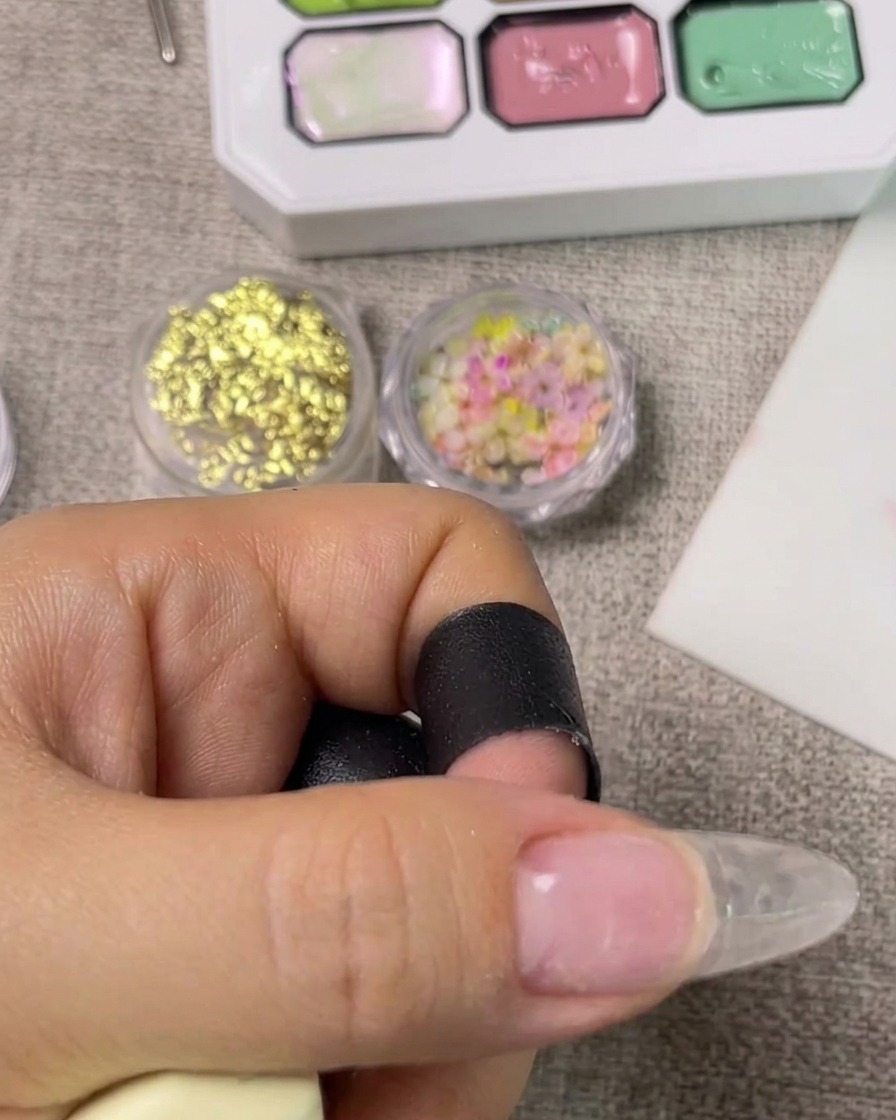
Place your hand inside the UV lamp and cure the base coat layer. Ensure your fingers are positioned correctly to receive full light exposure so the product sets completely for the next application step.
Tip: Keep your fingers flat and centered in the lamp to ensure even curing across the entire nail surface. - 3Apply French tip sticker
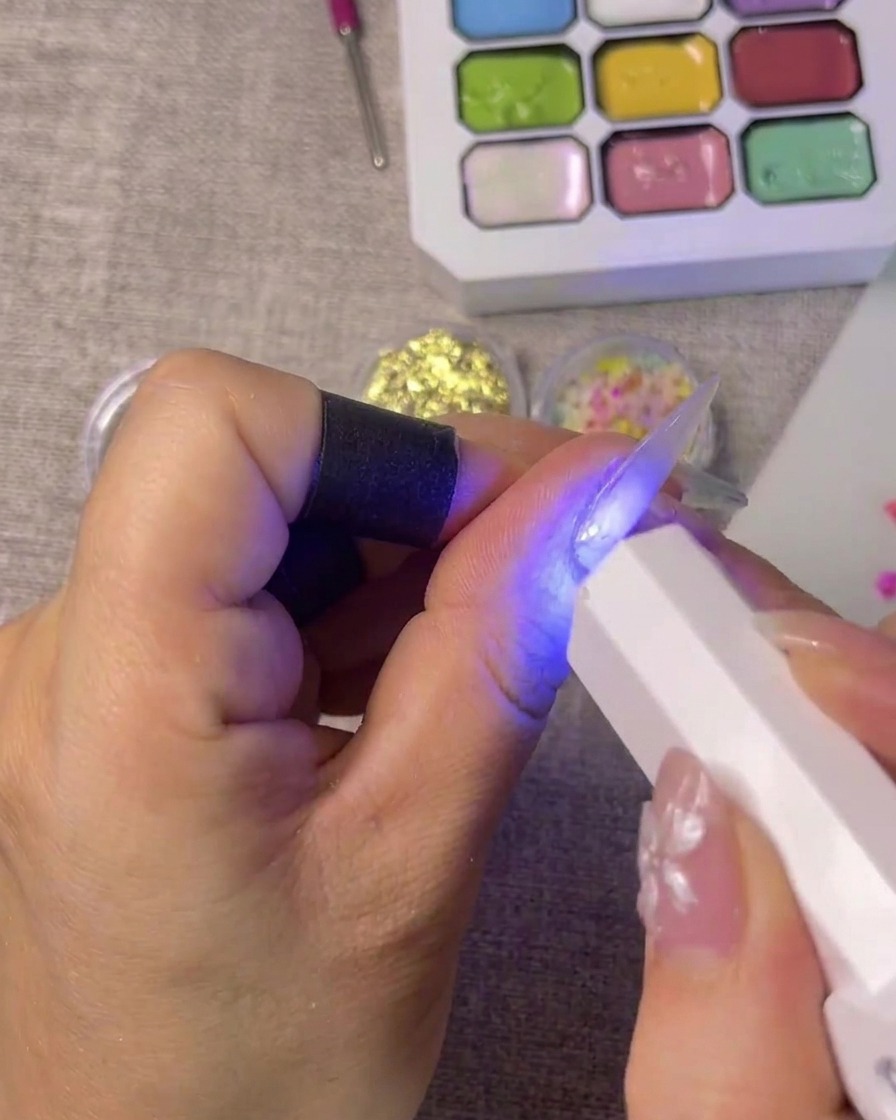
Carefully place the French tip sticker across the tip of the nail. Align it to your desired French tip depth and press down firmly on the edges to ensure a crisp, clean line when you apply your gel or polish over it.
Tip: Press the edges of the sticker firmly to prevent gel from bleeding underneath during application. - 4Create the pink base
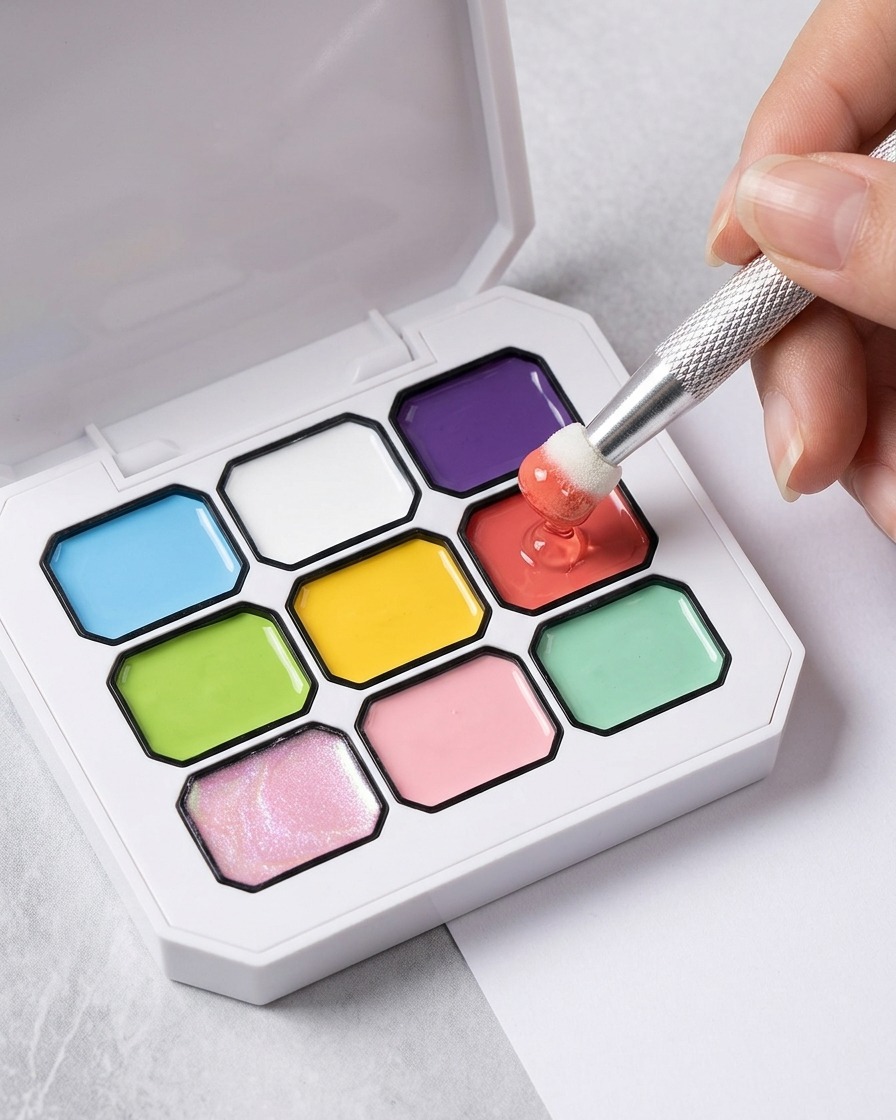
Using the sponge tip of your patting pen, pick up a small amount of pink gel from your palette. Gently pat this color onto the nail to create a seamless, soft base that hides the natural nail line, providing a subtle backdrop for your floral elements.
Tip: Dont overload the sponge with gel. It is better to build up the color gradually with thin layers to avoid a bulky or uneven look. - 5Apply adhesive gel layer
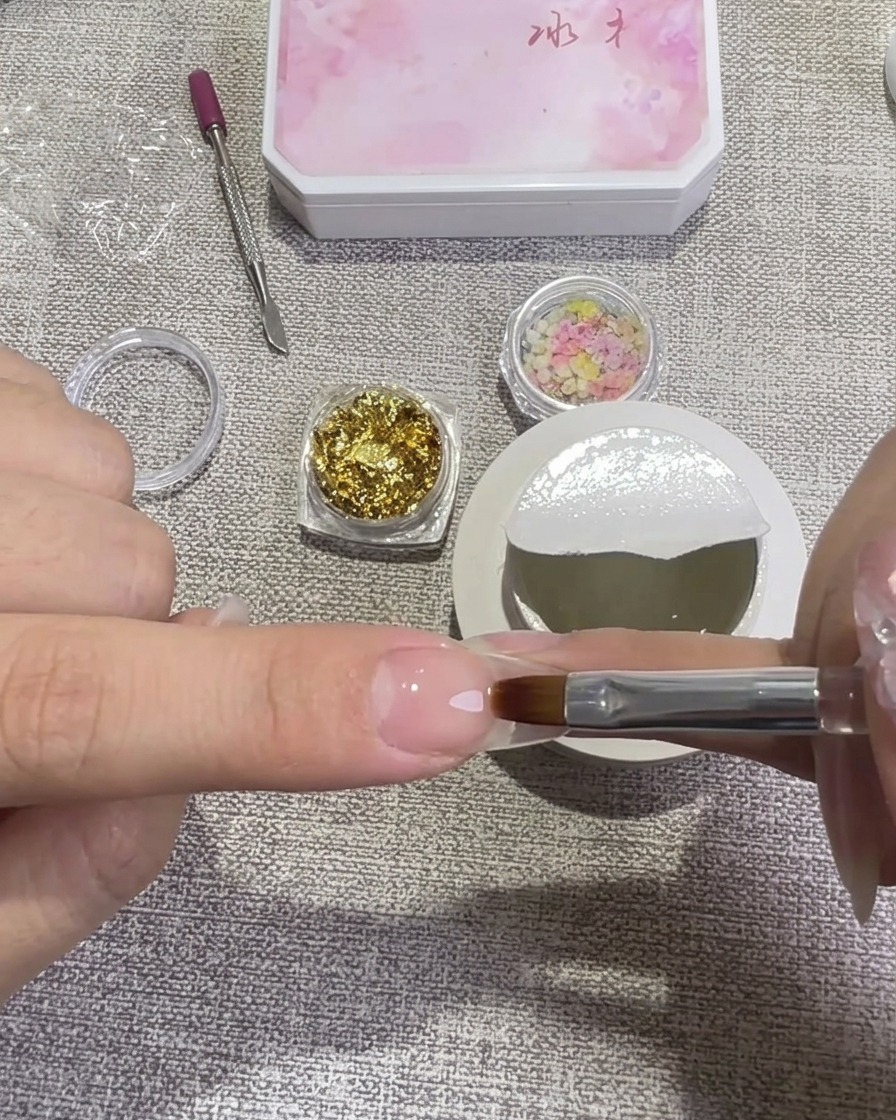
Using a flat gel brush, apply a smooth, medium-thickness layer of clear hard top coat over the nail. Keep this layer wet; do not cure it, as this uncured surface acts as the adhesive to hold your dry flowers and gold foil in place.
Tip: Ensure the clear gel layer is applied evenly so that your encapsulated floral design stays flat and smooth. - 6Add dry flowers
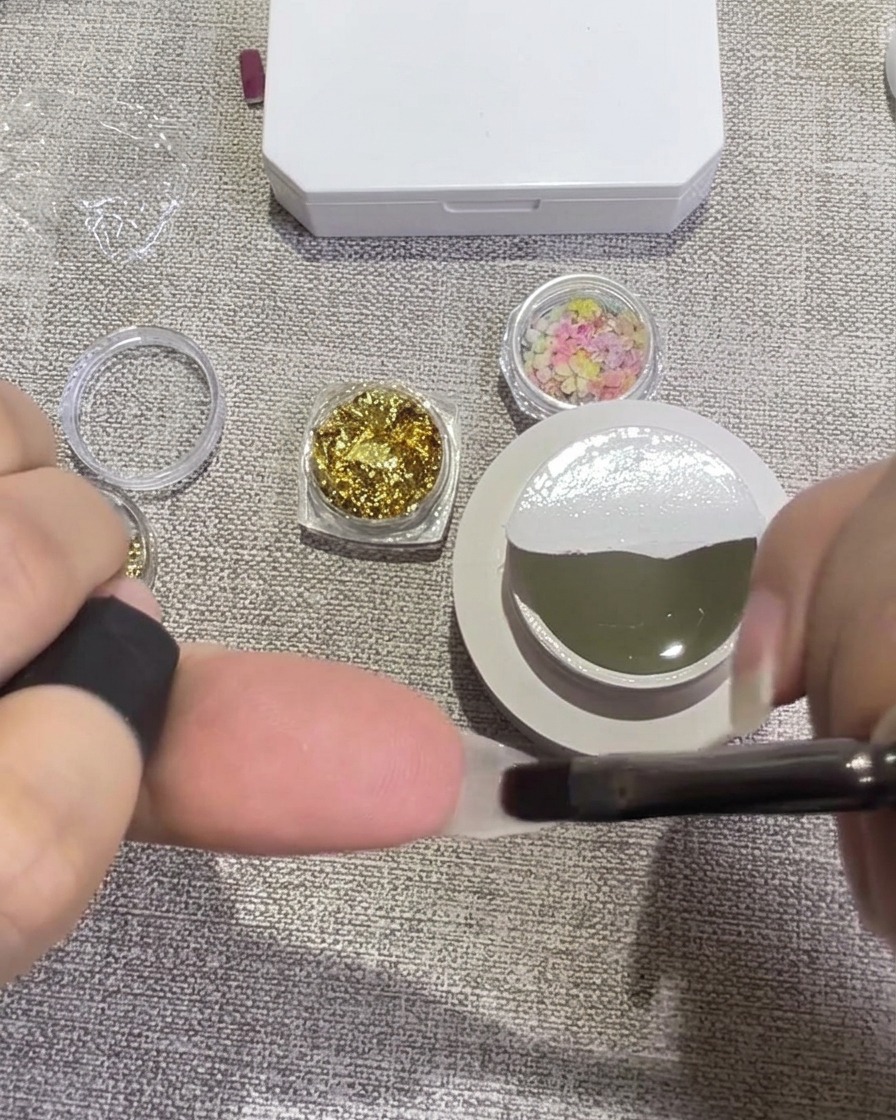
Using tweezers, carefully pick up individual dry flower petals and place them onto the uncured, wet gel surface. You can arrange different colors to create a unique floral design on the nail.
Tip: Work quickly but gently to avoid disturbing the wet gel base while placing the flowers. - 7Adjust flower petals
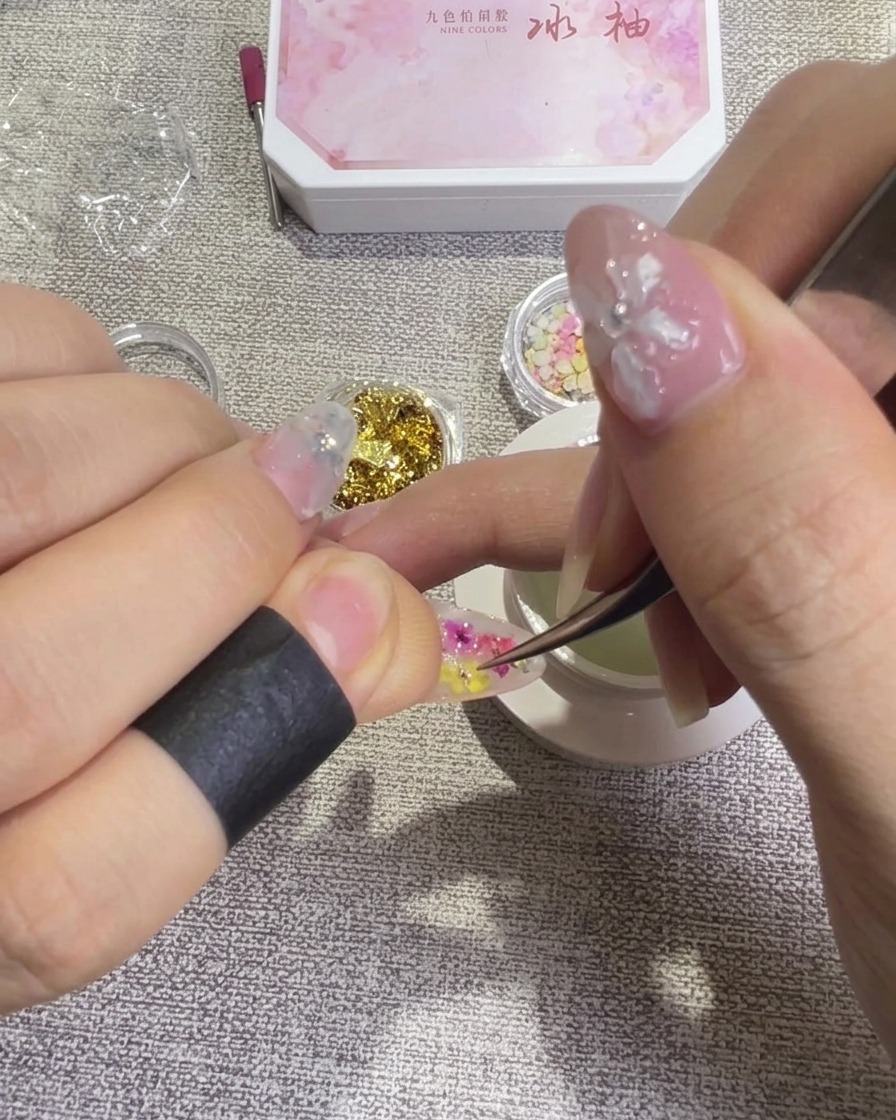
Once the flowers are placed, use the tip of your tweezers to gently push and adjust the petals into your desired position. Ensure they are laying flat against the nail surface so they are fully encapsulated by the next layer of gel.
Tip: If a petal is slightly too large, use the edge of the tweezers to carefully tuck it into the desired shape or location. - 8Add gold foil accents
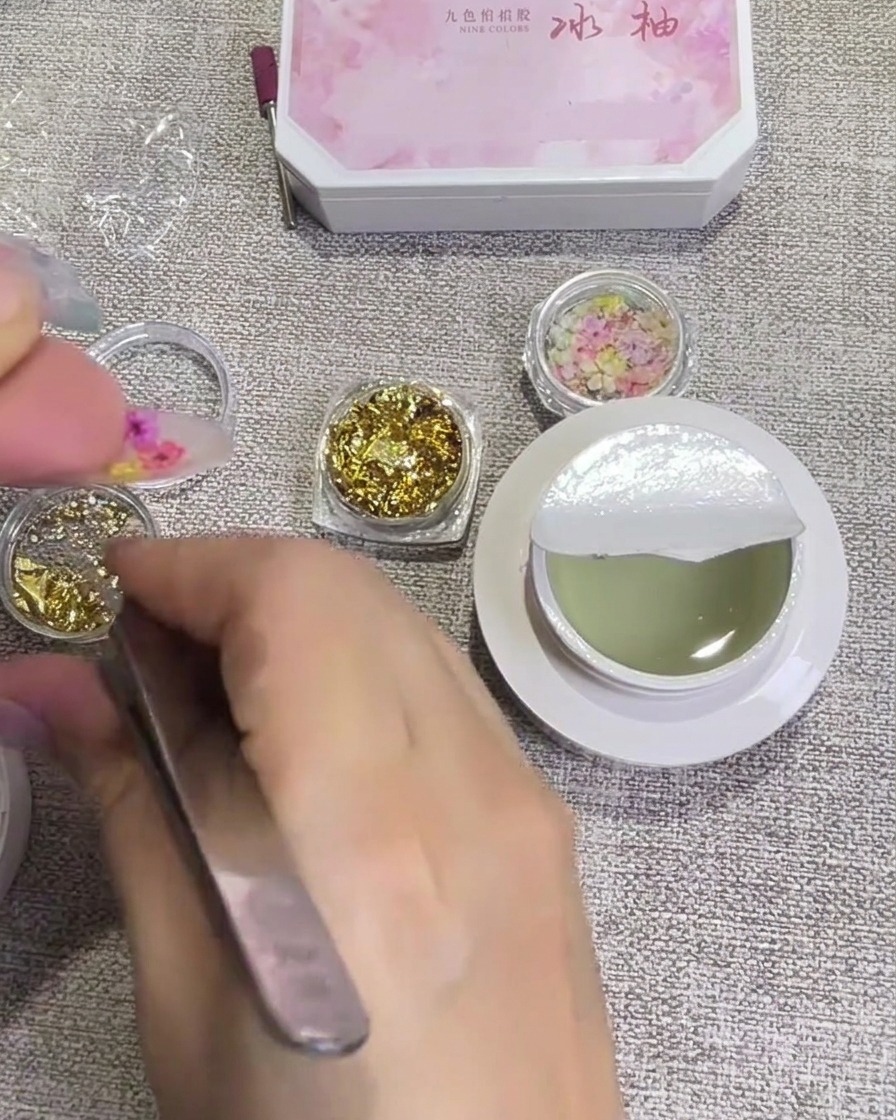
Using tweezers or a small tool, take tiny flakes of gold foil and press them onto the nail alongside your flower design. The gold foil will add a delicate shimmer and luxury finish to your floral nail art.
Tip: A little gold goes a long way; place small pieces strategically to accent rather than overwhelm the flowers. - 9Place gold foil accents
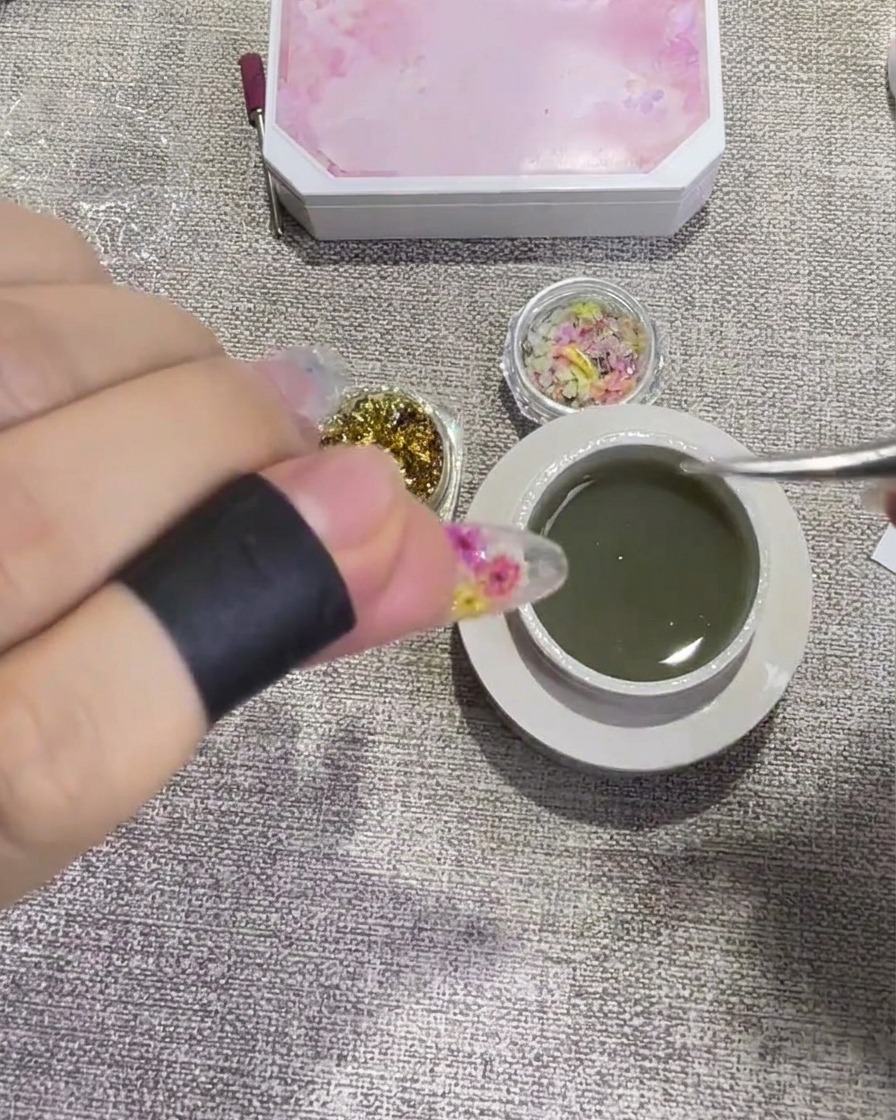
Using a pair of tweezers, carefully pick up small pieces of gold foil and place them onto the wet gel surface. Gently press and flatten the foil pieces against the nail to ensure they are securely embedded within the gel layer and lie flat without sticking up.
Tip: If the gold foil is stubborn, lightly touch it with the tweezers to pick it up, then use a clean nail brush or your finger to smooth it onto the nail surface. - 10Apply clear hard top coat
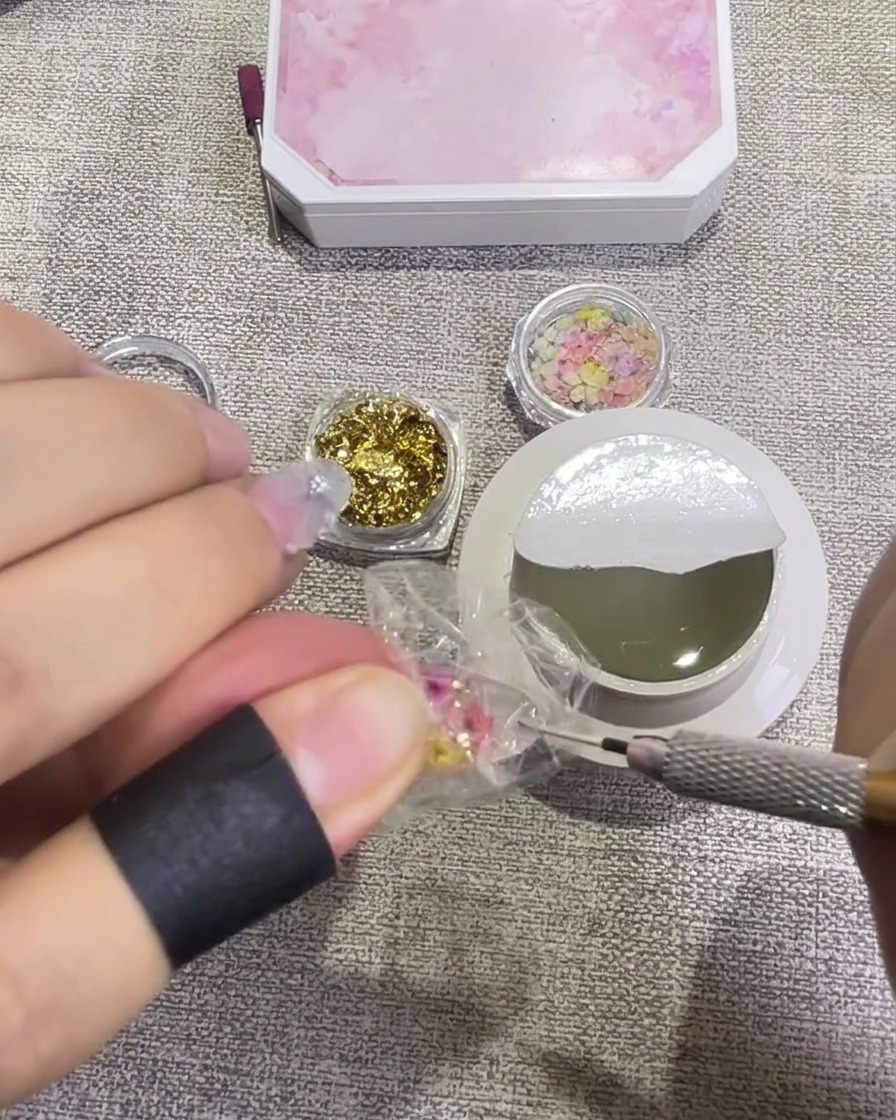
Apply a generous, even layer of clear hard top coat over the entire nail, covering the dry flowers and gold foil. This step encapsulates the decorations, levels the surface, and creates the signature glazed, icy, translucent finish.
Tip: Ensure the top coat is applied smoothly to eliminate any bumps or unevenness created by the floral decorations. - 11Cure the nails
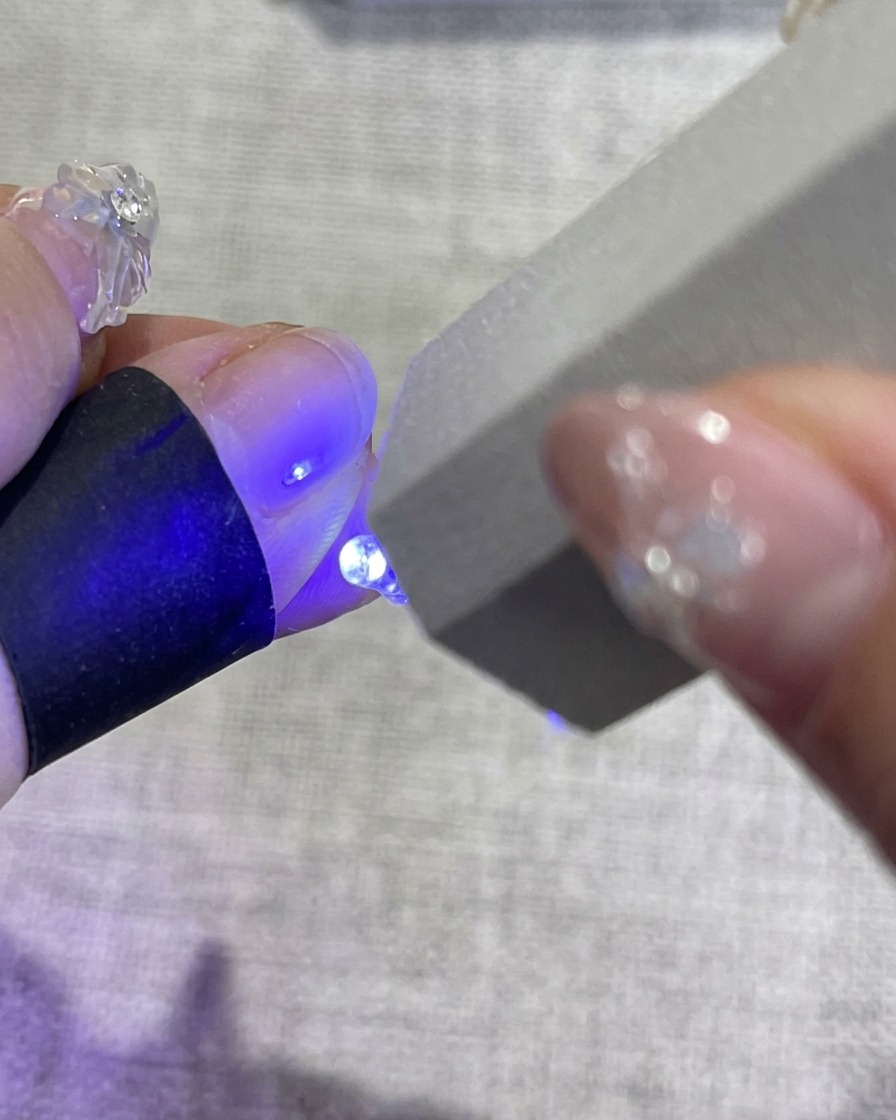
Place your nails under the UV/LED lamp to cure the final top coat. Ensure that the entire surface is exposed to the light for the duration recommended by the gel polish manufacturer to fully harden the layer and lock in the glazed finish.
Tip: Keep your fingers flat and steady inside the lamp to prevent the gel from shifting before it cures.