Gradient Cherry Blossom Nail Art — Delicate Floral Manicure Tutorial
Create a dreamy floral look with this step-by-step cherry blossom gradient tutorial. We’ll show you how to blend soft peach tones and encapsulate delicate glitter.
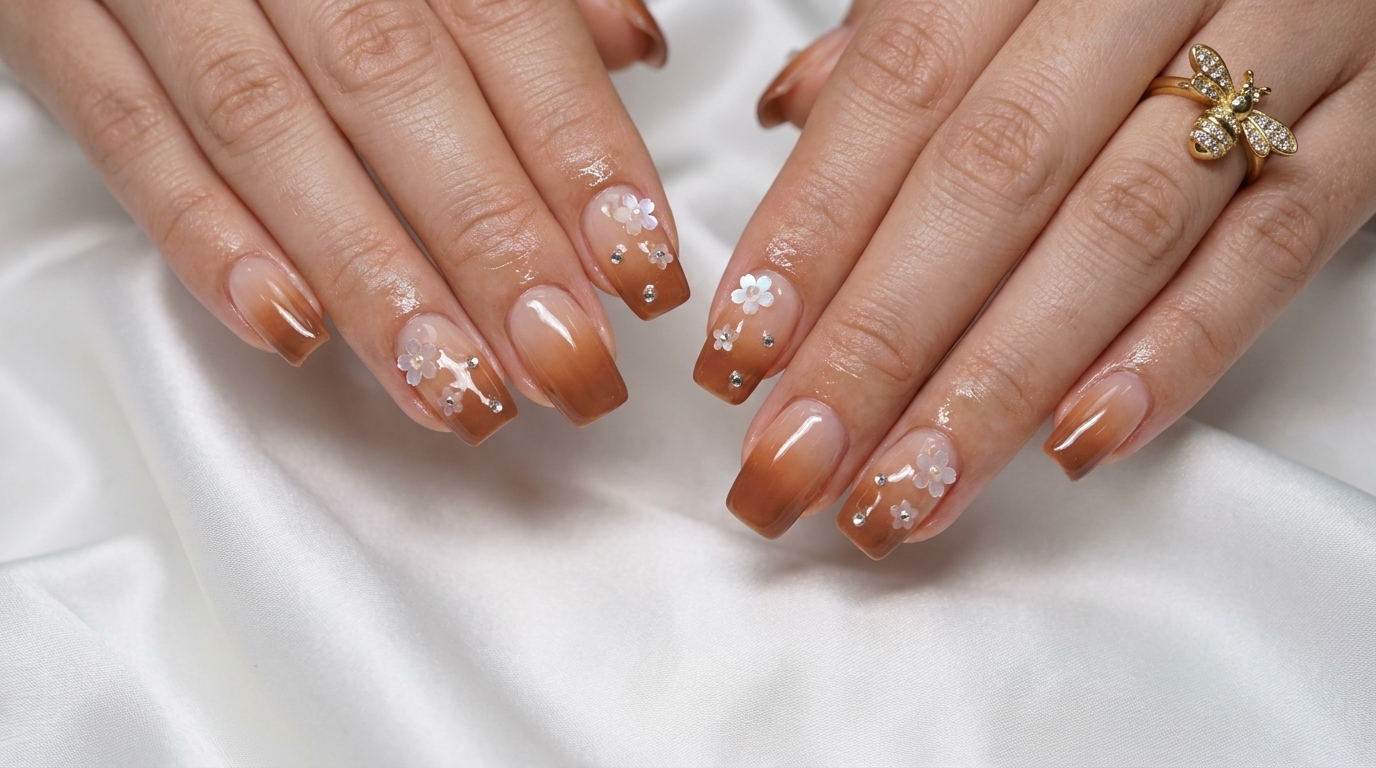
Embrace the beauty of the season with this fresh and delicate cherry blossom-inspired manicure. By combining a soft, peach-hued gradient with holographic floral glitter and metallic accents, you can achieve a sophisticated, salon-quality look that feels both organic and modern. This design is perfect for those who love understated, romantic nail art.
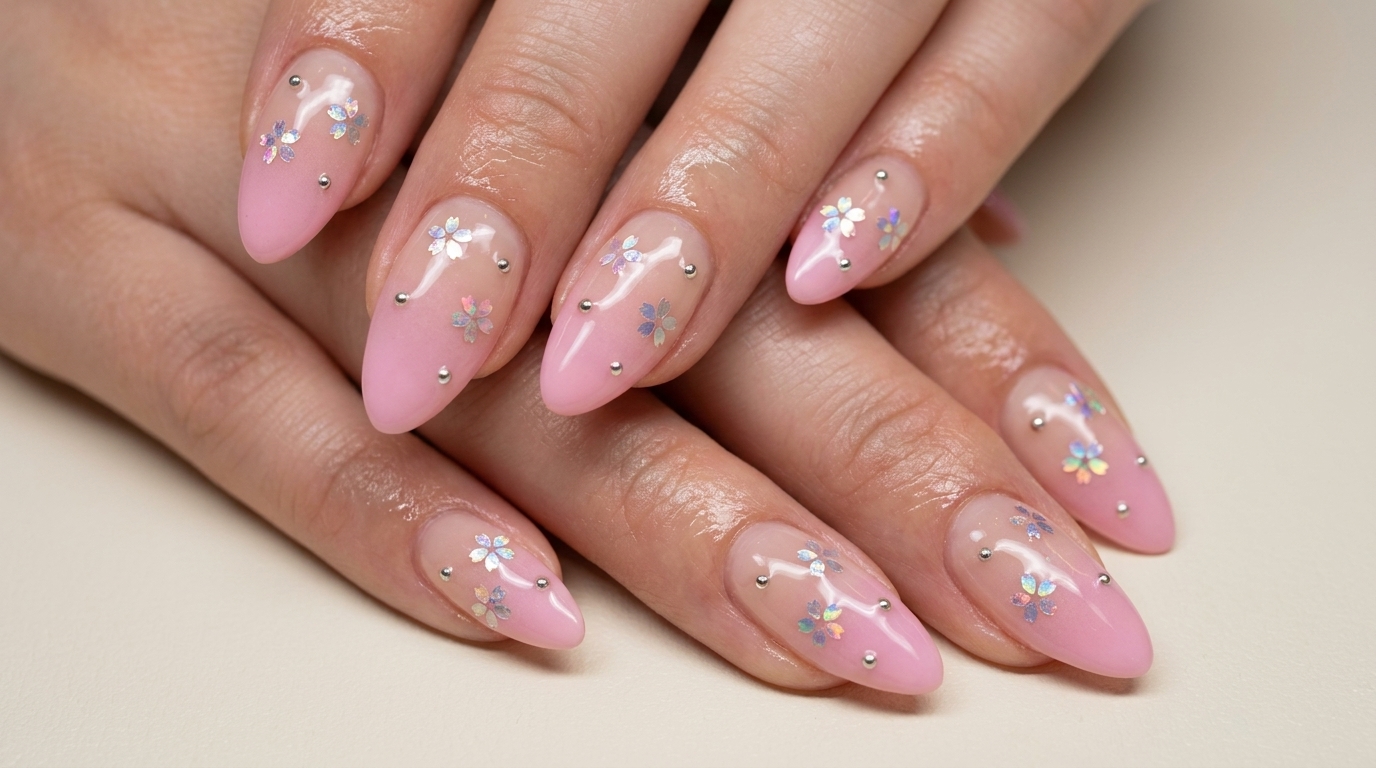
Steps
- 1Apply clear base gel
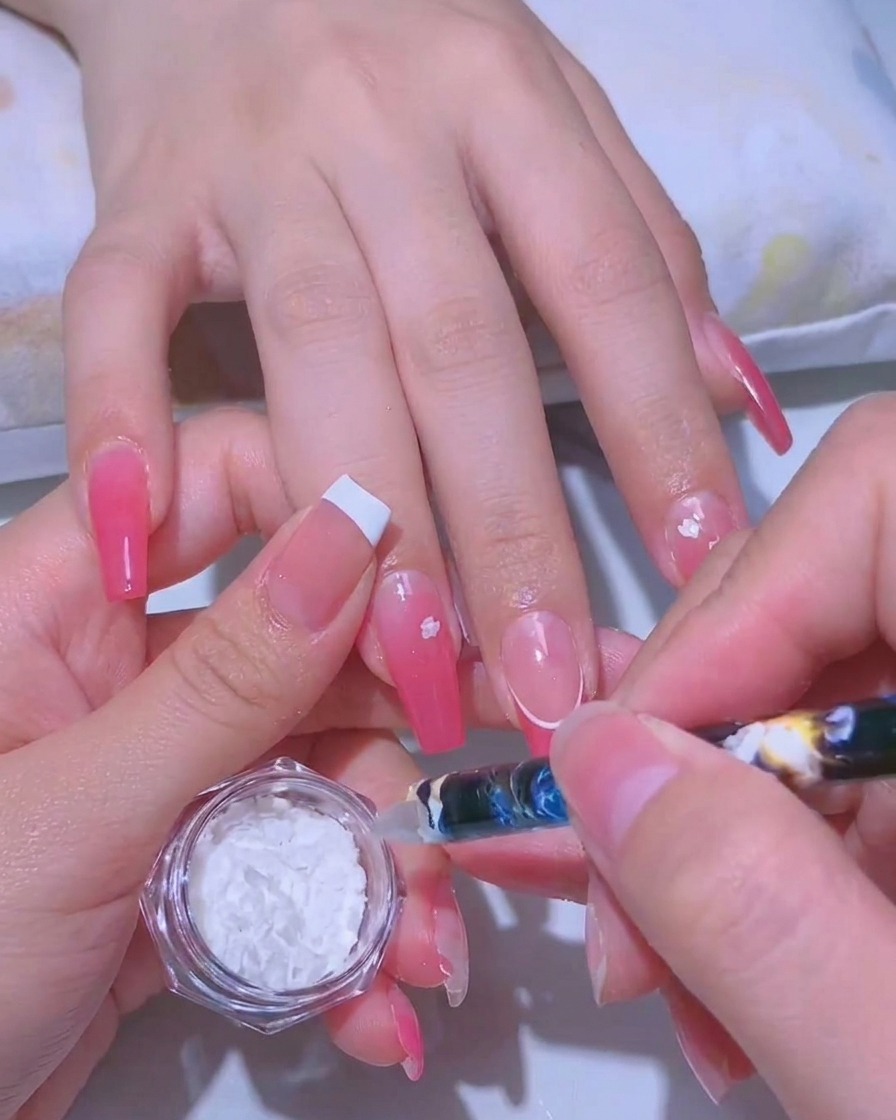
Begin by applying a thin, even layer of clear gel base coat to the prepared nail plate. This acts as a foundation for your design, ensuring proper adhesion for the subsequent color layers and decorations.
Tip: Ensure the gel is applied thinly to avoid flooding the cuticles, which can cause lifting. - 2Create peach-pink gradient
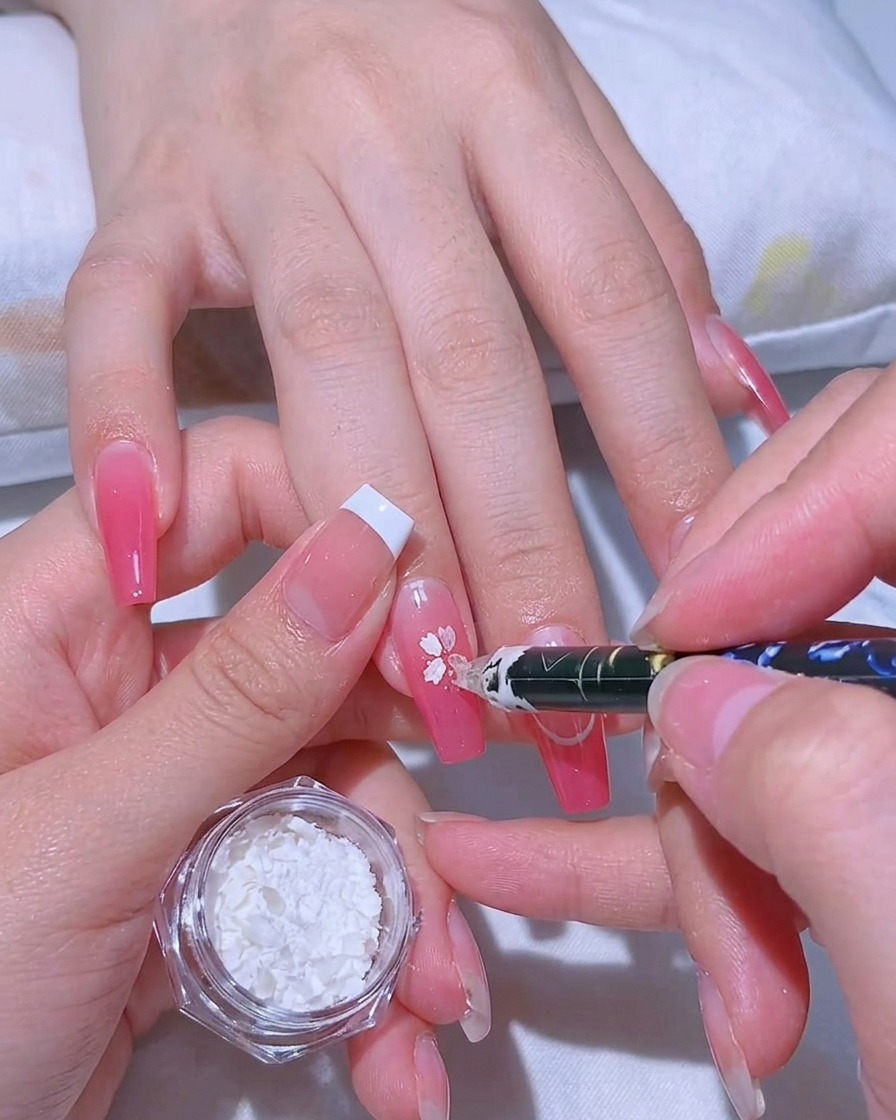
Apply your peach-pink colored gel to the nail, focusing on blending to create a smooth gradient effect. This soft color base provides the perfect backdrop for the delicate cherry blossom design.
Tip: Use a light hand and a blending brush to soften the transition between colors for a seamless ombre look. - 3Apply adhesive base
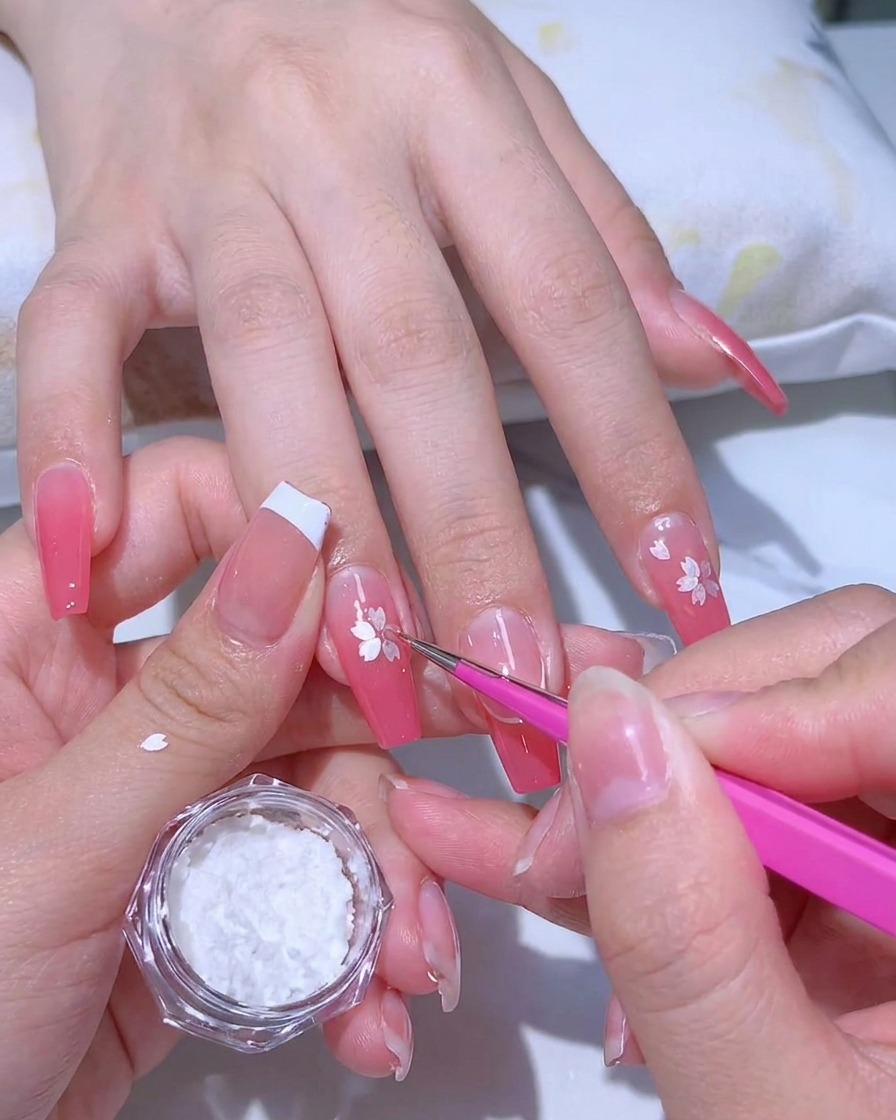
Apply a thin layer of clear adhesive base gel over the cured gradient color. Do not cure this layer yet, as it will serve as the tacky surface needed to hold the decorative glitter pieces in place.
Tip: Keep this layer thin to prevent the glitter from sliding around or pooling in the uncured gel. - 4Place cherry blossom glitter

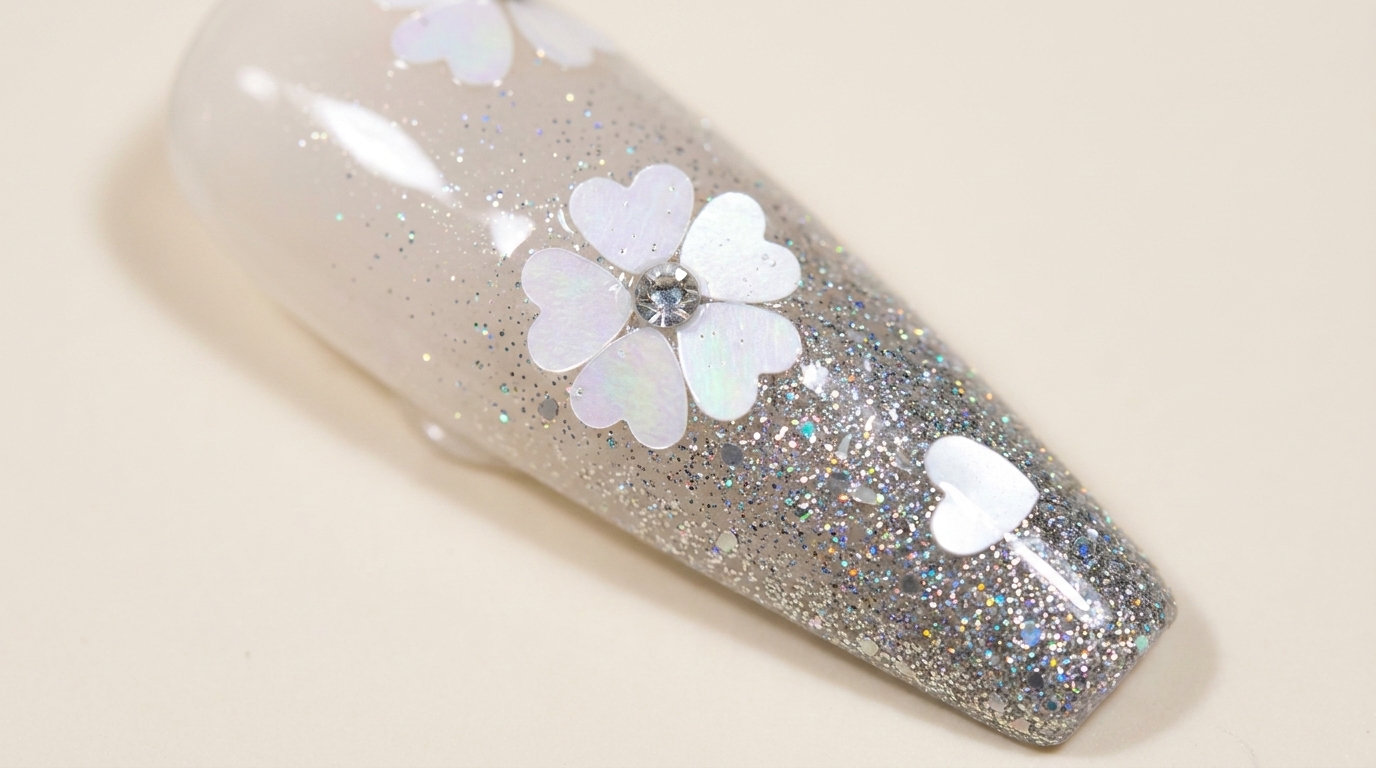
Using a precision tool or brush, carefully place your white cherry blossom-shaped glitter pieces onto the wet adhesive gel. Arrange them to create your desired floral pattern across the nail surface.
Tip: Work one nail at a time to ensure the adhesive gel stays wet enough to hold the glitter pieces firmly. - 5Arrange floral design
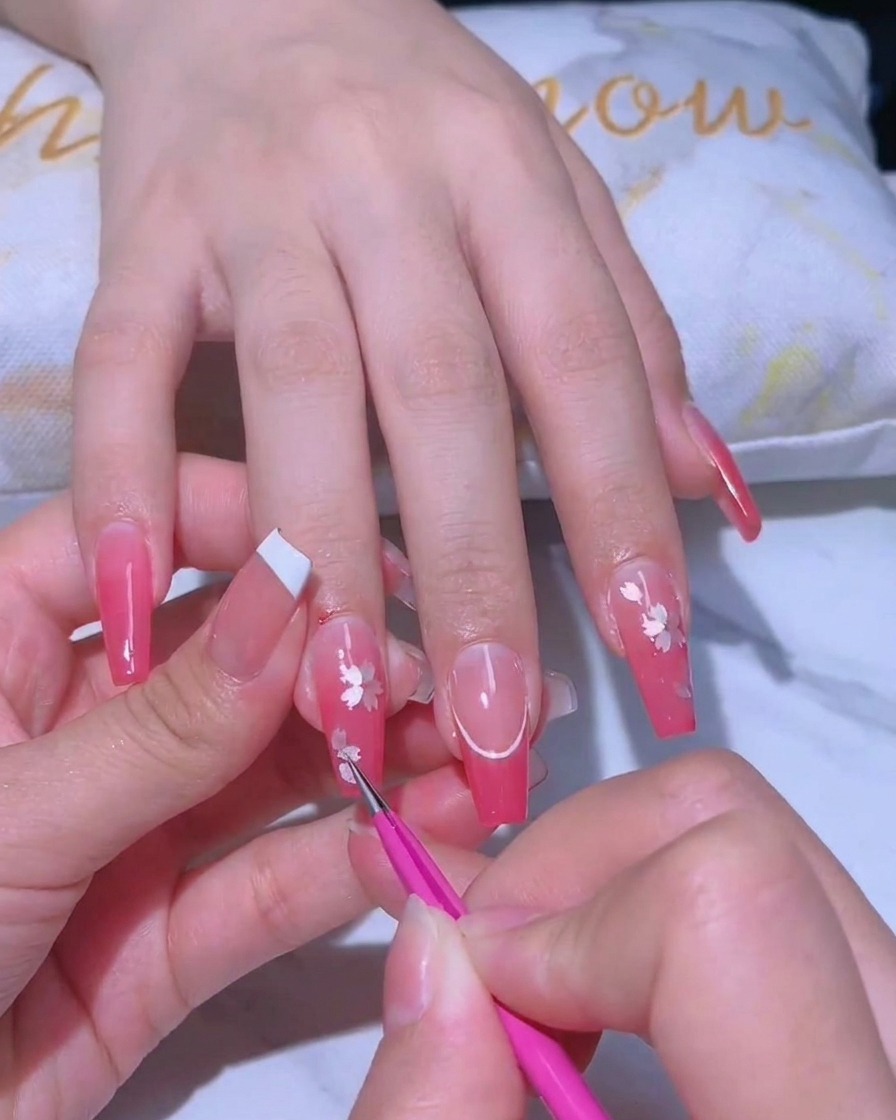
Continue arranging the cherry blossom glitter pieces across multiple nails, using your brush to nudge them into the perfect position. Consistency in placement helps create a balanced, professional-looking design.
Tip: Vary the placement of the flowers slightly on each finger to give the manicure a natural, organic look. - 6Add steel bead accents
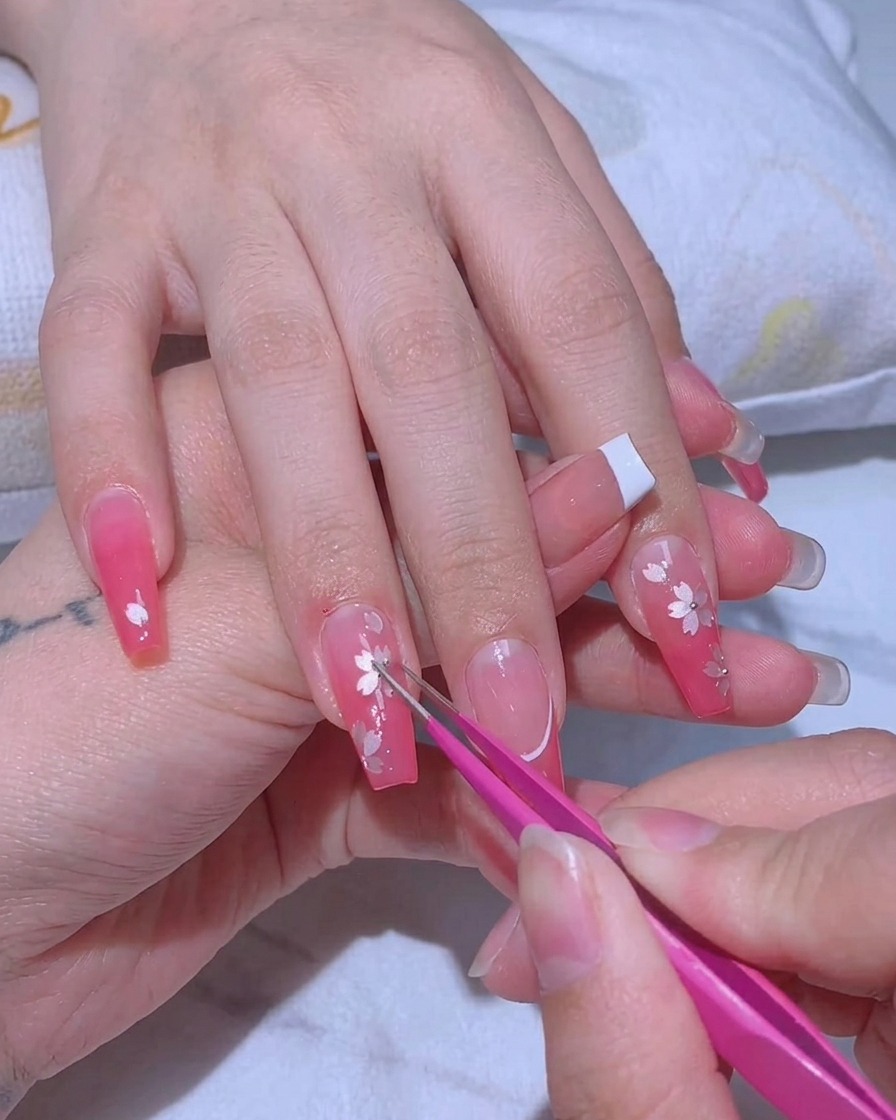
Using tweezers, carefully place tiny steel bead accents next to the cherry blossom glitter pieces. These small metallic details add a sophisticated touch and depth to the floral design.
Tip: Pick up the beads with the very tips of your tweezers for maximum control during placement. - 7Apply strengthening builder gel
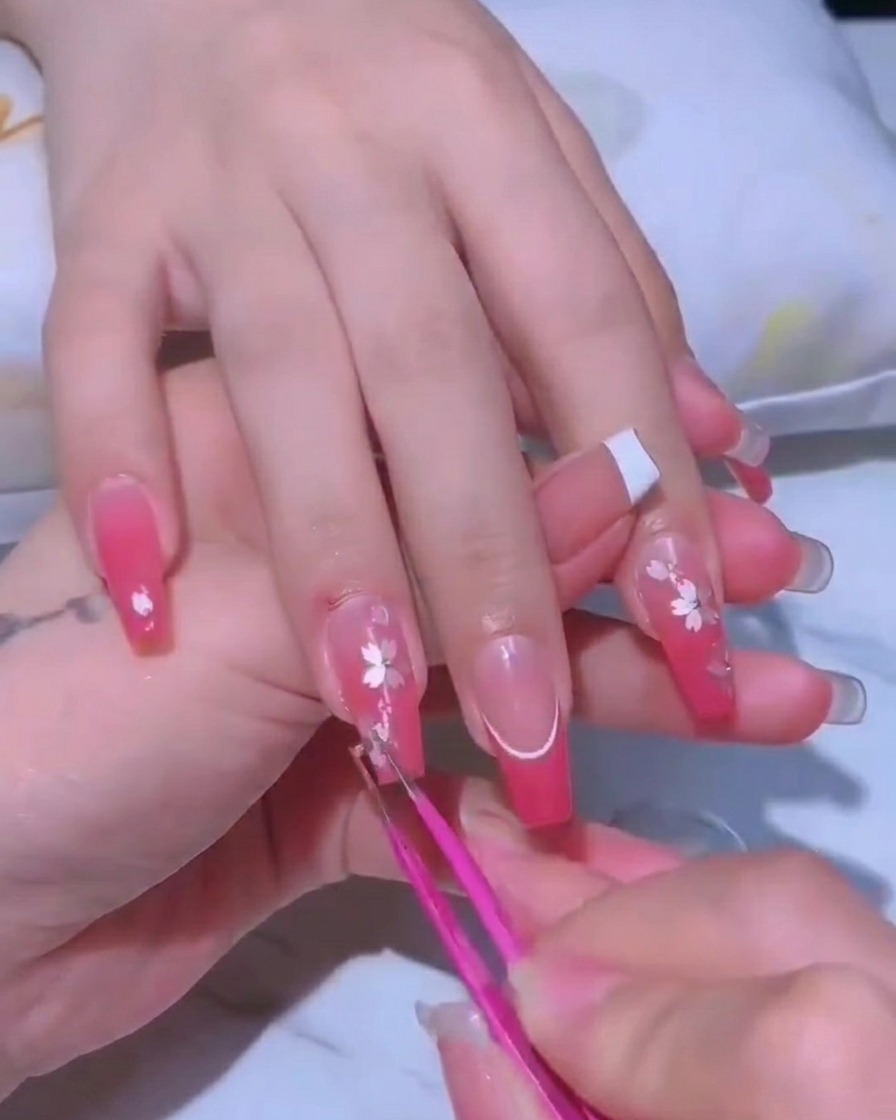
Apply a layer of strengthening builder gel over the nails to encapsulate the cherry blossom design and glitter pieces. This provides extra durability and a smooth surface. Ensure you cap the free edge and cure thoroughly under your UV/LED lamp according to the product instructions.
Tip: Builder gel helps level out the nail surface after adding dimensional nail art like glitter or beads. - 8Apply final top coat
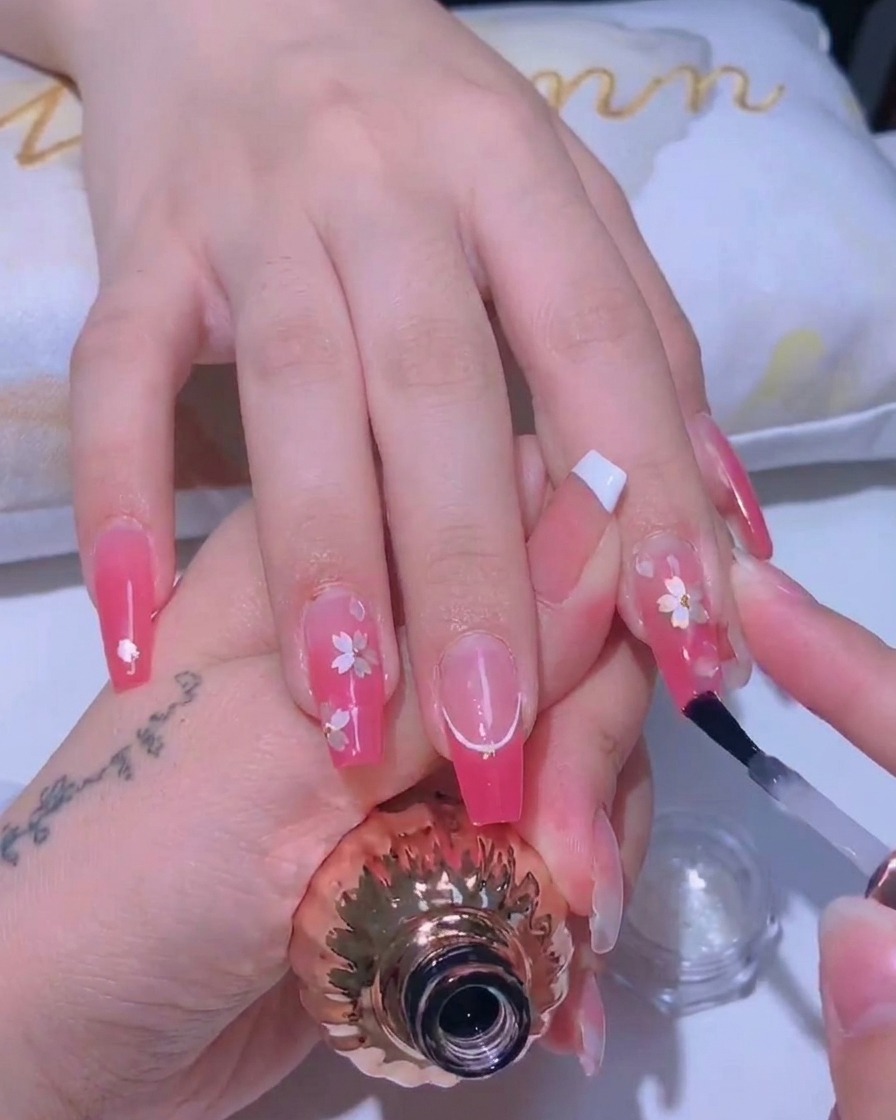
Apply a generous, even layer of clear, high-shine top coat to seal the entire design. This protects the cherry blossom art and provides a long-lasting, glossy finish. Cure the top coat in your UV or LED lamp to ensure a hard, durable result.
Tip: Apply the top coat carefully around the edges of the cherry blossom glitter to ensure it is completely sealed and smooth to the touch.