Cherry Blossom Glitter Gradient Nails — Elegant Floral Tutorial
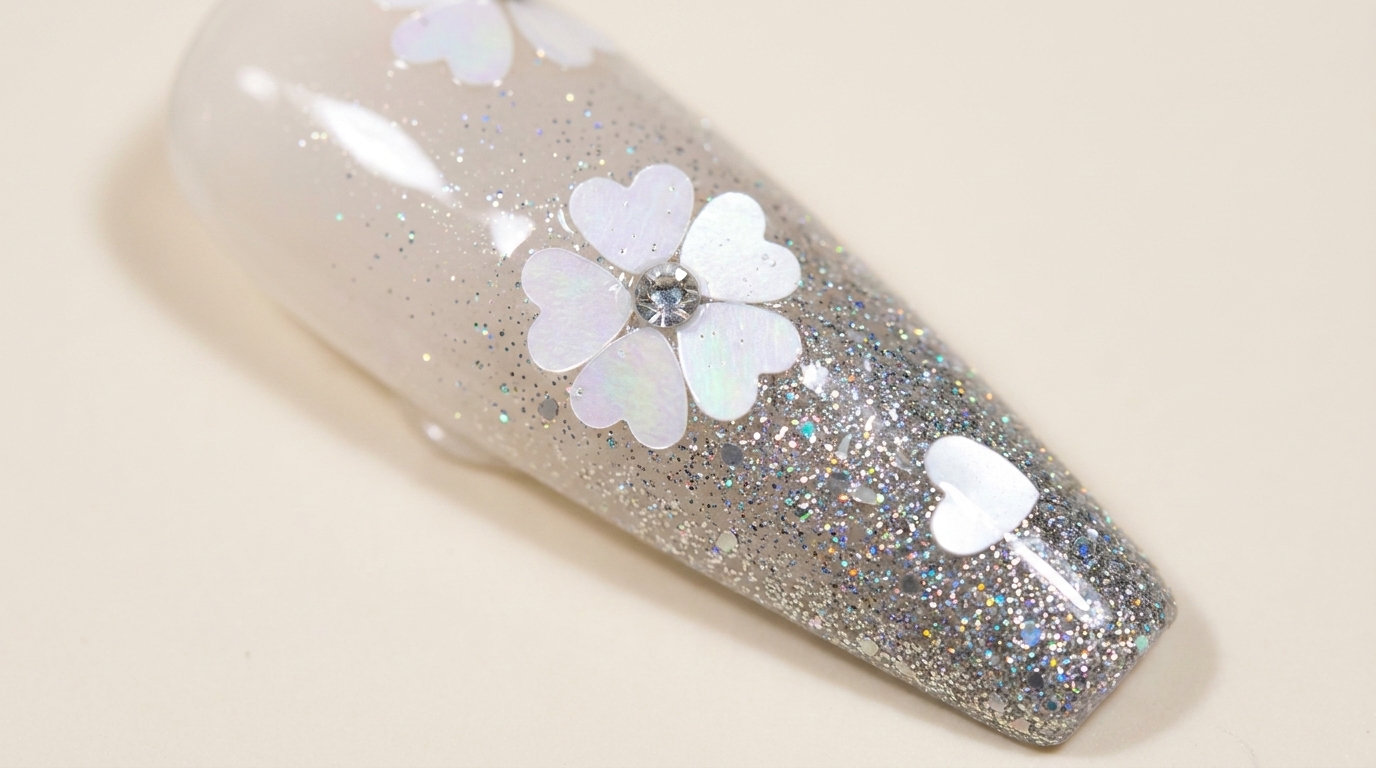
Create an enchanting floral look with this cherry blossom glitter gradient tutorial. Learn to layer delicate sequin flowers over a sparkling silver ombre.
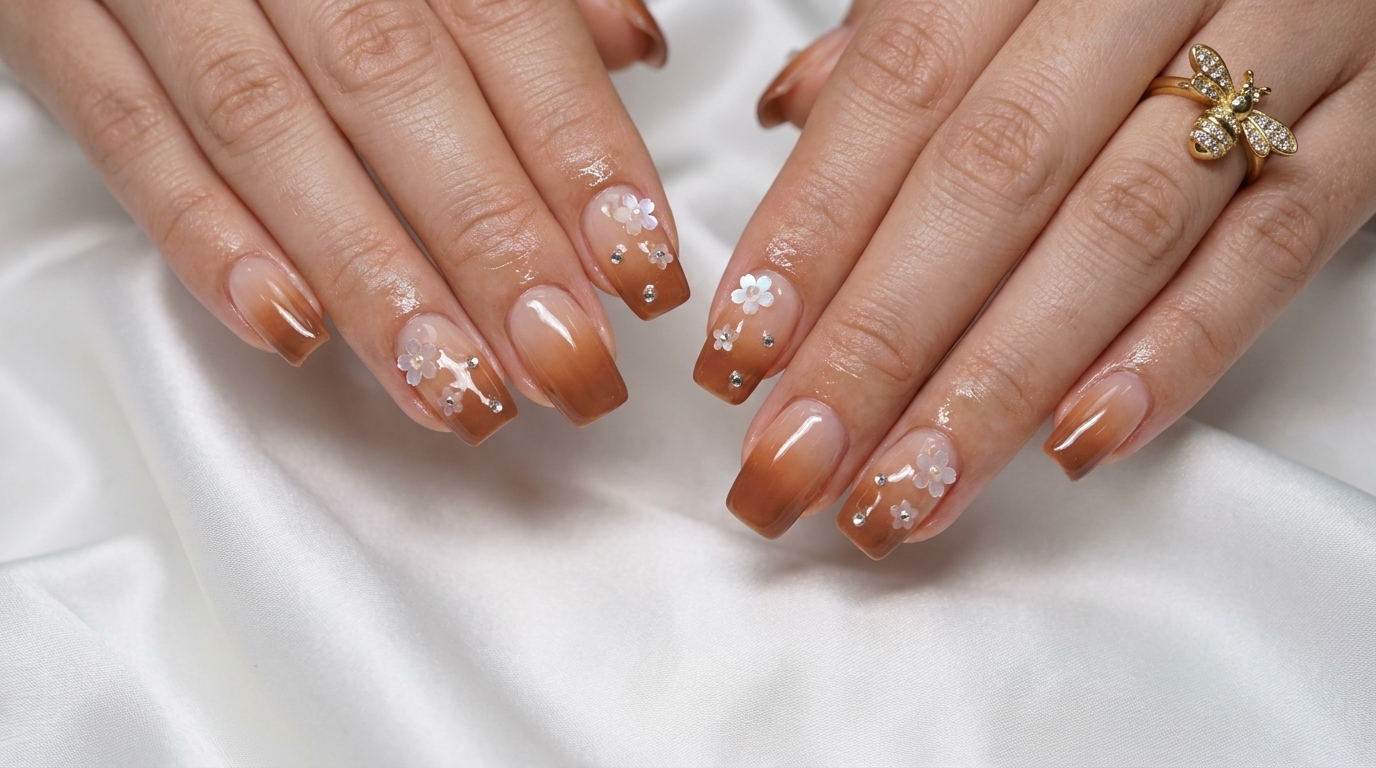
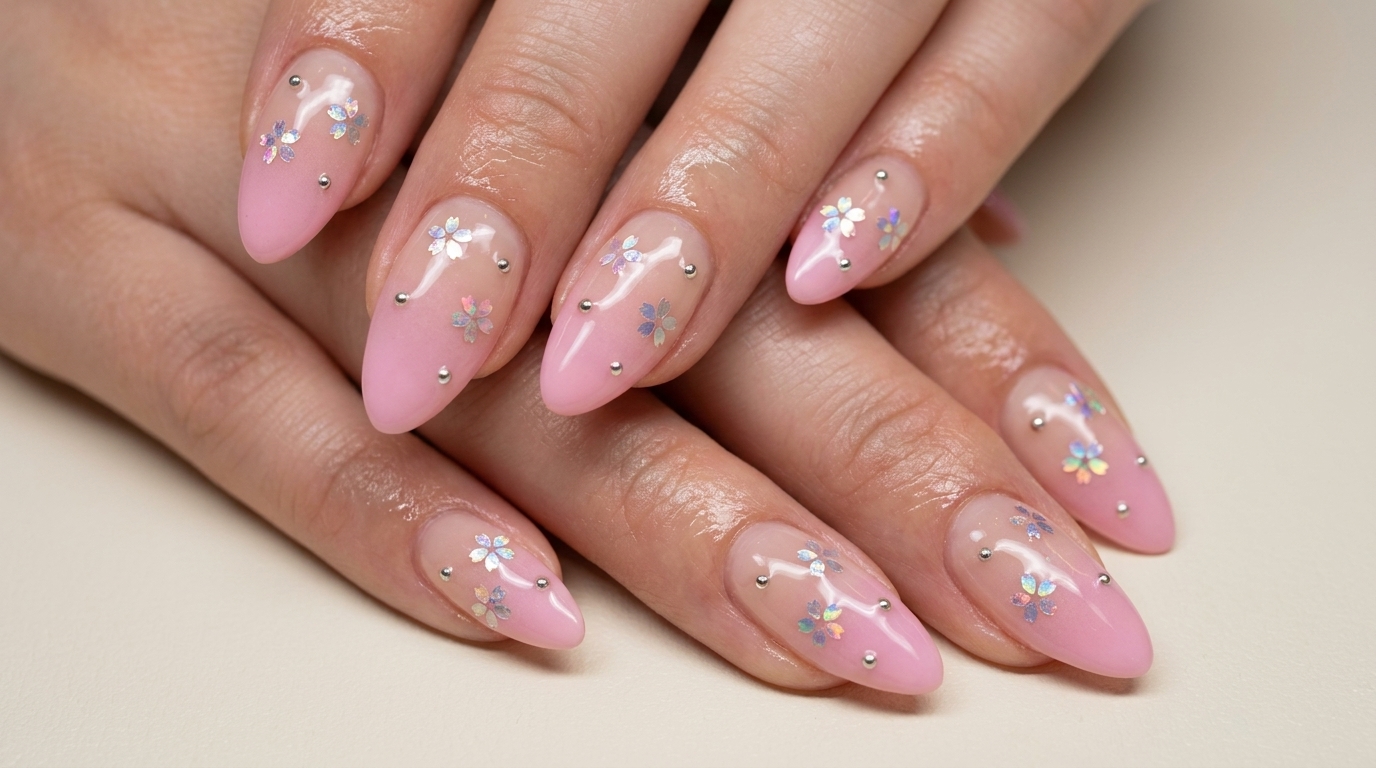
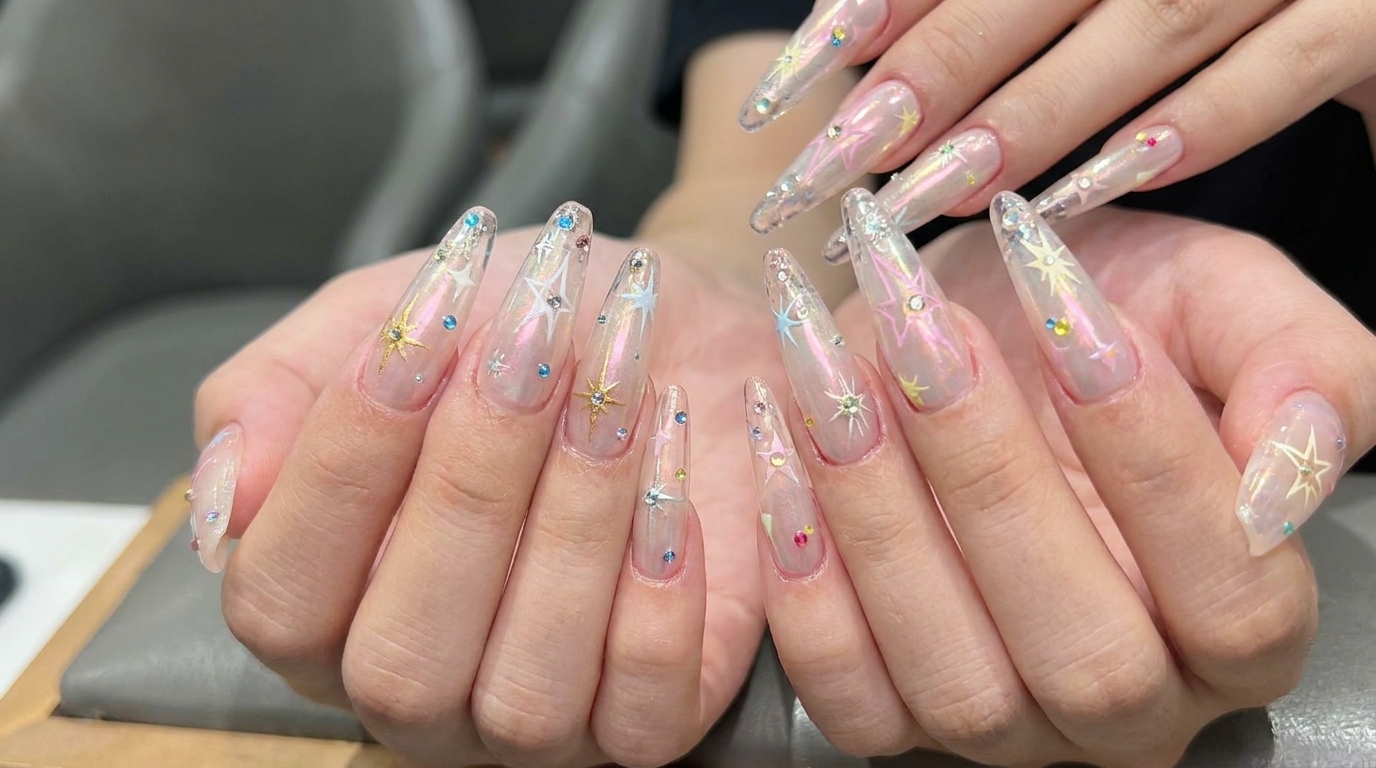
The cherry blossom manicure is a timeless style that perfectly balances elegance with a touch of whimsy. By combining a shimmering silver glitter gradient with dimensional floral sequins, this look creates a beautiful, multi-layered effect that catches the light from every angle. It is a fantastic way to elevate a standard glitter manicure into something truly special and seasonal.
Steps
- 1Apply milky white base coat
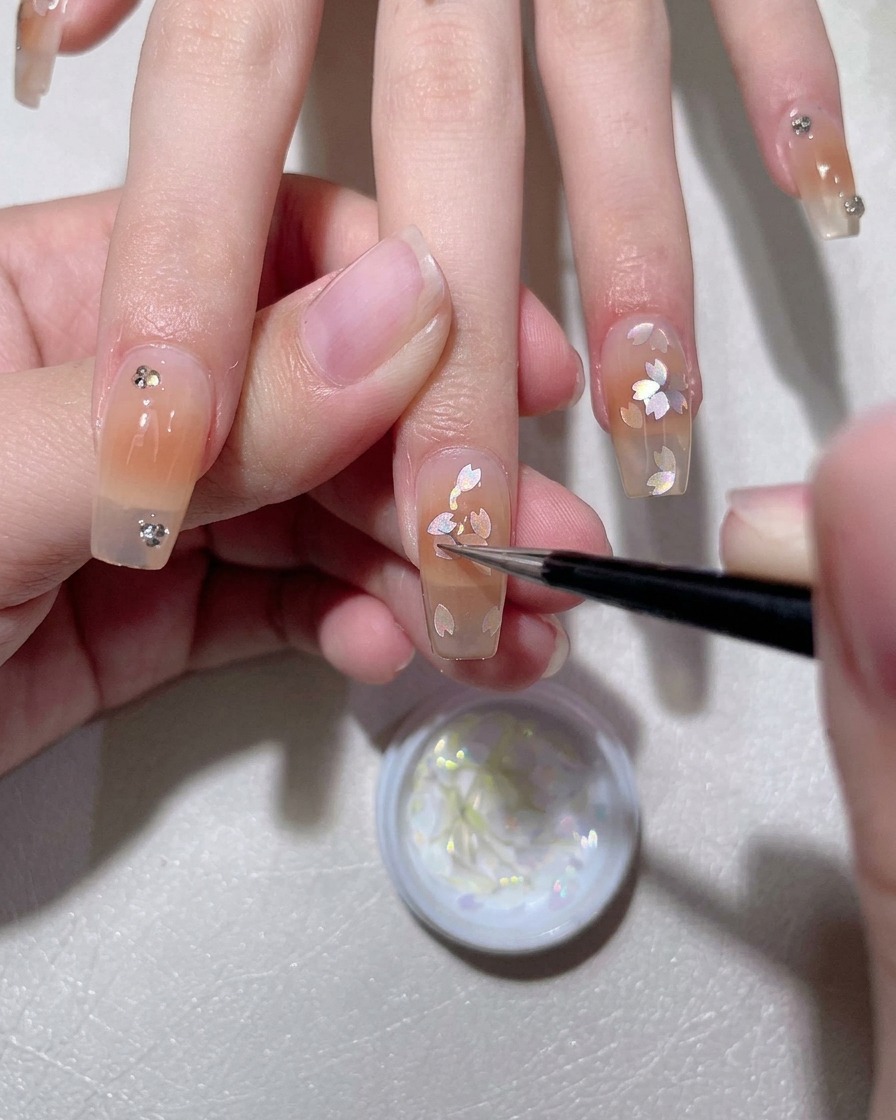
Apply an even, thin layer of milky white base coat across the entire nail plate. Ensure the coverage is smooth and free from streaks. This creates the foundational color for your gradient design and provides a soft, semi-sheer background for the subsequent nail art.
Tip: If the base coat looks streaky, allow it to self-level for a few seconds before curing. - 2Apply silver glitter to tips
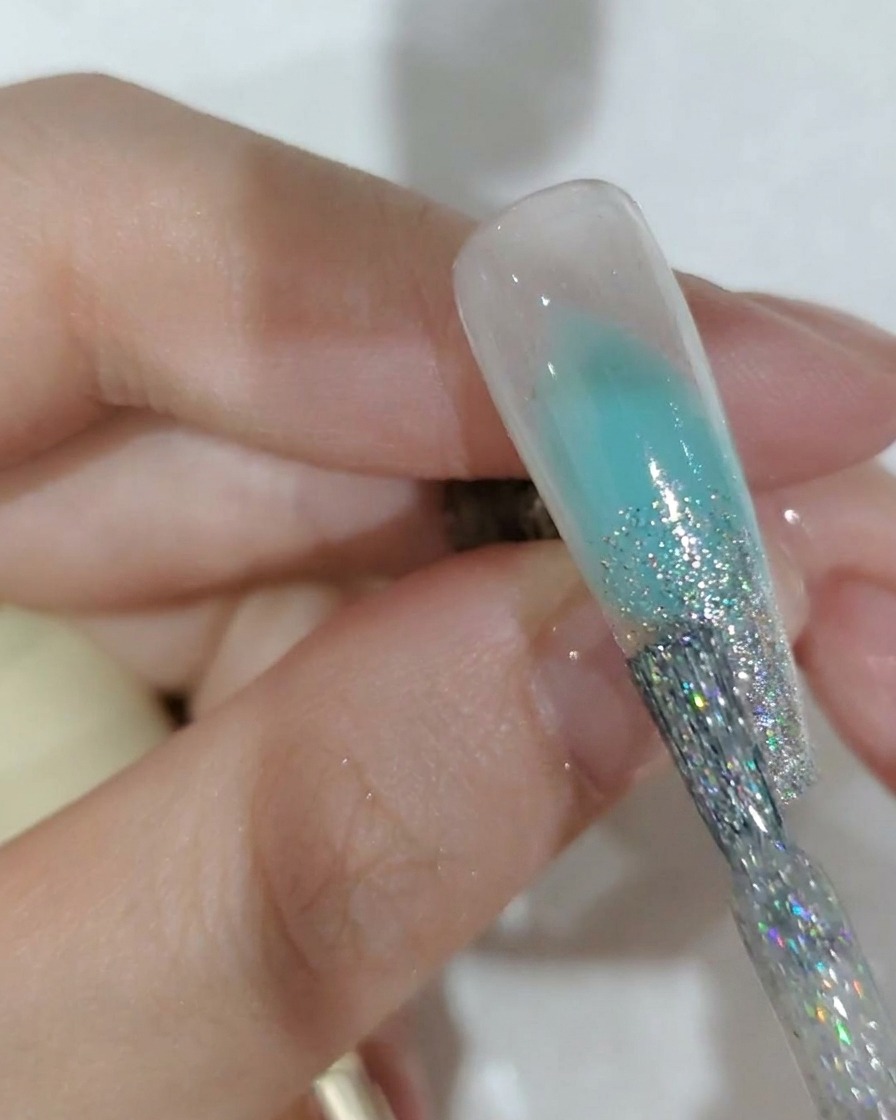
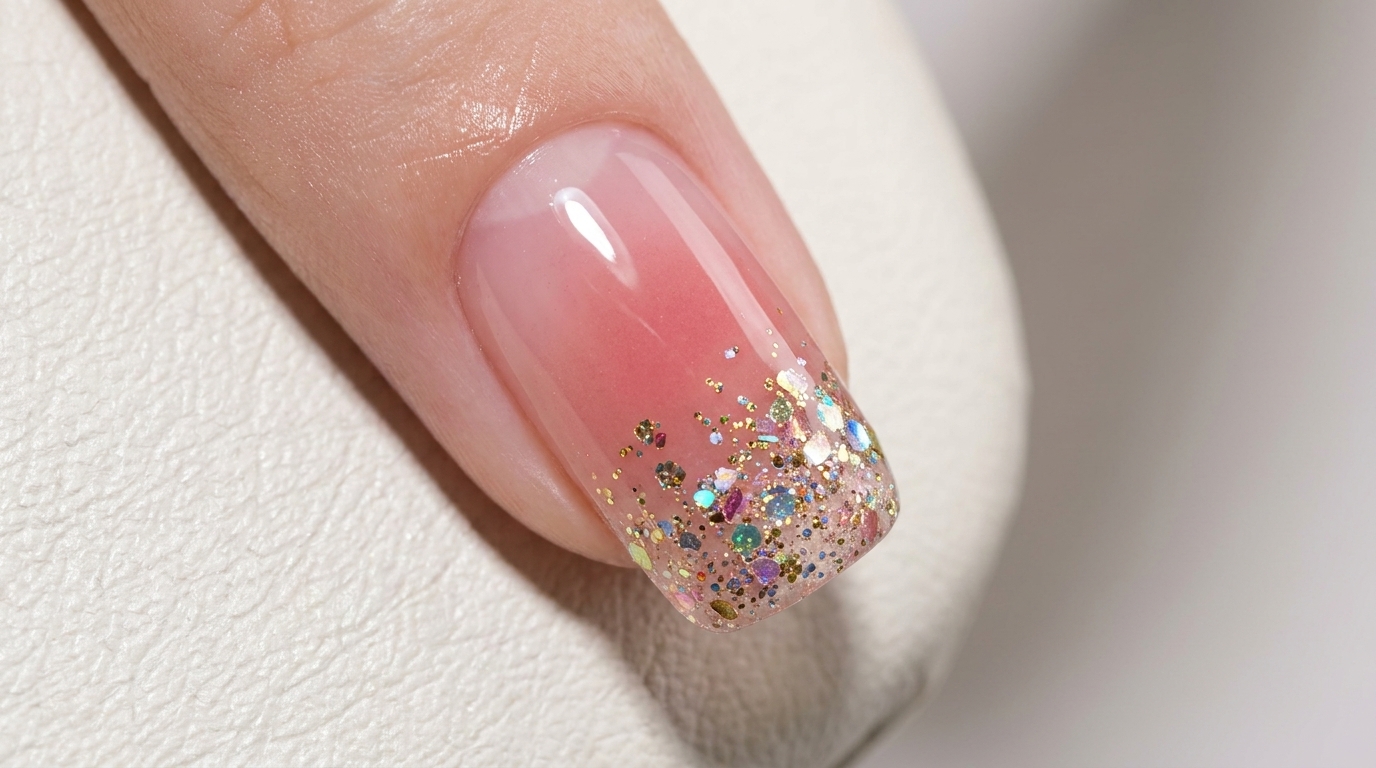
Using a gel brush, apply silver glitter gel specifically to the free edge and tip area of the nail. You do not need to blend it yet, just ensure the concentration of glitter is densest at the very edge of the nail.
Tip: Use a small amount of product to keep the glitter layer thin and avoid bulk at the tip. - 3Create glitter gradient
Using a clean blending brush, gently pull the silver glitter from the tip upwards towards the center of the nail. Use light, tapping motions to fade the glitter out, creating a soft, seamless gradient transition.
Tip: Work lightly to avoid removing too much glitter; the goal is a soft fade, not a solid block of color. - 4Cure the glitter gradient
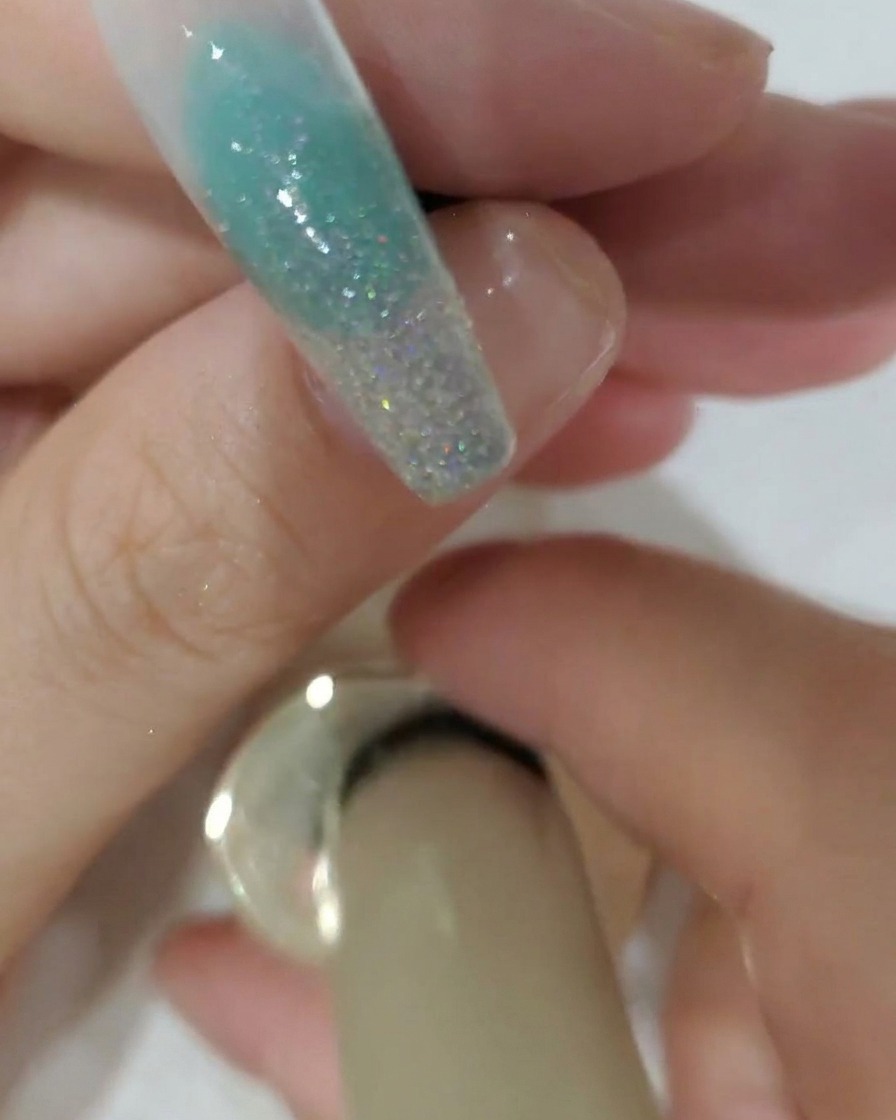
Place your hand inside the UV or LED lamp and cure the silver glitter gradient for the full recommended time. This ensures the glitter is locked in place and the surface is set for the next step of the design.
Tip: Ensure all fingers are positioned directly under the light source for an even cure. - 5Place first blossom petal
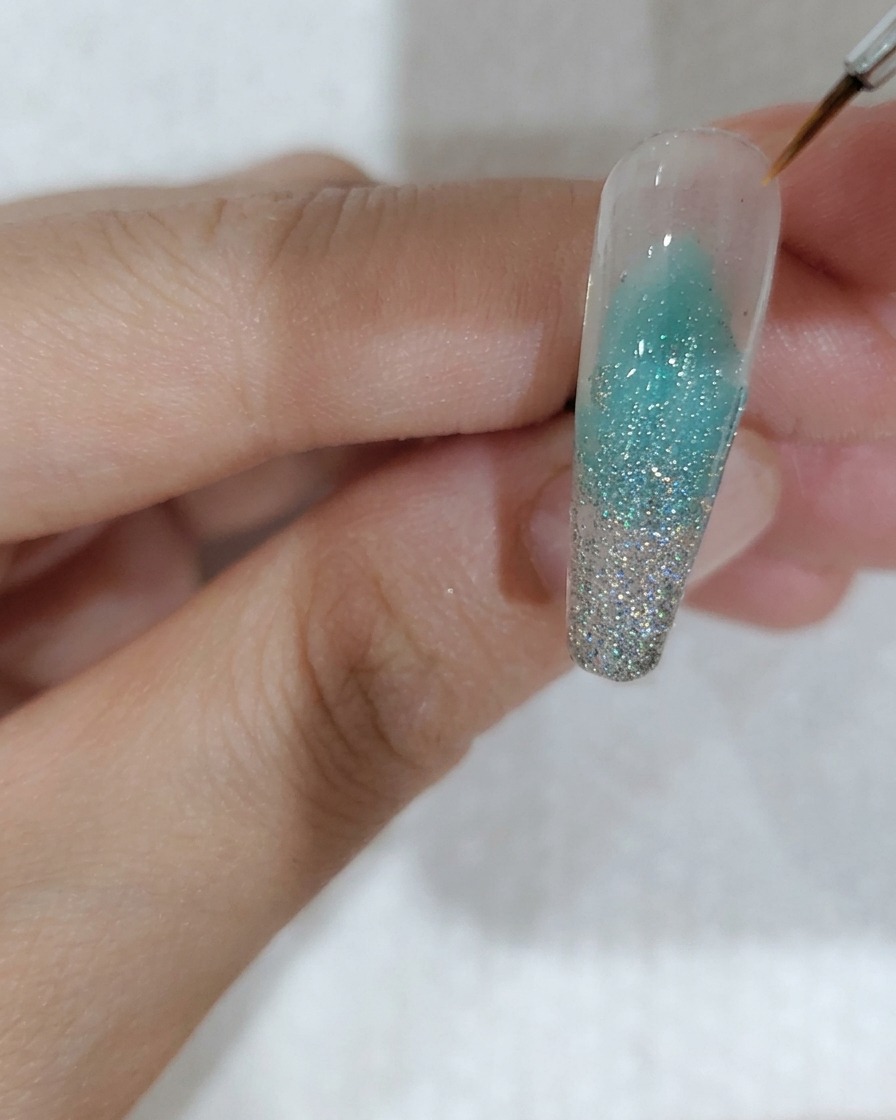
Using tweezers or a dotting tool, carefully pick up a cherry blossom-shaped sequin and place it onto the nail. Position it to form the start of a five-petal flower shape.
Tip: Using a slightly tacky base or uncured top coat can help hold the sequins in position while you work. - 6Place second blossom petal
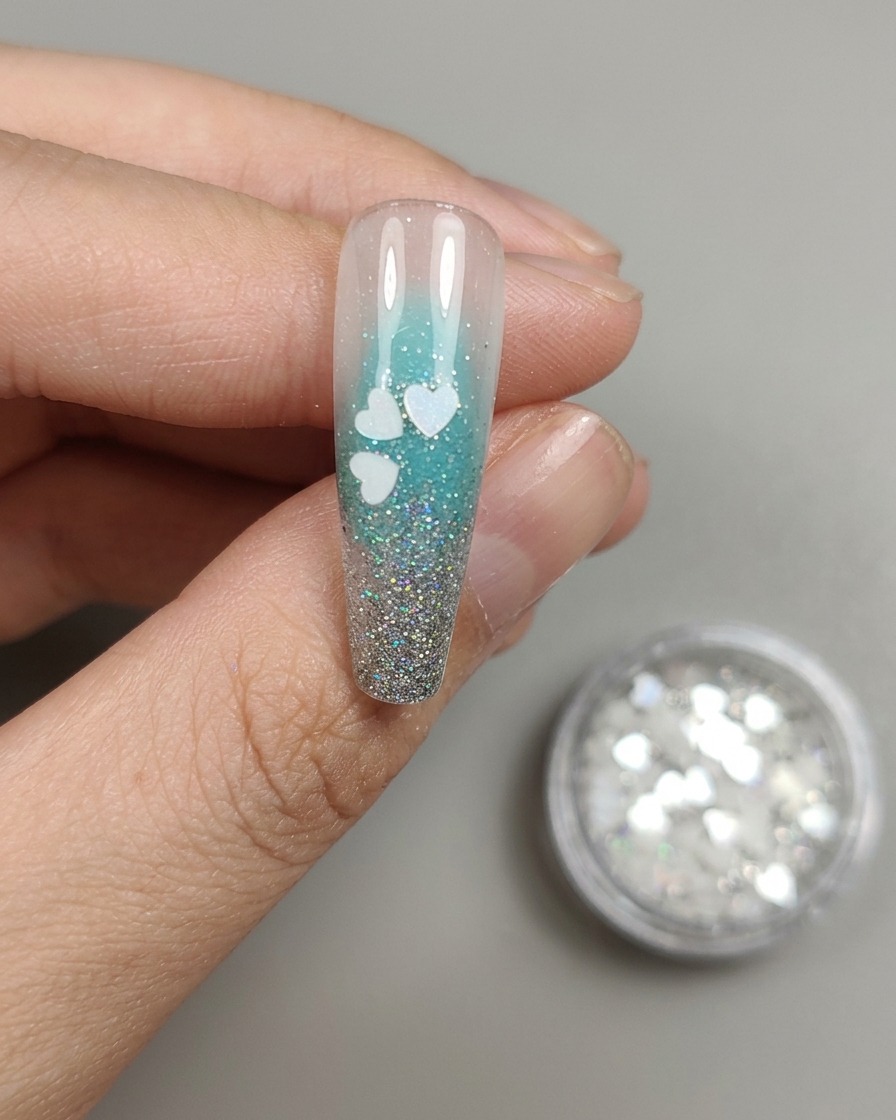
Continue your floral design by placing the second cherry blossom sequin petal near the first. Arrange them carefully to maintain the structure of a five-petal flower.
Tip: Check the symmetry of the petals as you place them to ensure the flower shape looks balanced. - 7Place the third sequin petal
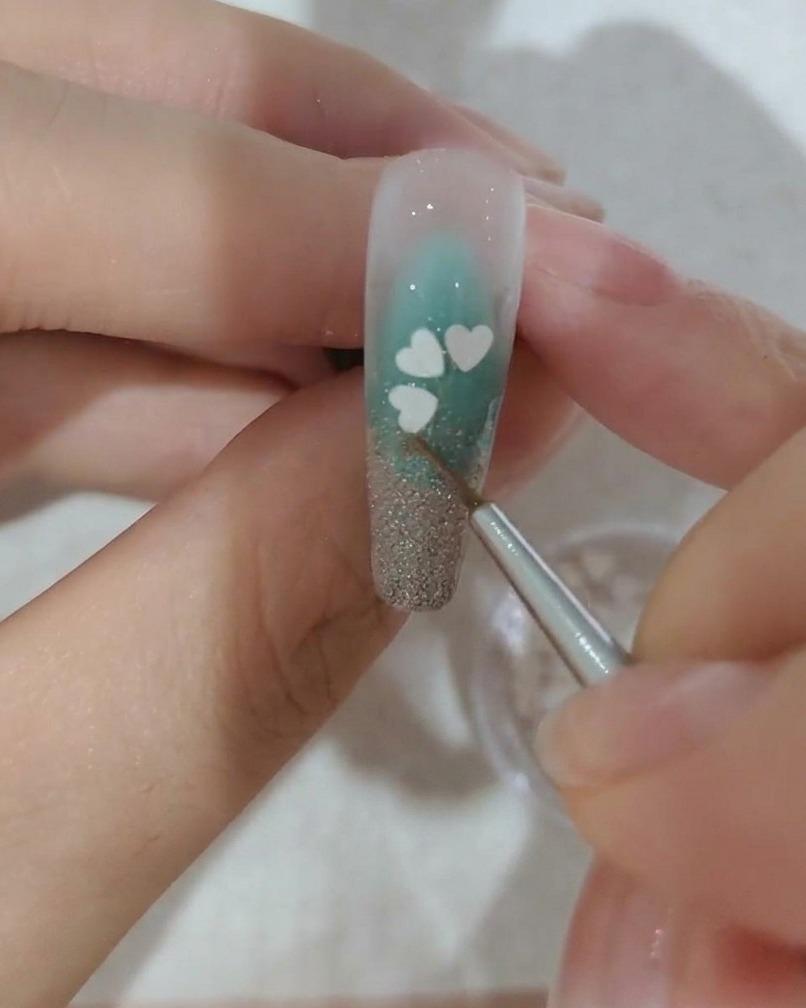
Continue building the five-petal cherry blossom design by carefully placing the third sequin petal onto the nail surface. Use a precision tool or fine-tipped brush to position it securely near the previously placed petals, maintaining the floral arrangement.
Tip: Work with a light touch to ensure the sequins lie flat against the nail surface. - 8Place the fourth sequin petal
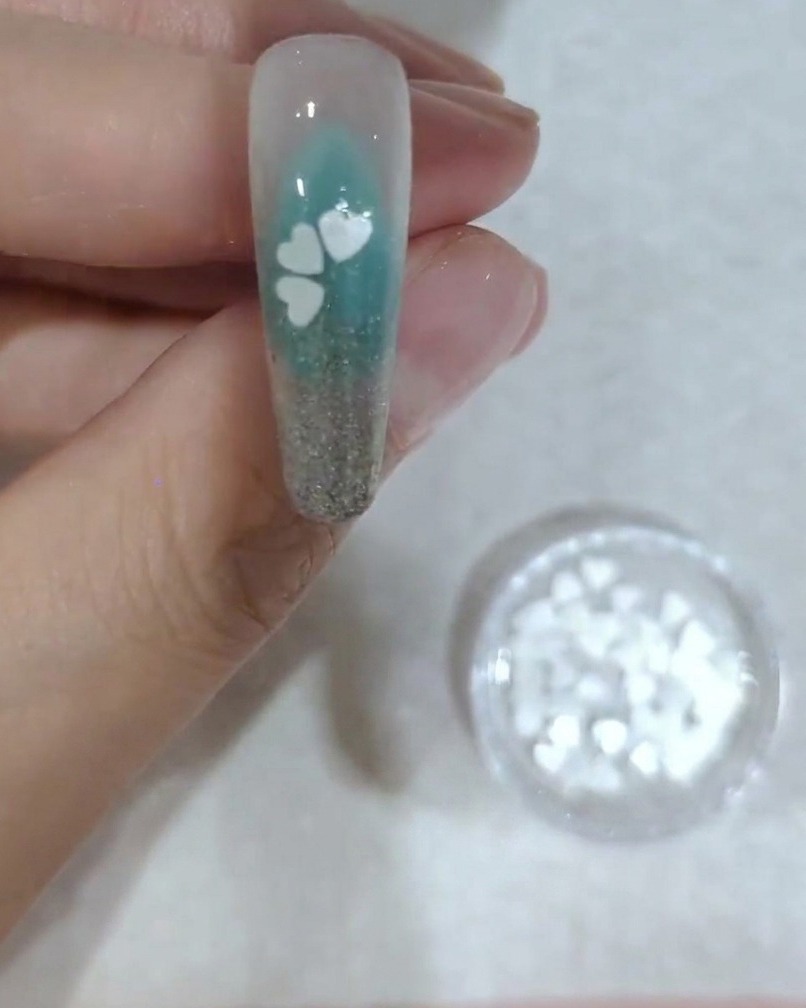
Add the fourth cherry blossom sequin petal to your floral design. Position it adjacent to the third petal, ensuring the flower shape is forming consistently and the petals are evenly spaced for a natural look.
Tip: Check the symmetry of your flower after placing each new petal to ensure it remains balanced. - 9Place the final petal
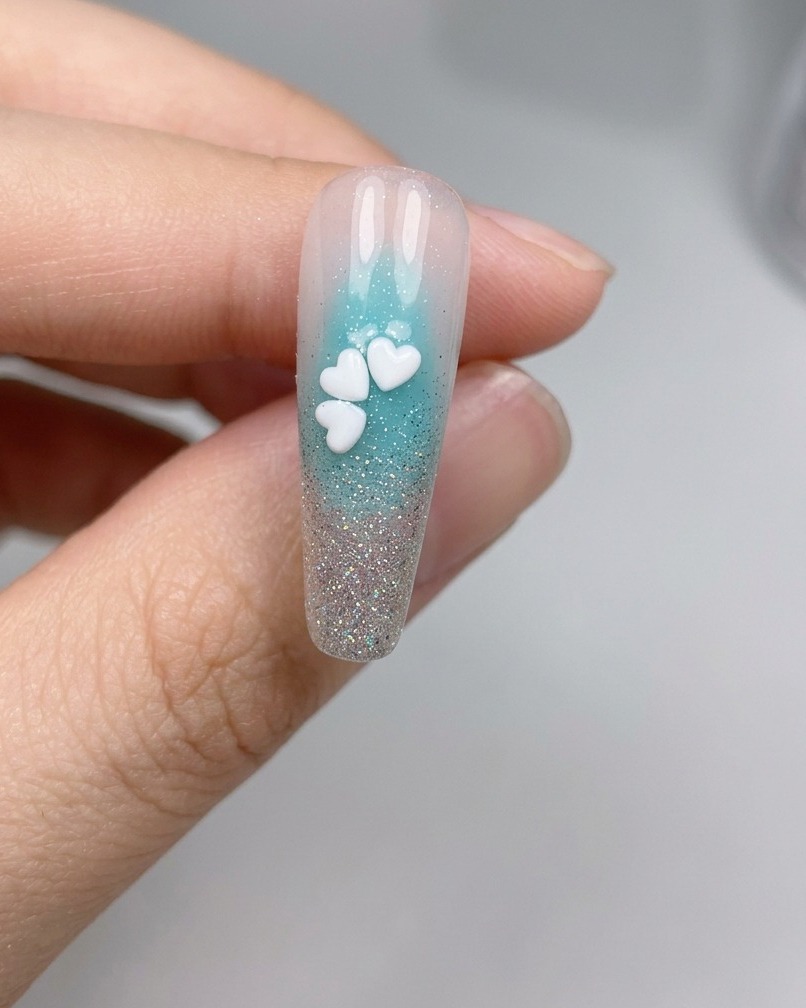
Complete the five-petal cherry blossom design by placing the fifth sequin petal. Ensure it fits perfectly into the remaining space to form a full, symmetrical flower.
Tip: If a petal shifts out of place, use the tip of your tool to nudge it gently back into the correct position. - 10Cure the sequin design
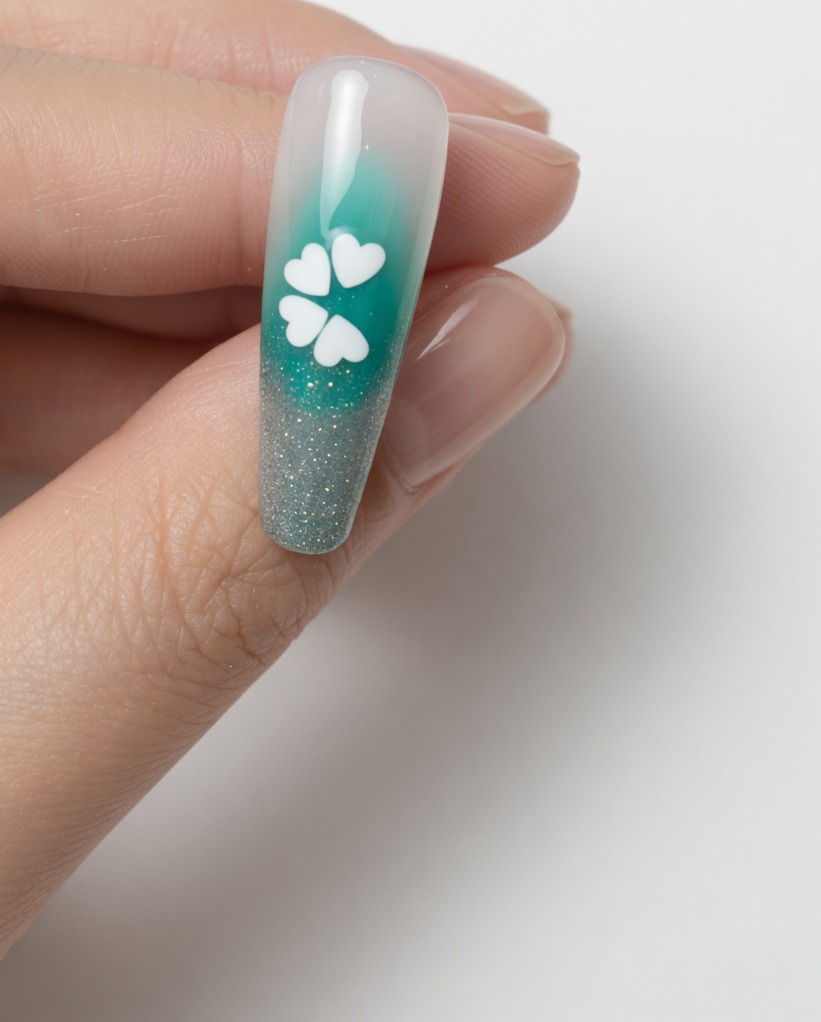
Once all five petals are perfectly arranged, place your hand under the UV/LED lamp to cure the nail. This will harden the gel and lock the cherry blossom sequins in their position.
Tip: Ensure the nail is positioned directly under the light source for a thorough cure. - 11Apply glue for the center gem
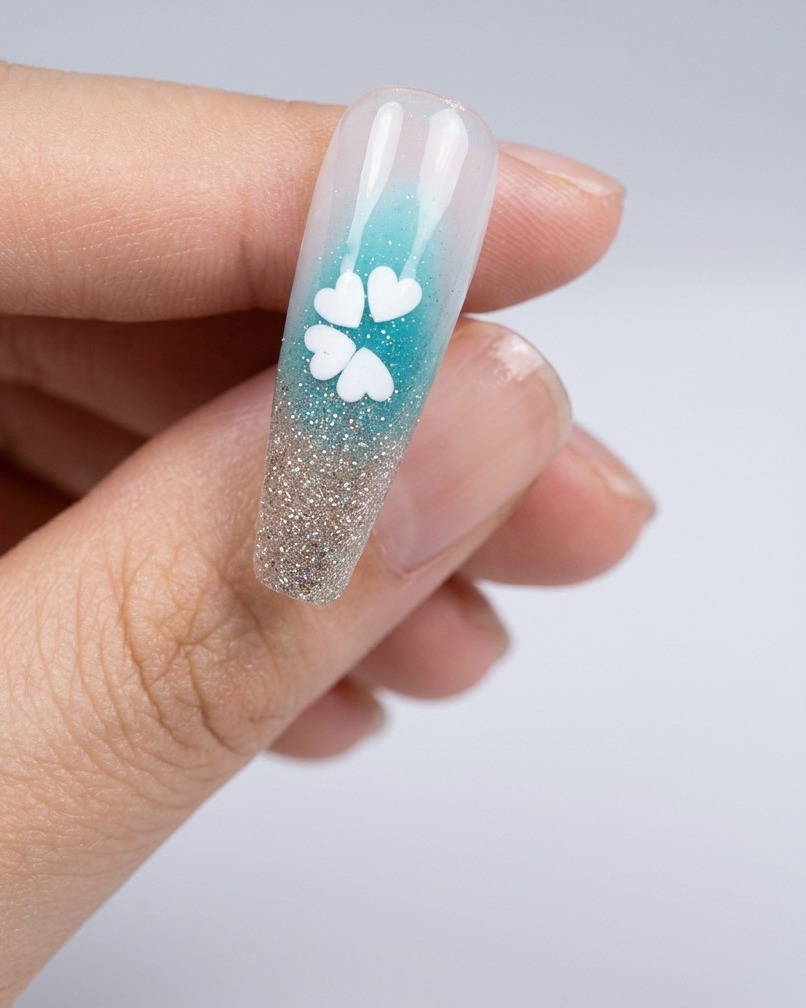
Apply a small, precise dot of rhinestone glue directly into the center of the cherry blossom flower. This glue will act as the adhesive base for the central crystal.
Tip: Use a small amount of glue to avoid overflow, which can be difficult to clean once cured. - 12Place the center crystal
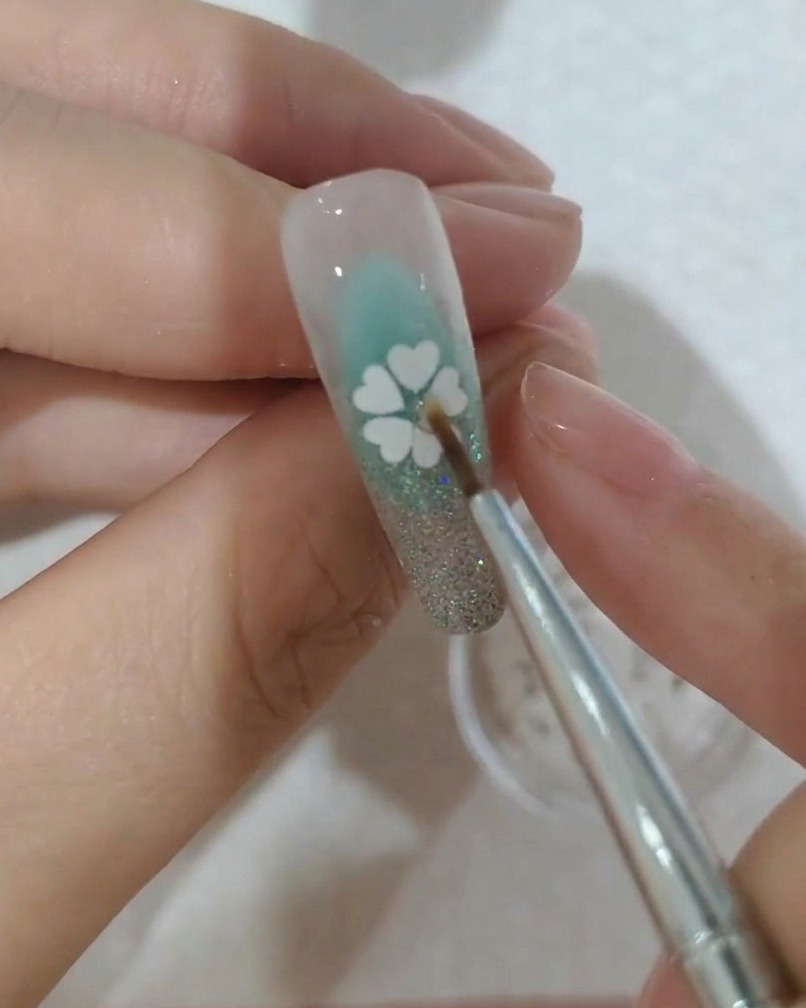
Carefully pick up a small crystal and place it onto the dot of glue in the center of the flower. Press it lightly to ensure it is embedded well and set securely.
Tip: Use a wax-tipped picker tool to easily grab and place the tiny crystal. - 13Cure the rhinestones
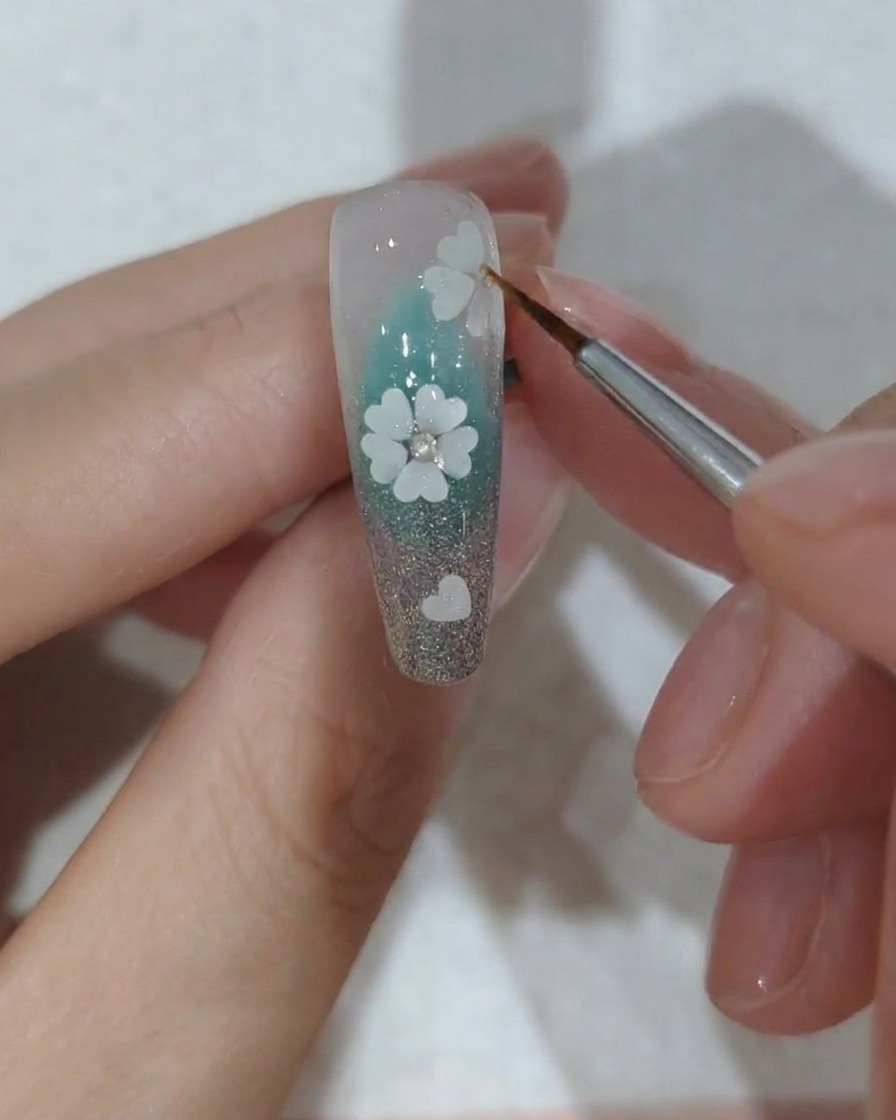
Once the crystals are securely placed in the center of the flower, place your hand back under the UV or LED lamp. Cure for the full duration recommended by your gel product to ensure the adhesive is completely set and the crystals will not move or fall off.
Tip: If using a thick rhinestone glue, a slightly longer cure time may be necessary to ensure it is fully hardened through to the base. - 14Apply glossy top coat
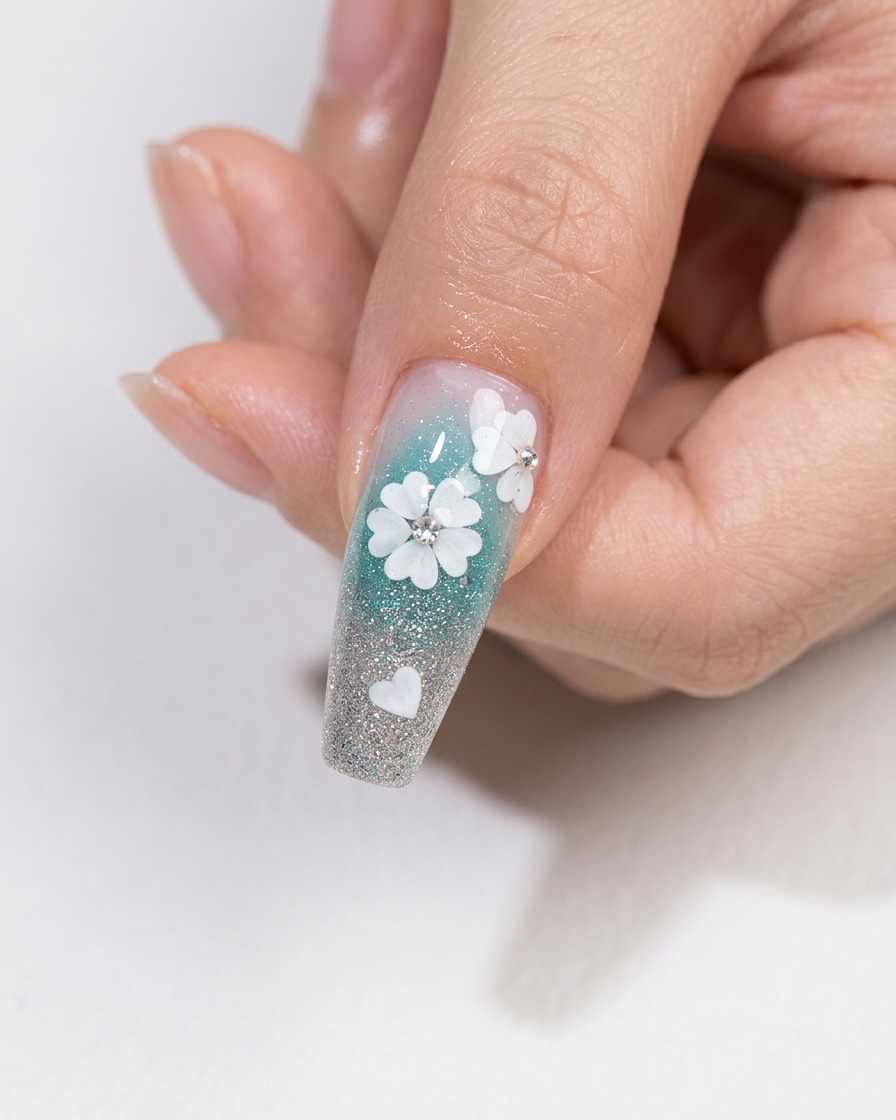
Apply a final, even layer of glossy top coat over the entire nail, ensuring you carefully cap the free edge to protect the design. Be gentle when brushing over the crystals to avoid shifting them or dulling their shine. Cure under the lamp to lock in the final look and provide a durable, high-shine finish.
Tip: When applying top coat over 3D embellishments like crystals, use a slightly larger bead of product and float the brush over the top to avoid scratching the surface of the stones.