Exploding Star Chrome Nails — Artistic Gel Tutorial
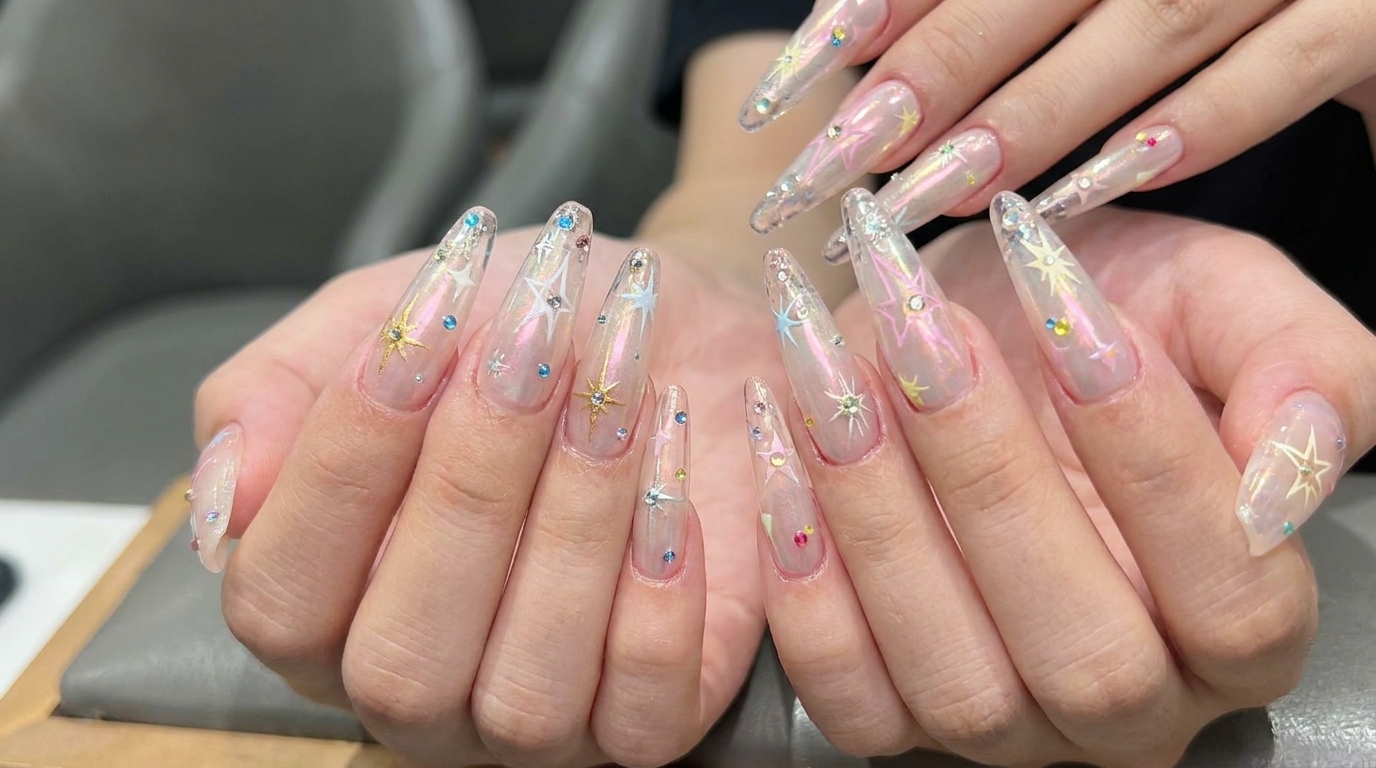
Create stunning exploding star nail art with this chrome and rhinestone tutorial. Master this ethereal, celestial design with our easy step-by-step guide.
The celestial nail trend continues to captivate, and this exploding star design brings a sophisticated edge to your manicure. By combining a reflective chrome finish with hand-painted starbursts and carefully placed rhinestones, you can achieve a professional salon look at home. This tutorial guides you through the precise layering needed to create depth, shine, and structural perfection for your next star-studded set.
Steps
- 1Apply the clear nail tip
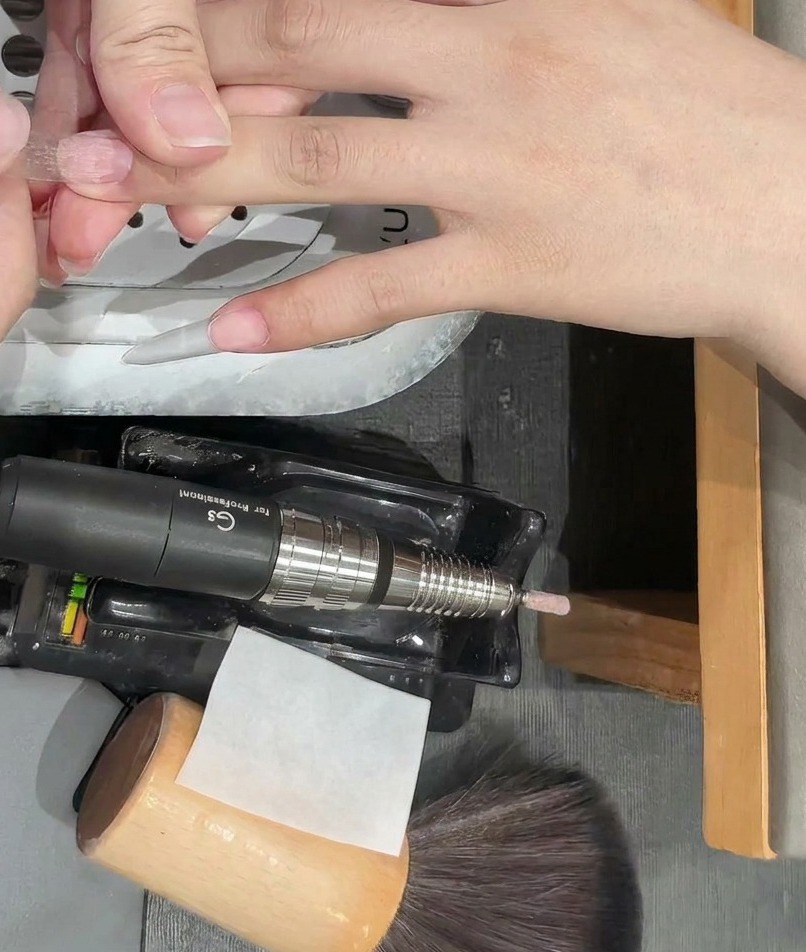
Apply a clear nail tip to the natural nail plate, ensuring it fits perfectly from sidewall to sidewall. Use a small amount of nail adhesive to secure the tip, pressing firmly to remove any air bubbles. Hold until set to create a stable foundation for the upcoming nail art.
Tip: Check the fit of the tip before applying glue; if its too small, it will cause discomfort and look unnatural. - 2Blend the nail tip
Use an electric file with a gentle bit to blend the transition area where the nail tip meets the natural nail. This step is crucial for achieving a seamless, natural look, preventing a noticeable ridge under your gel application.
Tip: Keep the file moving constantly to avoid heat spikes or thinning the natural nail plate. - 3Buff the nail surface
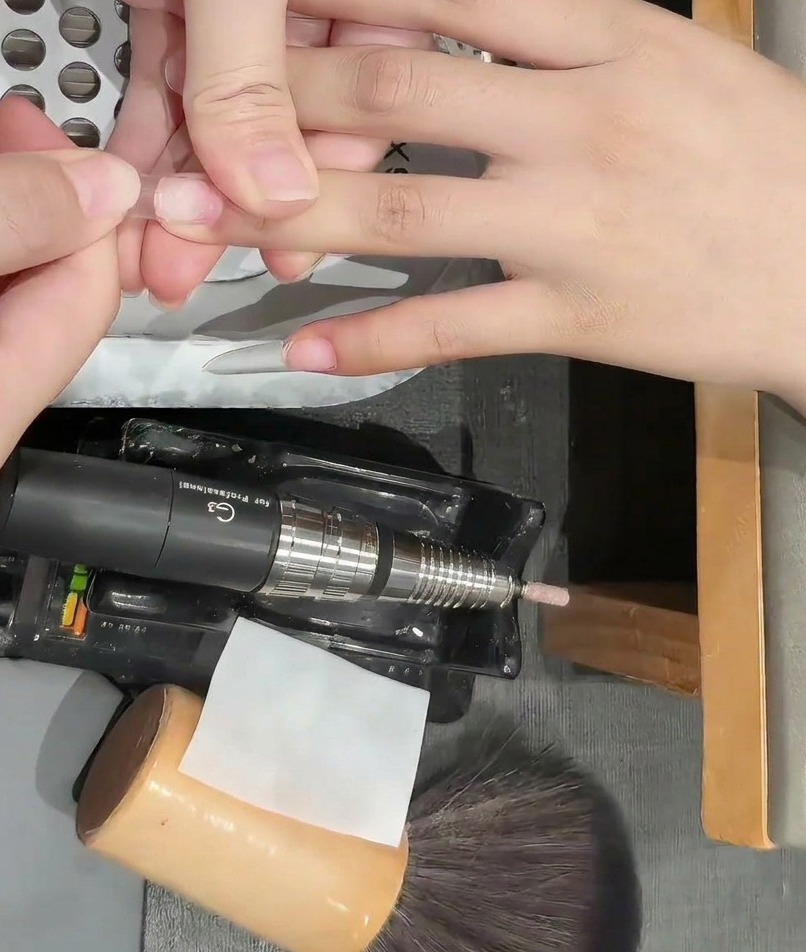
Use a buffer to gently roughen the surface of the nail tip. This provides a textured base that helps the base coat and gel products adhere better, ensuring your manicure lasts longer without lifting.
Tip: Focus on the edges and corners to make sure no shiny spots remain. - 4Apply clear base gel
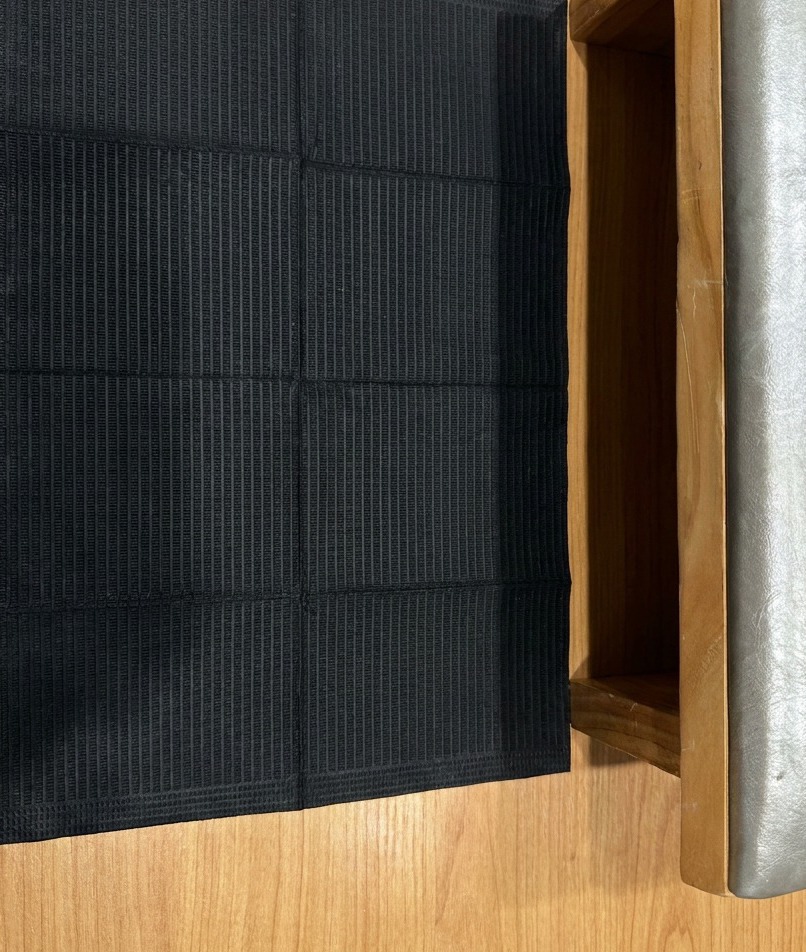
Apply a thin layer of clear base gel over the entire surface of the prepared nail. Do not cure this layer yet, as it will act as an adhesive base for the glitter pieces.
Tip: Ensure the layer is thin and even to keep the application smooth. - 5Apply star glitter
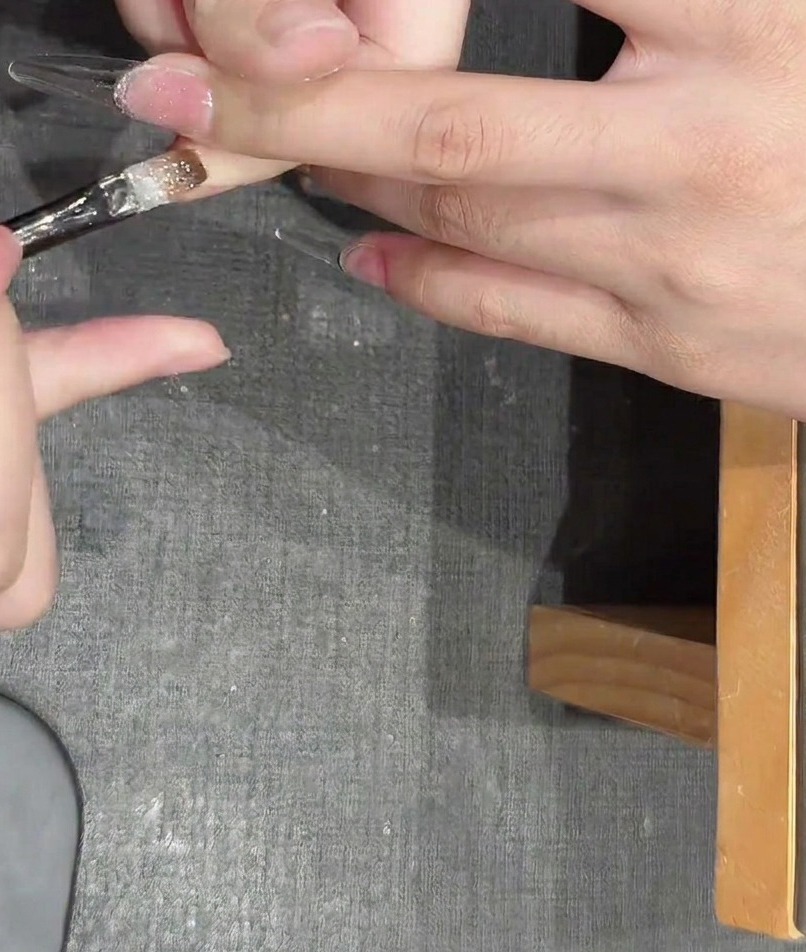
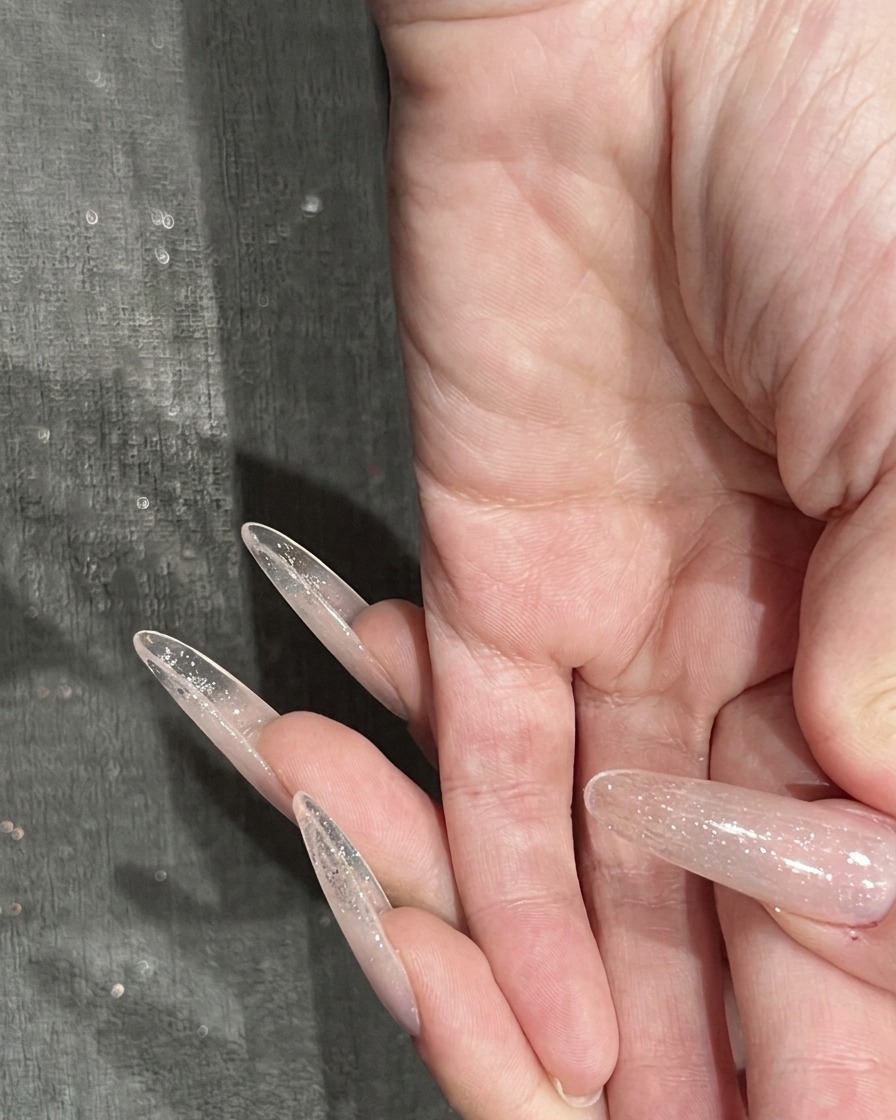
While the base gel is still uncured, carefully place star-shaped glitter pieces onto the nail using tweezers. Arrange them to create the desired exploding star design.
Tip: Work carefully so the glitter pieces dont overlap too much, which could create a bulky surface. - 6Apply construction gel and cure
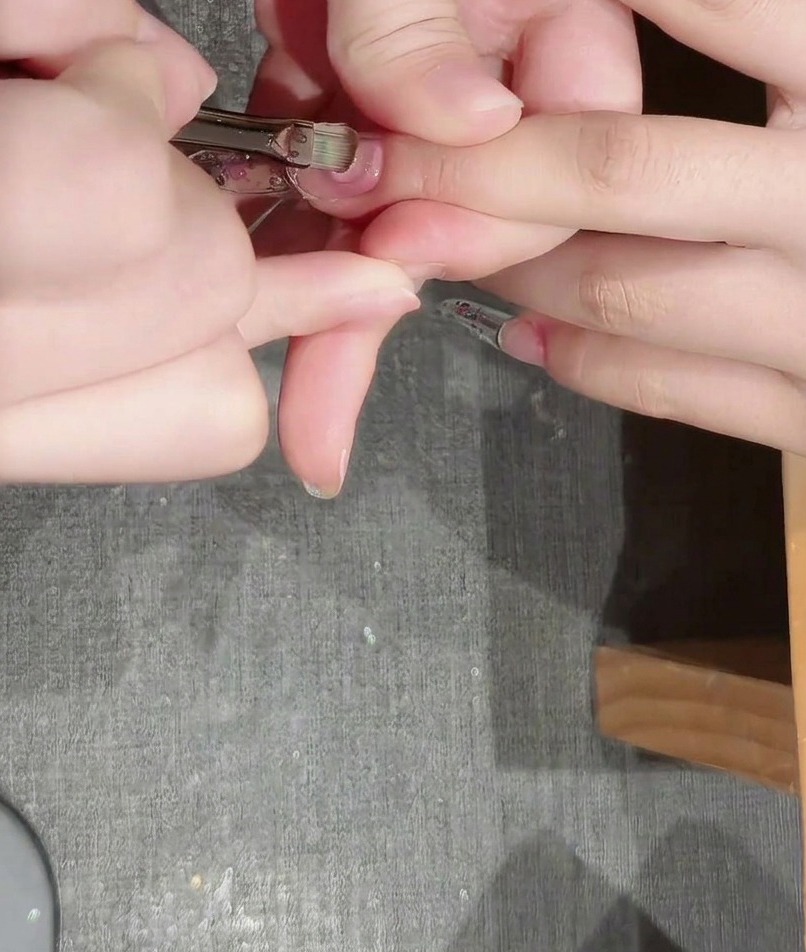
Apply a layer of construction gel over the glitter to seal it in and build the nails structure. Cure under your UV or LED lamp until fully set.
Tip: The construction gel levels itself out, creating a smooth, durable surface over the glitter. - 7File and shape the nail
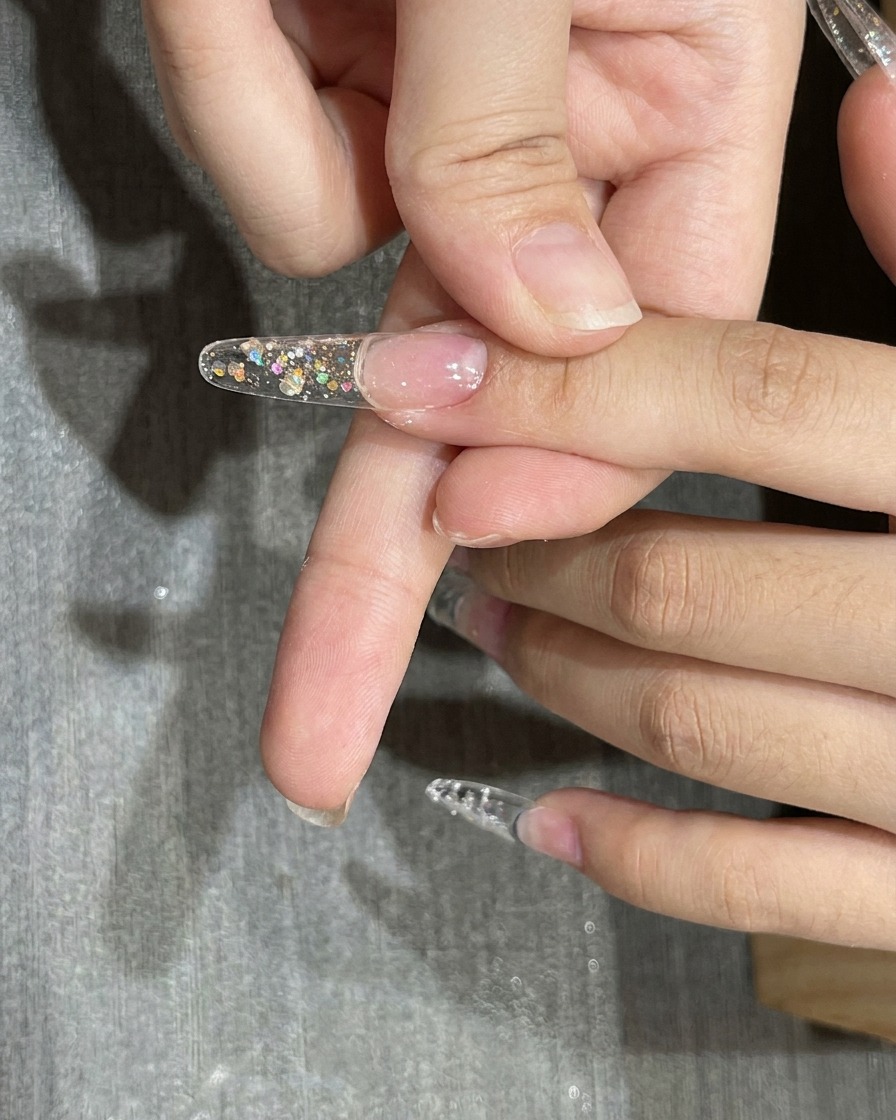
Using a nail file, refine the shape and structure of the nail tip to achieve a smooth, perfected silhouette. Ensure the edges are even and the surface is prepared for the next layer of gel application.
Tip: Keep your file strokes consistent to avoid creating jagged edges on the nail tip. - 8Apply nude-pink gel
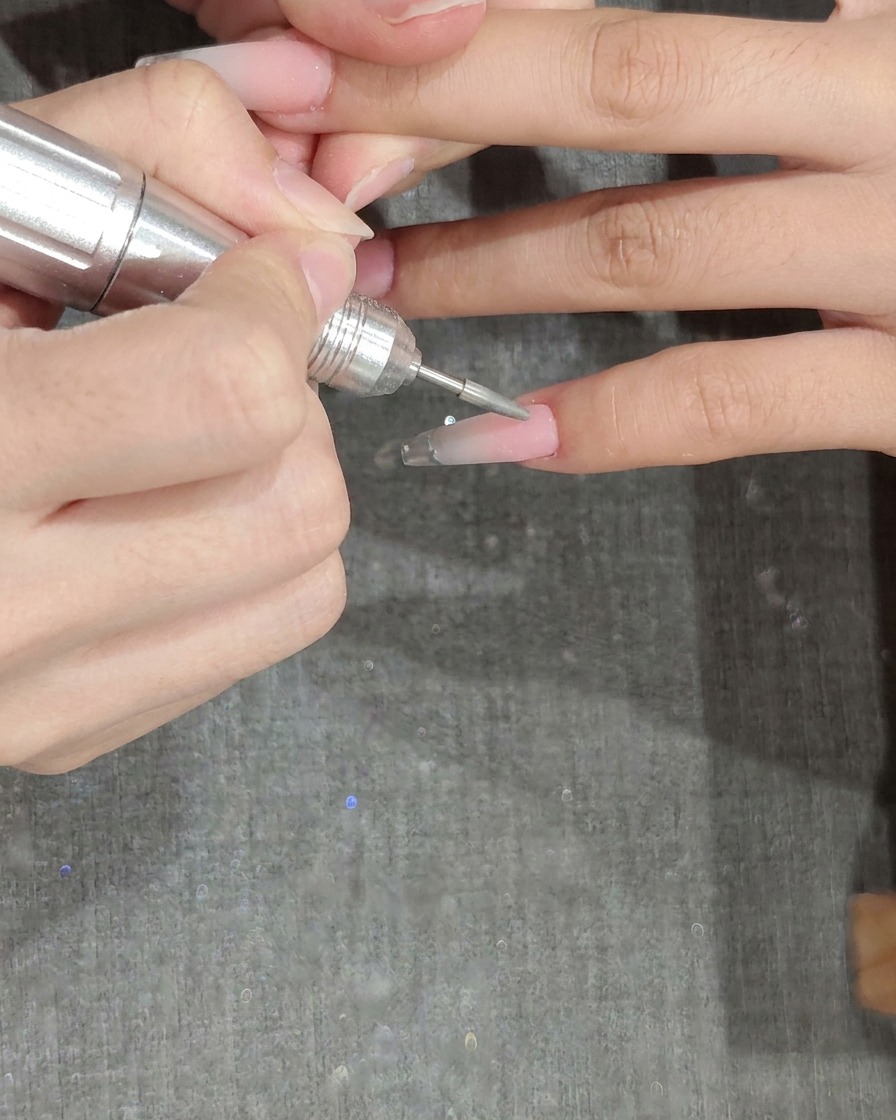
Carefully apply a thin layer of nude-pink gel, starting near the cuticle area and extending towards the free edge. Use a brush to ensure an even distribution for a natural, clean base.
Tip: Working with thin layers helps prevent the gel from pooling around the cuticle. - 9Apply chrome powder
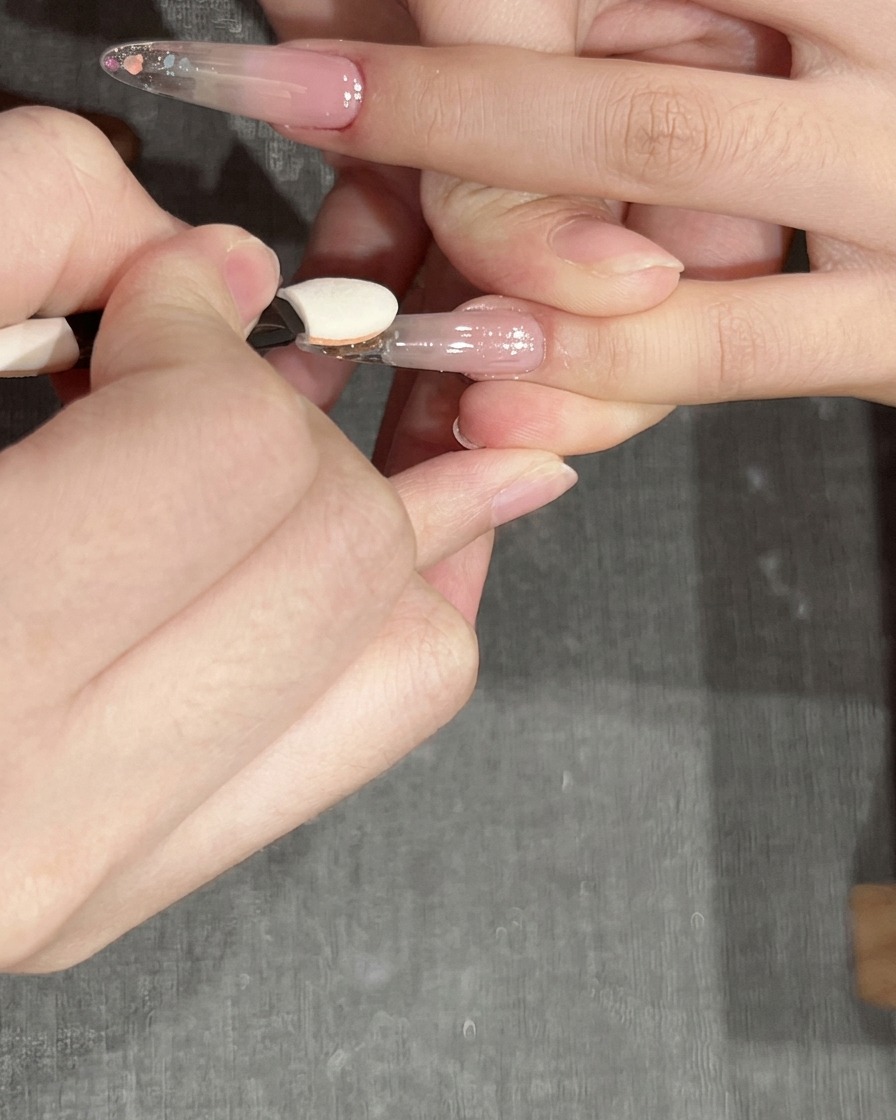
Apply a base coat and then use an applicator tool to rub chrome powder over the nail surface. Buff the powder until a smooth, reflective chrome finish is achieved.
Tip: Apply the powder while the base coat is still slightly tacky for the best adhesion and shine. - 10Apply top coat
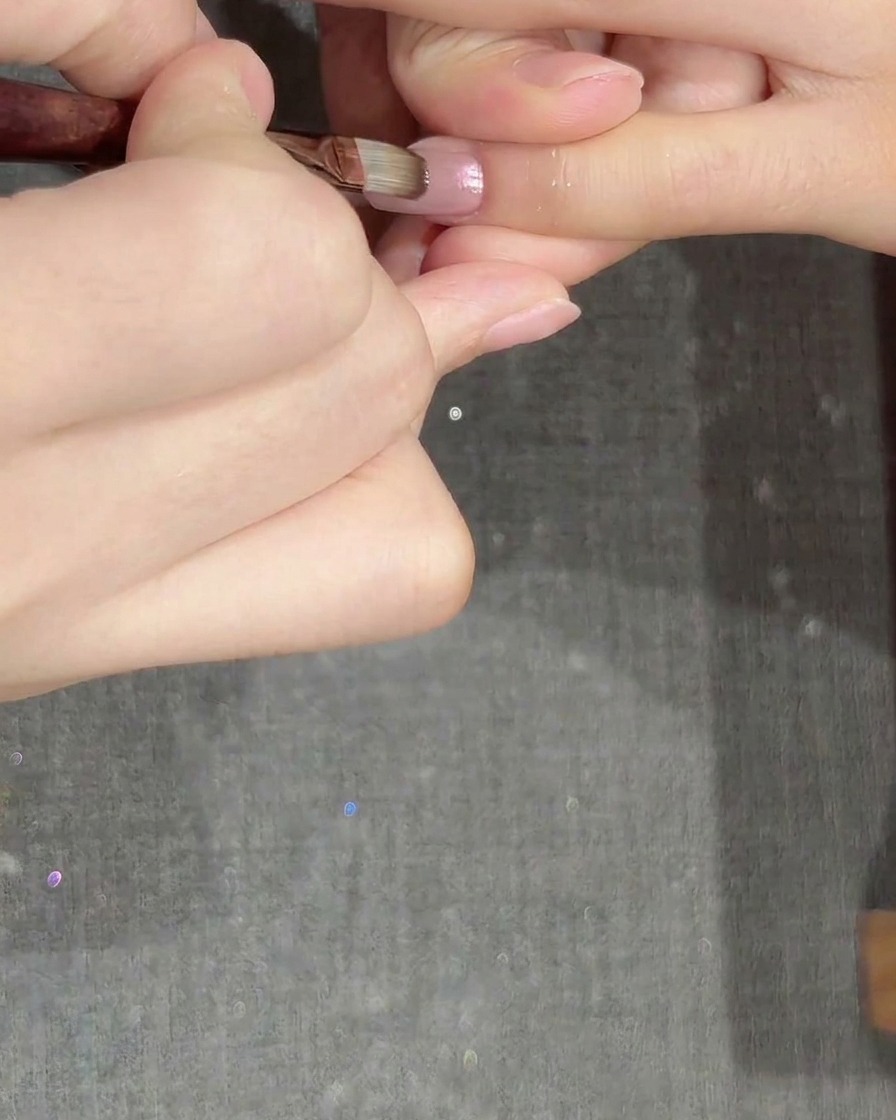
Apply a generous layer of top coat over the chrome-finished nail. This step is essential to seal the powder, provide a high-gloss finish, and protect the design from chipping.
Tip: Cap the free edge with the top coat to ensure the chrome finish lasts longer. - 11Hand-paint starbursts
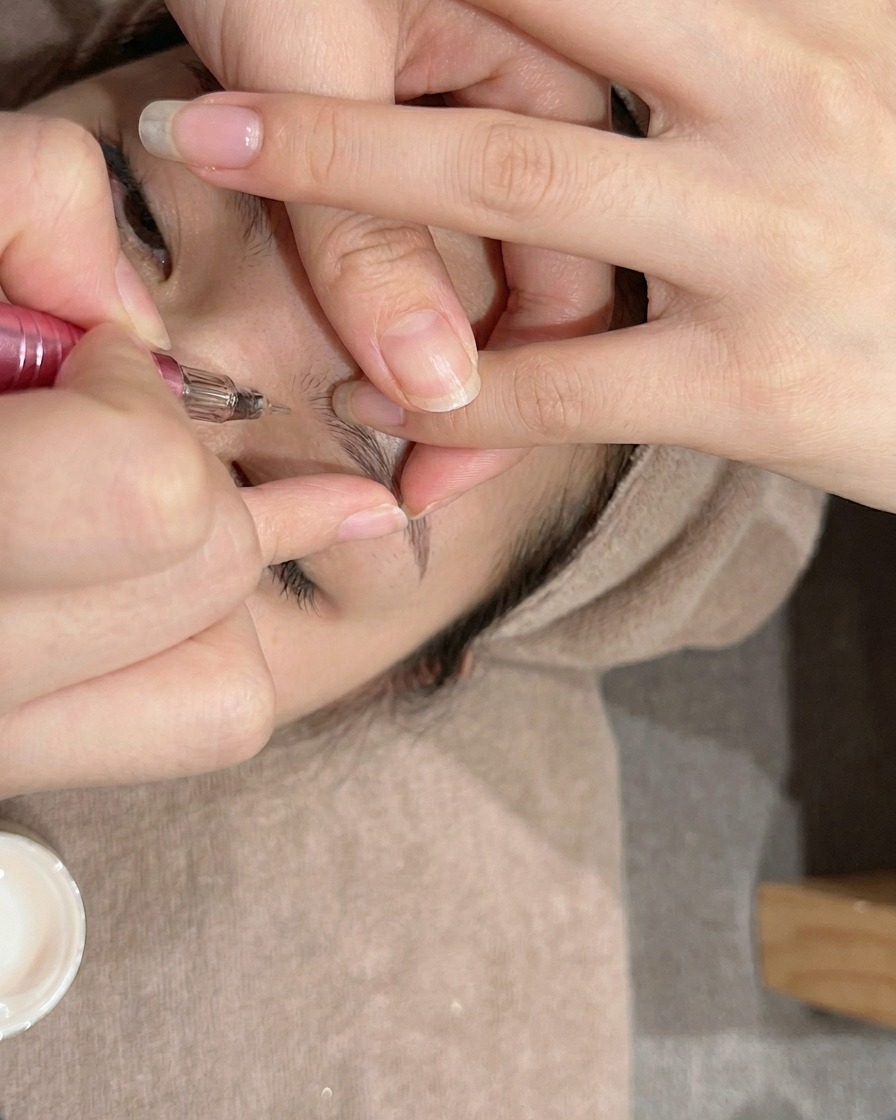
Using a fine liner brush and white gel, carefully draw starburst outlines on the nail. Create sharp, pointed star shapes to add detail to the exploding star nail art design.
Tip: Use light pressure on the liner brush to achieve thin, crisp lines for the star details. - 12Add highlight details
Use a metallic or lighter-colored gel to add highlight details to the centers and edges of the painted stars. This adds dimension and makes the starburst designs pop.
Tip: Small dots or fine lines added to the center of the stars can create a brilliant, sparkling effect. - 13Apply rhinestone accents
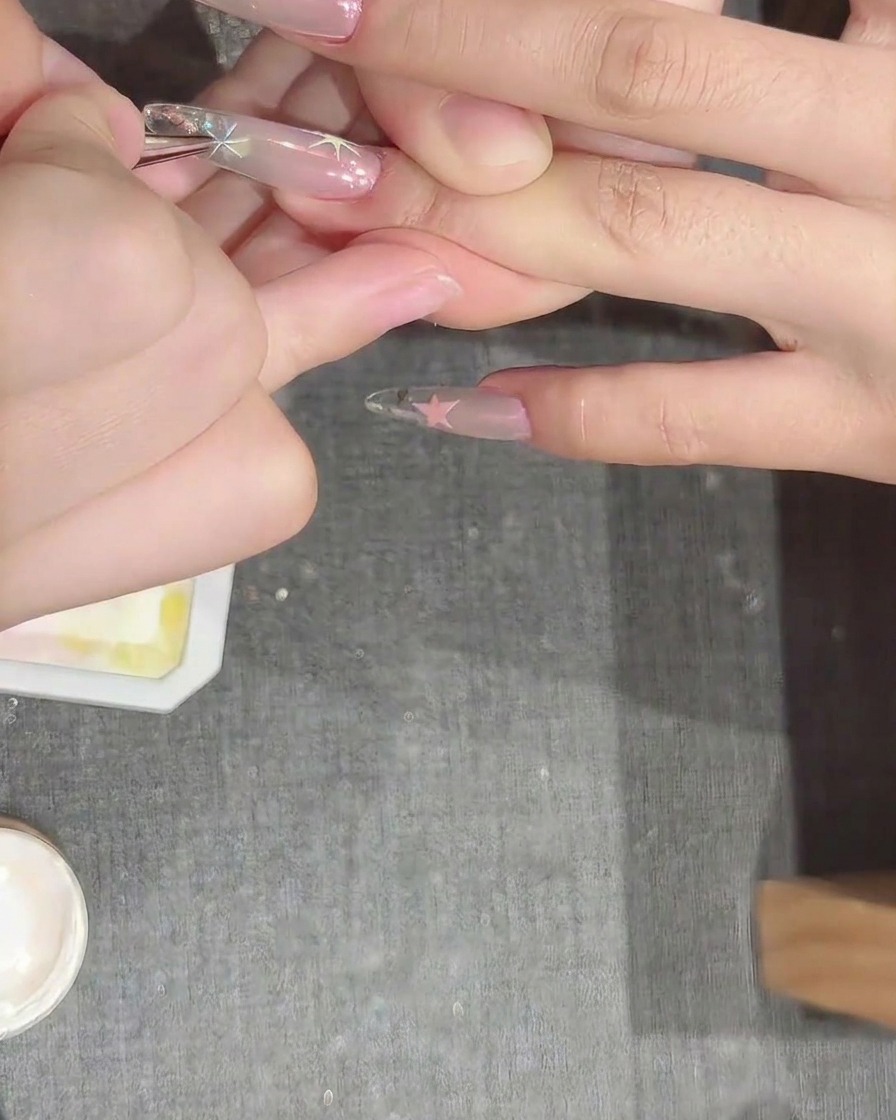
Using a detail brush or wax picker, carefully place small, colorful rhinestones onto the nail surface to add dimension and sparkle. Position them according to your design, ensuring they are pressed firmly into a small amount of uncured base coat or gem glue to hold them in place before final curing.
Tip: Apply a tiny dot of clear gel or glue where you want the rhinestone; this keeps it from sliding around while you position it. - 14Apply final top coat
Apply a generous layer of top coat over the entire nail, ensuring you carefully go around the base of the rhinestones to seal them in without dulling their shine. Cure under your UV or LED lamp as required to lock in the design and provide a long-lasting, glossy finish.
Tip: Be careful not to flood the gems with top coat, as this can bury them and make them look cloudy.