Autumn Milk Tea Gradient Nails
Sakura Sequins — Step-by-Step Tutorial
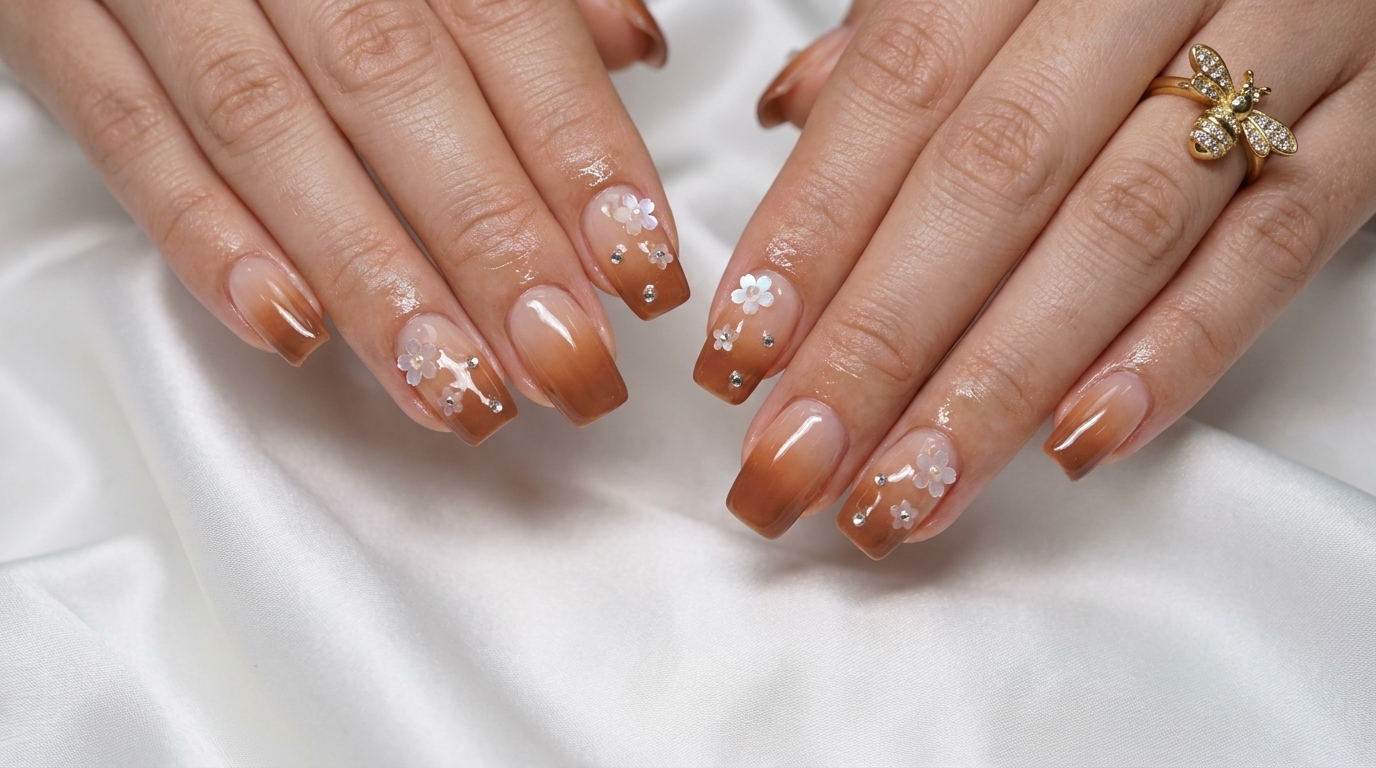
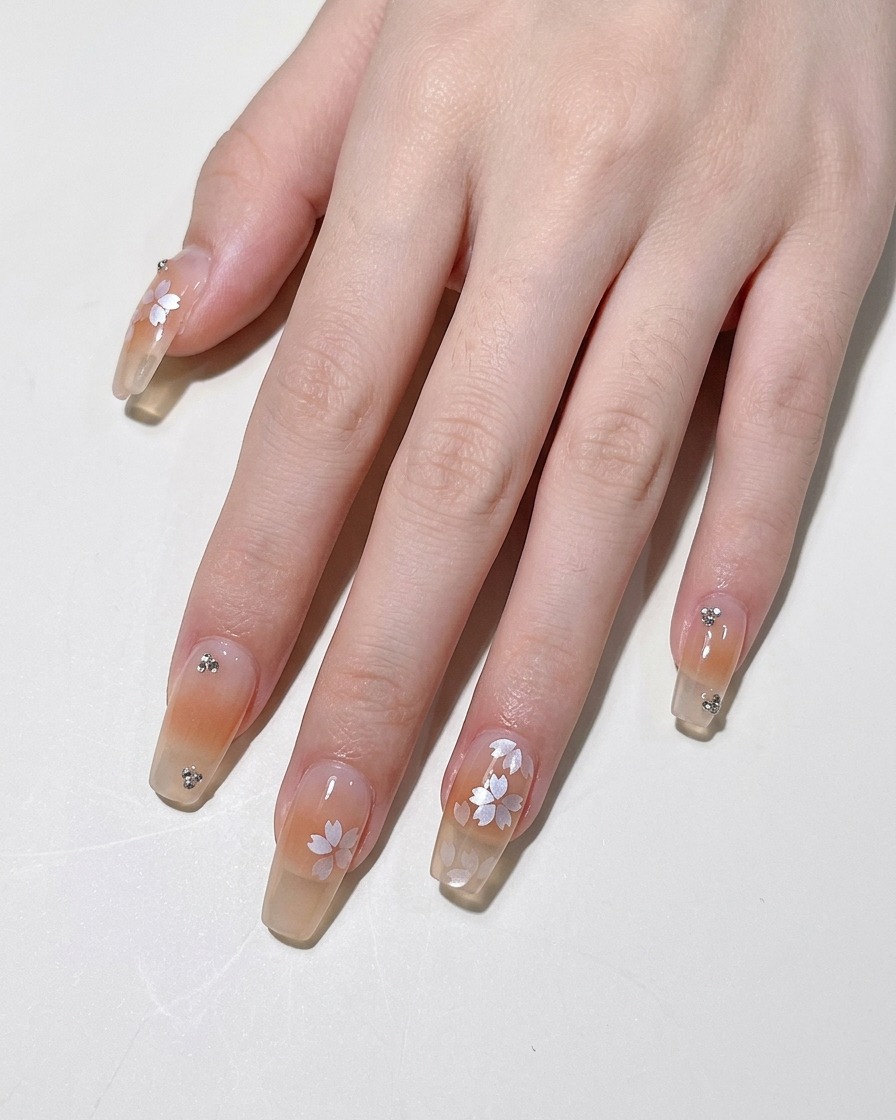
Master the cozy autumn milk tea gradient with this easy gel nail tutorial. Learn how to layer sakura sequins and rhinestones for a delicate, high-shine finish.
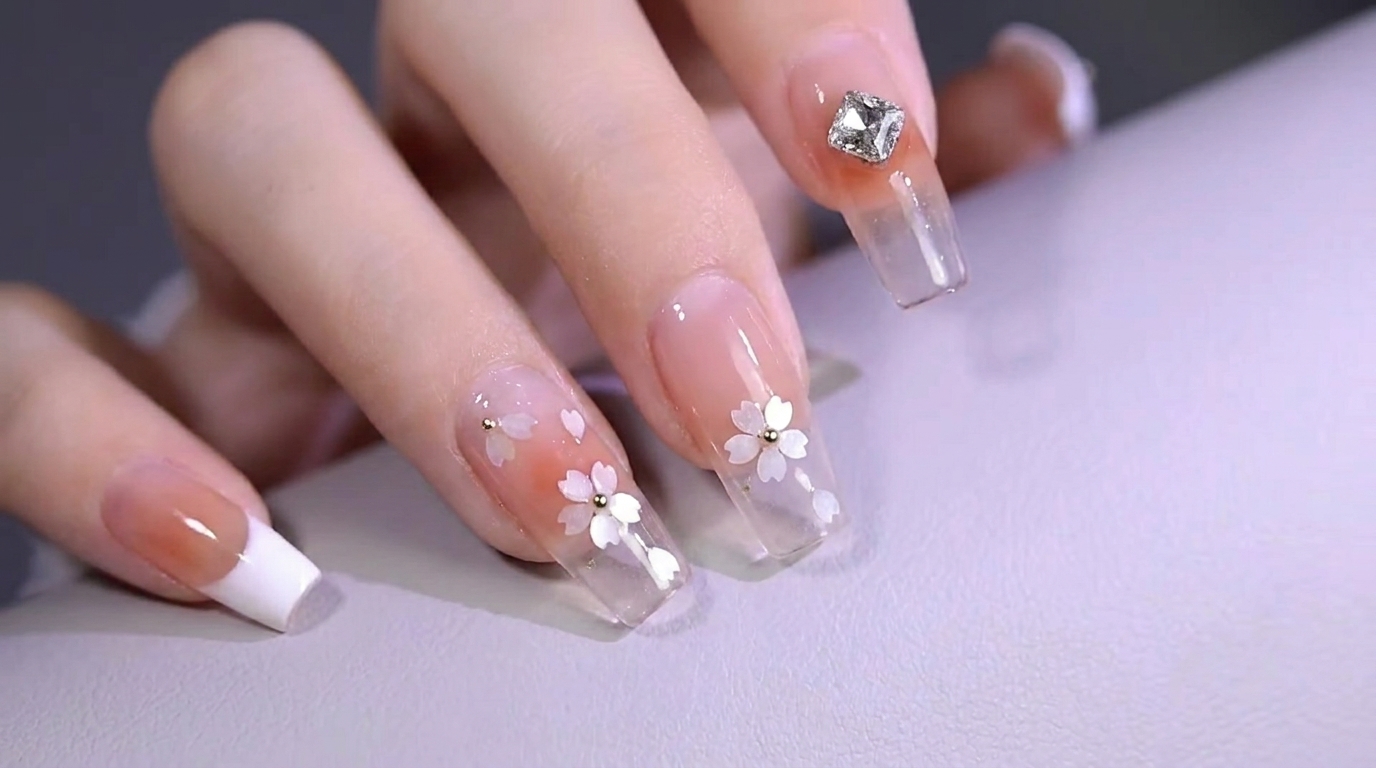
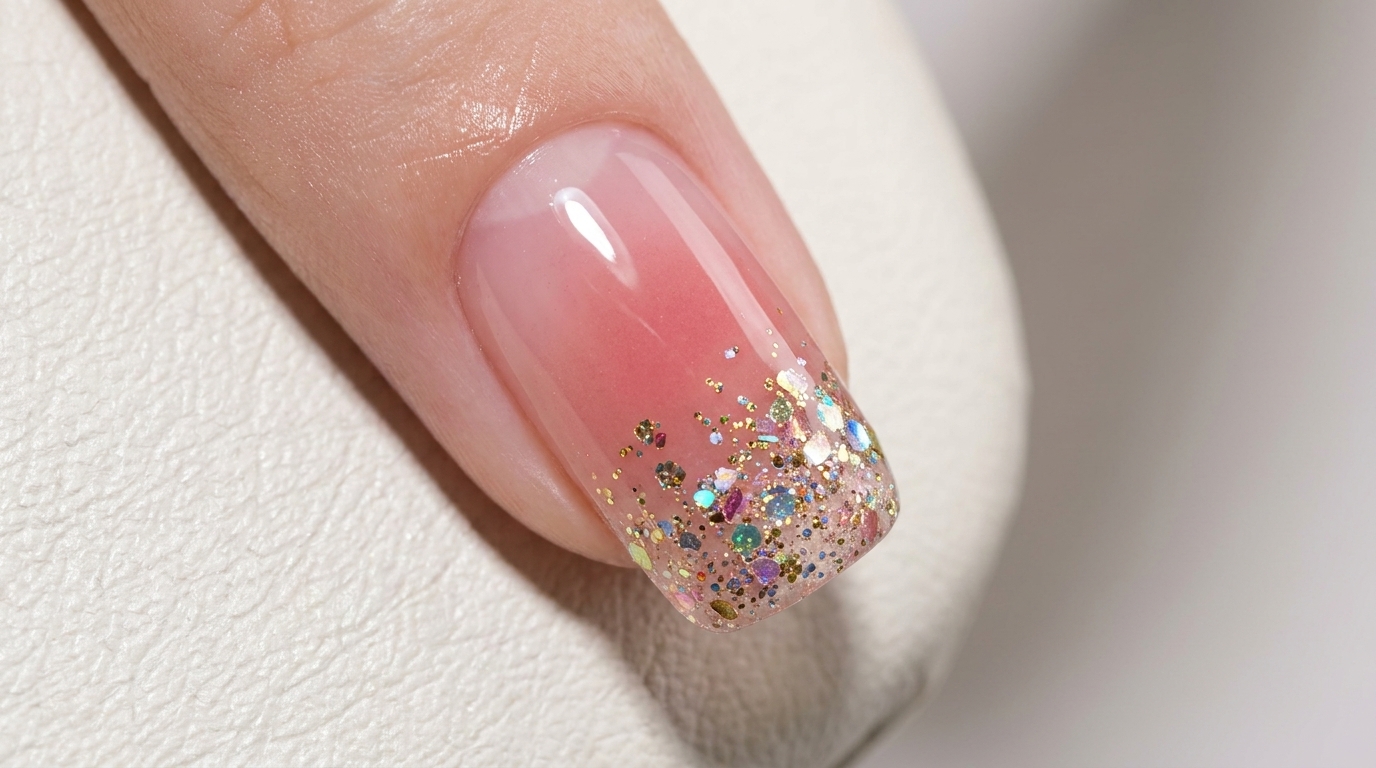
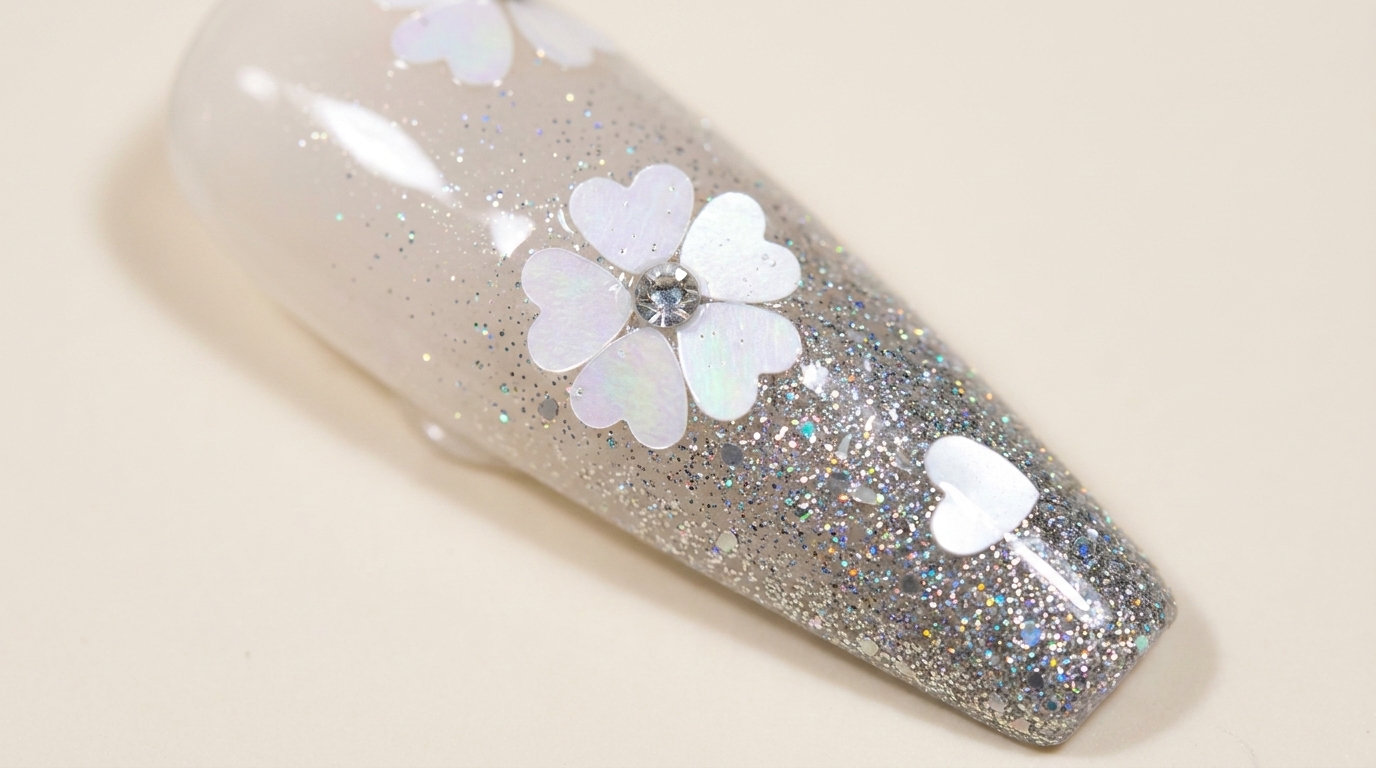
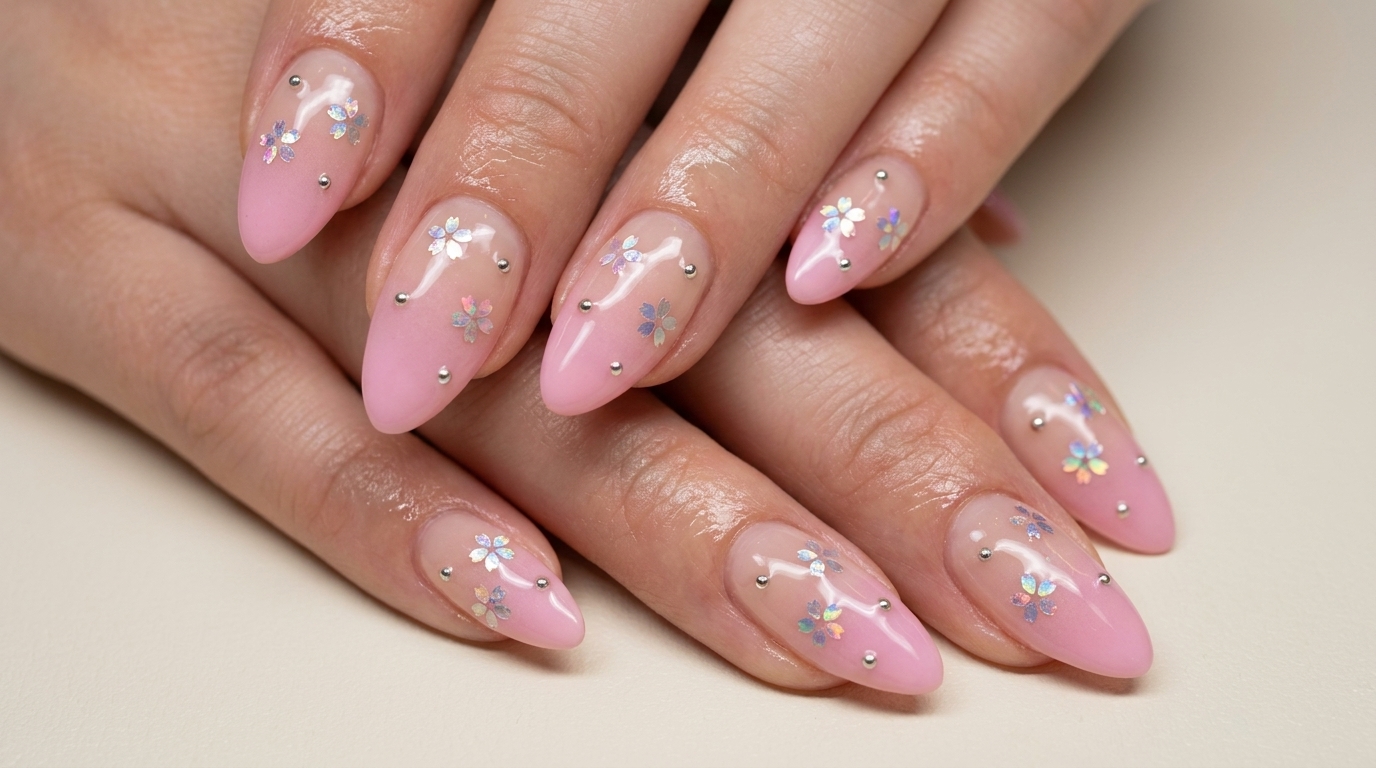
This look perfectly captures the essence of the season by blending warm, earthy brown tones with the ethereal beauty of falling sakura petals. It is a sophisticated, versatile style that balances a minimalist gradient base with whimsical, textured details. Whether you are a beginner or looking to refine your gel layering techniques, this tutorial breaks down the process for a professional result.
Steps
- 1Apply bubble gel base
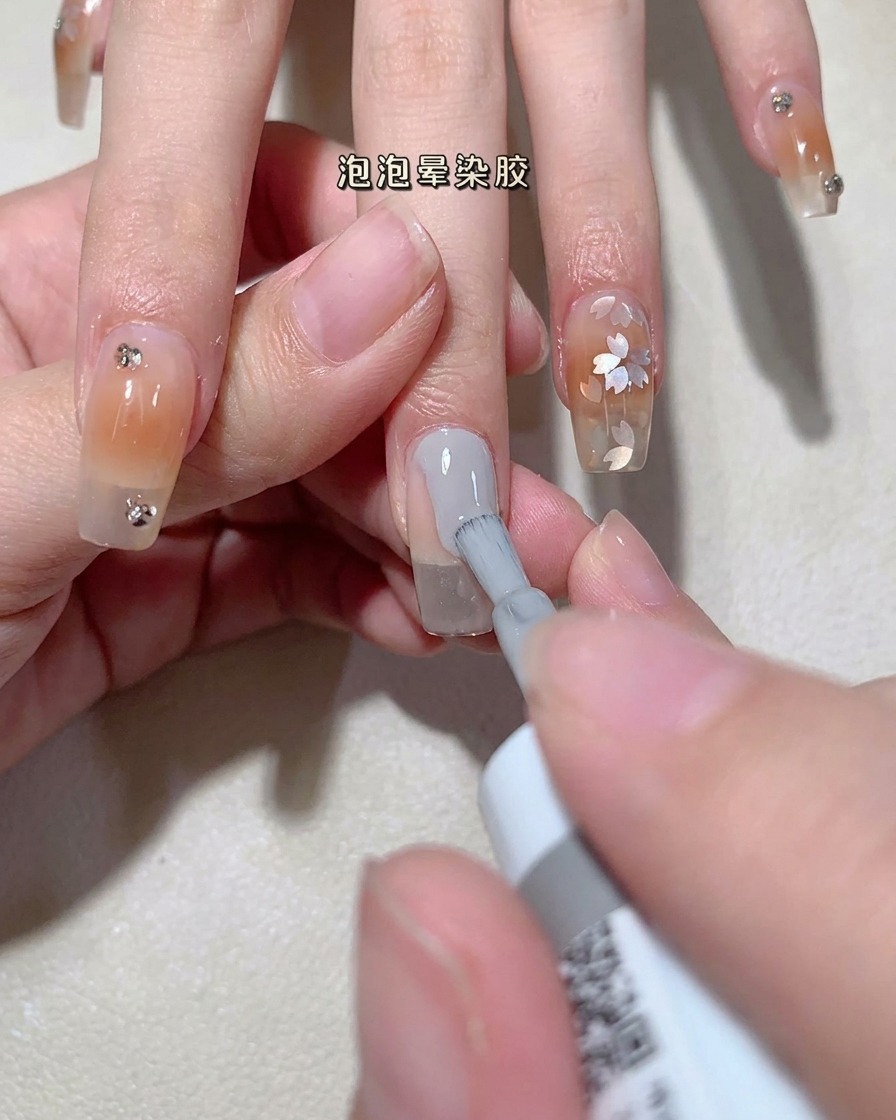
Apply an even, thin layer of clear bubble gel over the entire surface of the nail plate. Ensure you coat the nail evenly to create a smooth, tacky surface that will act as a base for the subsequent gel color and nail art elements. Cure briefly under your UV/LED lamp as needed.
Tip: Apply the gel lightly to avoid thick spots that can pool near the cuticles. - 2Apply brown gel tip

Take your light brown gel polish and apply a small amount directly to the tip of the nail. You do not need to worry about perfect edges at this stage, as this will be blended in the next step to create the gradient effect.
Tip: Less is more; you can always add more color, but starting with too much gel makes blending difficult. - 3Create the gradient blend
Using a fine detail brush, gently sweep the light brown gel upward from the tip toward the middle of the nail. Use light, feathery strokes to transition the color, creating a soft, seamless gradient effect that fades into the clear base.
Tip: Clean your brush on a lint-free wipe frequently during blending to keep the transition smooth and prevent color buildup. - 4Apply adhesive gel
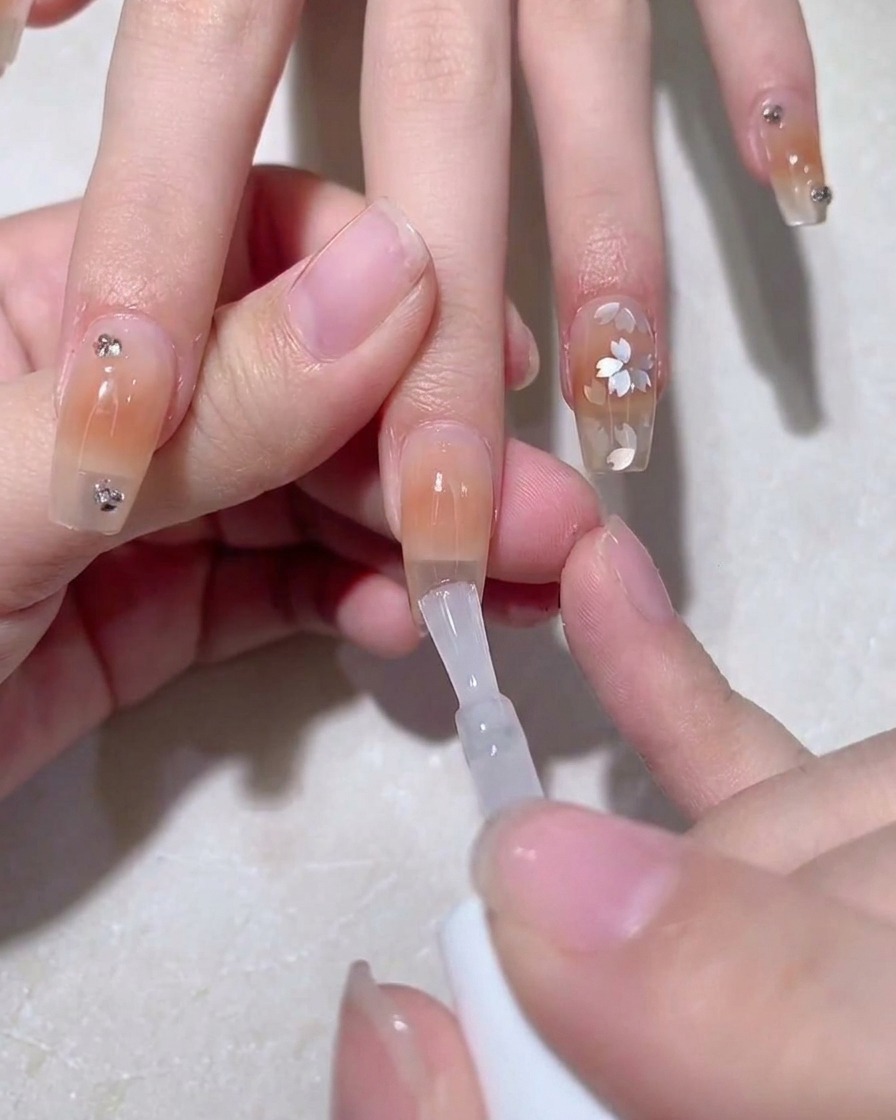
Apply a thin, uniform layer of clear gel over the gradient area. This layer will act as the adhesive for the sakura petal sequins. Do not cure this layer yet, so the decorations can be placed into the wet gel.
Tip: Ensure the layer is thin so the sequins lay flat and do not shift during placement. - 5Pick up sequin
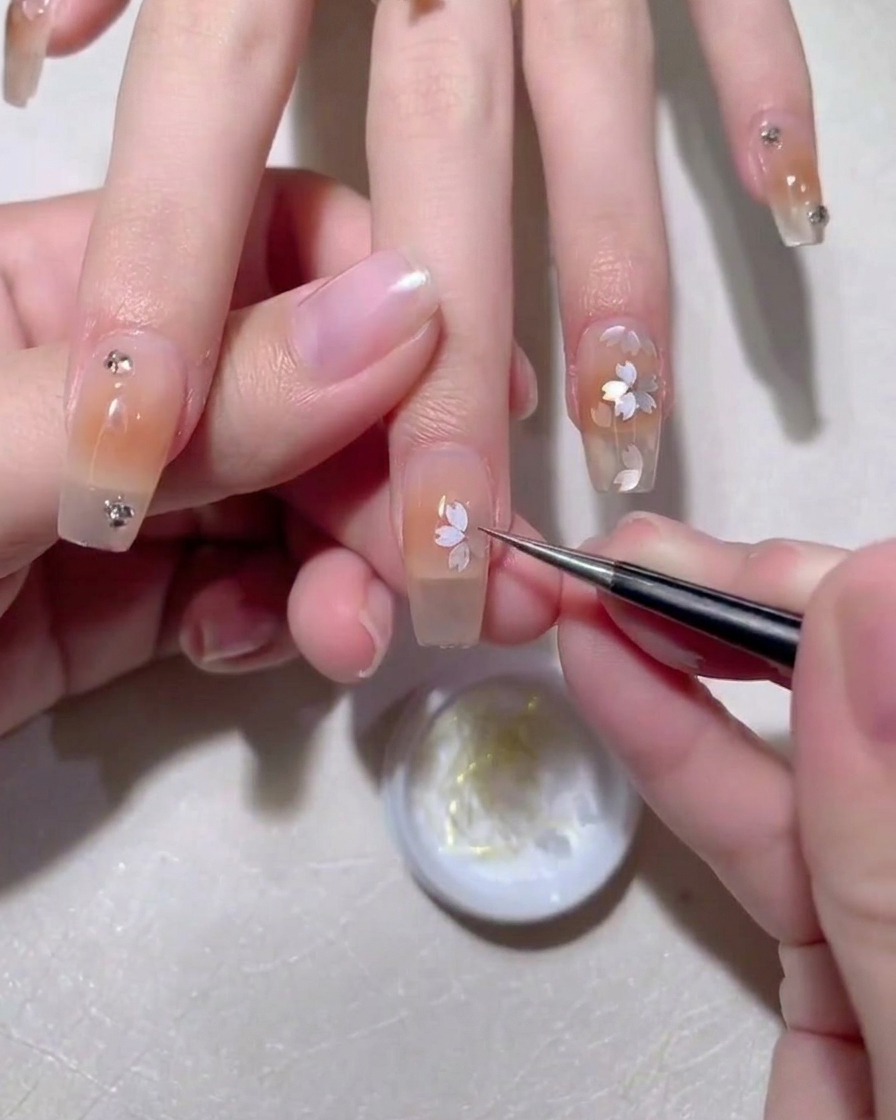
Dab the tip of your detail brush lightly into the clear gel or use a tacky pickup tool to pick up a single sakura petal sequin. Make sure the sequin is securely on the tip of your tool before moving it to the nail.
Tip: A slightly damp brush tip can help pick up small sequins more easily. - 6Place the sequin
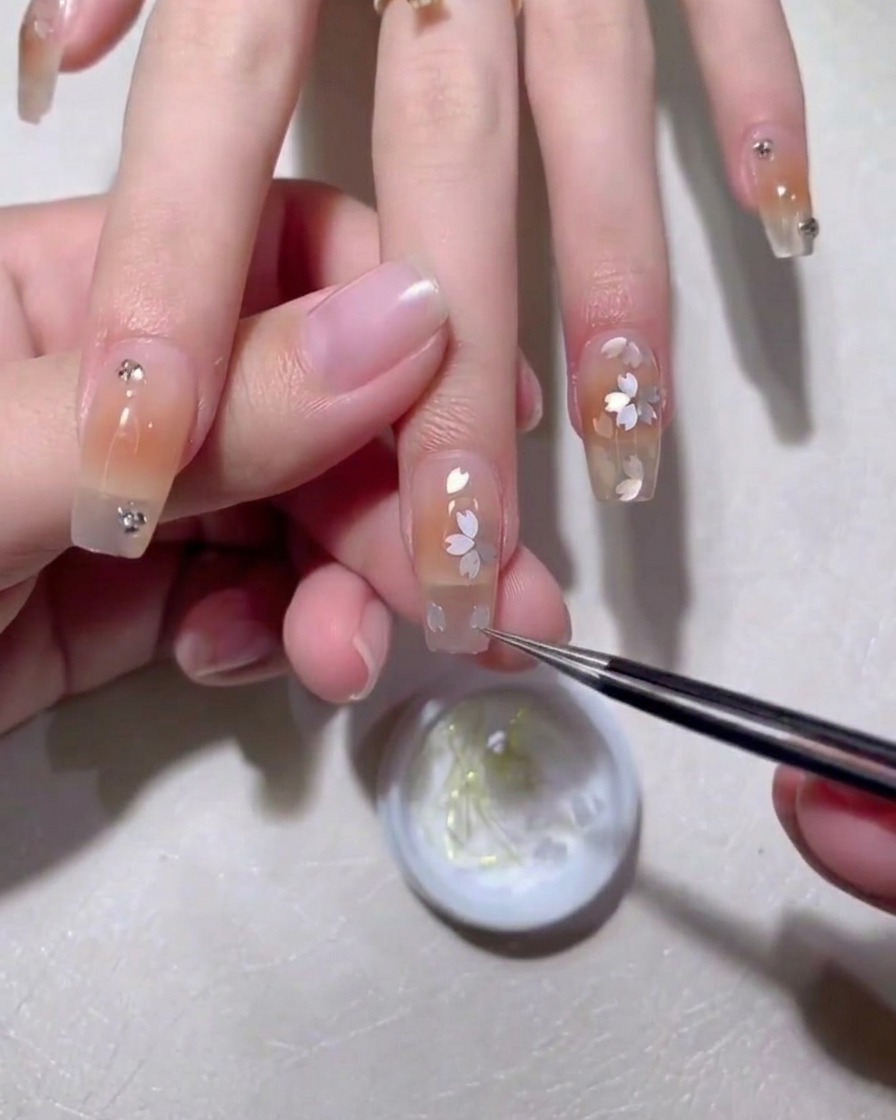
Using tweezers, carefully place the sakura petal sequin onto the desired location on the wet adhesive gel. Gently press down on the center of the sequin to ensure it is flush against the nail surface. Repeat this process until your desired design is complete, then cure the entire nail.
Tip: Tweezers allow for precise placement and angle adjustments before the gel cures. - 7Add depth to nail art petals
Take a fine detail brush with a small amount of brown gel polish and carefully outline or shade around the edges of the previously placed petal-shaped sequins. This added depth helps the design pop against the base color, creating a more three-dimensional and professional look.
Tip: Use a very light touch; you can always add more color, but it is difficult to remove excess gel without disturbing the sequins. - 8Blend gel around sequins
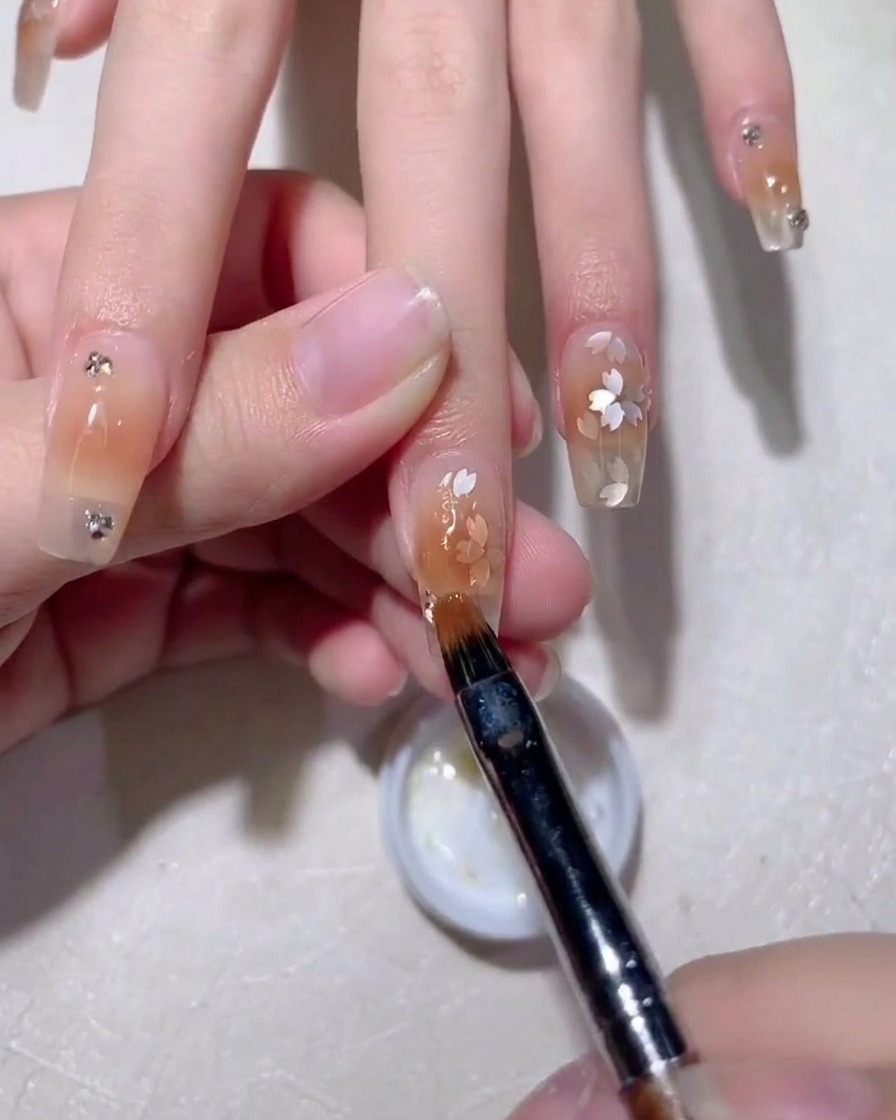
Using a fine-detail nail art brush, carefully manipulate and blend the gel base around the placed cherry blossom sequins. Ensure the sequins lie flat against the nail plate and are fully encapsulated by the gel to create a smooth, even surface for the top coat. Once blended, check for any air bubbles or uneven edges before proceeding to cure.
Tip: Work in small, gentle strokes to avoid moving the sequins out of their desired placement. - 9Place sakura petal sequins
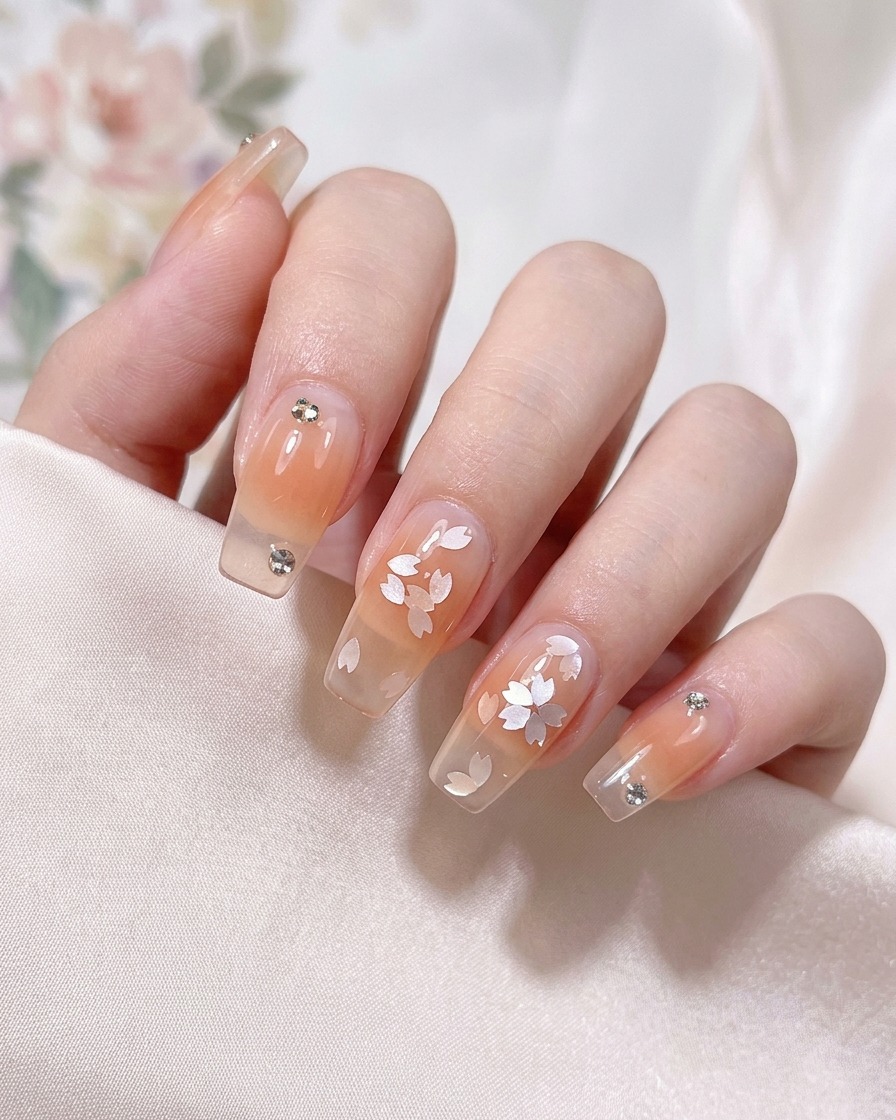
Carefully pick up individual sakura petal sequins using tweezers and place them onto the nail surface over the existing design. Press them down gently to ensure they lie flat and adhere securely to the gel layer before curing.
Tip: Apply a tiny dot of clear builder gel where you want to place the sequin to help it stay in position. - 10Add rhinestone accents
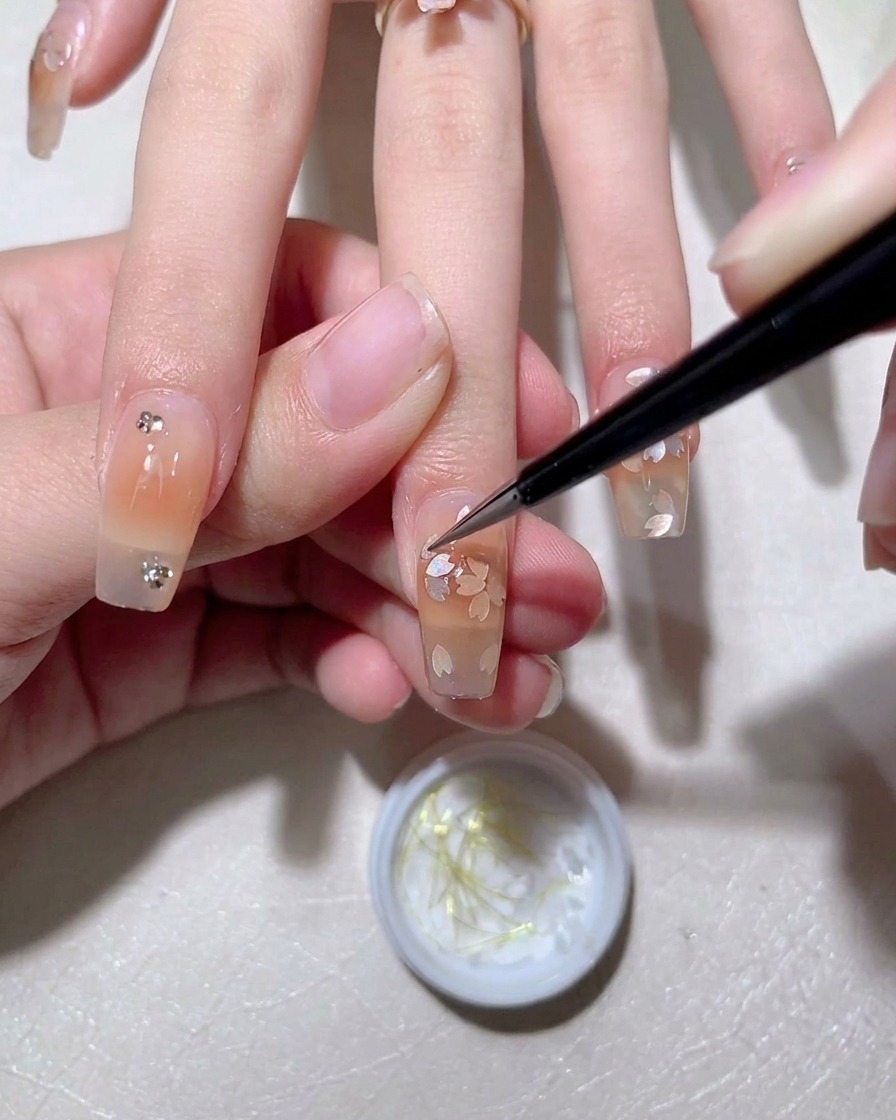
Using a detail brush or a wax-tipped tool, pick up a tiny silver rhinestone and place it near the sakura petals to serve as an accent. Press down slightly to set it into the gel, then cure to lock it in place.
Tip: Keep rhinestones away from the very edge of the nail to prevent them from snagging or popping off during daily activities. - 11Apply top coat
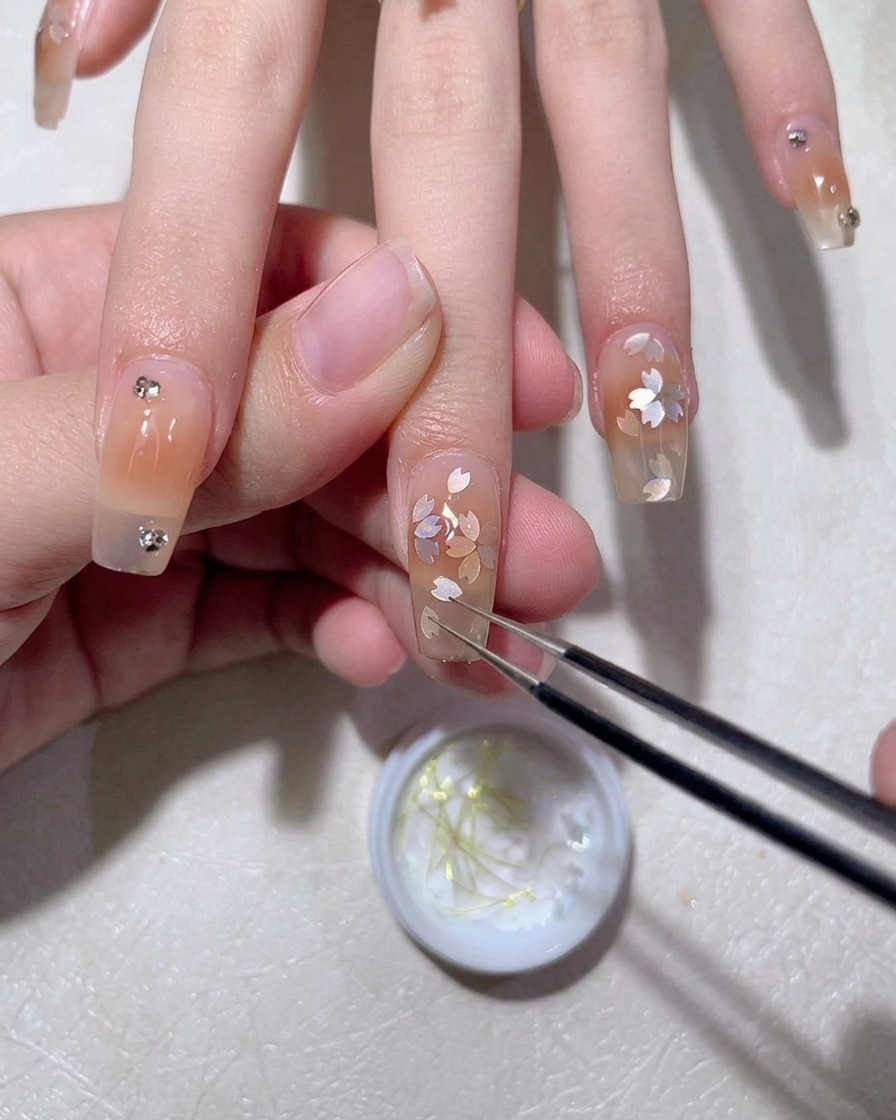
Apply a generous layer of high-shine clear top coat over the entire nail, ensuring you cover the sequins and rhinestones completely. This step encapsulates the nail art, providing a smooth finish and preventing the decorations from catching.
Tip: Be careful to cap the free edge with top coat to prevent premature lifting, especially when you have embedded sequins.