Glitter Gradient Ombre Nails — Professional Step-by-Step Tutorial
Elevate your manicure with this stunning glitter gradient ombre look. Learn how to achieve a seamless fade and add the perfect amount of sparkle.
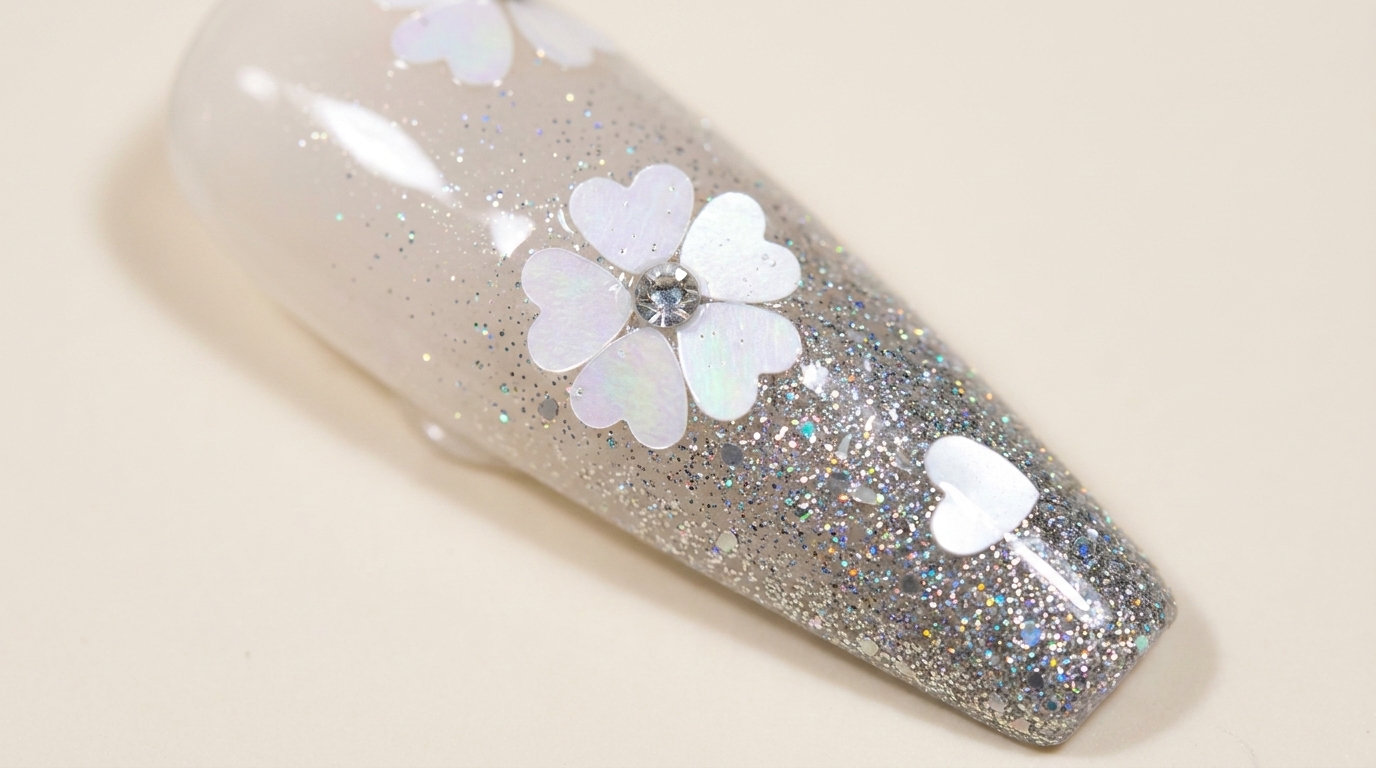
The glitter gradient ombre is a timeless design that adds a sophisticated touch of glamour to any nail shape. By combining a soft, diffused color base with strategically placed glitter at the tip, you can create a high-shine manicure that transitions beautifully from day to night. This technique is perfect for those who want to master clean, professional-looking gradient transitions at home.
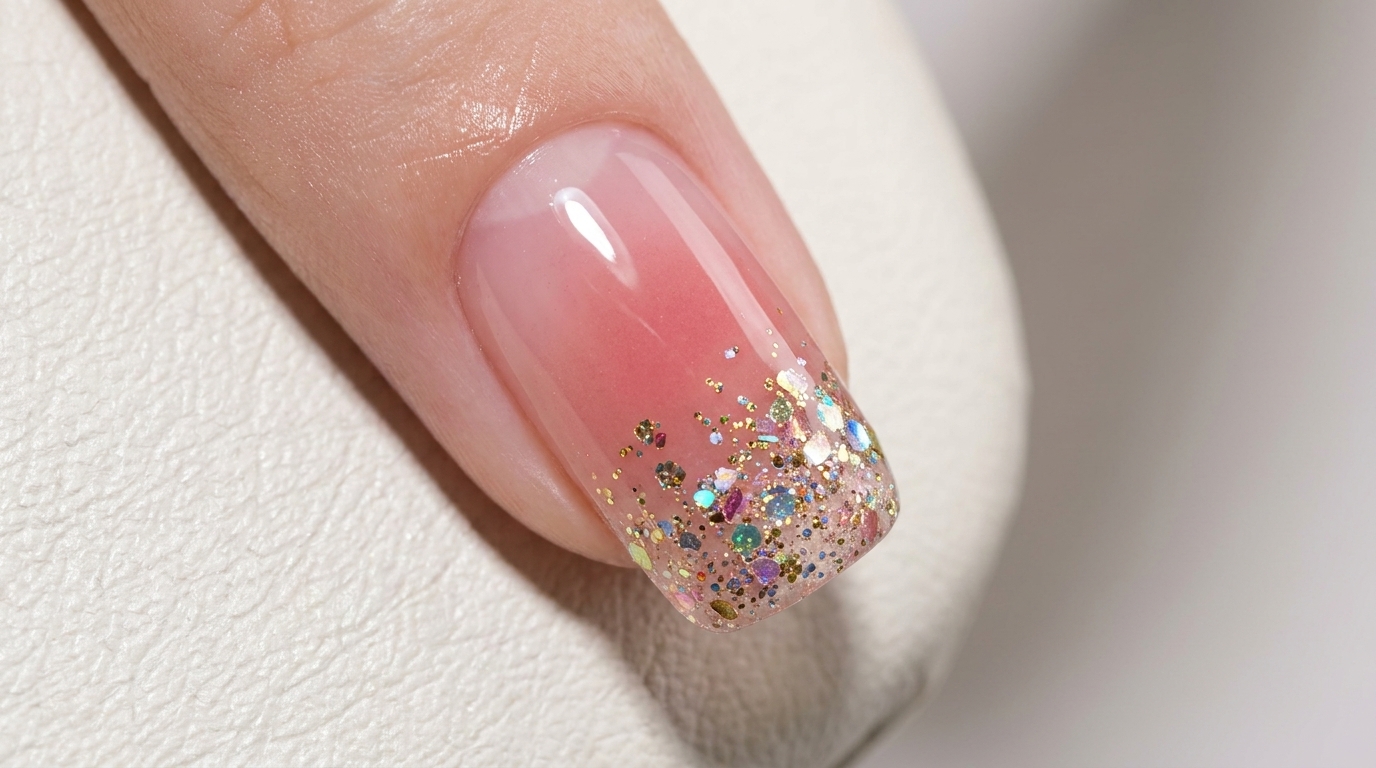
Steps
- 1Apply nude base coat
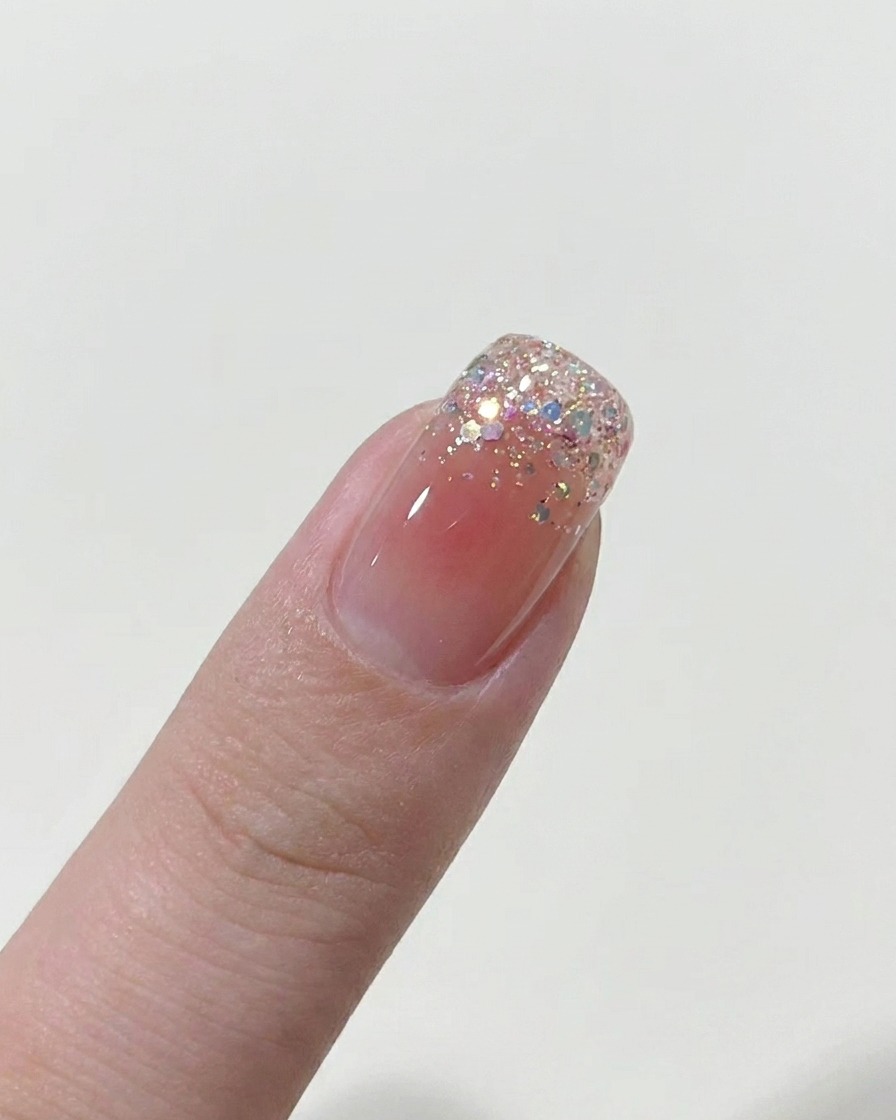
Apply a thin, uniform layer of nude gel polish across the entire nail plate. Ensure you cap the free edge to prevent lifting and avoid contact with the cuticle area. Cure this layer under a UV/LED lamp as directed by your polish manufacturer.
Tip: Applying a very thin base layer helps ensure a smooth, level surface for your subsequent gradient application. - 2Place gradient gel
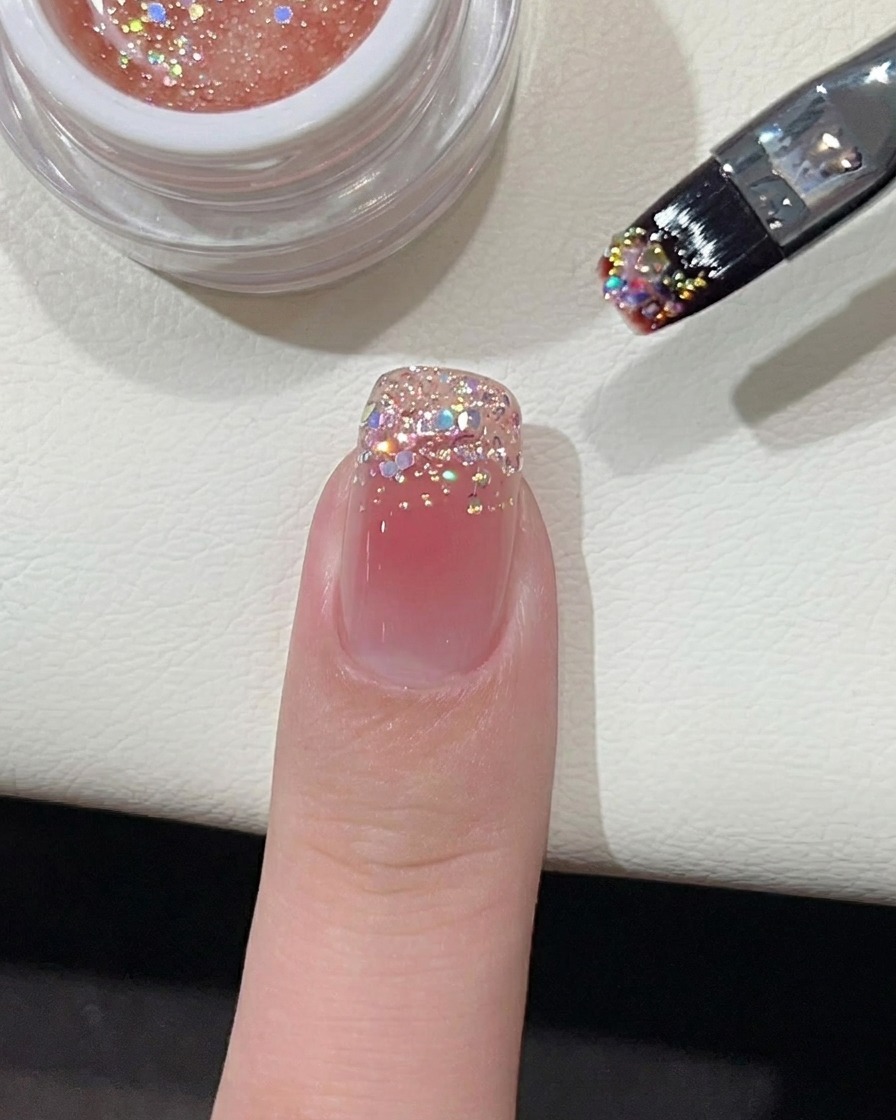
Take a small amount of deep pink gel polish and place a dot directly in the center of the nail plate. This serves as the foundation for your ombre transition.
Tip: Use a small dot to start; you can always add more gel if you want a deeper color saturation, but too much at once can be difficult to blend. - 3Blend for ombre effect
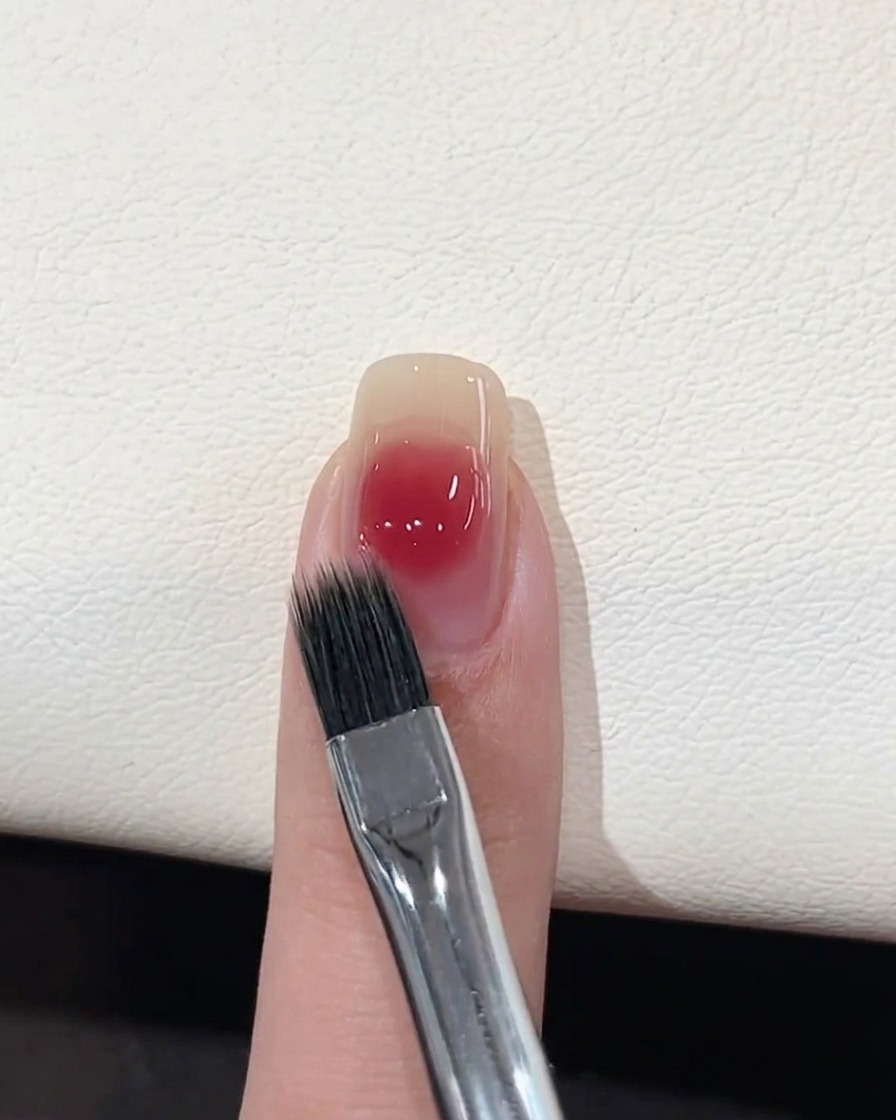
Using a soft blending brush, gently drag the edges of the pink gel dot outward to create a smooth, diffused gradient effect. Focus on softening the transition so there are no harsh lines, keeping the deepest color concentrated in the center.
Tip: Keep your blending brush movements light and feather-like to achieve a seamless, airbrushed look. - 4Cure the gradient
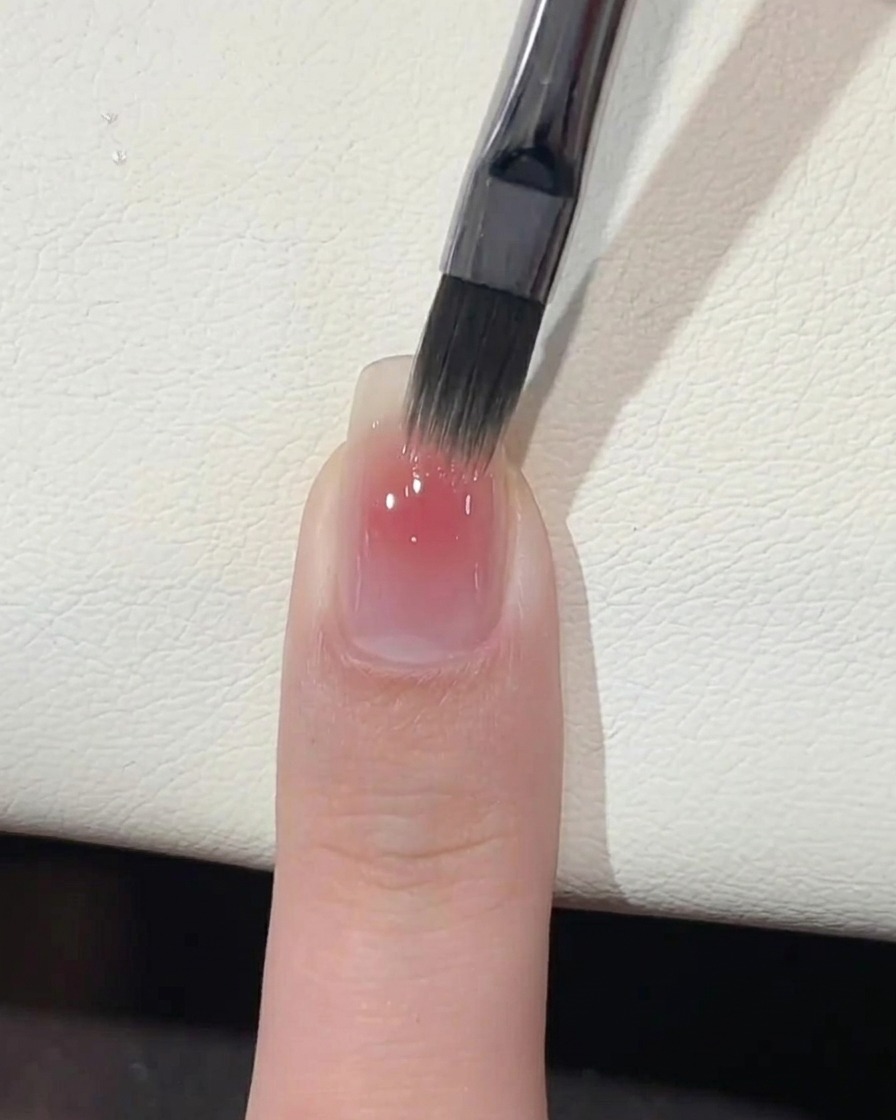
Place your hand inside the UV/LED lamp to cure the blended gradient layer. Ensure your fingers are positioned so the light hits the entire nail surface evenly for a full cure.
Tip: Check your lamps wattage and the polish brands instructions for the optimal cure time. - 5Apply tip glitter
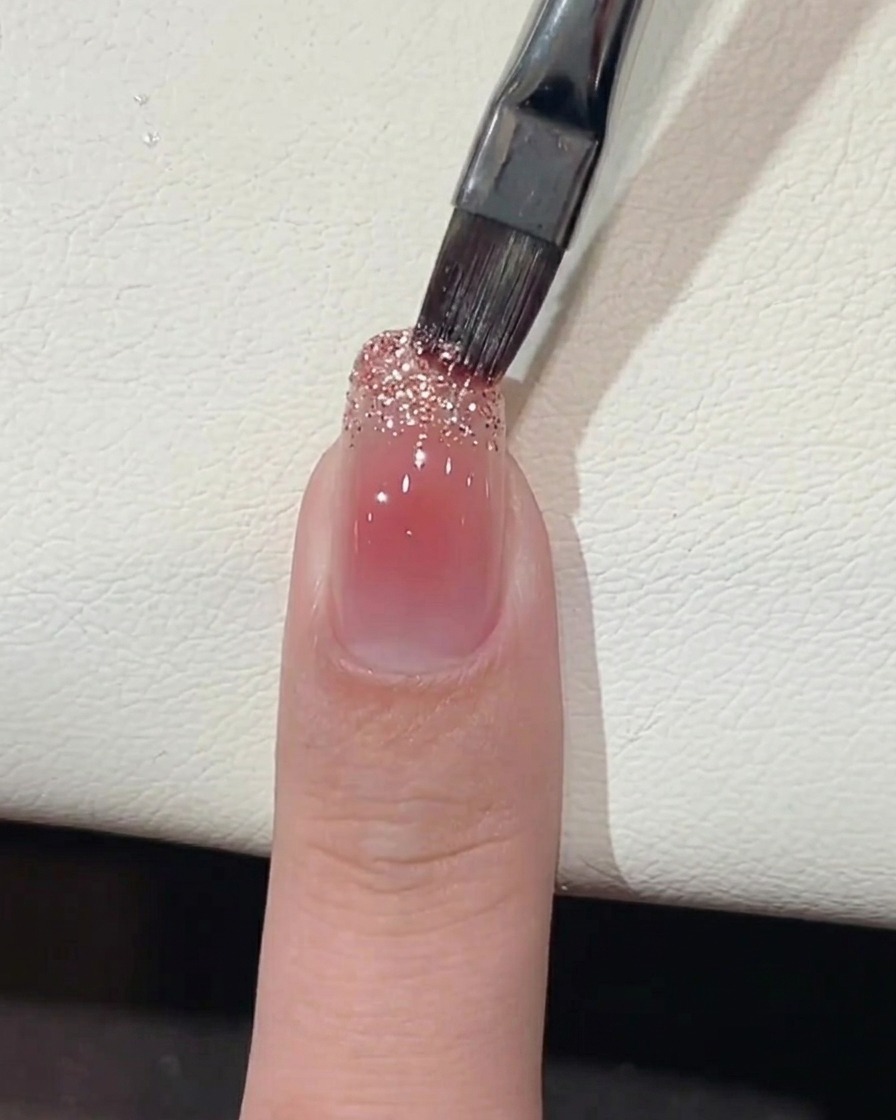
Using a dedicated nail brush, pick up a small amount of glitter gel and apply it specifically to the tip of the nail. Start from the edge and work your way slightly toward the center to build a concentrated sparkle effect.
Tip: Dab the glitter on rather than brushing it back and forth to keep the glitter pieces densely packed at the tip. - 6Apply high-transparency top coat
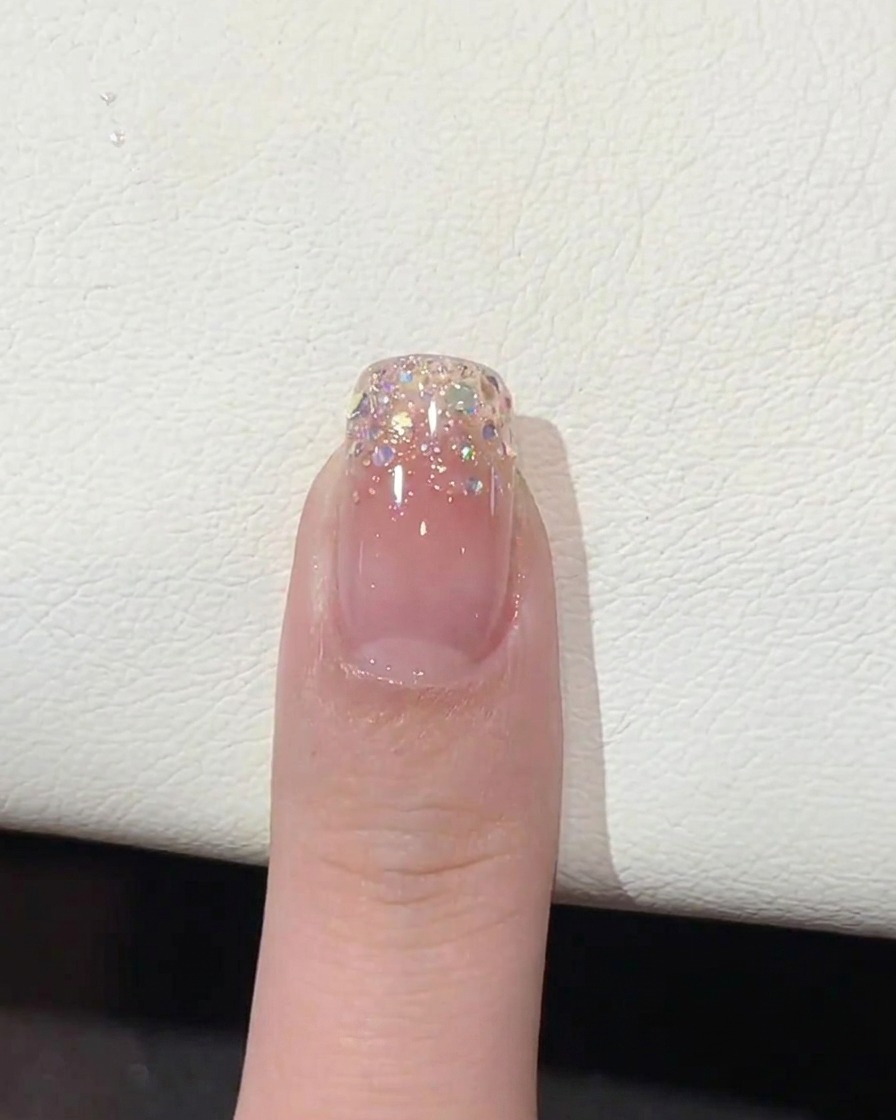
Apply a smooth, even layer of high-transparency top coat over the entire nail, ensuring you cap the free edge to seal the design and provide long-lasting shine. Use a gentle hand to ensure a streak-free finish before proceeding to the final cure.
Tip: Be careful not to flood the cuticles; if any top coat touches the skin, clean it up immediately with a brush dipped in cleanser before curing. - 7Cure to finish
Place your nails under the UV or LED lamp and cure for the full recommended duration to ensure the top coat is completely set. Once cured, your manicure is locked in with a durable, glossy finish.
Tip: Keep your hand still inside the lamp to ensure even light distribution and complete curing across all parts of the nail surface.