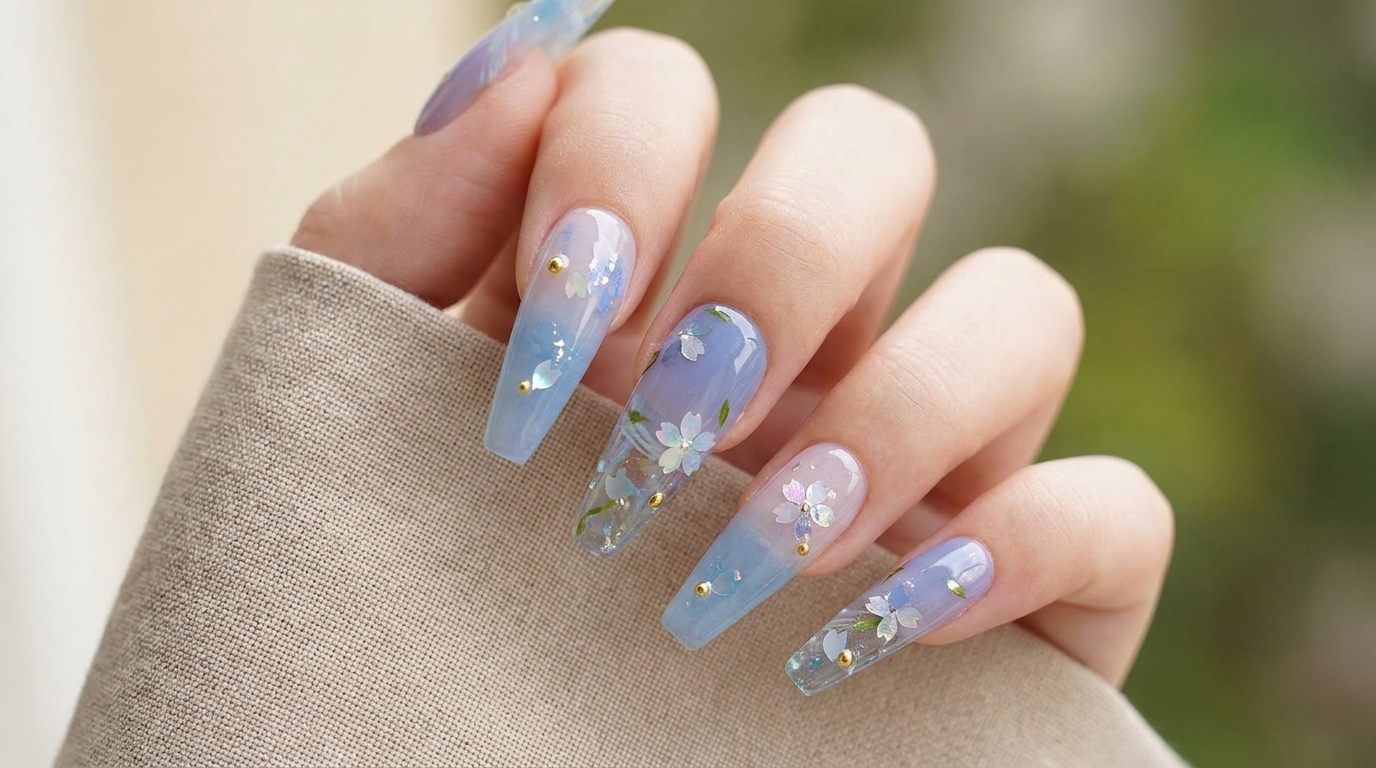
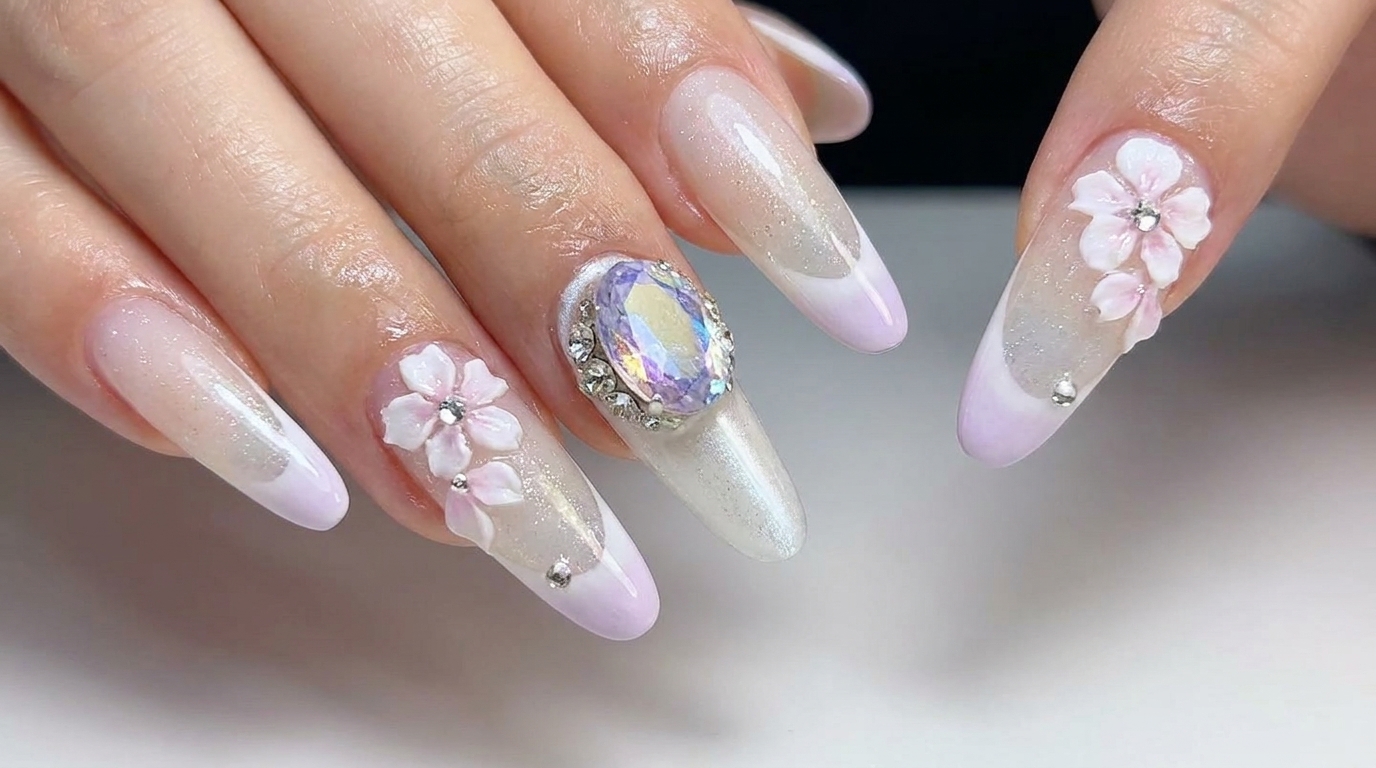
Milky Purple Cat-Eye Gradient Nails
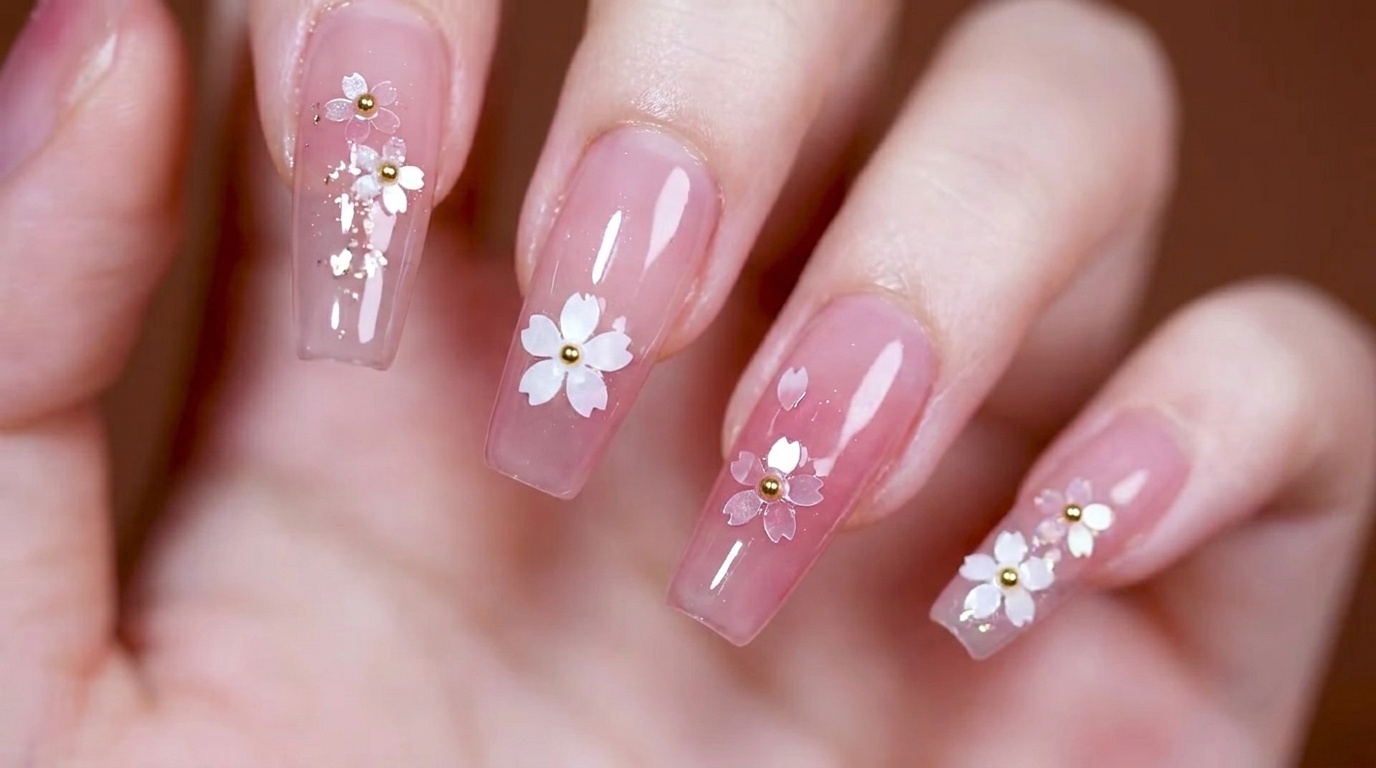
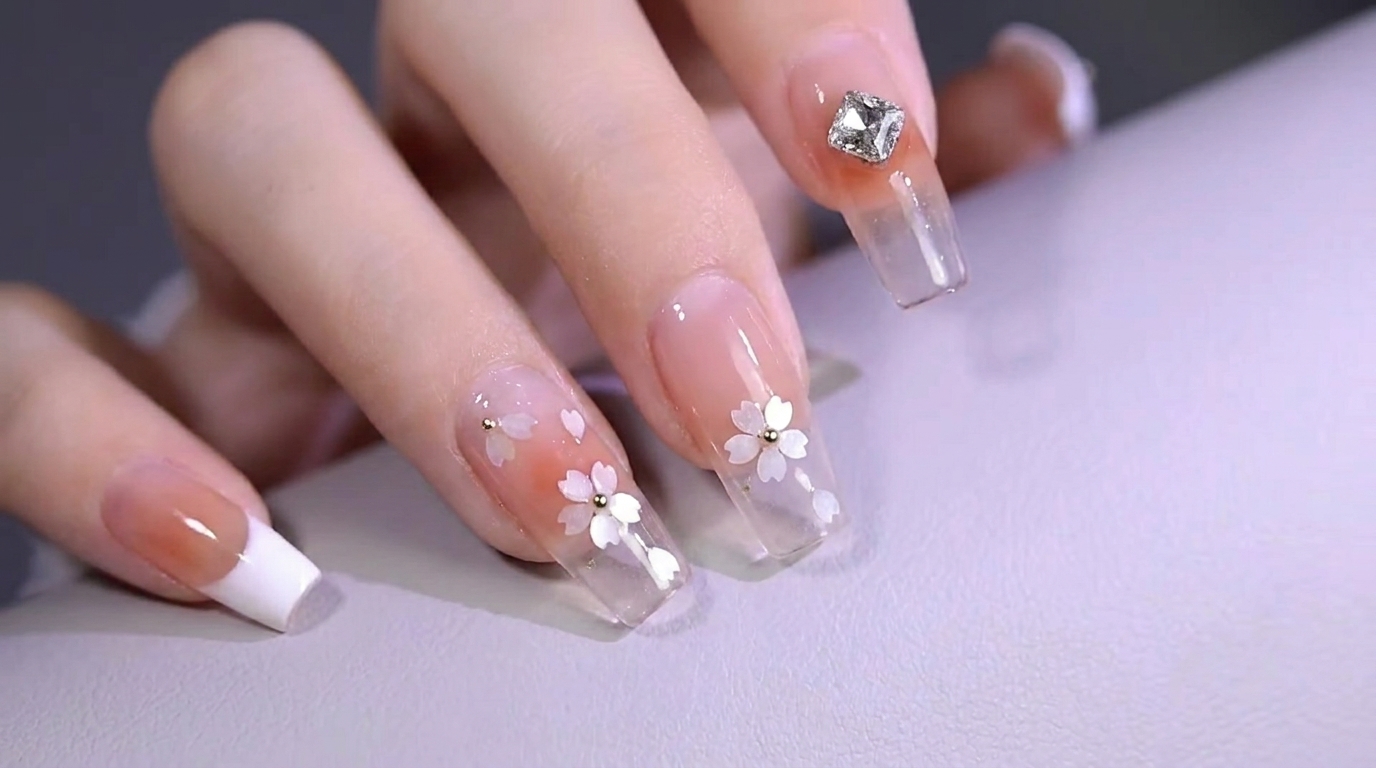
3D Cherry Blossom Art
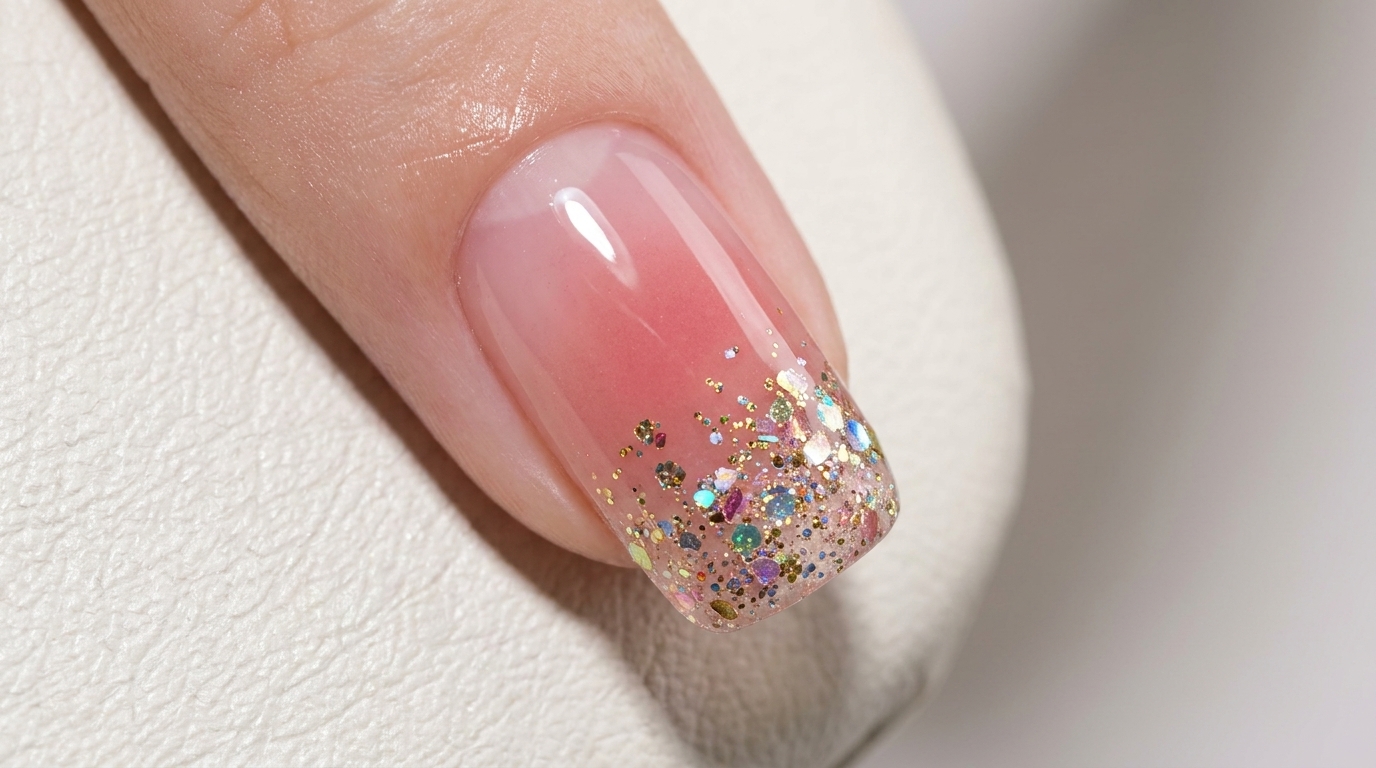
Elevate your manicure with this elegant look featuring milky white cat-eye effects, a soft purple gradient, and delicate 3D cherry blossom floral embellishments.
This sophisticated nail design perfectly balances ethereal, shimmering textures with intricate 3D accents. The combination of milky cat-eye depth, a dreamy purple ombre, and hand-applied floral details creates a romantic and high-end finish that is perfect for special occasions or whenever you want to showcase artistic flair.
Steps
- 1Select and place the nail tip
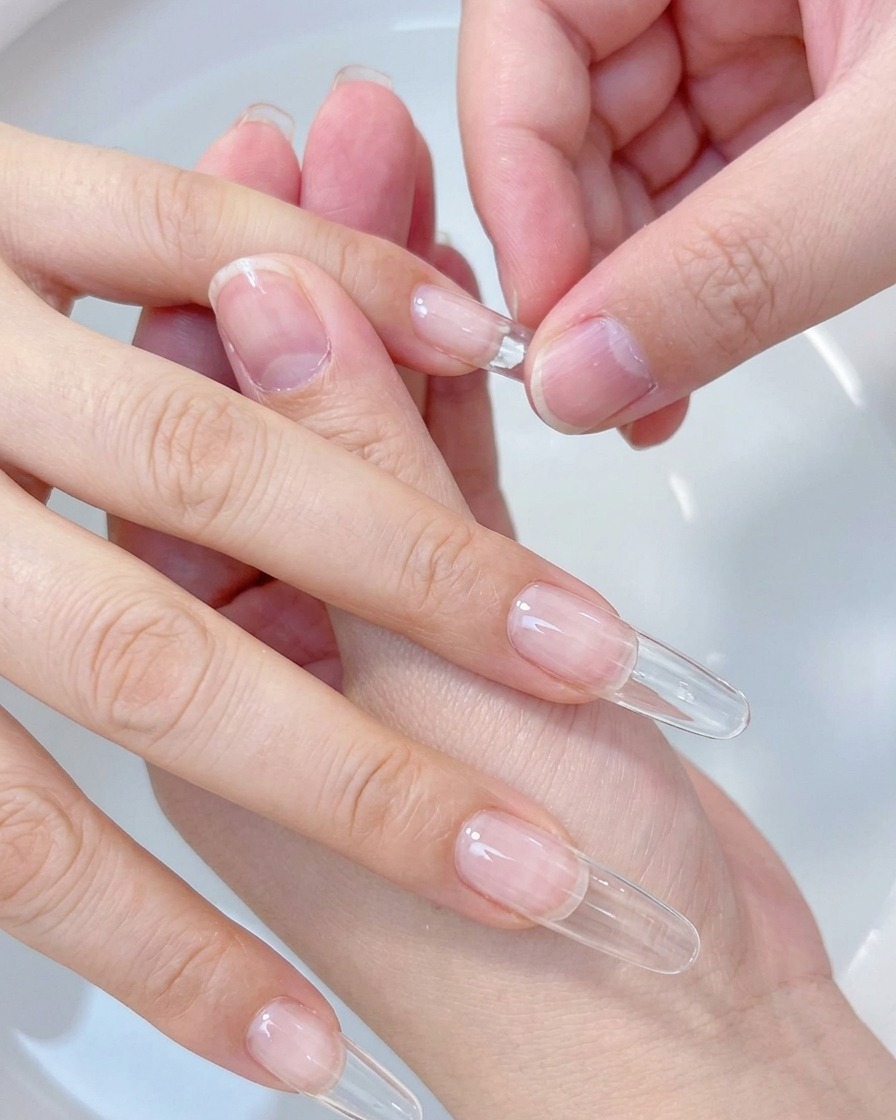
Choose a full-cover nail tip that perfectly matches the width and curvature of your natural nail bed. Ensure the tip covers from sidewall to sidewall without needing to be forced, as a proper fit is essential for a long-lasting, natural-looking extension.
Tip: If you are between two sizes, always choose the slightly larger one and file the sides down for a custom fit. - 2Secure the nail tip
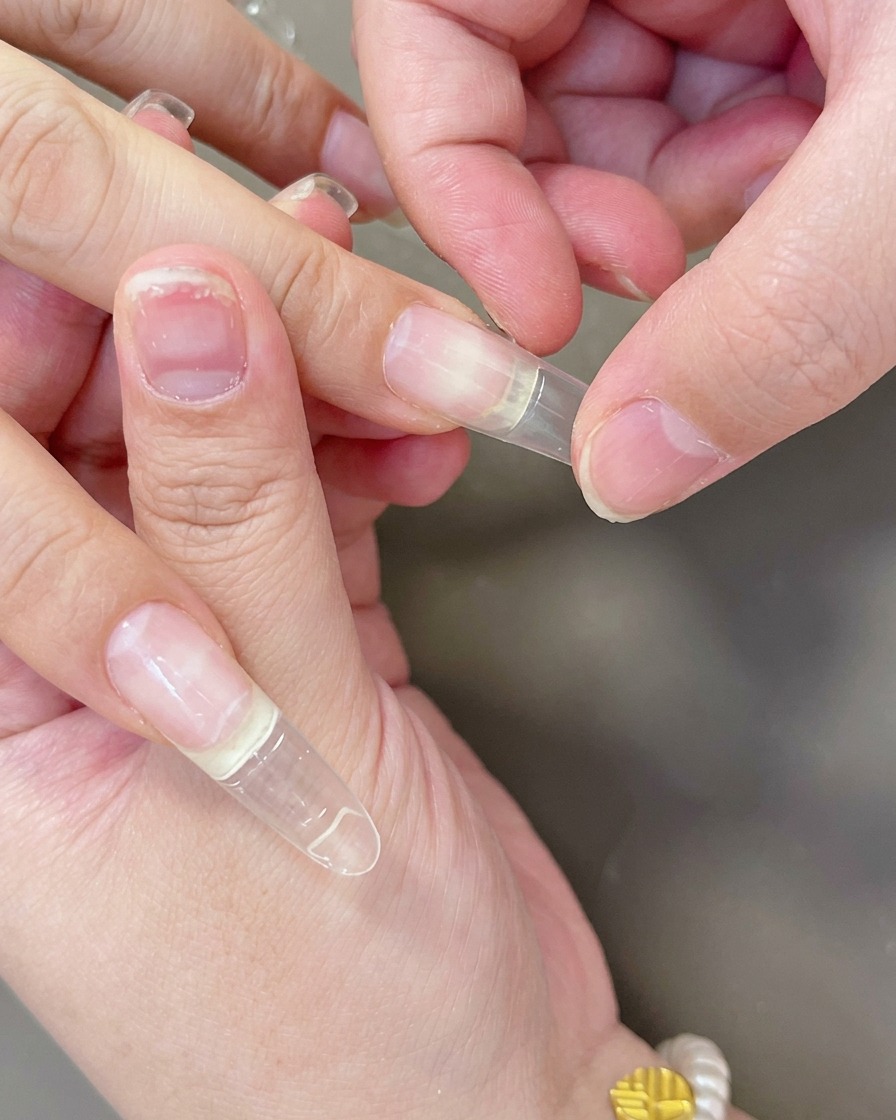
Apply your adhesive to the contact area of the tip, then press it firmly onto the natural nail. Hold the tip in place to ensure a strong bond and to eliminate any air bubbles between the tip and the natural nail surface.
Tip: Apply steady, even pressure to avoid shifting the tip while the adhesive begins to set. - 3Cure the nail tip
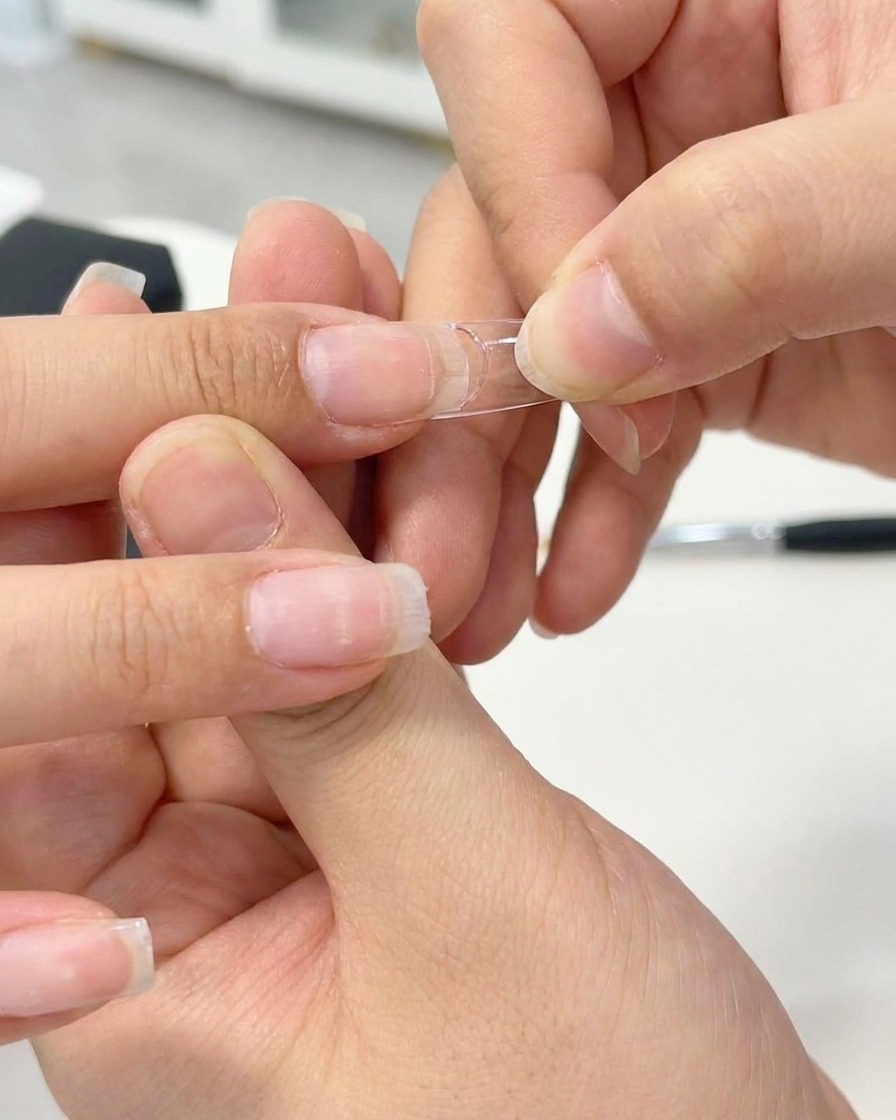
Place the finger under your portable LED lamp to cure the adhesive holding the nail tip. Ensure the light covers the entire nail bed area to fully set the bond according to your lamps specifications.
Tip: Keep your finger steady during the cure to prevent the tip from moving or creating gaps in the bond. - 4Apply milky white gel
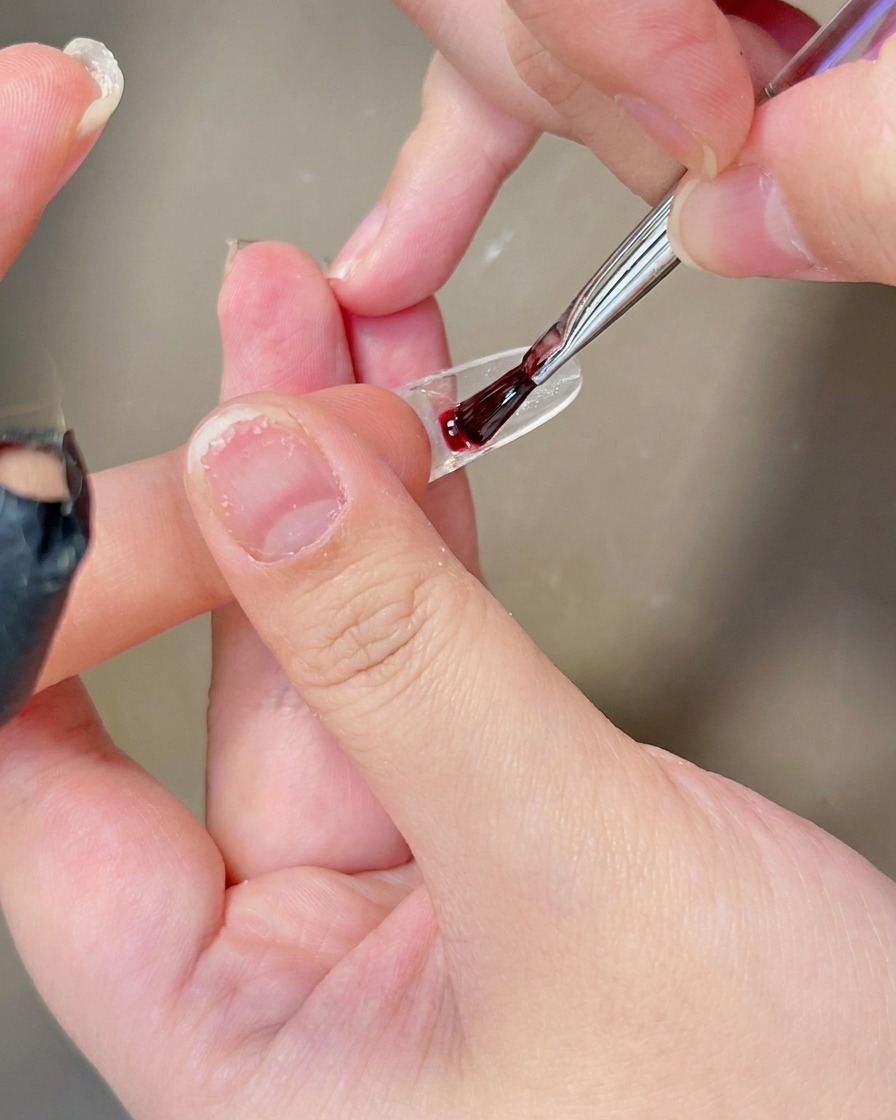
Apply a thin, uniform layer of milky white gel polish over the surface of the nail extension. Start from the center and brush towards the edges, ensuring smooth coverage without pooling around the cuticle or sidewalls.
Tip: Using thin layers prevents the gel from feeling too bulky and helps it cure more evenly under the lamp. - 5Cure the base layer
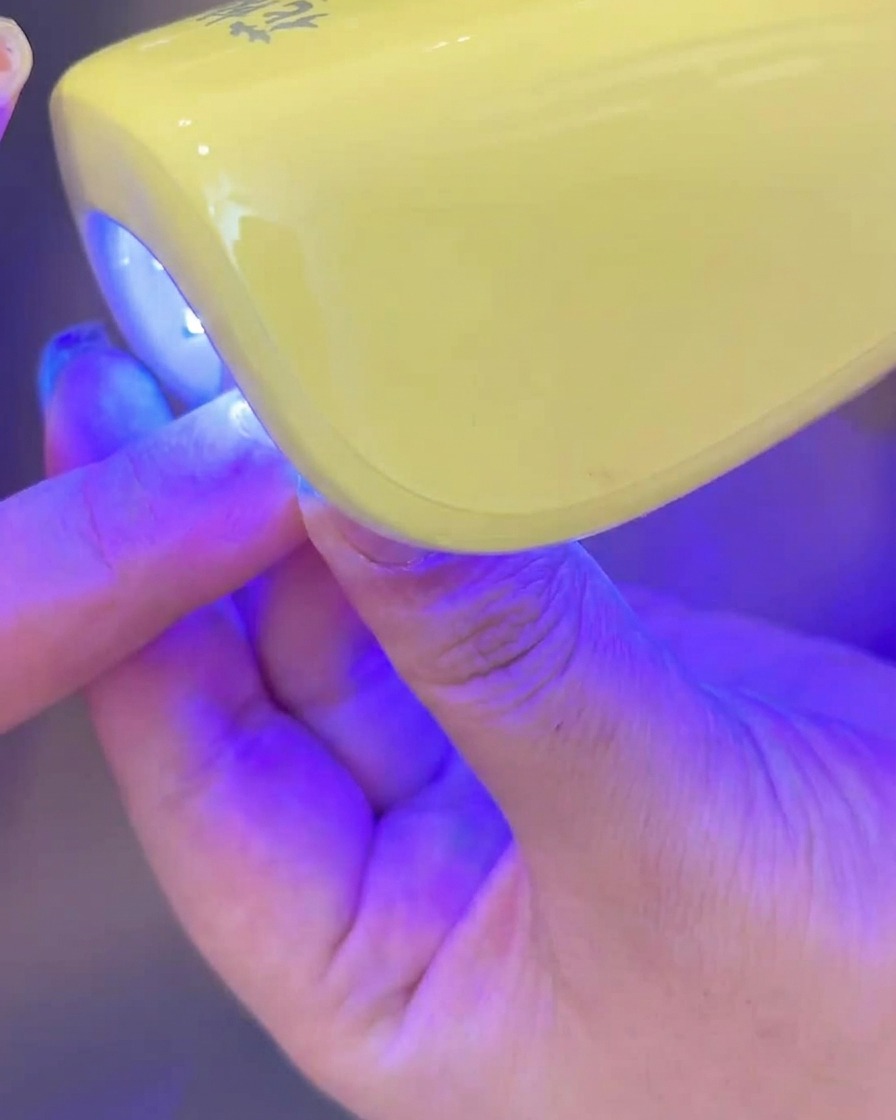
Cure the applied milky white gel layer under your UV or LED lamp for the time recommended by the gel manufacturer. This ensures the base color is completely set and provides a stable surface for subsequent layers or nail art.
Tip: Do not rush the curing time; incomplete curing can lead to a tacky surface and affect the longevity of your manicure. - 6Create cat-eye effect
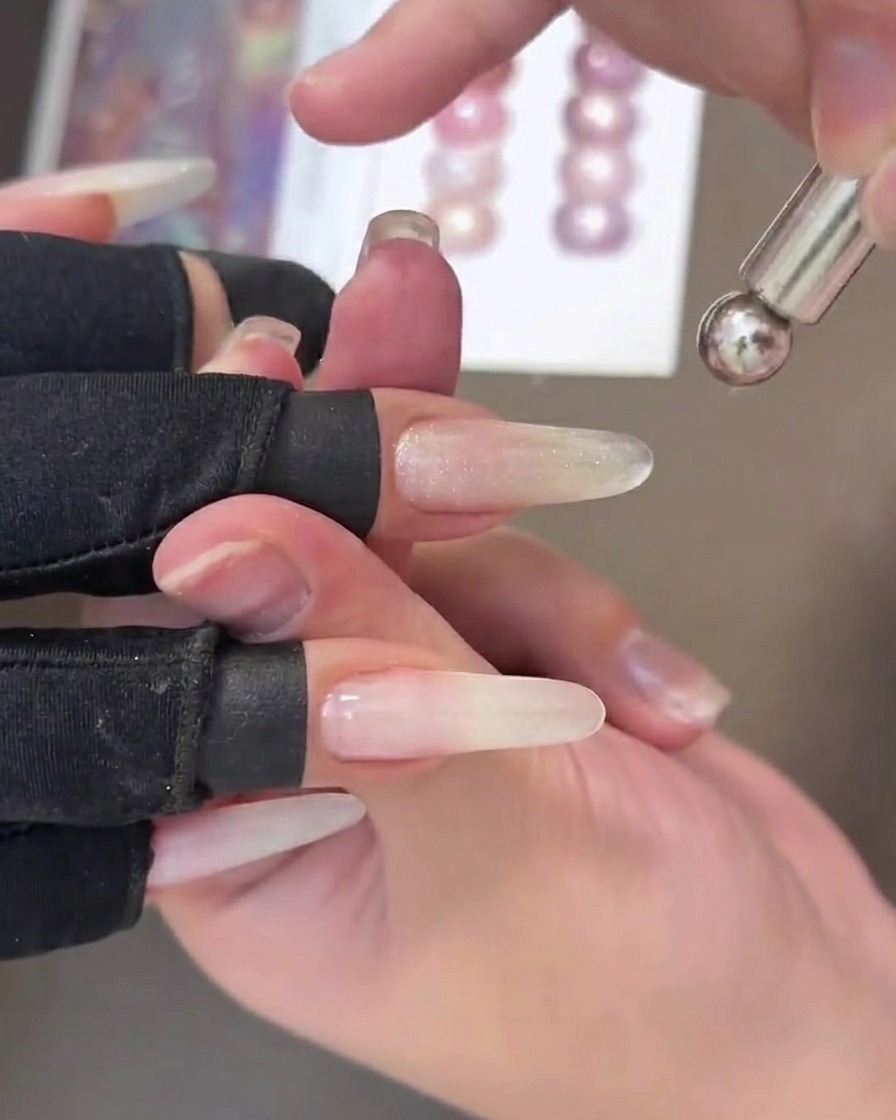
Apply the cat-eye gel to the nail. Before curing, hold your magnet tool over the surface of the nail to manipulate the magnetic pigment particles into your desired streak or design. Once you are satisfied with the pattern, cure the nail immediately under your UV/LED lamp to lock the effect in place.
Tip: Hold the magnet steady and close to the nail without touching it for the strongest, crispest line. - 7Apply purple gradient
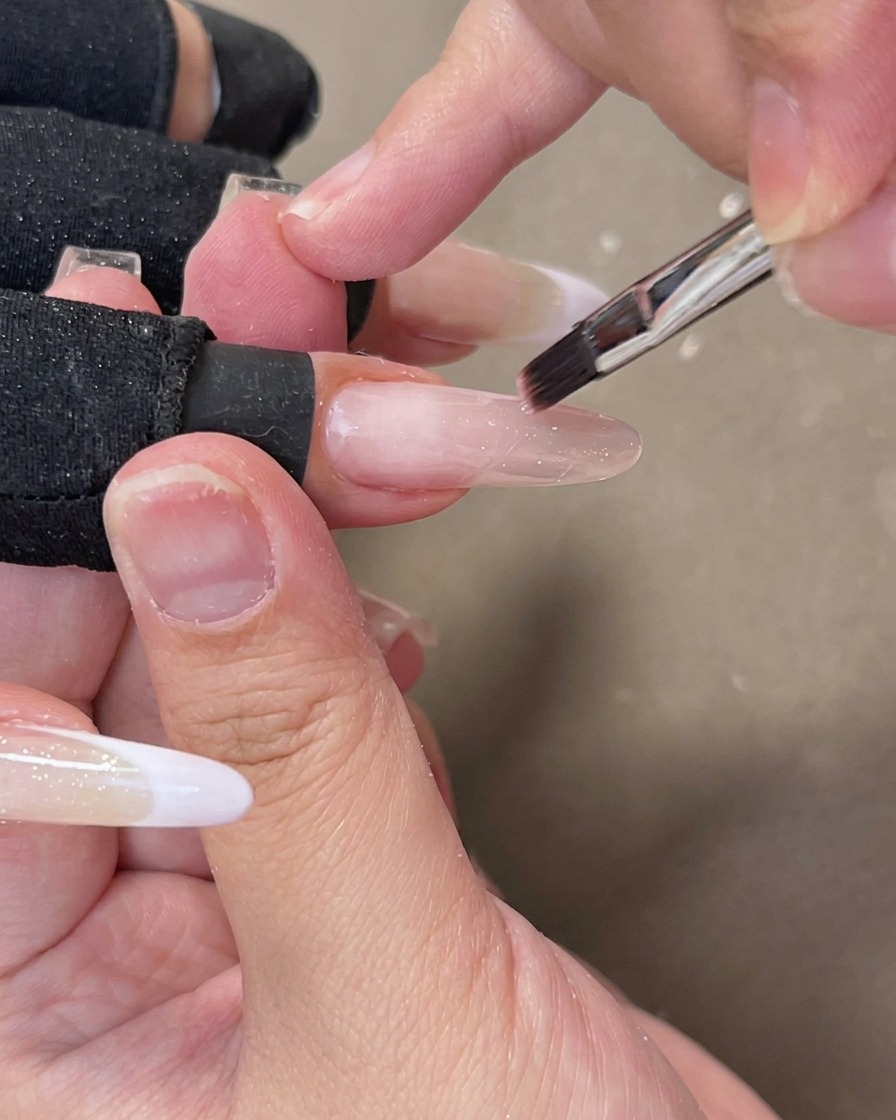
Apply the purple gel to the ring finger. Use a small brush to blend the color from the tip towards the middle of the nail, gradually lightening the intensity to create a soft, seamless gradient effect. Ensure the transition is smooth before curing under the lamp.
Tip: Use a light hand when blending to ensure the transition remains subtle and doesnt become patchy. - 8Highlight gradient with magnet
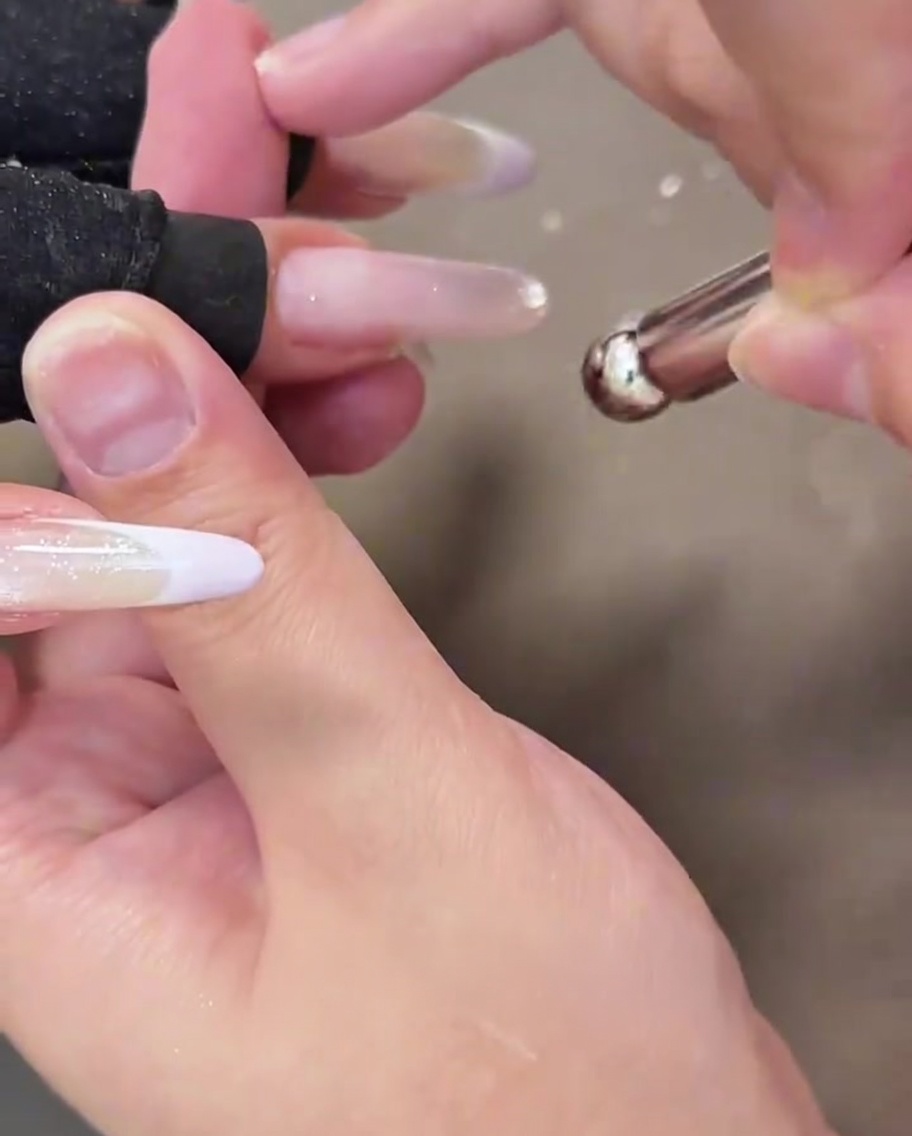
While the purple gradient gel is still wet, use the magnet tool to concentrate the shimmery pigment towards the tip of the nail. This creates a bright, highlighted effect that emphasizes the gradient transition. Cure the nail once the highlight is positioned correctly.
Tip: Position the magnet at different angles to see how it changes the concentration of the shimmer on the gradient.